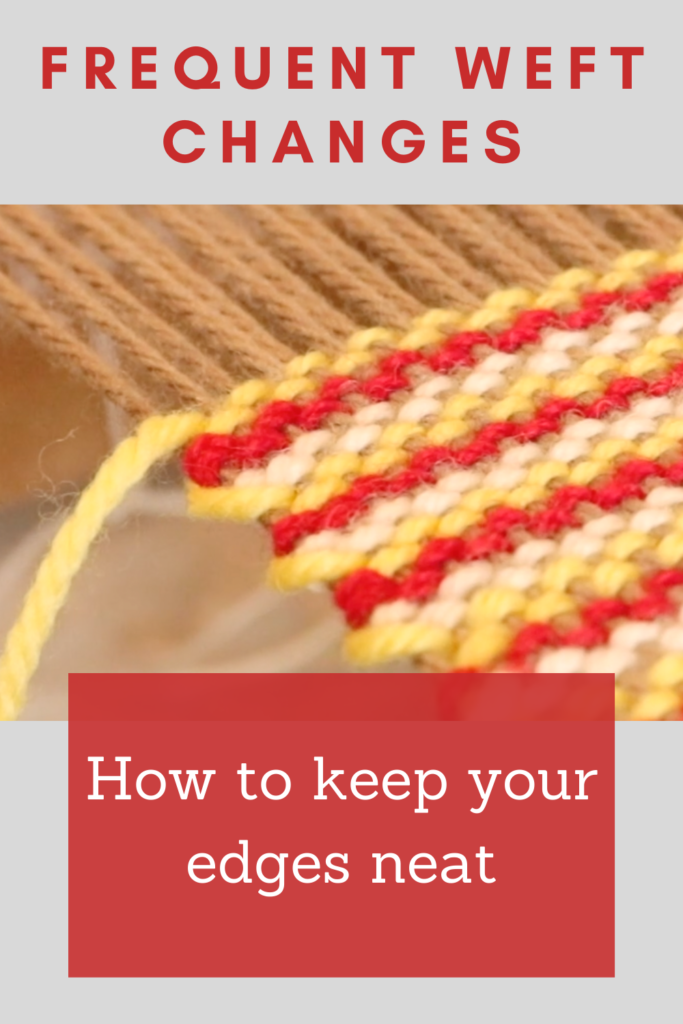
Frequent weft colour changes are common when weaving stripes, colour blocks, or weft faced weave structures like krokbragd. While these colour changes can create beautiful effects, they can also introduce problems such as messy selvedges or uncertainty leading to less than pleasing results.
In this article, I’ll explain the most common issues that arise when changing weft colours often, and show you three simple, reliable methods you can use to manage frequent weft colour changes with neat, secure results.
If you’ve ever wondered how to change weft colours without creating bulk, holes, or untidy edges, these techniques will help you weave colour changes with confidence.
Some of the most common questions and confusions around weft colour changes include:
“Should I cut the old colour when introducing a new one? If so, what do I do with the cut tails?”
“Should I not cut the colours, but weave them continuously, swapping shuttles as I go and carrying the colours up the edges?”
You may be wondering about which method is the best?
Well, that all depends on how wide the stripes or each band of colour are going to be. I’ll explain further.
Avoiding Floats That Are Too Long
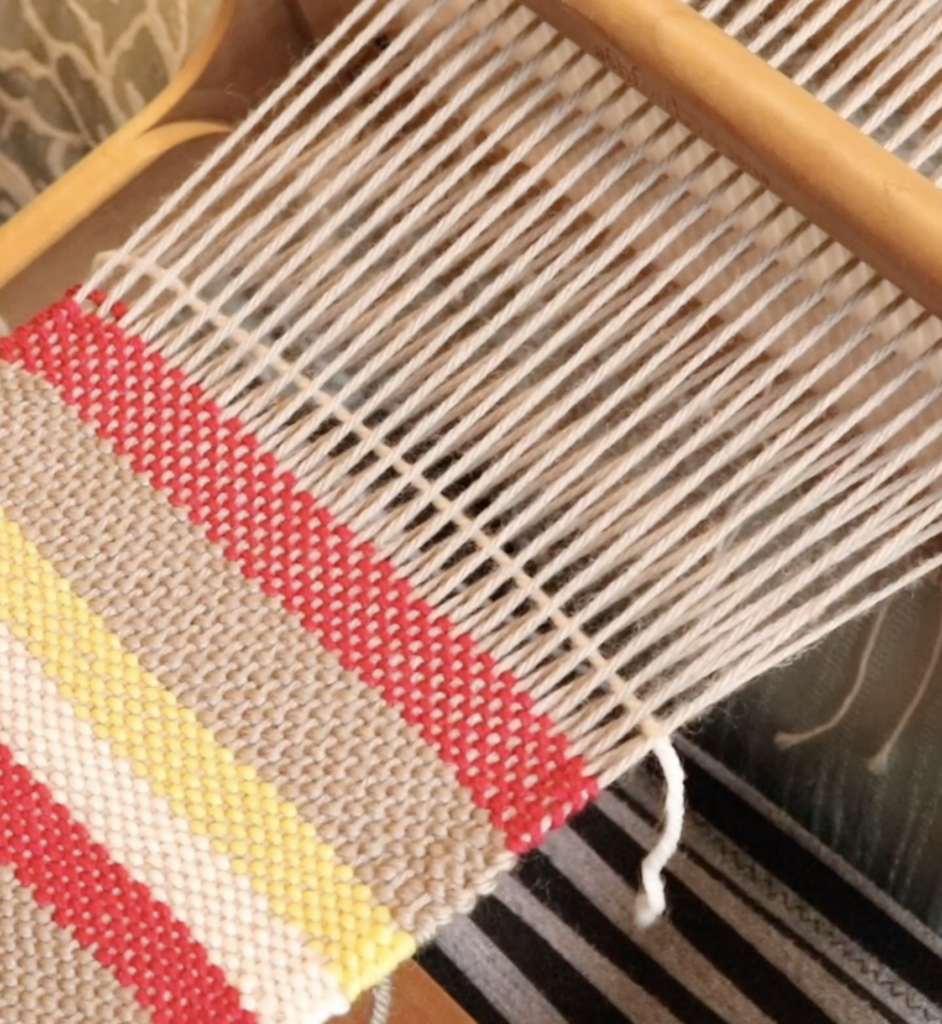
If you are weaving wide bands of colour, it will likely not be practical to carry the yarns up the selvedges as you weave. This will create long floats.
Now, floats at the edges can look great as a design feature, but the length does need to be practical.
Floats that are too long will get caught or snagged once the woven piece is in use – they will get stretched and end up looking, well, a bit ragged!
There is no hard and fast rule with what length of float is too long or how wide a stripe should be before deciding on which method is best. But, one example that I use would be, if I’m weaving with light worsted weight yarn and intended to carry the yarn up the side, I wouldn’t make my stripes more than 4 picks wide.
Another example might be that I’m weaving 3 picks of a colour before changing, weaving another 3 picks in a different colour and then going back to the original colour. For this situation, I would choose to keep the yarn colours continuous and carry them up the sides.
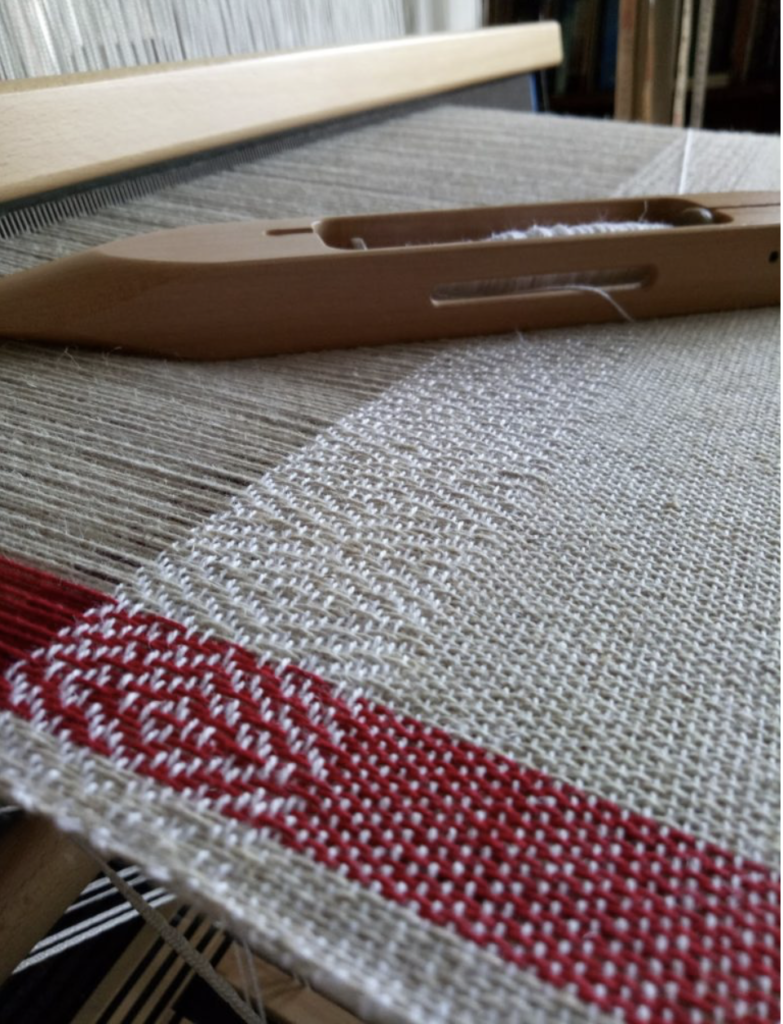
Basic Method For Thicker Stripes
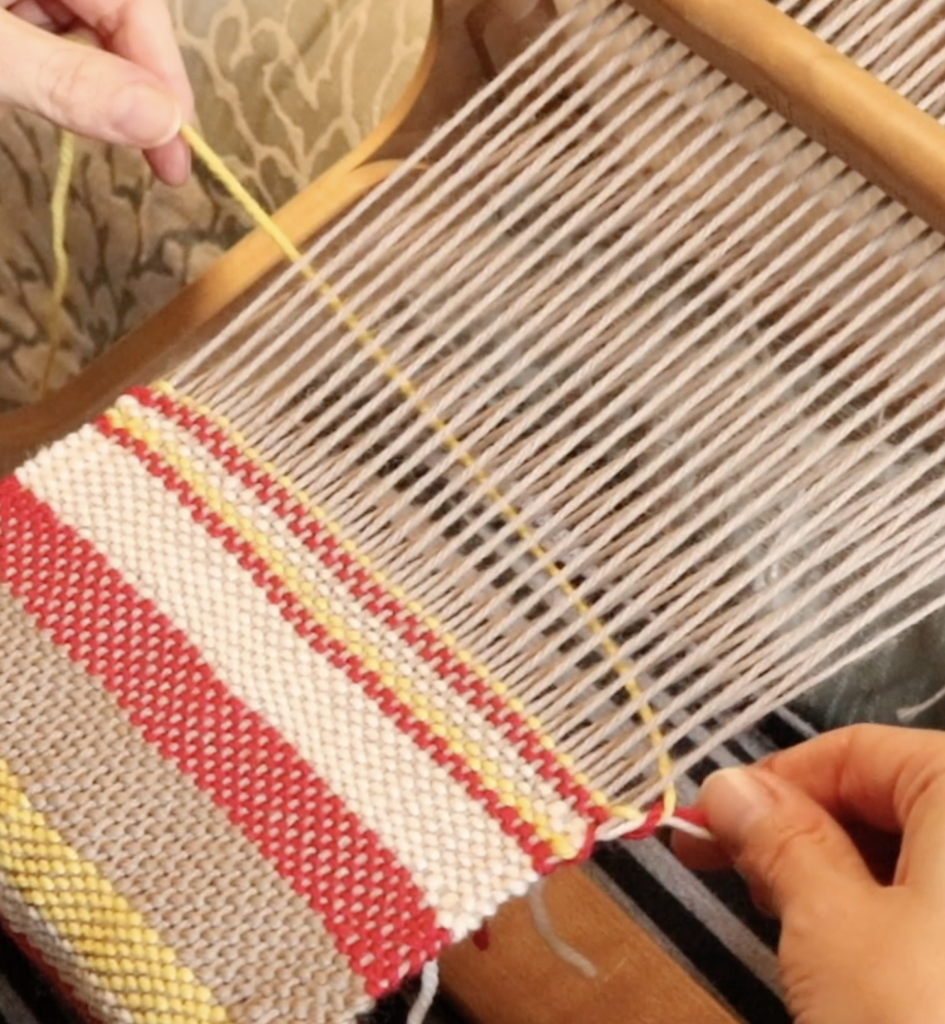
Introduce the new colour and leave a tail of a couple of inches on the cut end. Weave that pick and change to the next shed.
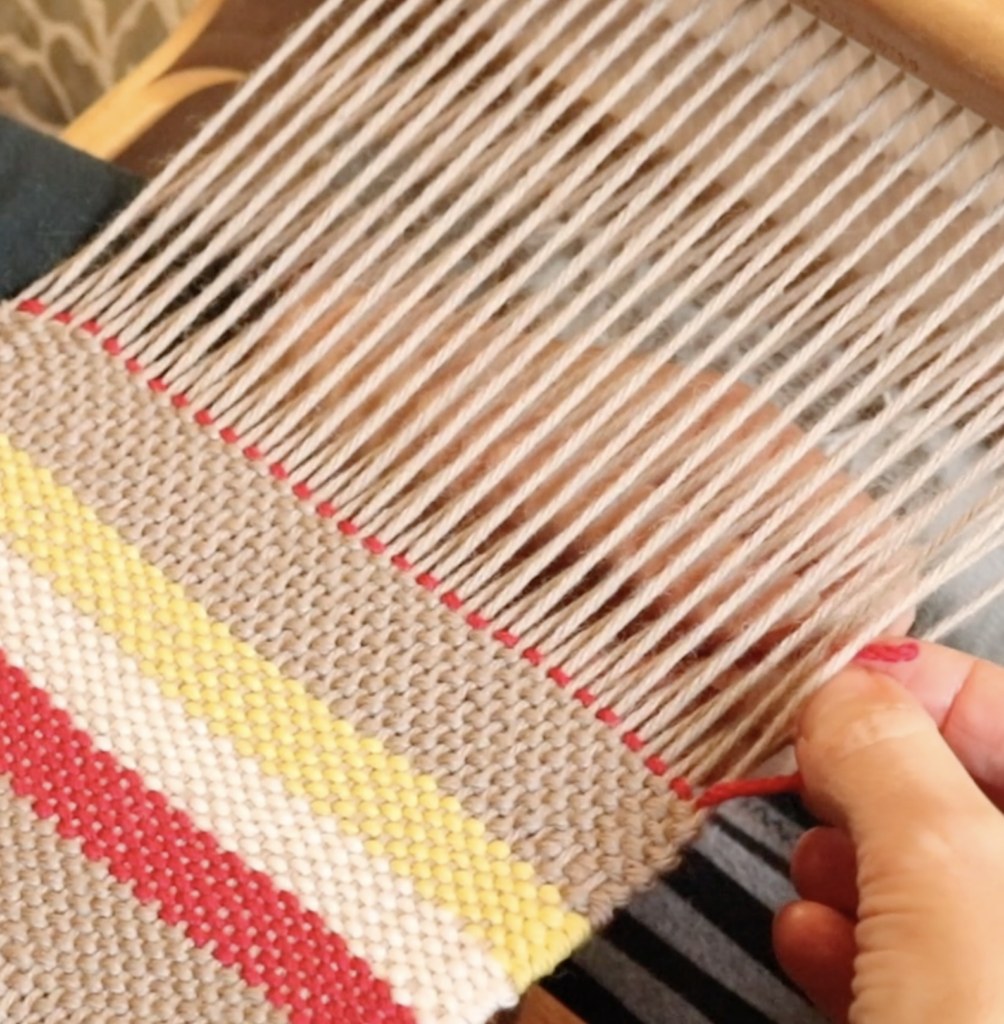
Take the cut tail around the edge warp thread and into the new shed, around 3 warp threads deep. Pull down to the back of the warp, making sure that it is nicely arranged at the edge warp thread.
Weave the new pick, and continue to weave until your stripe or band of colour is as thick as you want it to be. Finish the pick on the opposite side to the one you introduced it on.
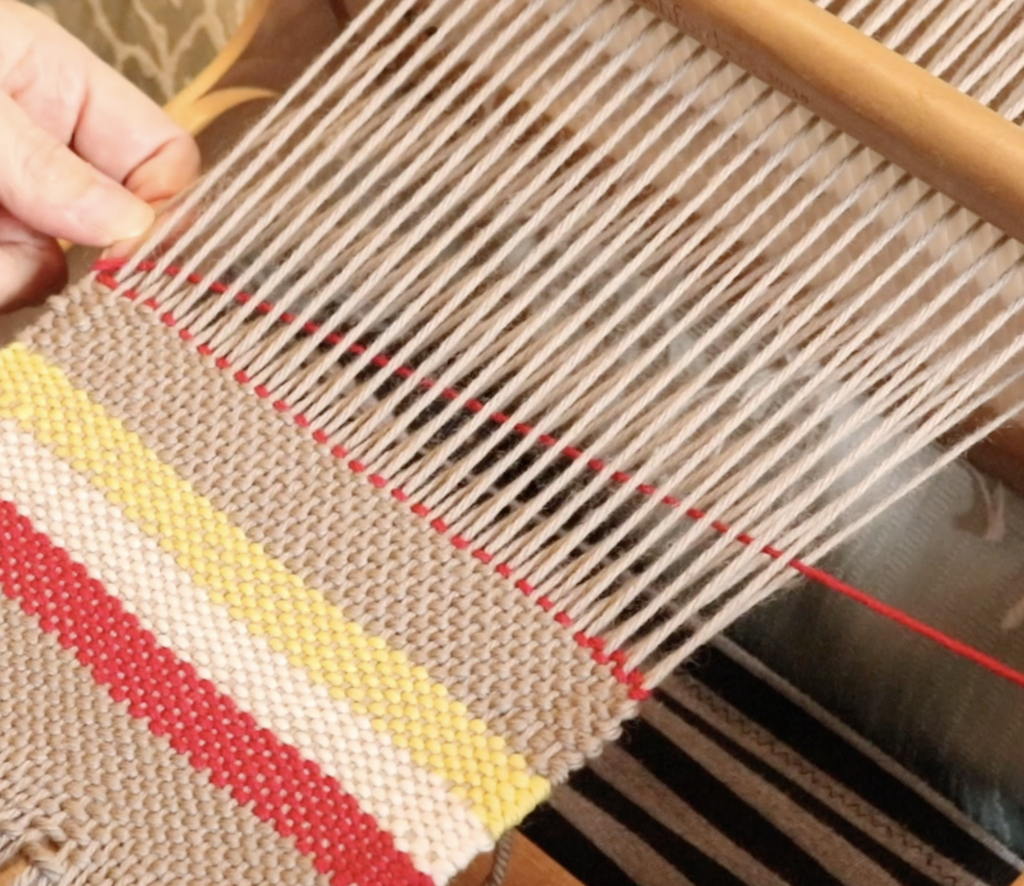
Cut the yarn, again leaving a tail of a couple of inches. Change to the next shed.
Tuck the tail into the new shed as before.
Bring the new colour in, ensuring the tail is on the opposite side to where you finished the last colour. Continue with the initial steps for each colour change.
Pretty straightforward?
The only thing you need to pay particular attention to here is to alternate the sides that the tails are on to prevent a build up on one side. Leave the excess parts of the tails hanging from the back as you weave (they don’t get in the way) and when your piece is wet finished and dried, cut them close to the fabric, being careful not to cut the fabric itself.
Now let’s go over the two methods you can use when your stripes are thinner or colour changes are more frequent:
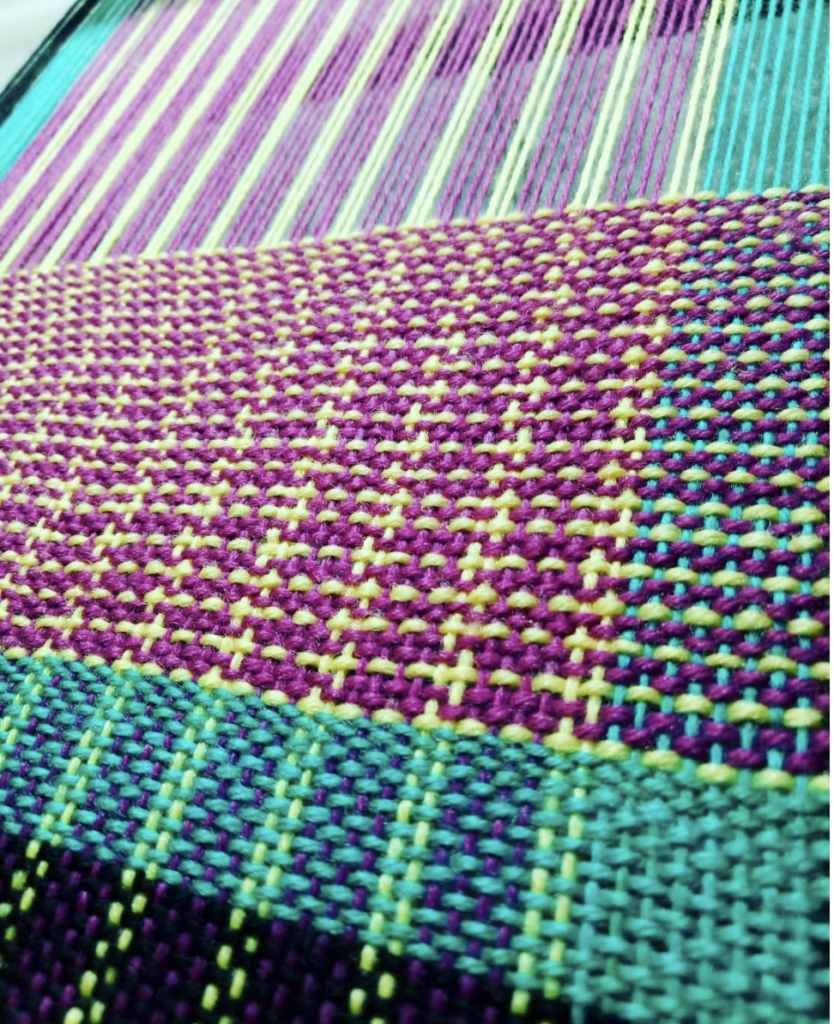
In my demonstration I’m using 3 different colours and weaving 2 picks of each colour.
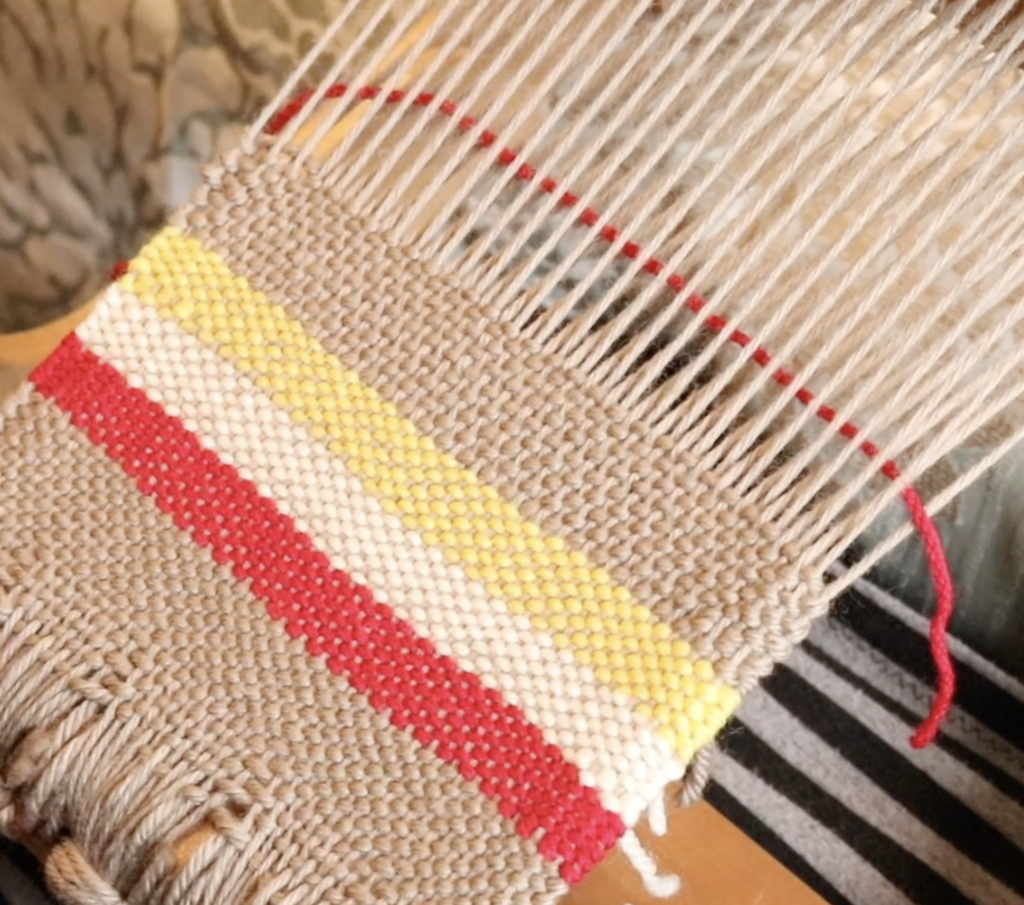
1. Catch the Wefts At The Edges
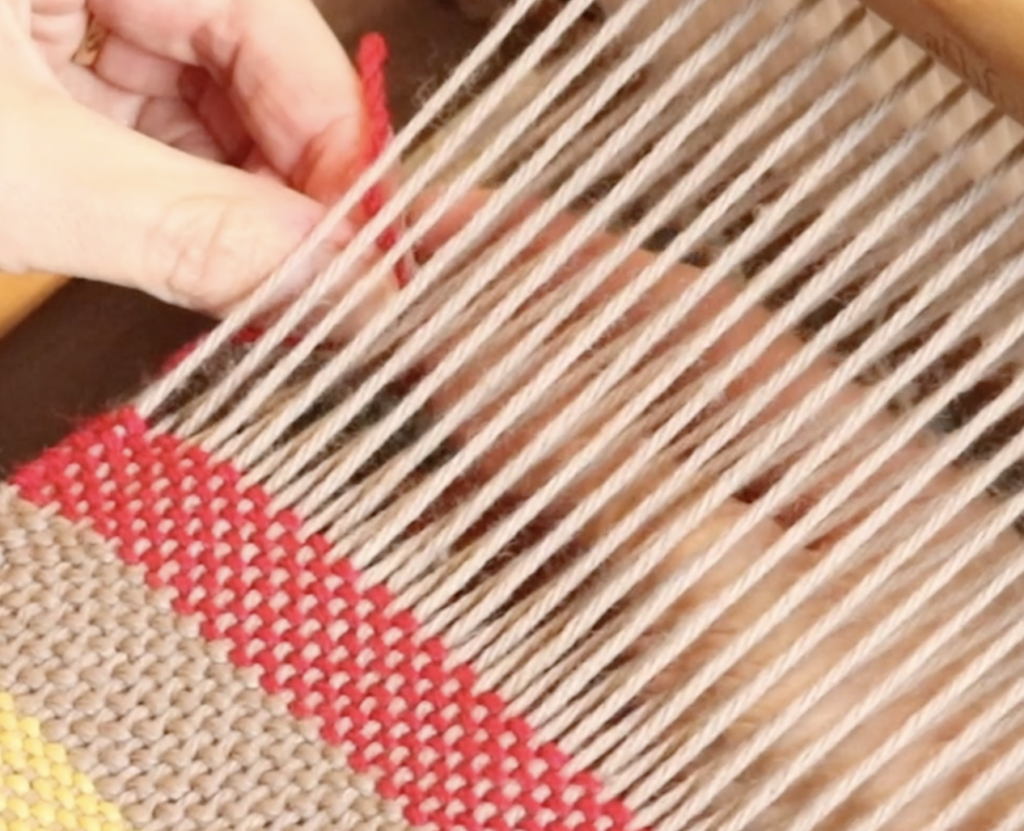
The first technique is to make the colours go around each other at the edges. This ensures that every colour is carried up the edges while it’s not actively in use.
This method does have its drawbacks. I was using 3 weft colours for my stripes and found that, for the picks where all 3 colours were on one side, carrying up the side created bulkiness in the form of a noticeable bump where all the colours meet.
While this method would work well for 2 weft colours, for 3 it is not the method I would naturally choose. I can’t live with those bumps – to me they just stick out like a sore thumb!
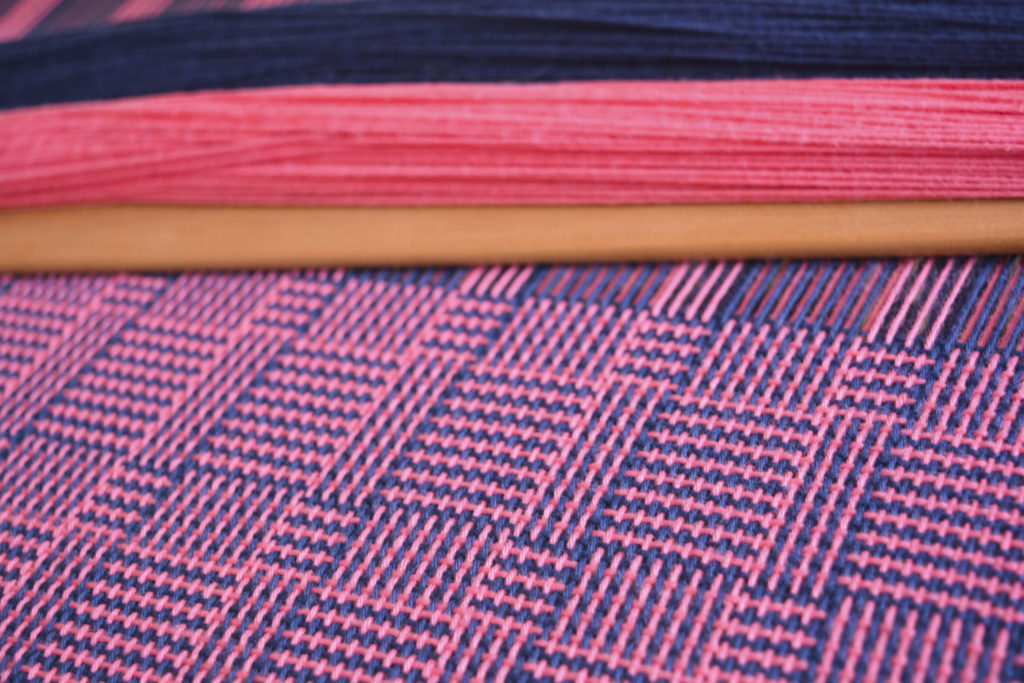
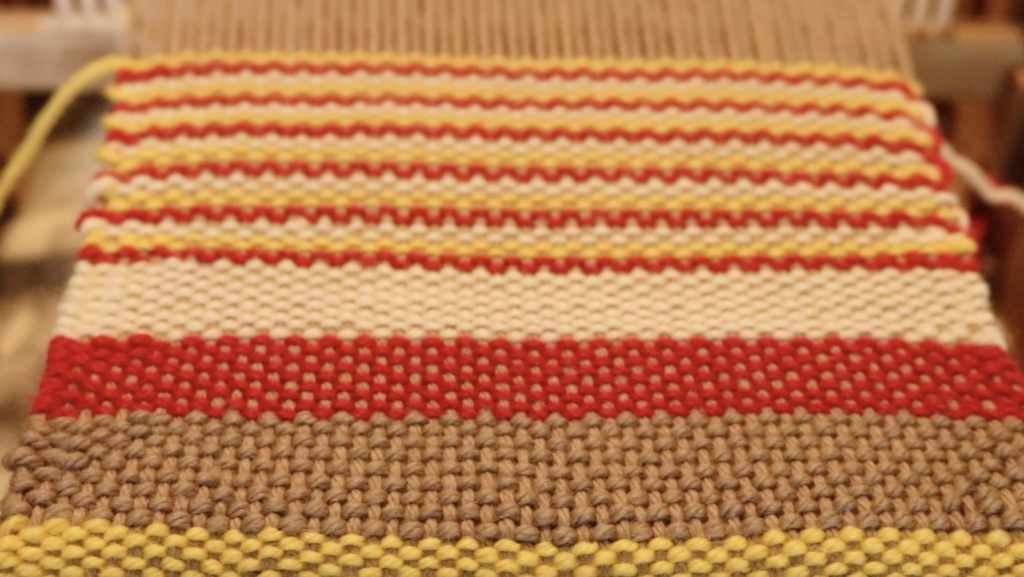
2. Weave The Wefts Independently Of Each Other
So, for my 3 weft colours, this is my preferred method:

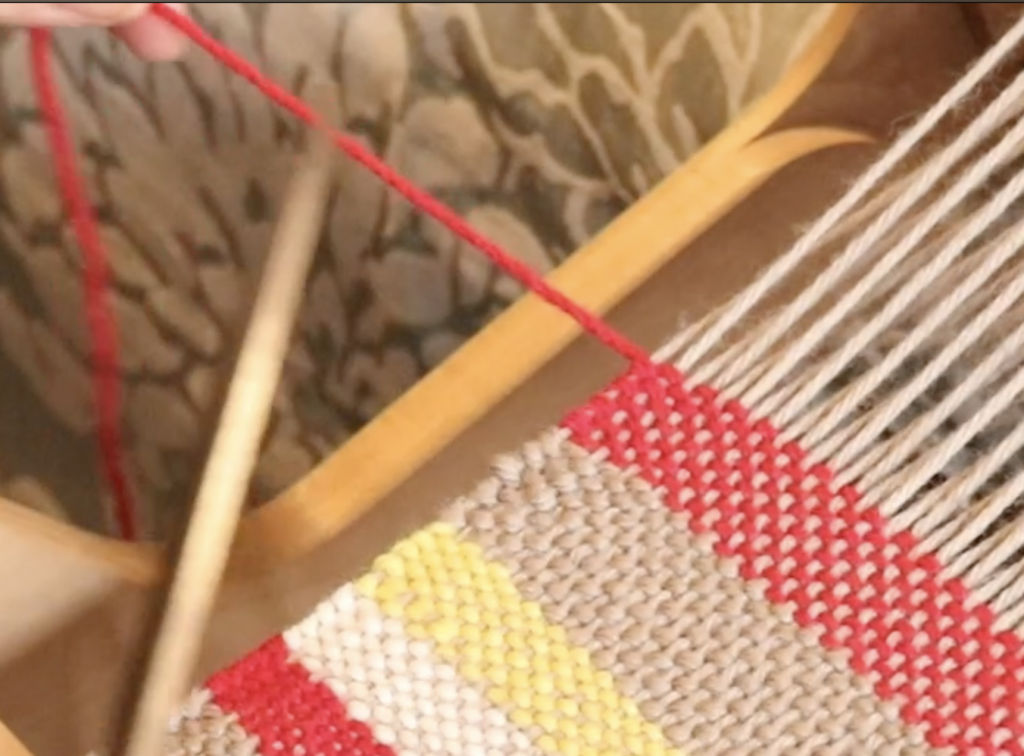
Weave the weft colours in the same way but don’t make them go around each other at the edges. Just weave them independently of each other and ignore the colour that you’re not using at the time, let it just sit where it finished off and wait.
When you’re ready to weave a new colour, you can just pick up the colour you want and continue weaving. Obviously, this works best for repetitive colour patterns so that your edge floats look harmonious and continuous.
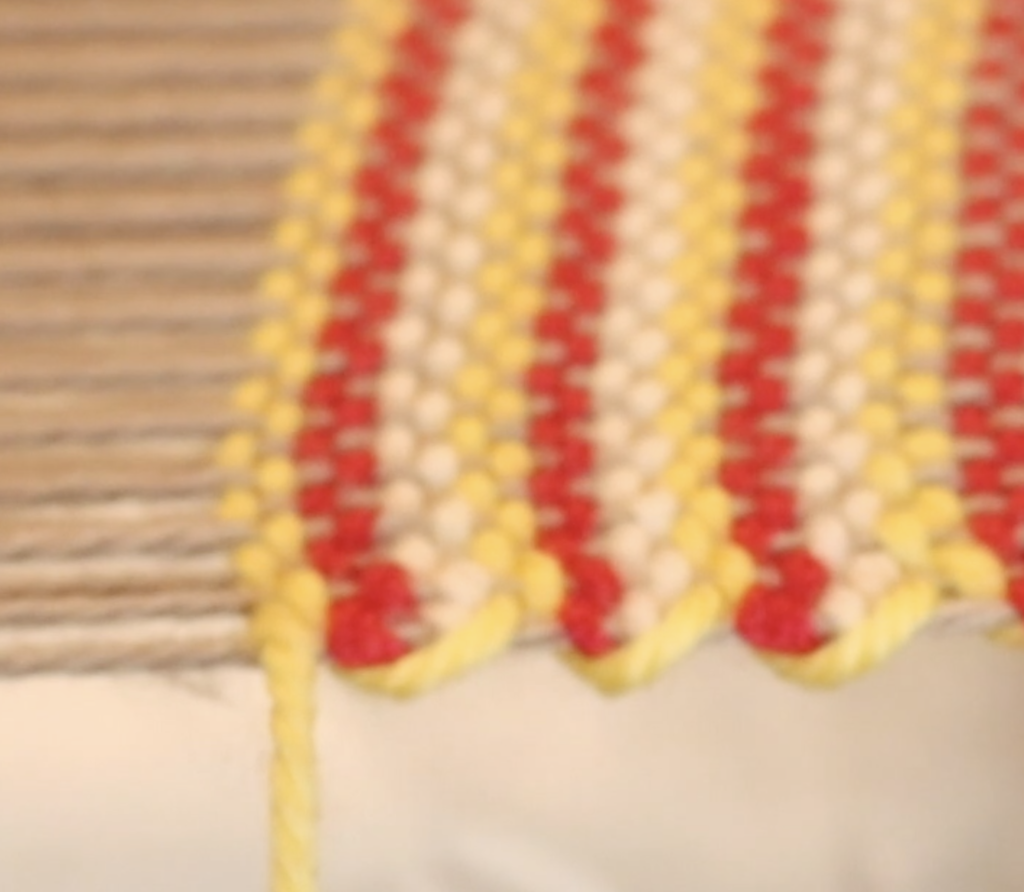
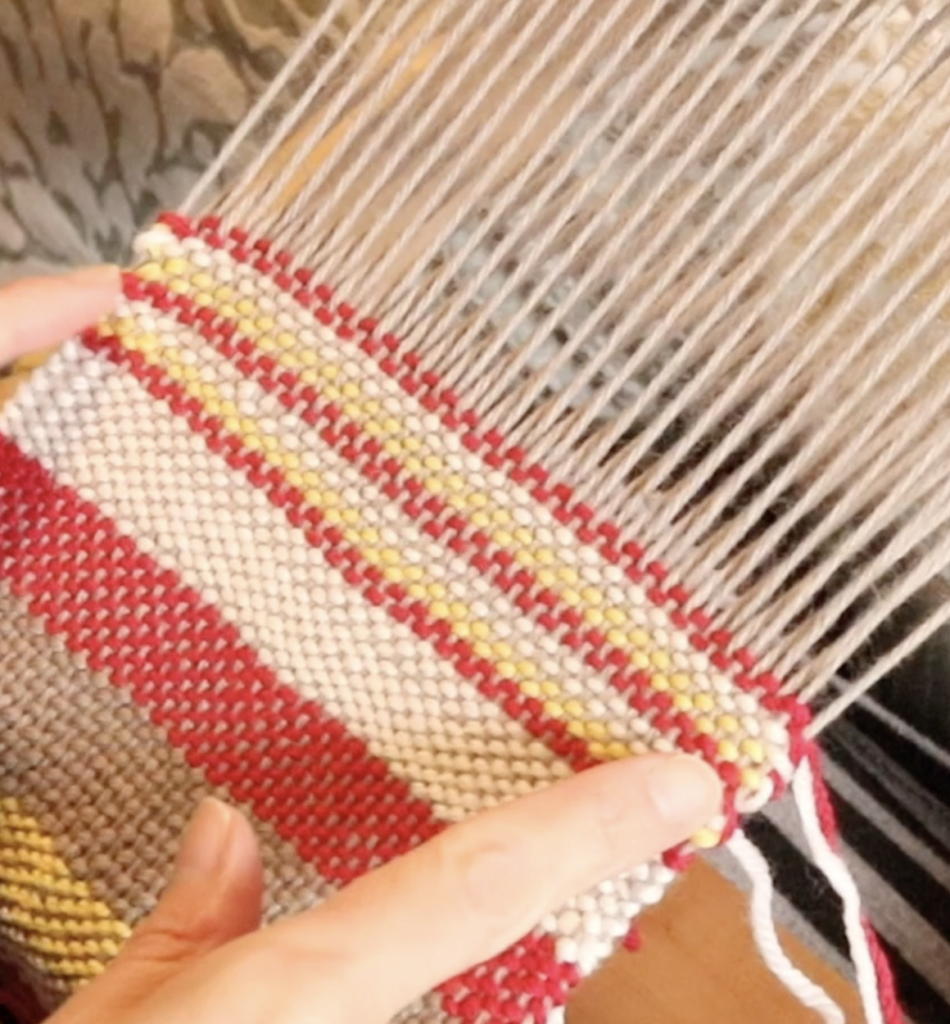
I find this method gives a very neat and pleasing finish to the edges.
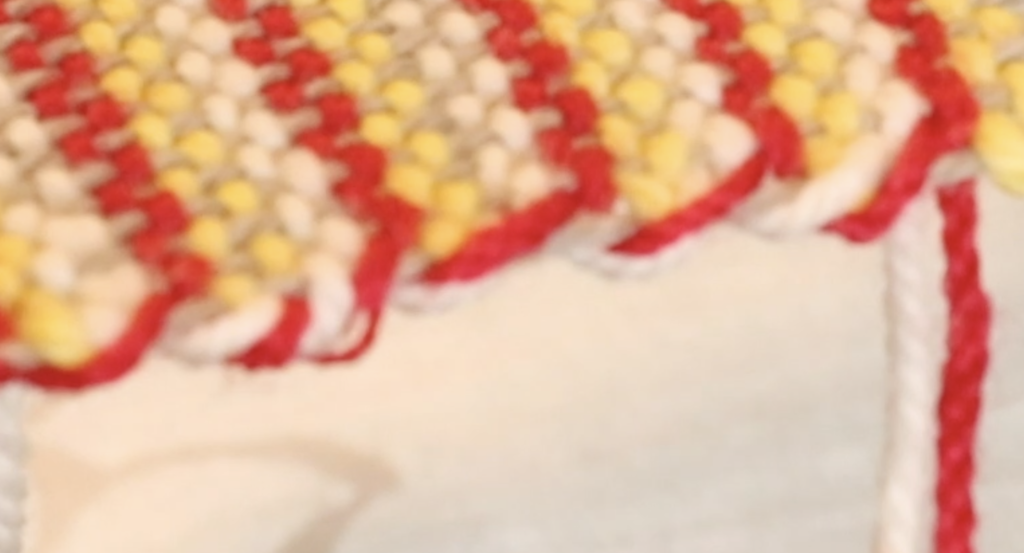
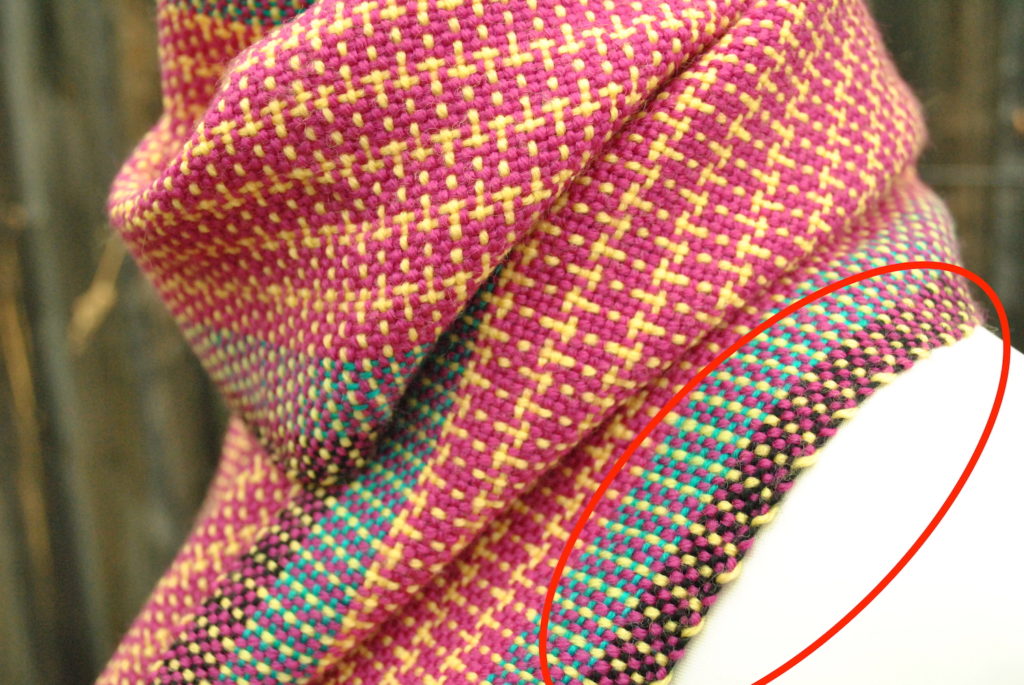
To the left you can see the first method I used of taking the colours around each other. On the right is how the second method looks – much neater, I think!
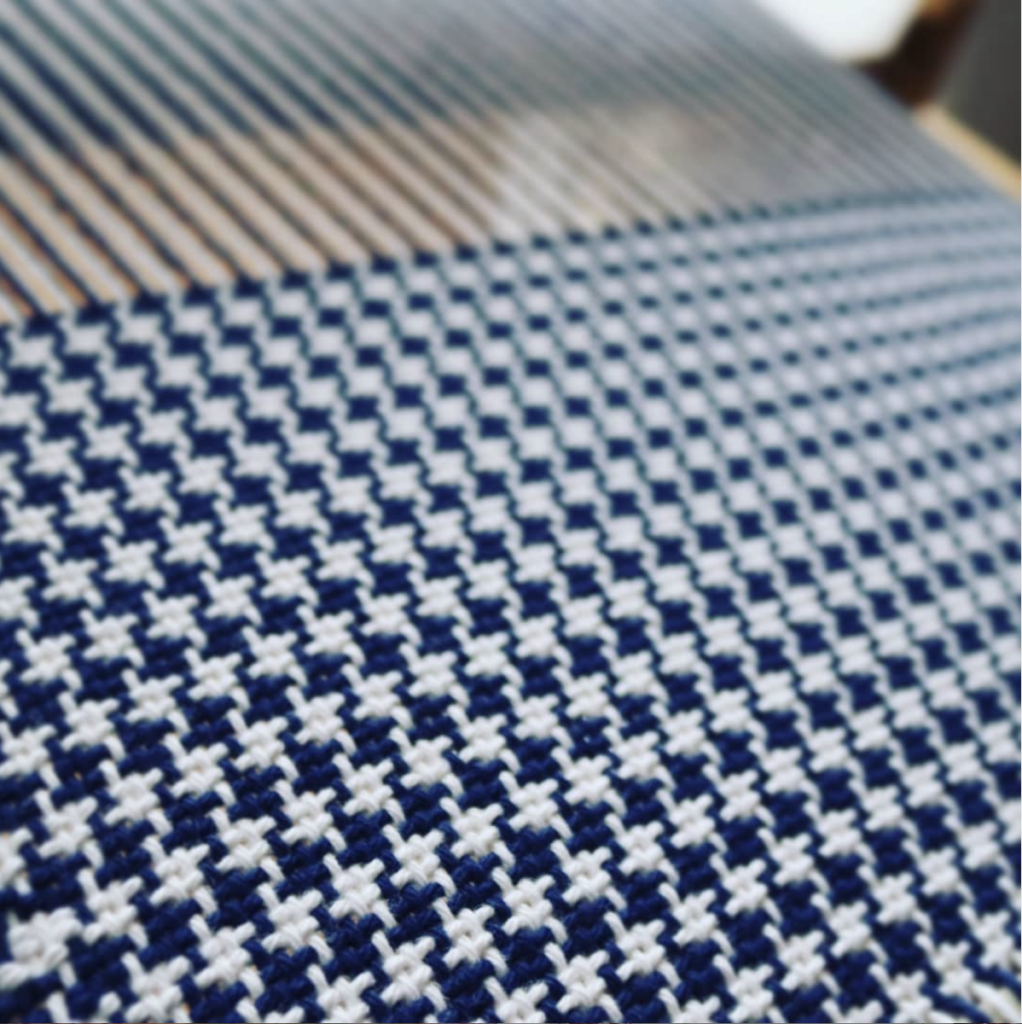
When you are using a thinner yarn (say an 8/2 or 10/2 cotton) it is much easier to hide what you’re doing at the edges and it won’t be very noticeable in your finished piece. But for thicker yarns, like the light worsted I’ve used here, these techniques are a “must know”.
Further Learning Resources
If you’re interested in exploring these techniques further, I have a mini class 3 Options for Frequent Colour changes available to members of my Online Weaving School.
As an additional resource, you may find this video helpful. It shows how I weave the wefts for log cabin:
Have you tried any of these techniques? Which one do you prefer and why? Let me know in the comments, I love to hear from you!
Until next time…
Happy Weaving!