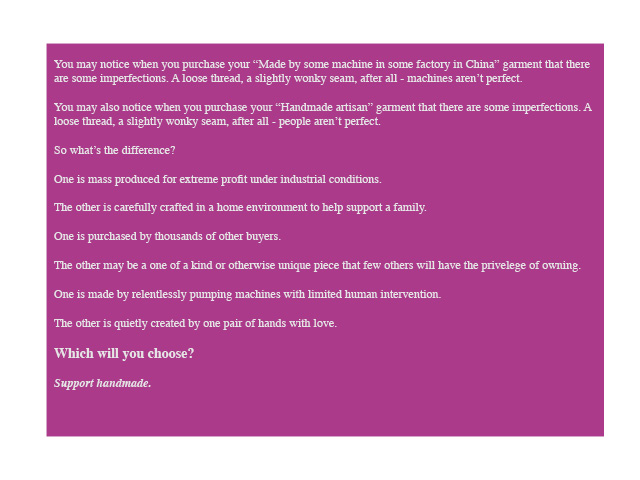
• Skip to main content
  • Skip to primary sidebar

Kelly Casanova Weaving Lessons

  • Hi! I’m Kelly!
    • Disclosure
  • Online Weaving School Class Index
    • Common account issues
    • Common technical issues
    • What do I get with a membership?
  • New to rigid heddle weaving? Start here!
    • Never heard of the rigid heddle loom?
    • How to weave neat edges on the rigid heddle loom
    • Rigid heddle weaving
    • Rigid Heddle Weaving Patterns
  • Patterns
  • Subscribe

Uncategorized

Smaller sized apron

by Kelly 2 Comments

The lovely Baukje likes my apron tute but wants to make a small apron for a grandchild turning 2 soon. So, here are the measurements you will need to make a smaller apron.

Size 2

Bodice – 8″x 5″ – Cut 1 main fabric, 1 lining
Band – 21″ x 2″ – Cut 1 from contrast fabric
Skirt – 35″ x 11″ – Cut 1 main fabric
Bottom hem – 35″ x 2.5″ – Cut 1 from contrast
Back ties – 20″ x 3″ Cut 2 from contrast
Neck ties – 20″ x 2.5″ – Cut 2 from contrast

Best of luck with it Baukje šŸ™‚

Oh, and a huge welcome to my newest followers, it’s so very lovely to know I’m not just talking to myself here!

Filed Under: Uncategorized Tagged With: Tutorials

by Kelly 6 Comments

I wrote this tonight, hope you like it šŸ™‚

https://kellycasanovaweavinglessons.com/2012/10/blog-pos.html

Filed Under: Uncategorized

Little girl’s apron tutorial

by Kelly 4 Comments

To fit approximately size 5, but is also multi fit.
Start with:
From main fabric –
11 x 7.5 ” – Cut 2 (bodice)
45 x 13.5″ – Cut 1 (skirt)
From contrasting fabric – 
25.5 x 3″ – Cut 1 (waist band)
45 x 2.5″ – Cut 1 (bottom of skirt)
24 x 3″ – Cut 2 (waist ties)
22 x 2.5″ – Cut 2 (neck ties)
*Please note that I refer to serging as overlocking throughout the tute (cos I’m Aussie!)
Take all the ties and press them in half. Open out, then press each long edge in 1/4 inch. Press one end in 1/4 inch also. Fold over in half again.
Topstitch down the length of both sides of each tie (including across the short edge you folded in) Overlock the short raw edges that you didn’t fold in on each tie.
Pin the neck ties 1/2″ in from the sides of one of the bodice pieces. Place the other bodice piece on top with right sides facing. Pin, then stitch around 3 sides, leaving the bottom open.
Turn right sides out and press. Topstitch around the 3 sides.
Take the skirt piece and the bottom skirt piece. Sew them together, right sides facing. Overlock the raw seams, then press open. Overlock the sides and bottom of the skirt also.
Run 2 lines of gathering stitches along the top of the skirt. Gather up until it is the same length as the waistband. Pin the waistband to the top of the skirt, right sides together.
Now take the bodice. Measure and mark the centre of the skirt and place the bodice in the centre, on top of the waistband which will be wrong side up. The bodice will be right sides facing with the skirt. Pin on and remove pins from underneath where you pinned on the waistband so that you don’t sew over them!
Sew along the waistband and over the bodice from one edge of the skirt to the other. Overlock the raw seams.
Press. Now topstitch the top of the waistband to the bodice, sewing along the line you made previously. No need to topstitch the full length of the waistband, just at the bodice to attach them together.
Take the waist ties and sew to the edge of the waistband on each side.
Your apron now looks like this. The last step is to fold in the overlocked edges on each side of the skirt and topstitch. When you fold in the edges the ties will face outward and will be caught in the stitching. Add an extra short line of stitching to the tie to secure it more to the waistband if you wish.
Now fold up the hem and stitch.
Lastly, give it to a little girl and make her smile!
I hope you enjoy this tutorial and make lots of pretty little aprons. I’d love to see what you make šŸ™‚
You can use this tute for personal use and to make aprons to sell, provided you acknowledge me, Kelly Casanova as the original author. 
I’d really appreciate you letting me know of any mistakes or improvements – I’m no expert at writing tutes!

Filed Under: Uncategorized Tagged With: Tutorials

More buttons

by Kelly Leave a Comment

The rest of the hand printed linen buttons are listed and available to buy now.
I couldn’t resist putting these quirky ones in šŸ™‚

If you like what you see, pop over to my Etsy shop for more photos and details.
Thanks for visiting and a happy and blessed weekend to you all!

Filed Under: Uncategorized Tagged With: hand printing

Melbourne Aquarium

by Kelly Leave a Comment

My Dad very kindly gifted us a family pass to the aquarium and we went along this week.

These little guys are so cute!
We did go when it first opened about 10 years ago and we were really impressed with how much it’s improved.

Aren’t jellyfish the most majestic creatures?

I really recommend a visit if you haven’t already, there is so much to see and the huge glass room and tunnel are such a highlight. Some of the rays were absolutely massive and it’s a wonderful experience to watch them floating overhead.

Filed Under: Uncategorized Tagged With: Homeschooling

Hand printed buttons

by Kelly Leave a Comment

I have a whole range of linen buttons hand printed with our original carved lino designs.
I’ll be listing a bunch of them in my Etsy shop over the next couple of days.

These are available now šŸ™‚

And these are too.
They come in a set of three and you’re really only limited to your imagination when using them (if you’re like me you collect buttons mostly just to look at!)
The post is cheap too šŸ˜‰
You can check them out here.

While I’m here I’d like to welcome all who are new to my blog and thank you so very much for stopping by. If you stop by regularly but have never said hi, please do, I love to know who I’m talking to and it means I can visit you too šŸ™‚

Filed Under: Uncategorized Tagged With: buttons, Etsy, hand printing

Embroidered house print

by Kelly 5 Comments

I’ve had this little print on calico for ages and I’m not sure why it took me so long to have a go, I guess I haven’t really embroidered anything pre – printed before, so it seemed daunting.
I’ve been unwell the past couple of days and was looking for a project I could do in bed, so it seemed a perfect time to try this.

I’ve since decided that this is actually my dream house and I really should be living somewhere similar. Ah, well – one can dream, can’t one?

I didn’t plan and I just used what I had on hand. Some pretty silk ribbon, a little silk thread and plenty of good old fashioned DMC šŸ™‚

I love how it turned out and I think I’ll be looking for more pre printed panels, or if I get time I could attempt to draw my own from scratch, I’ve always had a real thing for drawing beautiful homes.
Now it just needs a nice frame, I’m thinking white and shabby?

Filed Under: Uncategorized Tagged With: embroidery, silk ribbon embroidery

Oriental brick purse handbag

by Kelly 2 Comments

Yes, I’ve named this bag the Oriental brick purse handbag which sounds a bit nuts but there is a reason! Firstly, I’m really bad with naming things. Pets (the cat is named “Kitty”, the chickens are “the chooks”) or bags, or other inanimate objects – I’m just poor with names.
Secondly, this bag was designed to fit my purse, which I’ve dubbed “the brick” due to it’s immense size. It seems the day I went shopping for a new purse after the old one died, the shops were only selling huge ones, so I lucked out. And the bright red and black print is the oriental print from the print studio.
So, the purse fits perfectly with a little room leftover for a couple of tissues, a prayer book, keys or some other small essentials. The design is fairly basic with a magnetic closure and no pockets and a long strap to wear across the body, which is just how I wanted it.
I’m learning a lot about the design and construction of bags and of course the best way to learn is by doing!
Husband had a new lino design to try out, so I got him to print it onto a lovely little piece of linen I had and made it up into a pincushion. I love the way it looks! Simple, rustic, classy!
Can you believe he drew this design and then actually carved it out of a piece of lino, he just amazes me with what he can do with some lino and carving tools!

Filed Under: Uncategorized Tagged With: bags and purses, hand printing, pincushions

Spring in the garden

by Kelly Leave a Comment

I couldn’t resist getting out in the garden with the camera in between rain showers this morning.

When Spring arrives I feel it really is my favourite season.
Then when it comes to Autumn I say the same. I guess I can’t decide.

Husband was out planting seeds yesterday when it was very warm and windy and the timing turned out  perfectly with the cool and showery day today.

Can’t you just smell that orange blossom?

I hope you’re having a wonderful day, whatever the season in your part of the world may be.

Filed Under: Uncategorized Tagged With: Gardening

From the print studio

by Kelly Leave a Comment

Some experiments that turned out pretty well!

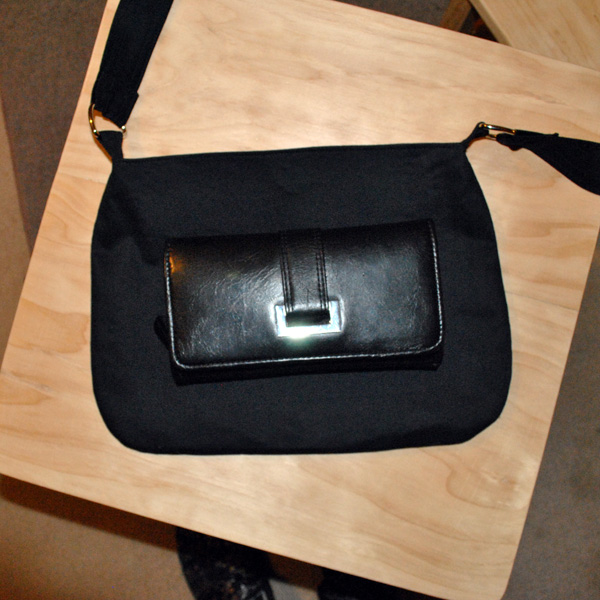
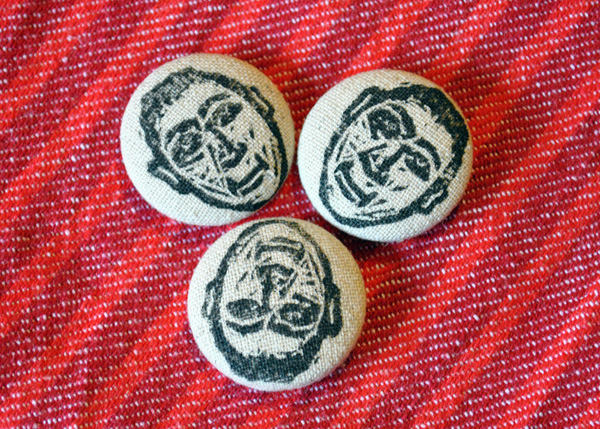
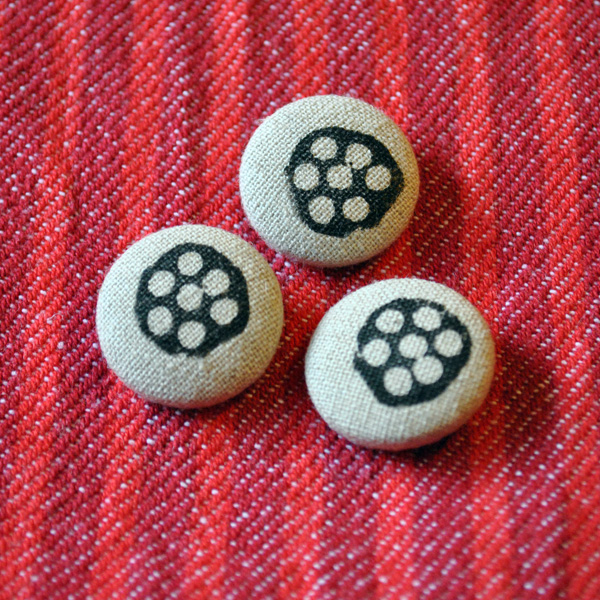
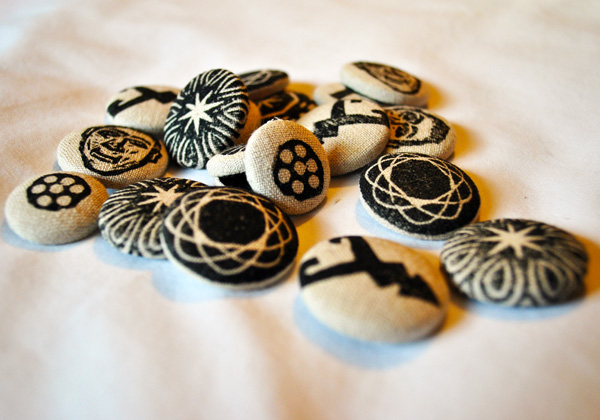
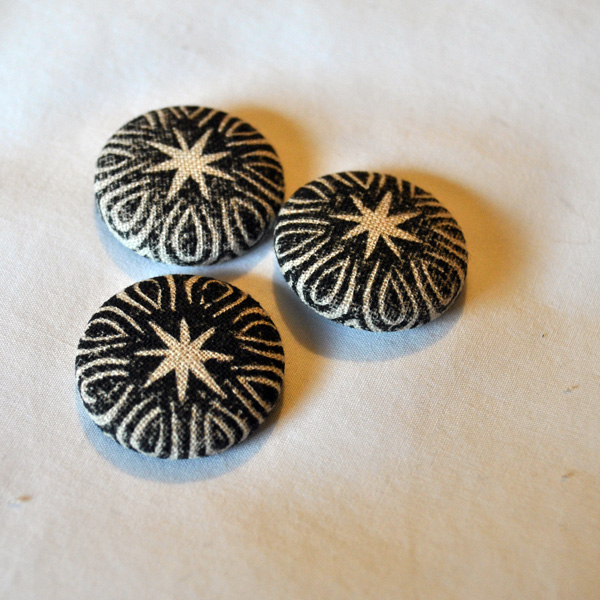
Hand dyed homespun with husband’s lino prints. Looks kinda oriental don’t you think? I like this one so much I’m going to make myself a bag with it šŸ™‚

Hand dyed cotton lawn with linocut prints. Pretty.

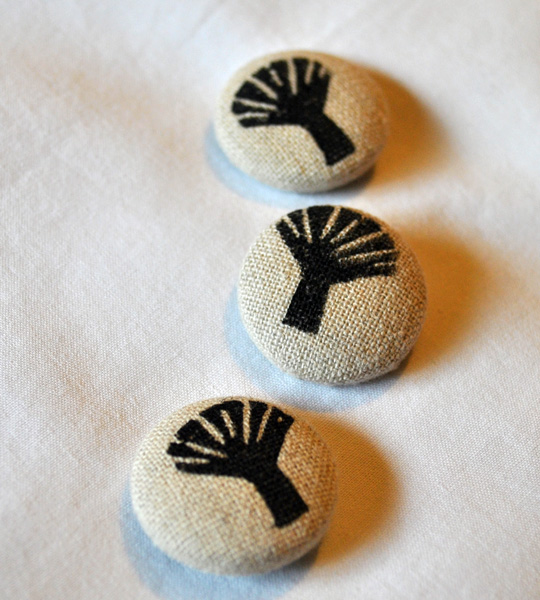
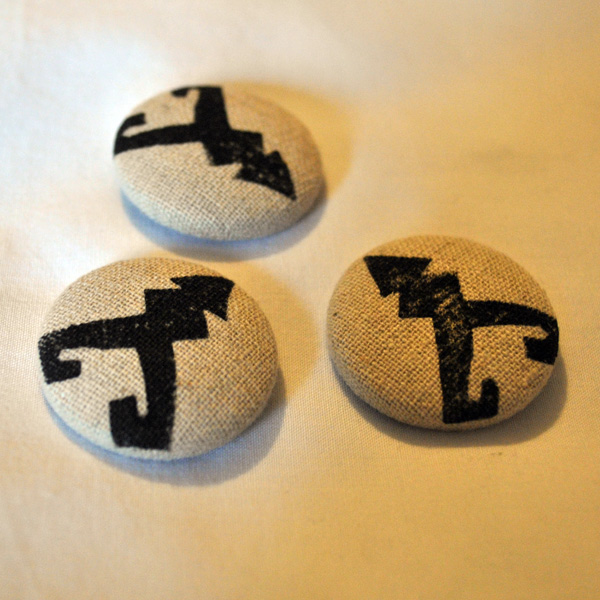
Not sure I like black prints on the blue here, but it was an experiment after all!

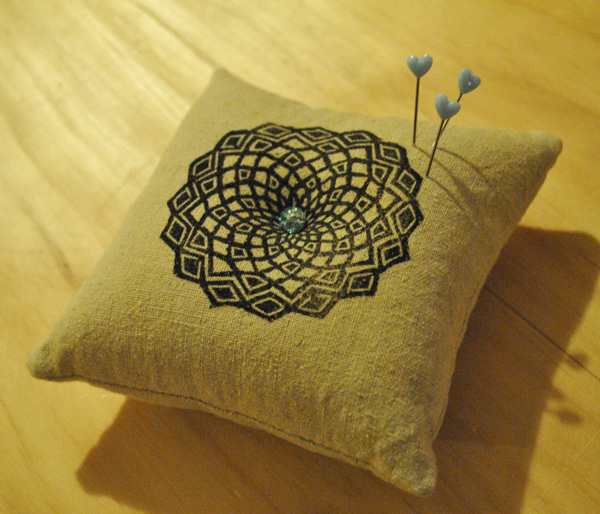
 I finally finished this UFO. I did the Maisy in wool felt and embroidery over a year ago to go with the quilt and hadn’t gotten around to making it up into a cushion.

It always feels great to finish something you started.

My littlest girl loves having a matching cushion for her quilt!
It was easy to do too – just traced the picture from a Maisy picturebook, cut out all the separate pieces and traced them on to wool felt. Things like the stripes on the pants, whiskers and bicycle spokes were embroidered.

Filed Under: Uncategorized Tagged With: embroidery, hand printing, Sewing

  • « Go to Previous Page
  • Page 1
  • Interim pages omitted …
  • Page 26
  • Page 27
  • Page 28
  • Page 29
  • Page 30
  • Interim pages omitted …
  • Page 83
  • Go to Next Page »

Primary Sidebar

Hand crafted boat shuttles

Categories

Archives

Meta

  • Log in
  • Entries feed
  • Comments feed
  • WordPress.org

Copyright © 2025 Kelly Casanova Weaving Lessons on the Foodie Pro Theme