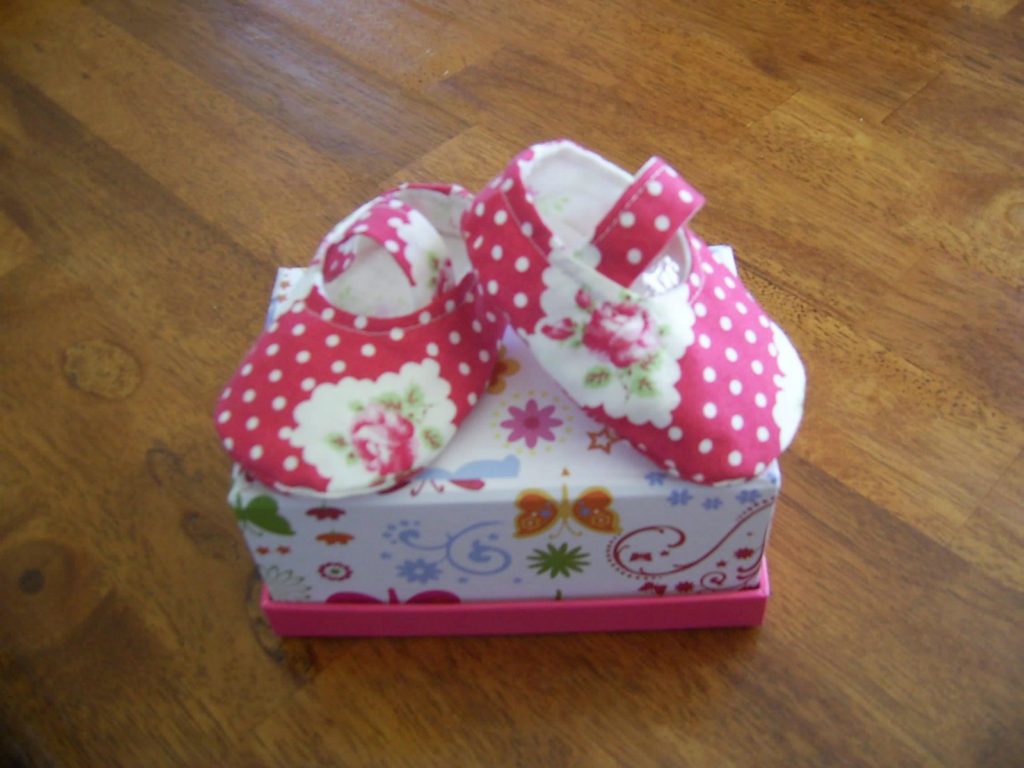
 I made these newborn sized Mary Janes from a pattern by Sweet Little Patterns. They are so
Search Results for: weaving
How to roast your own coffee beans…
My husband and I love to brew our own coffee in the mornings. We used to buy freshly ground coffee at the market each week until my husband made this discovery. Buying coffee beans in their raw state will cost you half as much as market coffee and much less than supermarket coffee (which usually tastes like dirty dishwater anyway!)
We brew our coffee in an Italian stovetop espresso pot (a marvellous invention).
Here’s what we do:
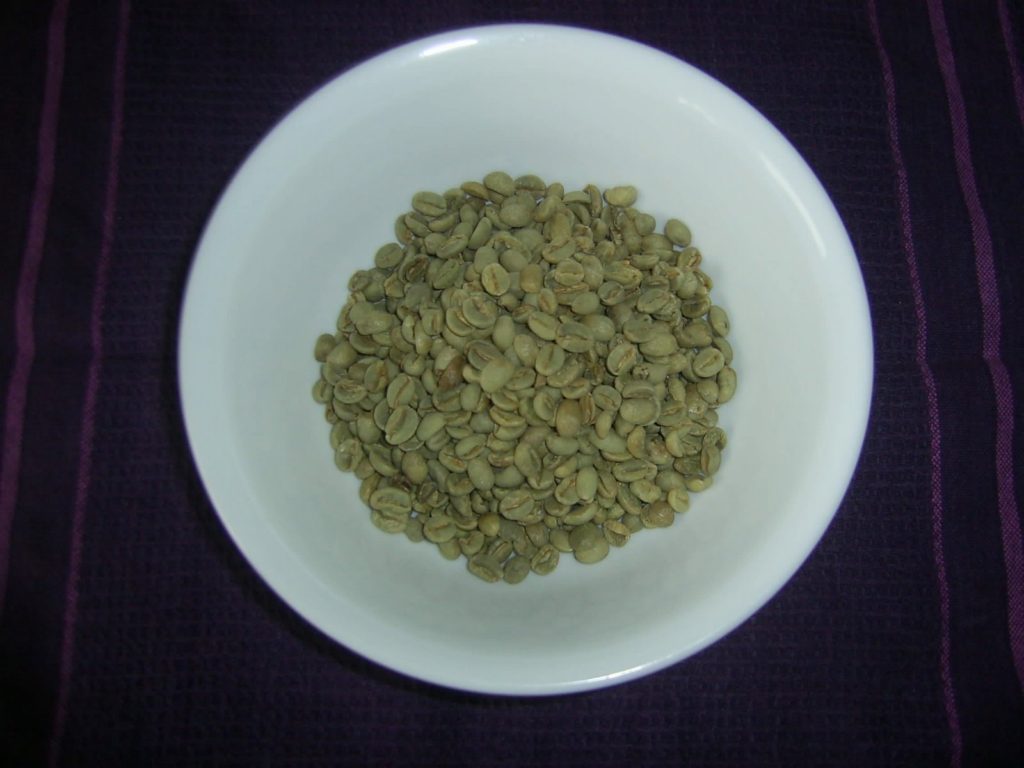 These are raw coffee beans. We buy Ethiopian beans from a little African supplies shop.
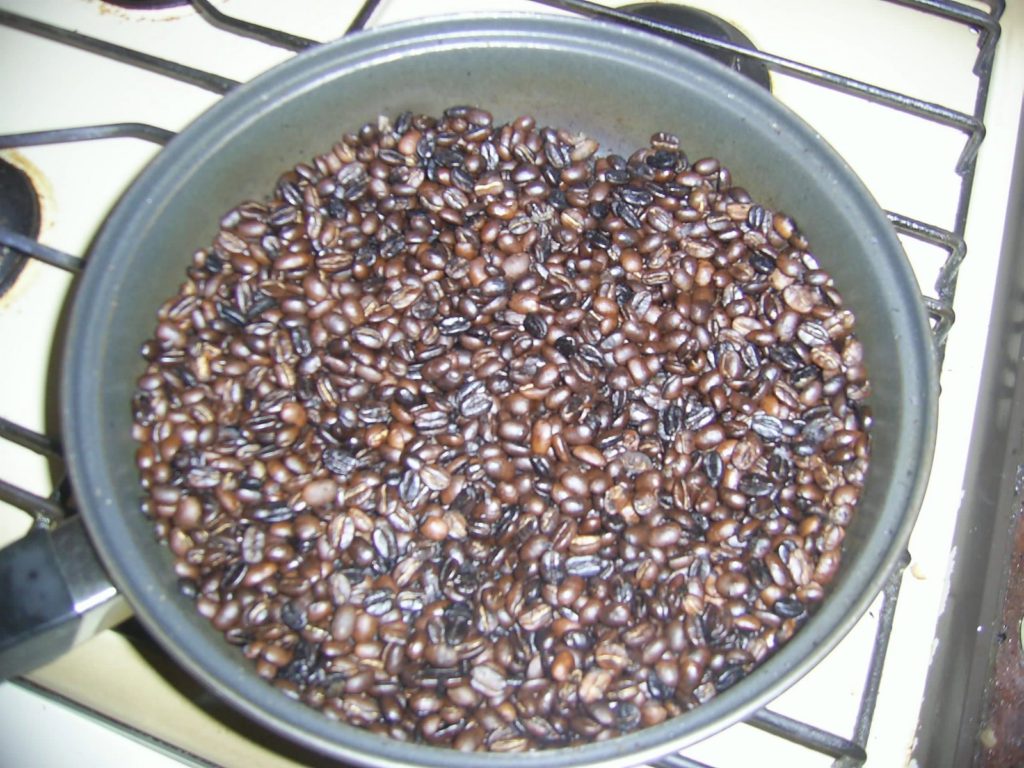
We dry roast them on a just lower than moderate heat in a deep frypan. The roasting takes about 20 minutes and needs constant stirring, so be patient! You want your beans to be very dark, crackling and smoking. It feels like you’re burning them, but its necessary to get a proper roast. The beans should also seem much lighter (in weight) and dryer by the time you’re done.
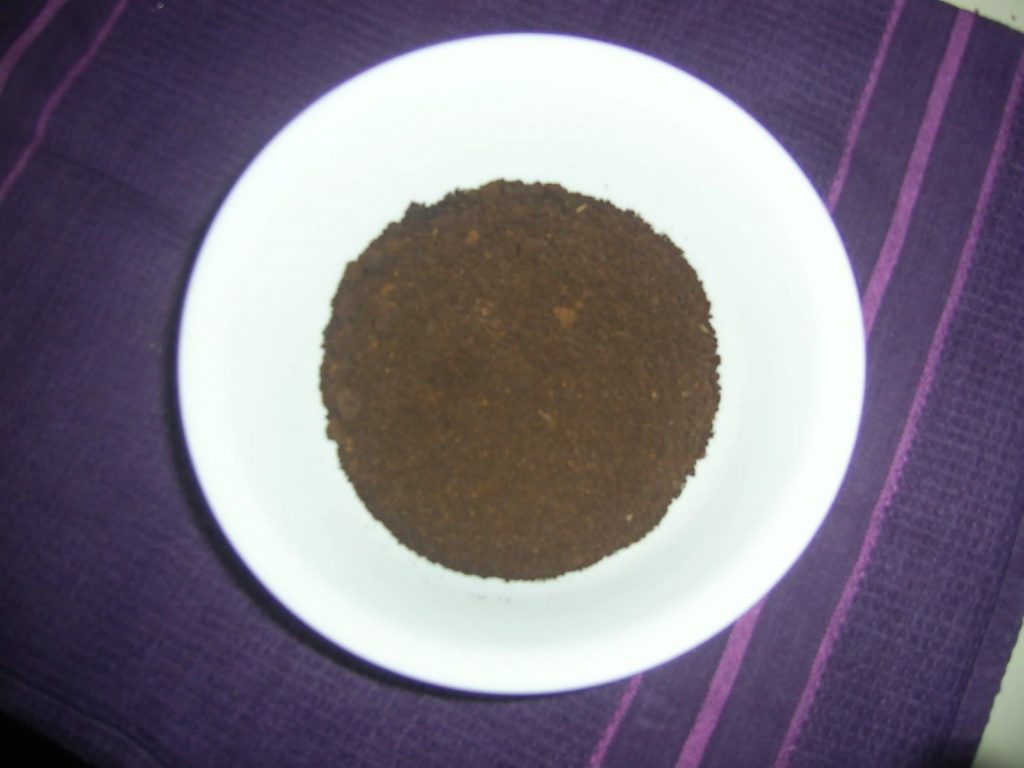 Once the beans have cooled grind them in a grinder (we use a little electric grinder that we bought fairly cheaply, it does a great job). The ground coffee in this picture is actually much darker than it looks here, yours should be nice and dark too.
Corn flake cookies
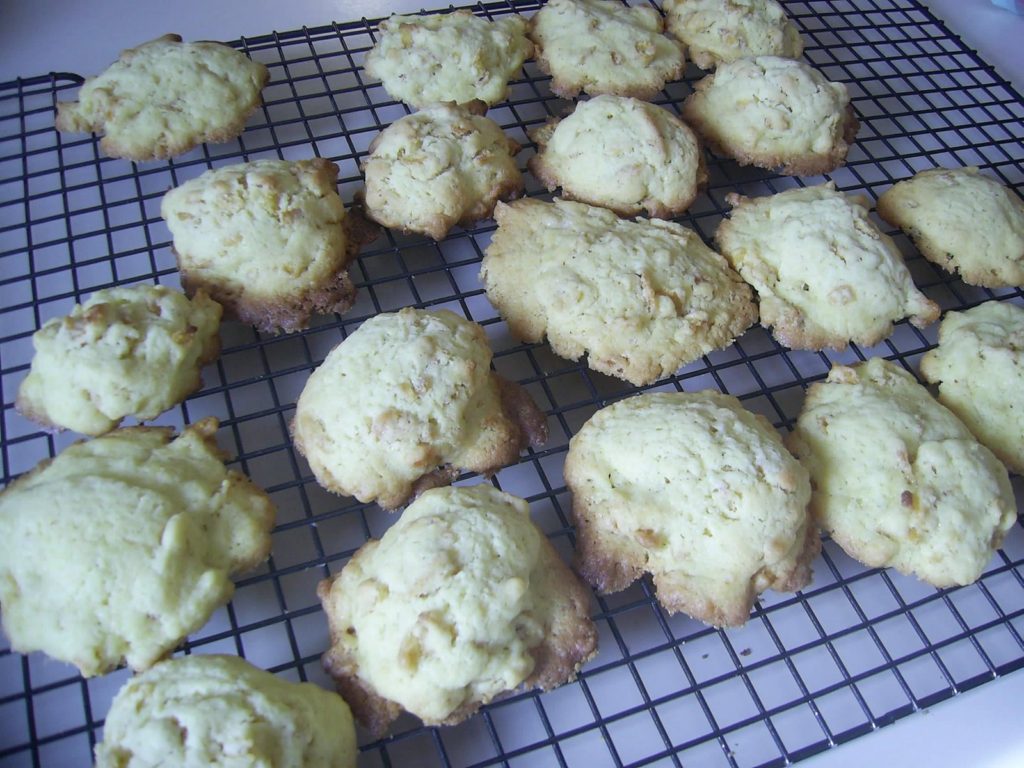
2 cups sifted flour
1/2 teaspoon baking powder
250g butter
1 cup sugar
2 eggs
1 teaspoon vanilla essence
1 & 1/2 cups Corn flakes
Preheat oven to 180 degrees (C). Sift together flour & baking powder. Beat butter & sugar together until light and fluffy. Add eggs & vanilla, beat well. Add sifted dry ingredients & corn flakes, mix well for about 2 minutes. Drop by tablespoon onto ungreased baking sheets. Bake for 10 minutes or until slightly browned.
A little update
I’ve been on bedrest for a few days with that awful pregnancy muscle pain again that means I can’t stand or sit for long, but lying down is fine. Not terribly practical when you have 3 children and a house to run! Thankfully husband has had a couple of days off work to help so I can rest.
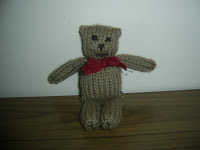
I managed to knit this little fellow in a semi reclining position:). Its hard to find things to do other than reading (no sewing!) Less than 5 weeks to go now, I wish it could be tomorrow…….
Go and check out this fabulous giveaway on the Australian Etsy Blog , so many wonderful prizes to choose from, I’ve entered!
Kid’s clothes
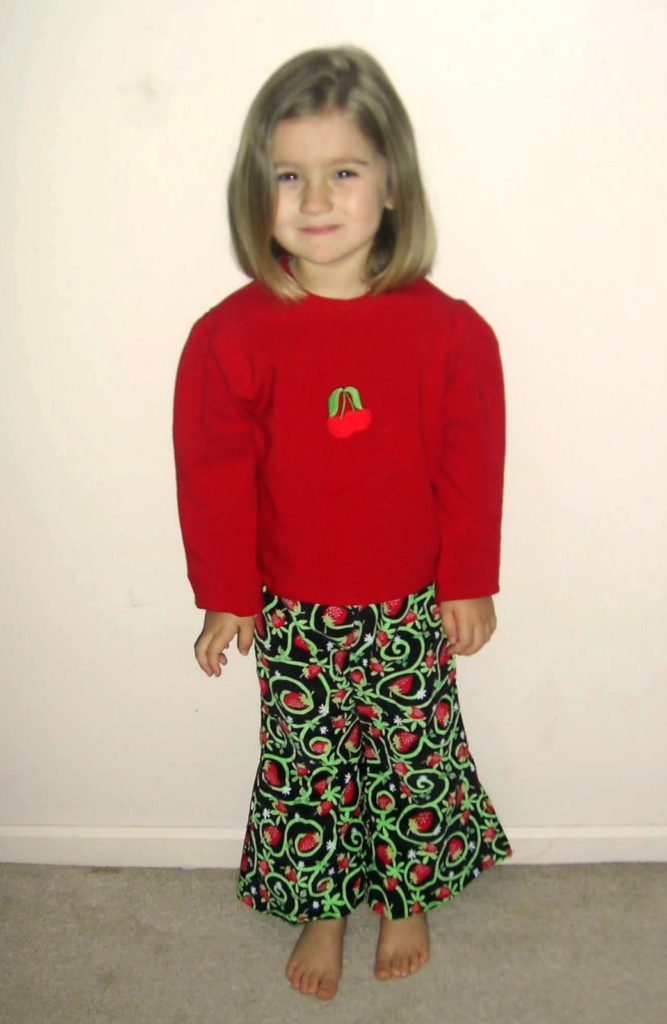 Since I began my sewing journey I’ve always been very nervous about sewing clothes. I did a couple of terms of sewing classes with a professional dressmaker initially, and although I did learn a lot I also found her teaching methods somewhat intimidating – not a great learning environment.
I just finished this top and am so happy with how nice it looks, it has really boosted my confidence.
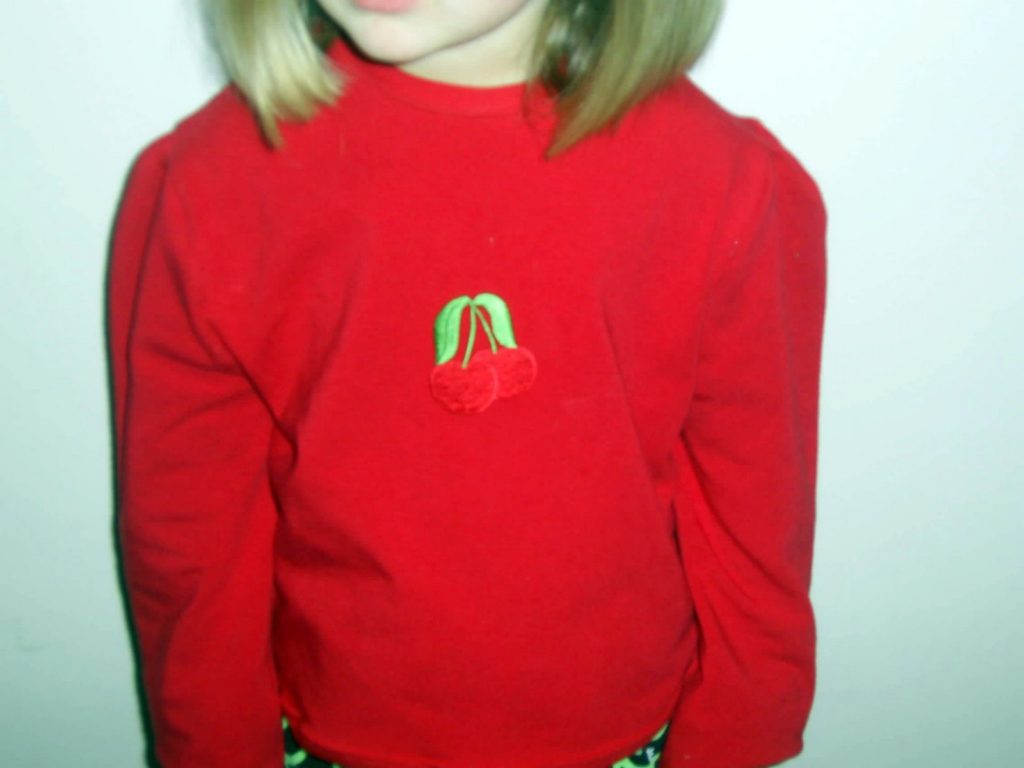
I used Stella fabric in red from the Crafty Mamas shop (I’ve tried other knits, this is the best to sew with so far) and bought the little cherry iron on applique. It matches the Kaufman cord pants beautifully (also from the CM shop).
New doll in the shop
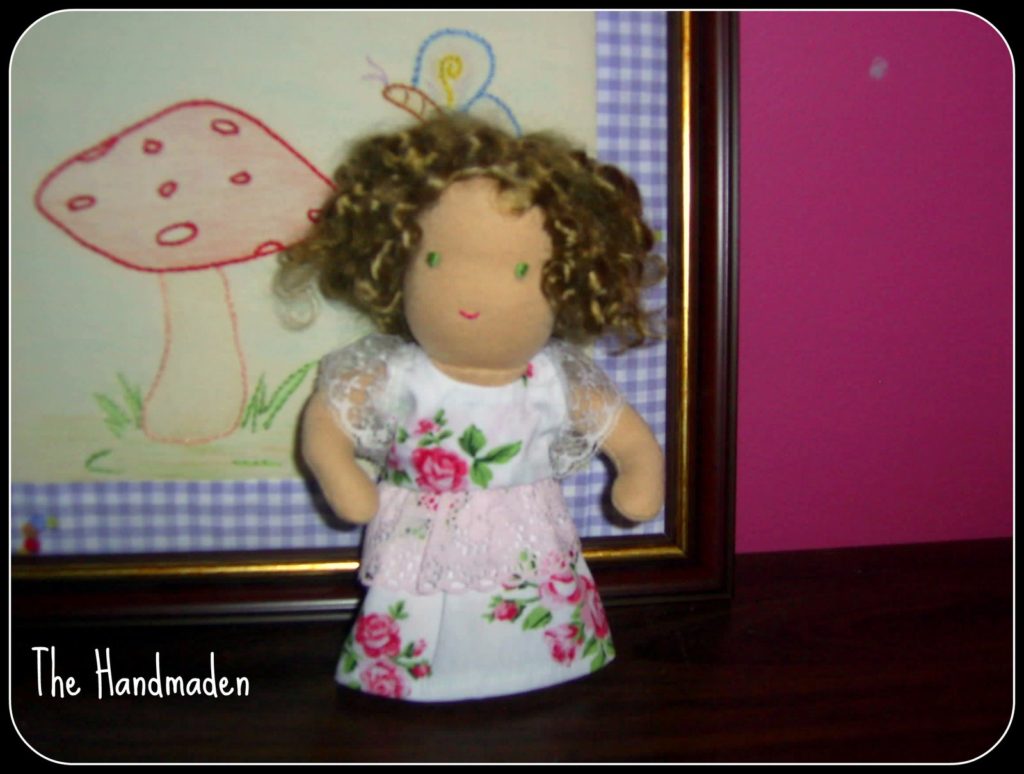 Another wee waldorf at 6 inches, she is in the Etsy shop now.
Fly agaric fairy
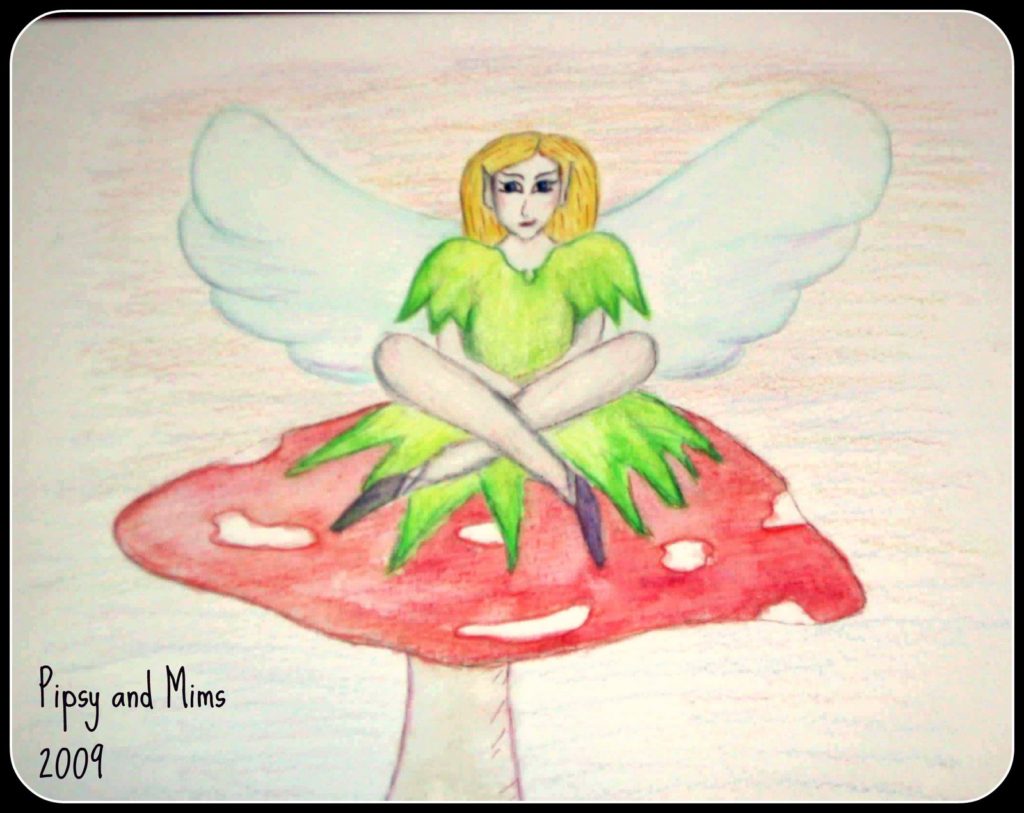 Its not very often I take out my watercolour pencils these days, as I usually have to contend with little fingers messing around with what I’m trying to do….. tonight I had an hour to myself and did this somewhat pensive fairy. I was inspired by visiting Ayelet’s blog some time ago to take out my pencils again, although the mushroom / toadstool thing is a coincidence as I sketched a rough picture ages ago.
Look what I won!
Got some sewing done today :)
 A new cushion for the Madeit shop.
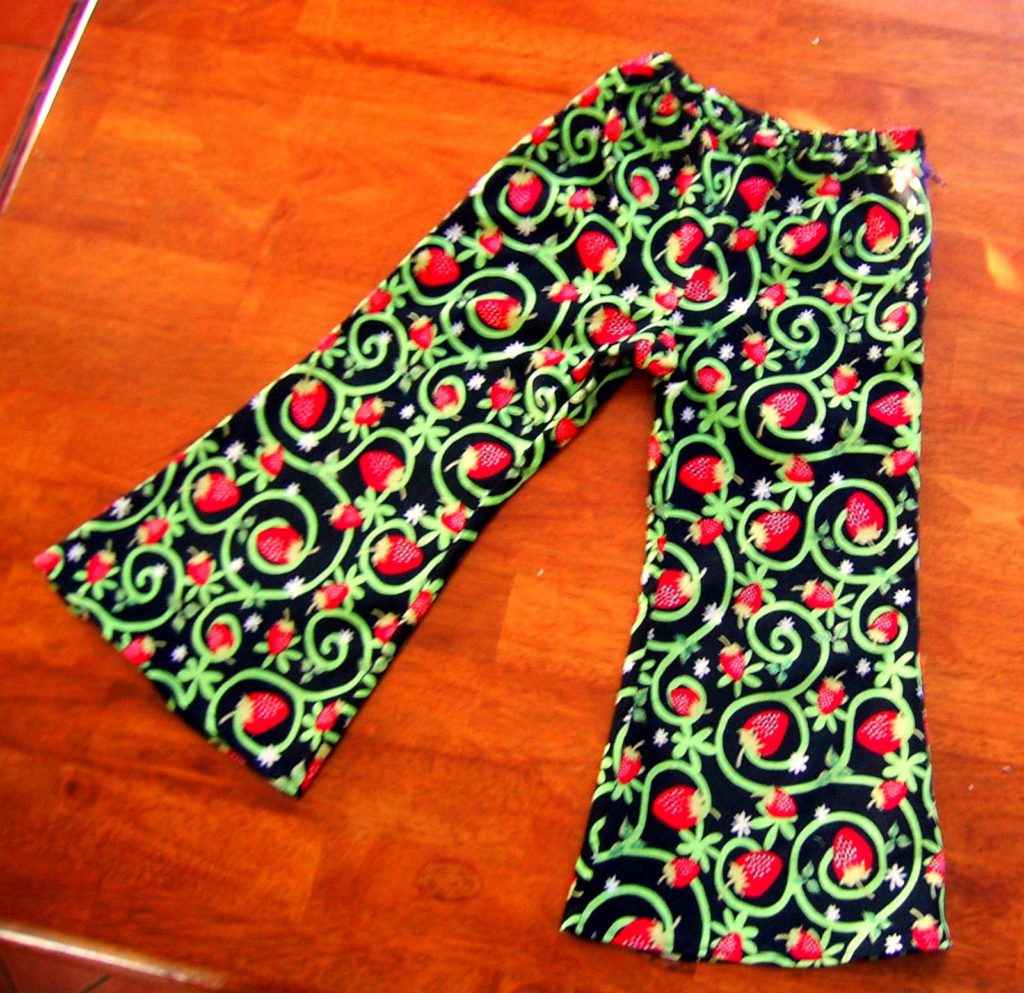 Some flared pants from Kaufman cord fabric, which you can find at the Crafty Mamas shop.
Free embroidery design and tute!
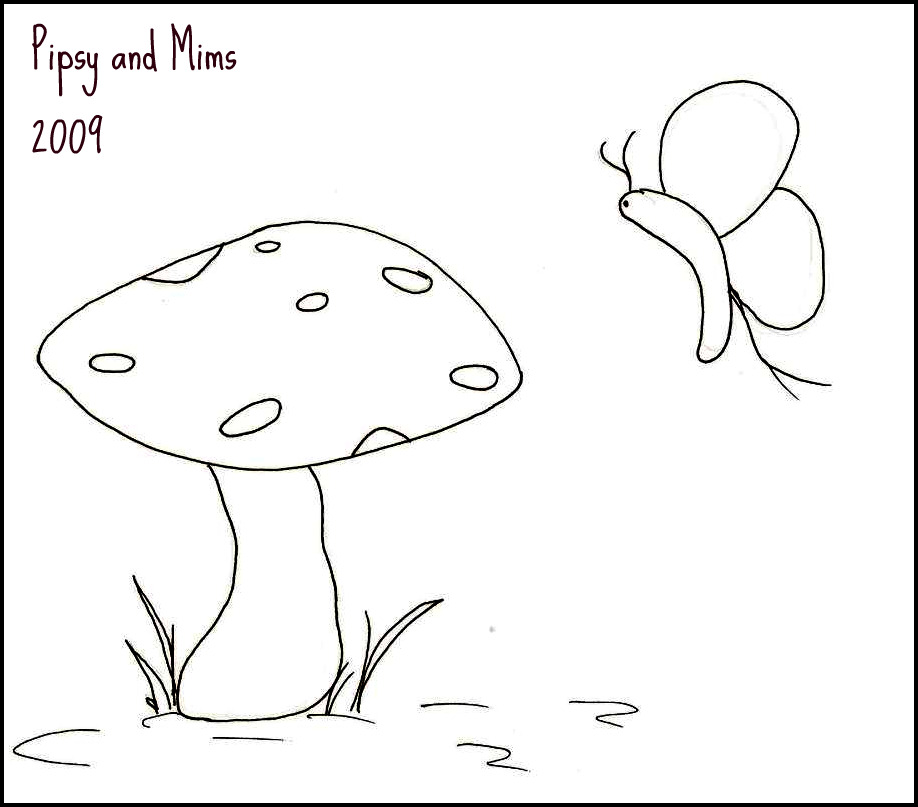 Here is the design for you, I tried making a pdf for easy printing, but my technological un – savvy brain wouldn’t comply, so what you can do is right click on the image, save it in a folder, then print it out to transfer to your fabric. Please let me know if it doesn’t work!
This design can be done entirely in stem stitch, so its easy for beginners. Just ensure when you’re going around tight curves to vary your stitch length to very small.
Use whatever fabric you like, I used homespun just because I like it.
Before you start stitching, shade in the areas you want coloured with a coloured pencil or I used my watercolour pencils. You can see in the picture below the areas I’ve shaded. You can always shade more when you’re done stitching, but go lightly to begin with and layer it. Back your fabric with fusible Pellon before you start stitching.
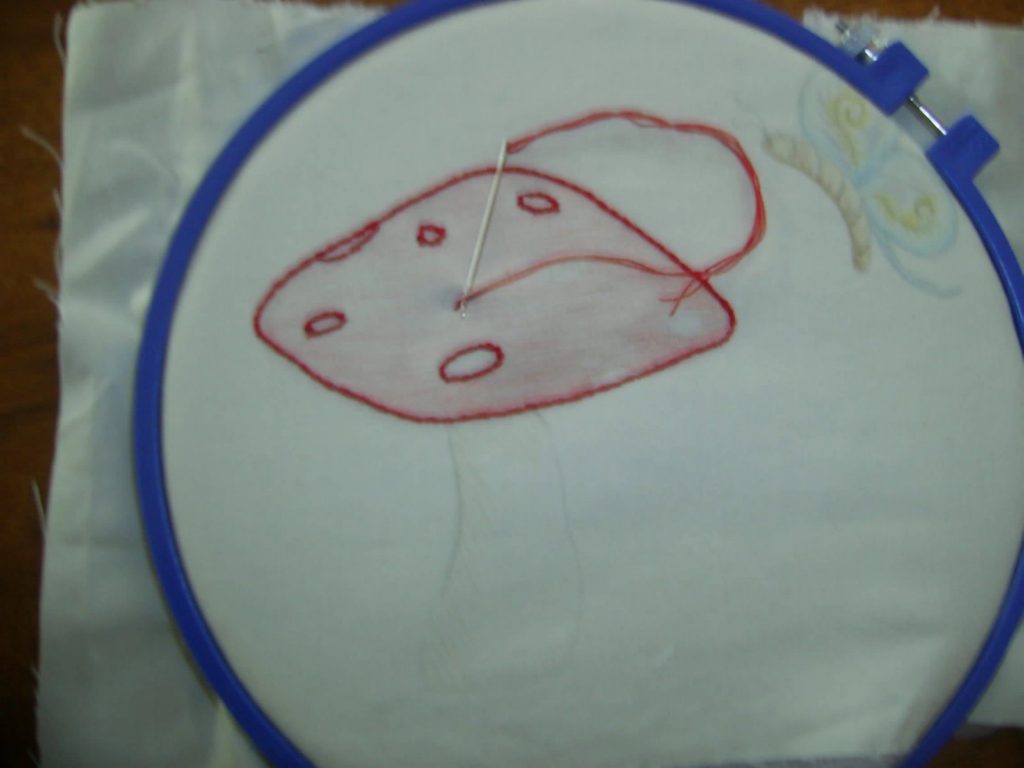 Stem stitch around the mushroom top and spots in red. Do the same around all the outlines, using my pictures as a guide. You can be adventurous with your colours.
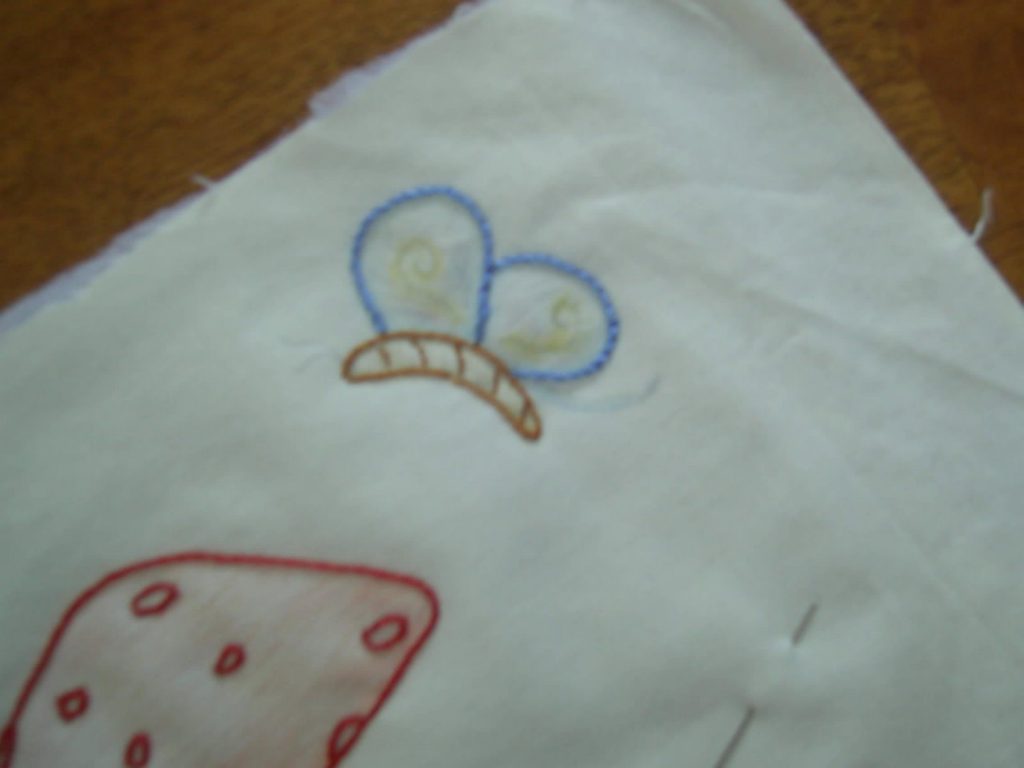
Continue outline stitching and don’t forget the details on the butterfly’s body and wings.
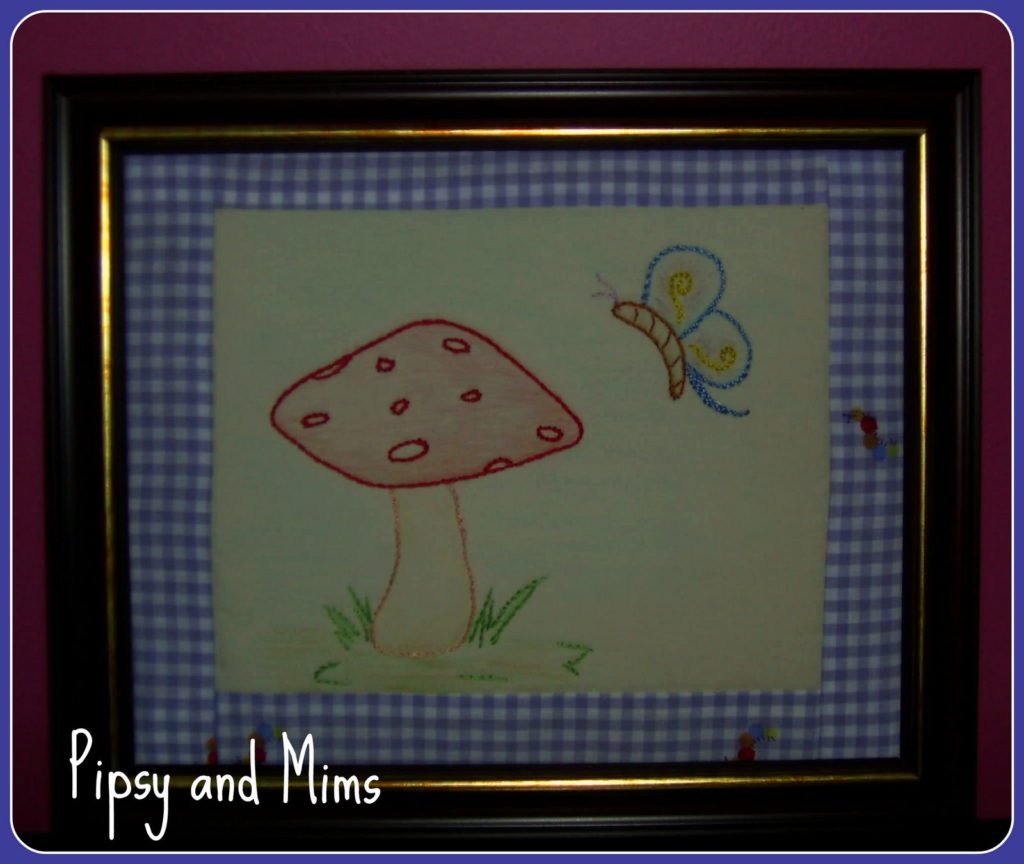
Here is my finished stitchery, I did some extra pencil shading when I finished stitching (blue for the sky, green and brown for the ground. I then sewed on a fabric border, backed it with some wadding and put it in a frame without the back on.

