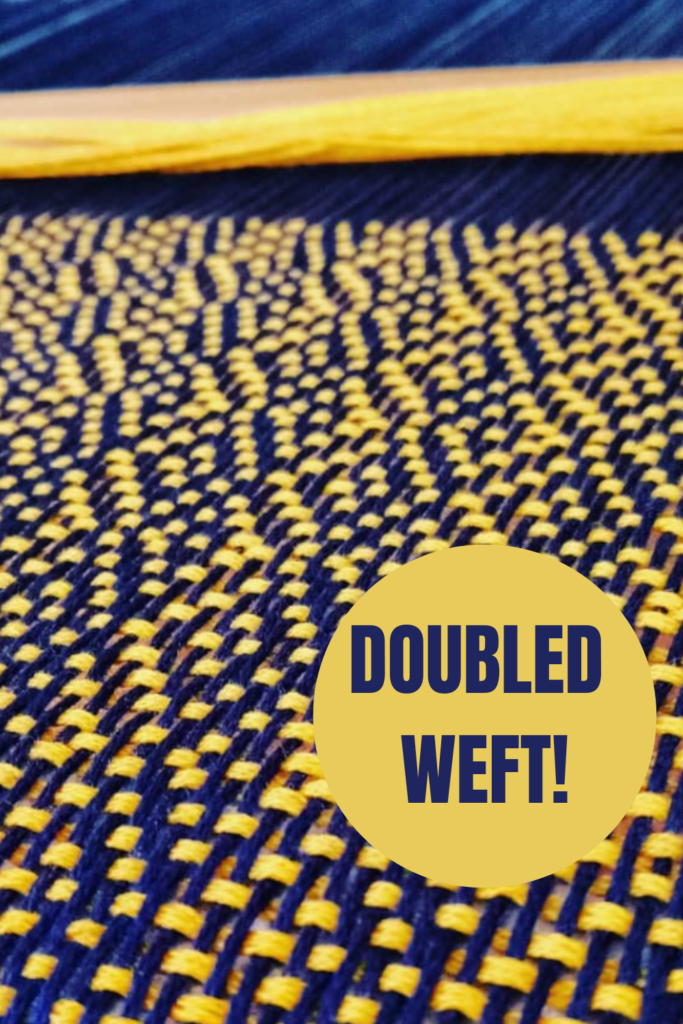
There are times that you will want to double your weft thread in order to achieve a balanced sett. Or, you may just be wanting to make the weft stand out and feature more.
If you only have one cone or ball of yarn to work from, you will need to think around how you’re going to load the shuttle to be double, rather than single stranded.
*This post contains affiliate links. For more information, please see my disclosure policy.
Today I’m going to show you how to easily double your weft when using a stick shuttle. I’ll cover a couple of different methods.
In my example piece, my warp is 8/4 cotton. For my weft, I want to use a lovely, bright yellow, I received recently from the brand new Australian cotton range from Thread Collective. This yarn however, is 8/2 cotton – quite a bit lighter than the 8/4 warp.
Considering it’s important to me that my pattern stands out and is nice and bold, the 8/2 as a single weft would not have the impact I’m wanting to achieve. I decided to double the weft.
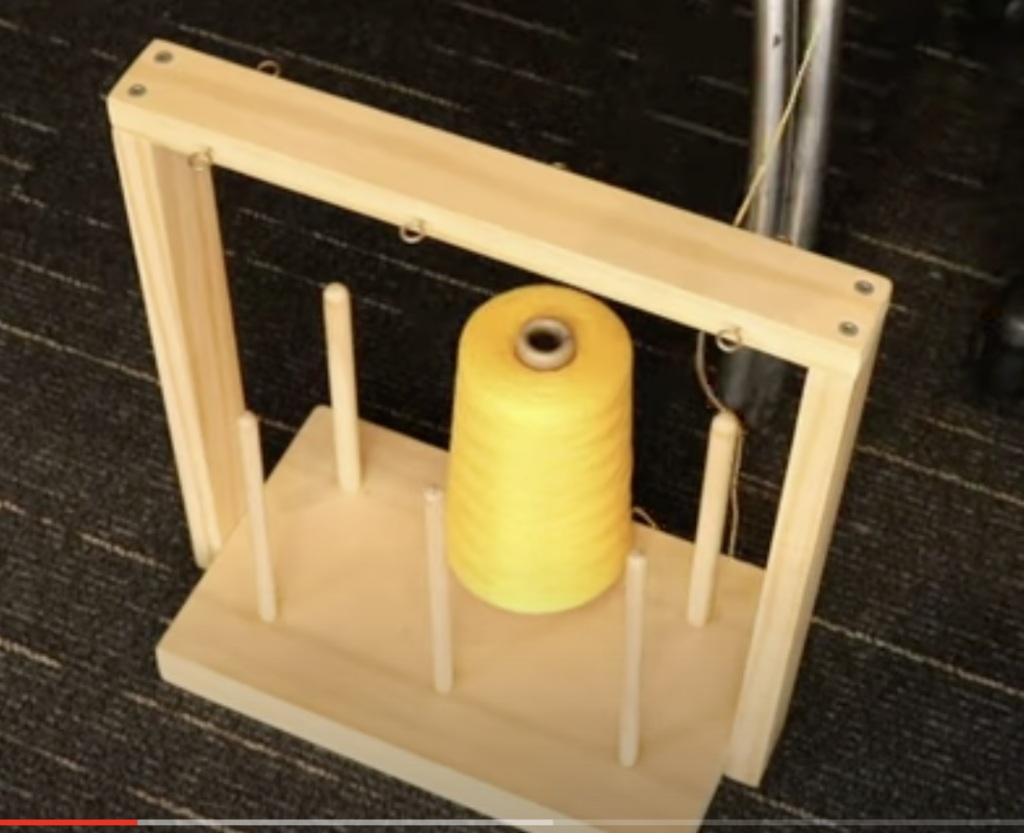
I start by placing the cone of yarn that I want to use for weft on the floor next to the table I’m sitting at. I use my cone warping stand to hold the cone steady and to feed the yarn off freely. You can also stand your cone in a box or empty cylinder of the right size – whatever stops the cone from rolling all over the floor while you’re trying to feed yarn off it!
I’m going to be using my ball winder for this tutorial, but you do not have to have one in order to successfully load your shuttle with doubled weft.
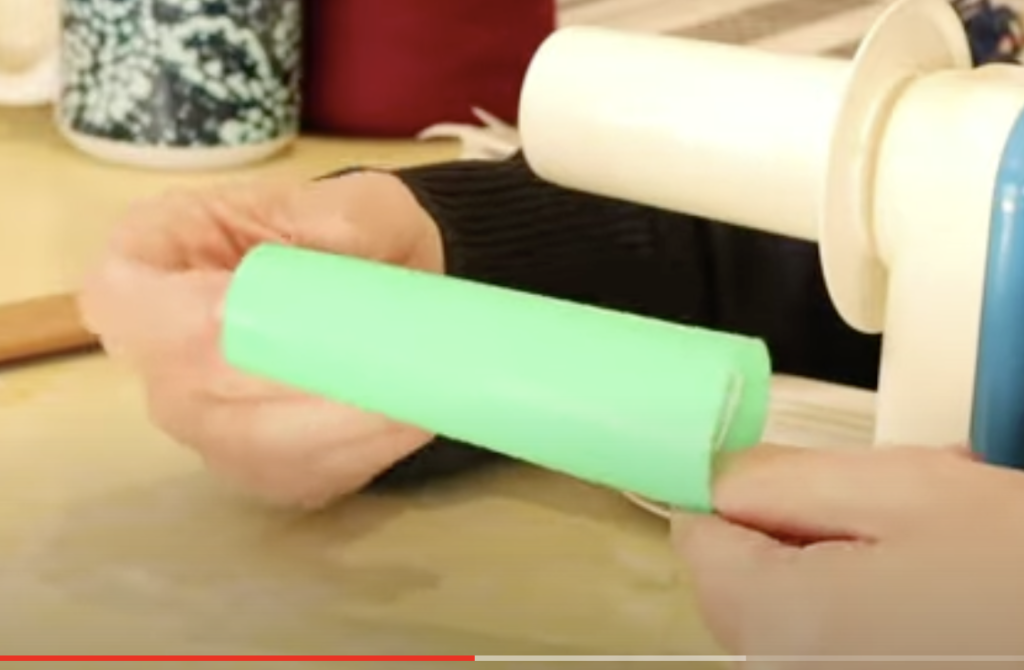
Another suggestion is to use an empty cone cylinder to wind the yarn off your full cone by hand. This plastic one is handy because it has a grip, so it’s easy to wind fast by hand, but empty toilet paper rolls are also great. You can even wind off an amount of yarn just onto your hands, though that may be a more potentially tangly method.
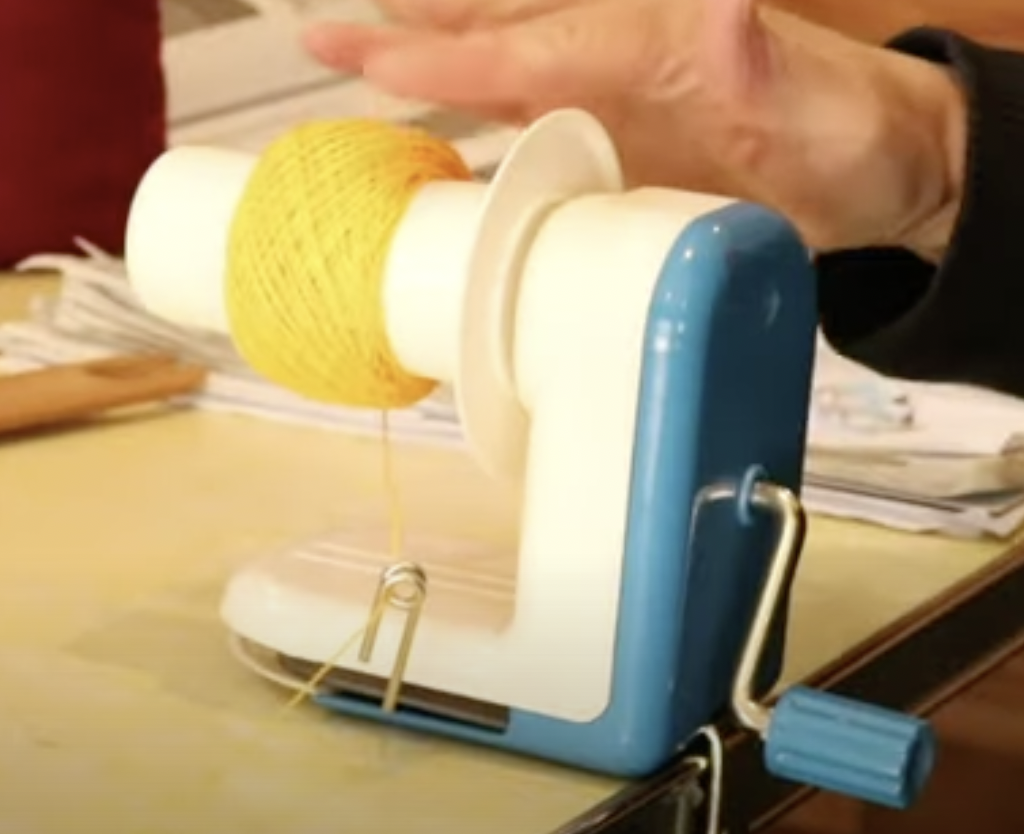
A ball winder is simple to use and does the job really quickly. I just clamp the winder to my table, thread the yarn in through the side loop, up over the central cylinder and into one of the notches, which holds the yarn in place initially and also creates a centre pull ball once you’re finished.
You then just wind manually, using the handle until you have a quantity of yarn. A couple of tips I have for successfully ball winding:
- Keep some tension on the yarn as it’s feeding off the original cone, but don’t make it really tight. This is a mistake I made initially, and it caused problems with the yarn rotations slipping off the ball and tangling. Now I keep it a bit looser and never have that issue.
- Hold the yarn tail for the first few rotations (particularly if you’re using a finer yarn) so that it doesn’t slip out of the notch. After the first few rotations, you can let go and it will be fine.
- When I’m using the ball winder for doubling my weft, I usually wind off relatively small amounts at a time. I can always come back and wind off a little more if I need to.
Now you have 2 sources of yarn to feed from. I place the yarn cake on the cone stand, next to the original cone and feed it up through it’s own round hook.
Yarn Donation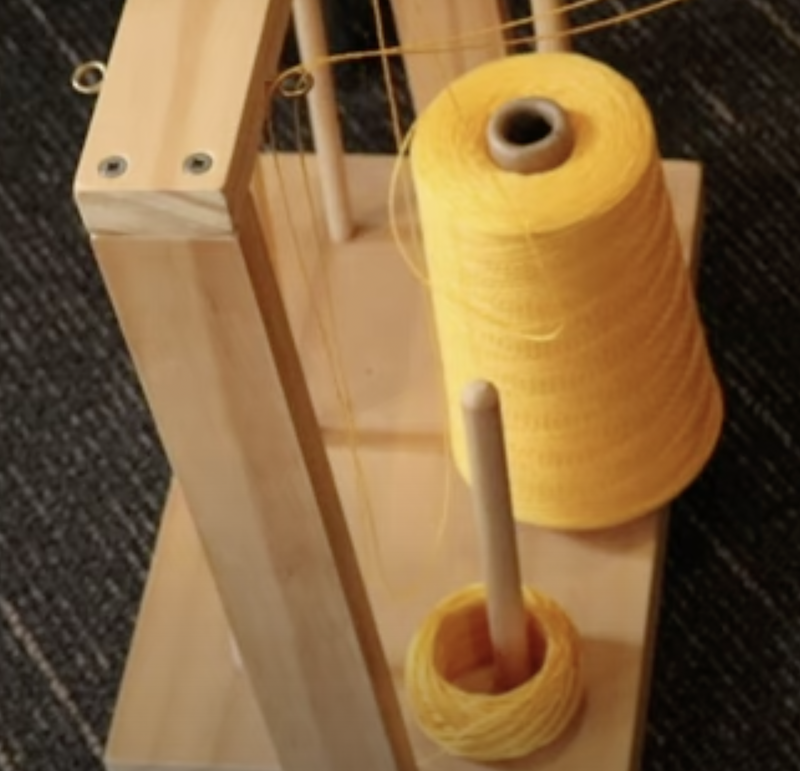
Now things get super easy! I just slip knot the two yarns together at the ends, ready to start loading onto my stick shuttle.
From this point on, you can treat the two yarns as though they are one, and simply wind them on together.
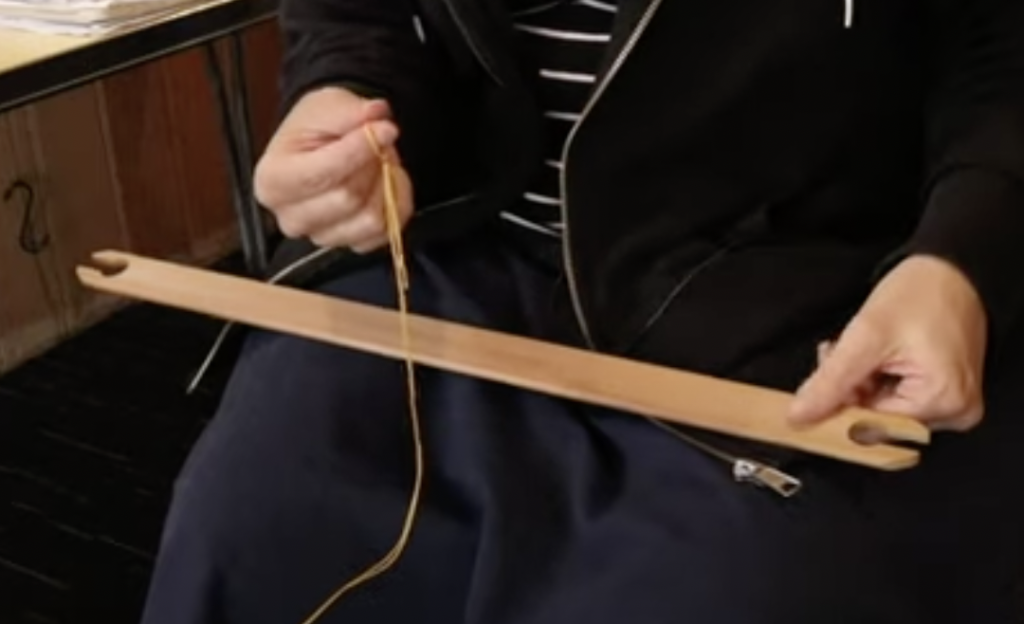
If you need help with how to wind a stick shuttle in a figure 8 (my favourite method), watch this video:
When you are ready to start weaving, you also just use the two yarns together as though they are one. So, each pick will have two threads instead of one.
This tutorial is available in video format, if you’re interested, click on the video below:
I hope this tutorial was helpful to you, leave your questions or comments down below.
Until next time…
Happy Weaving!
