 Although I entirely despise the hot weather, I do love getting to the beach with my family. We are blessed that we live not too far from some beautiful and clean beaches (no bay swimming for us!) Yesterday afternoon we had a great time at the beach, I don’t know if the children are ever as happy as when they’re at the sea.
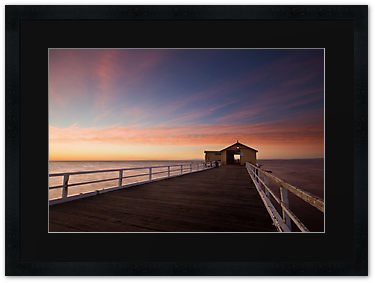
In my typical fashion, I forgot to take the camera, but found this gorgeous photo by Luka Skracic. We were swimming just to the left of the pier you can see here. I wonder if any Victorian readers recognise the location?
From flaw to feature.
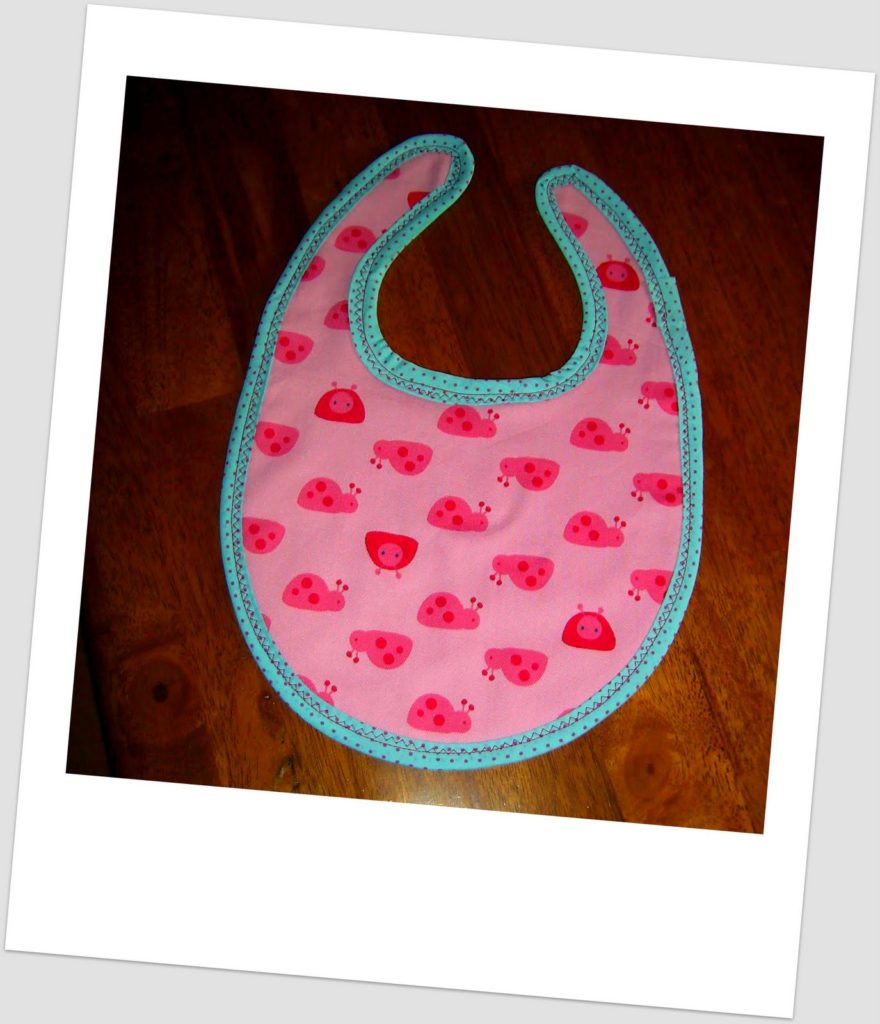 I still make a lot of mistakes when sewing, mostly through lack of focus or simply experimenting. The great thing is when you discover that not every mistake is a disaster and the unpicker does not neccessarily have to be your constant companion. Such a handy tool, but gee I HATE UNPICKING!!
I need some more bibs for very vomity baby and thought I could use some fabric leftovers and make it up as I go along. All went well until I attached the binding and found it was way too thick and looked funny.
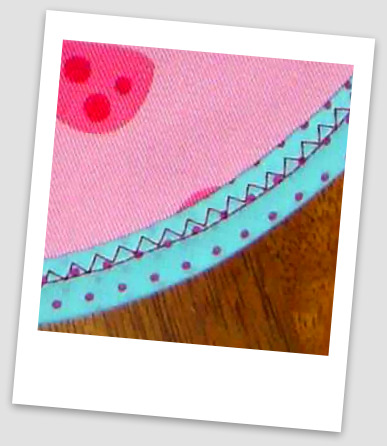
I spent ages making that binding in the first place, so the thought of replacing did not appeal. So, I ran a zig zag stitch around the inside of the straight stitch and voila! It anchored the inside of the binding down and balanced out the look.
Now I just need to figure out how to use my new snaps press and I can make a bunch more 🙂
This and that.
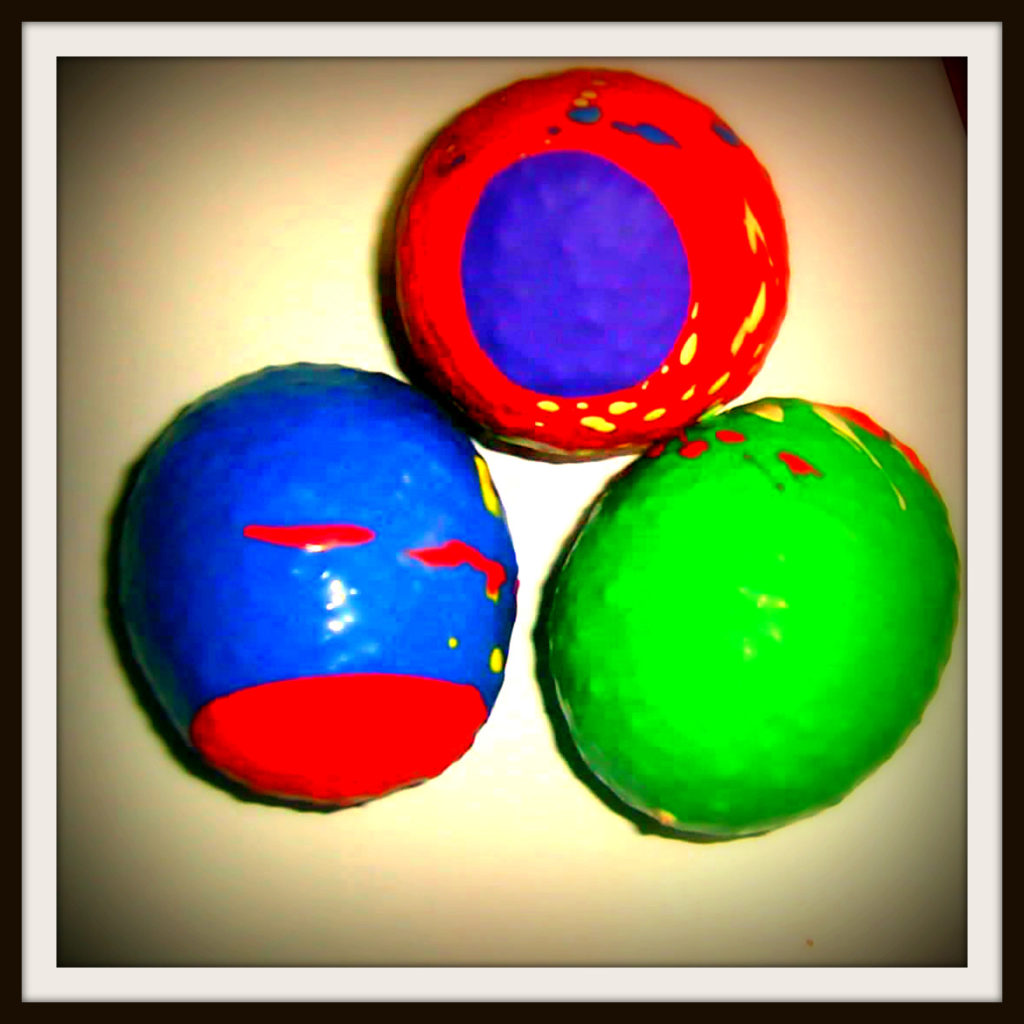 When the warm weather comes around my husband gets all excited about juggling because he can do it outdoors in the sun where there’s plenty of space. He has used a few different types of balls, then I found this tute. He made some and used them yesterday – he thought they were fantastic.

The Natural Kids team are doing a promo showing pictures of member’s hands at work. This is my picture, a small person was able to sneak her little hand in too.
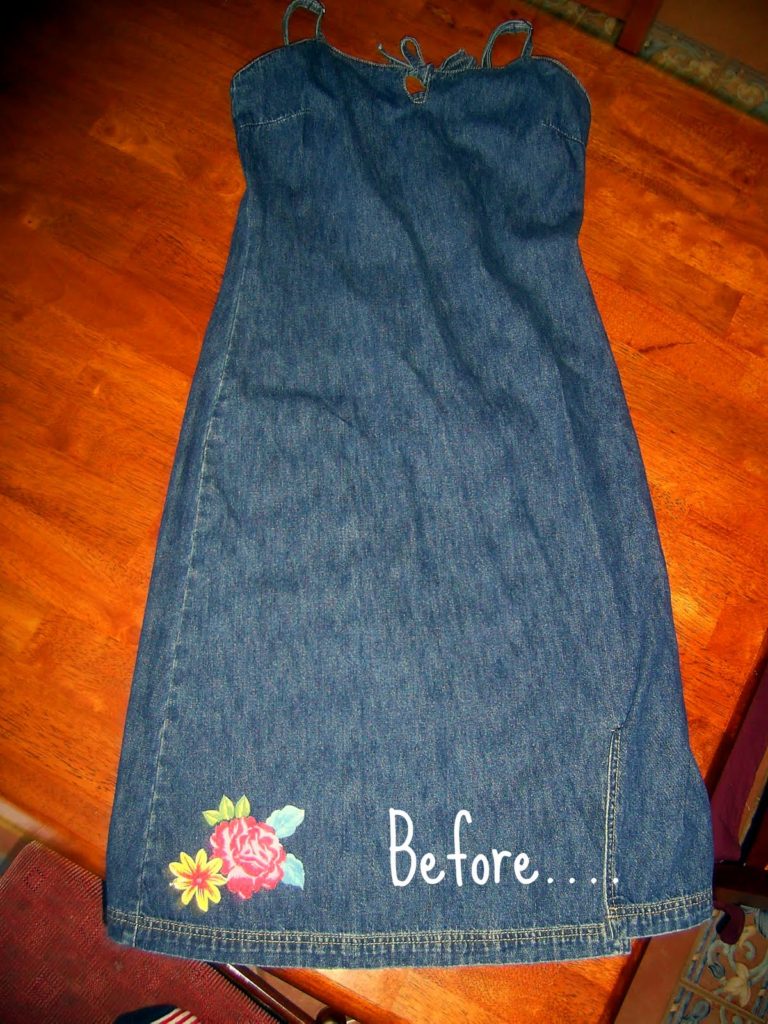
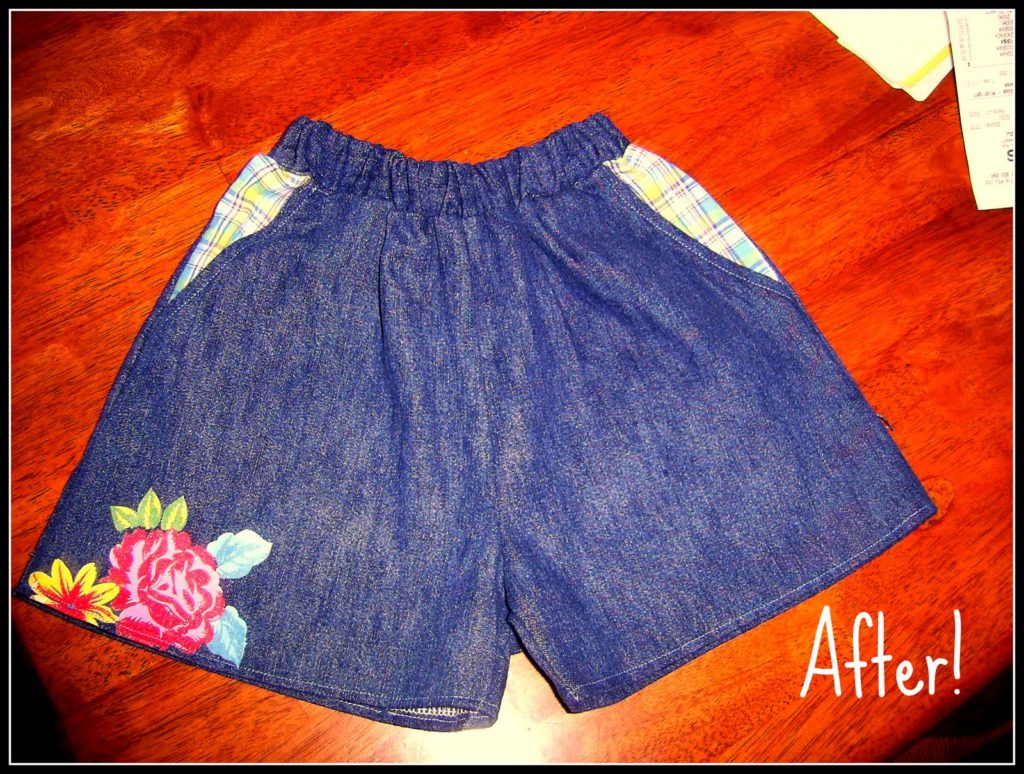
From dress to shorts…
PEG DOLL TUTORIAL
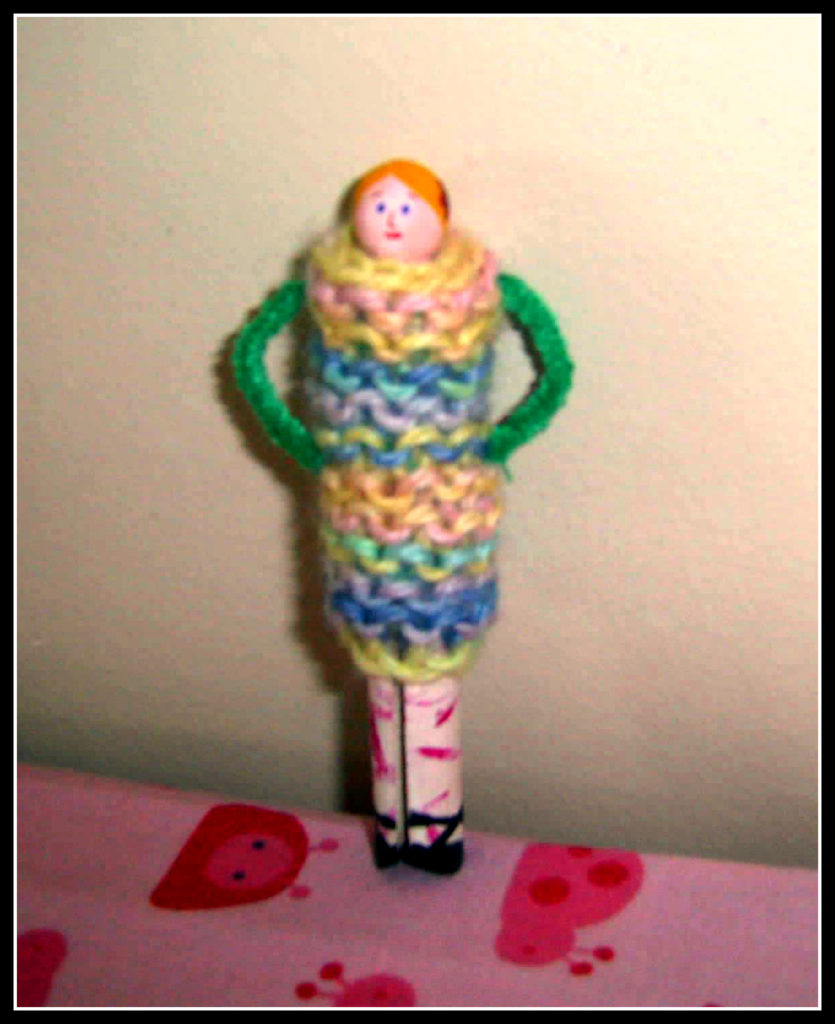 To make your own peg dolls you will need:
* Wooden pegs, unpainted, unvarnished (available from craft stores)
* Acrylic paints (I used Jo Sonjas)
* Wood varnish (I used a satin coating)
* 12 inch (30cm) chenille sticks, various colours
* Yarn or wool felt for clothing.
* Pigma pens (optional)
* Craft glue
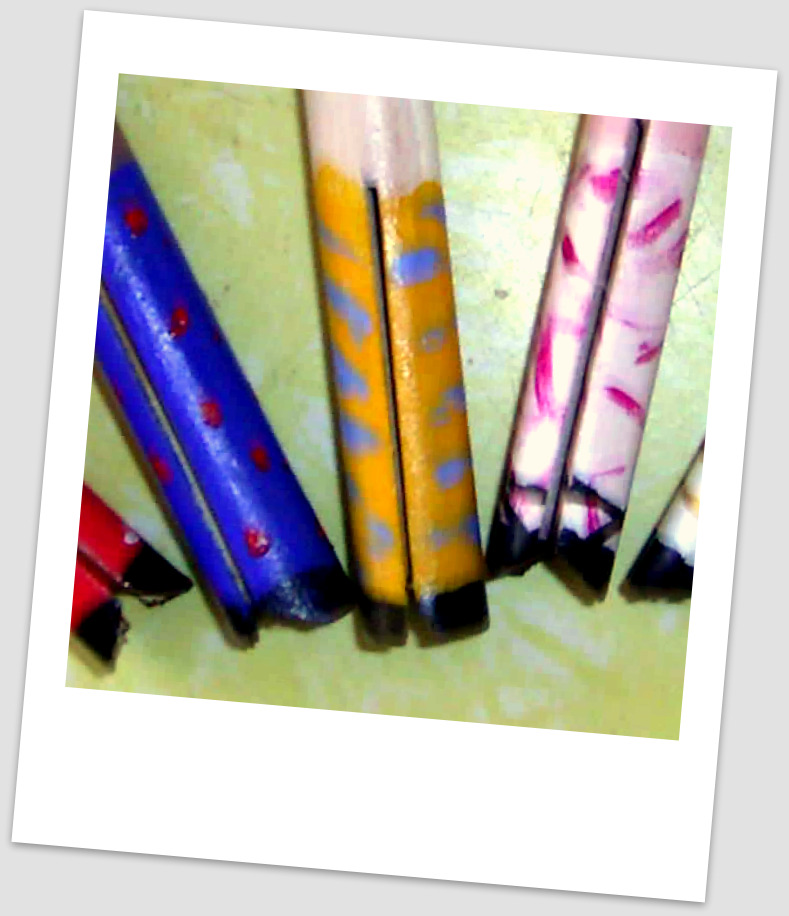
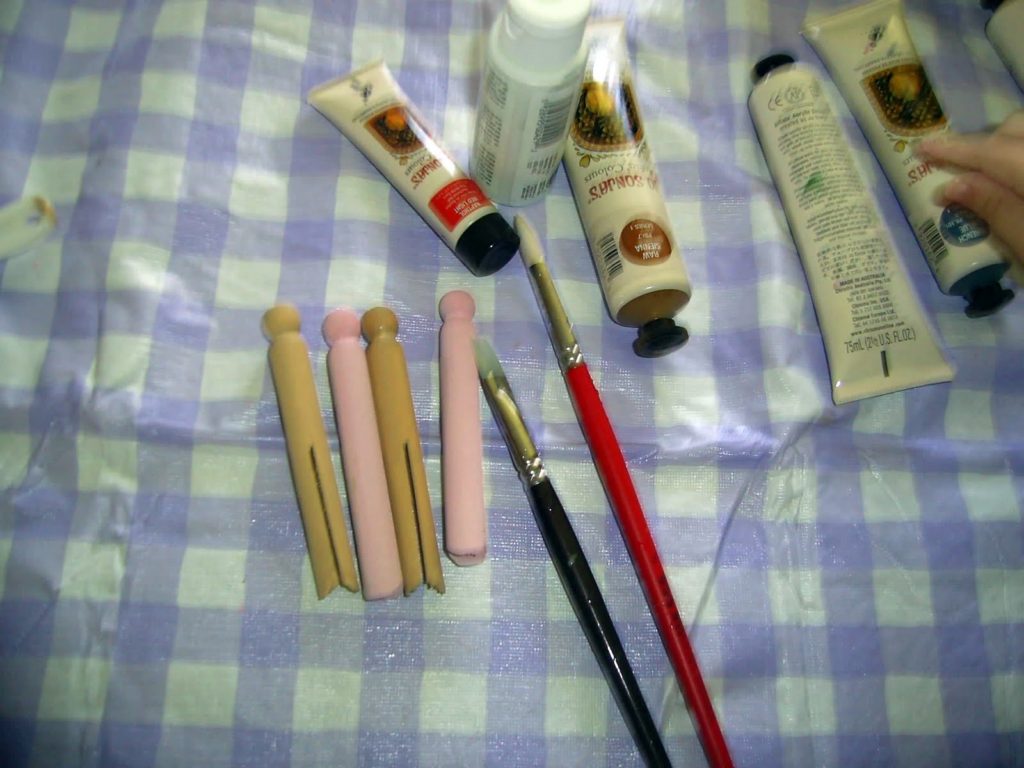 The first step is to paint your pegs, as you can see I mixed up a variety of pinks, browns and whites for the skin colour. Wait until the first coat is completely dry before painting again. Once again, allow to dry.
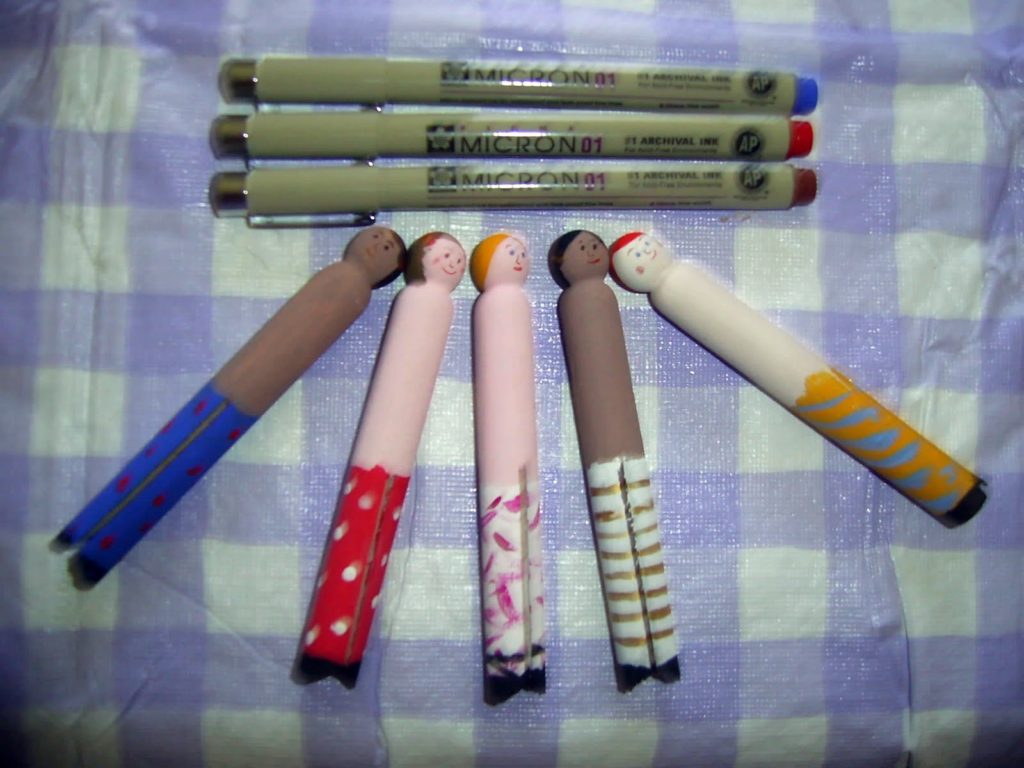 Now paint the legs, from the centre slit down to the tips. Allow each coat to dry before doing the next. You can make the legs spotty, stripey, plain, whatever you like. Then paint the tips with a darker colour for the shoes (I used black). Paint on hair in different styles. You can paint on the face if you have a fine paintbrush, but I drew mine on with Pigma pens. A word of warning – the varnish seems to smear the pen, so avoid varnishing the face, or leave to dry for 48 hours first (I don’t like to wait!)
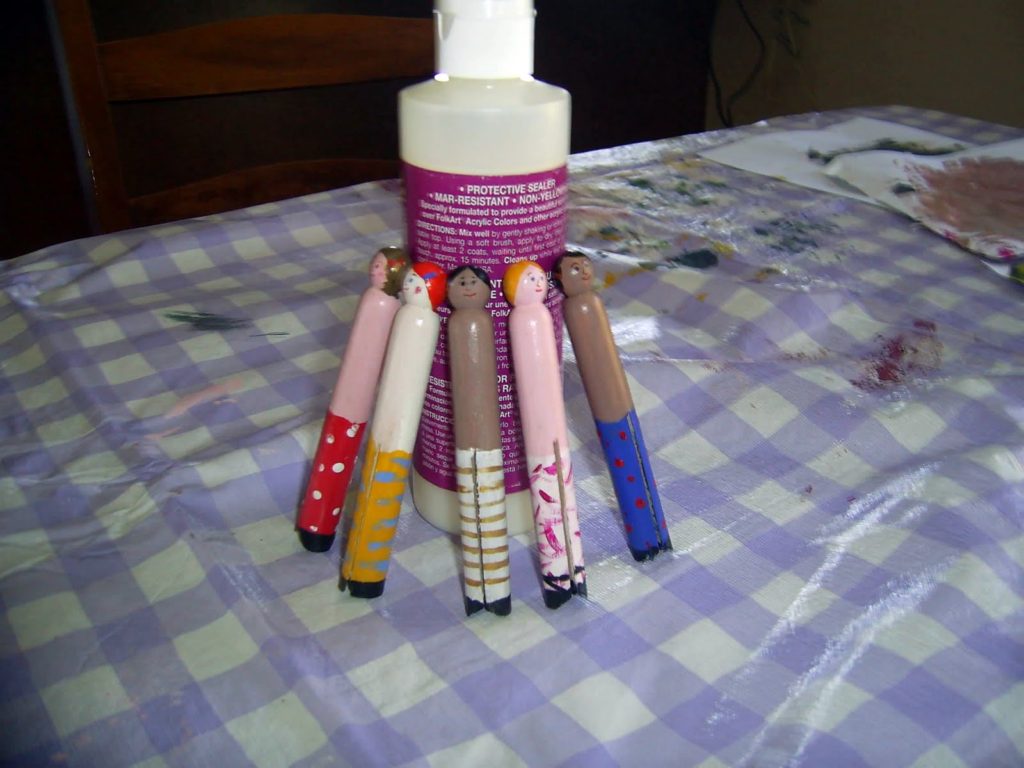 When completely dry, coat the pegs with varnish and stand to dry. Coat again. You can use either a matt, satin or gloss varnish depending on the effect you want. Allow to completely dry.
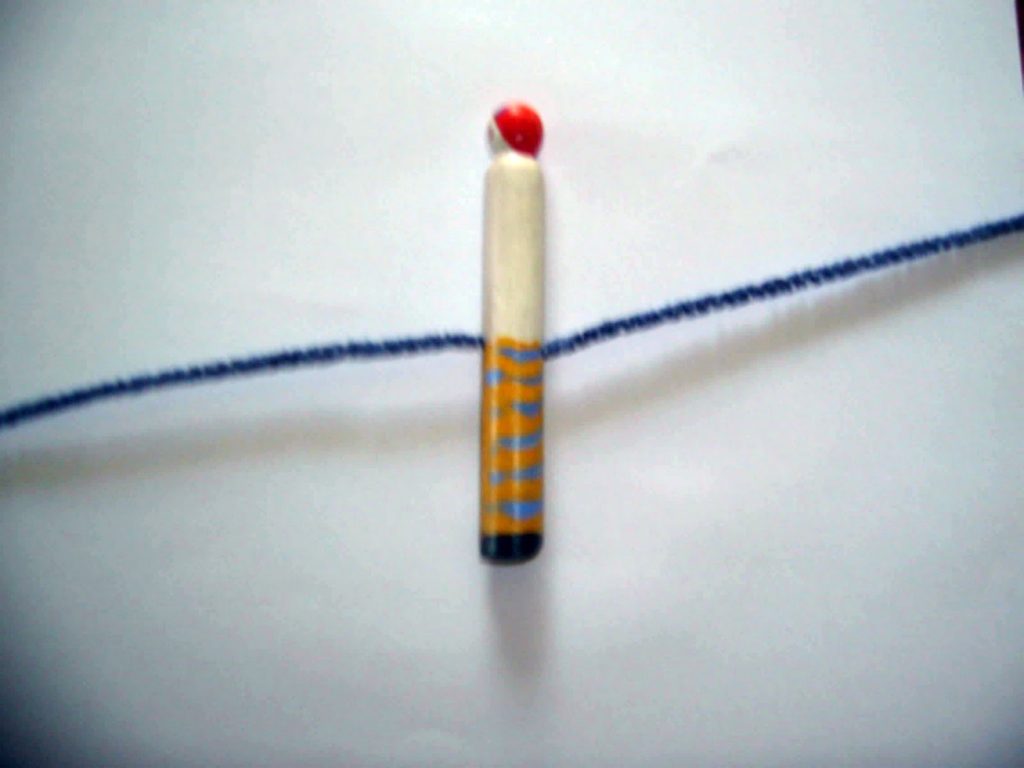 Push a chenille stick to the top of the split in the peg. It should have fairly equal amounts on each side, but you can trim them later so don’t worry too much.
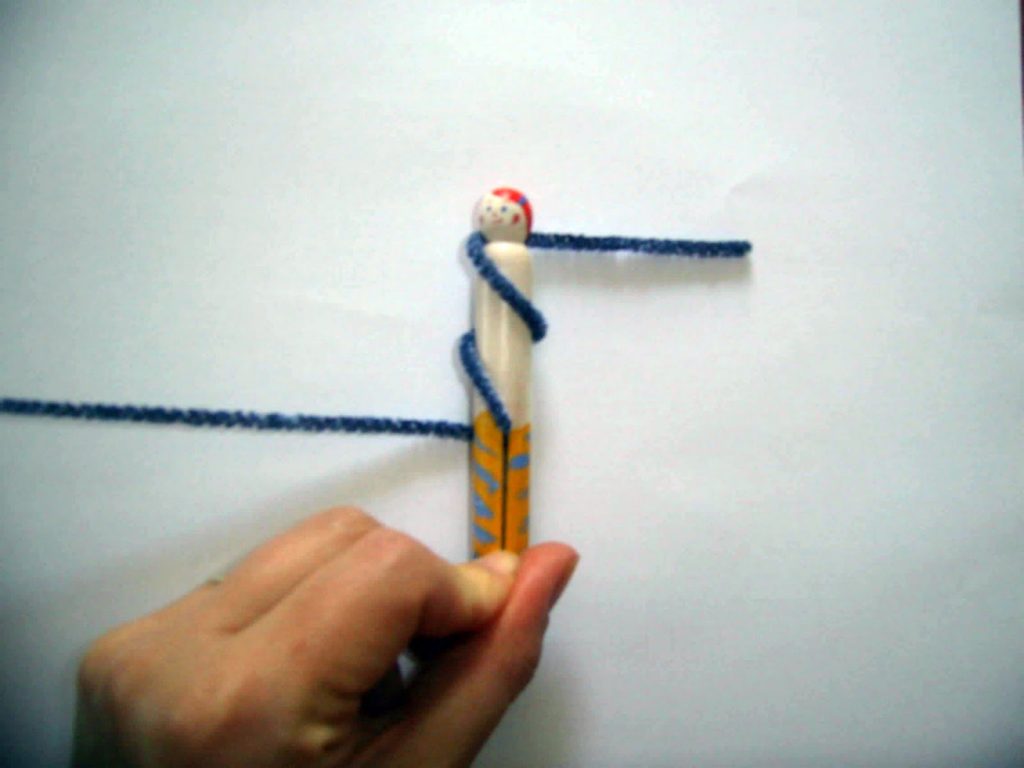 Taking the chenille stick from the front, wrap it around the body of the doll twice, winding up towards the head. The last wrap should go around the back of the head and stick out at a 90 degree angle to the doll. You can see I’ve also bent the other stick at an angle so it doesn’t get caught in the first wrapping.
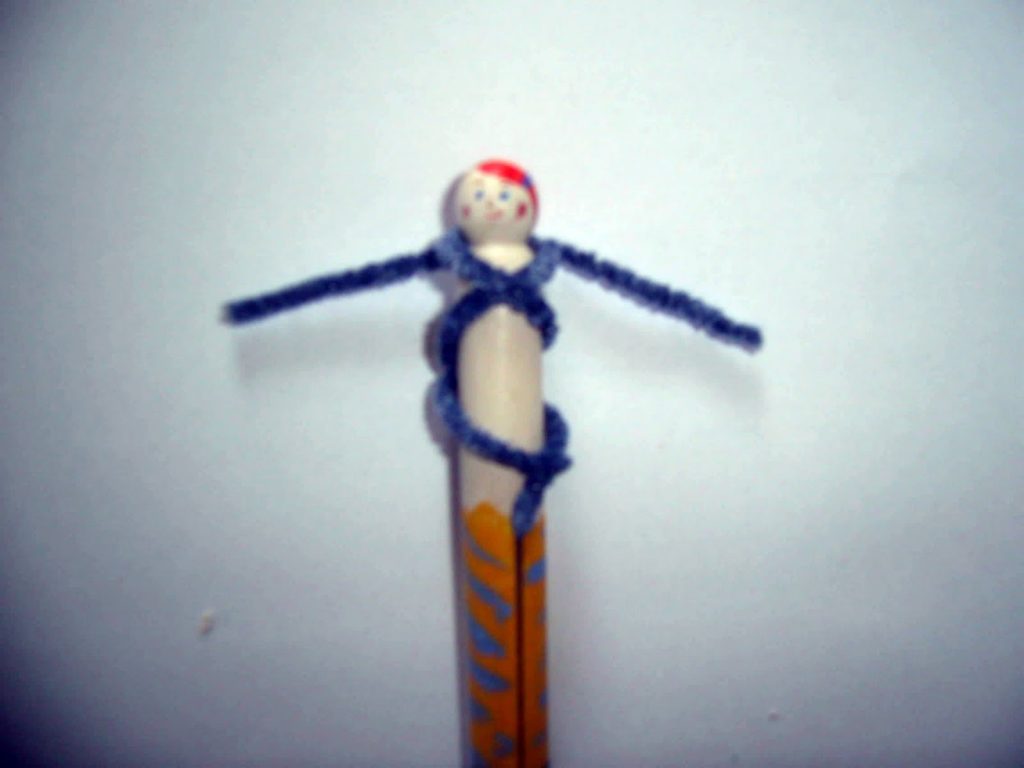 Now take the chenille stick from the back and wind in the opposite direction, around the body twice again, and around the back of the neck as before. Trim the arms if they are not equal or readjust your winding.
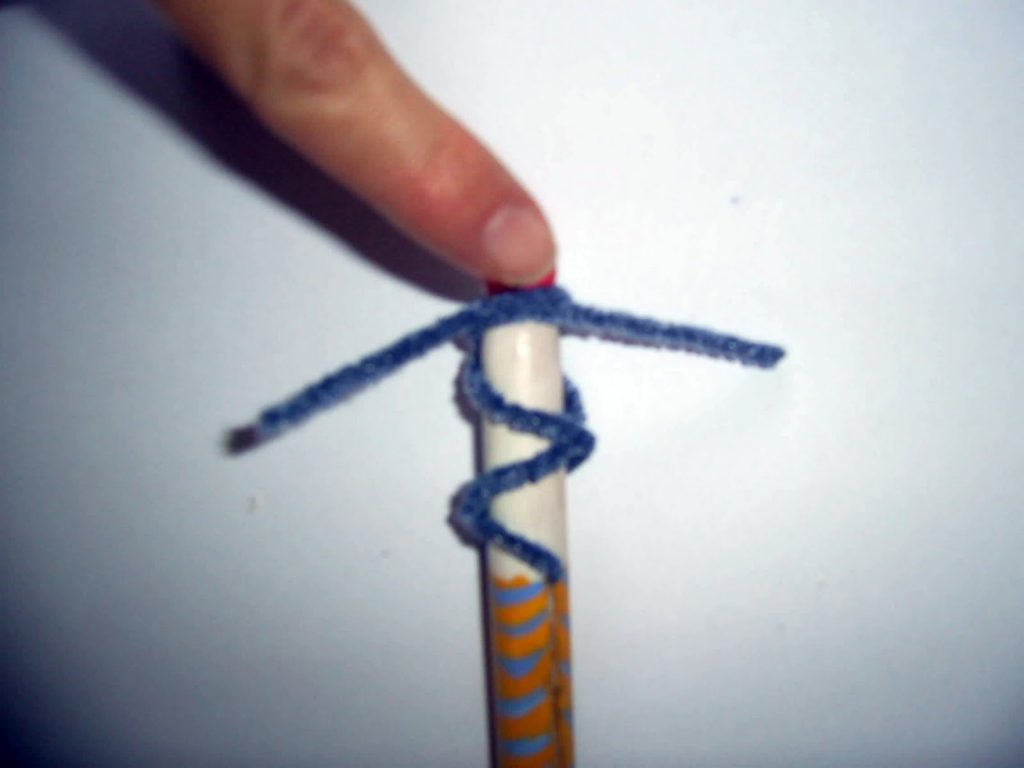 Put a small dob of craft glue at the back, just underneath where the arms cross. This is not essential, but helps to hold them in place.
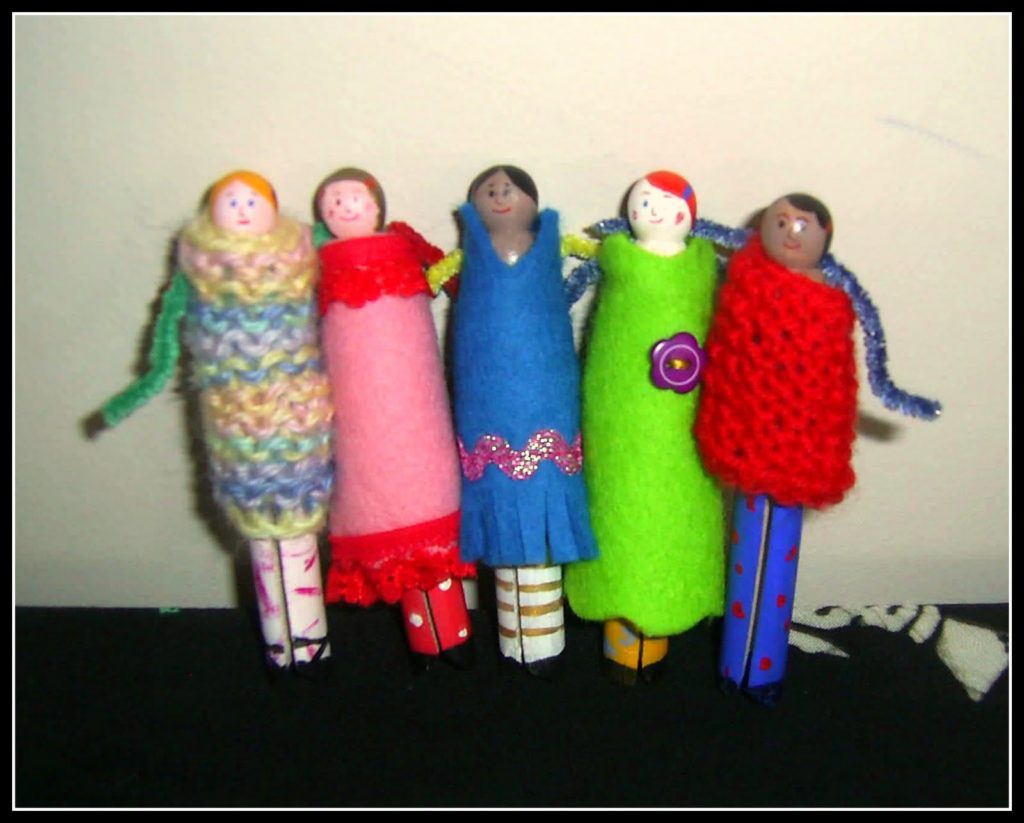
Now, I think every pretty girl needs a place to rest her head, watch this space for the next installment!
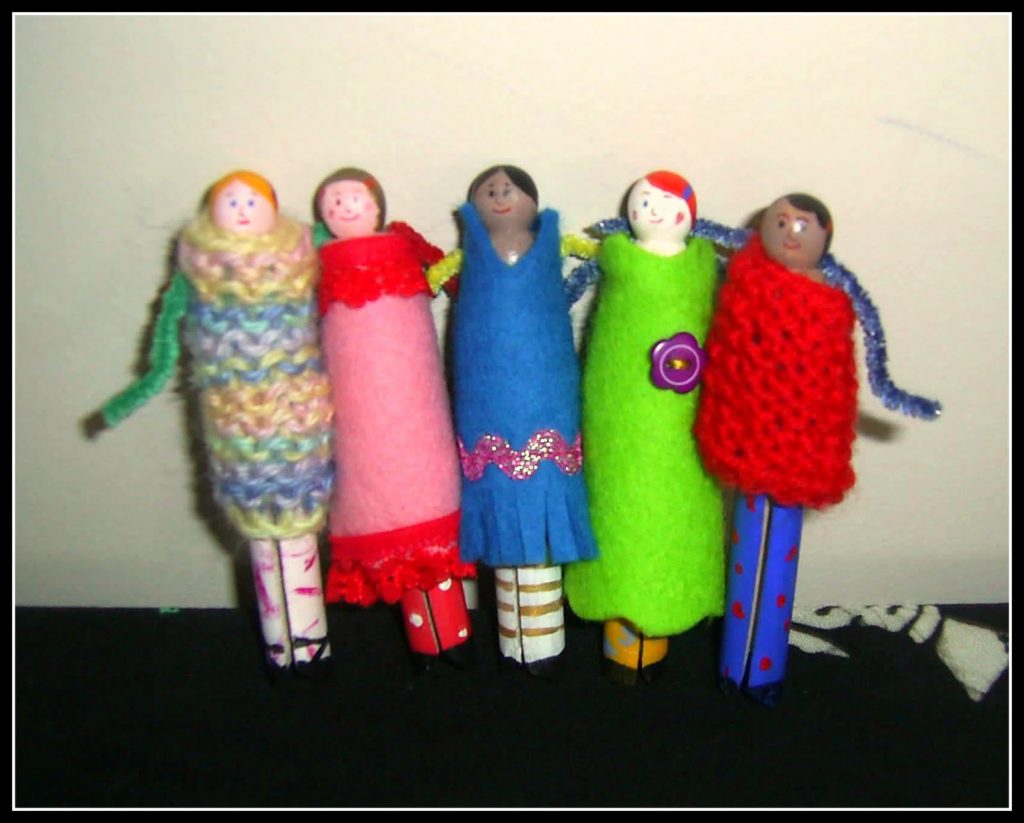
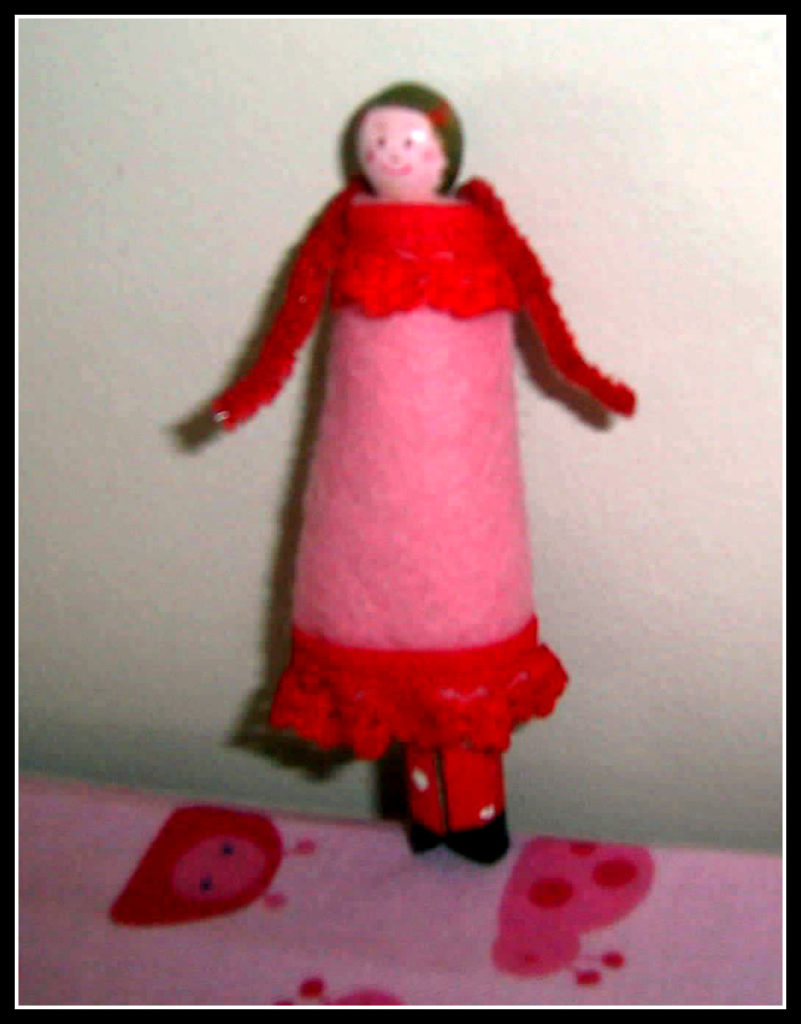
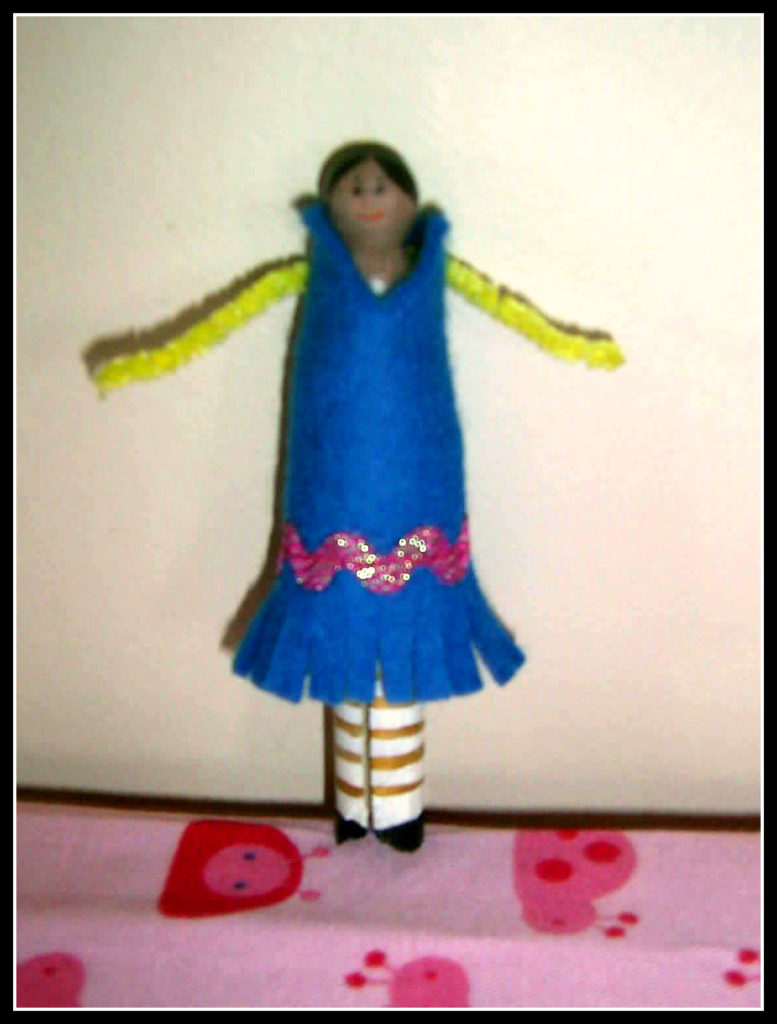
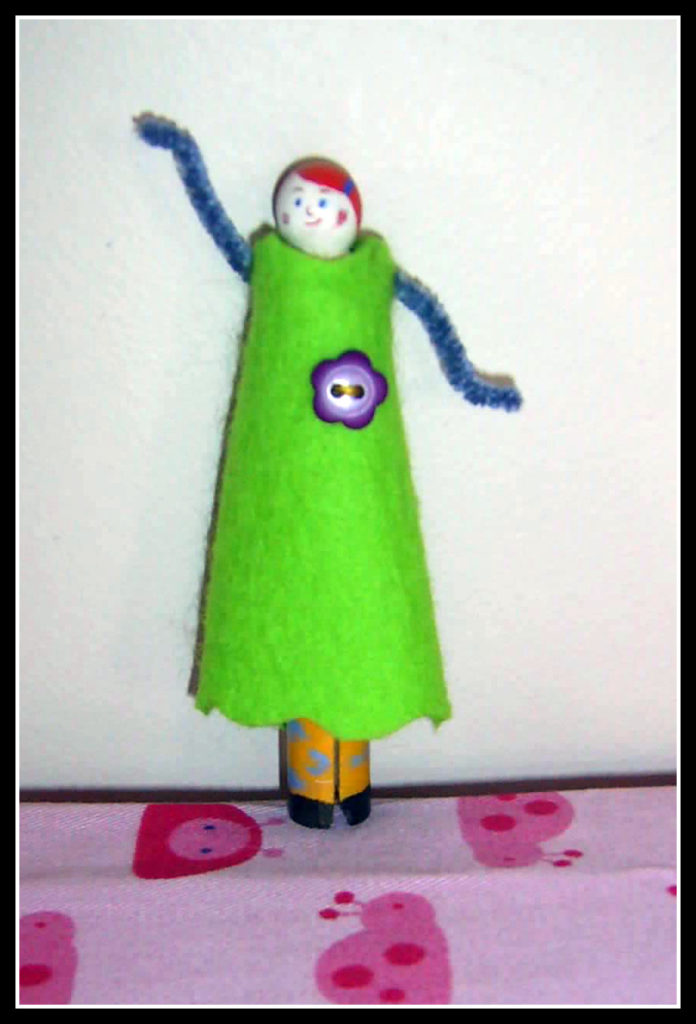
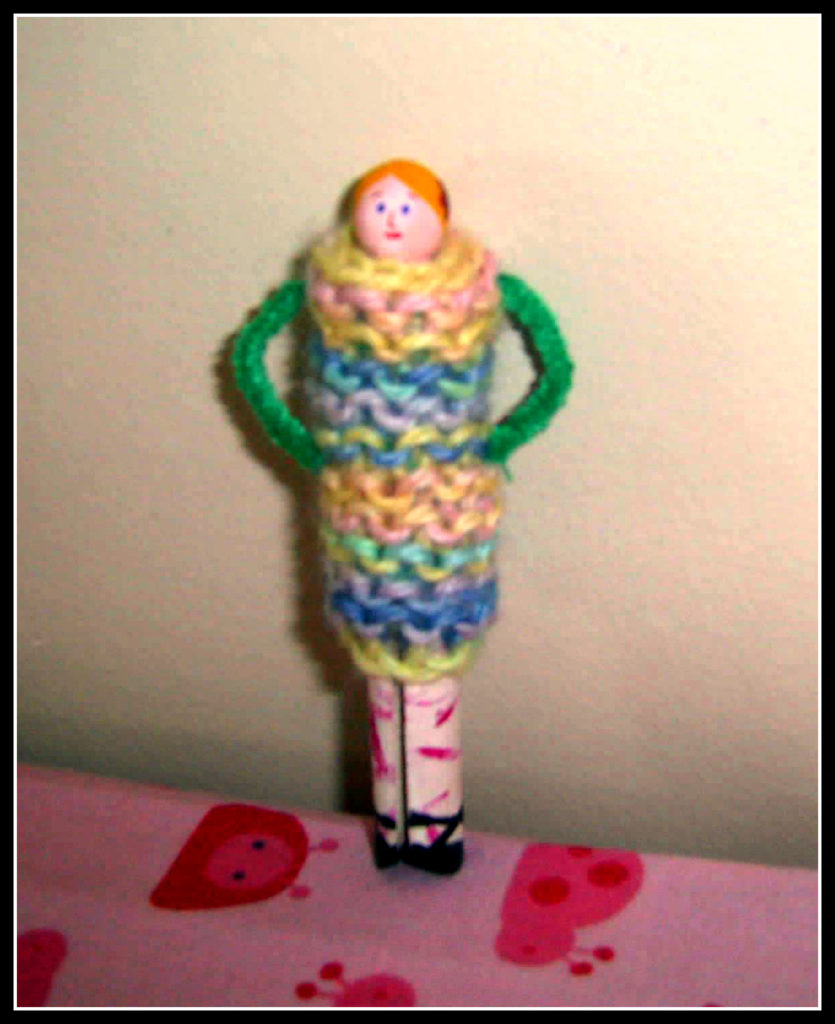
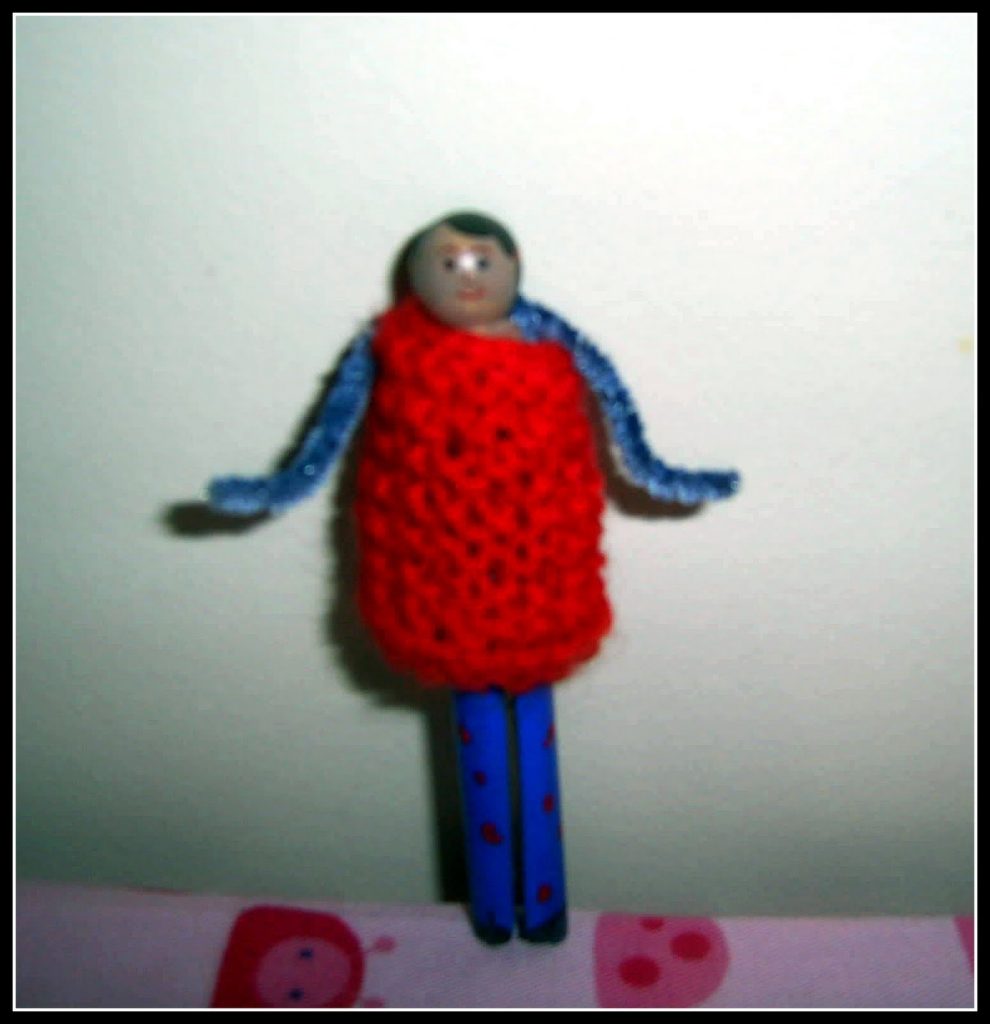
Peg dolls!
GIVEAWAY!
Pop over to Lenna’s blog for the chance to win a great floor lamp, I think I really need one of these!
WIP frenzy!
Lovely, lovely!
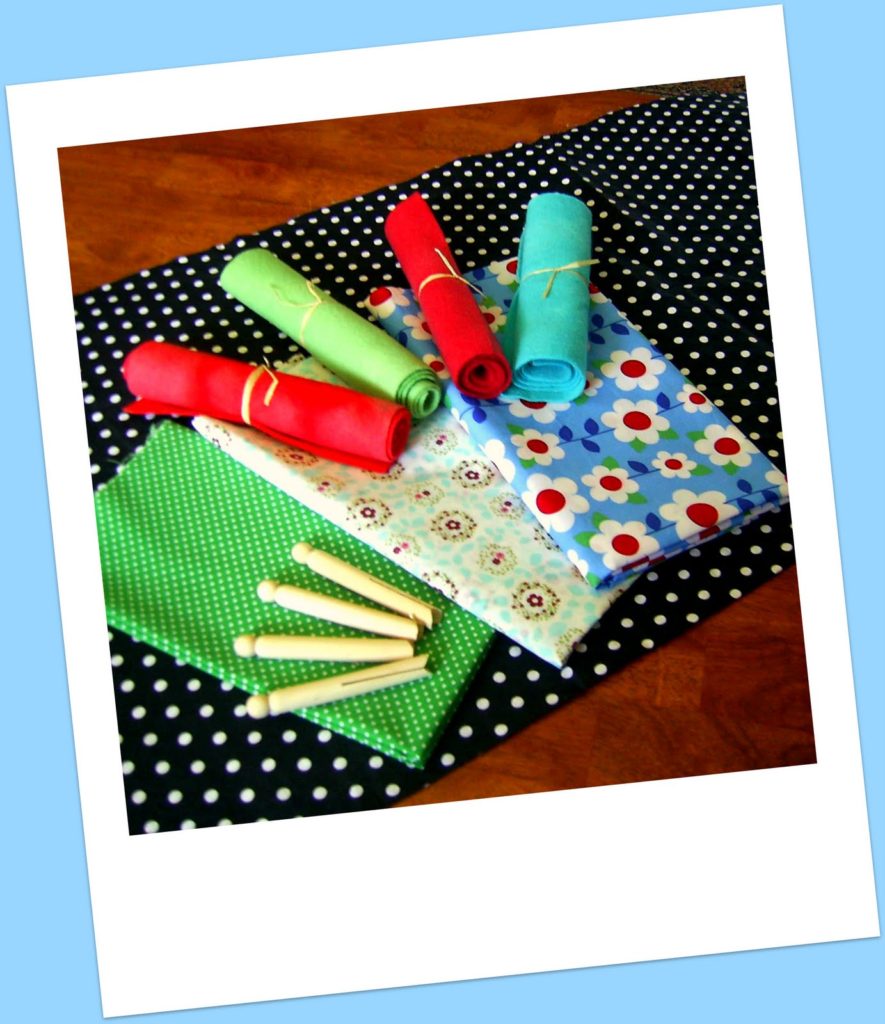 I’ve been shopping just a little for some “essentials”. A few bright and pretty fabrics, some lovely hand dyed wool felt from Winterwood and wooden clothes pegs to make peg dollies with the girls.
It is a near perfect spring morning here, I hope you enjoy your day wherever you are.

