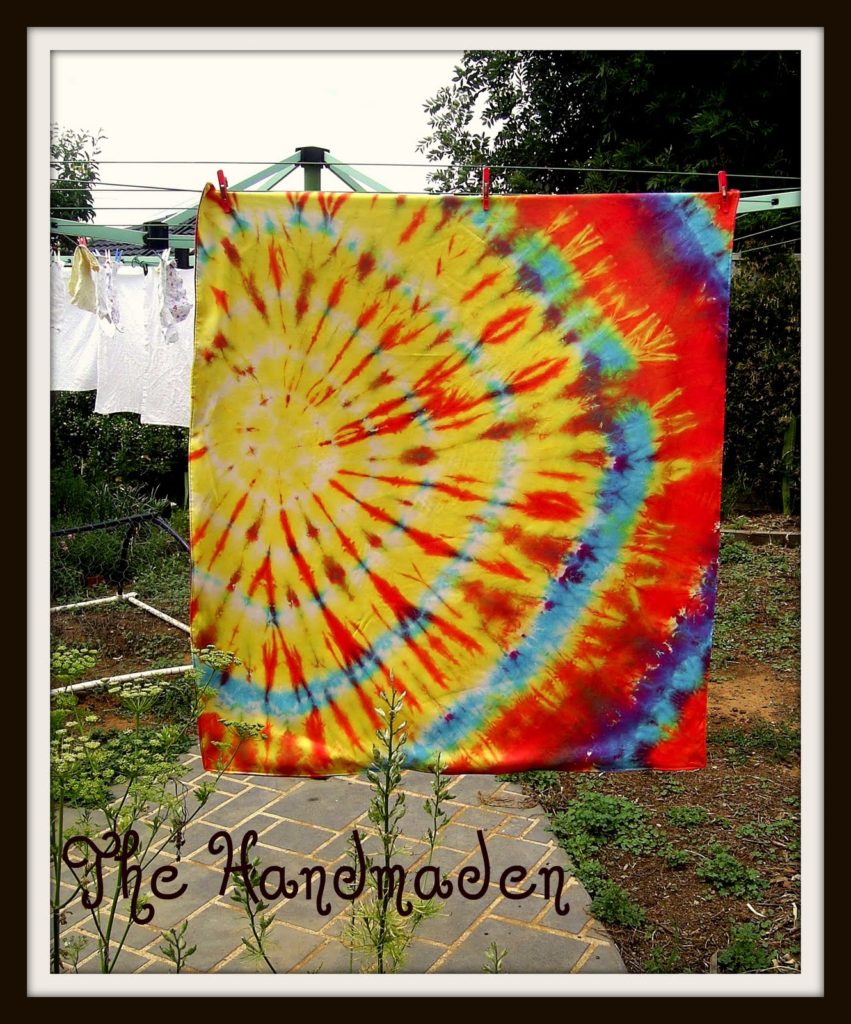
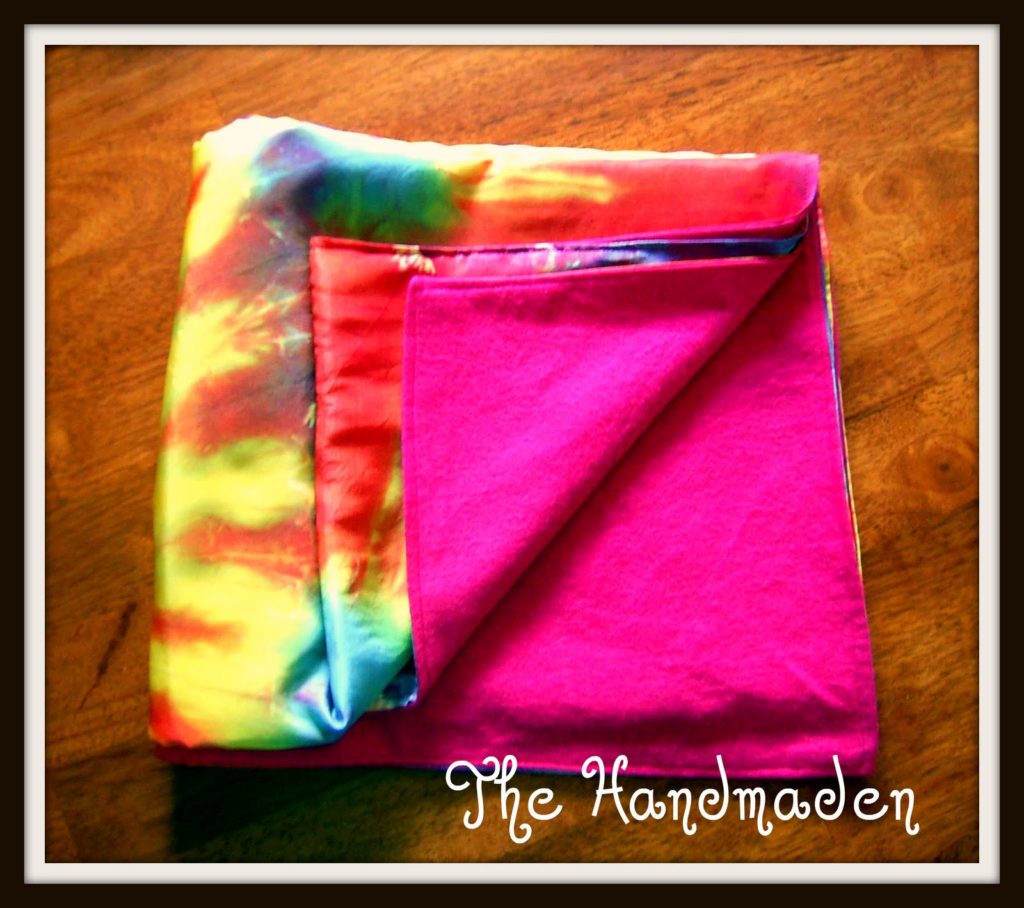
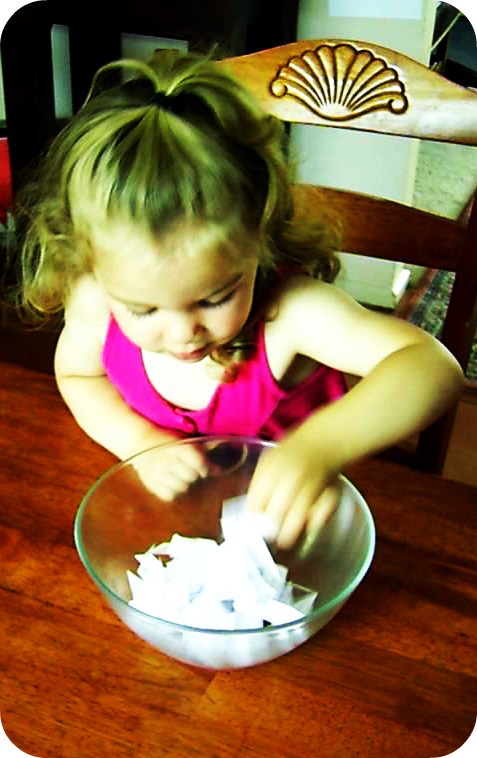
I dyed the silk and then used a hot pink flannel for the backing. Naturally, the other little girls want one each now!
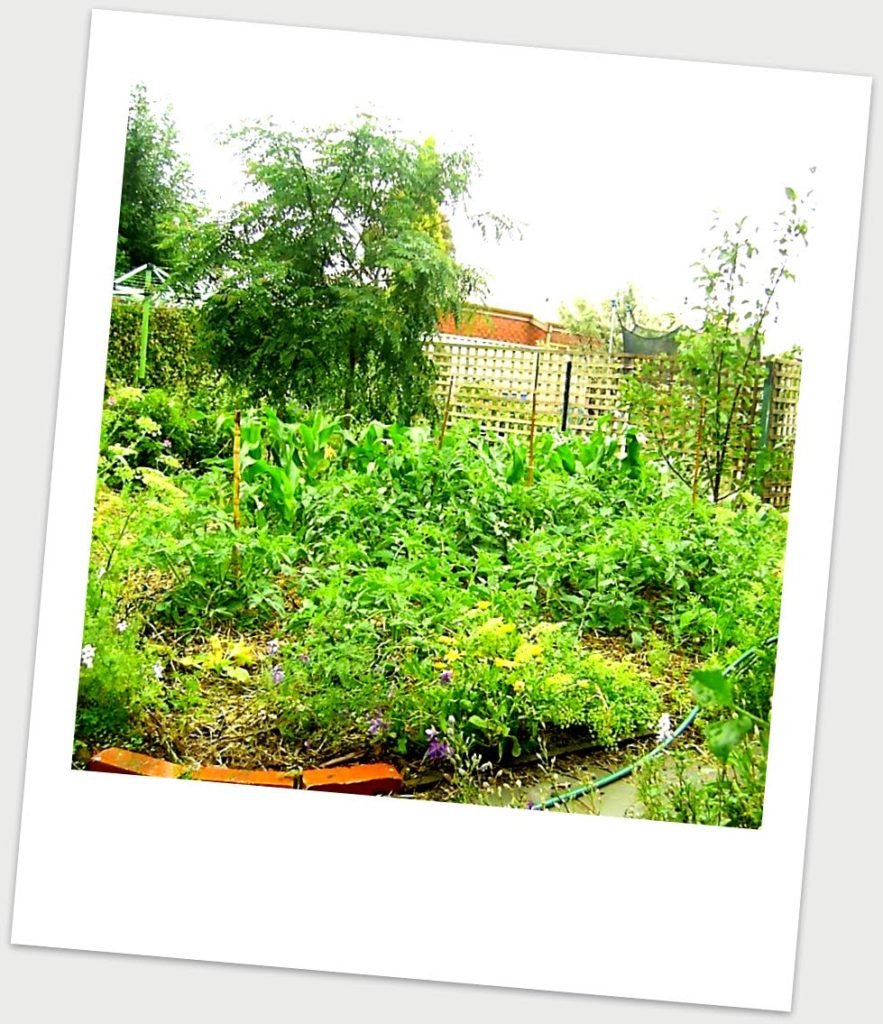
Cake and rain, a good combination!
The winner……
Blogger grrr….
It would have to be while I’m having a giveaway that blogger has a hissy fit!! I’m afraid some people’s comments have been disappearing, I’m hoping I’ve fixed the problem by altering comment moderation. I’ve decided to extend the giveaway in hope that those who’s comments have vanished can re – comment and still enter. Please check that your comment is still there, and if not, please comment again (I know a lovely lady in Alaska left a comment, I didn’t get to look at your blog and now your comment is gone 🙁
Soory about all this mucking around, bad timing!
Improvements?
A few of you have been having trouble leaving comments here. I’ve hopefully fixed the problem now, please let me know if you still have trouble.
Dyeing for Christmas Cake
A little word play in the title there (heh, heh). Sooo, I became interested in dyeing recently after seeing this mandala baby blanket on Sara’s blog. I wanted one for bubs for Christmas, but due to her current renovations Sara was unable to make one at this time.
In my typical DIY fashion I figured I’d try some dyeing for myself.
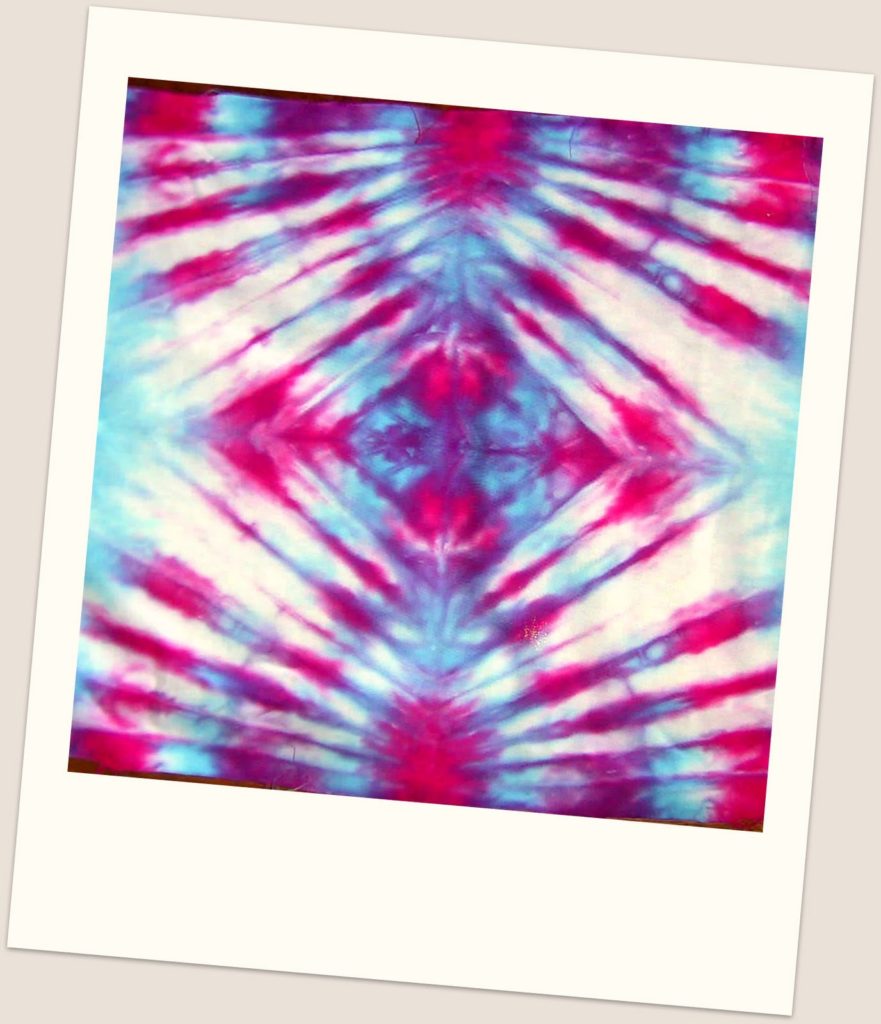 Love the colours in this tie dye. I’ve been doing some practice swatches with homespun. Haven’t been brave enough to try my silk yet, but after these very funky and cool results I’m not so worried.
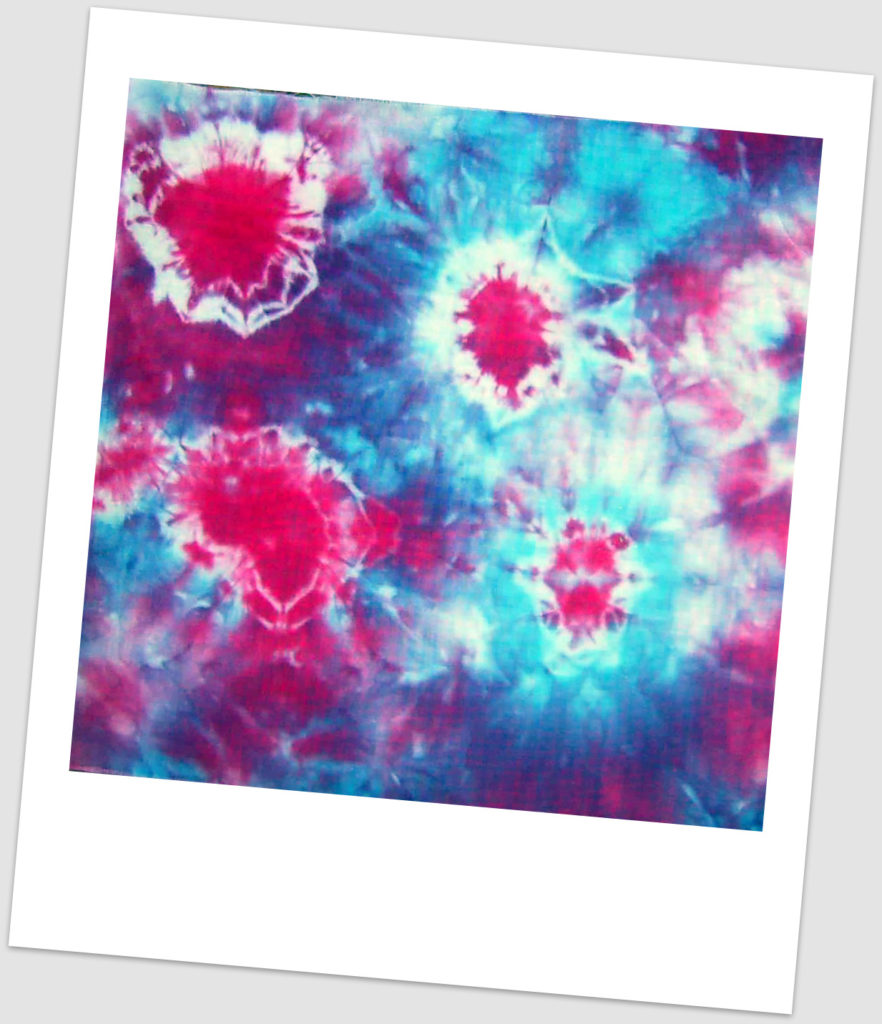 I tied this one randomly in bunches and scrunchy bits and dribbled dye randomly (but a bit carefully!)
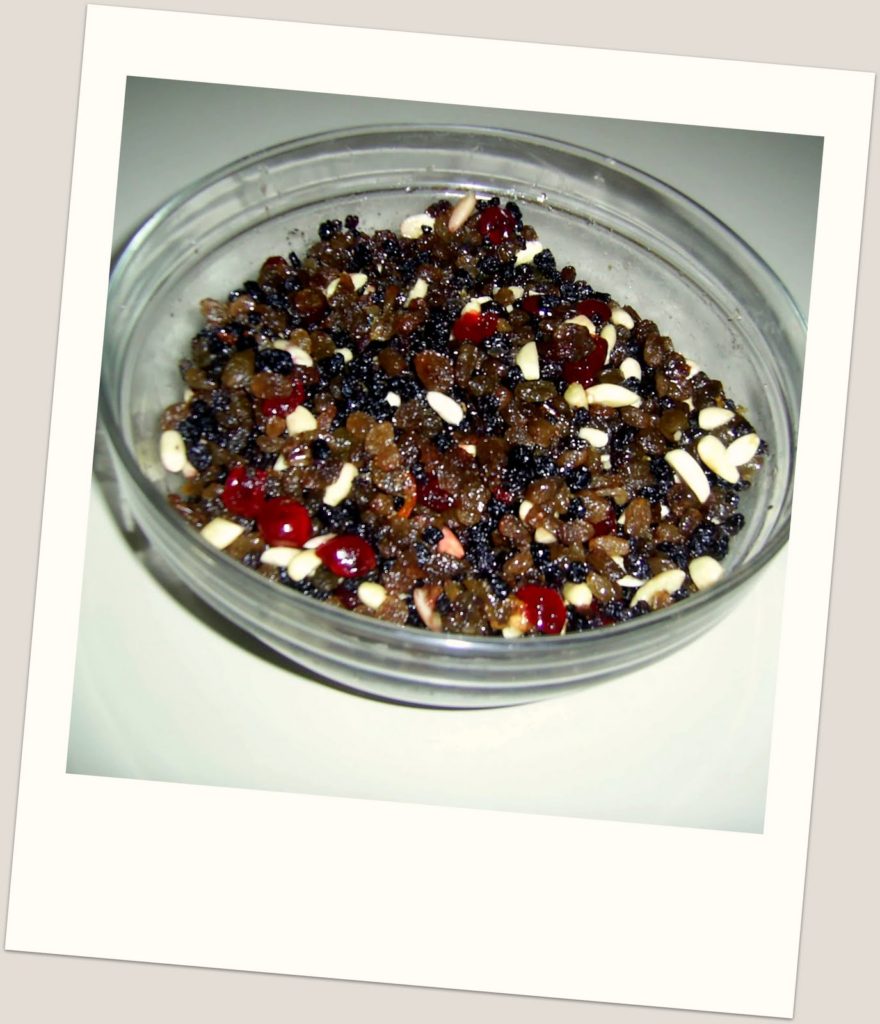
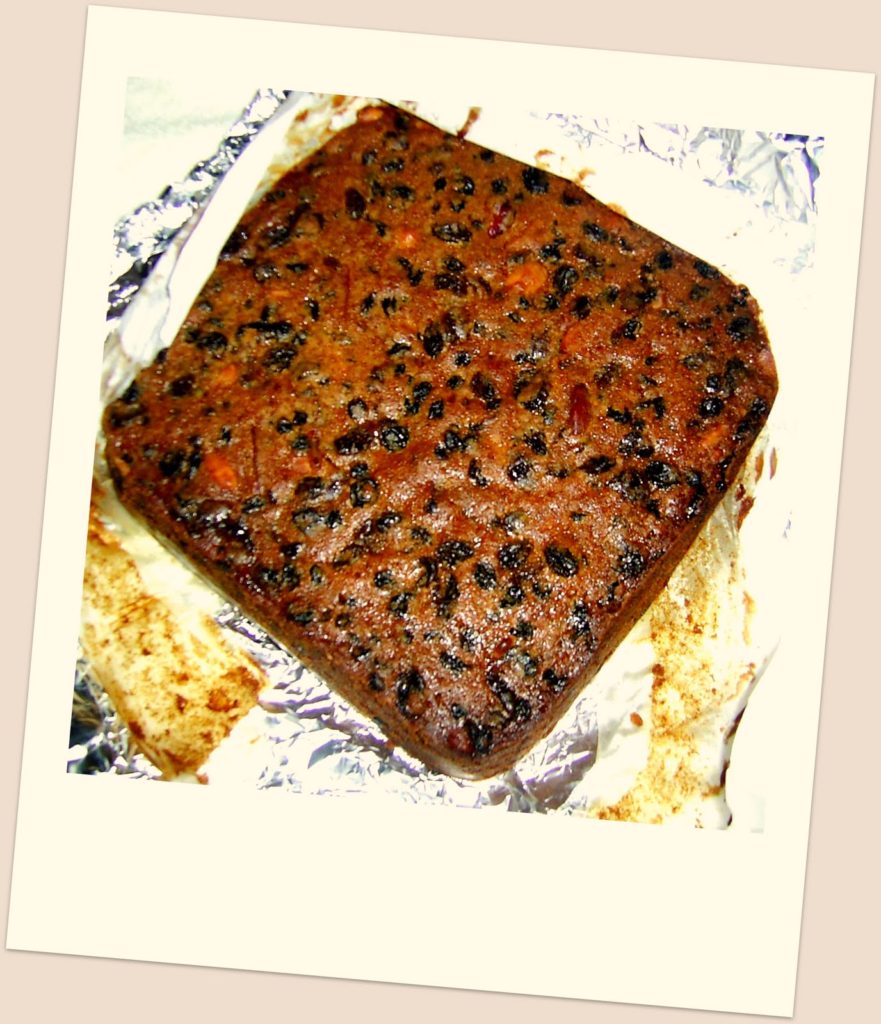
I’m making my first ever Christmas Cake this year. I don’t know why I never have, I love fruit cake! I guess increasingly having a number of mouths to eat the end product helps. Here is my fruit soaking in brandy.
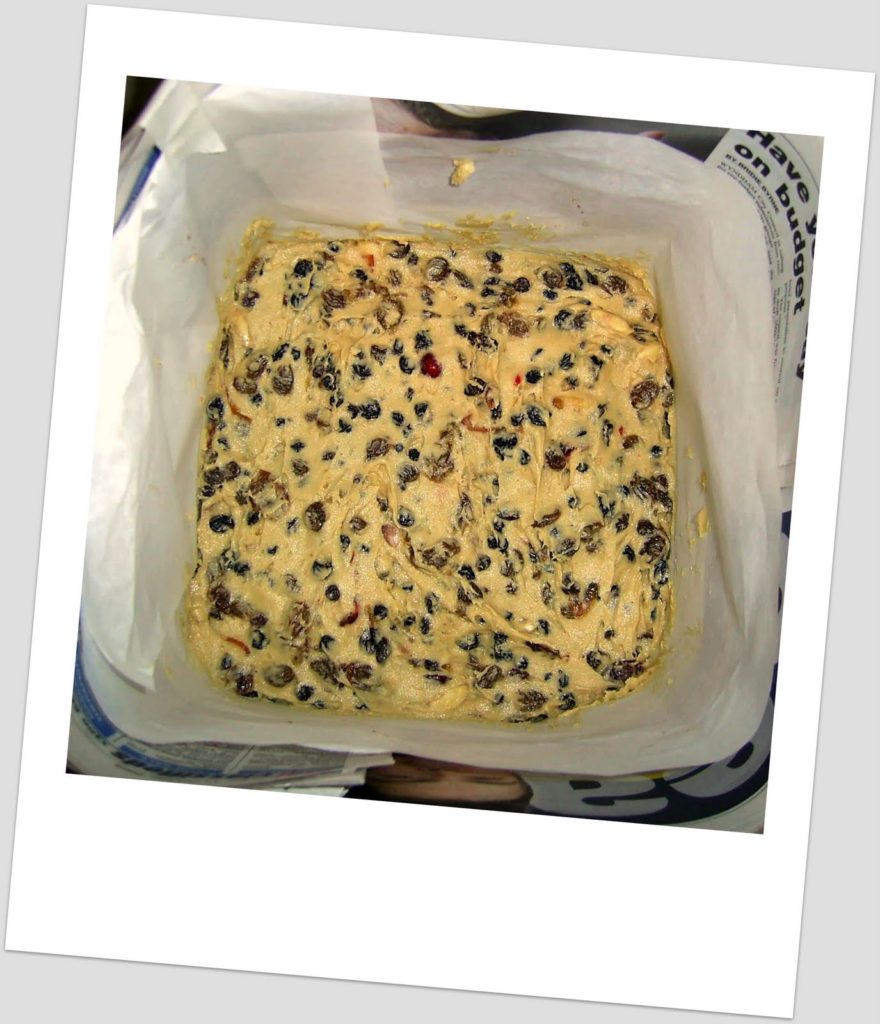
And here is the mixture ready for the oven. I’m using the “Prize winning fruit cake” recipe recommended to me by my Mum in law from the Australian Women’s Weekly Celebration Cookbook. I’ll let you know how it turns out.
Remember the giveaway is still on until Sunday.Ciao for now!
A gorgeous day
I woke this morning feeling really tired, but as soon as I peered out the window my spirits were revived. It was a glorious summer’s morn.
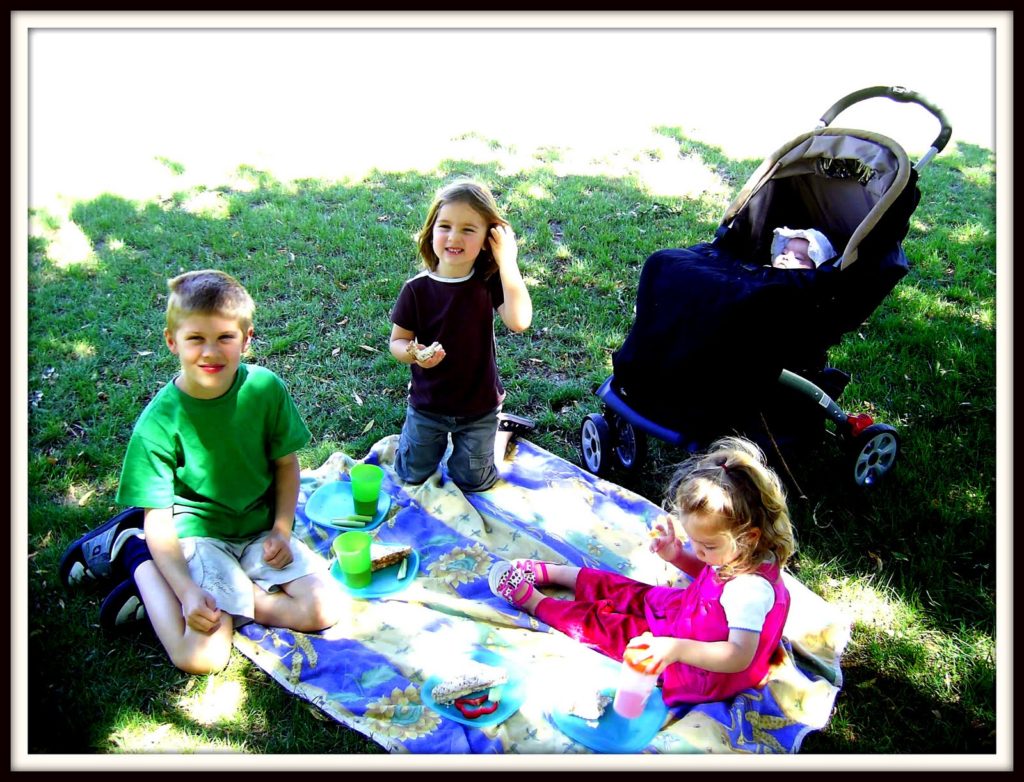 I felt it would simply be wrong to let the day pass without taking the children out for a picnic. So we packed up some lunch and headed to the local gardens. We found the perfect spot under the shade of a great willow.
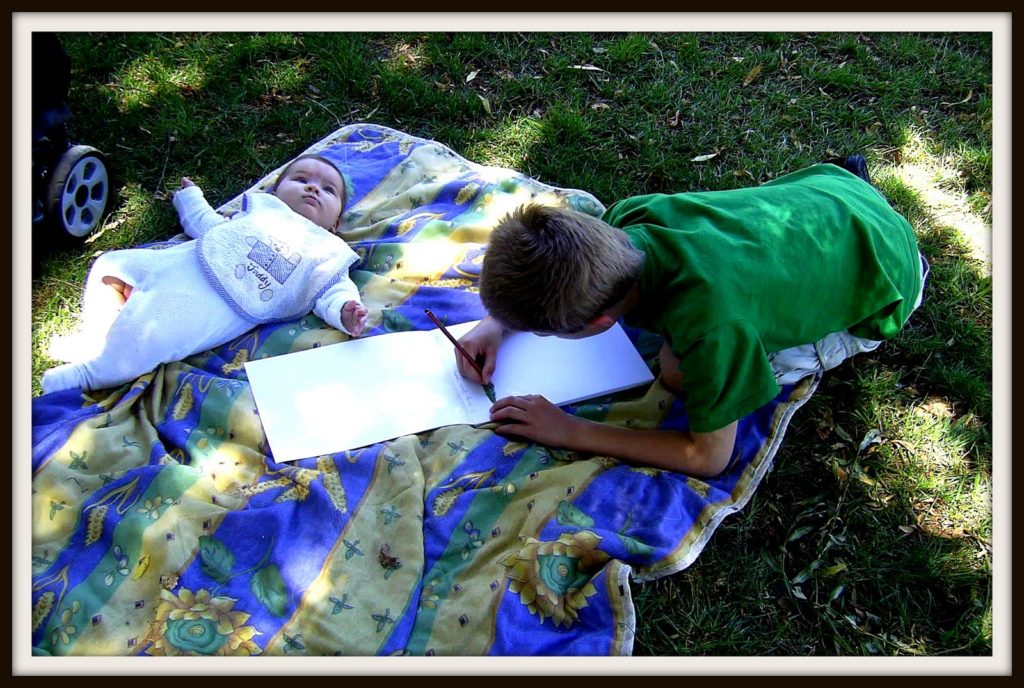 The boy took the opportunity to sketch in his art journal.
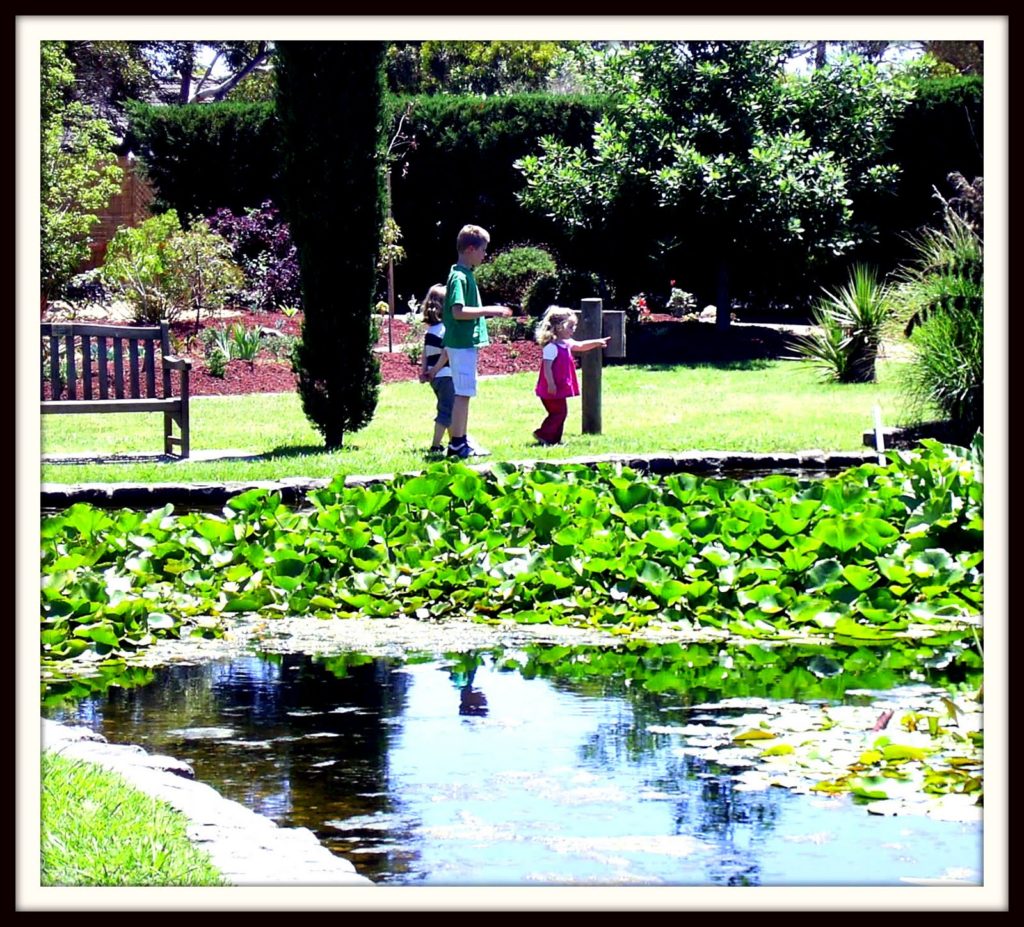 I love the way he so carefully looks out for his little sisters.
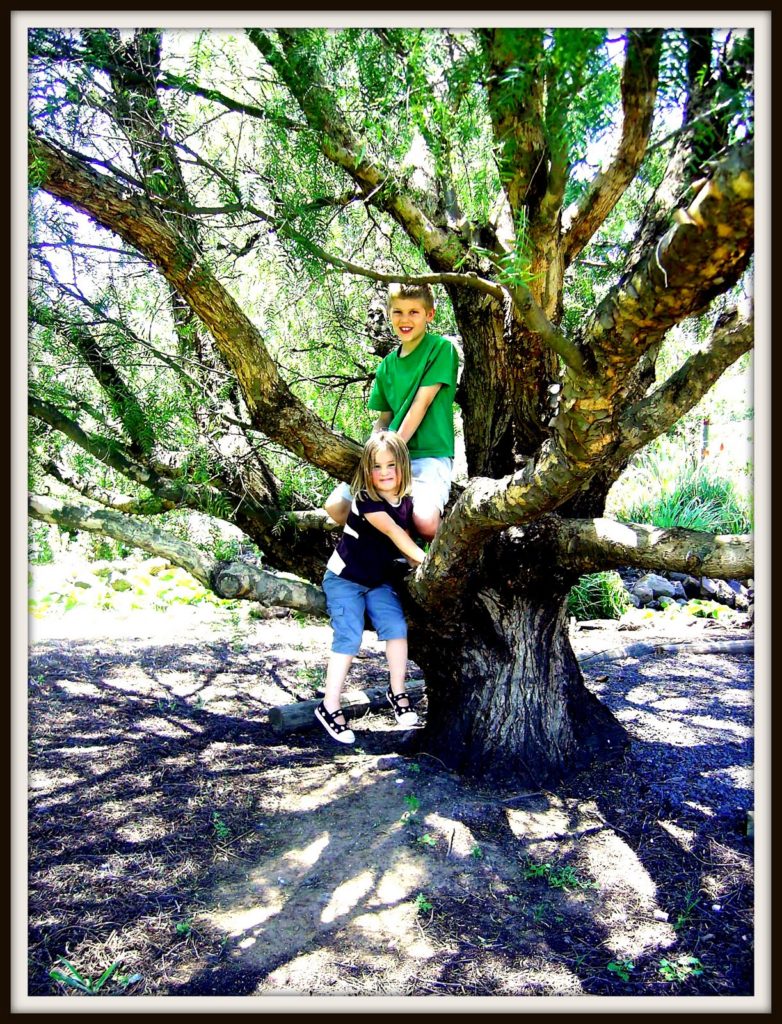 A big old peppercorn tree, just right for climbing.
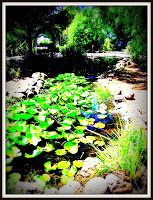 The gardens are really pretty with little ponds and streams. Intellectually disabled people work here and do a great job helping to maintain the plants.
A little angel tutorial
For one angel you’ll need the following:
1 wooden bead with a hole through the centre (I used a 14mm bead, you can go larger if you wish)
A white chenille stick, 4 inches long
Small wool felt pieces
Scraps of yarn for hair, or you can use carded wool
Beads, sequins etc for embellishing or embroidery floss
Pigma pen or paints
Craft glue
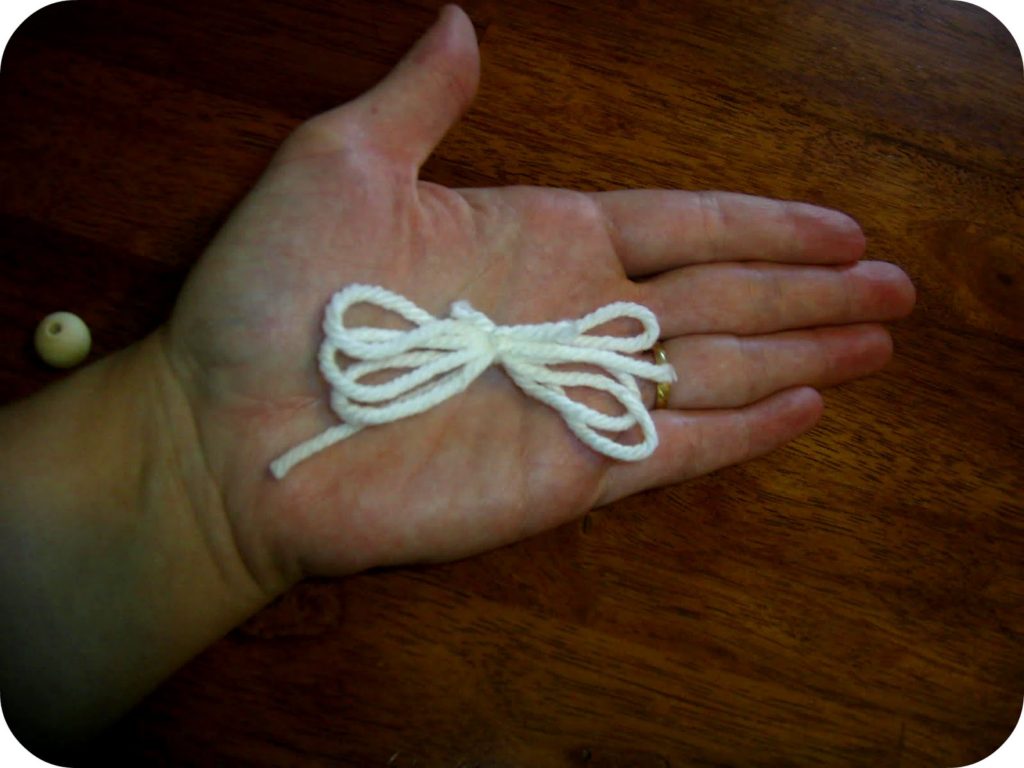 Gather your yarn into 3.5 inch long lengths and tie in the middle with a piece of yarn, double knot it.
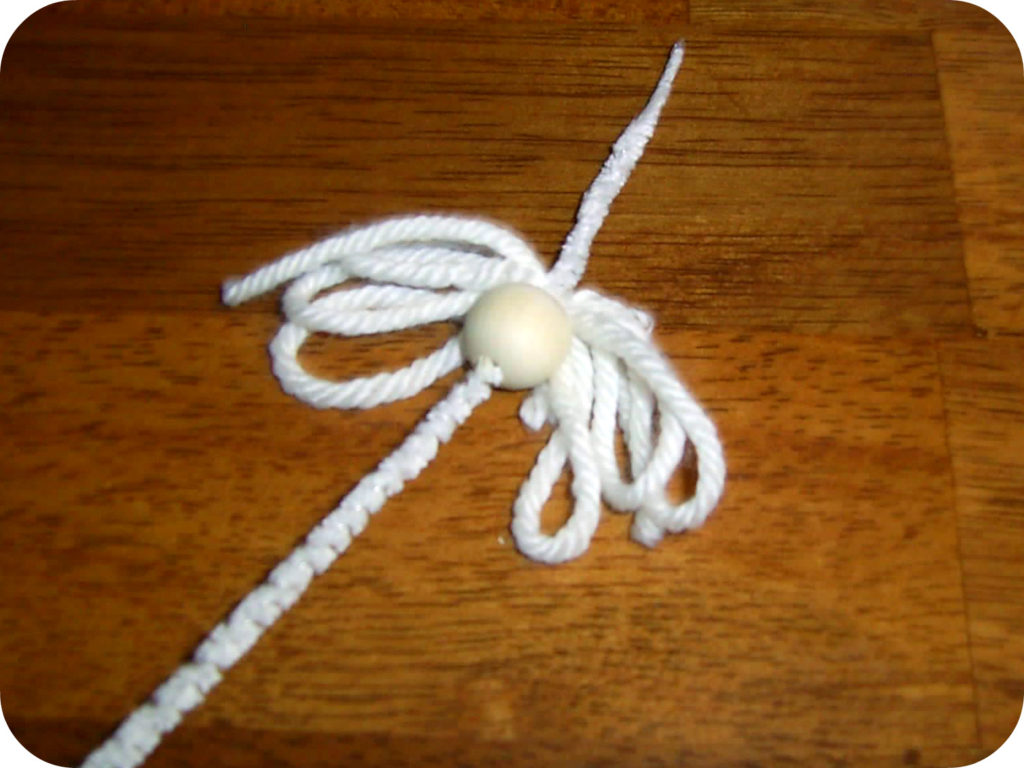 Glue hair on head towards the back so it doesn’t cover the hole. While the glue is still wet, push chenille stick through the hole in the wood bead so that it protrudes 2 inches out of the top of the head. Allow to dry.
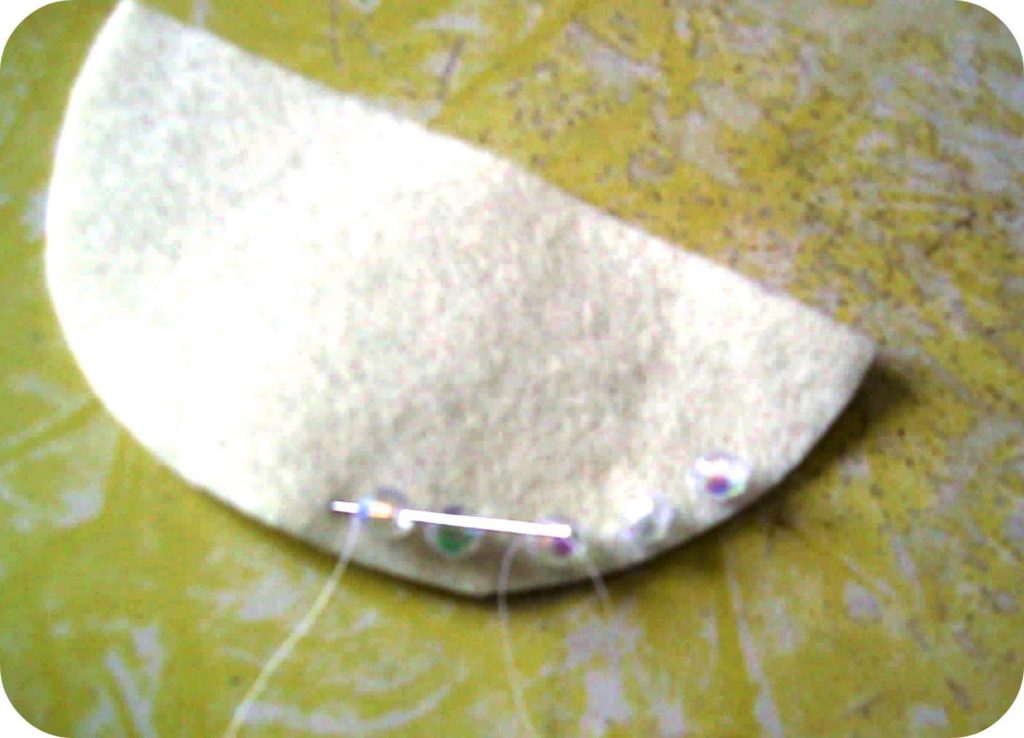
On a piece of paper draw a circle with a 4 inch diameter, it’s easiest to do this with a compass or by tracing around a circular object. Cut this out as your template. Fold the circle in half and cut again.
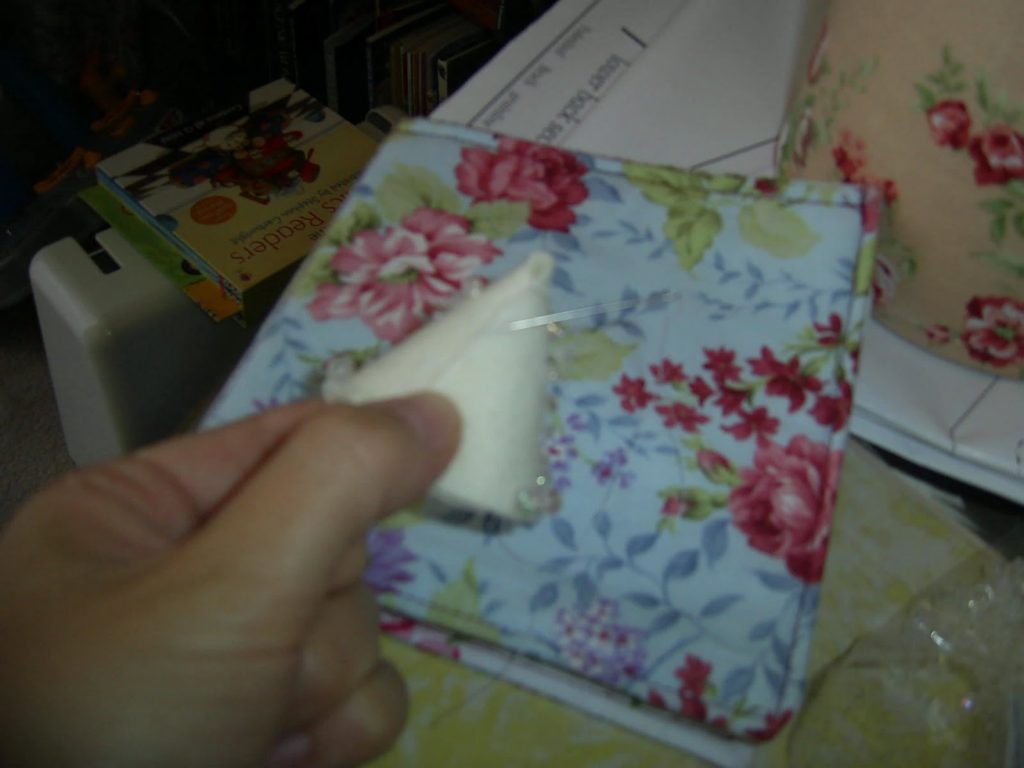 When you’ve finished embellishing, bend the piece of wool felt around into a cone shape so that the straight edges meet, leaving a small opening at the very top. Sew along the straight edges to hold the cone shape.
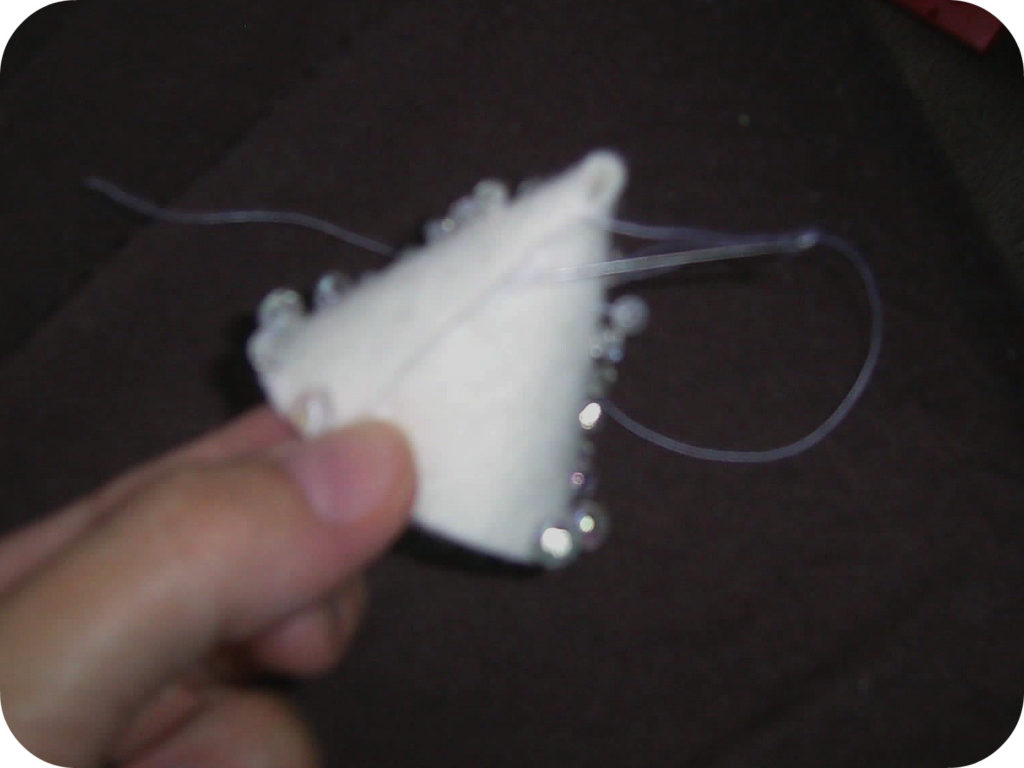
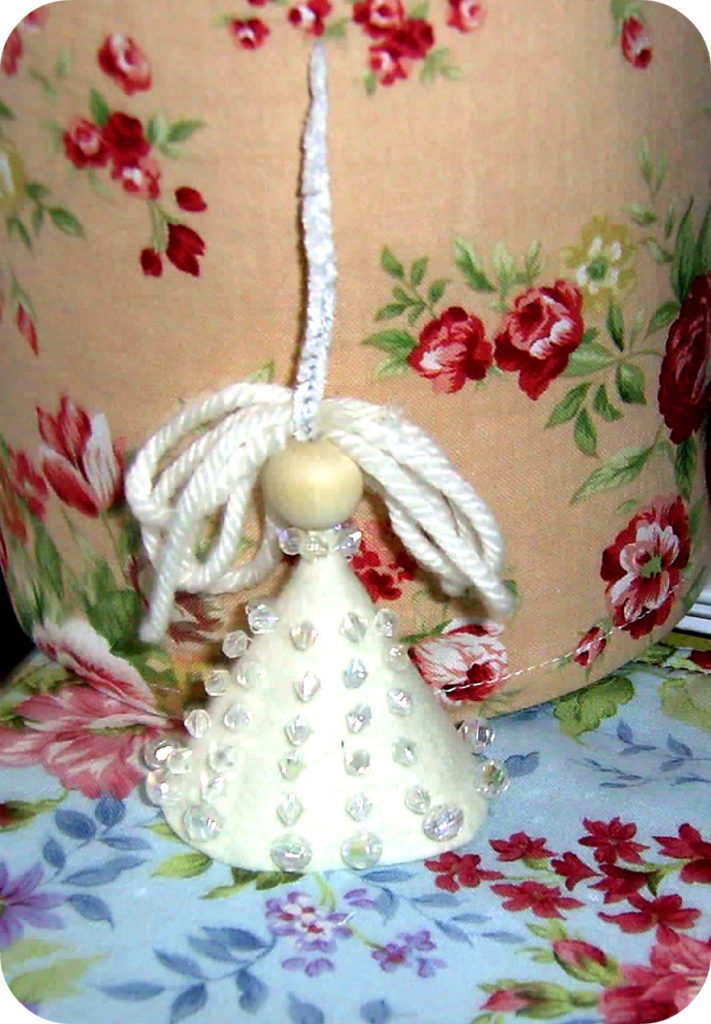 Add a little glue to the hole in the top of the cone, then push your chenille stick and head down into the hole so the head bead sits nicely on top. Sew up securely at the nape of the neck and around the neck if necessary. I added some more beads around the neck too.
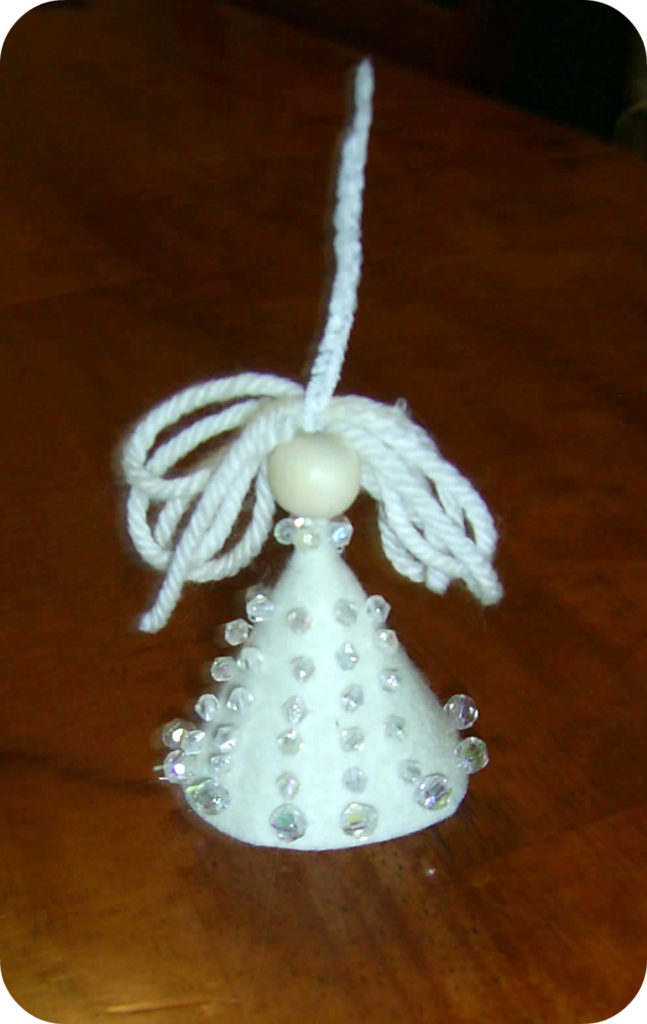 Your angel should look like this. Take the top of the chenille stick and bend it around your finger into a hook shape for hanging. Now draw with Pigma pens or paints a little simple happy face.
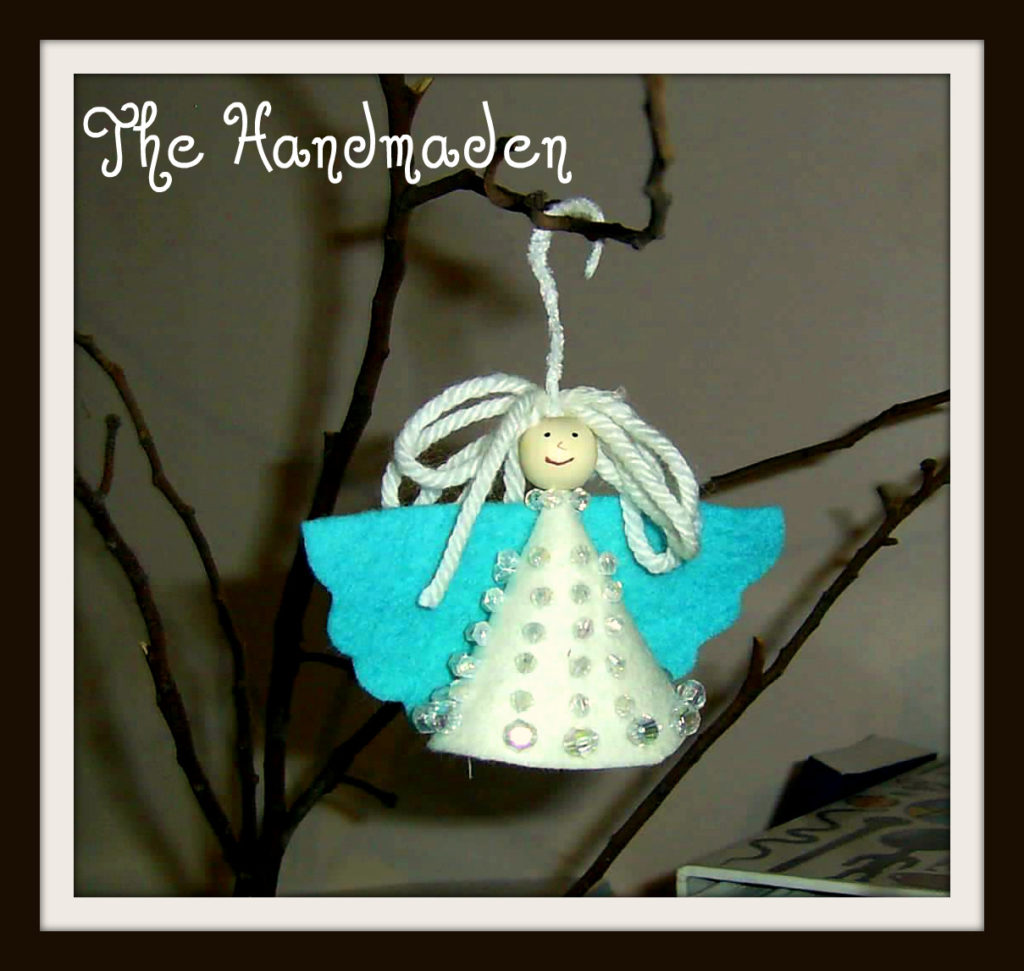 The last step is to take your contrast colour half circle and place it at the back of the angel so that the straight edge runs along as you can see in the picture (I cut some little wavy bits on the curved edge to make them look more like wings). Take a running stitch up the centre of the back of the angel to secure the wings.
It’s giveaway time!
2.
Blog about this giveaway with a link back to here. (This will give you two entries)I will draw a random winner on Sunday 6th December, that will give you a couple of weeks to spend the voucher and totally spoil yourself for Christmas.
Fingers crossed for you!
Mamu Imke
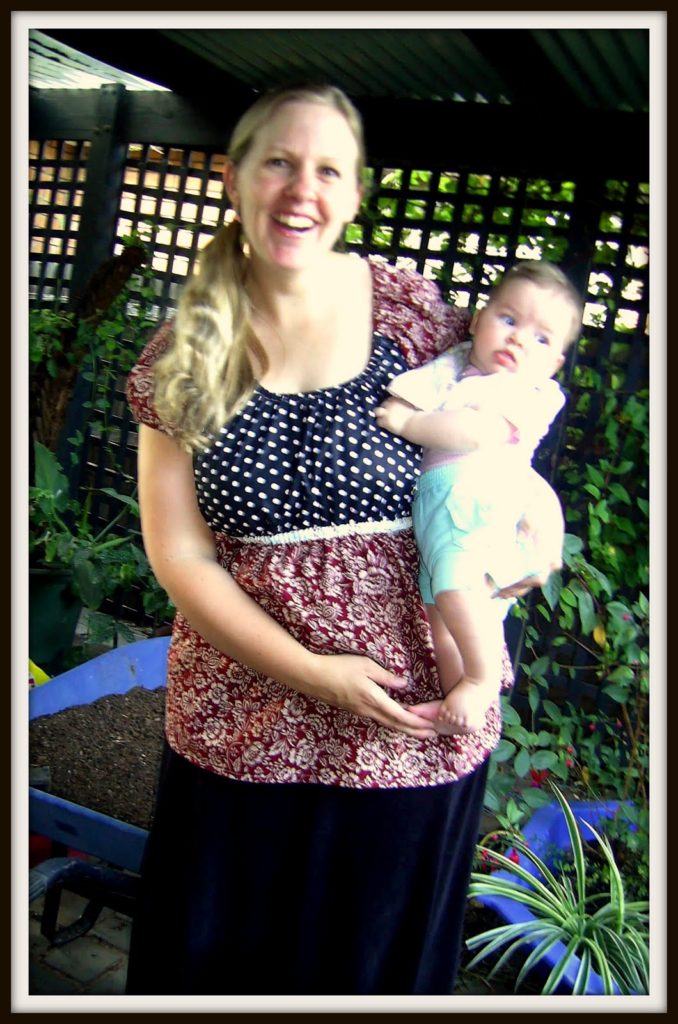 Yay, I finally finished the Imke top I’ve been working on, yes, that’s me – hello! (what’s a photo without a baby attached to your hip?)
A few things I didn’t like about this pattern. First, the instructions were minimal and a little unclear, which won’t faze you if you’re a pro. The second thing is the fit is a bit funny and it didn’t come together quite right and needed some adjusting ( or maybe it’s just me?)
My third problem was the crappy black and white spot fabric which looked very nice on the roll when I bought it but performs a little like a piece of cardboard. Not great.
Not sure if I like this top but I’ll be trying the pattern again with different fabrics as I like the style.
Oh, by the way, I got my pattern from Crafty Mamas.

