• Skip to main content
  • Skip to primary sidebar

Kelly Casanova Weaving Lessons

  • Hi! I’m Kelly!
    • Disclosure
  • Online Weaving School Class Index
    • Common account issues
    • Common technical issues
    • What do I get with a membership?
  • New to rigid heddle weaving? Start here!
    • Never heard of the rigid heddle loom?
    • How to weave neat edges on the rigid heddle loom
    • Rigid heddle weaving
    • Rigid Heddle Weaving Patterns
  • Patterns
  • Subscribe

Uncategorized

My Creative Space

by Kelly 13 Comments

Is a shambles! I’m here today to inspire you (really!) to not let your creative space get like this!!

Or this!!
So – my main “creative” aim for today is to try to achieve some semblance of order so that I can walk through this room without cringing and can look forward to sitting at this table again – even look forward to finding what I need when I need it!
For other much cleaner and prettier creative spaces take a peek here.

Filed Under: Uncategorized Tagged With: my creative space

Rainbow mandala dress

by Kelly 5 Comments

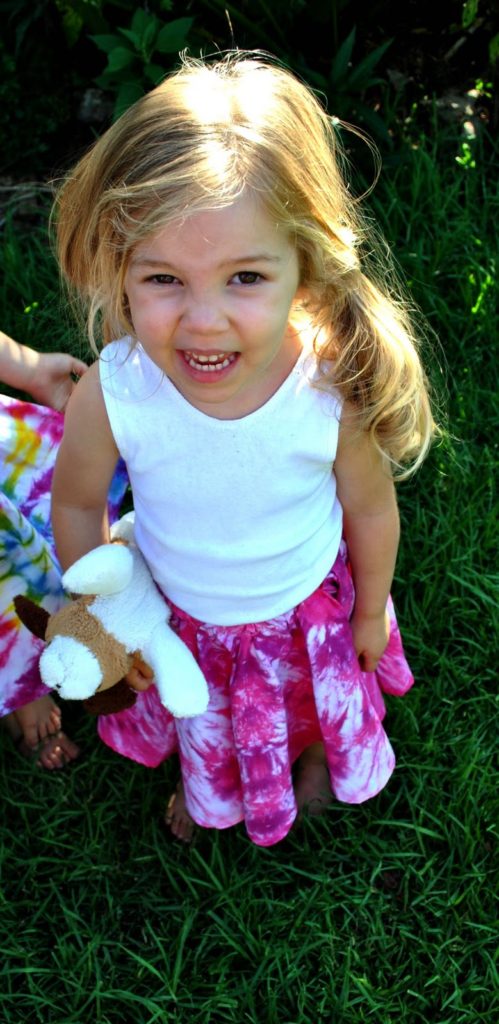
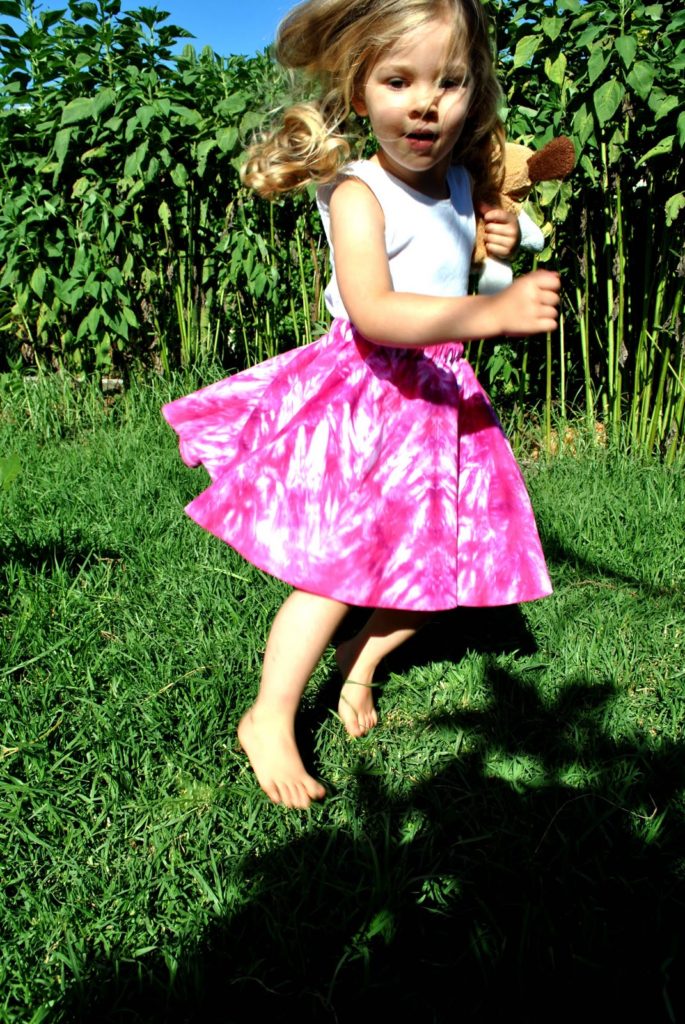
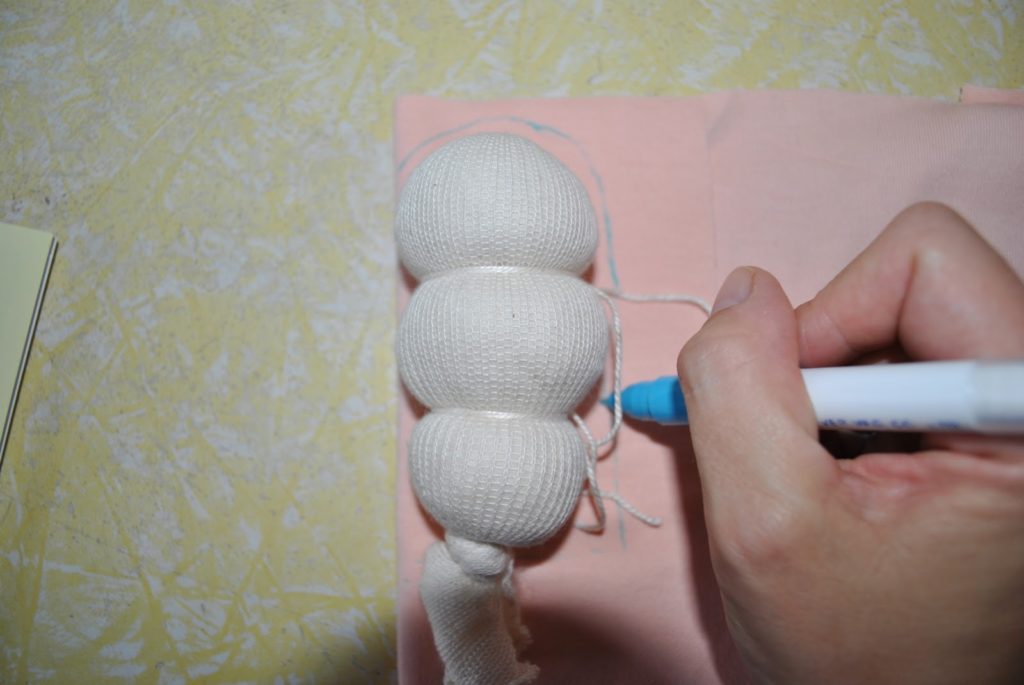
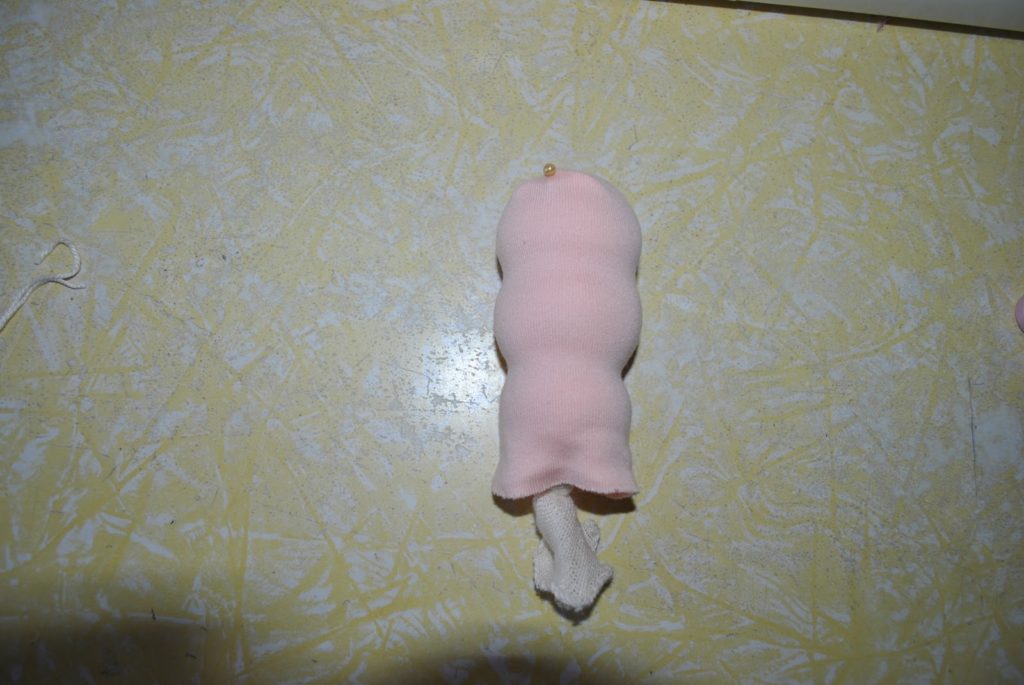
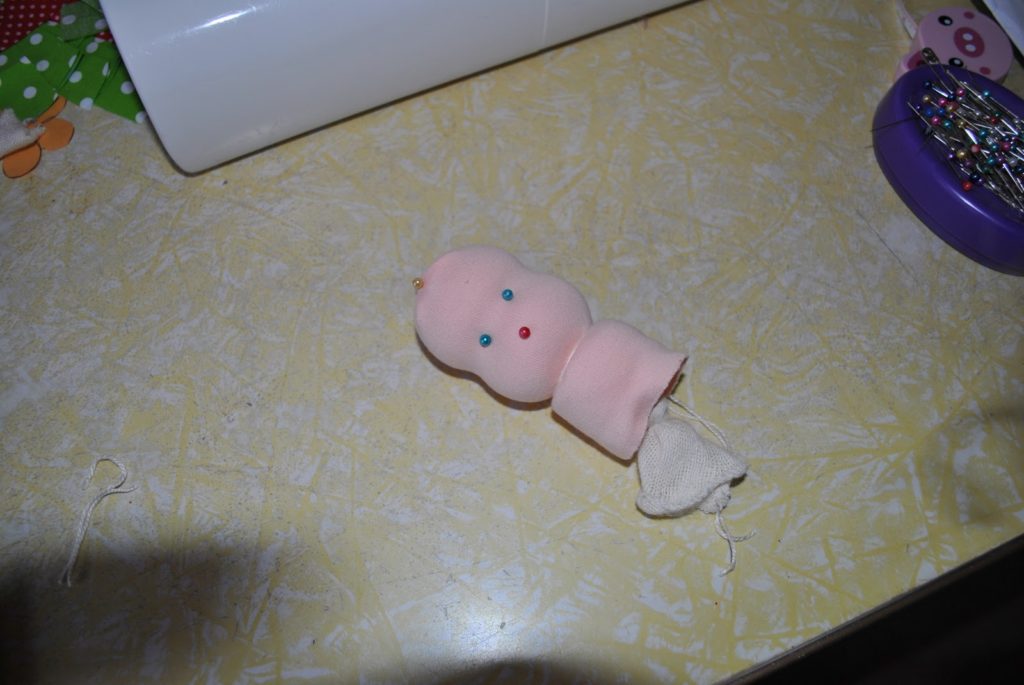
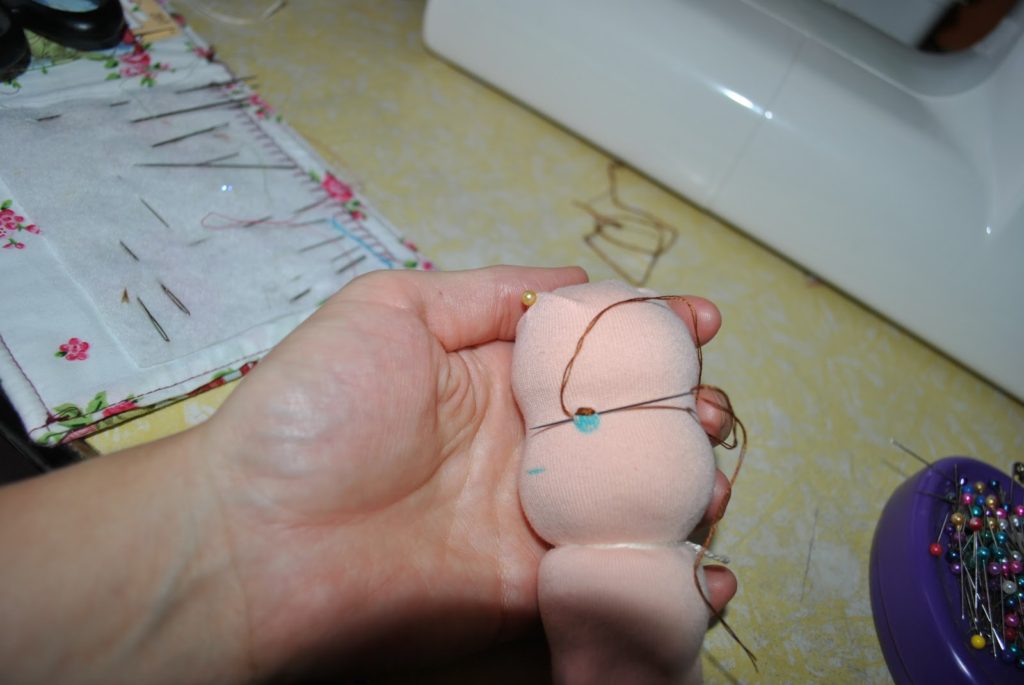
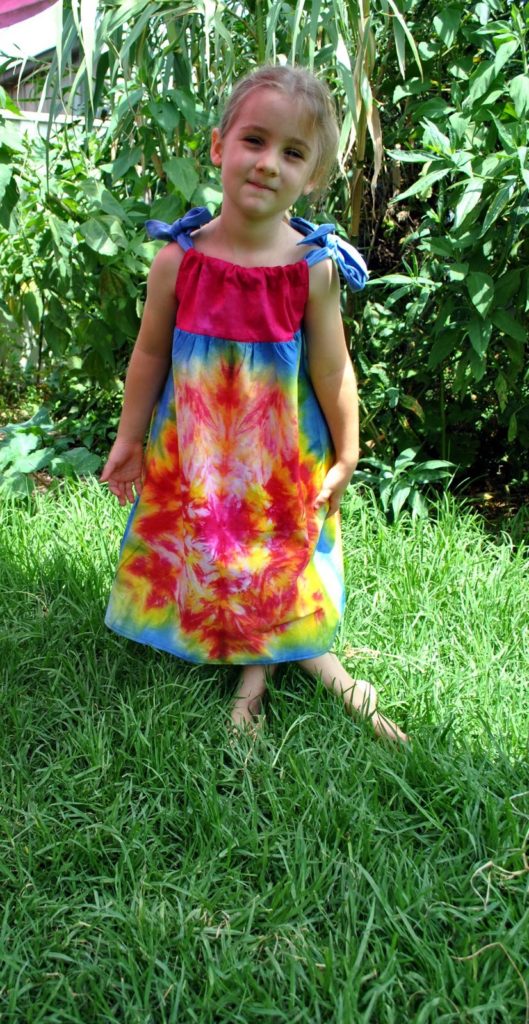
My latest offering for my Etsy shop – dresses! The beauty of a dress like this is the adjustable ties which makes it a multi fit garment. It fits a 3 year old up.

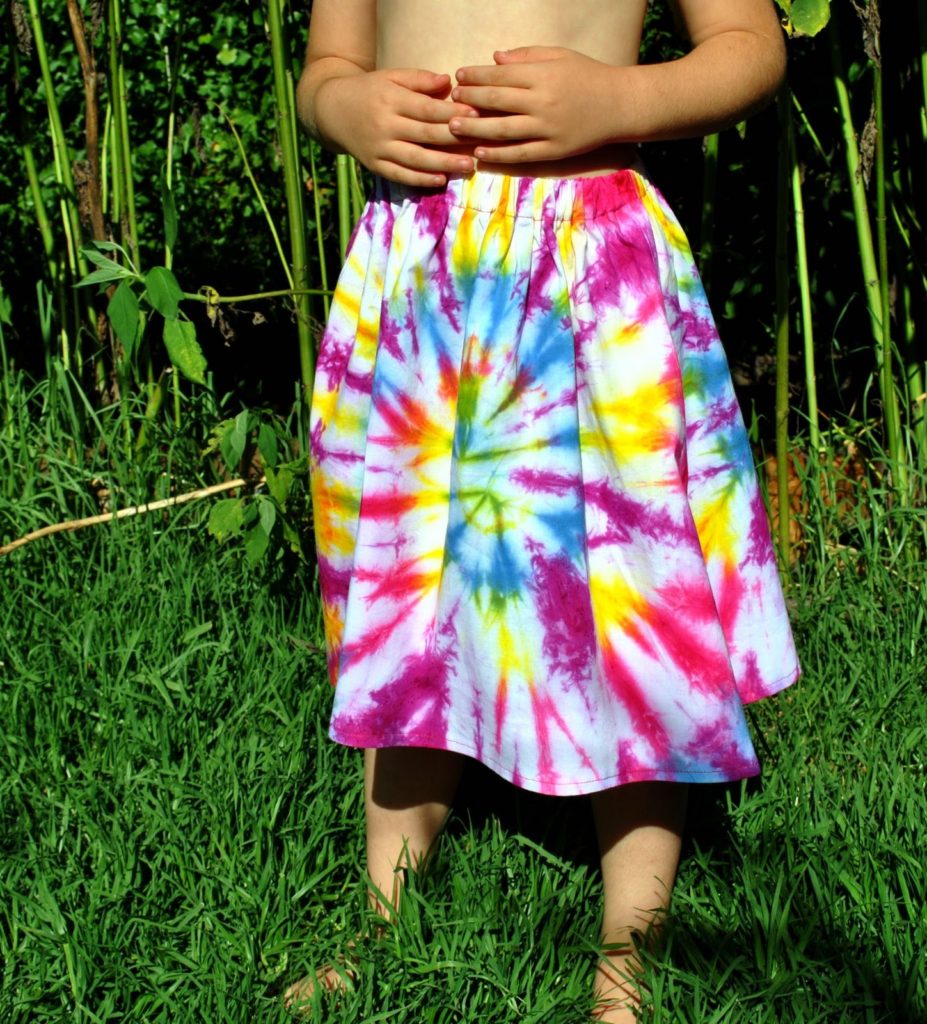
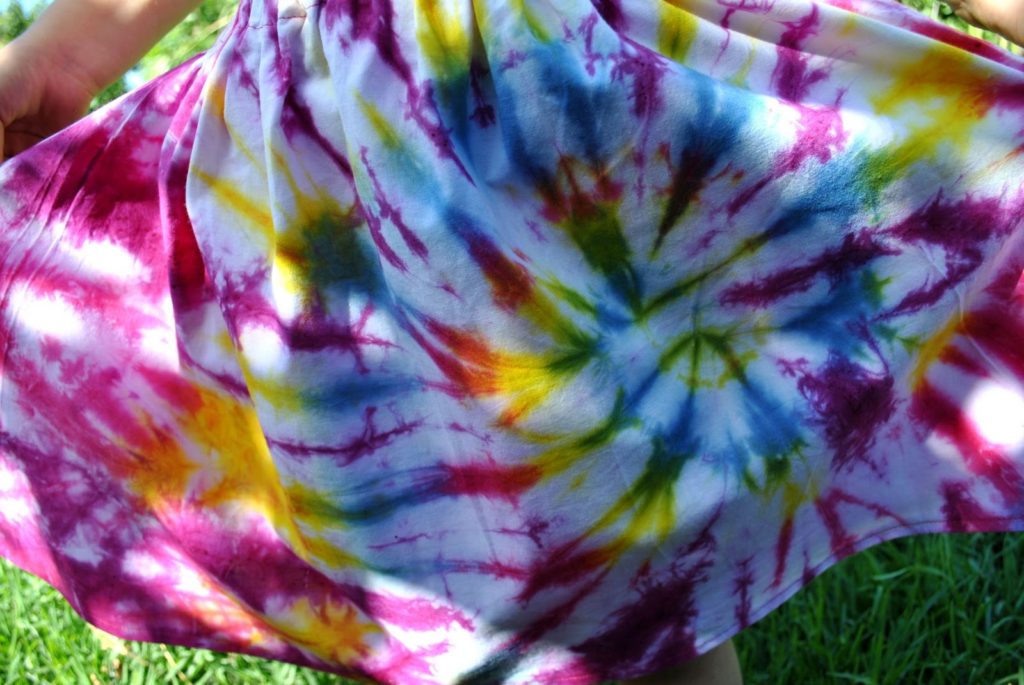
I dyed the pieces separately and did a mandala design for the main skirt. The girls were desperate to keep this one, but then again, they’re desperate to keep most of my creations and if I gave in the wardrobes would be overflowing even more than they do already!

If I haven’t been to your blog lately I do apologise, I just seem to have a lot on my plate at the moment. I’ll try to visit soon and I appreciate you reading.

Filed Under: Uncategorized Tagged With: hand dyed dresses

Pocketful of Posies

by Kelly 3 Comments

Pocketful of Posies: A Treasury of Nursery Rhymes

                                                                 Image credit

Have you seen Salley Mavor’s latest? Her artistry is just so beautiful – the detail of the stitching, the layout of the scenes – wonderful!

Filed Under: Uncategorized Tagged With: books

We survived – we even thrived a little!

by Kelly 2 Comments

The first day back homeschooling was the stuff of nightmares as I dealt with children who had forgotten how to be good students! Thankfully, it got progressively better as the week continued and now we’re well and truly back into a good routine.
I even got a little time to sew and dye.
Little Miss 3.5 has been asking for one of my twirly circle skirts for some time. I received the cotton lawn I’d been waiting on and once she saw the roll there were no more excuses!
In her favourite colours – purple and pink. I think she likes it!
This one is an elasticated A – line that I dyed in a spiral.
It’s destined for my Etsy shop.
I love the summery colours!
It’s so rewarding to be able to make clothes from scratch.

Filed Under: Uncategorized Tagged With: fabric dyeing, Hand dyed circle skirts, Homeschooling

by Kelly 1 Comment

“This is the first lesson for the Christian wife and mother today: to let go of what may have once been – and under other circumstances might now be – a recollected self, and take on, with both hands, the plan of God. Indeed it is the lesson for every Christian in every age: it is the gospel principle of dying on one plane in order to live on another”.

Hubert van Zeller from Holiness for Housewives and other working women.

https://kellycasanovaweavinglessons.com/2011/01/this-is-first-lesson-for-christian-wife.html

Filed Under: Uncategorized Tagged With: Inspirational quotes

Another homeschooling year begins…

by Kelly 6 Comments

Don’t be surprised if I’m not around much – we start back tomorrow.
Mixed feelings here, I think I’ve enjoyed the break too much, plus I haven’t achieved everything I wanted to over the break. I’m also faced with teaching a 10 year old, a 5 year old who has started reading, a 3 year old who wants to learn everything her siblings are learning and an 18 month old who gets into everything all the time!!
At least I’m pretty organised:

Books – check
Timetable written – check
Enthusiastic and motivated teacher and learners – umm.. we’ll get there I think!

All the best to those who are homeschooling this year, especially newbies – if you need help or advice give us a shout.

Filed Under: Uncategorized Tagged With: Homeschooling

Waldorf softie doll tutorial – Part 1

by Kelly 8 Comments

It’s high time for a tutorial here so I’ll teach you one of the things I know best – dolls! This tutorial is for the style of doll you see above in a small size (9 – 10 inches). You can scale things up for a larger doll or just make a little one. They are great as a first doll for a younger child because there are no small bits as choking hazards. Please use this tutorial and pattern for personal use only 🙂
Today we make the head. I have a lot of pictures for beginners who want to have a go.

Materials list for head –
Finger bandage (or other bandage you can sew to size) approx 4 inches long x 1 & 3/4 inch wide
Approx 8 x 8 inch piece of cotton tricot
Clean, carded wool
Strong tying thread
Basic sewing kit and machine.

Your piece of bandage should fit comfortably over your index finger (to give an idea of width). Run a gathering stitch around one end with needle and thread, gather up tightly and knot.

Turn right side out (RSO)

Stuff very firmly until the head measures about 4 inches from the top and tie into a knot to prevent the stuffing from slipping back down.

Now tie about 3/4 of the way down with some of your strong cotton or linen thread. I find it easiest to tie  doubly around to get it super tight. You may find it easier to get someone else to hold the knot initially.

Now with the same thread tie half way between the top of the head and the first tie.

Lay the head with knotted ties to the back on your piece of tricot doubled over. Trace a rough outline around the shape of the head, allowing a bit of extra room. Use a disappearing or water soluble pen for best results.

Place a couple of pins to hold the layers together. Don’t cut this out! With your sewing machine set to a small stitch, using matching thread and with a ballpoint needle (important!) sew on the line you have drawn. Don’t sew up the bottom as you’ll need to fit this over the inner head. Cut out close to the stitches and turn RSO.

Fit over the inner head like so. A little peak of tricot will stick up at the top, pin it back.
Using your strong thread as before tie tightly around the neck with the knot to the back.
Using a few pins, play around with the placement of the facial features. See how close set eyes differ to….
..widely set eyes. Your choice.
Using the pins as your guide, draw some small circles at the eyes and mouth. Use a disappearing or water soluble pen, it makes life much easier when mistakes can be removed!
 Using 2 strands of embroidery floss (knotted end) and entering from the back of the head come out at the top of one eye. Work sating stitch to fill in eye. Let the stitches float on the surface of the skin rather than pulling tight.
Here’s a tip for needlework facial features: Use a larger (doll) needle to take the thread through the head. Once through, switch to a normal embroidery needle with a smallish eye. This works in 2 ways – you don’t make too many larger holes in the skin so your stitches look neater and you never lose a needle inside the head!
For the mouth you really only need one straight stitch. Using matching thread, sew down that little peak at the top of the head I mentioned earlier, just some small, neat stitches to hold it down.
Well, there is your part 1, I really appreciate feedback for tutorials – even if it’s just pointing out mistakes! So, let me know what you think.
Part 2 is now available!

Filed Under: Uncategorized Tagged With: dollmaking tutorial, Tutorials

Welcome to the jungle!

by Kelly 4 Comments

My husband took some photos of our backyard from the roof.
Having a wet summer has done amazing things for the garden.
When we moved here 5 and a half years ago this was an empty, barren space. We are surrounded by other houses and had no privacy in our yard.

Now it is green and beautiful every direction you look. My husband has worked very hard to make our unattractive suburban block into something a bit more special. It is a truly wonderful thing.

Filed Under: Uncategorized Tagged With: Gardening

Computer + me = disaster!

by Kelly 8 Comments

I’ve just spent (wasted?) a goodly amount of time making a new banner for my blog following a tutorial using Picnik. Very easy to follow. Only problem is, when I place the banner on my blog it suddenly becomes a headache inducing pixellated blur. Tried to fix it. A lot. Can’t.
Any ideas?

Filed Under: Uncategorized Tagged With: What the day brings

SHE team toy finds

by Kelly 1 Comment


Yes, today’s focus is on toys or objects that inspire play. Enjoy…


Tawashi - Lime Green Octopus
Tawashi – Lime green octopus by flutterbugcreations


Knitted Farm Animals, Farmyard, Merino Yarn


Knitted Farm Animals by mamma4earth


She Makes Me Smile Crochet Pattern


She makes me smile crochet pattern by chriscrochetcrazy


Wooden Doll,  Goldilocks and the Three Bears Playset  -  Waldorf Inspired Toy


Goldilocks and the Three Bears Waldorf Playset bytheenchantedcupboard


CRANBERRY CHILD'S POUCH SLING for Dolls or Teddies suitable for children from 1-8yo


Cranberry Child’s Pouch Sling for Dolls & Teddies by earthslings


You can visit the SHE team blog here to find more great Etsy pieces.


Filed Under: Uncategorized Tagged With: Etsy, SHE team

  • « Go to Previous Page
  • Page 1
  • Interim pages omitted …
  • Page 44
  • Page 45
  • Page 46
  • Page 47
  • Page 48
  • Interim pages omitted …
  • Page 83
  • Go to Next Page »

Primary Sidebar

Categories

Archives

Meta

  • Log in
  • Entries feed
  • Comments feed
  • WordPress.org

Copyright © 2025 Kelly Casanova Weaving Lessons on the Foodie Pro Theme