Choosing the right yarn for the right project can be a huge conundrum for newer weavers. There are so many yarn choices for weaving that it can be very confusing to know where to start.
If you want to know more about the basics of choosing yarns when you’re just starting out, you will want to read this post which includes a couple of super helpful videos where I walk you through some of my stash and the ways I’ve used certain yarns in my weaving.
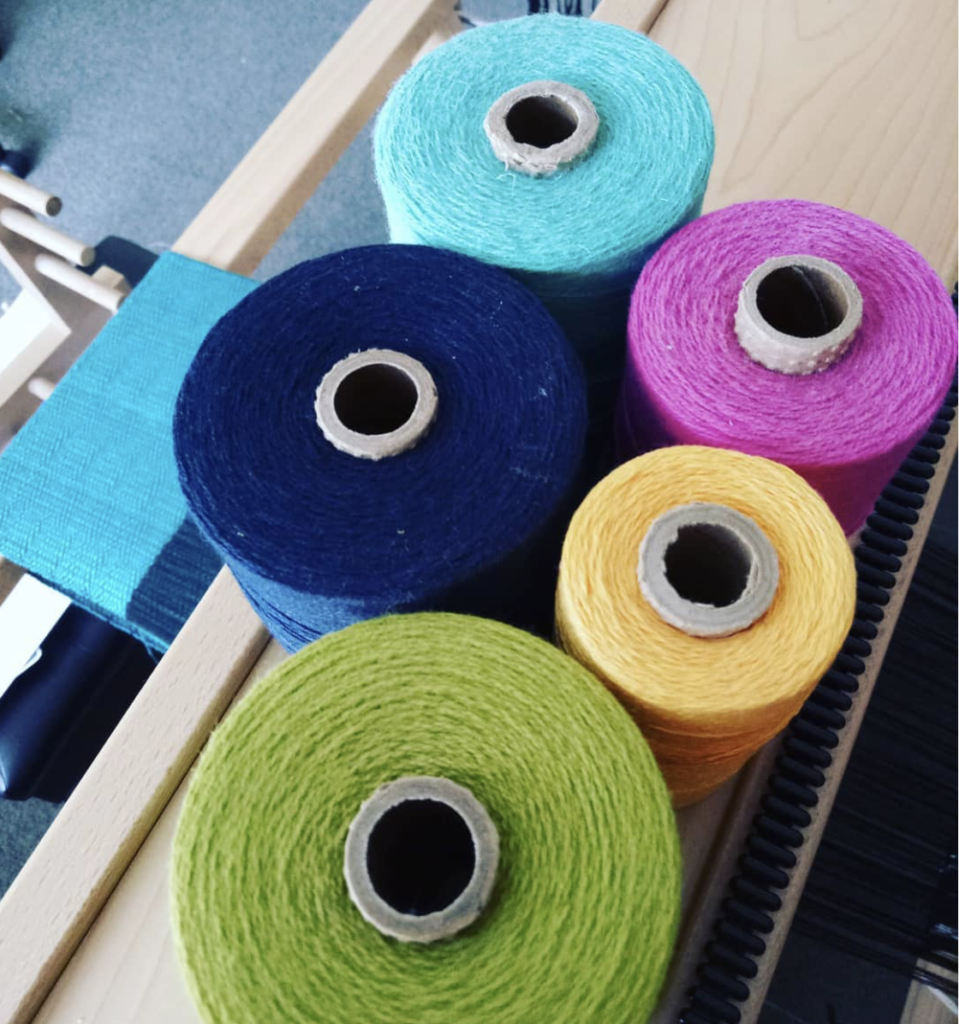
I usually recommend specific yarns for new weavers to try, based on my experience with which yarns are the most economical, easy going and likely to give consistent, more predictable results.
This post contains affiliate links
But today, I’m going to do the opposite. I’m going to talk about the yarns that a new weaver should not use, and even go so far as to say that a newer weaver should NEVER use these yarns to begin with!
Pretty extreme, huh? Trust me, you will thank me for it!
So, how do I know about these three particular yarns that should be locked up and kept in a closet marked with NO GO – NEW WEAVERS NOT PERMITTED?
Because I hear about it all the time! The anguish of a new weaver who unwittingly picked a yarn that “looked pretty” and now is in a terrible anguish, caught in the balance between the idea of cutting the project off the loom prematurely or giving up on weaving altogether because it “doesn’t seem like my thing“.
Friends, it does not have to come to that and I am here to tell you how!
There are three yarns that you should avoid at all cost. Not forever, just to begin with. Later, you will have the experience, know how and possibly patience to deal with these yarns, but to begin with you want to keep it as simple and achievable as possible.
Think of your beginning weeks, months, or however long it takes (remember we all learn at a different pace and that is absolutely fine and normal. If you have any qualms on this note, please take the time to watch the video on Slow Learning down below).
The first few projects at least should be devoted to getting to know your loom. It’s like a honeymoon period, hopefully a happy one! But, if you think of your beginning stages in this way, as the learning phase, it won’t matter so much if you don’t always get amazing results as you will be learning what you need to know.
You’re probably itching to know what these three avoidable yarns are. I won’t keep you in suspense any longer.
I’ve put this one at the top of the list for a reason. Don’t use it if you’re a beginner. I can’t be much more blatant than that. Just don’t do it. You will be sorry.
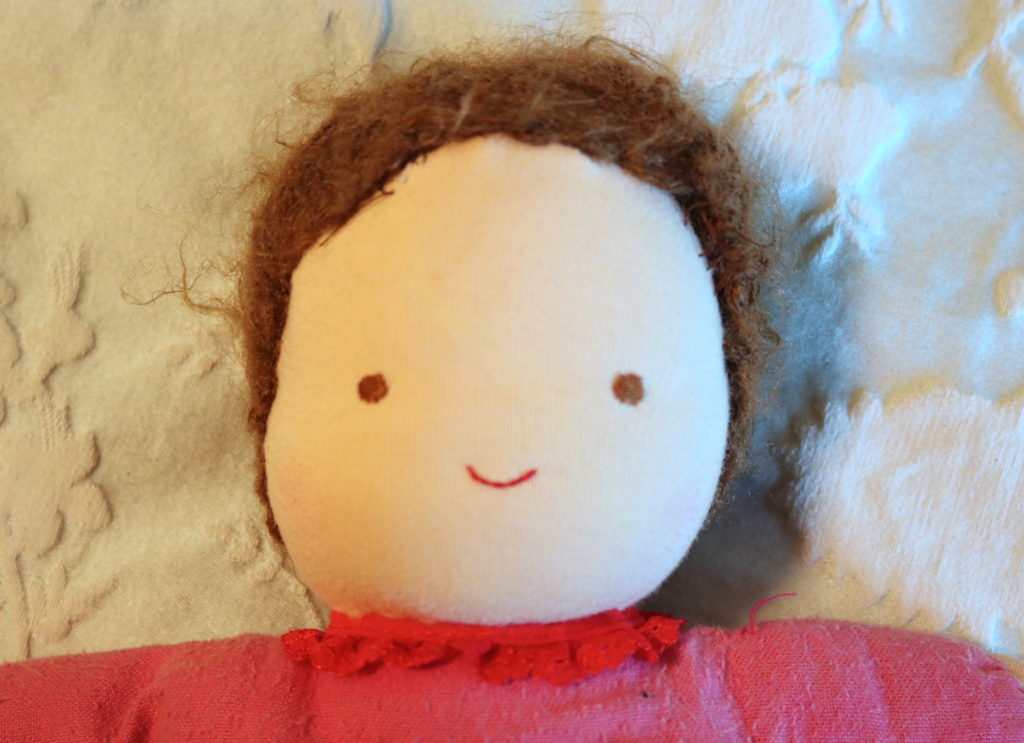
Meet Anna. Why do I have a random doll included in this post? I’ll explain. I made this doll for youngest daughter’s first birthday present, almost 10 years ago. She has stood the test of time pretty well, but is in need of a wig refurbishment. At the time, I was a dollmaker and sold my dolls on Etsy. I made the dolls from all natural materials, so their skin was a lovely soft cotton, they were stuffed with clean, carded wool and I would often use mohair to make wigs or hair. By the way, if you’re interested in a 10 year old tutorial on making a doll similar to this one, I have a two part tutorial here.
The point is, I used to have a huge stock of mohair but have used it all up in dollmaking. So instead of showing you a ball of mohair, I’m going to show you the back of the doll’s head to help illustrate why you should not use mohair as a beginner weaver.
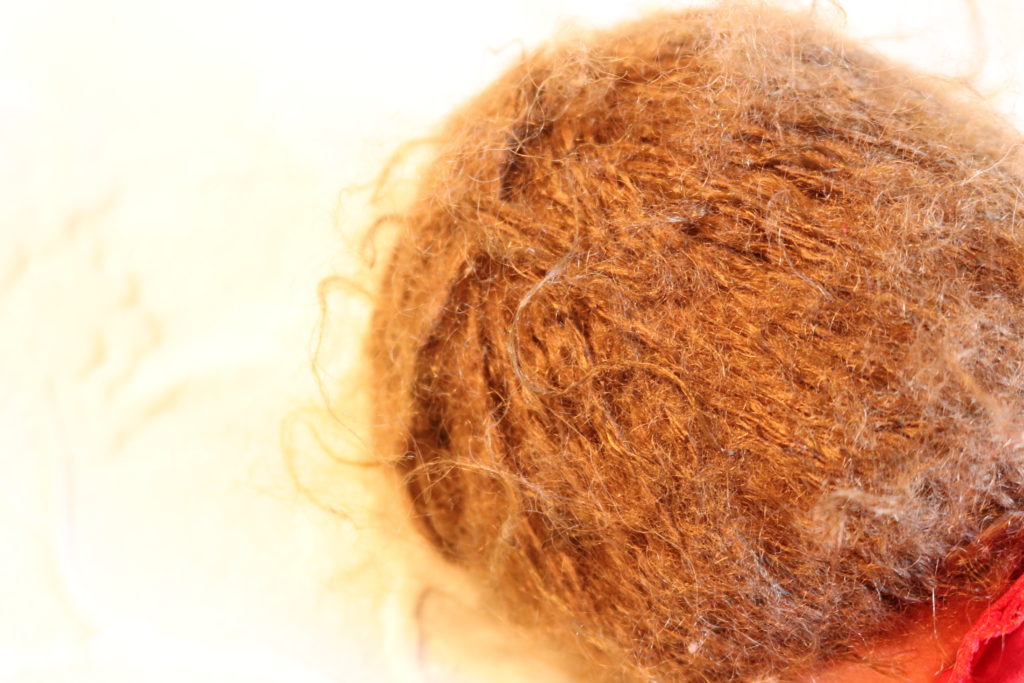
Check out that fluff. Yes, mohair is uber fluffy! See that halo? (This is going to become a recurring theme!) Mohair sticks to itself. Very much. You carefully warp your loom and begin weaving, only to find that you don’t seem to be a able to get a clear shed. Sound familiar? Every. Single. Time. You change sheds, the warp threads stick to each other and you wonder how on earth you are supposed to get your stick shuttle through an either non existent or at the least, very messy shed. It doesn’t make for a fun weaving experience.
2. Fine, rigid threads.
By this I mean a weaving thread like an 8/2 cotton. These types of yarns will usually be sold on a cone rather than in a ball or skein.
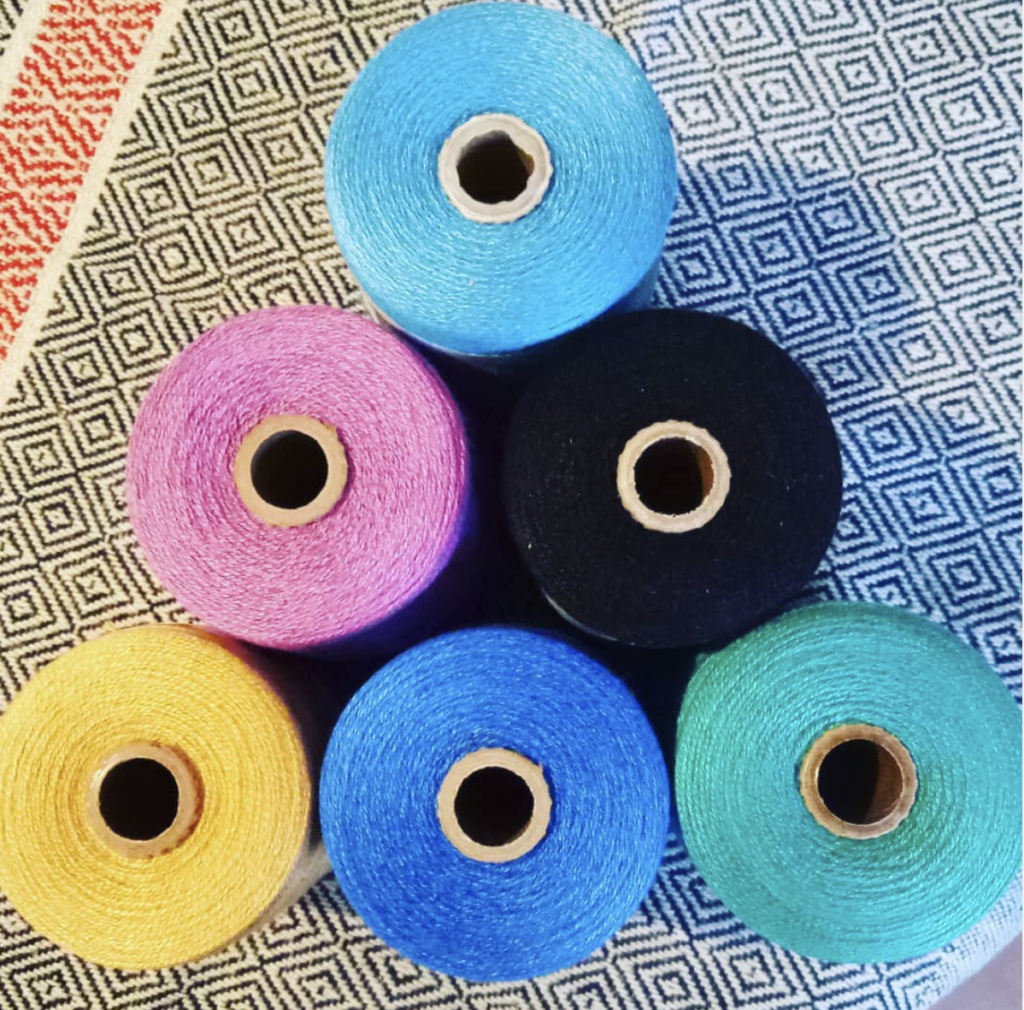
Why do I think they’re a bad idea for beginner weavers? Firstly, they will have little to no elasticity. This is a problem for newbies (ahem, and veterans!) because they are difficult to warp with the correct and consistent tension. Which can be really frustrating. Especially on a rigid heddle loom where you can’t achieve as firm a tension as you can on a floor loom. When you’re not familiar with these types of yarn or don’t have much general weaving experience, you don’t want a yarn that won’t stretch a little. Yarns with elasticity (like, say a dk or light worsted wool) are so much easier to warp and work with. They will stretch out and contract back nicely on the loom and for that reason I call them very “forgiving” yarns. They help rather than hinder your warping and weaving process. They will be your newbie friends. The inelastic, thinner yarns can be your friends later.
The second point about these yarns is that they are thin. Which means they take longer to warp. Then they take longer to weave. When you’re just starting out you really want to choose shorter, approachable projects that don’t feel like a year long commitment to finish one item. Thicker yarns will be a huge help in this respect. They weave up quickly and with less problems.
3. Luxury Yarns
There are plenty of yarns that come under this category so I will point out a few specifics.
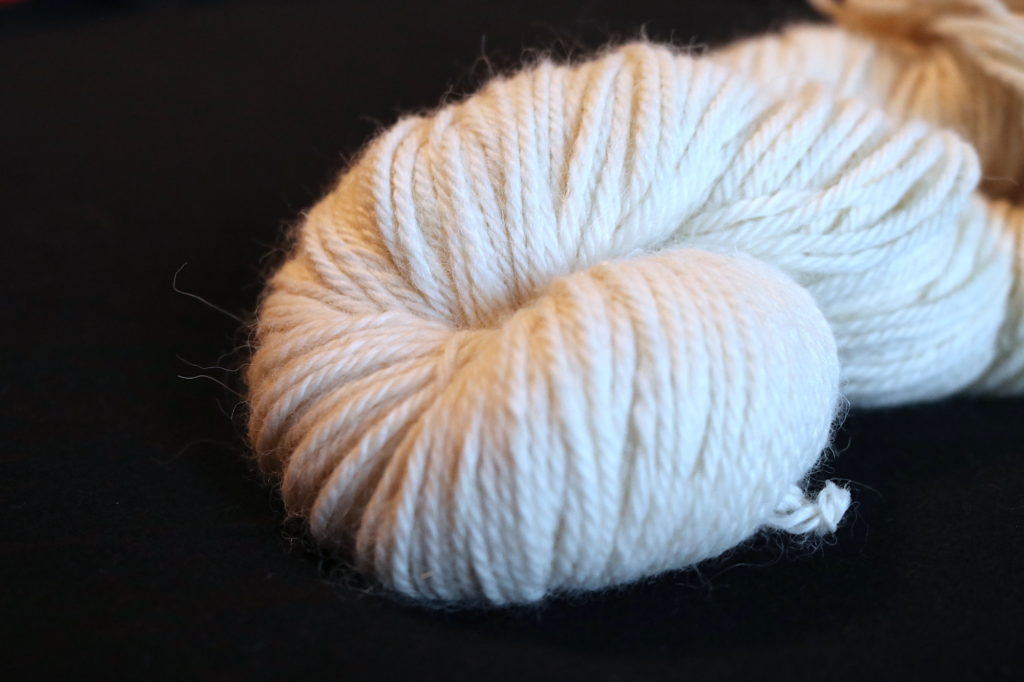
Baby alpaca is a gorgeous, sumptuous yarn. No, it doesn’t come from actual baby alpacas, it is classed and graded as a very fine fibre, and is extremely soft, hence the name. It also has a halo. It’s not fluffy in the same way that mohair is, and it’s not as difficult to weave with. But yes, it will still be a pesky, sticky yarn to weave.
The exact same rule applies here to Angora, possum and some cashmere fibres. Once again, save their scrumptiousness for a little later on.
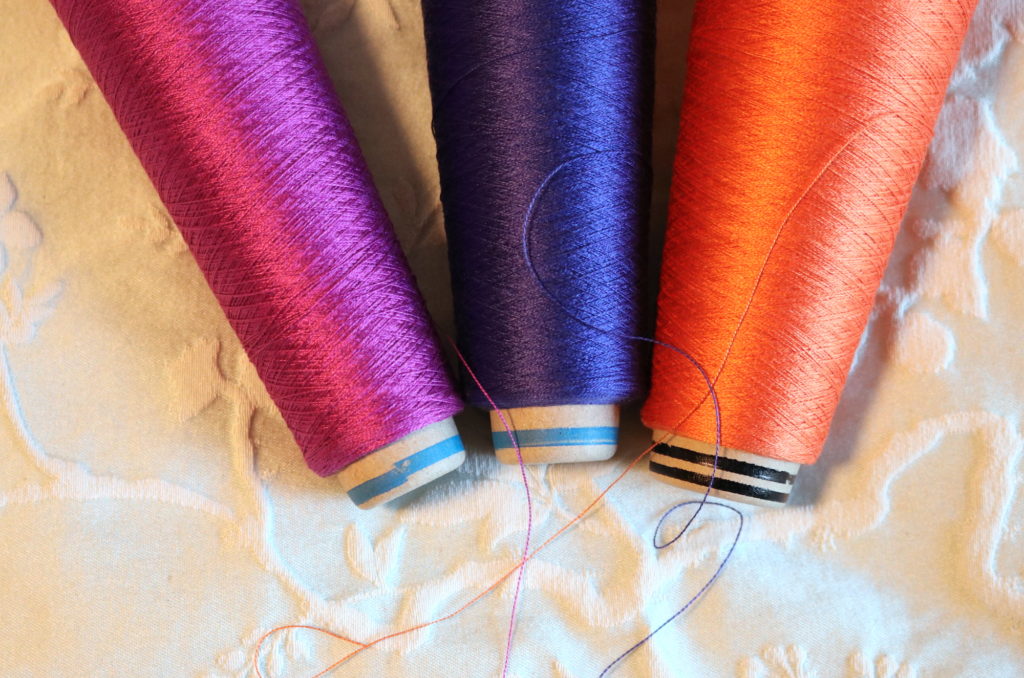
Ah, silk, beautiful, shiny, luscious silk. I love weaving with it. Now. I didn’t attempt weaving with it until I had a lot of experience under my belt. I mean, have you seen how expensive silk yarn is? 😲 I knew I didn’t want to make that investment unless it was for something really special that I was ready for. Also, the fineness of the 60/2 silk above (similar to sewing thread in thickness) makes it doubly unsuitable for newbies.
Luxury yarns are just that – a luxury. Which means they will have a price tag to match. I’ve heard some newbie weavers say that they couldn’t resist a luxury yarn for their first project. I understand that your first project is a special one, but you need to be a realist about it too. Weaving is a learning curve. Skills like weaving neat edges and achieving good tension take time and are not likely to be perfected in your first project. You are really feeling your way with your first project. If you add the stress of having to make something nice with your very expensive luxury yarn on to the experience of learning to actually use your new loom, it will often be a recipe for disaster.
Let me put it this way: I’ve never heard a new weaver regret that they used inexpensive yarn for their first project. But I’ve had many, many, many messages from people in distress that things are not going according to plan and they spent so much money on the yarn. Save yourself the stress and start out with an inexpensive, light worsted/dk/Aussie 8ply wool.
Now, if I could only find a way to get this message to every new weaver in the world, I think there might be a lot more happy weavers out there.
This post is also available in video format-
So, time to fess up. Have you had a less than positive beginner experiences with one of these three yarns? Let me (and everybody else, just in case someone needs more convincing!) know about it in the comments.
Until next time…
Happy Weaving!


