Search Results for: sewing
Rhonda from the Down to Earth blog has been showing her favourite place at her home and has invited readers to do the same, so I thought I would join in!
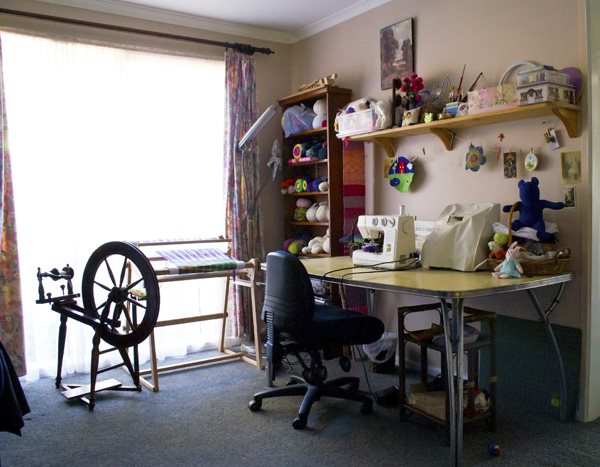
This is what I call my studio, but in reality is a corner of our second living room. We are very blessed to have two living rooms. It is right next to a large window, which is important because it’s a darkish room.
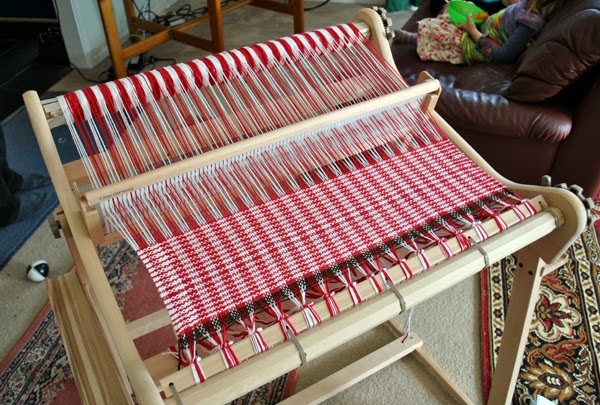
This little space houses my sewing machines, weaving loom and spinning wheel as well as a lot of odds and ends that are regularly used. The less regularly used things are put away in various hidey holes around the house.
What I love about this space is that it’s mine! That’s not to say that the table is not a dumping ground for all things that “need fixing” (oh, so many!) but generally the space is reserved exclusively for my creative work. It’s also a functional and versatile space. I couldn’t list the number of things that I do here, but with my love of fibre and textile arts, you can probably use your imagination 🙂
Yes, I dream of having a larger space or a proper studio one day (there is the issue of where my next loom is going to go!) but I am so grateful to have a dedicated space where I can find what I need and don’t have to move things around too much.
I’m looking forward to seeing your favourite spaces too. I must confess, Rhonda’s front verandah looks like a dream come true!
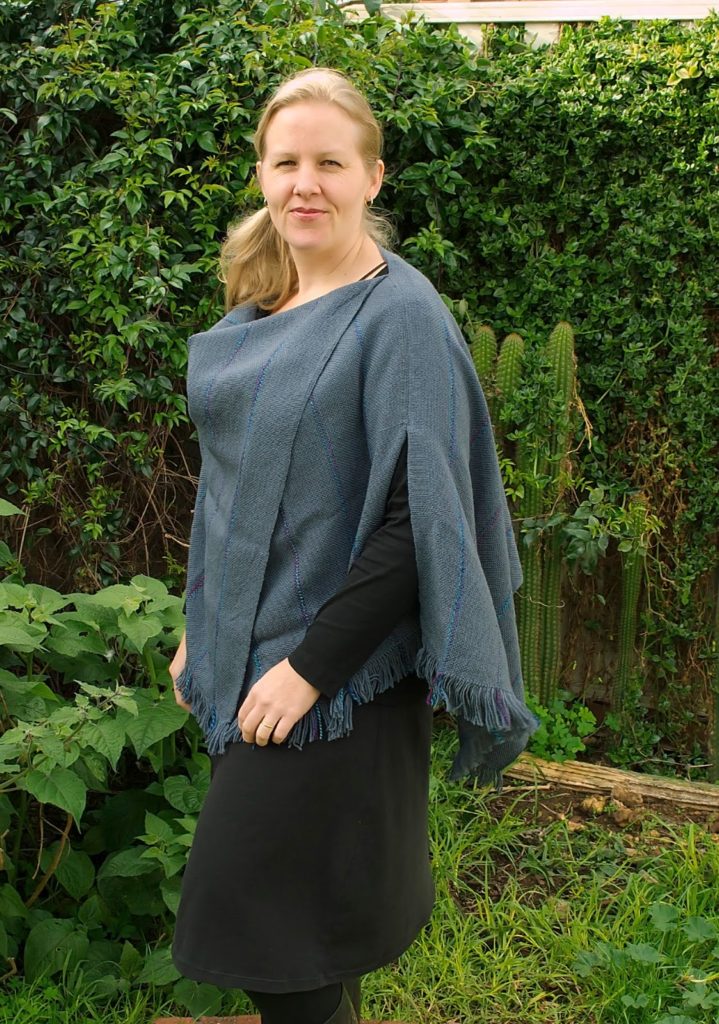
Hand woven shawl, poncho, wrap???
I had this fabric sitting around and wasn’t sure what to do with it. Yesterday, inspiration struck, I tried some pinning, then some sewing and finished up with a beautiful, warm and drapey garment that I’m quite taken with!
Here is the back view.
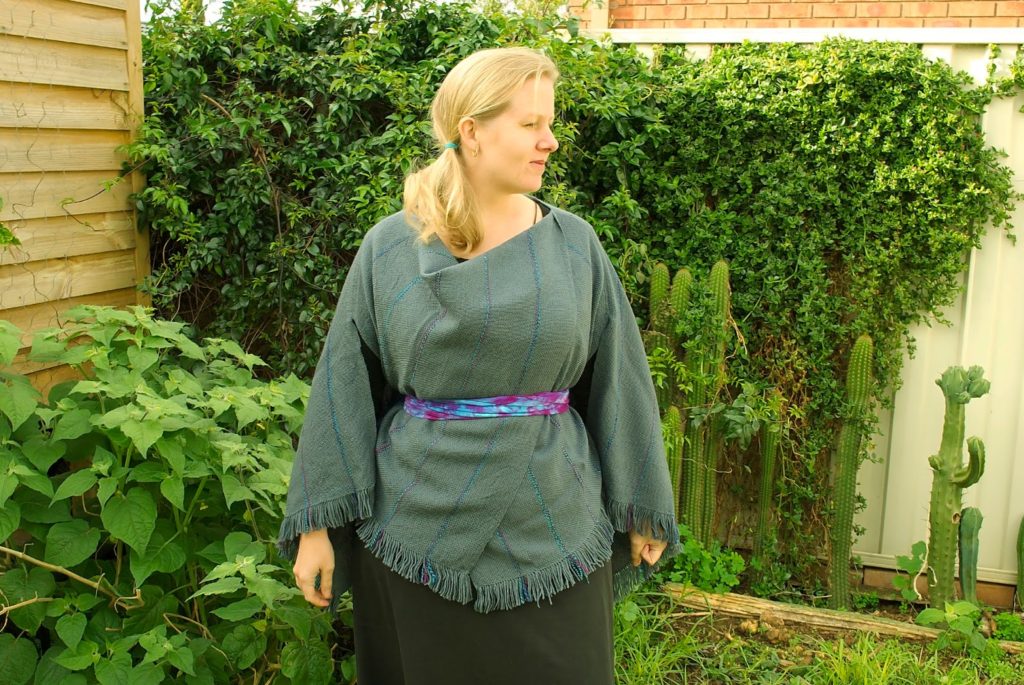
I said to my husband “if I was thinner I could wear it with a belt”. He said “wear the belt anyway”. Awesome husband 🙂
It’s a versatile piece – it can be a wrap, a poncho, a shawl, it’s pretty cool!
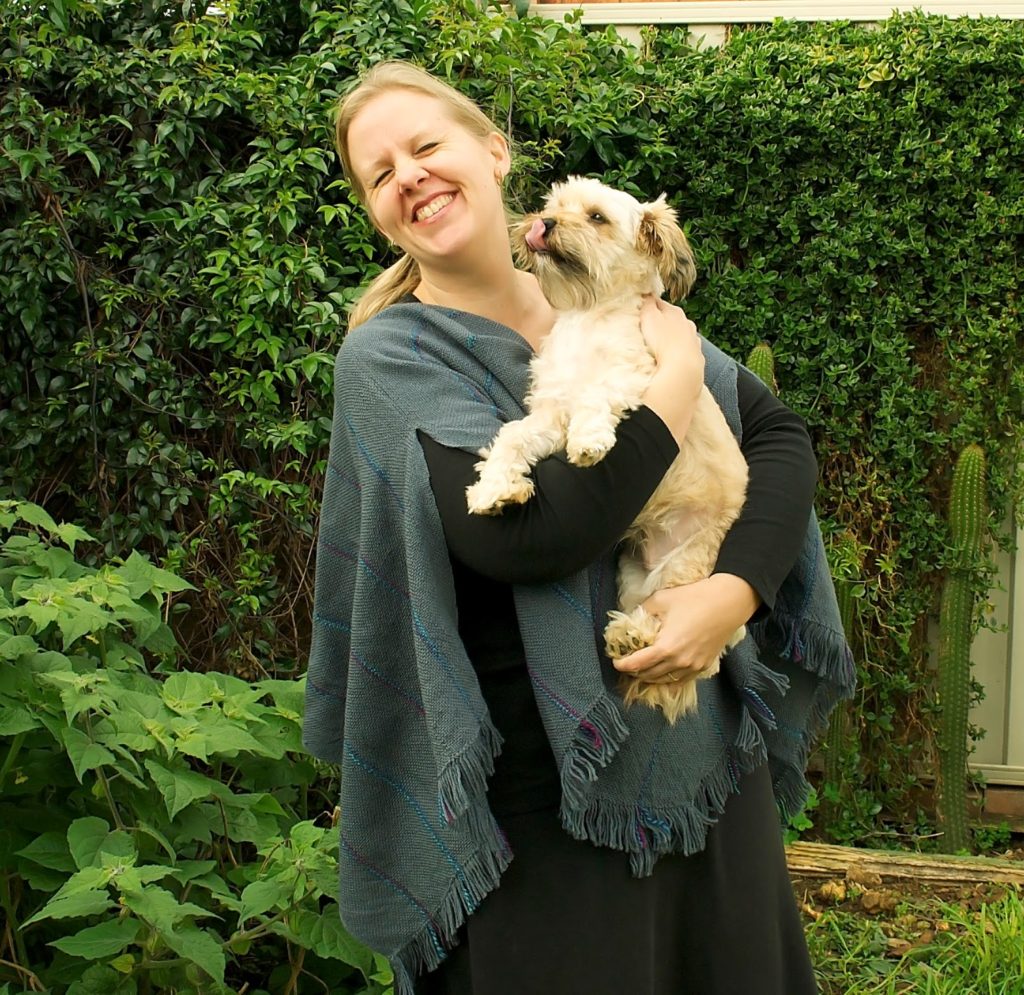
And what would a photo shoot be without Lou (aka Noodleberry).
I posted the garment on Facebook and a lot of people want details, so I will try to recall what I can!
The cloth: Woven in 2 panels 140cm x 50cm (one panel was slightly longer)
Both panels were hemstitched on the loom.
I used 4ply merino (grey) and my hand dyed handspun in the warp for the stripes.
I used a 10 dent heddle on my rigid heddle loom.
The construction: I lay one panel on top of the other. Taking the top panel, I made a full twist in it (like a mobius scarf). Woven fabric is reversible, so both sides look good, major bonus 😉
Leaving a neck hole, I pinned the panels so that they would be joined for 24cm. I tried it on numerous times, adjusting the pins to get a good fit. Then I sewed the panels together on the sewing machine, pressed the seams open, then topstitched the seams down to strengthen them.
Apart from wet finishing the fabric and cutting the fringe straight with a rotary cutter, that’s about it.
If you have more questions, ask away!
Seamstress in the making..
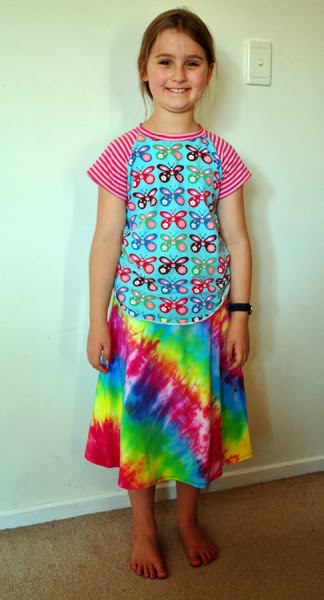
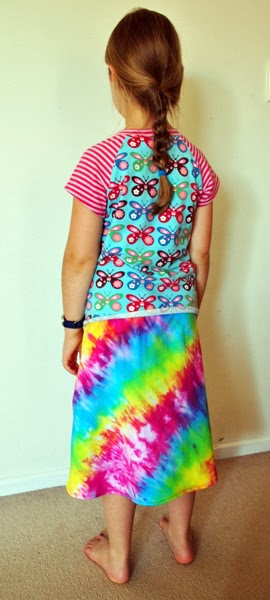
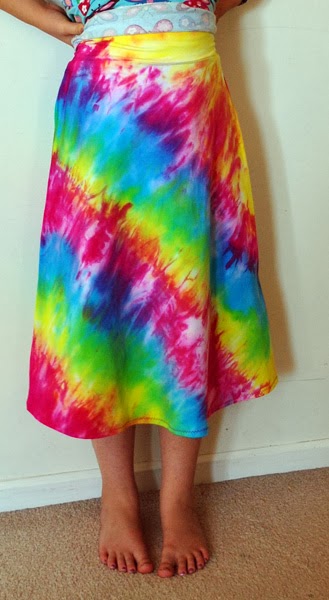
Gem (my 8 year old) made her first skirt! I call it the awesome skirt, can you see why? 🙂
This girls is a big maker (gosh, where did she get that from?) and constantly has something on the go, usually a little wool felt stitchery project of her own design. But she hasn’t made herself any clothing before.
We drafted a pattern together based on the Crafty Mamas hoody skirt. She chose to have a stretchy knit skirt rather than a woven (like Mum wears). So, we started with a white Stella base.
She did most of the sewing on the machine herself, with my guidance. Except the waistband, that’s the tricky part, so I did that for her. The waistband is also made of Stella, so it’s one of those gorgeously comfortable skirts – no elastic.
Next, she had her first experience with dyes. After some discussion and planning, I showed her how to mark and tie the skirt, then apply the colours to get the effect she wanted. She was amazed to see the colours run into each other and mix, creating new colours. I don’t think she understood much of the dye process before, you need to actually do it and see it in action.
After curing overnight (what a painful wait for a young lady!) we cut the ties and rinsed. Then the awesomeness of the colours and patterns was revealed. The look on her face when she realised what she had created was priceless.
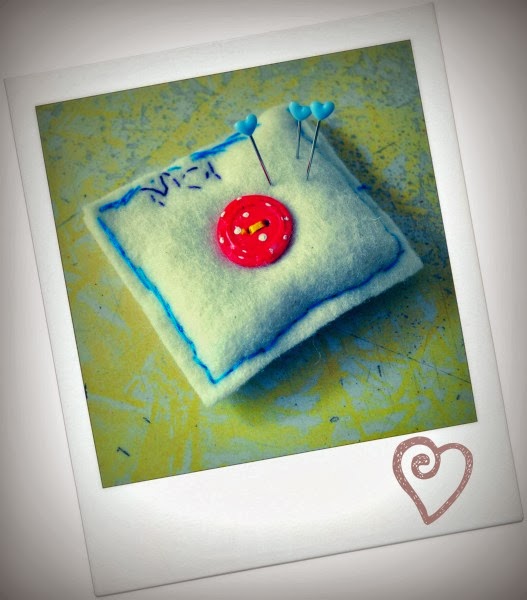
Here is another recent project she came up with as a surprise for me. It’s the best little pincushion I’ve ever used! She embroidered “Ma” at the top and used a polymer clay button I made ages ago.
There is only one downside to all this. I think I’m going to have to hide my fabric stash 🙂
Girl’s dress recon
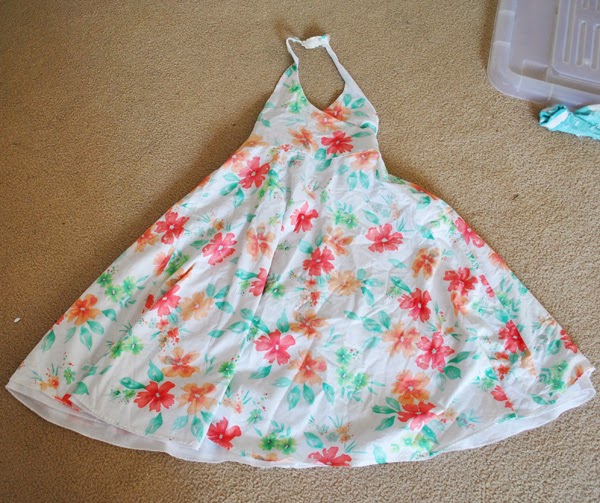
We have some kind neighbours who often give children’s clothes they no longer need (they have 3 girls so it works out well!) I loved the fabric and full skirt of this Pumpkin Patch dress but the halter neck was a little too lacking in modesty for my taste.
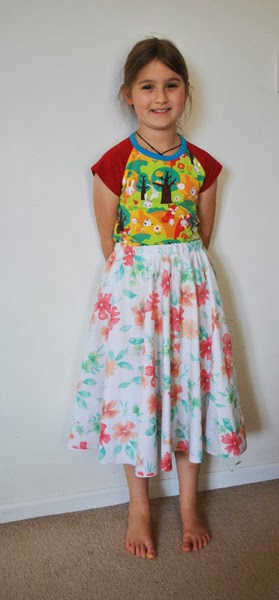
A pair of sharp scissors, a sewing machine and 30 minutes later… it’s a skirt! I have had such precious little time to sew lately and this was such an easy alteration to make, it’s even lined. The cost of the elastic and thread come to about $1, what a bargain 🙂
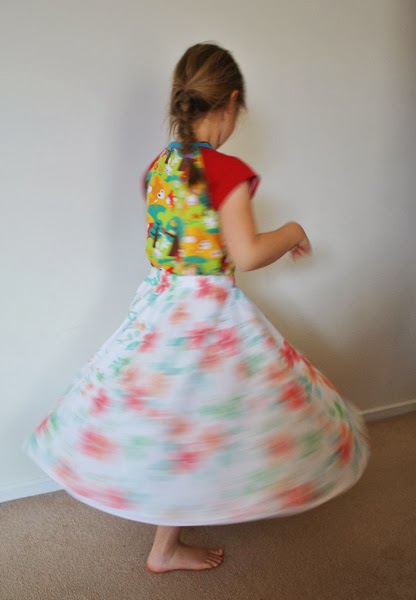
And most importantly, it passes the twirl factor!
Random creativity
I thought I’d share with you a few of the things that have kept me creatively busy this week (and no, obviously blogging has not been one of them!)
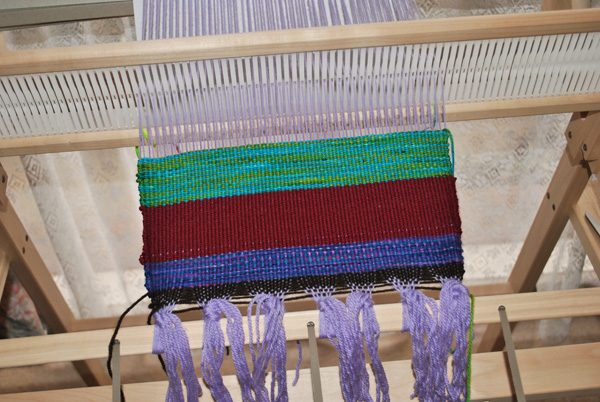
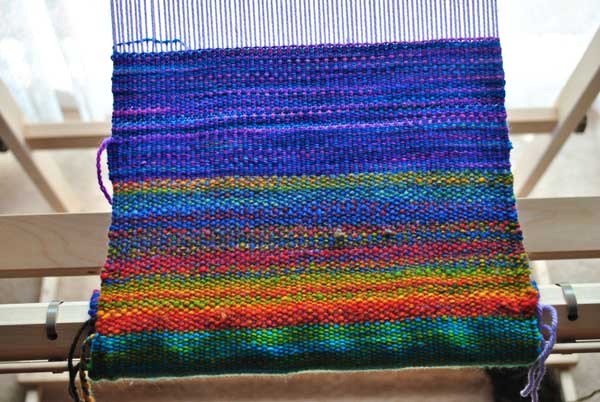
A little weaving cotton.
A little dyeing cotton.
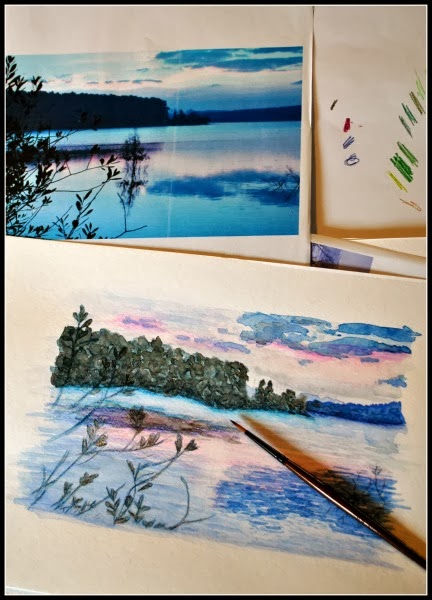
A little watercolour painting.
A little cloth dyeing.
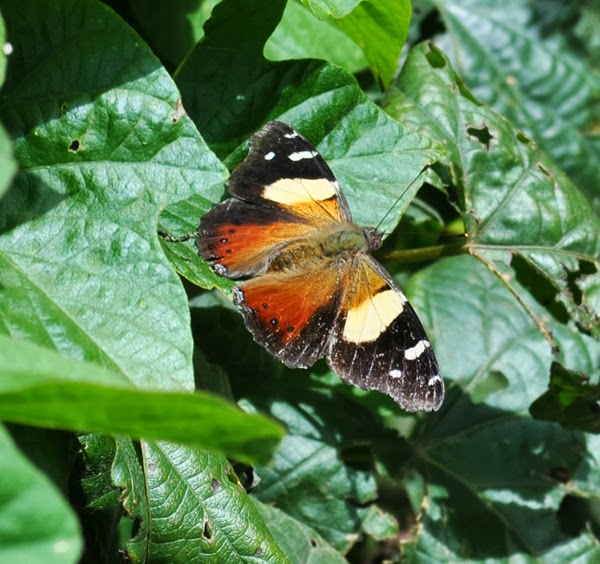
And a little photography.
Not bad for one week hey? I squeezed a fair bit of sewing in too, but that is unfinished.
How about you? Did you get any time to be creative this week? What did you do?
My new loom
My new Ashford 60cm weaver’s loom, ah, it was worth the wait! After getting over my initial fear of setting up for warping (which wasn’t all that hard after all!) I’ve started on a stash busting scarf. Basically, I’m using up all my bits and pieces of yarn in order to practice.
Here is the first section. I’ve used a purple 8ply wool for the warp.
And for the weft I’m using up all sorts of bits and pieces from my stash, mostly that have been left over from other projects. I’m finding that handspun is perfect with its gradual colour changes.
I have my loom set up next to my sewing table at a large sunny window and am really enjoying the weaving process. After the warping, the actual weaving is calm, straight forward and repetitive. I don’t find the repetition boring, as there is constant progress and it is a quiet and thoughtful activity. I particularly love watching the colours merge.
I can’t wait to finish the scarf and start on my next project, I have lots of ideas and also some requests (apparently the girls need a pretty rug for their cubby house).
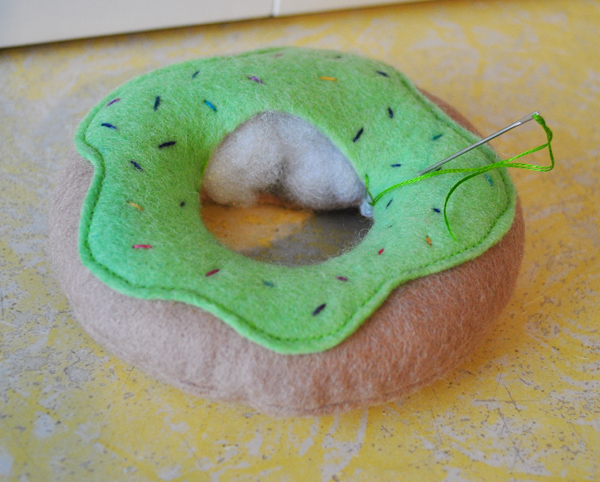
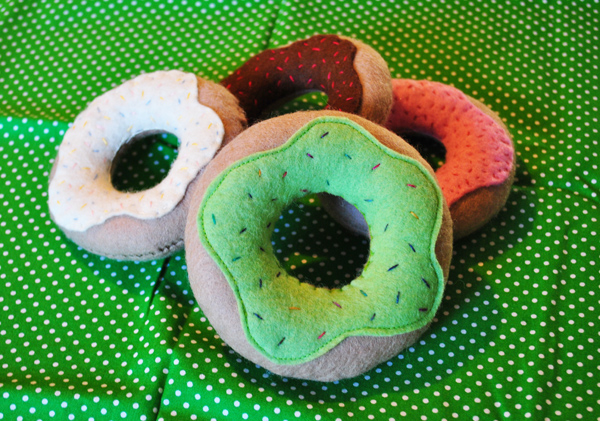
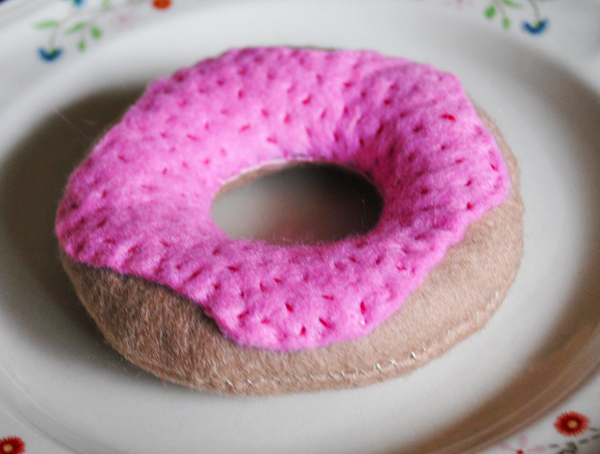
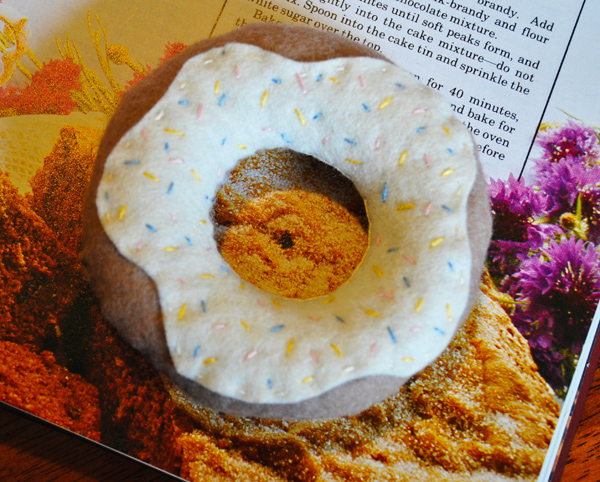
Wool felt donut tutorial
List of requirements for 1 donut:
30 x30cm piece mushroom coloured wool felt
15 x15cm piece of wool felt for icing
Carded wool or polyfil for stuffing
Embroidery floss
Sewing thread
These can be sewn either by hand or machine. Machine will give a neater finish, but I have made them both ways.
Print out the pattern from here. Make sure your printer settings are at 100%.
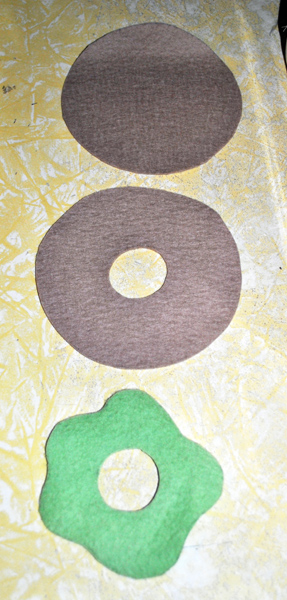
Trace pattern pieces onto felt and cut out. This picture has a mistake! The top piece should also have a hole, I took the photo before I cut out the hole, sorry about that!
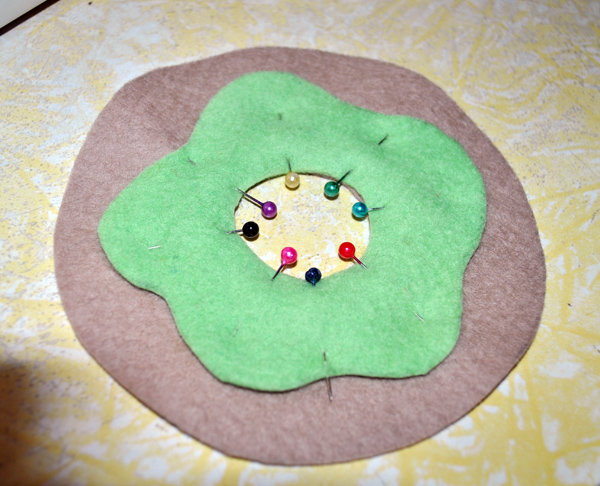
Pin the icing onto one piece of the mushroom wool felt.
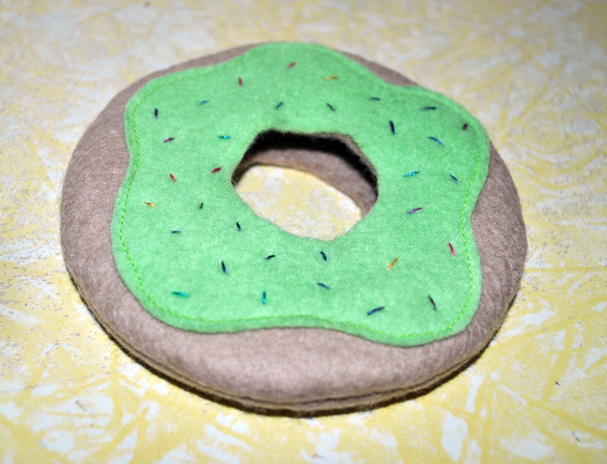
Sew around the outside of the icing, either on the machine or with a running stitch or backstitch by hand to secure it.
For sprinkles, use your choice of embroidery floss (here I’ve used a variegated one by DMC) to make short, straight stitches randomly on the icing.
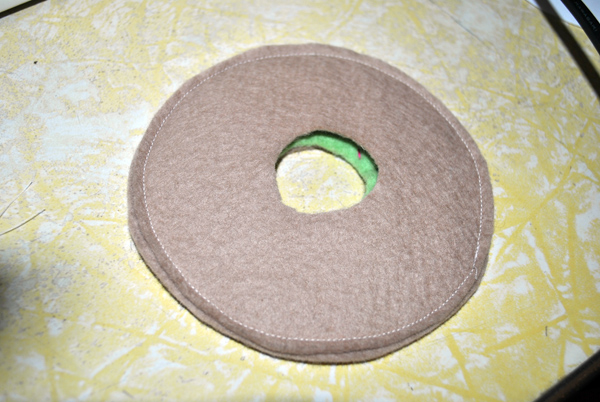
Put your undecorated piece of wool felt on top of the decorated one so that right sides are facing. Sew all the way around the outside (backstitch if you’re hand sewing).
Turn the donut right sides out so it looks like this 🙂
Starting from anywhere around the centre hole, close to the edges blanket stitch by hand with a floss matching the icing, 3/4 way around. *Note – if you’re not confident with blanket stitch you can do either a small running stitch or backstitch. The reason I like blanket stitch is it looks extremely neat and leaves no holes.
When 3/4 of the way round begin to stuff. Poke the stuffing with your fingers to ensure a firm donut with even consistency right around. When you’re happy with the stuffing, continue to stitch around the inner circle until completely closed, knot and sink the finished end in.
Ta da! Isn’t that easy? Don’t you want to make heaps and heaps?
If you need a wool felt stockist Winterwood Toys is my favourite.
Please respect the fact that I am the original author of this post, that I have spent time and care in putting together this tutorial and drawing a pattern to share with you. Therefore, I ask that you do not steal from me or fail to give credit. Thank you!
*If you have any trouble printing the pattern or following the instructions please take the time to let me know -I can’t fix it if I don’t know about it!
Felt food and wrist warmers
It’s cold. It’s wet. It’s the perfect weather for working with wool! I knit these wrist warmers for myself originally, but they fit my eldest daughter better. In fact, the morning after I finished them they had disappeared from my sewing table and were seen on the wrists of a smiling lassy 😉
These were a really easy knit from leftover yarn. The pattern is in “Learn to knit love to knit” by Anna Wilkinson.
Today is also our youngest daughter’s 4th birthday and I found myself in a bit of a panic 2 days ago when I realised I didn’t have any hand made gifts for her and my sewing machine is still being serviced. It’s a bit of a tradition now for me to give at least one Mama made gift.
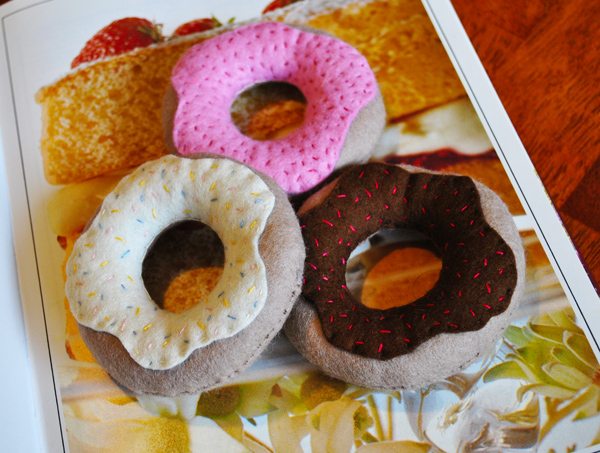
I went through my wool felt drawer and thankfully found some pieces big enough to make some donuts. Since my eldest daughter started sewing and embroidering, my wool felt stores have been seriously depleted!
What’s your favourite flavour, strawberry?
Choc?
Or vanilla?
Once again, if you would like a tutorial on how to make these, just let me know. I don’t mind doing tutorials and sharing patterns but I mostly only do tutorials nowadays if somebody asks.
I didn’t have time…
I didn’t have time to finish the ironing today. I didn’t have time to clean the toilet. Or to scrub that desperately dirty shower. Or to dust the layers of built up dust. Or to tidy my sewing table. Nope, no time to vacuum out the van either.
But I did have time to do art and craft with the children. I had time to take them to the playground to play in the sun. I had time to make them tasty and wholesome meals. I had time to wash and hand their clothes. I had time to respond to the seemingly endless “watch me Mum!”s and smile and laugh where appropriate. I had lots of time for hugs and kisses.
And the day is not over yet! I will have time to bathe them and wash their hair. We will all pray together. We will read books and snuggle together.
I’m annoyed and disappointed that I didn’t have time to do everything that I could have today. But I’m so grateful that I made time to do all the things I should.
Craft from the past
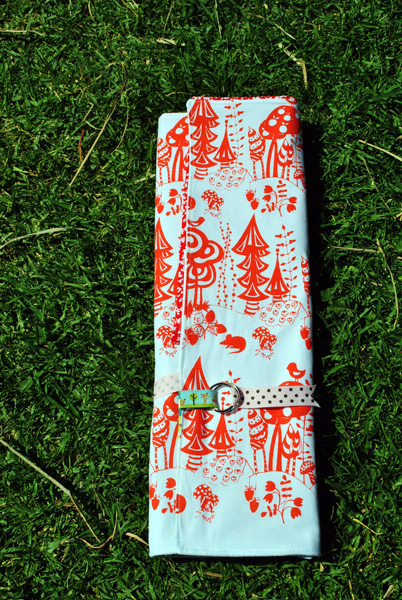
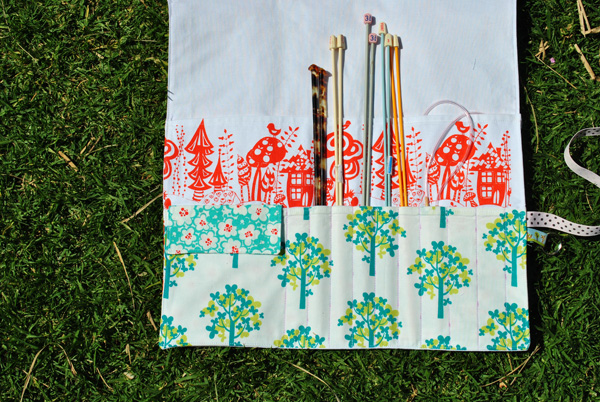
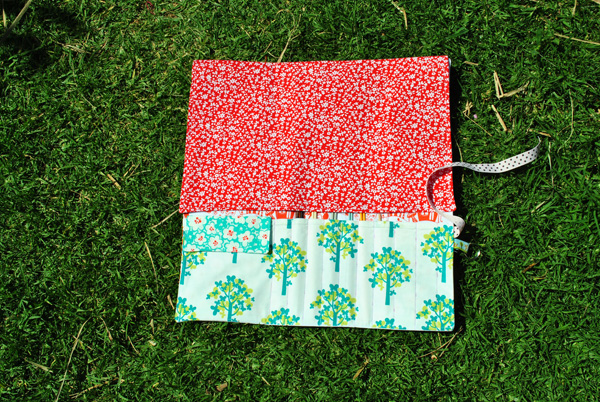
I often forget to show finished projects these days or otherwise I just don’t get the time. This knitting roll was for a Crafty Mamas Christmas swap.
I followed a tutorial from here.
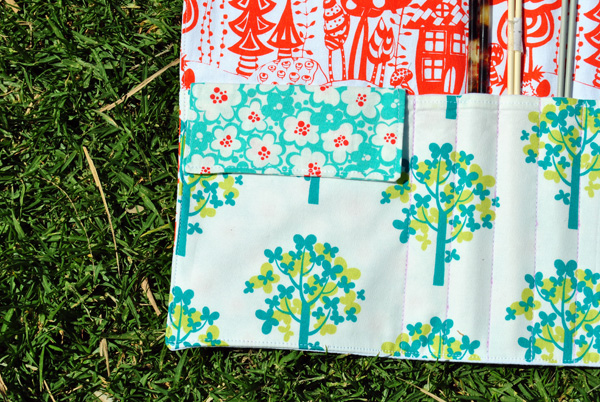
The red and white print is a screen printed piece from Blueberry Ash Textiles. The cute little blue and green trees I picked up from a craft show some time ago.
A nice way to keep your needles tidy I think (hmmm, I could do with one of these myself!)
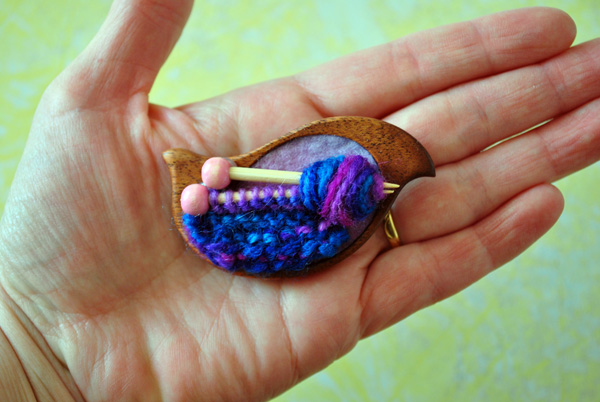
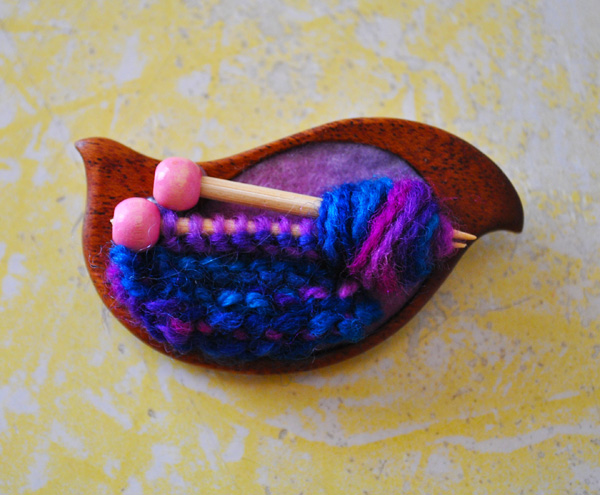
My swap recipient is a keen knitter, so in keeping with the knitting them I made her a knitters brooch.
The little swatch was knitted on bamboo toothpicks (looks really cute, gives you really sore fingers and hands!) Then I glued some beads onto the ends of the sticks, rolled a little yarn around them and glued it all to a beautiful wooden brooch I got from here and filled with some hand dyed wool felt.
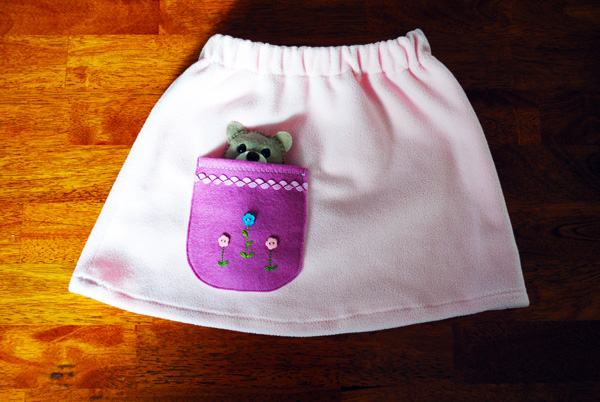
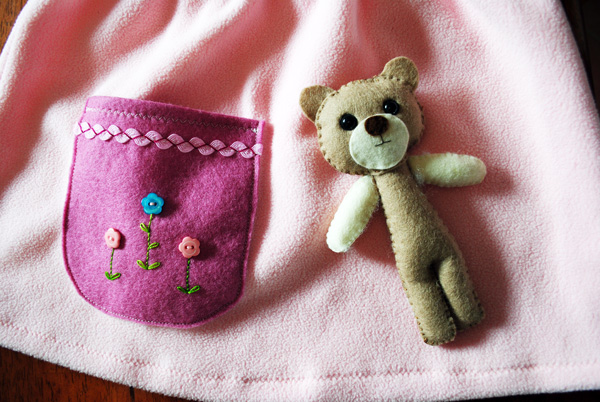
Another project completed last year that I never did show. The skirt was actually a UFO from my beginner sewing days which was made from pale pink polar fleece. I thought it was rather boring on it’s own, so I sewed some ric rac and buttons with embroidery onto some lovely hand dyed wool felt. I cut it into a pocket shape and sewed it onto the skirt, easy peasy.
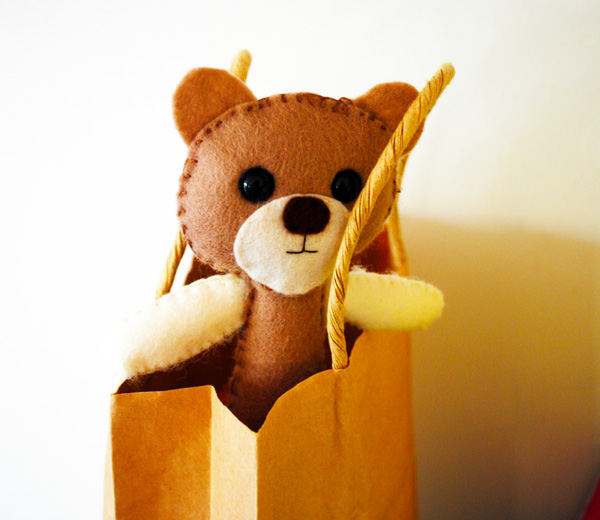
But that wasn’t enough either. So I made this little guy from wool felt in a custom size to fit the pocket.
Hello, aren’t I cute?


