• Skip to main content
  • Skip to primary sidebar

Kelly Casanova Weaving Lessons

  • Hi! I’m Kelly!
    • Disclosure
  • Online Weaving School Class Index
    • Common account issues
    • Common technical issues
    • What do I get with a membership?
  • New to rigid heddle weaving? Start here!
    • Never heard of the rigid heddle loom?
    • How to weave neat edges on the rigid heddle loom
    • Rigid heddle weaving
    • Rigid Heddle Weaving Patterns
  • Patterns
  • Subscribe

Recipes and food

Kefir

by Kelly 3 Comments

                                                                                  My first kefir smoothies


Have you heard of kefir? I’ve read a lot about it over the years and wanted to try it so I ordered some freeze dried grains from Cheeselinks.  You heat your milk (unless it’s UHT) to 90 degrees, cool it to 25 and then add a tiny smidgeon of the grain. I poured it into my Easiyo container and left it in the Easiyo thermos thingy with a bit of warm water. Then refrigerate and presto, you have kefir ready.

The verdict :
Undecided. I didn’t expect the kefir to set so much (like homemade yogurt) and I didn’t like the taste on it’s own. I made a smoothie with 500ml of kefir, a handful of mixed berries from the freezer, some tinned peach and some honey. I added some low fat milk to thin it out too. To me it tasted ok but not great. None of the kids liked it. Husband liked it.

Next time I will :
Not leave it to ferment for so long to try and achieve a milder taste.
Use low fat milk, as I prefer the taste to full cream.
Make a smoothie with banana, which I think would suit better.
Check out other ways I can use kefir so I can incorporate it into our diet in a way that suits everyone.

In the future :
I’d love to try fresh grains, which seem quite different in preparation and perhaps would also differ in taste.

I’d love to hear from anyone who has tried or uses kefir (perhaps some of my U.S. friends, it seems to be popular there?)


Filed Under: Uncategorized Tagged With: Recipes and food

My honey and oat bread

by Kelly 4 Comments

I’m a bread nut. I’ll admit it. I’ve had this fascination with hand made bread for years and as such have had quite a bit of practice at using, tweaking and producing my own recipes. It’s an ongoing process and one that I enjoy, I feel I’ll never know enough about breadmaking and there is always more to learn. It’s also something I would love to teach to others.
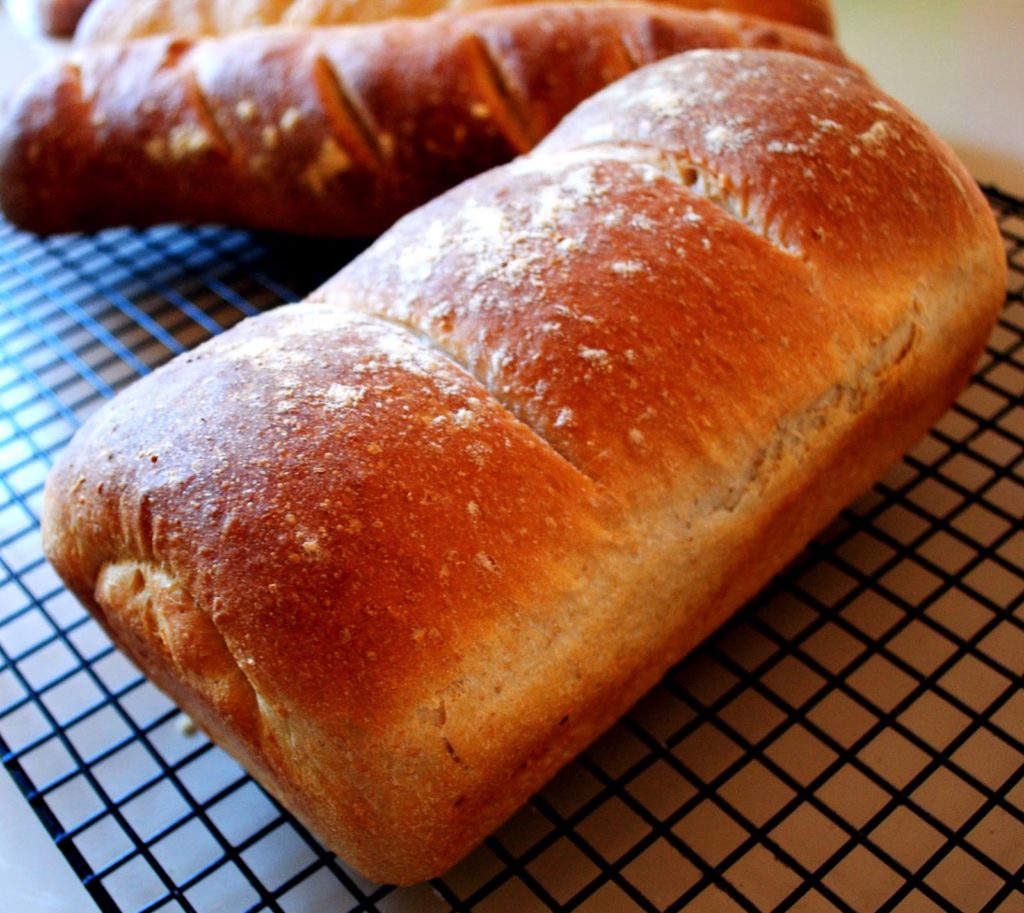
I hope you enjoy my latest loaf, it’s a little sweet but not overly, so can be eaten with savoury foods also.
This recipe makes 2 good sized loaves.
Ingredients

100g wholemeal flour
900g white flour
1/4 cup rolled oats
2.5 teaspoons dried yeast
2.5 teaspoon salt
1 tablespoon honey (I use a gorgeous local honey)
2 tablespoons sunflower oil
625ml warm water

Method

I use the dough mixer on my mixmaster then finish off the kneading by hand. It can be kneaded just by hand.
Mix all ingredients in a large bowl. Mix on low for 5 – 10 minutes or if kneading by hand, do so for 10 minutes. Your dough should be fairly sticky and moist.
Tip out onto an oiled bench and with oiled hands knead for a couple of minutes (I find this step important to get a feel for the dough and ensure that all is well).
Oil the bottom of your bowl, place the dough in and oil the top. Cover with plastic wrap and set aside to rise. 
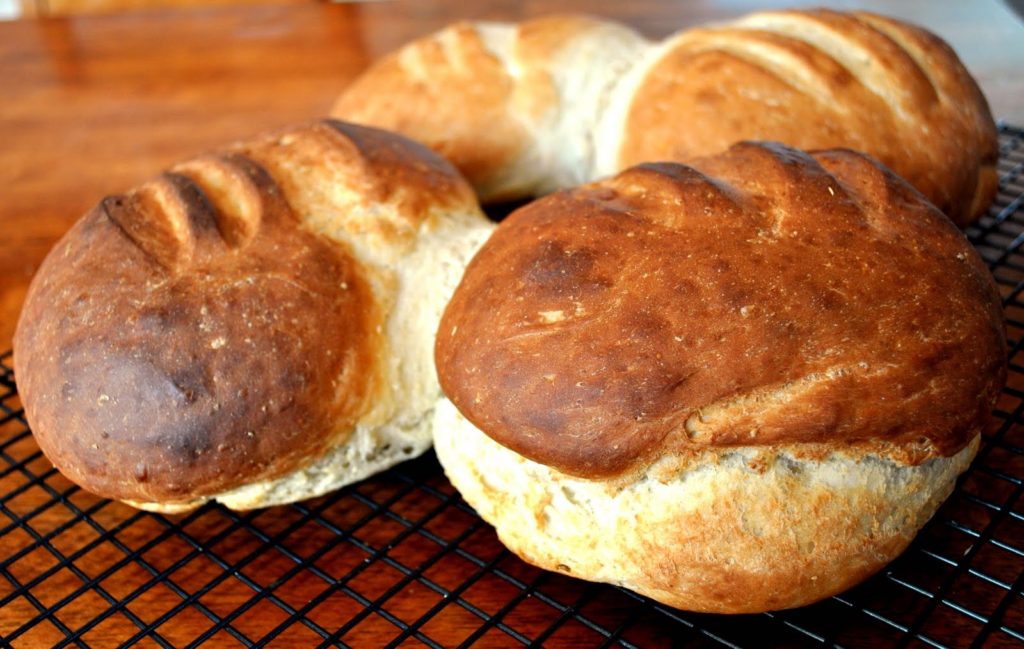
When doubled in size tip the dough onto the bench again and either knead or press into the shape you would like. For example, the bread pictured was pressed into a rectangle, the sides rolled in and then the whole thing rolled up and placed in the bread tin. You can just knead it into a round if you wish and place it on a tray.
Cover and set aside for about 45 minutes.
Preheat your oven to 240 degrees (C).  If you want to, slash your loaf with a sharp blade. Place in the oven for 10 minutes. This makes a lovely crunch crust. After this time, reduce the temperature to 190 degrees for another 20 minutes or until the loaf is well browned.
Turn out onto a baking rack to cool or get stuck into it while it’s still warm!
If you try it please let me know what you think šŸ™‚

Filed Under: Uncategorized Tagged With: bread, Recipes and food

My Rhubarb and Custard Crumble

by Kelly 1 Comment

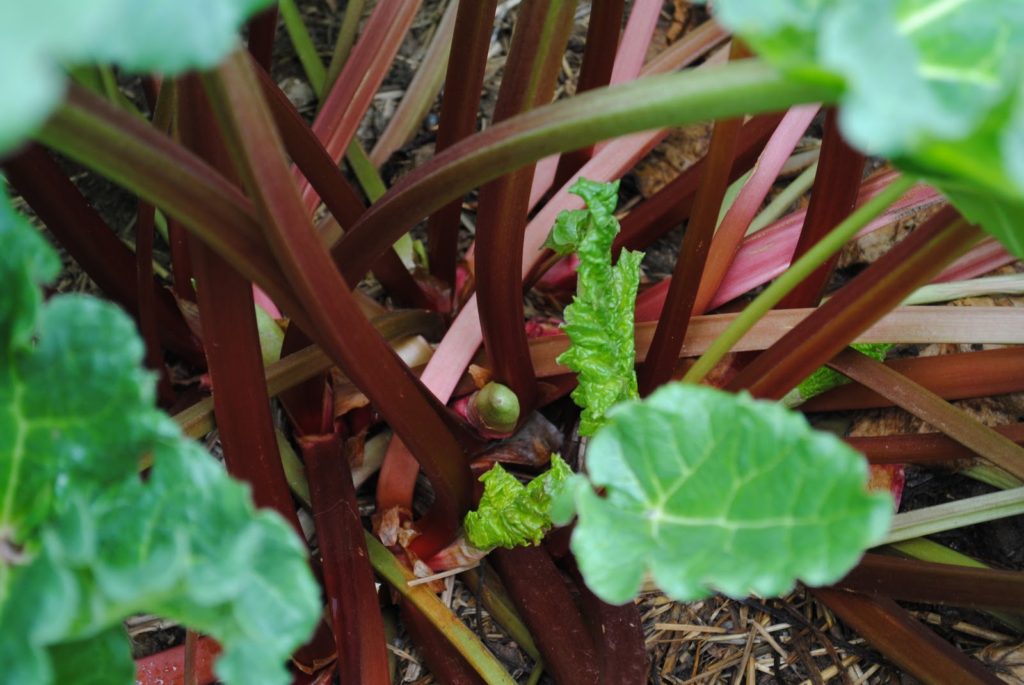
We’ve been blessed with very healthy and productive rhubarb plants this year! It’s taken a while for them to settle in but it seems the weather conditions ie. no more drought are just perfect now. One of our plants was transplanted from my husband’s parents farm garden and is very old so it’s just wonderful to see it thriving.

It brings back memories of my old Nanna, whom I spent quite a bit of time with in childhood and loved dearly (and still do – at 85 years she is still going).
You were always guaranteed a country home meal at Nanna’s and plenty of rhubarb from her extensive and beautiful garden. Rhubarb with custard, rhubarb with icecream and my personal favourite – rhubarb on your morning cereal with a good dollop of thick cream.

I enlisted a little helper for harvesting. She would rather have used them as marching flags or banners but didn’t mind the fun of chopping off the big leaves into the compost either. Aren’t they huge?!

First the rhubarb stew….
800g rhubarb, chopped (if you can’t rustle up that much then 500 and over will do it)
1 apple, skinned and chopped (optional)
1/3 cup brown sugar
dash of rosewater (optional)
2 tablespoons water
Cook in heavy based saucepan over medium heat with lid on. Give it a stir, then turn the heat to low. Keep cooking and stirring every minute or so until soft.
Next the custard….
Most of the time I cheat and used custard powder. If you do this, just follow the instuctions on the packet to make a quantity with 2 tablespoons of powder.
Otherwise, you can make your own from scratch.
Don’t forget the topping….
1 cup rolled oats
1 cup plain flour
2 tablespoons brown sugar
60 grams butter
Chop the butter into the mixed dry ingredients then rub with your fingers until there are no chunks of butter left and it resembles breadcrumbs. An alternative is to use your food processor.
Now assemble….
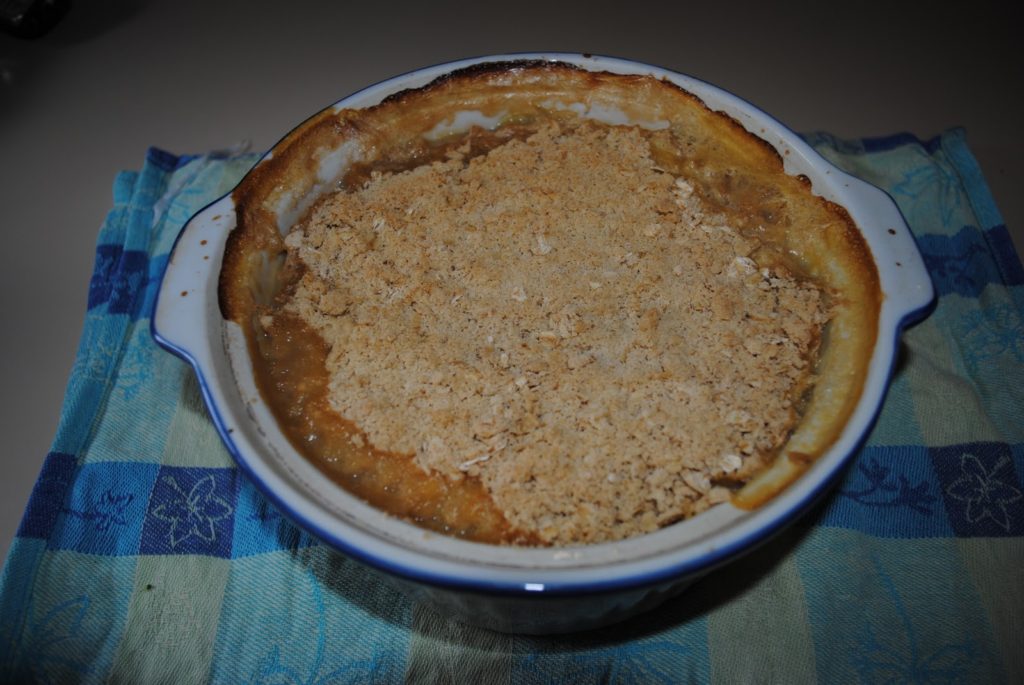
Layer the rhubarb in a casserole dish. Layer the custard on top. Sprinkle with topping.
Cook in a 180 degree celsius oven for about 25 minutes.
Serve with icecream while warm or hot.
Bon appetite!

Filed Under: Uncategorized Tagged With: Recipes and food

Chocolate and date muffins

by Kelly 3 Comments

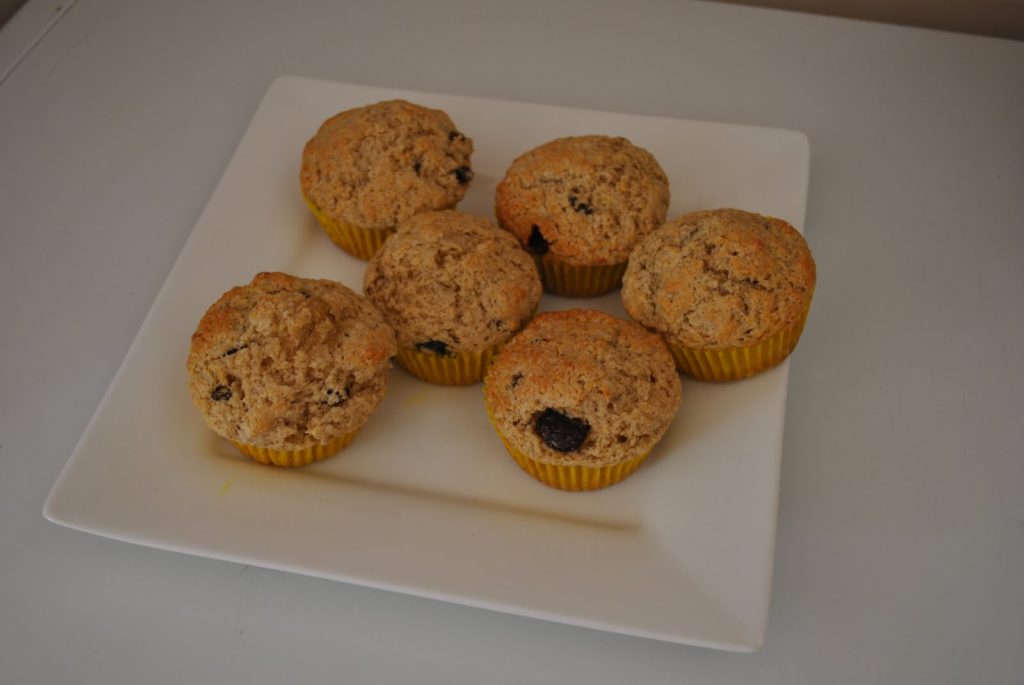
3/4 cup pitted and chopped dates
100g butter at room temperature
1 teaspoon vanilla extract
1/4 cup milk at room temperature
1/2 cup chopped cooking chocolate or choc chips
3/4 cup boiling water
1/2 cup caster sugar
1 egg
1/4 teaspoon bicarbonate soda
1 + 3/4 cup self raising flour
Preheat oven to 180 degrees (C). Line a muffin tin with patty pans (paper cases).
Pour the boiling water onto the chopped dates and add the butter in pieces so that it melts. Stir. 
Add sugar then leave to cool a little.
Mix in the egg, vanilla and soda dissolved in the milk.
Sift flour into the liquid and stir until just combined. Add the chocolate last and stir through lightly.
Half fill your cases for average sized muffin or fill 3/4 for large muffins.
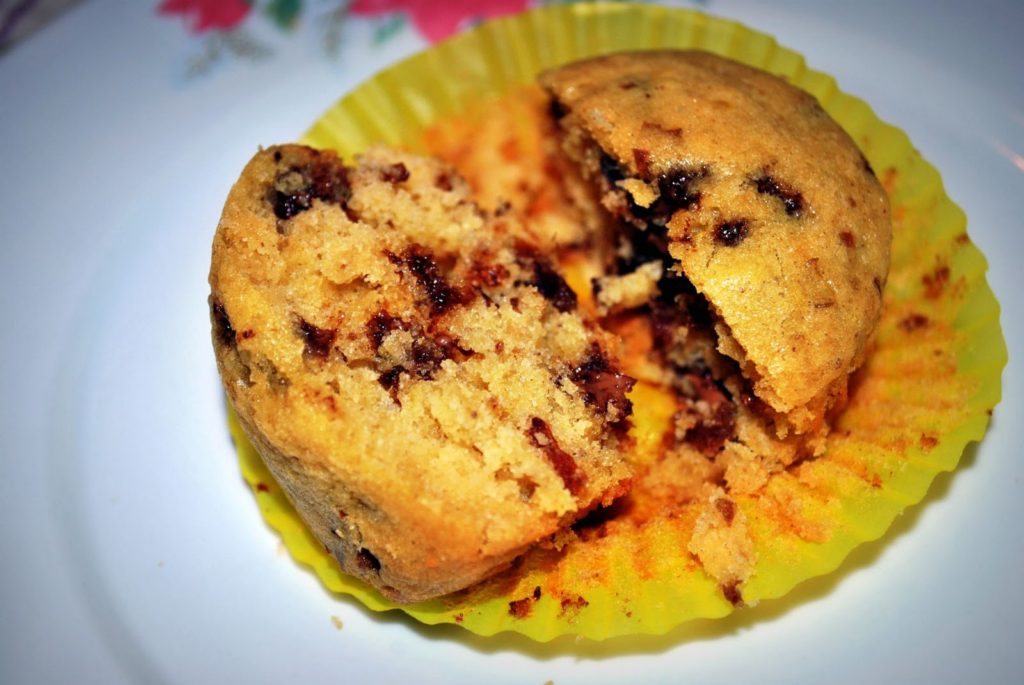
Bake for 15 – 20 minutes or until golden brown.
These are equally good eaten warm or cool. Enjoy!

Filed Under: Uncategorized Tagged With: Recipes and food

Craft storage and yummy bread

by Kelly 1 Comment

When I think of creating storage space I dream of beautiful wooden cabinets and ornate armoires bursting with perfectly arranged and inspiring objects. The reality is a homeschooling family (especially with a mad crafter as principal!) will accumulate a lot of stuff and need solutions whatever the family budget may be, which in our case does not allow for armoires!
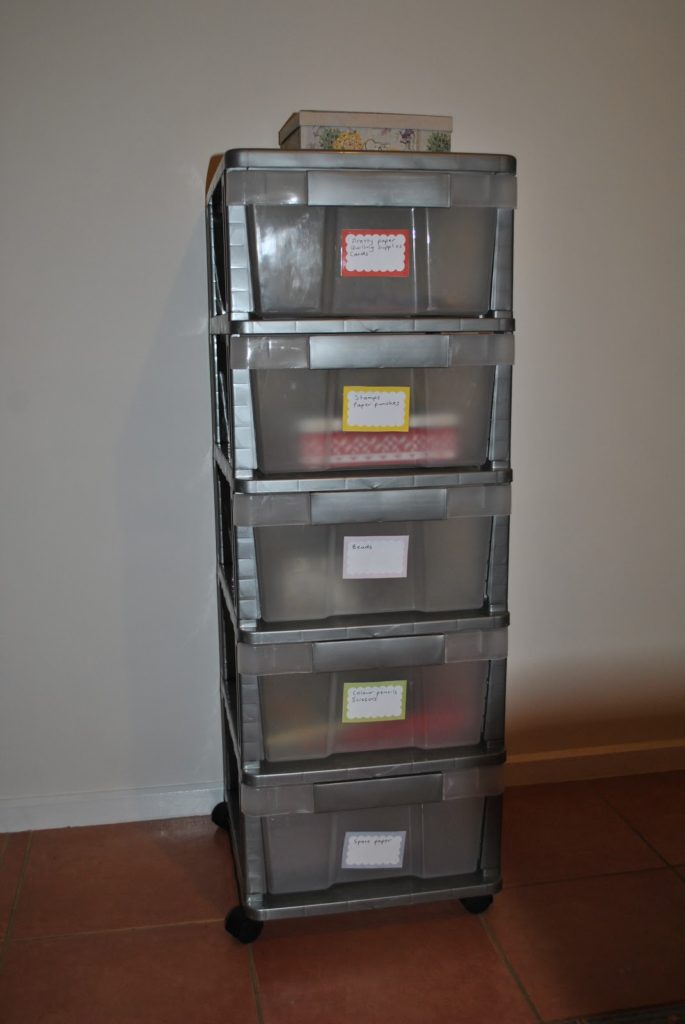
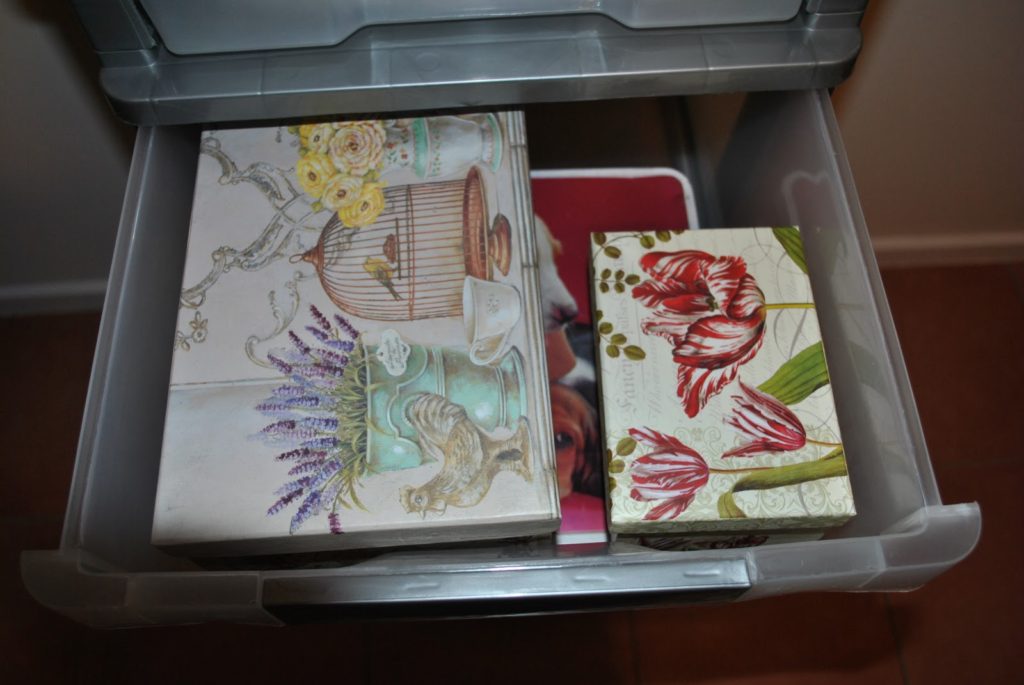
My solution to our craft tool and paper build up in our dining room/kitchen, where all the schooling action happens, was more plastic drawers. While not as aesthetically pleasing as wood, the price difference is massive.

 The advantage of plastic is having deep, clear drawers, it’s accessible to little ones and you won’t be  upset at it being banged around a bit. This unit is also on wheels, so simple to move.

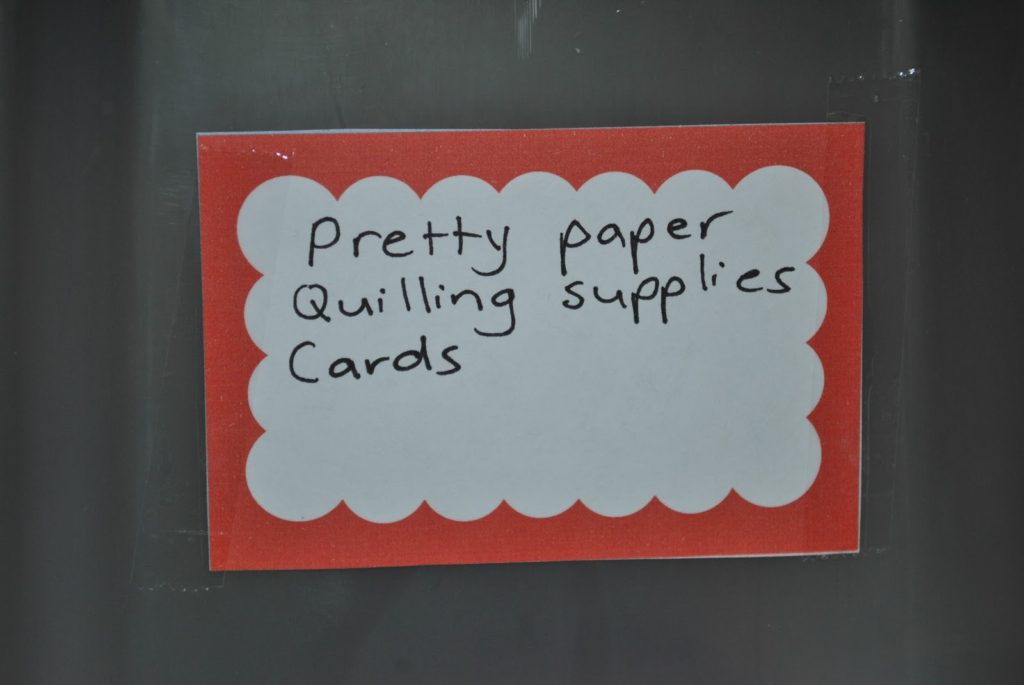
I printed out some paper labels to keep track of items in drawers, though little ones who can’t read will quickly memorise which drawer holds their precious colouring pencils!

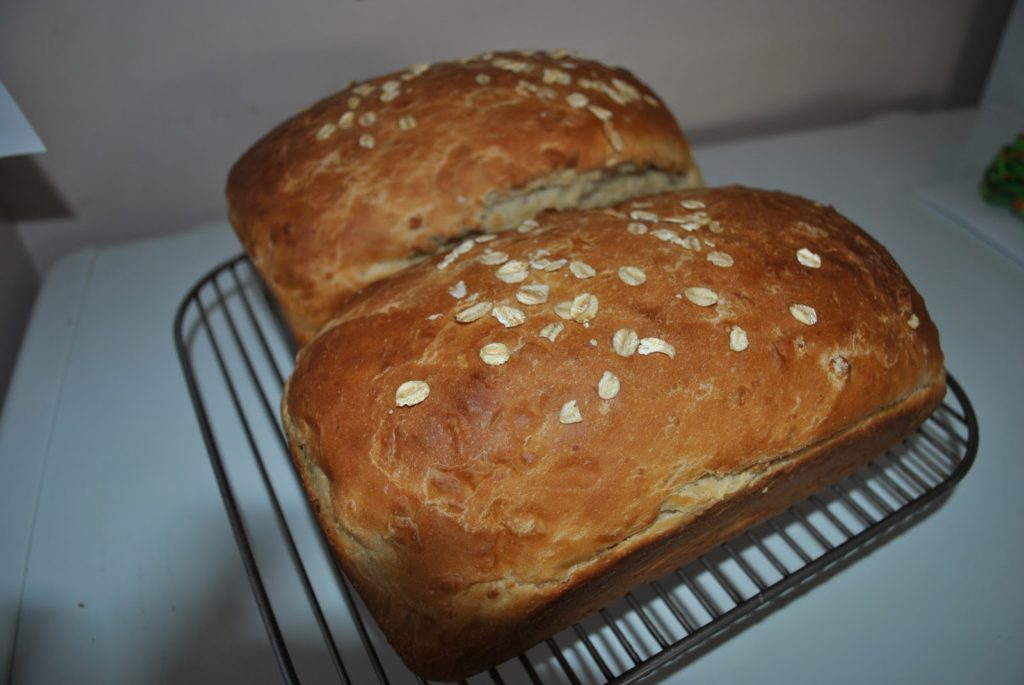
I just finished reading The Rhythmn of Family which is Amanda Soule’s latest book and found the wheat, honey and oat bread recipe to be really delicious. The book was interesting as Amanda and her husband have an interesting outlook on life, but I think I gain a lot more inspiration from literature that is God centred rather than nature centred, after all God made nature and I worship Him but not nature itself. Just my opinion, and if you need some motivation within your home life and with your children Amanda’s books do help to remind you to get outdoors and appreciate your surroundings as well as live more naturally which is a good thing.

Happy day to you, God bless you all šŸ™‚

Filed Under: Uncategorized Tagged With: craft for kids, Recipes and food

Sweet or savoury scrolls

by Kelly 6 Comments

I love an adaptable, easy going, makes it easier for me kind of recipe. I make up one batch of dough that can be used in so many ways.
Cheese and bacon scrolls

                                         Cinnamon, brown sugar and chocolate scrolls.

First, the dough recipe:

5 cups good plain flour
1 tablespoon yeast
1 teaspoon salt
3 tablespoons sunflower oil
1 tablespoon white sugar
2 cups nice warm water

Mix all ingredients (I use my mixmaster with the dough attachments but you can also mix by hand). Leave in kneader for 5 minutes or knead for 5 mins by hand. The dough should be really soft and stretchy. Take dough out, oil the bowl and cover with oiled glad wrap. Leave until doubled (usually an hour or so).

Cut the dough in half if you want to mix up your rolls or scrolls.

Cheese and bacon scrolls:
Roll out your half piece of dough into a rectangle on a well floured bench. Melt 1 tspn butter and spread on. Sprinkle with 2 – 3 rashers chopped bacon and grated cheese. Use whatever cheese you like,  obviously a stronger cheese gives a stronger flavour. Roll carefully into a log shape and cut slices. Place on a greased or baking papered tray and bake at 190 degrees celscius until golden on top. Cool on a rack.

Cinnamon and chocolate scrolls:
Once again, roll out your half piece of dough into a rectangle and spread with melted butter. Sprinkle with brown sugar and cinnamon (to your taste) and grate cooking chocolate over. Roll into log and slice pieces. Place on tray (greased or papered) and bake as for the cheese and bacon.
If you want to get fancy you could drizzle icing, caramel, or sugar glaze on top.

Other applications for this dough:

Roll into little buns for dinner or soup rolls.
Roll into crescents with parsley, chutney, chives, feta, olives…. you see where I’m going with this – you can top it with whatever you like!
Other scroll ingredients could be sultanas, apples, walnut, dried fruits, jam, chocolate……..

Enjoy!

Filed Under: Uncategorized Tagged With: Recipes and food

Oaty choc chip cookies

by Kelly 3 Comments

I’ve moved my food blog here in order to simplify, so you can expect to see a lot of recipes and baking talk here from now on šŸ™‚
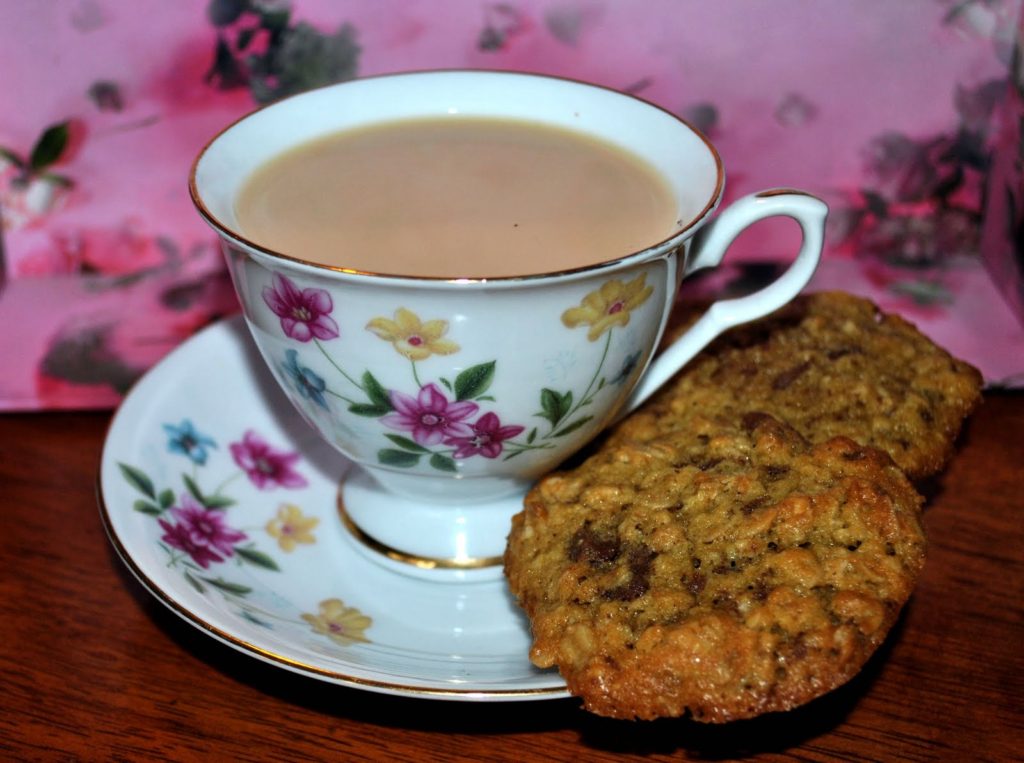
These cookies are a little different and somewhat rustic. The addition of oats makes them a little healthier for the children but also changes the texture to produce a light crunchy cookie.
125g butter 
1/3 cup white sugar
1/3 cup brown sugar
1 egg
3/4 cup plain flour
1/2 teaspoon bicarb soda (baking soda)
pinch of salt
1 tablespoon milk
1 teaspoon vanilla extract (or essence)
1.5 cups of rolled oats
80 grams roughly chopped milk cooking chocolate
Cream butter and sugar until light and fluffy. Beat in the egg and half the flour as well as the bicarb soda, salt, milk and vanilla. Stir in the rest of the flour with the oats and chocolate.
Place heaped teaspoons of the mix onto a greased or baking papered tray. Bake at 180 degrees (C) or 350 degrees (F) for about 10 minutes. Watch them – they can burn fairly quickly! Cool on the tray for a minute or two, then slide onto cooling racks.

Filed Under: Uncategorized Tagged With: Recipes and food

My bread

by Kelly 1 Comment

I’m often asked about the bread I make and I’m more than happy to share my loose recipe (from my head!) and methods. My bread is a culmination of trying a myriad of recipes over the years and finding that this way is the fastest, easiest and tastiest way to make good bread. I make all of our family loaves now and this is how:

These quantities will give you 2 small loaves.

1 cup wholemeal plain flour
3 cups unbleached plain flour (I use Wallaby)
1 tablespoon dried yeast
1 tablespoon salt
1& 1/2 tablespoons sugar (honey can also be used)
2 cups warm water
extra flour

I use the mixmaster with dough hooks because I have trouble with my wrists, but it can be mixed by hand also, which is what I used to do.
Place all dry ingredients in bowl and add water. Mix until you have a uniform wet and sticky dough. Now add the extra flour (usually 1/2 to 1 cup) and mix in. You want your dough at this point to be still a little sticky. Turn out onto a floured area and knead lightly. This part is not absolutely necessary but I find it gives me a better feel for how the dough should feel and how it will perform. I also just like the feel of it on my hands!
Oil your bowl lightly on the bottom and sides. Place dough back in and rub a little oil on top. Cover with gladwrap. Leave for 30 minutes to 1 hour, depending on your room temperature. When the dough has increased to twice it’s size remove from the bowl and knead lightly. Cut in half with a serrated knife and shape each piece into a rough ball or oblong loaf.
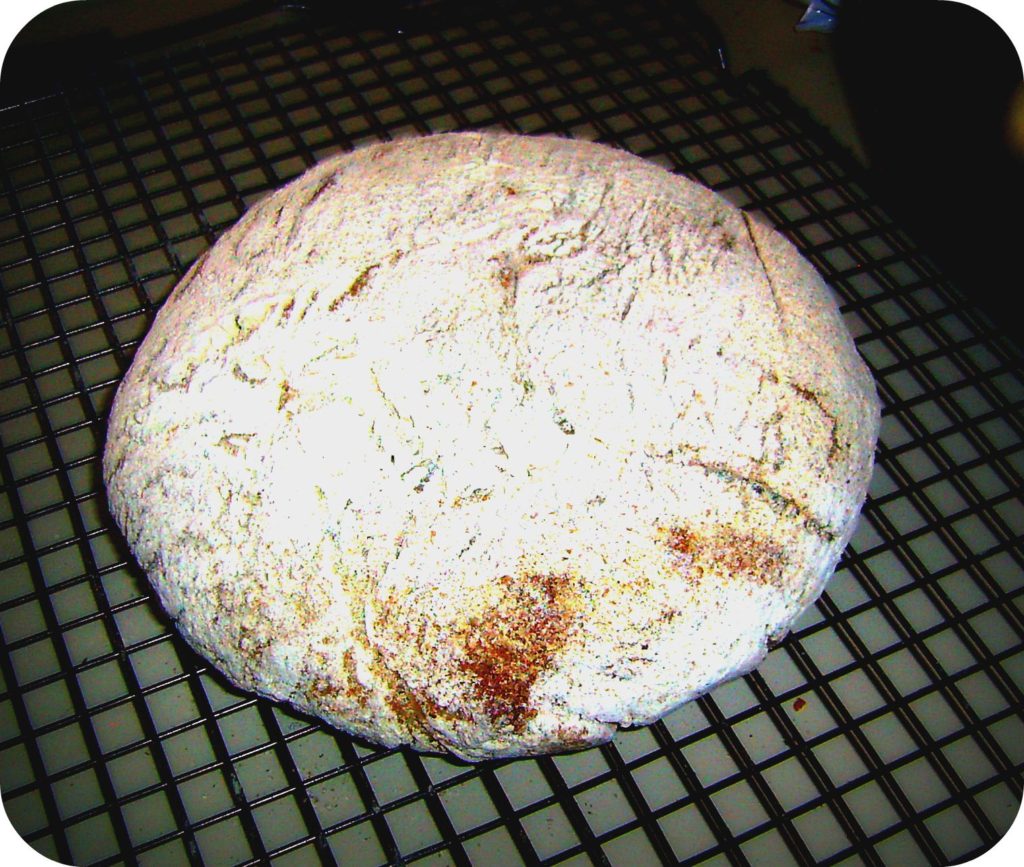
Place a dish of cool water in the bottom of the oven. Grease a biscuit tray and place both loaves (or you can use 2 trays if you wish). Slash the loaves 3 times on top with the serrated knife and sprinkle a little flour on top if you like the look.
Place tray in oven and turn on to 210 degrees celscius. That’s right – I don’t preheat!
On the top rack of the oven your loaf should be done in 30 minutes – you basically want it looking nice and brown and crusty.
Remove from oven and cool on a backing rack. If, like my family, you cannot resist the amazing aroma, just cut and eat with butter while it’s hot!
These loaves freeze very well. I make 4 at a time so I don’t have to bake every day.

If you try my recipe let me know what you think. Enjoy!

Filed Under: Uncategorized Tagged With: frugal living, my bread recipe, Recipes and food

Rock Cakes

by Kelly Leave a Comment

These are so simple and quick – I often make them for morning tea for the children.

2 cups SR flour
pinch salt
1/2 teaspoon mixed spice
90g butter
1/3 cup sugar
1/4 – 1/2 cup sultanas
1 egg
milk to mix

Preheat oven to 190 degrees (C) (375F). Prepare a muffin or cupcake tin with cupcake patties.

Sift flour, salt and spices, add the butter and rub with fingers until the mix resembles breadcrumbs. Mix sugar in.

Mix together sultanas and lightly beaten egg and add to flour mixture. Stir in milk until you have a thick but not dry consistency. Fill cupcake patties about 3/4 full. Sprinkle with raw sugar and put in the oven.

Bake for about 15 minutes until risen and golden brown, cool on cake racks. My kids love these hot with melted butter. Using the top of the cupcake patty pan as a guide, cut the top off your cake (as for a muffin) and spread both sides with butter. Another delicious way to have them is cooled and split with jam and whipped cream on top.

Filed Under: Uncategorized Tagged With: frugal living, Recipes and food, rock cakes

Crafting for charity

by Kelly 9 Comments

I’ve heard many a time that the best way to help yourself out of a low period is to work for the benefit of others and I find it to be very true.
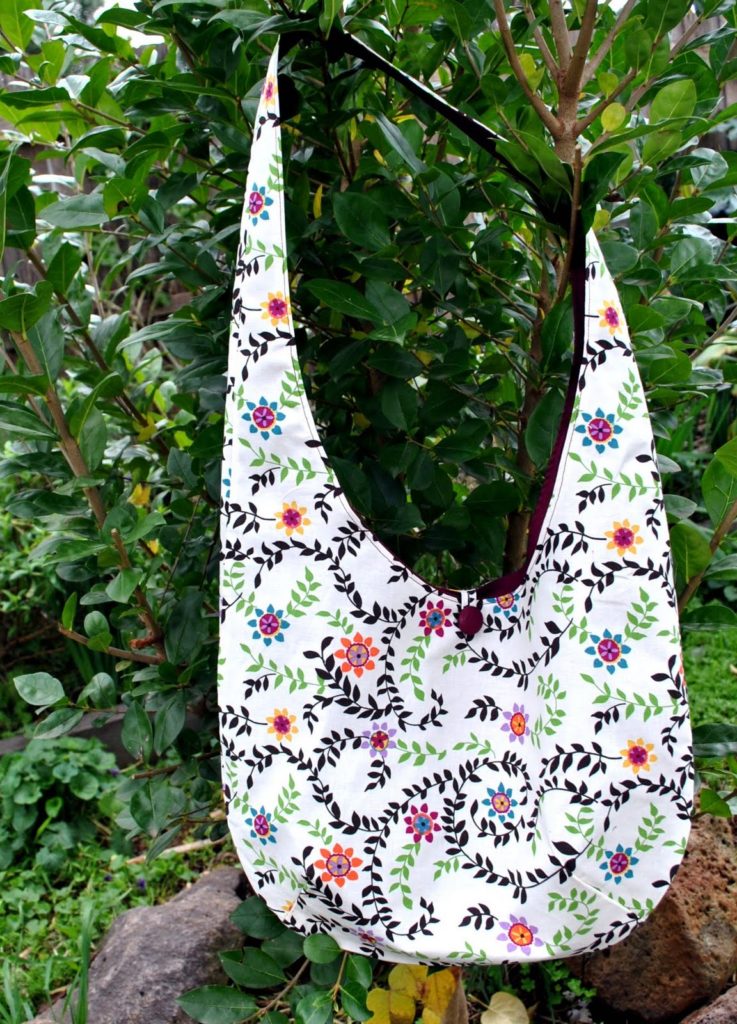
Over the weekend I’ve been busy sewing for a handmade auction at my husband’s work for someone very much in need.

I’m very happy with this bag that I designed as I went along with a great deal of winging it! I went to Spotlight to buy handles, but when I saw the $15 price tag for a couple of bits of plastic I changed my mind and made a strap.

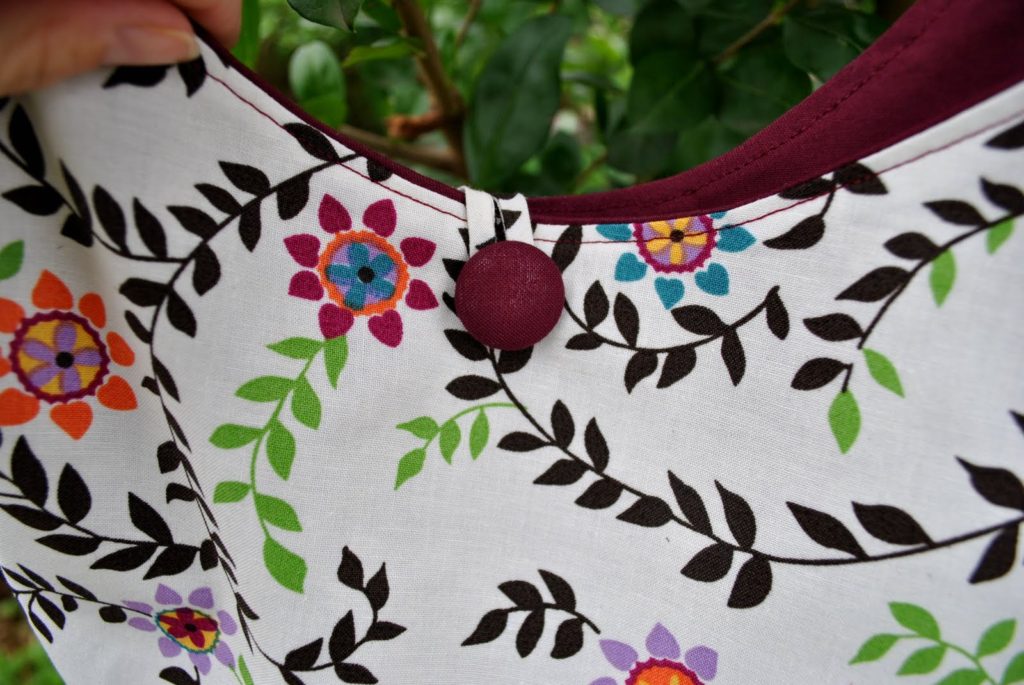
The bag is pleated (that took ages!) and has boxed corners, if that’s what you call them.
Hobo bag from a commercial pattern.
Finished with a matching fabric covered button. I hope these bags raise some money for the auction.

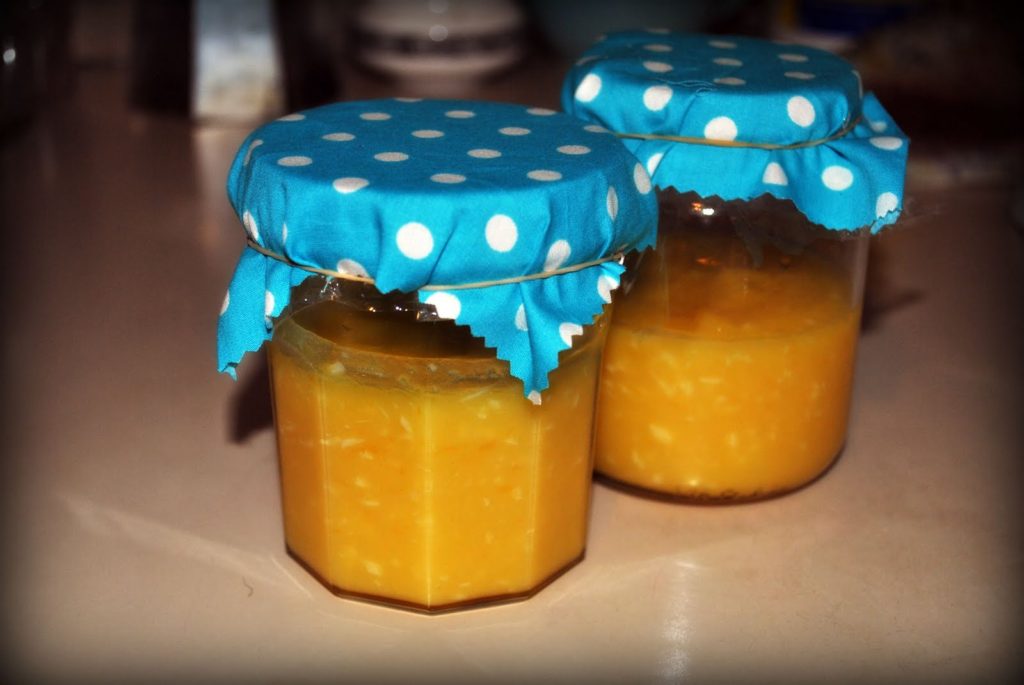
I picked some lemons from our tree to make a small batch of lemon curd, I love it.

Thanks to all who commented on my last post, I so appreciate your positive support šŸ™‚

Filed Under: Uncategorized Tagged With: bags and purses, Recipes and food

  • « Go to Previous Page
  • Page 1
  • Interim pages omitted …
  • Page 4
  • Page 5
  • Page 6
  • Page 7
  • Page 8
  • Interim pages omitted …
  • Page 11
  • Go to Next Page »

Primary Sidebar

Hand crafted boat shuttles

Categories

Archives

Meta

  • Log in
  • Entries feed
  • Comments feed
  • WordPress.org

Copyright © 2025 Kelly Casanova Weaving Lessons on the Foodie Pro Theme