
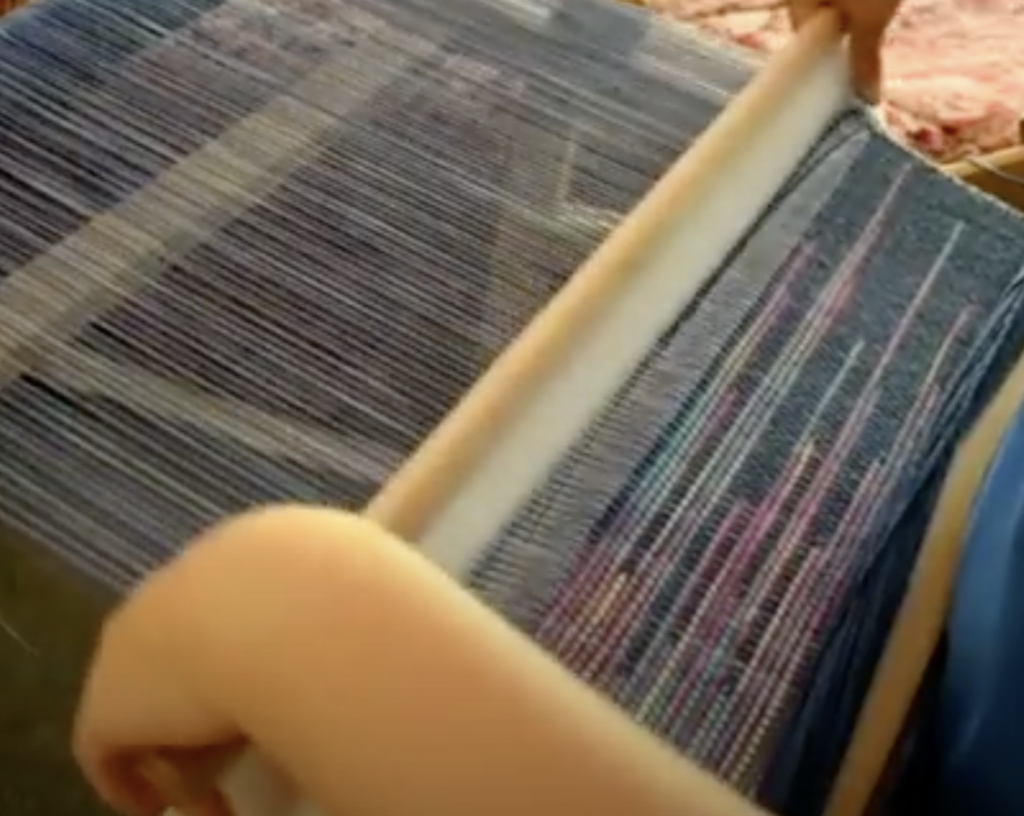
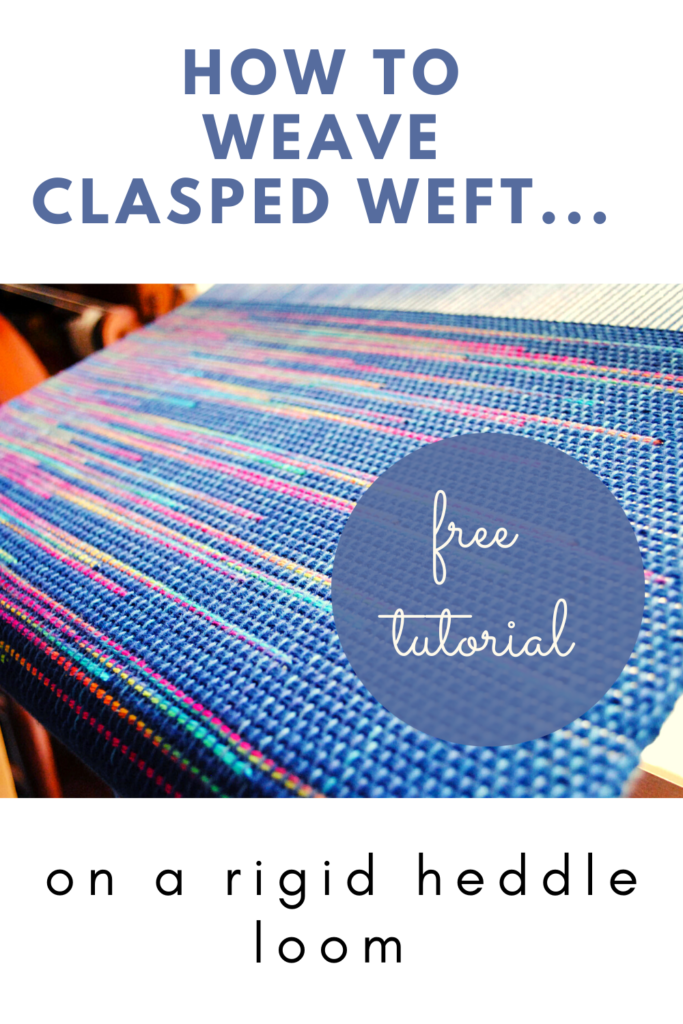
We mainly use a plain weave structure (though clasped weft can actually be used in other structures, such as twill). It is a perfect technique for a rigid heddle loom, because, although it’s simple, it looks special and has big impact.
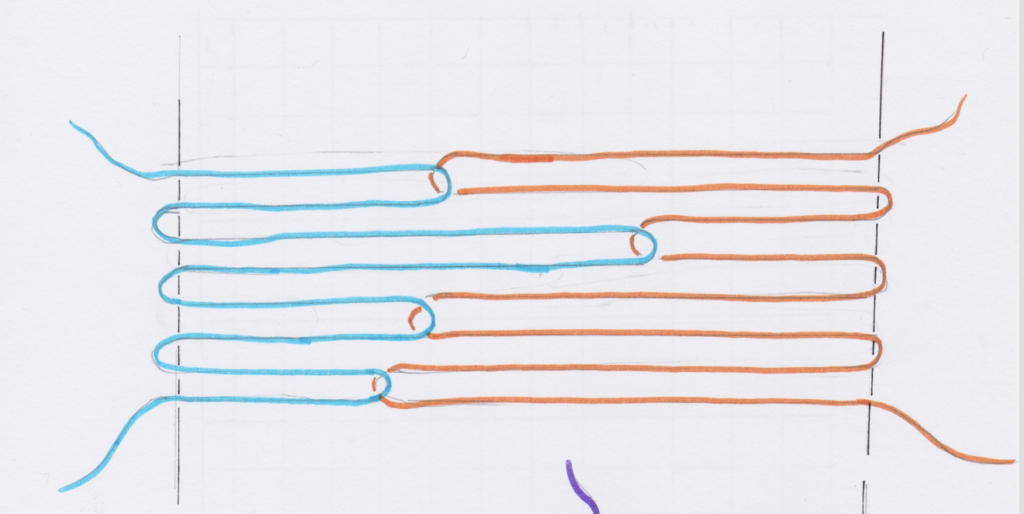
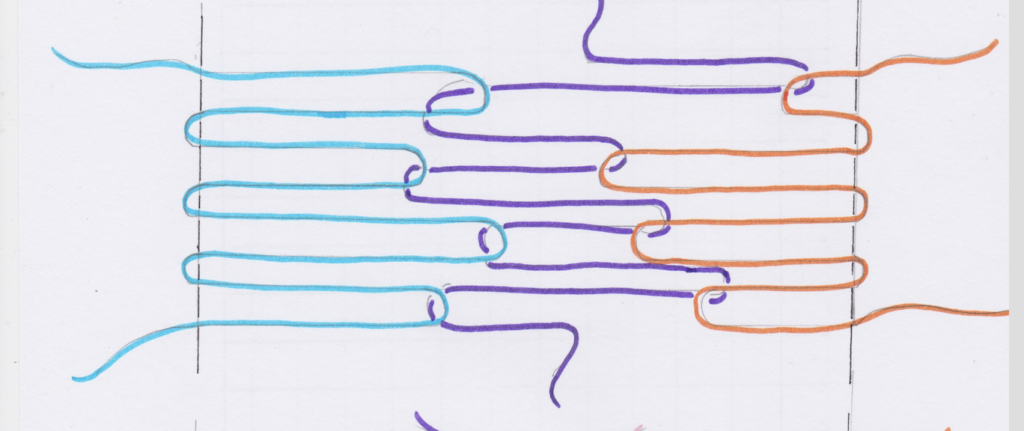
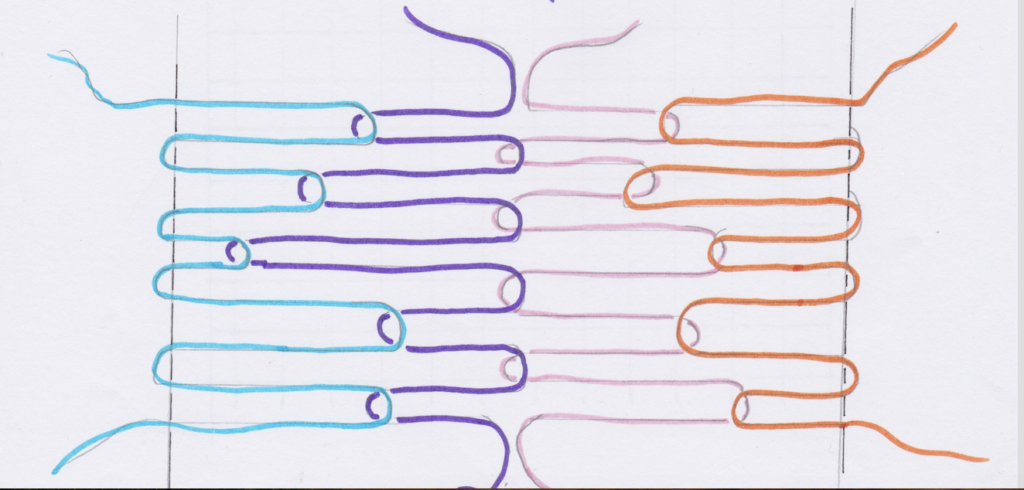
Before we go through the tutorial steps, let’s look at some (rather poorly drawn, sorry about that!) diagrams to get a clearer idea of how this works. The drawings are over simplified, as I haven’t drawn in the warp and weft interlacement, but I have drawn in the edge warp threads:
Clasped weft with 2 weft colours.

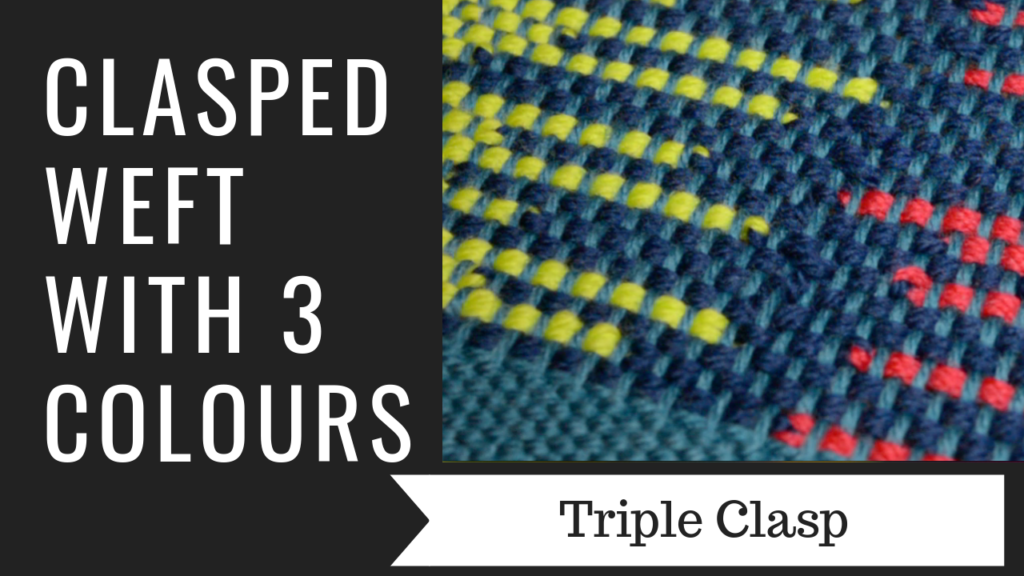
Clasped weft with 3 colours.
Clasped weft with 4 colours.
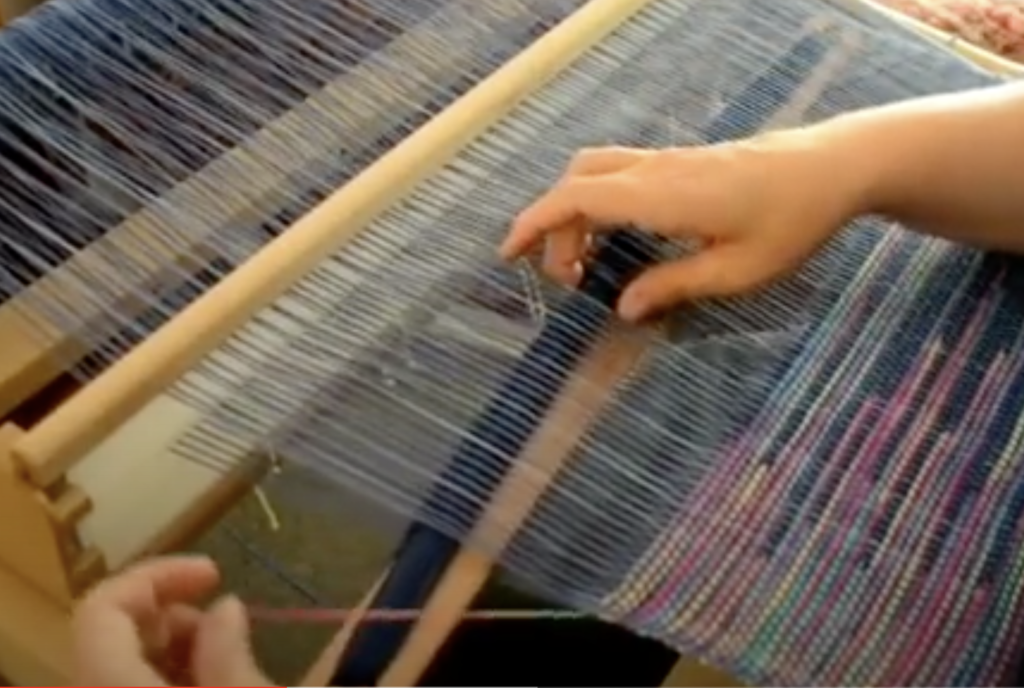
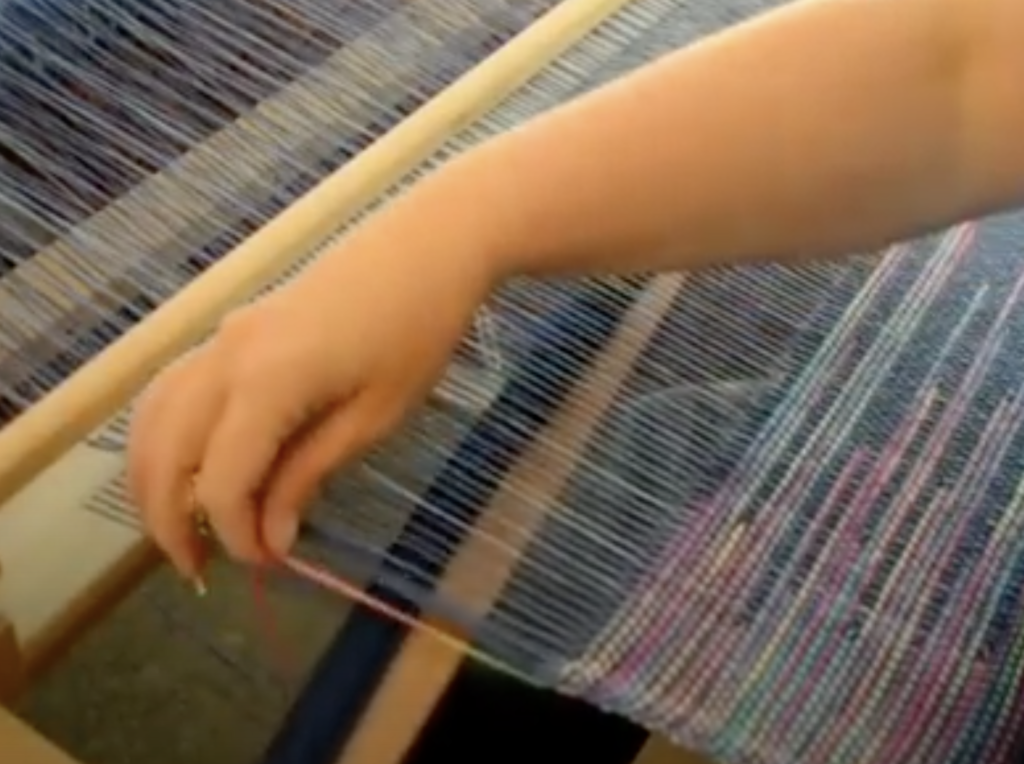
Take the shuttle the rest of the way through the shed at the left – as you would for your normal plain weave pick.
On the right hand side (where your shuttle entered), tidy up and prepare your weft yarn as though you’re going to beat the pick in. If you’re not familiar with how to do this, watch my free video on How to Weave Neat Edges. DON’T BEAT.
4. Using the same colour as the warp for one of your weft colours works great.
Too much colour can confuse the contrast of the clasped weft lines. In the tutorial, I used the same navy yarn for warp and weft no.1. I then used a contrast yarn for weft no.2.
I just used 3 color clasp weft! It is fun and much easier than it looks!
Thank you so much!!
I’m glad you had fun with it Dorothy 😀
Hi Kelly, the video is great. Thank you. One question. I am not catching my floating selvages and can’t figure out why. Any thoughts? Thanks, Nan
Nan, you don’t generally use floating selvedges for clasped weft when it’s plain weave, they’re not needed and would only get in the way.
When I use clasped weft with a different weave structure I may use a floating selvedge on one side and that doesn’t affect the clasped weft.
Should I double my warp yarn when using a clasped weft? It seems to me that the weft would be more dominant, or cause it to look uneven…..
The weft is naturally doubled as you work the technique 😊
When using the clasp weft pattern, how do you do the hem stitch at the beginning and the bad of the project?
Just as you normally would for any straightforward project. If you need help getting started with hemstitching, this will help:
http://kellycasanovaweavinglessons.com/2020/09/all-about-hemstitching.html
Thank you for putting the explanation and the 3 videos all in one place! Your videos are the best I’ve seen on how to do clasped weft.
Thanks Debby, it’s a very popular weave among new and seasoned weavers alike, so it makes sense to make it all easier to access 😊
Hi Kathi, thank you for your kind words! I have been asked by others about clasped warp and it is something I plan to make a class on at some point.
That would be great! I also would love a clasped warp lesson. I can only find one YouTube video on it, so I know it is needed. Thanks for all the great lessons!
I don’t have a video on clasped warp but I do have a pattern -http://www.etsy.com/au/listing/708333098/galaxy-scarf-pdf-pattern-for-rigid?ref=shop_home_feat_2
I just love your blog posts and videos! Such a talent! I am loving the clasped weft! I live in a remote area and try to learn as much as I can based upon your posts. I just recently saw what is called a clasped warp. Is this something that you have done? If so, can you share instructions on how this is accomplished?
Thanks Kelly, I have been busy using this to make mug rugs by beating it tight.. they look great. Will put up a pic when off the loom. 🙂
Thank you Angela 🙂
Thank you Nita, it's a blessing to be able to share what I love!
Excellent instructional viseos Kelly. Thank you
I think you must be one of the most generous weaving professionals in the world! Thank you so much for your generosity and teaching.
That sounds great Marjan, I'm glad this has been of benefit to you!
Thanks for reading Betsy, I appreciate it 🙂
The 2 colour clasped weft I have learned from you already. These 2 new video's are great as well. I am certainly going to use these techniques and thinking about 3 pillowcovers: one in 2 colours, one in 3 and one in 4 colours. Thank you again for your clear educations and inspiration!
Greetings out of Holland.🌷
Thank you Kelly. You are always so generous. I purchased a scarf pattern from you a few months ago . I need to get it going, Christmas sneaks up fast!