Search Results for: weaving
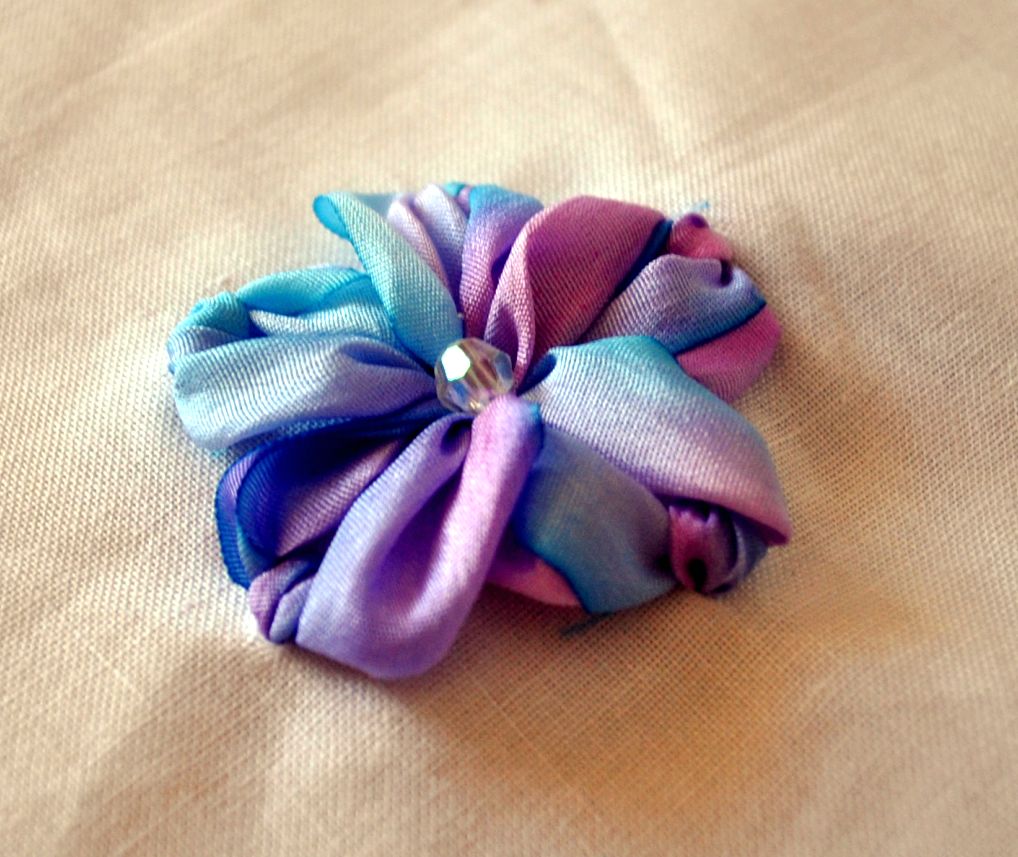
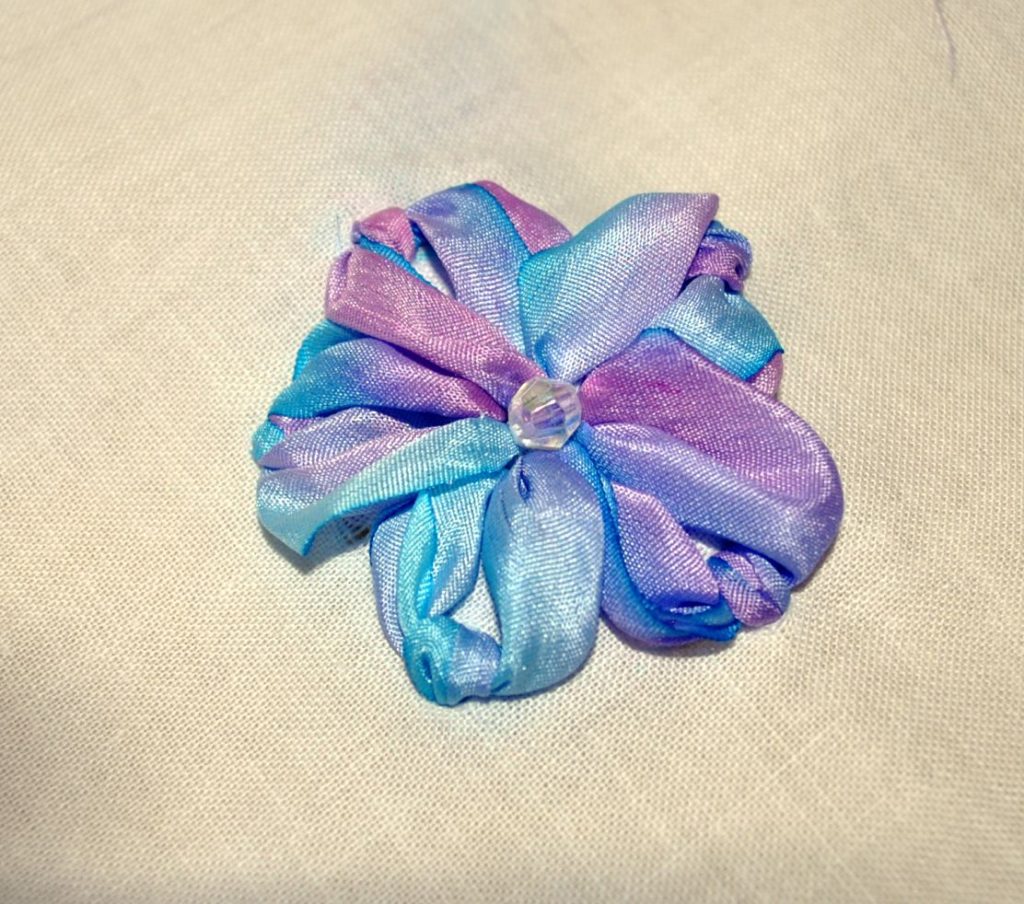
Silk ribbon flower tutorial
I’m featured!

My Creative Space
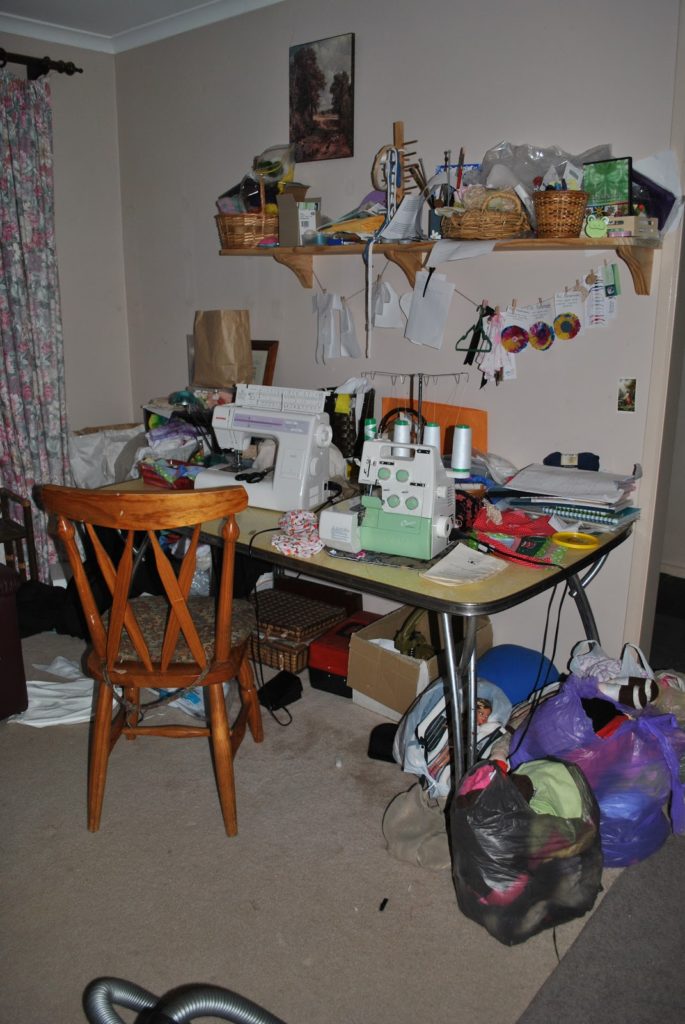
It’s impossible…
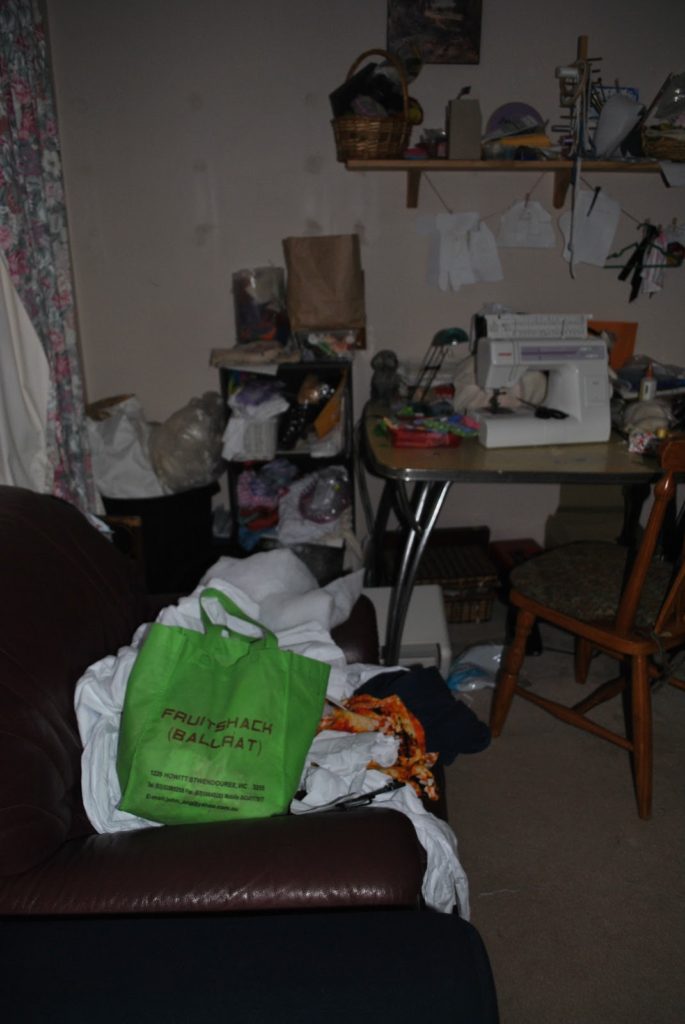
Progress
Better?
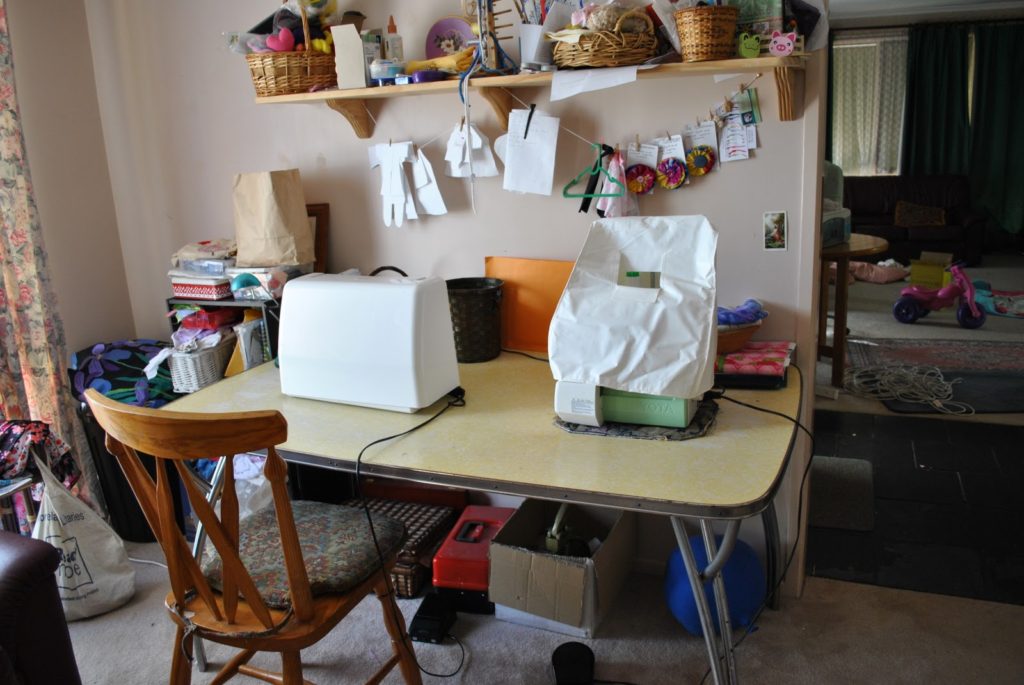
Actually, I really enjoyed cleaning up my sewing space. I came across projects and ideas I had forgotten and feel I can now focus on what I need to do next.
My Creative Space
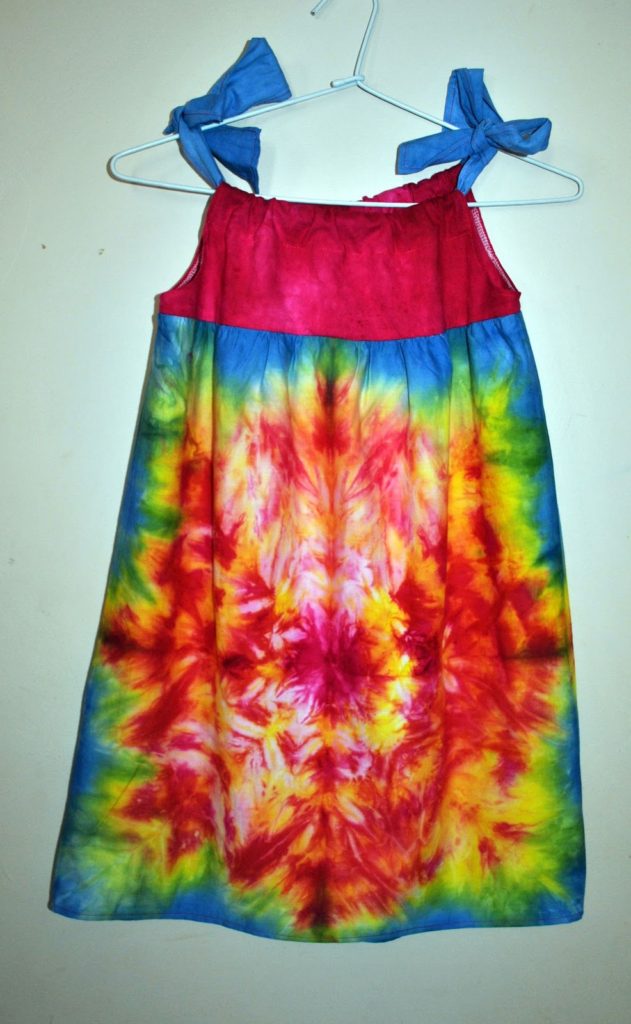
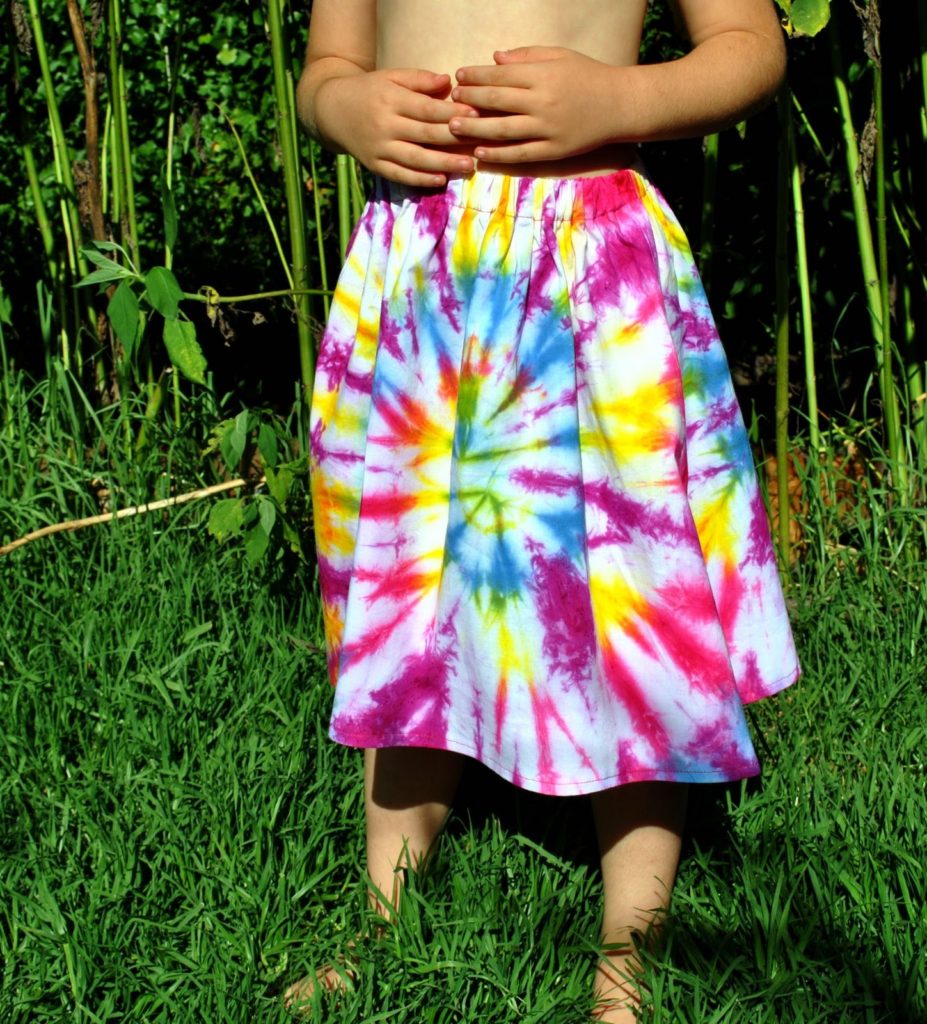
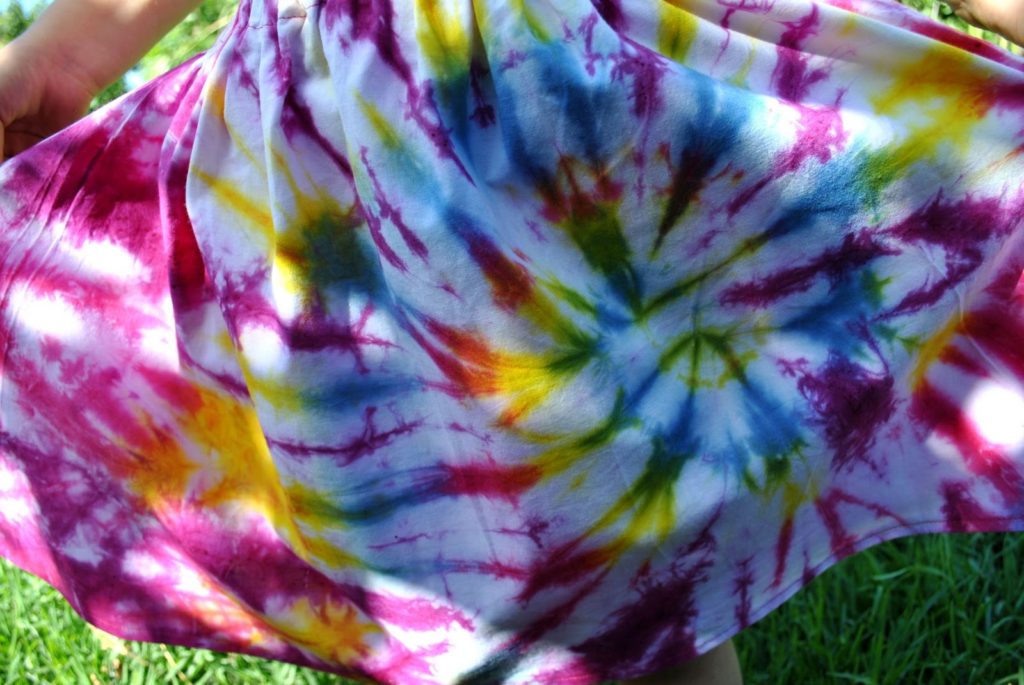
Rainbow mandala dress
My latest offering for my Etsy shop – dresses! The beauty of a dress like this is the adjustable ties which makes it a multi fit garment. It fits a 3 year old up.
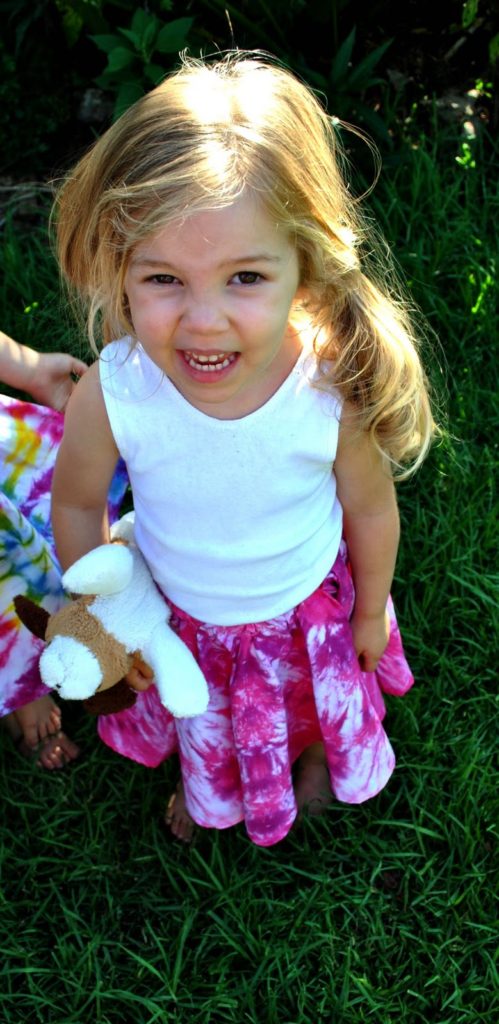
I dyed the pieces separately and did a mandala design for the main skirt. The girls were desperate to keep this one, but then again, they’re desperate to keep most of my creations and if I gave in the wardrobes would be overflowing even more than they do already!
If I haven’t been to your blog lately I do apologise, I just seem to have a lot on my plate at the moment. I’ll try to visit soon and I appreciate you reading.
We survived – we even thrived a little!
Waldorf softie doll tutorial – Part 1
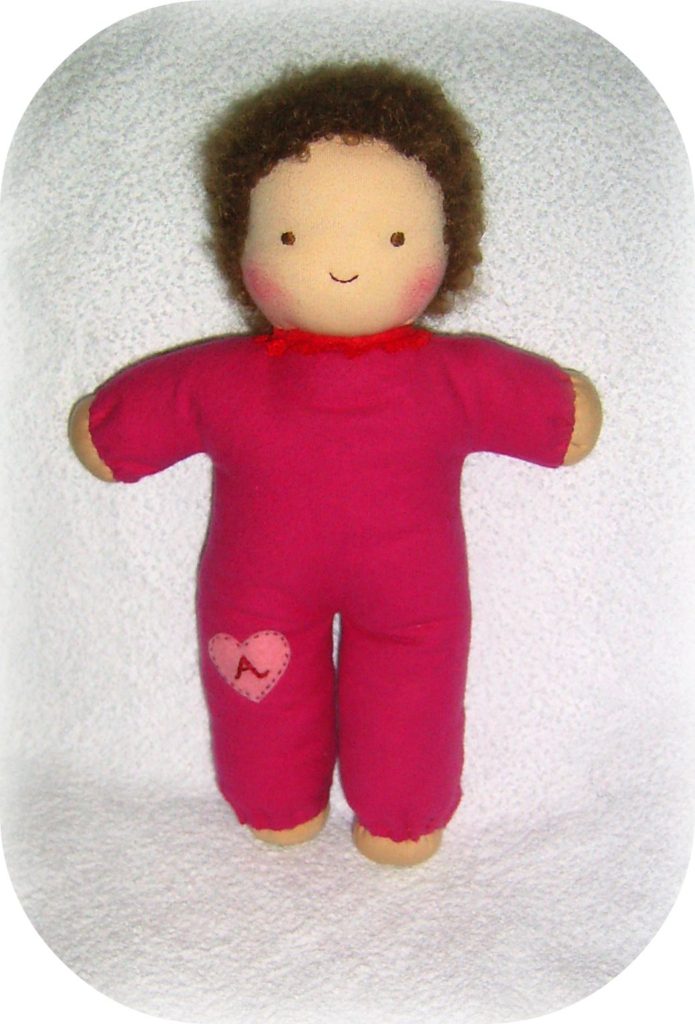
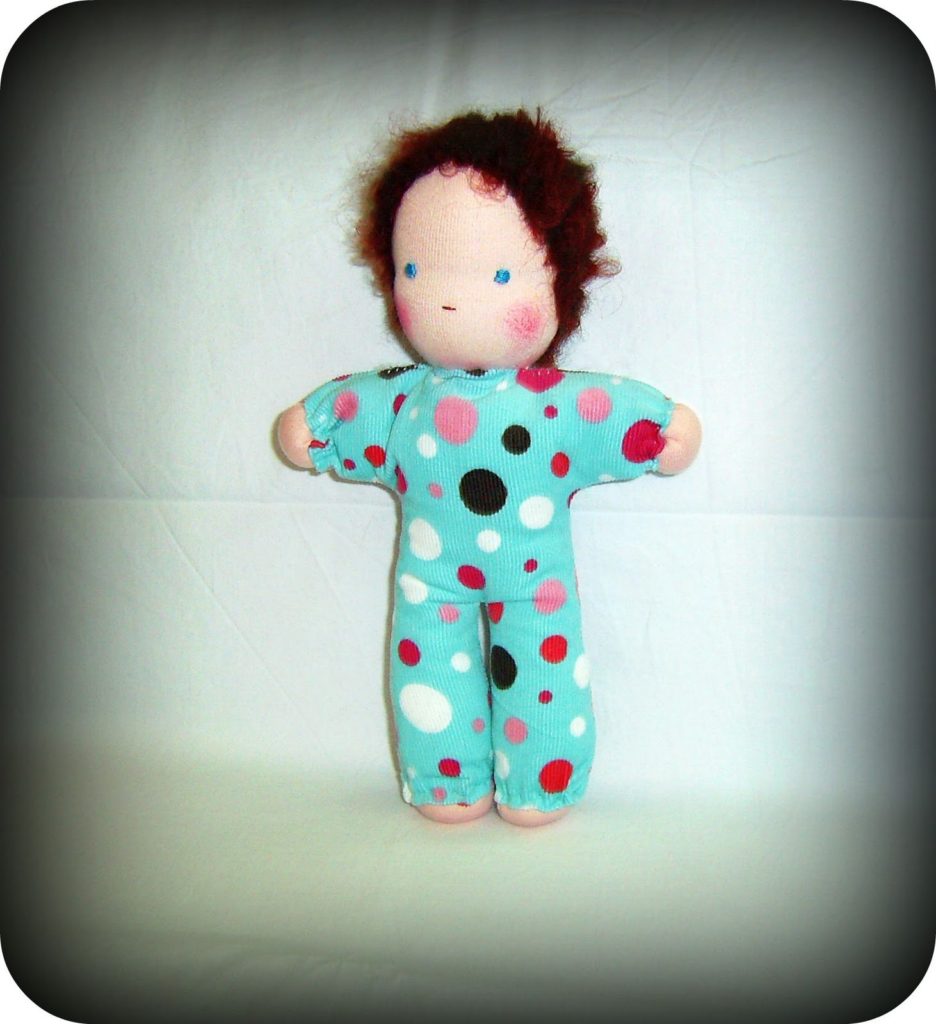
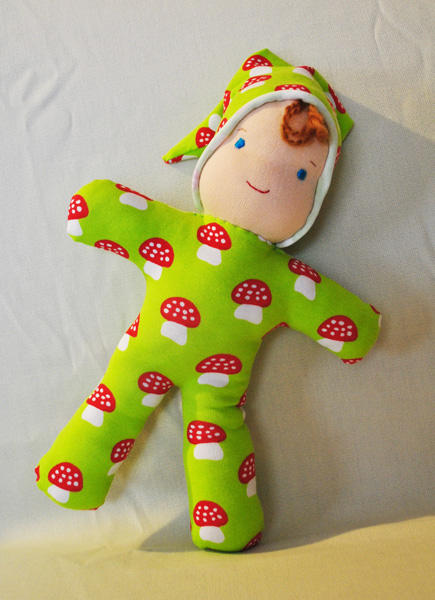
It’s high time for a tutorial here so I’ll teach you one of the things I know best – dolls! This tutorial is for the style of doll you see above in a small size (9 – 10 inches). You can scale things up for a larger doll or just make a little one. They are great as a first doll for a younger child because there are no small bits as choking hazards. Please use this tutorial and pattern for personal use only 🙂
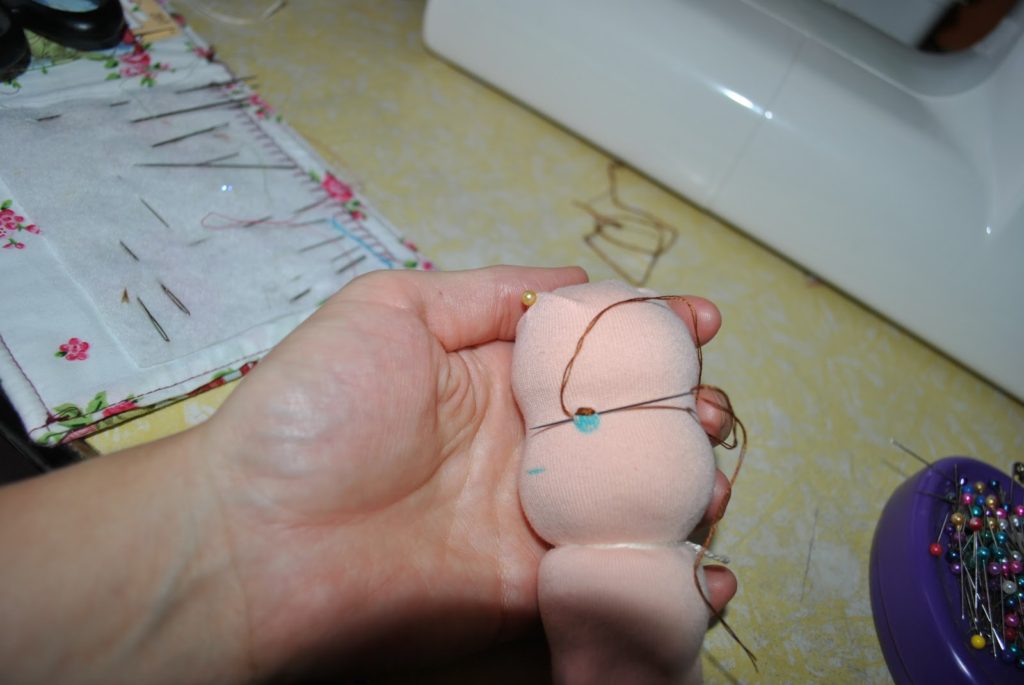
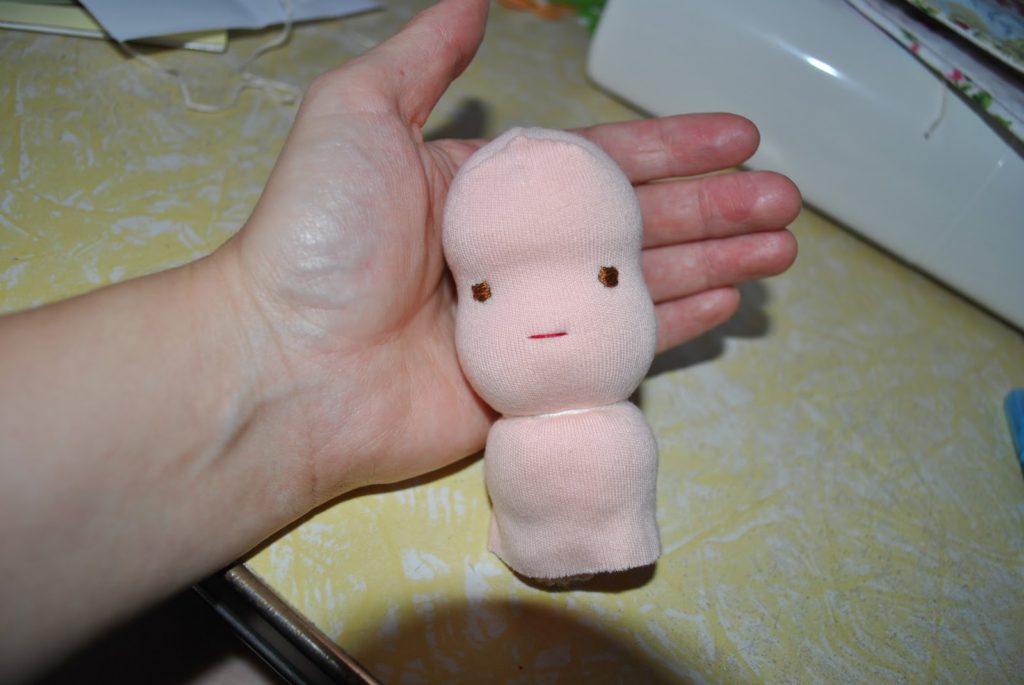
Today we make the head. I have a lot of pictures for beginners who want to have a go.
Materials list for head –
Finger bandage (or other bandage you can sew to size) approx 4 inches long x 1 & 3/4 inch wide
Approx 8 x 8 inch piece of cotton tricot
Clean, carded wool
Strong tying thread
Basic sewing kit and machine.
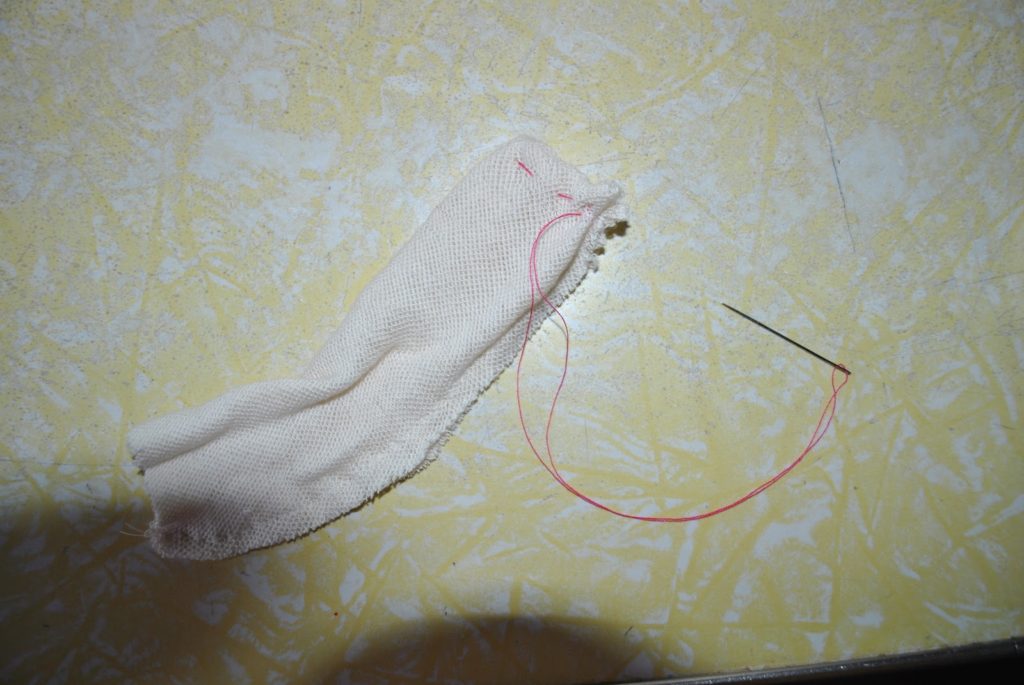
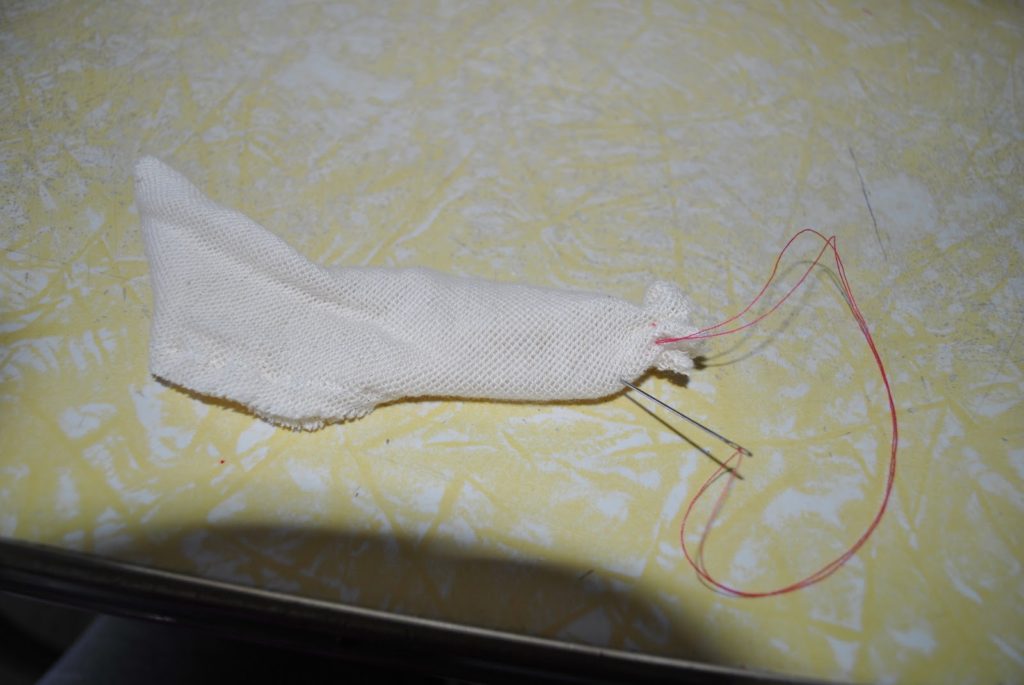
Your piece of bandage should fit comfortably over your index finger (to give an idea of width). Run a gathering stitch around one end with needle and thread, gather up tightly and knot.
Turn right side out (RSO)
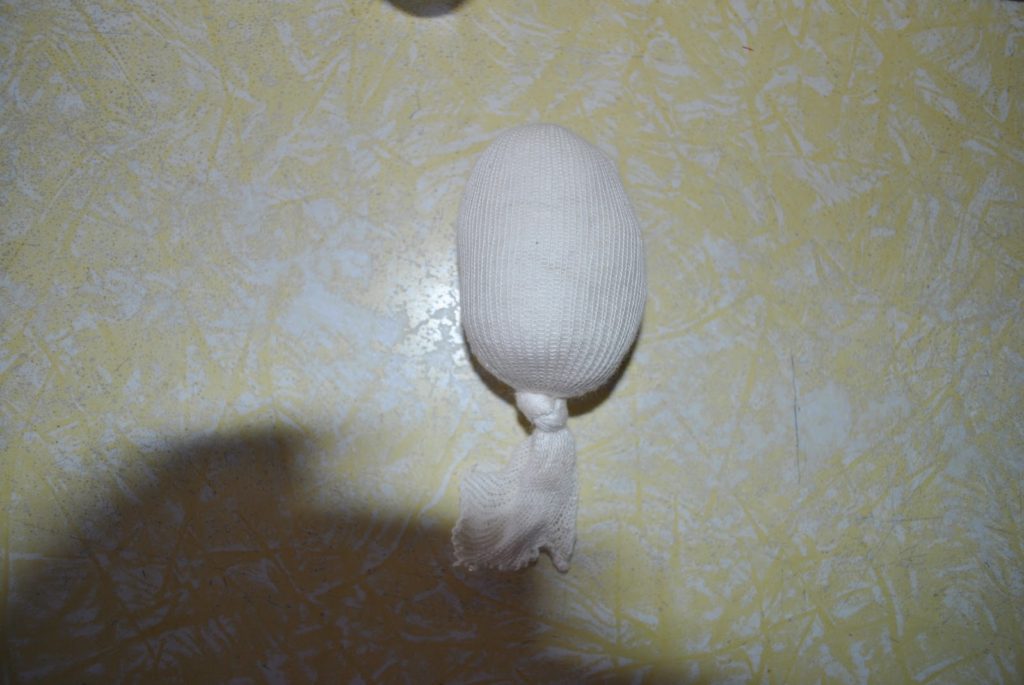
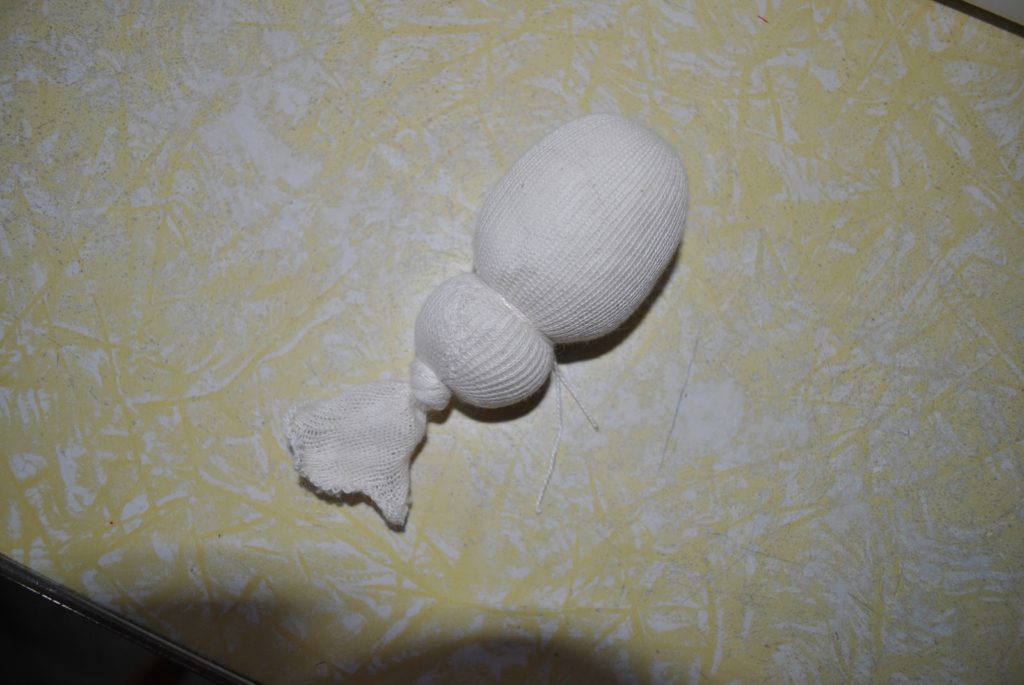
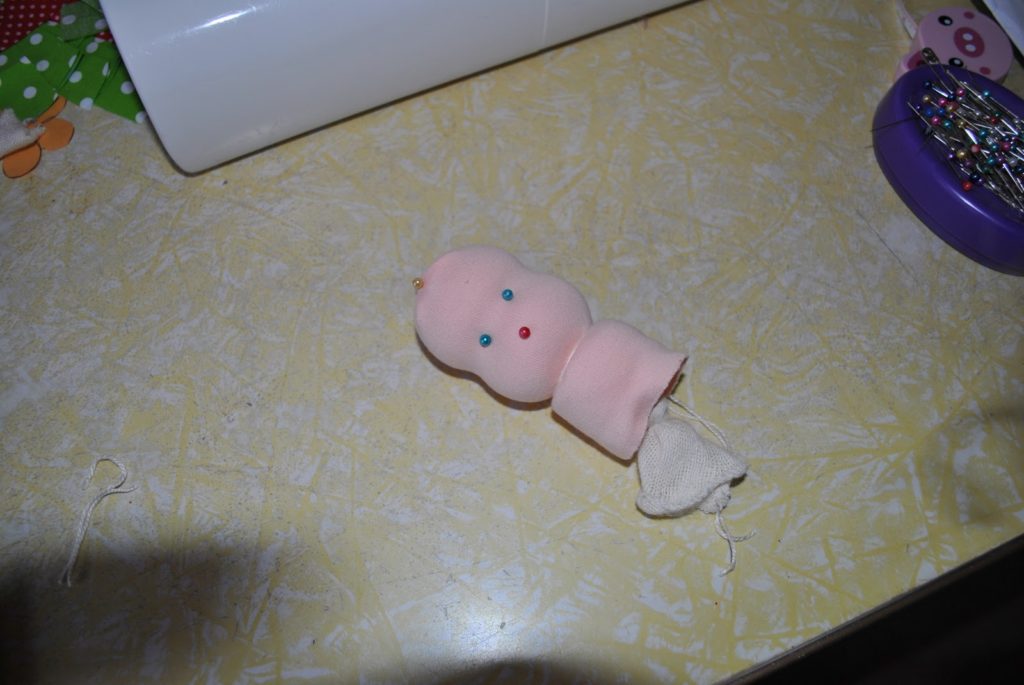
Stuff very firmly until the head measures about 4 inches from the top and tie into a knot to prevent the stuffing from slipping back down.
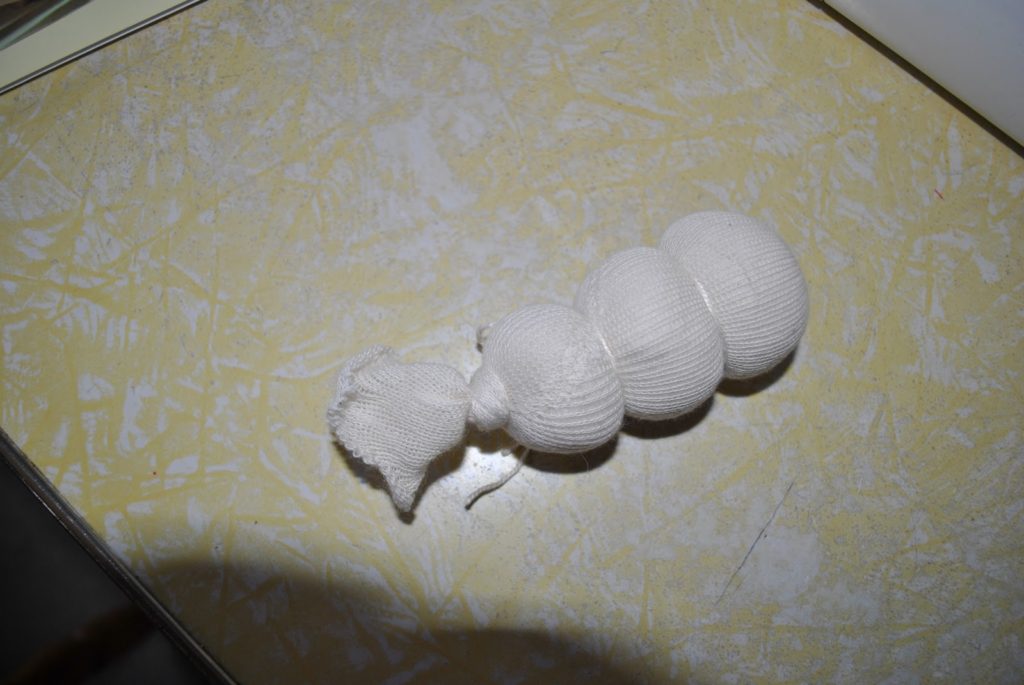
Now tie about 3/4 of the way down with some of your strong cotton or linen thread. I find it easiest to tie doubly around to get it super tight. You may find it easier to get someone else to hold the knot initially.
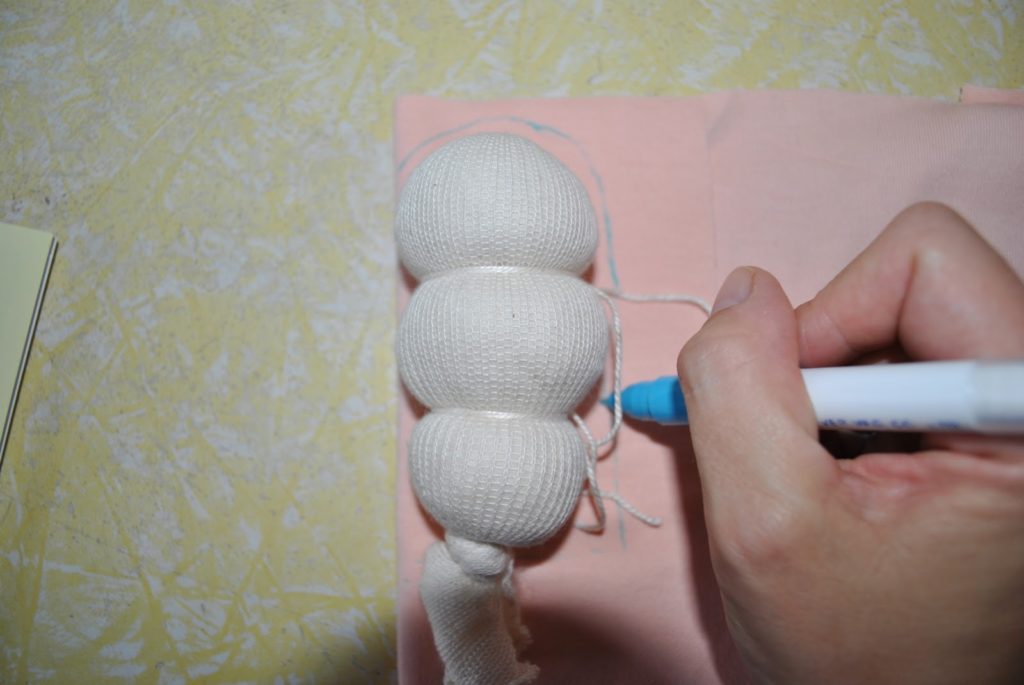
Lay the head with knotted ties to the back on your piece of tricot doubled over. Trace a rough outline around the shape of the head, allowing a bit of extra room. Use a disappearing or water soluble pen for best results.
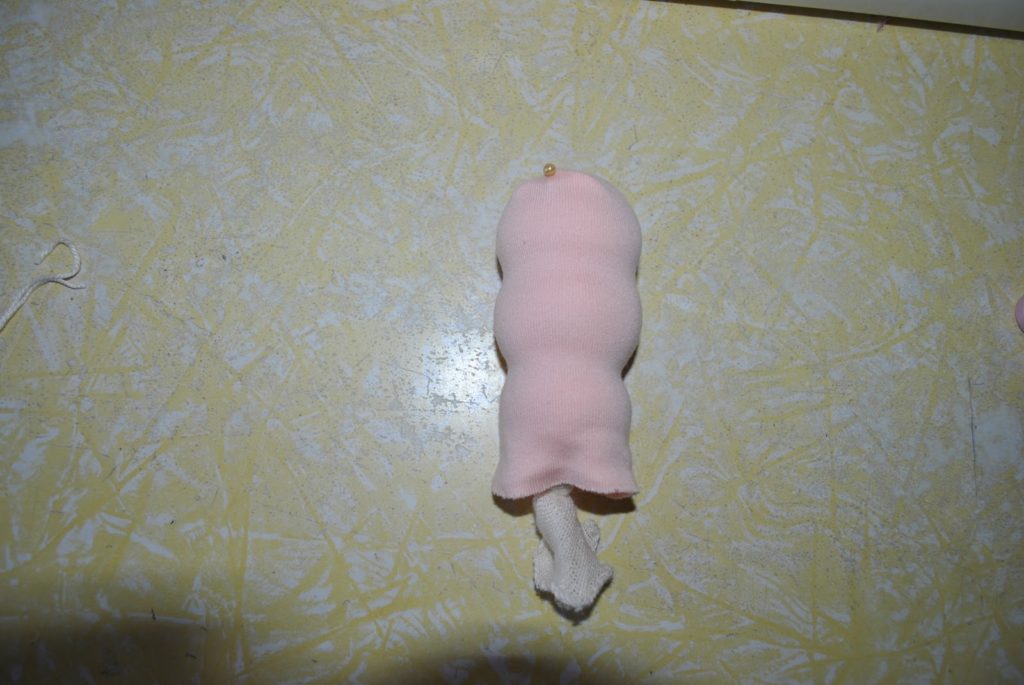
Place a couple of pins to hold the layers together. Don’t cut this out! With your sewing machine set to a small stitch, using matching thread and with a ballpoint needle (important!) sew on the line you have drawn. Don’t sew up the bottom as you’ll need to fit this over the inner head. Cut out close to the stitches and turn RSO.

