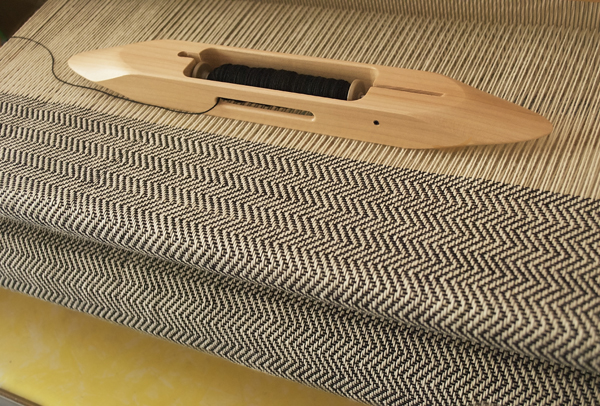
I’ve been having a bit of fun with some towels this week. I warped with a natural cotton and threaded for twill. This is just one twill variation.
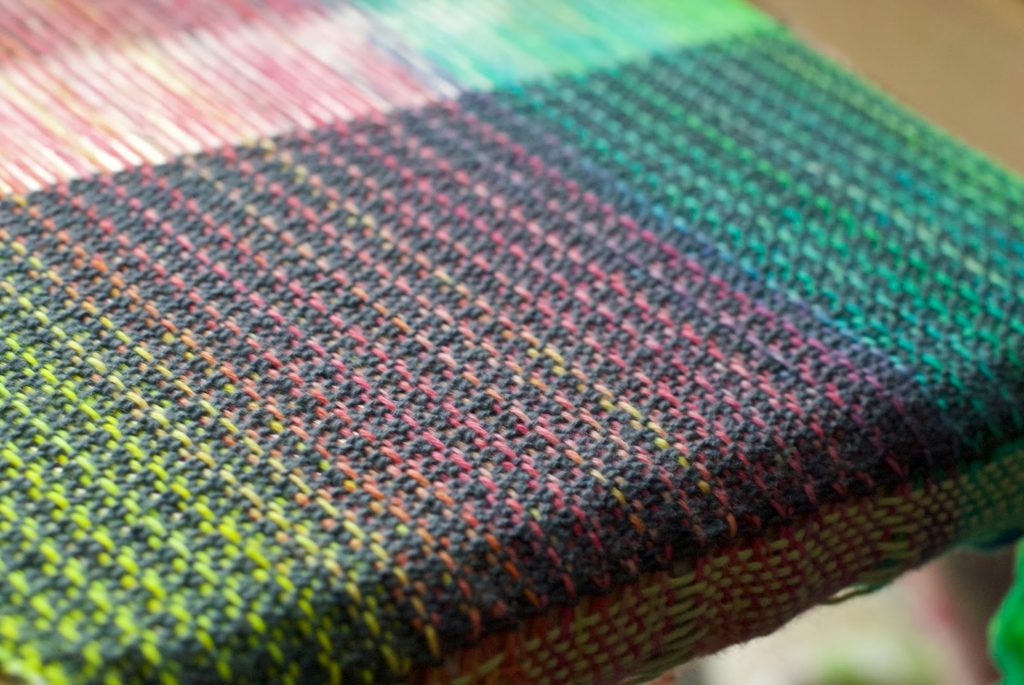
Once you’ve threaded in twill, there are a lot of variations to try. This one is extended twill with a black weft.
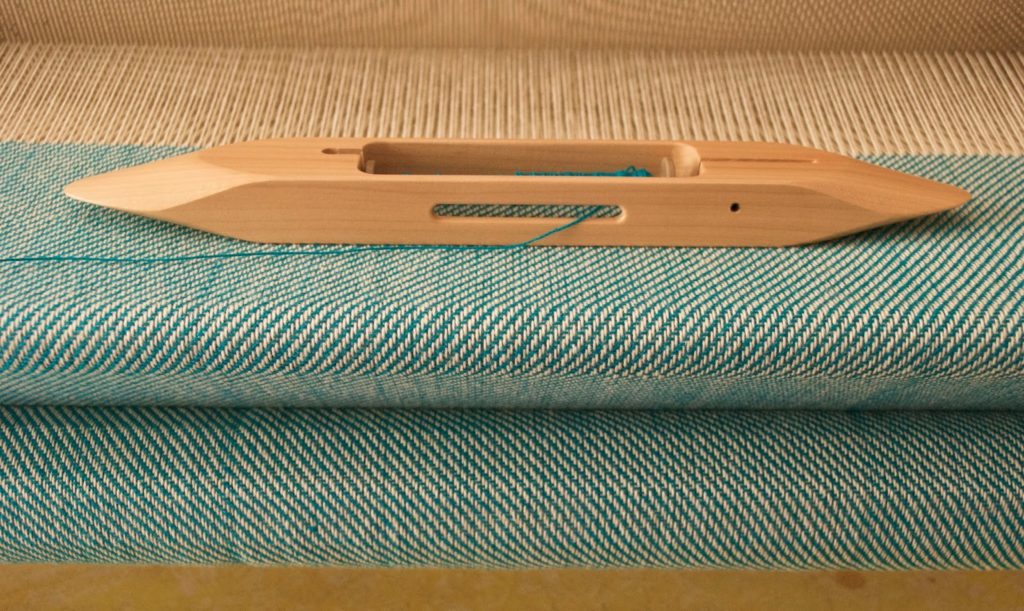
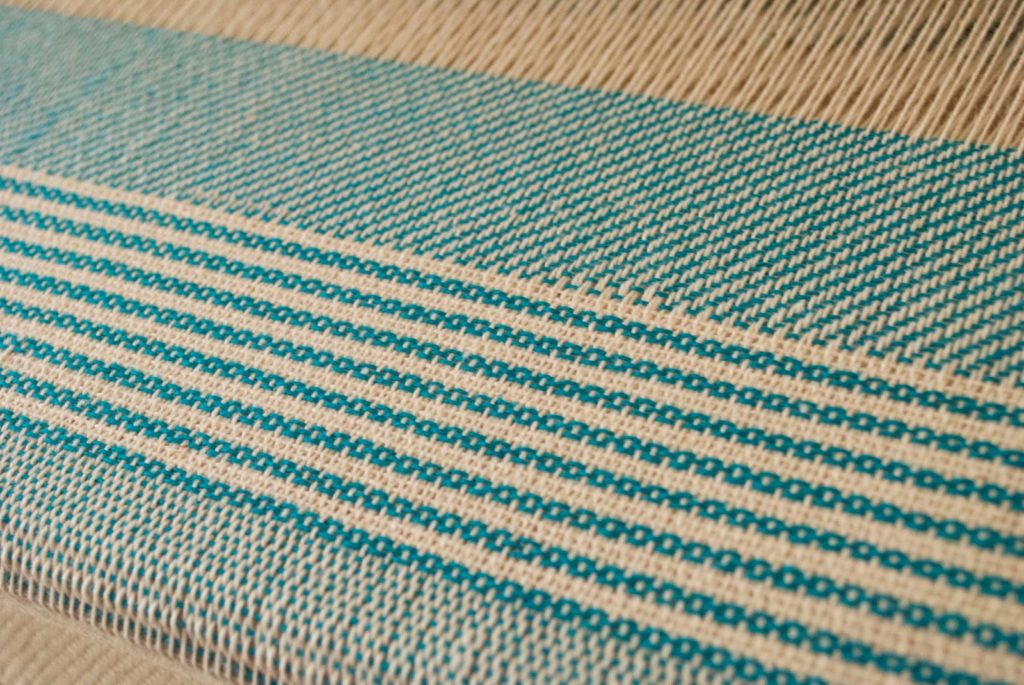
Straight up twill with a blue weft.
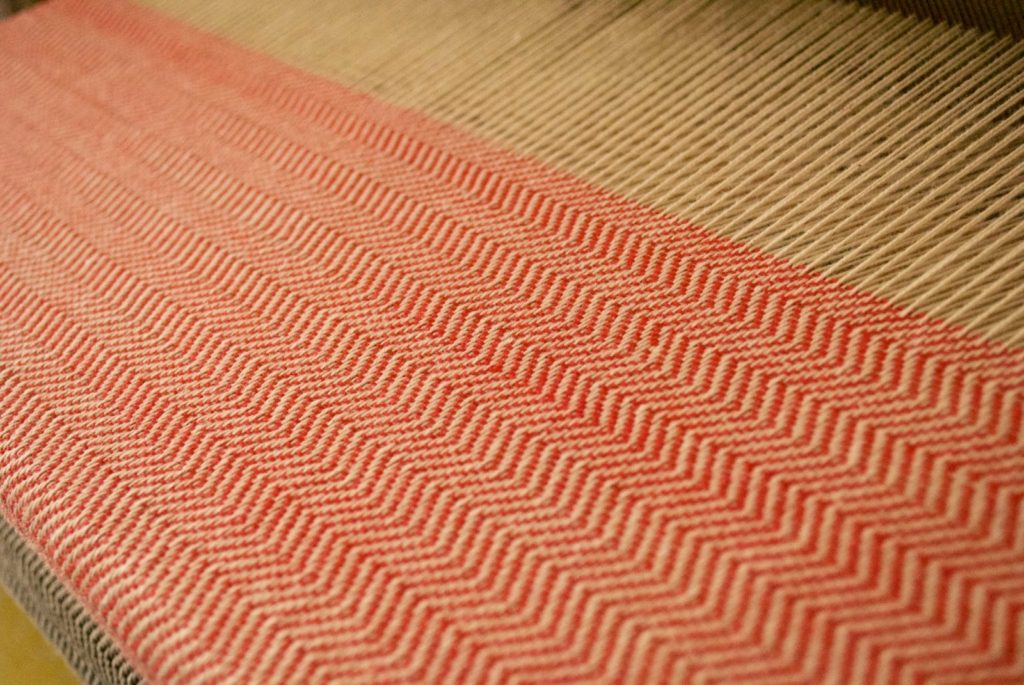
And here we have extended twill with red weft.
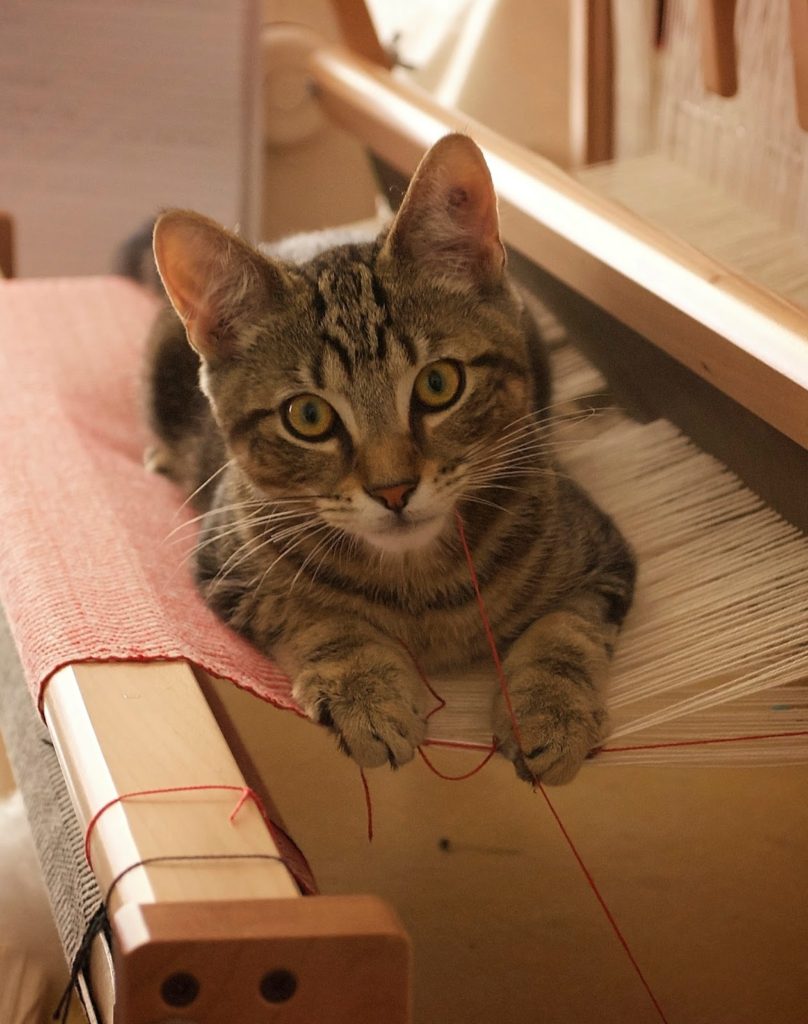
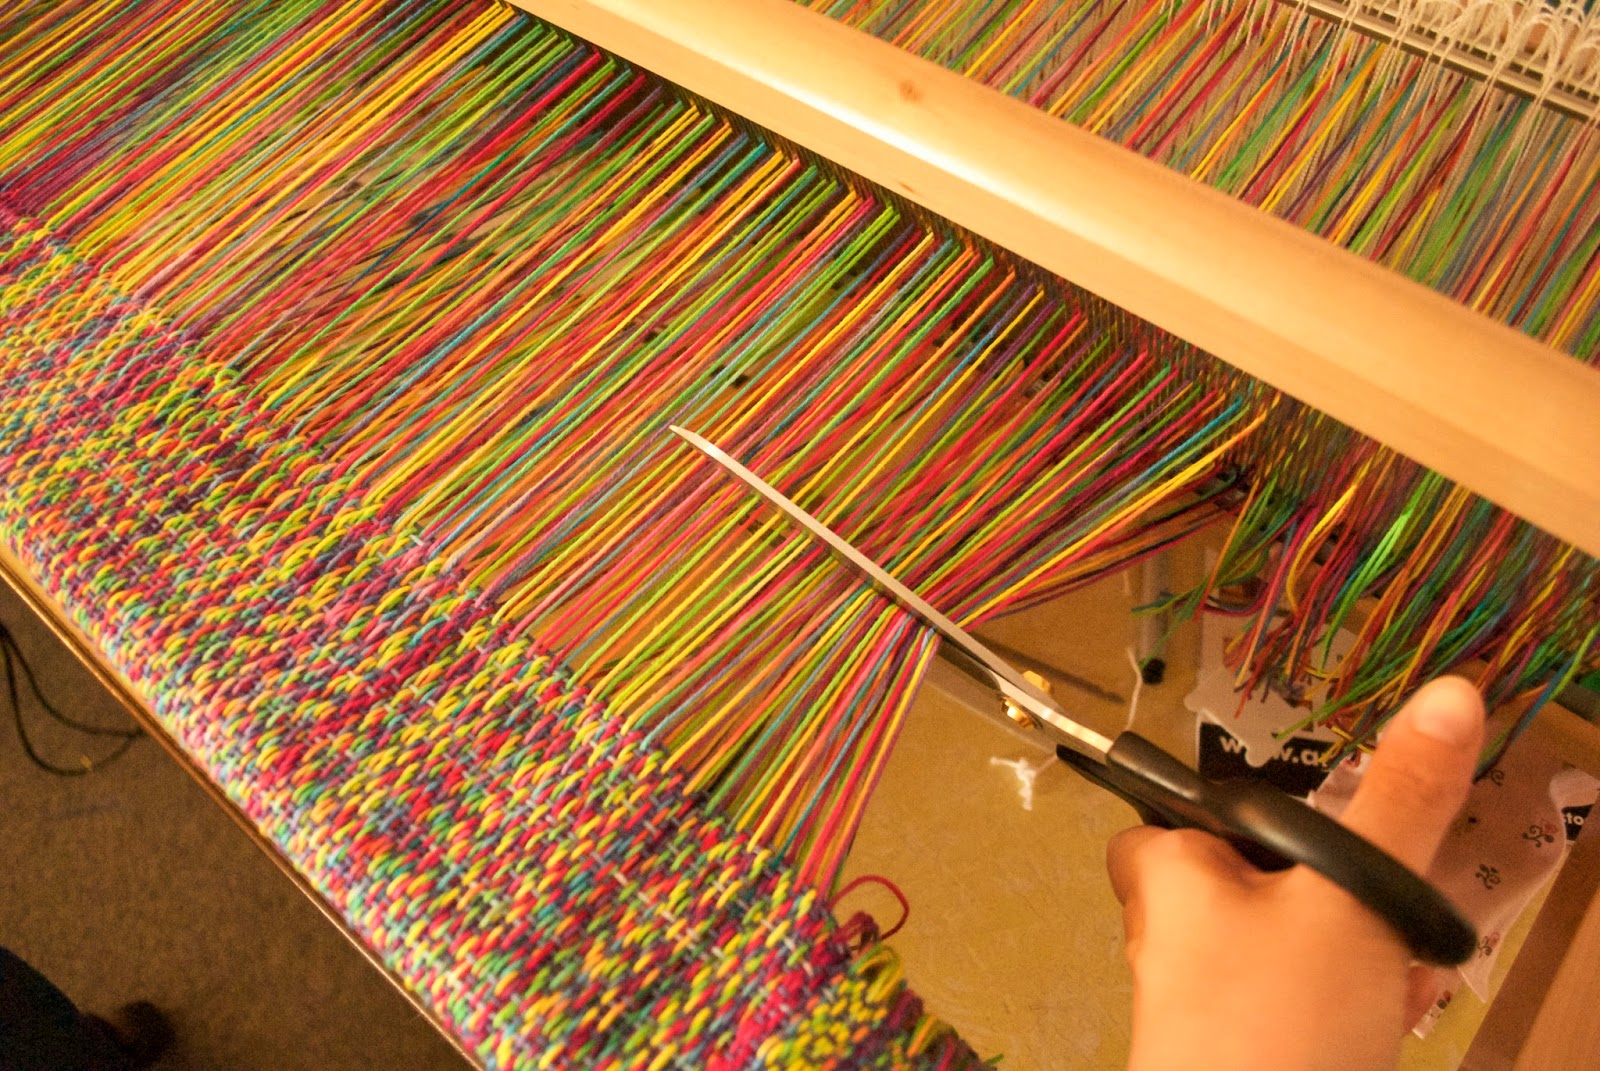
This is what I came across this morning. Note the chewed thread in the mouth. I posted this on a weaving group on Facebook and set off a whole series of naughty kitty photos, it was very amusing. It seems that looms are a magnet for cats! Thankfully the cloth was not damaged, I just had to cut the affected thread and start a new one. Could have been a lot worse!