
I learned how to hemstitch early on in my weaving journey and use it now in most of my hand woven pieces.
I love that it is so decorative but entirely practical as well – that suits my tastes perfectly!
There are many things to love about the humble hemstitch, it is easy to learn, it looks lovely, it allows your woven piece to sit really flat once off the loom (great for table linens), it is very strong and secure and it can be used as a feature within your weaving, not exclusively at the start and end of your piece.
This post contains affiliate links. Please see my disclosure policy for further details.

So, what is hemstitching?
It is a way to secure your warp ends in order to remove your weaving from the loom. It is worked by hand, with a tapestry needle and while your piece is still on the loom (not absolutely necessary, but boy, does it make life easier!)
When you remove your piece from the loom, the weaving will naturally begin to unravel (at different rates, according to the yarn and the project). You need to either secure those warp ends on the loom or promptly after removing from the loom.
Do I have to leave a fringe if I hemstitch?
Not necessarily. It is most common to leave some sort of a fringe when you have hemstitched your ends. A twisted fringe looks stunning with hemstitch but a medium to short fringe is also lovely.
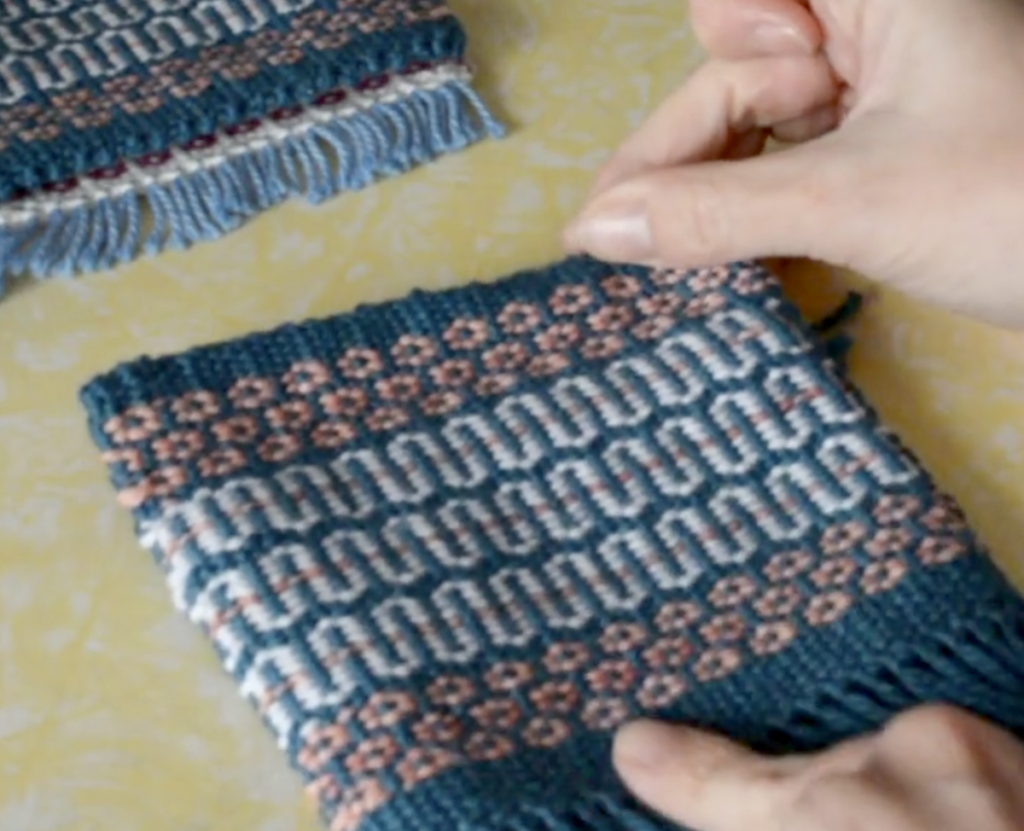
But if you don’t want a fringe at all, don’t have a sewing machine and want those ends secure you can hemstitch on the loom, then needle weave the warp ends (or fringe) back up and into the work. I have used this approach for some of my tapestry projects and on these mug rugs. It gives a very neat and attractive finish – it takes a while to weave all those ends in with a needle though!
Let’s get down to the nitty gritty and have a look at how hemstitch works.
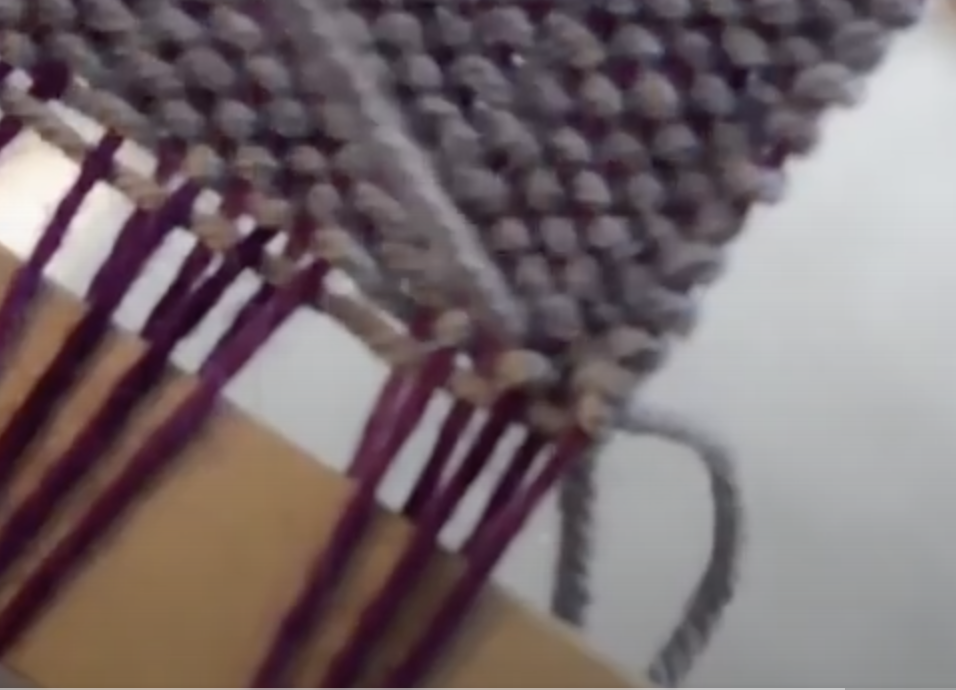
You begin by choosing the number of warp ends you want in each bunch and how far into your weaving (how many weft picks) you want each stitch to go.
My go to is a 4/1 hemstitch, which means that there are 4 warp threads in each bunch and I stitch in 1 weft thread deep. There are all different number configurations you can do depending on the effect you want, the project and the thickness of yarn you have used.
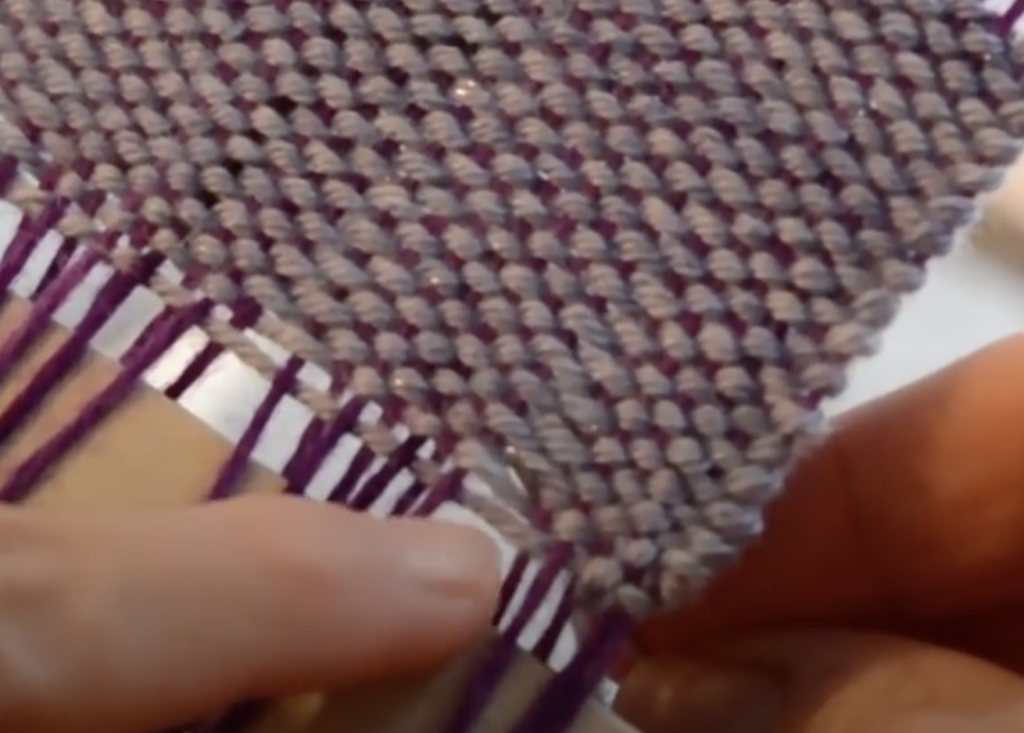
In this picture I am working a 3/2 hemstitch. I count off 3 warp threads at a time, and bring the needle up 2 weft picks deep.
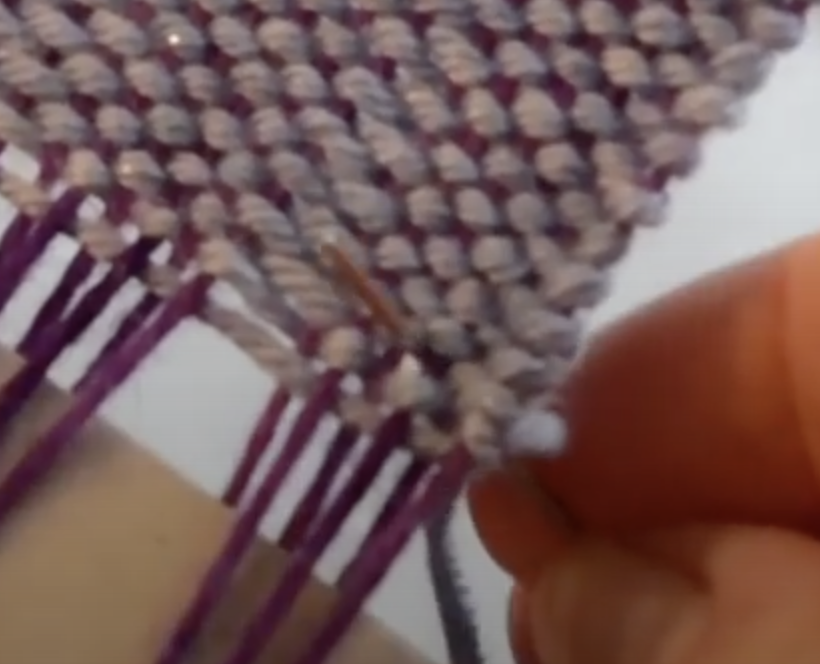
Here is a breakdown for how to work hemstitch, step by step. Heddle is in neutral. Ideally, you have left a long tail of weft yarn (around 4 x the width of the project) on the right hand side (left side if you are left handed). Thread this yarn in a tapestry needle.
Remember, in this demonstration I’m doing a 3/2 hemstitch.
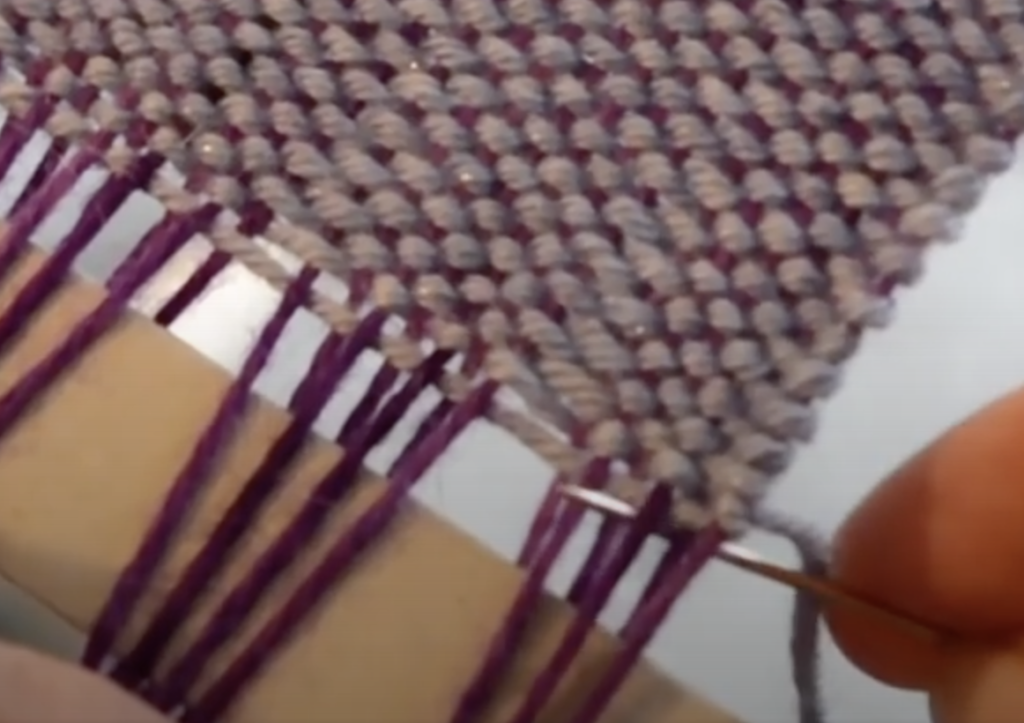
- Take the tapestry needle underneath the first 3 warp threads.
2. Count up 2 weft threads and bring your needle through the space that aligns with the 3 warp threads you counted in.
3. Pull the full length of the yarn through.
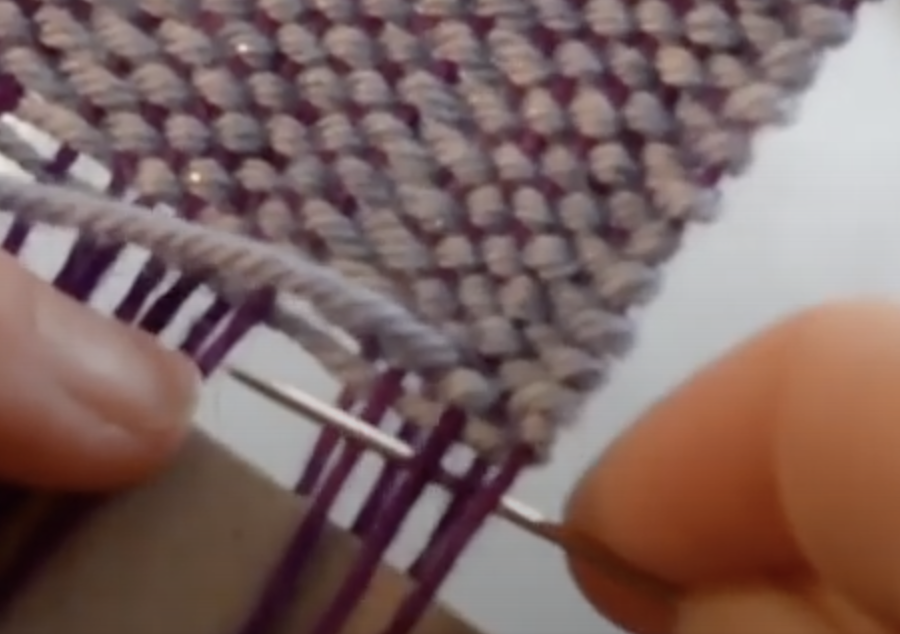
4. Take the needle back to the start of the initial 3 warp threads and underneath, coming up on the left hand side of the 3rd thread.
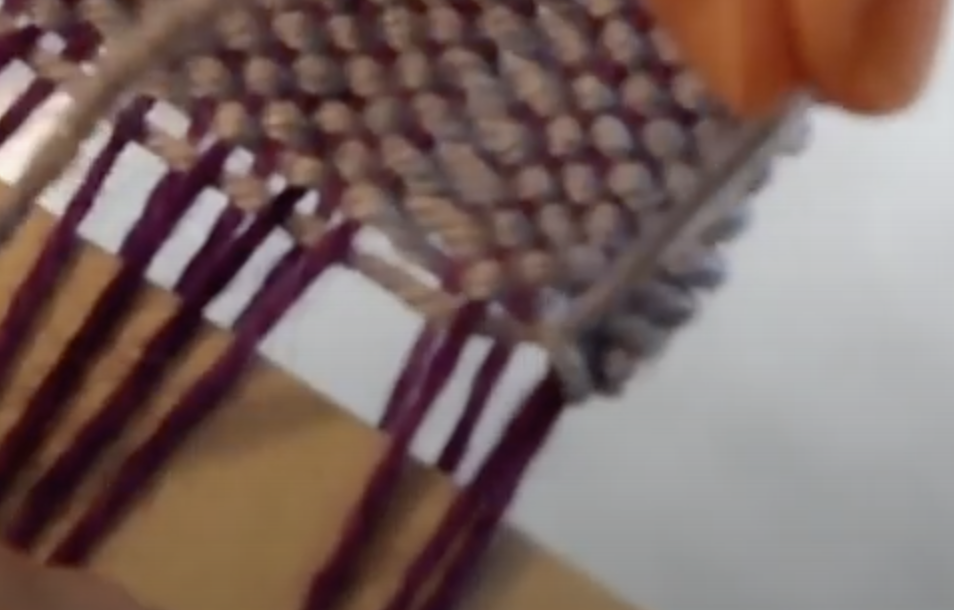
5. Pull the yarn through, making sure that the needle goes under the tail yarn on the left so that a loop is created. Pull the loop firmly to make your first bunch.

6. Take the needle down in between the first bunch and the next group of 3 warp threads and repeat the steps.
You can see a video of this tutorial here-
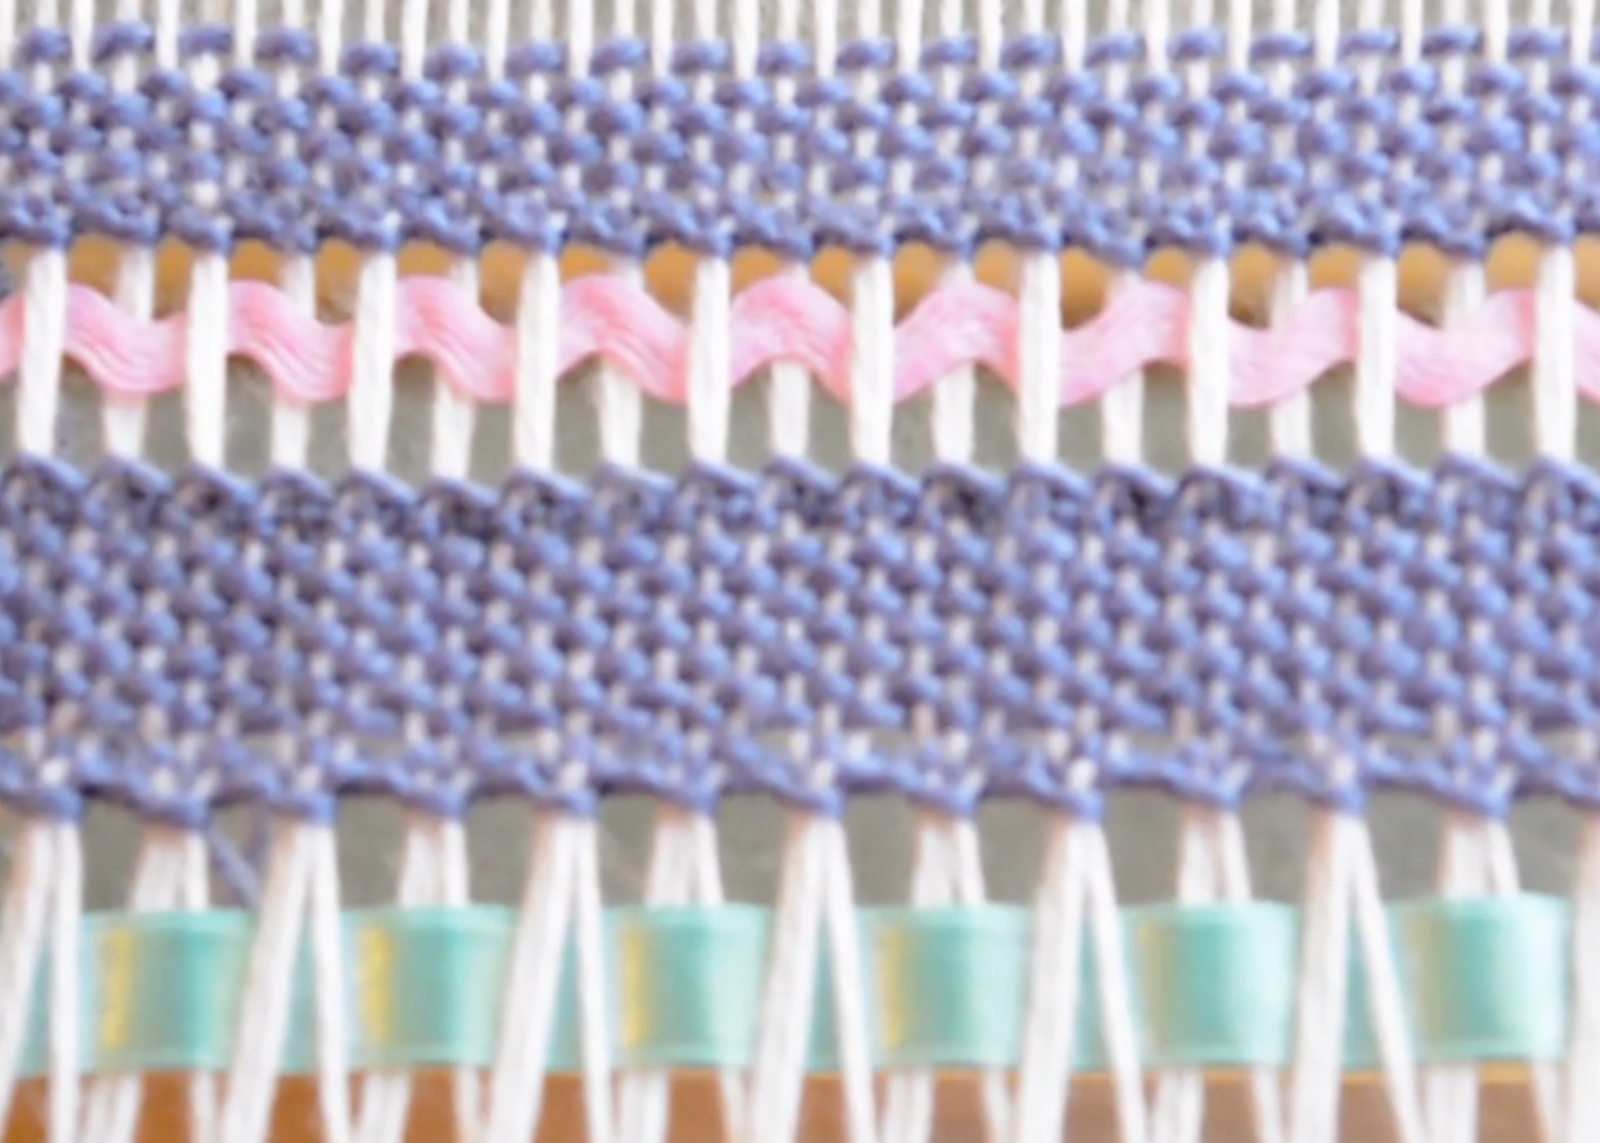
I mentioned that hemstitch can also be used decoratively within your weaving, not just as a hem securer.
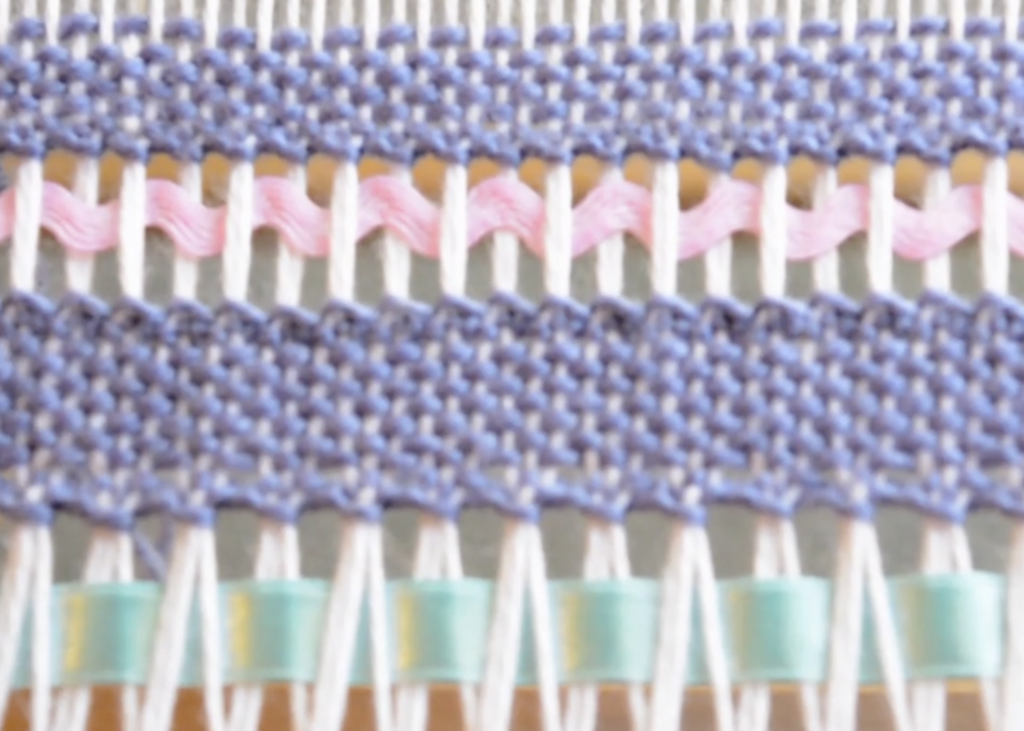
In this image I have worked adjacent rows of hemstitch on bands on plain weave, leaving a gap between the bands. I’ve then woven in some ric rac and ribbon as a feature. This can give a very pretty and unique look to your woven piece. This demonstration is available in a member’s only class – Hemstitching as a Feature.
Do I hemstitch both ends of the piece in the same way?
Yes and no. You are still using the same hemstitching technique, but when you hemstitch the first end you are stitching underneath the weaving and when you stitch the final end, you stitch on top of the weaving.
In my earlier days of weaving, I would take my loom off the stand, turn it around to face the other direction and then replace it on the stand. That way, I had the weaving facing me in the same way that it does at the start of the piece and I didn’t have to change the way I stitched at all.
These days, I have a different technique for hemstitching the other end that means I don’t have to rotate the loom and is just as fast and easy as the beginning of the piece hemstitch.
I’ve made a video to share with you how I do this. You will see that its not difficult and just as effective:
Does hemstitching only work on certain types of weaving?
I have used hemstitching on all different types of weaving, even tapestry. I’ve used it on my rigid heddle loom, table loom, floor loom and tapestry loom. I haven’t used it with my inkle loom but inkle bands don’t unravel in the same way and the warp threads are so close together that hemstitching would be quite difficult!
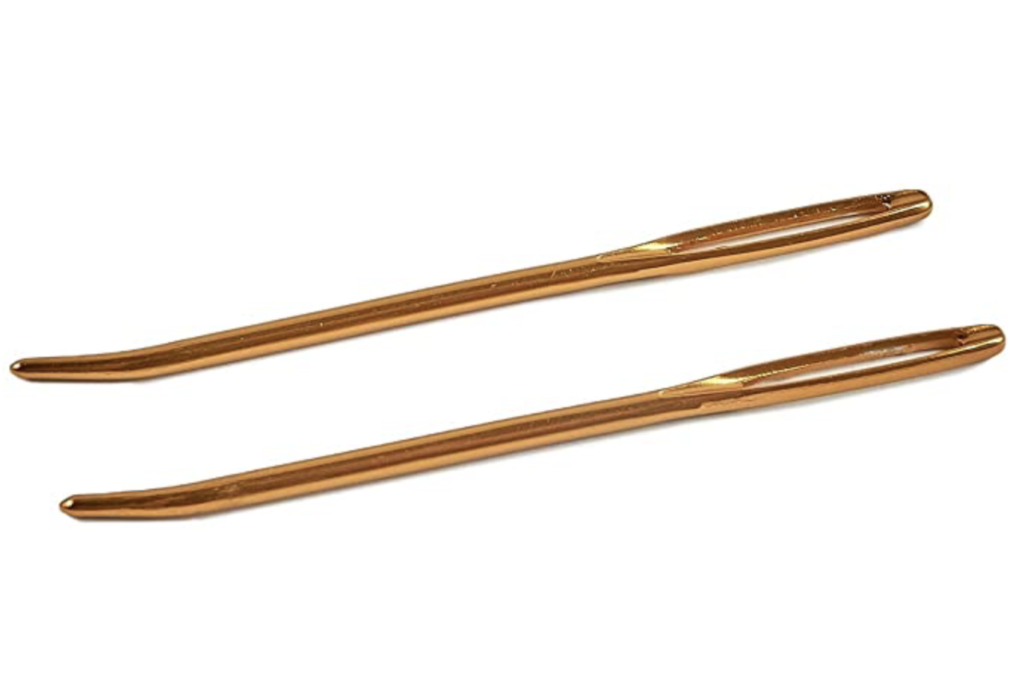
Does the type of tapestry needle matter?
You can use any ordinary tapestry needle. A larger one is easier to thread and use. I recently bought some of these Clover bent tip jumbo tapestry needles, and they have been a game changer! They are large and smooth plus the bent tip is just perfect for hemstitching. Plus they are gold, so hopefully I’m less likely to lose them!
I think a lot of new weavers and a bit overwhelmed by the thought of hemstitching, I mean, it does look quite intricate and complicated on the piece.
Hopefully, by breaking the steps down and making these videos, I will convince you to have a go at hemstitching. Maybe you will find that you love it just as much as I do!
Oh, and by the way, I’ve talked today about basic hemstitch but there are variations that are even more decorative. A great resource for this is The Weaver’s Idea Book, which has a whole section dedicated to hemstitch and it’s variations and possible applications.
All this information plus an extra page of tips and links to 3 hemstitching videos is now available in one convenient e-booklet. The Hemstitch Basics Guide can be purchased in my Etsy shop.
Be sure to leave any questions or comments below, I love to hear from you!
Until next time…
Happy Weaving!
Is there a way we can get this a pdf so it can be printed. This is a really good explanation and I would love to print it to have to easily refer to. Your work is amazin!
I’ll think about doing that Jeanne, if I can make the time 😊
Thanks to your videos, I found hemstitching quick and easy to learn and I enjoy doing it. The idea of using it within a project is very interesting – another thing on my “learn it, do it” list. I haven’t checked out that class yet, must do so in the near future. I love those bent-tip needles and always have one close at hand when weaving – while typing this I can’t recall exactly what I do with them, but there is one usually … in my mouth eek! … so I can grab it quickly to poke at something. Again, love the reminder that the humble hemstitch really isn’t so humble after all.
Gai, I used to always have sewing pins or needles in my mouth, until I saw a video about a woman who did the same and one day swallowed one. Everything she had to go through after that convinced me to break the habit!
Yes Kelly, I should know better as I had an experience a bit closer to home. My youngest son has always had a habit of placing things in his mouth (I wonder where he got that from!), one day he swallowed a tack – hospital, X-rays etc…. he was in his late twenties at the time. All ended well, he was lucky!
Oh my, the though of swallowing a tack is… horrible! So glad he was OK, that could have been bad 😞
I absolutely love hemstitch!! My go to is 4/2 and when I weave dish towels I usually warp for 3 towels at a time, so I get to do hemstitch 6 times..lol
Thank you Kelly for all your wonderful hemstitch videos!!
The best demonstration of hemstitch I have seen. I liked that you showed both the beginning and end of the woven piece.
Thank you!