I’ve been looking though some of my blog posts and am surprised how many recipes I’ve posted!
We’re in for a cold snap this week so it’s the perfect time for some hot comfort food.

We’re in for a cold snap this week so it’s the perfect time for some hot comfort food.
Here is a list for you to check out from my kitchen:
*Home made sausage rolls
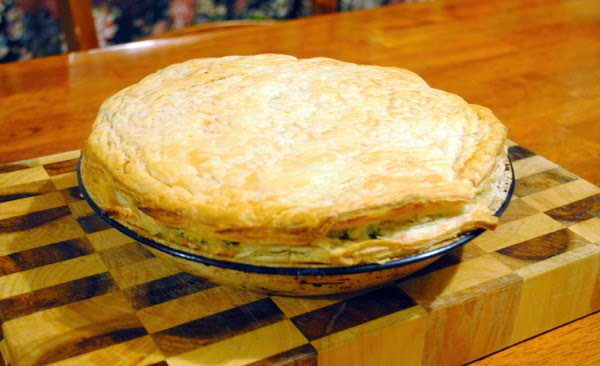
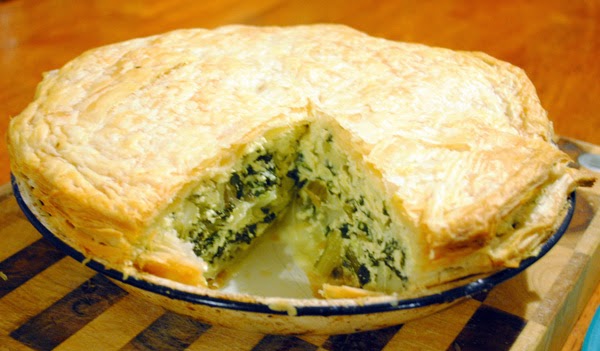
*Silverbeet and ricotta pie
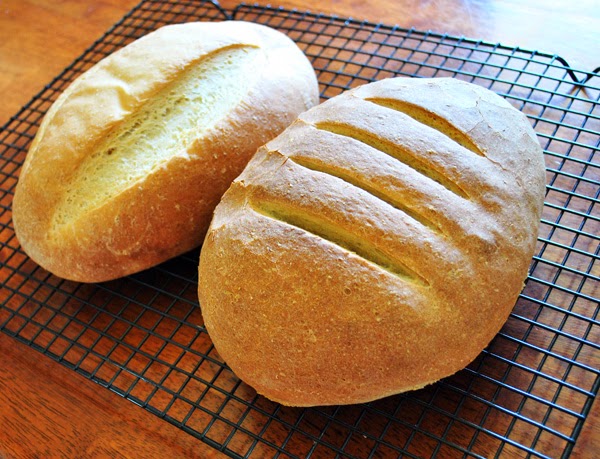
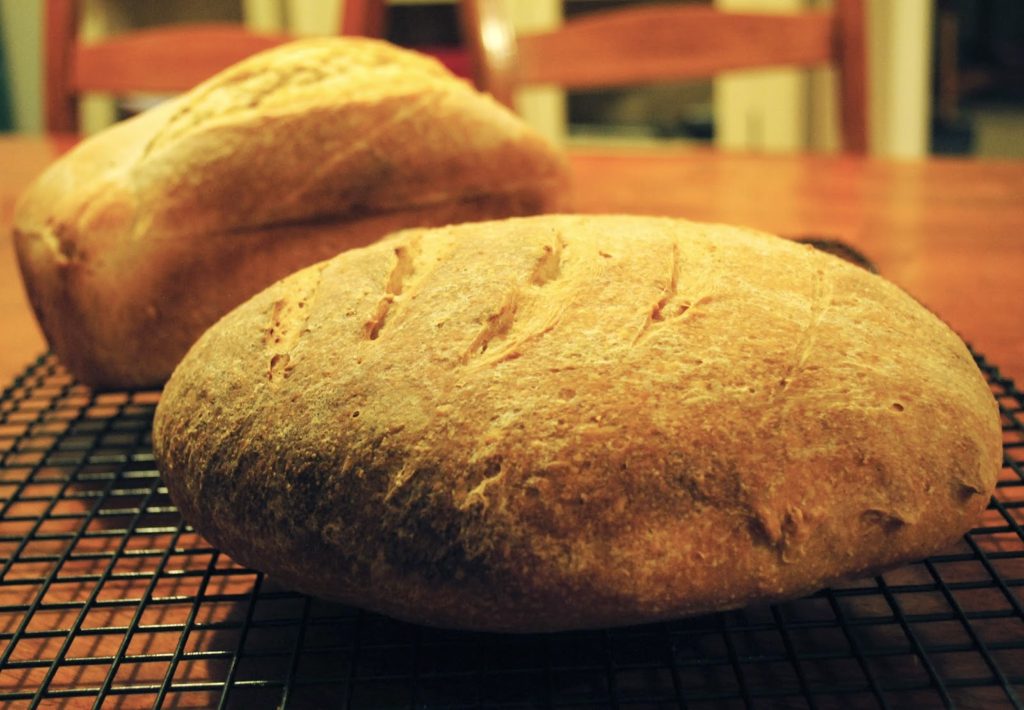
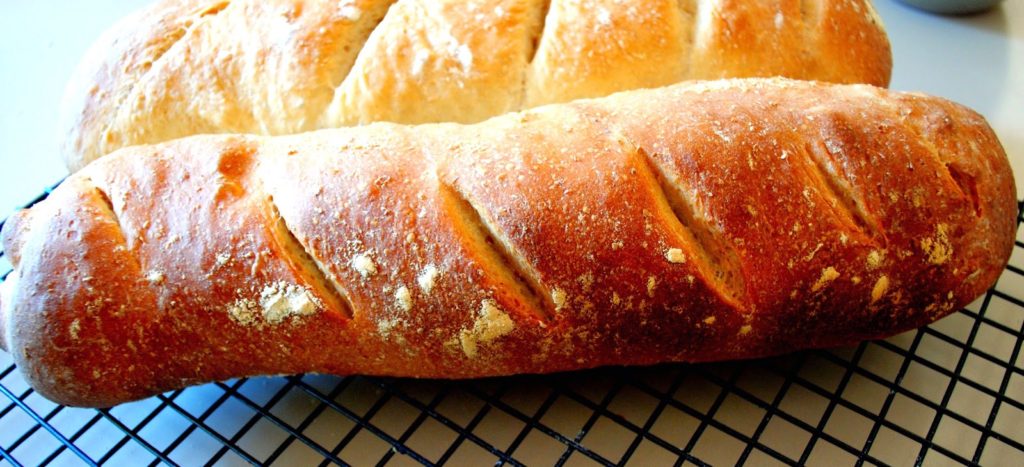
*Everyday bread
*Cheese and bacon scrolls
*Apple cinnamon porridge
*Coconut rice pudding
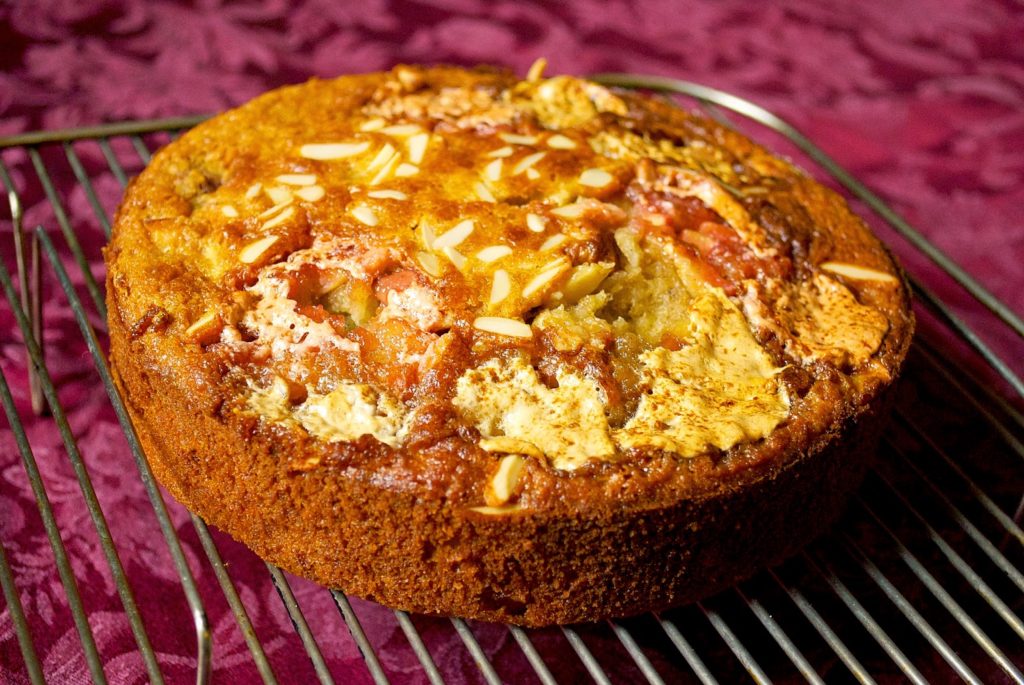
*Rhubarb and custard crumble
*Roasted pumpkin soup
*Homemade potato chips
*Pork and pepper casserole (not my recipe, but very awesome!)
*Home made pasta
*Cornflake slice
Hope you’re keeping warm!