• Skip to main content
  • Skip to primary sidebar

Kelly Casanova Weaving Lessons

  • Hi! I’m Kelly!
    • Disclosure
  • Online Weaving School Class Index
    • Common account issues
    • Common technical issues
    • What do I get with a membership?
  • New to rigid heddle weaving? Start here!
    • Never heard of the rigid heddle loom?
    • How to weave neat edges on the rigid heddle loom
    • Rigid heddle weaving
    • Rigid Heddle Weaving Patterns
  • Patterns
  • Subscribe

Recipes and food

Anzac biscuit recipe

by Kelly Leave a Comment


This recipe was passed down from my husband’s Grandmother. There are many Anzac biscuit recipes but I really like this one, and I love to think of my husband’s Gran baking these in a warm kitchen on a wood stove.

Yield: About 30 medium sized biscuitsAuthor: SarahPrint Recipe

With ImageWithout Image

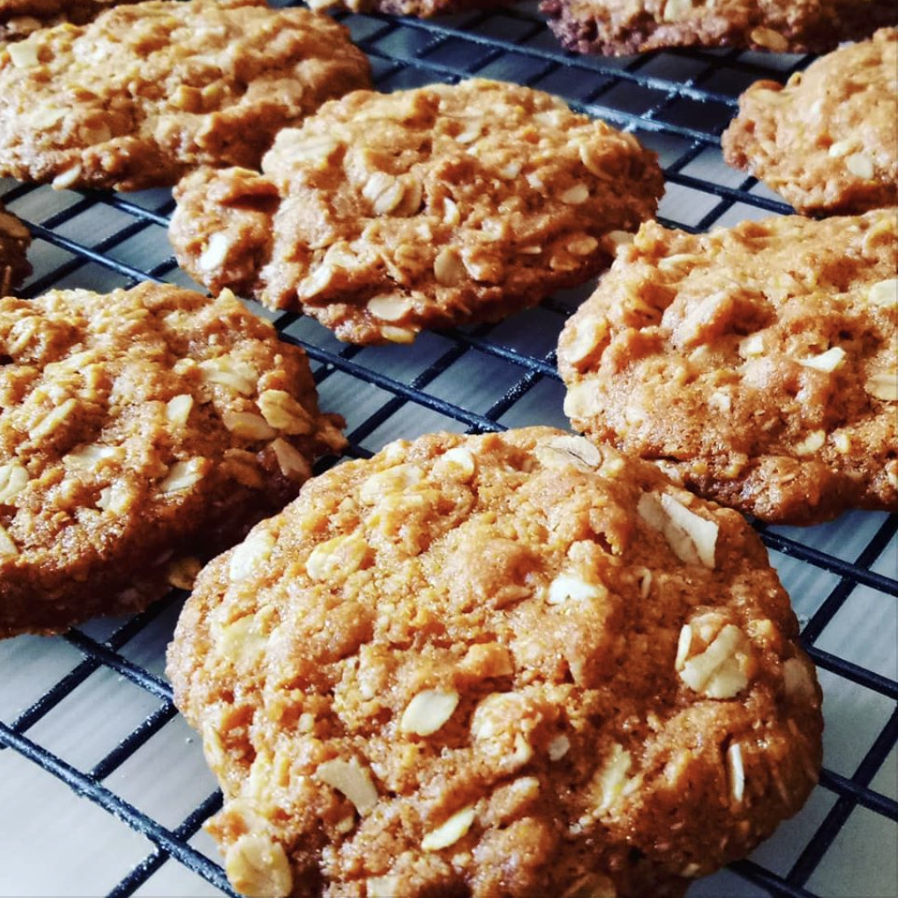
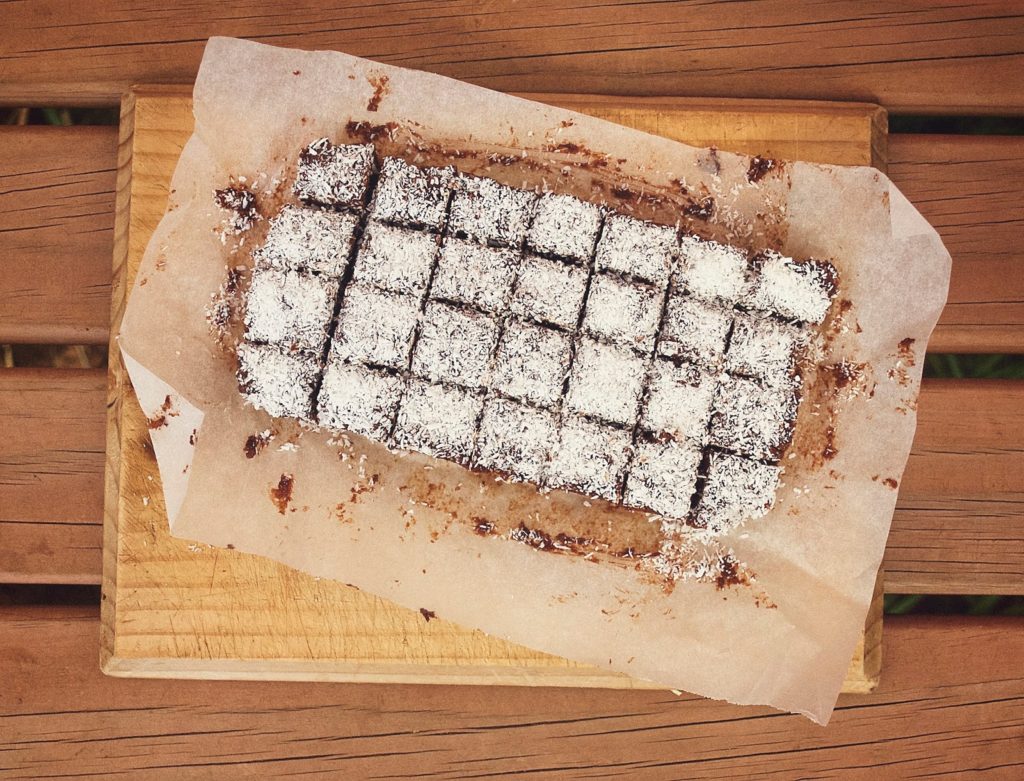
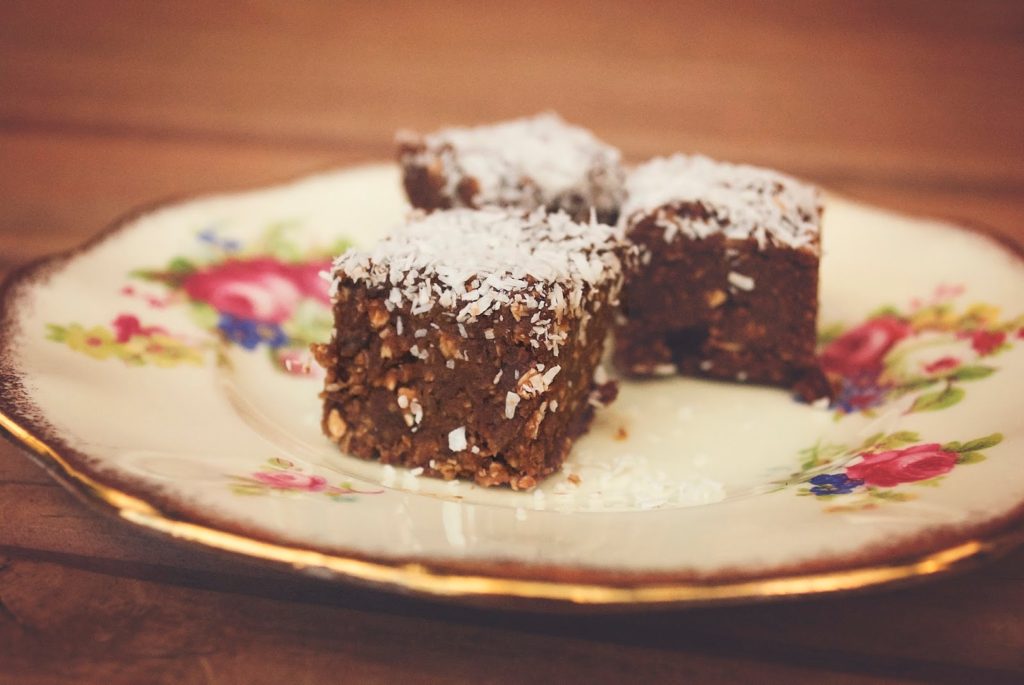
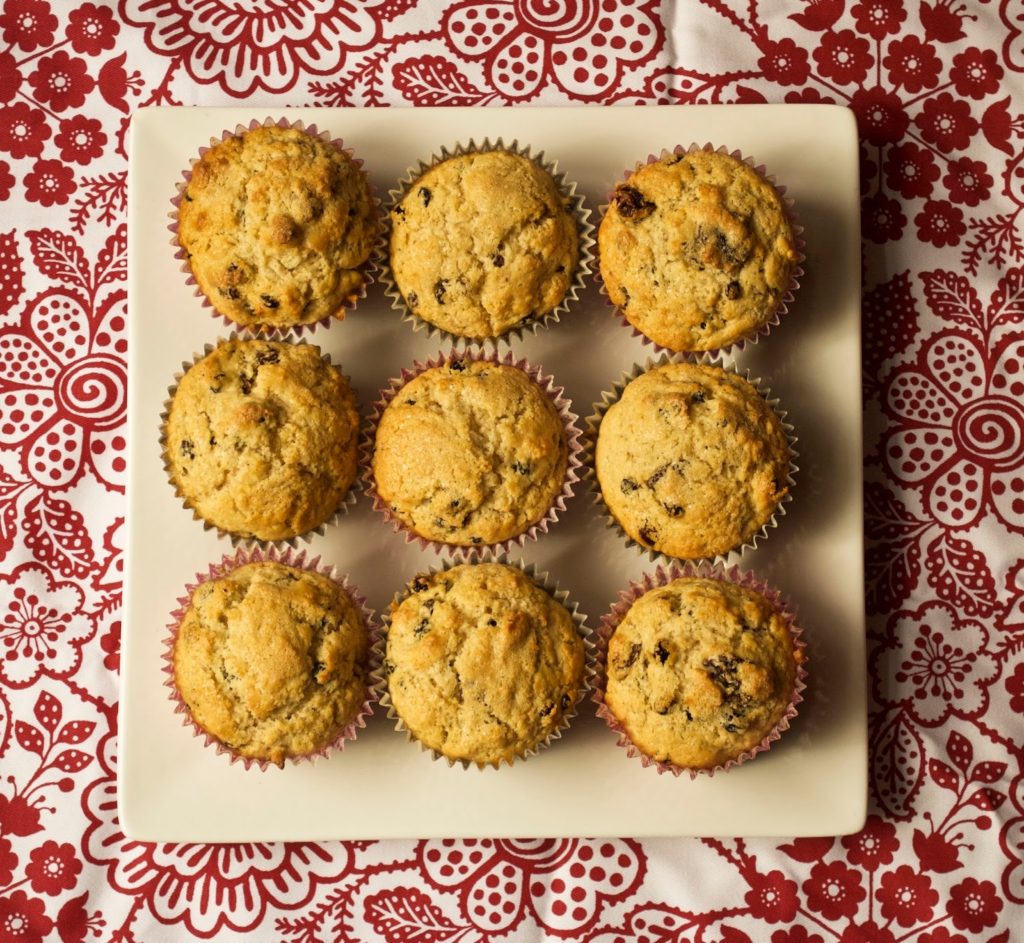
Gran’s Anzac biscuits

Golden and crunch, easy to make and delicious to munch on!
prep time: 12 MINScook time: 15 MINStotal time: 27 mins

ingredients:

Ingredients

  • 1 cup plain flour
  • 1.5 cups rolled oats
  • 1 cup desiccated coconut
  • 1 cup white sugar
  • 170 grams (6oz) butter
  • 1 tablespoon golden syrup
  • 1 teaspoon bicarbonate of soda (baking soda)
  • 3 tablespoons boiling water

instructions

Method

  1. Mix dry ingredients together in a bowl.
  2. Melt the butter and syrup together.
  3. In a cup, pour the boiling water over the bicarb soda and mix.
  4. Pour water and soda mix into butter mixture.
  5. Pour over dry ingredients and mix well.
  6. Use a dessertspoon to portion out the dough onto a baking tray lined with baking paper. Leave room for spreading in between biscuits.
  7. Bake for 15 – 20 minutes at 160 degrees (C) or 320 (F)
  8. Allow to cool on tray until firm enough to move to a baking rack.
Created using The Recipes Generator

Filed Under: Recipes Tagged With: Anzac biscuit recipe, Anzac biscuits, Anzacs, Recipes and food

Easy flat bread recipe

by Kelly 10 Comments

When I need bread in a hurry, I make flat bread! It is quick, cheap, easy, and means I can have fresh bread in under an hour. I often serve it as a wrap with salad, meat, dip, falafels – whatever, it’s all good! And if you have leftovers, the next day you can toast it into healthy chips for dip or use it as a pizza base.


Ingredients:
4 cups plain, unbleached flour
2.5 teaspoons yeast
1 teaspoon salt
350 – 450ml warm water

Place dry ingredients into a large bowl and mix. Make a well in the middle and add the water, about half at first and increase as you need to. You may not need all the water – it depends on your climate and the dryness of your flour. You want a very moist, but not sloppy dough. Mix until the dough comes together and there are no dry spots remaining. 

Turn the dough onto a floured surface and knead for a couple of minutes, until the dough is soft and supple. Flour or oil the bottom of the bowl and place the dough back in. Cover with a clean tea towel.
Allow to rise for approximately 45 minutes to 1 hour or until doubled in size. Once again, this time will vary according to your climate.
Once the dough has risen, cut off lumps of dough about as large as the palm of your hand.
On a well floured surface, flatten the dough first with the palm of your hand, turning it over the coat both sides with flour. 
Now roll the dough out until you have a round that will fit in your pan and is quite thin, but not too thin to pick up and transfer to the pan. (I just pick it up with my hands).
Place the round into a preheated, very hot non stick frypan. Do not add an oil – we want a dry fry.
When the surface of the round begins to bubble and puff, turn over to cook the other side. It only takes a minute or two on each side. You may have to adjust the heat as you go to ensure the bread cooks quickly but doesn’t burn. Every few rounds, you may wish to  quickly wipe out the surface of the frypan with wet paper towel or a damp cloth as flour can accumulate and start to burn. 

Stack your bread rounds on a plate and cover with a clean towel until ready to use.

My kids love to eat them fresh out of the pan, smothered with butter! If I can keep them out of the kitchen for long enough, I often serve this bread with homemade hommus or labneh.
I would love to do a video to accompany this flat bread recipe sometime, would that interest you? Let me know!


Filed Under: Recipes Tagged With: bread, my recipes, Recipes and food

Whey, sourdough, yeasted – what should I call this bread recipe!

by Kelly 1 Comment

I’ve been playing around a lot in the kitchen lately. Grinding grain, making lots of good food from scratch, preserving, culturing, what fun!


I made this bread as an experiment today and it was a success. It’s a little unconventional in the combination of ingredients, but it works, so here is the recipe!


Whey Loaf (I decided on a simple title!)

Makes 2 loaves


Ingredients
450 grams wholemeal flour (freshly ground if possible)
50 grams rye flour
500 grams white plain flour
2 teaspoons yeast
1/4 cup sourdough starter
200ml whey, room temperature
2 teaspoons salt
2 tablespoons of honey
3 tablespoons sunflower oil
500ml warm water


Method

Place all dry ingredients in a large mixing bowl. Add sourdough starter and whey. Start up your mixer with a dough hook (or mix with wooden spoon if mixing by hand). Mix honey and oil with warm water and gradually add to mix. Continue to mix on low for 10 minutes, or mix by hand until combined and then knead for 10 minutes or until elastic.


Place dough in an oiled bowl and cover with glad wrap. Allow to double in size (usually an hour depending on the weather).


Divide dough into 2 loaves and shape either into bread tins or into rounds on a tray. If using tins, be sure to oil them or for trays, use good quality baking paper to avoid any sticking. Cover with glad wrap once again and allow to sit for another 45 minutes – 1 hour.


In the meantime, preheat oven to 250 degrees (C).
Slash tops of loaves with a sharp knife or razor blade and place in oven. Set the timer for 5 minutes. 
Turn oven down to 220 deg (C) and bake for a further 30 minutes*.
Turn out and cool on wire rack.


* Due to the wholemeal flour, your loaves may brown more than you would like. If they start to brown too much, cover with a large piece of foil for the remainder of the baking time.


Filed Under: Uncategorized Tagged With: bread, my recipes, Recipes and food

Labneh

by Kelly 6 Comments

I may have a new addiction. Labneh. I made some from my homemade yoghurt and all I can say is wow. If you’ve never tried it you really should!

I started with 1 kg homemade yoghurt. I’ve detailed one method here and my current preferred method here for making your own yoghurt.
I have written instructions for labneh in the past but I like this way of doing it more, it’s easier and it makes more sense to use a colander.

So, you have your large square of muslin lining the colander and just dump your yoghurt in the middle. Have the colander set over a bowl or container to catch the whey.

To keep the muslin tidy and to let gravity work for you, tie the corners of the cloth loosely around a wooden spoon handle so that it is slightly suspended. 

Place in the fridge and leave for 24 hours. Make sure your bowl or container is big enough to collect the whey, or pour off the whey occasionally so it doesn’t overflow (don’t get rid of it though, it’s precious! More of that in a future post.)
Unwrap the labneh. Stir in half a teaspoon of good salt and whip it up a bit with a fork. Now it’s ready to store in an airtight container in the fridge. There are so many ways to use it – my favourite is to spread generously on a slab of homemade bread drizzled with some extra virgin olive oil or to place globs of it in a yummy salad. You can roll balls of it in herbs and place in olive oil. Just digging a spoon into it is a major temptation! 

With homemade yoghurt, labneh is a mild, creamy, healthy delight that you may well find as addictive as I do!

Filed Under: Uncategorized Tagged With: my recipes, recipes, Recipes and food

Whole wheat raspberry and banana hot cakes

by Kelly 3 Comments


I got a grain mill! Yes, the 10 year wait was worth it, it is a Hawos Billy 100 and it’s really wonderful. It was a huge toss up between electric and hand operated, but I’m so glad I went with electric as I think having to hand grind would put me off wanting to use it.

Today I have a recipe to share that I made with my first batch of freshly ground wheat. Wow, what a blessing to have food that nutritious and delicious!


This was my healthy lunch experiment for the kids and they turned out so beautifully! The children quickly became like lions to the prey, they absolutely loved them. Moist, fluffy and so healthy!

Ingredients

4 cups of freshly ground whole wheat flour (or packaged whole wheat flour)
2 tablespoons LSA mix (ground linseed, sunflower and almond)
4 teaspoons baking powder
1 teaspoon cinnamon
5 egg whites, beaten until stiff
1 egg yolk
1/4 cup of date syrup or honey
1 over ripe banana, mashed
3 cups milk (full fat, low fat or skim are fine)
2 tablespoons natural yoghurt
1/2 cup raspberries (I used frozen)

Method

Place all dry ingredients together in a large bowl. 
Beat egg whites until stiff.
Whisk together egg yolk, syrup (or honey), banana, milk and yoghurt. 
Pour these wet ingredients into the dry and mix thoroughly. Fold in the beaten egg whites along with the raspberries.
Fry in a hot, non stick pan or a regular pan with a little rice bran oil to prevent sticking. 

Serve warm. I served with a dollop of yoghurt, dusting of icing sugar, raspberries and drizzled with maple syrup.
For a special dessert these would be awesome with whipped cream or ice-cream and raspberry coulis. 

Filed Under: Uncategorized Tagged With: healthy eating, my recipes, Recipes and food, weight loss and health

Prickly Pear syrup recipe

by Kelly 2 Comments


I’ve been doing some research into Navajo natural dyeing techniques – prickly pear fruit with it’s fabulous, vivid magenta to strong pink colour would be an obvious choice. 


I was afraid of the possible, painful consequences of harvesting the fruit, but following some instruction from my somewhat experienced husband, I went ahead and I’m so glad I did. Harvesting and preparation instructions are here.


Not only did I pick and prepare enough fruit to start my yarn dyeing experiment, I also came up with a delicious syrup! Here is the recipe for you:


Ingredients:
1.1kg ripe prickly pear fruit
500grams white sugar
1 teaspoon citric acid


Method:
When the fruit is prepared and peeled (see harvesting and preparation method here) chop each fruit into 3 and blend in a food processor. No food processor? Place in a bowl and mash really well with a potato masher. Place a strainer or colander over a large saucepan. Strain the juice, leaving the seeds in the strainer. Use a spoon to push through all that goodness. 
Once you have your juice, add the sugar and citric acid. Warm over a low heat until sugar in dissolved, then increase heat to medium until the liquid comes to a light boil. Boil for no more than 5 minutes.
Allow to cool, poor into a glass bottle or similar and keep in the fridge.


Uses:
Can be used as a cordial, just mix with water, mix with mineral water and ice for a refreshing drink, drizzle over ice-cream, yoghurt, pancakes, waffles or fruit salad. Anything you would use a fruit syrup for, this syrup can be used.


Hope you enjoy it!

Filed Under: Uncategorized Tagged With: Gardening, my recipes, Recipes and food

Harvesting and preparation of prickly pear fruit.

by Kelly Leave a Comment

Ouch! Yep, those little spikes hurt and there are plenty of them. But don’t let that deter you – the prickly pear has delicious fruit and you can even eat the paddles (leaves also known as napales) but in my opinion that is an acquired taste, as in, one that I personally have not acquired!


What you need:


Good quality kitchen/washing up gloves. The good quality part is important, they are tougher! *See note.
A plastic bucket
Long handled tongs
Small, sharp paring knife
A large mixing bowl or similar to put your peeled fruit into.
Plastic bag
Water


What to do:


This first part is completed outside.


Half fill your bucket with water. Stand back from the cactus (the long handled tongs give you further reach). The hair like spines (glochids) will begin to come off as soon as your tongs touch the fruit, so be aware of where they are falling. For this reason it is better not to harvest on a really windy day.
Grabbing the fruit with the tongs, give a twist or two and place the fruit straight into the bucket. Continue this process until you have the number you require. Make sure the water is covering the fruit.


Now tip the water out, somewhere that no one is likely to walk or weed etc. Using a hose, spray water into the bucket onto the fruit, covering it once more. Tip out once again. You can repeat the spray and tip one more time (I do).


Put on your gloves. If your gloves are strong you should be fine to pick up the fruit now. Cut off each end and make a slit down the centre with the knife. Begin to peel back the skin from the slit until it is all removed. Place the skin either back in the bucket or straight into the plastic bag. Place the peeled fruit into the bowl. Continue for all fruit.


Now you can take the fruit inside to use. I give one last rinse in water just in case there are any remaining spikes. It is delicious fresh or there are lots of interesting recipes to try (I have a prickly pear syrup recipe coming soon!)


Clean up:
I throw all the peelings into the regular rubbish bin in a plastic bag. As far as I know, the peelings can not be composted due to the spines – I certainly don’t want them ending up in my compost. If you have successfully composted peelings, I would be most interested to know.


* I used good quality kitchen gloves to prepare the fruit. After working in the kitchen with the peeled fruit, I went back outside to clean up the peelings. However, I put on a different pair of kitchen gloves, a lower quality, thinner pair. As soon as I touched the bucket with the peelings, I got spiked. So it really is worth having the good quality gloves!

Filed Under: Uncategorized Tagged With: compost, Gardening, Recipes and food, Tutorials

It’s cheap, it’s healthy, it’s No Bake Date Slice!

by Kelly 3 Comments

I love medjool dates but unfortunately, at around $20 a kilo they’re a bit much for our modest budget. I thought I’d start experimenting with the much cheaper (at $2.99kg) dried, packaged, pitted dates.
And I’ve had success! This is a delicious, healthy and economical treat. I love to have a piece in the middle of the day or in the afternoon with a cup of tea and the children love it too.
Recipe

40 dried and pitted dates
1 cup desiccated coconut
1 cup rolled oats
1.5 tablespoons cocoa powder
1 tablespoon tahini
1 tablespoon honey
1 teaspoon vanilla extract
2 – 3 tablespoons date syrup *see method

Place dates in a large bowl and add enough hot water to just cover the dried fruit. Soak for at least an hour, longer is fine.
Strain dates, reserving liquid. *This liquid is your date syrup.

Place all ingredients into a food processor and blend thoroughly. 

Press the processed mixture into a tin or container lined with non stick baking paper (I use a bread loaf tin). Let the baking paper fall over the edges of the tin, this makes it easy to pick up later. The back of a spoon is useful for pressing. Sprinkle with extra coconut if desired.

Place in the fridge for at least 2 hours to set. Take out of tin using the edges of the baking paper to pick it up. Cut into squares and keep in an airtight container in the fridge.

Note: Date syrup is also delicious on yoghurt if you have leftovers and can also be used as a sweetener or topping for fruit.

Filed Under: Uncategorized Tagged With: healthy eating, my recipes, Recipes and food, weight loss and health

Cauliflower muffins

by Kelly 2 Comments

They’re not actually muffins, but I don’t know what else to call them. They were a happy accident. I was steaming cauliflower with the intention of crumbing and baking. But I had too many things going at once and oversteamed it so it was soft. Wondering what to do, I tried this experiment and it worked! 


Ingredients
1 cauliflower, broken into florets and steamed until fairly soft

2 eggs
3 rashers of bacon, chopped into small pieces
parmesan cheese – the amount varies to taste, but 1/4 to 1/2 cup roughly
Breadcrumbs to top
salt and pepper


Preheat oven to 180 degrees (C). Grease a 12 capacity muffin tin with oil or butter.


Steam the cauliflower and mash with a potato masher. Allow to cool for 15 minutes. Stir in the bacon, cheese, salt and pepper to taste and beaten eggs. Mix thoroughly.


Fill each muffin cavity with the mixture and sprinkle with breadcrumbs. Place in the oven until golden brown, around 25 – 30 minutes.


Ease each “muffin” out of the tin with a spoon and serve šŸ™‚ They make a great accompaniment to any meal.

Filed Under: Uncategorized Tagged With: my recipes, Recipes and food

Rock cakes

by Kelly 7 Comments

These are a firm favourite in our family, a recipe that I come back to over and over. They are quick to make, use relatively few ingredients and are pretty healthy. They could be made healthier with wholemeal flour and a sugar substitute, but I’m happy to serve these to my kids as they are, knowing that they are fresh, home baked with no additives or preservatives šŸ™‚

Our kids love to eat them warm from the oven, tops sliced off and spread with butter that melts in. They also love to top them with jam and cream (especially if the jam is home made!)

Here is the recipe for you to try, the kids like to help make them too.

Makes about 9 large rock cakes.

2 cups SR flour
1/4 teaspoon salt
1/2 teaspoon mixed spice (or you can use your favourite spices e.g. a combination of cinnamon, nutmeg and clove)
90grams butter
1/3 cup sugar of substitute
1/2 cup dried fruit (I used a mix of raisins, sultanas and currants)
1 egg
Milk to mix to a thick batter (around 1/2 cup?)
Raw sugar to top (optional)

Preheat oven to 190C and prepare a muffin tin with muffin patty pans. It helps to grease the top of the tray very lightly to prevent sticking. 
Sift flour, salt and spices into a large bowl. Add the chopped butter and rub into the flour until it resembles breadcrumbs. This step can be done in a food processor if you’re feeling lazy (but then you have to wash the food processor bowl, so not worth the trouble to me!) Stir in the sugar and dried fruits. 
Add the egg and some of your milk and start mixing. You’re going for a very thick, sticky batter, not dry at all. 
When thoroughly mixed, spoon the batter into the patty pans, filling about 3/4 of the way. This will give you a large cake that doesn’t spill over the edge of the tin too much.
Sprinkle the tops of the batter with raw sugar (this is optional). 
Bake for around 18 minutes or until the tops are golden.
Turn out of tin onto a baking tray and watch them disappear!

Filed Under: Uncategorized Tagged With: recipes, Recipes and food

  • « Go to Previous Page
  • Page 1
  • Page 2
  • Page 3
  • Page 4
  • Interim pages omitted …
  • Page 11
  • Go to Next Page »

Primary Sidebar

Hand crafted boat shuttles

Categories

Archives

Meta

  • Log in
  • Entries feed
  • Comments feed
  • WordPress.org

Copyright © 2025 Kelly Casanova Weaving Lessons on the Foodie Pro Theme