In my last post I talked about what floating selvedges are, how they can benefit your weaving and included a photo tutorial for how to install them.
Today, we’re going to have a look at how you actually use floating selvedges in the weaving process.
It’s very simple, but there are a few little rules and things to remember:
- “Over, under”. This is going to be on repeat in your mind as you weave with your floating selvedges in place. The photo tutorial will show you how this works.
- You will need to adjust your weights as you weave and advance the warp. This is because your floating selvedge (FS) threads will roll on to your front cloth beam along with the warp threads as you advance.
- The weft should always wrap around the FS on each side. This also relates to the “over, under” action and will be clear for you to see when you’re weaving.
- The yarn that you use for your FS can be the same yarn as either the warp or weft. Most of the time, I will use the exact same yarn for the FS as I’m intending to weave with (weft). But, if I have frequent colour changes and more than a few colours in the weft, I will use the warp yarn to set up my FS.
In this tutorial, I’m imagining that you have already set up your floating selvedges and you’re ready to start weaving. If you haven’t done that yet and need a step by step tutorial, please view this post first.
*This post contains affiliate links. For further information, please see my disclosure policy.
This tutorial is specifically for rigid heddle weavers, but I also have a video tutorial for table/floor loom weavers.
I am starting with my shuttle on the left and my heddle is up. (It doesn’t matter which side your shuttle is on or which shed you’re in, but I wanted to be specific so that the photos make sense!)
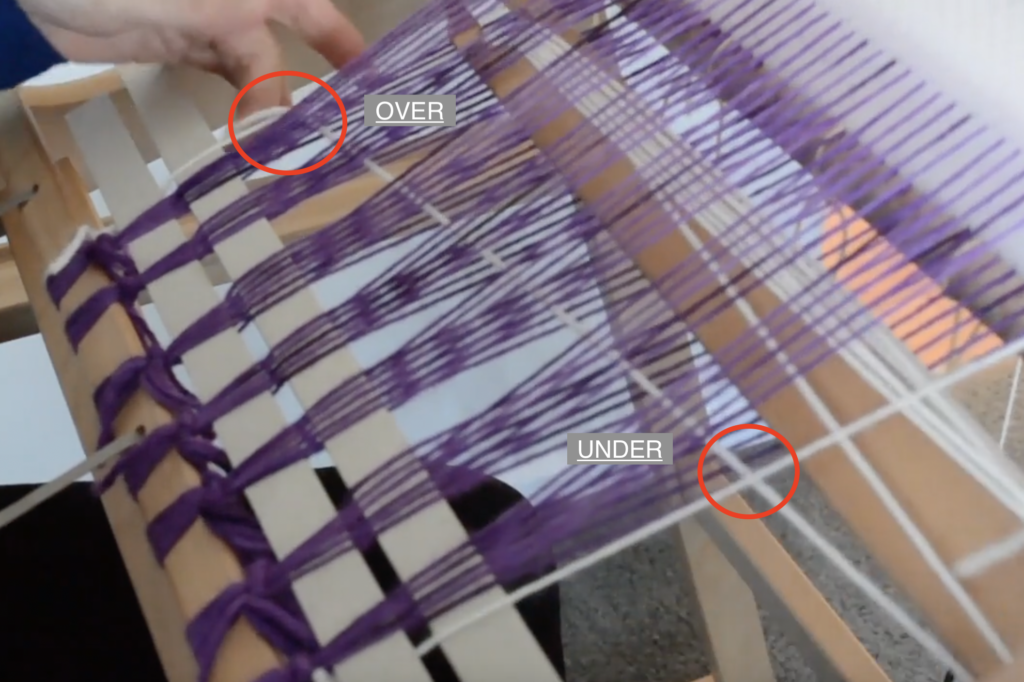
When I enter my shuttle from the left, my shuttle (and therefore my weft yarn) goes OVER the floating selvedge. As my shuttle exits the shed on the right, it goes UNDER the floating selvedge. Beat.
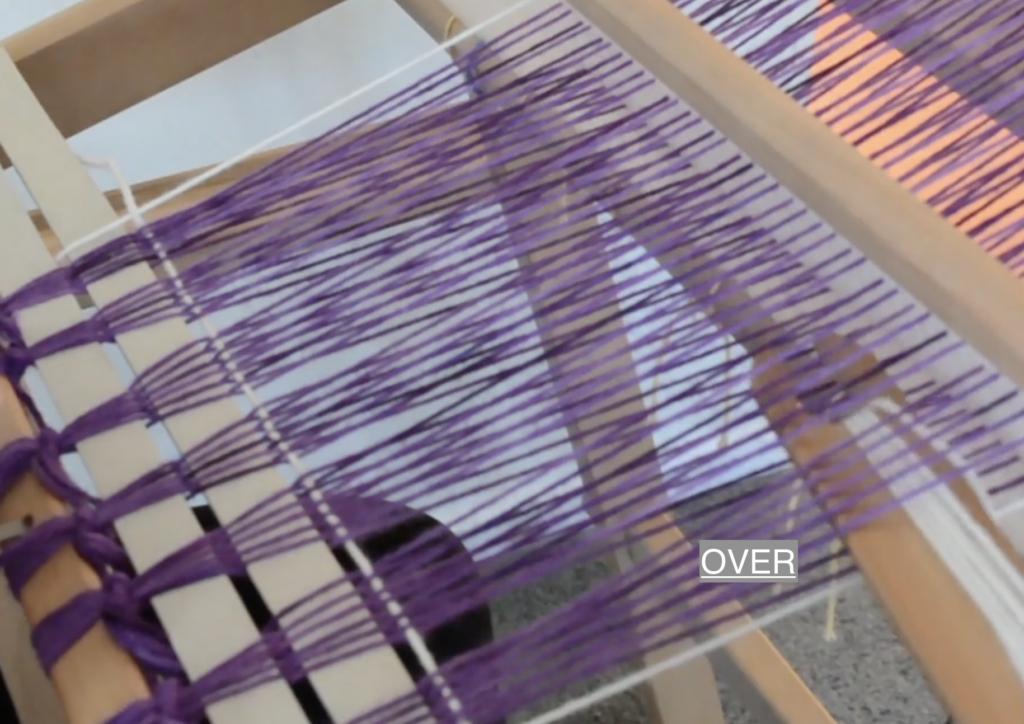
Now I change my heddle to the down position. As my shuttle enters the shed from the right, it will go OVER the floating selvedge. As it exits the shed on the left, it will go UNDER the FS. Remember, OVER, UNDER. Beat.
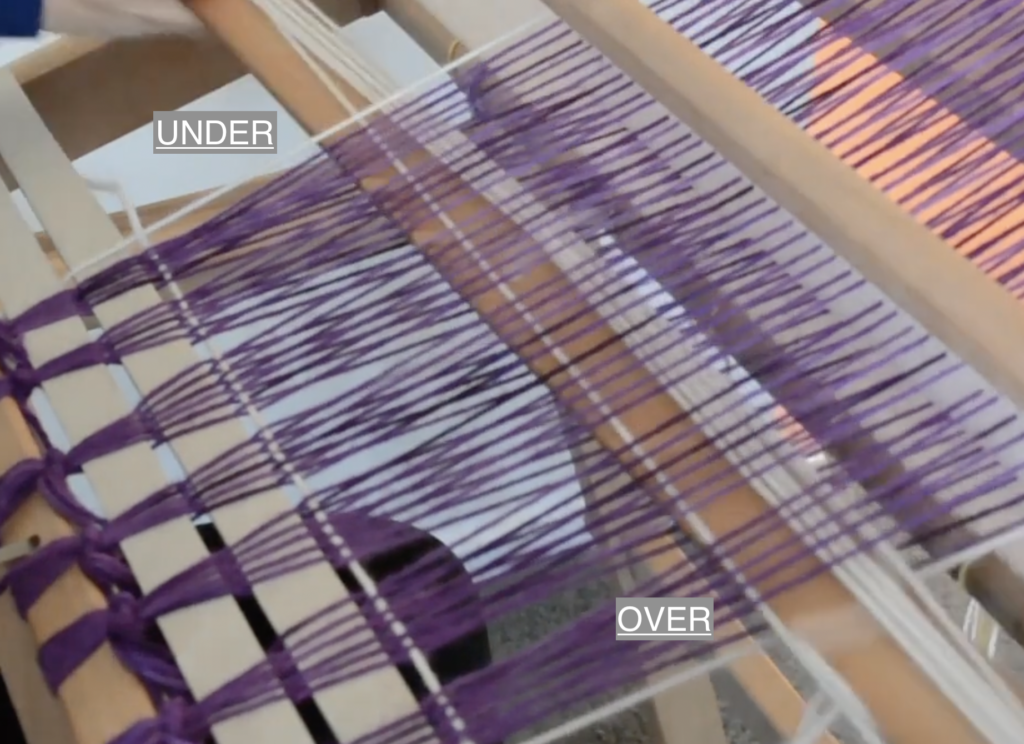
Here is how your shuttle should look for that second pick (weft row).
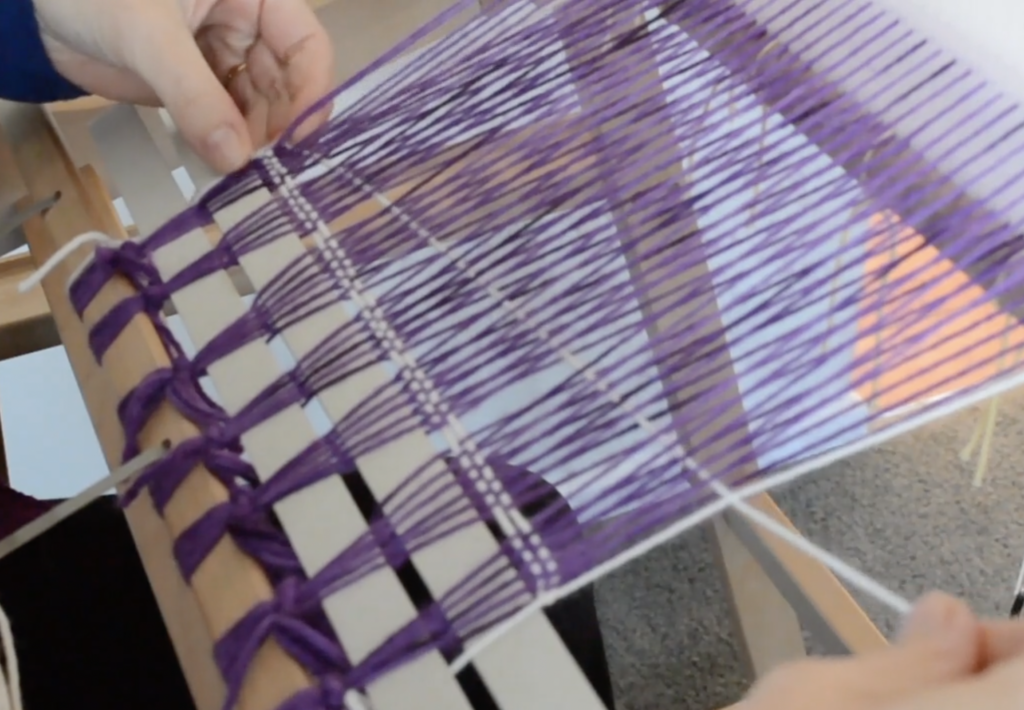
Back to the up position for the third pick. The shuttle will go OVER the FS on the left and come out UNDER on the right.
It’s important to note that using floating selvedges does not change the way we weave. We still need to arrange and tension our weft picks to ensure neat edges. If you are not familiar with my pinching technique, I have a free video tutorial that will make a huge difference to your edges:
If you are having trouble remembering whether you are supposed to be taking the shuttle over or under the FS in your next shed, you only need to look at how your last weft pick is sitting.
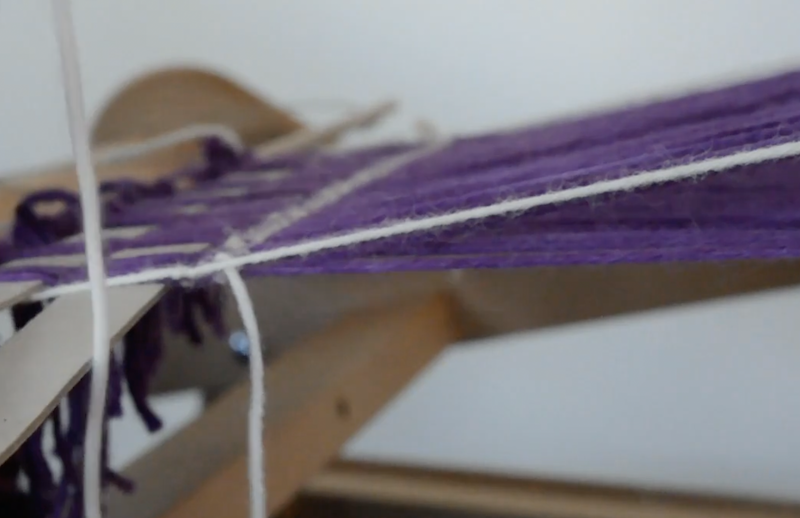
For example, you can see clearly in this photo that the last weft pick is sitting UNDER the floating selvedge. This tells me that, to ensure the weft yarn wraps around that FS edge, I will need to take it OVER the FS as the shuttle re-enters the shed.
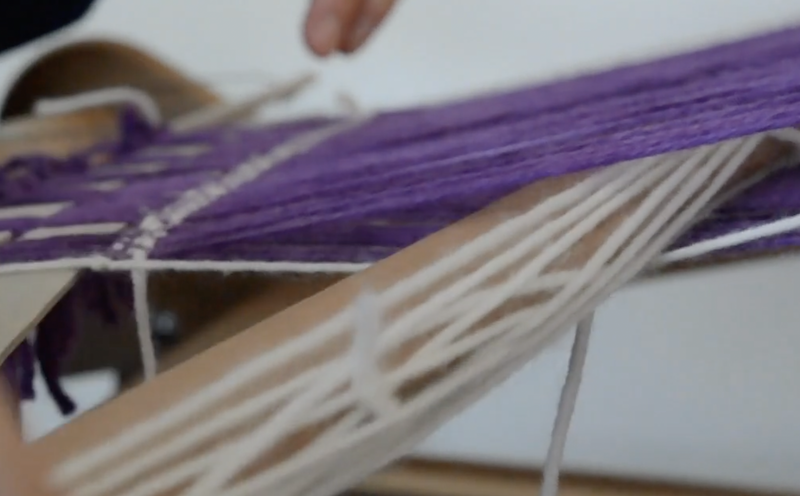
When your heddle is in the up shed, you can see that the floating selvedge also sits up a little with the warp. The easy way to weave is to just depress the FS with the tip of the shuttle as you enter the new shed.
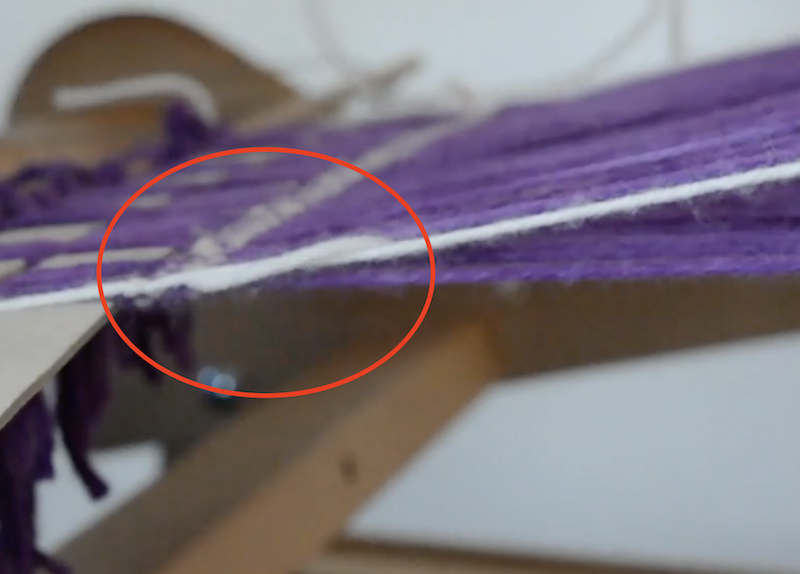
See how the weft yarn wraps around the FS as it you enter the shed?
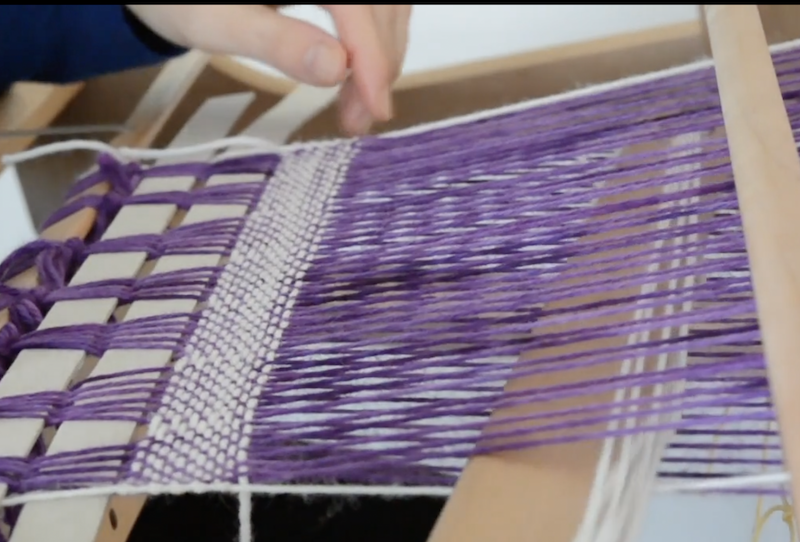
As you weave, the FS becomes a part of the fabric and provides a straight edge. The floating selvedges are not removed when you finish weaving, like you would remove fishing line if using the Lifeline Technique, they are truly a part of the piece and that is why we match the yarns when we set up our FS in the beginning.
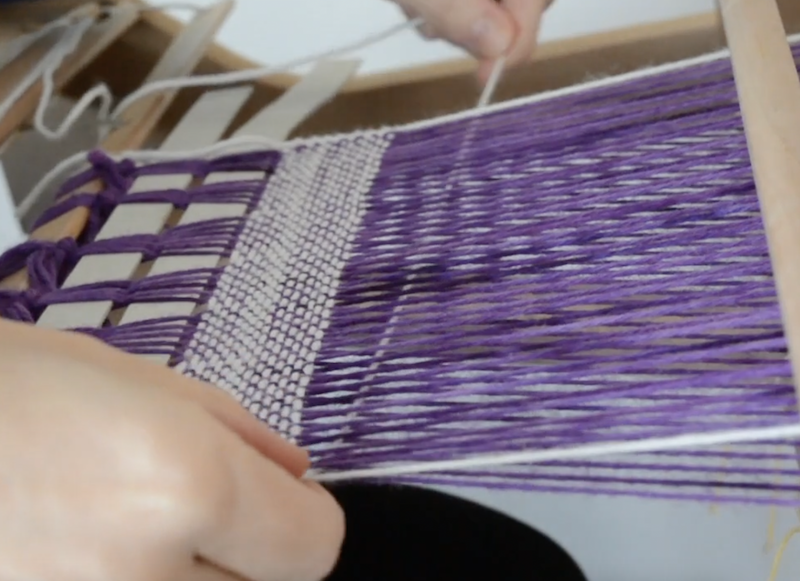
Continue to tension and angle your weft as you weave. I think you will be very pleased with the results!
If you would like to see me weaving on the table loom using floating selvedges, please view this free video tutorial:
I hope you found this tutorial valuable.
Until next time…
Happy Weaving!

Thank you Kelly for this great tutorial! I am ready to use floating selvedges on my next project and sure it will be a big help.
Awesome!