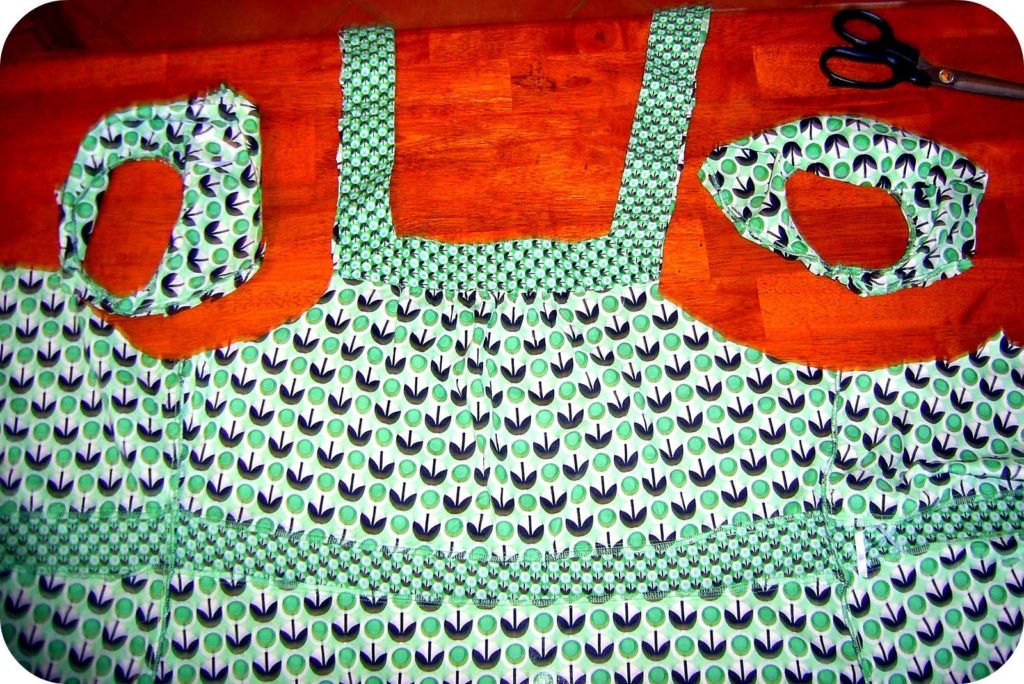
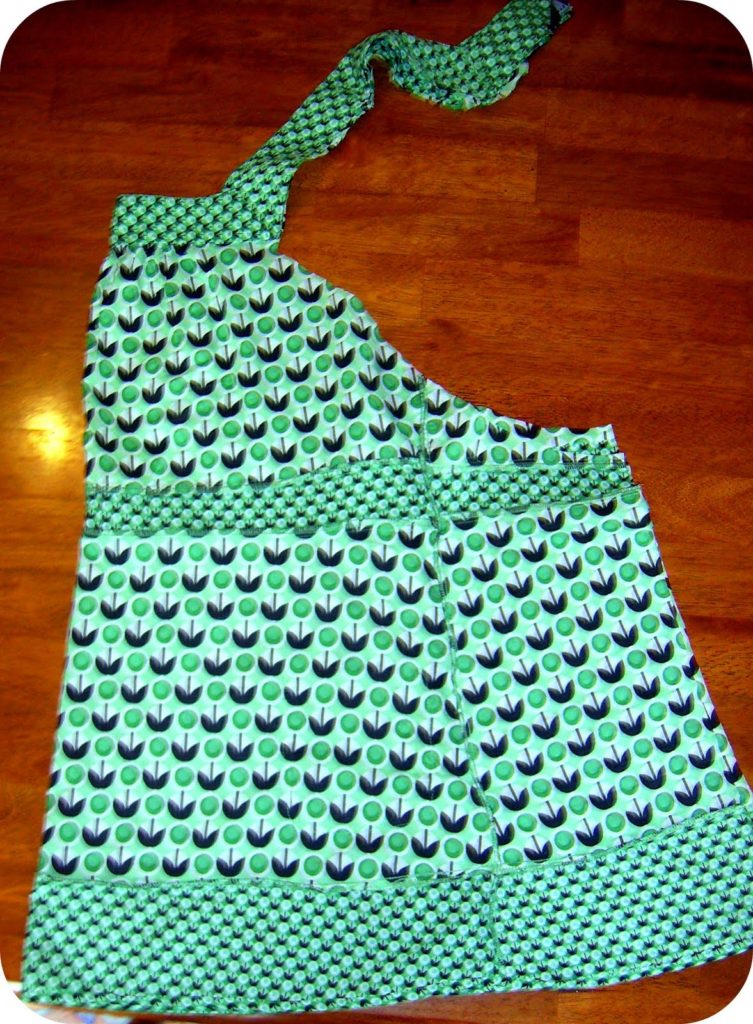
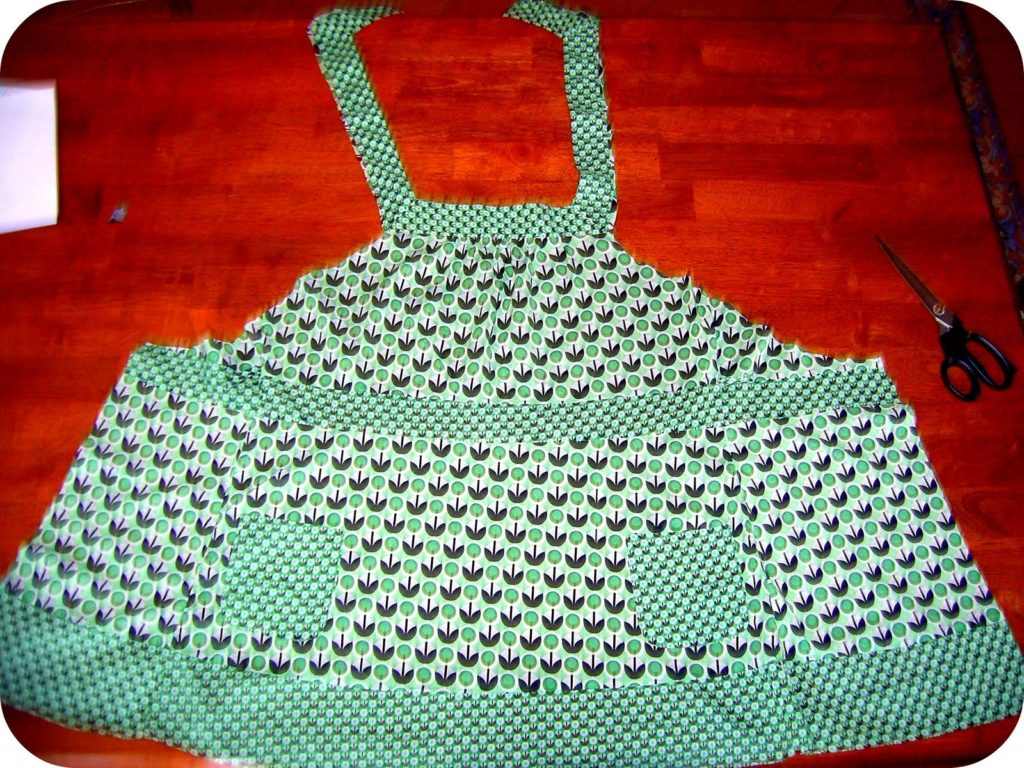
A beautiful blanket giveaway from TLC Blankets and Things. These blankets are so cute, I think it’s about my turn to win something!!
Go take a look at The Magic Onions to enter.
Yoghurt cheese or spread
Place the muslin in a double layer over the bowl and secure around the rim with a rubber band. Spoon in the yoghurt. Place on a plate (the muslin takes up a lot of liquid). Stick it in the fridge. The length of time you leave it for is up to you. If you want it spread consistency a few hours will do it. If you want it thicker you can leave it overnight.
When it’s really thick you can roll it into balls, coat with herbs, paprika and the like and keep in good olive oil in the fridge.
You can use it to spread on bread (home made of course!!) then drizzle with extra virgin olive oil.
You can use it in place of sour cream, make a dip – the uses are only limited by your imagination.
That’s even easier than making the yoghurt, right?
Could be Goldilocks?
Doll making tips
I certainly don’t consider myself an authority on making dolls, but here are a few tips that experience (and repetition) have taught me:
* Wash your hands thoroughly before starting. This may seem obvious but even the natural oil from your skin can affect your skin fabric, remember – your doll will have been held a lot before she is completed!
* Use quality materials. Costly, yes. Worth it? Yes! This includes your threads.
* Use small stitches. Whether you hand or machine stitch your dolls you don’t want them coming apart at the seams.
* I like to keep all my work tidy, even the parts that won’t be seen. It helps to develop quality workmanship and good habits.
* When embroidering facial features don’t pull the thread tight, just let it sit comfortably on the surface – no puckers.
* I use doubled quilting thread for sewing on limbs It’s particularly important when making dolls for children that the doll is strong.
* Sink stitches back into the body when finishing for tidiness.
* If your dolls legs and body are one piece, double or triple stitch the groin area, as it’s vulnerable to coming apart or ripping.
* For corners (around hands, feet, etc) use the stitch, stitch, turn method.
* Don’t rush! Enjoy the process and take time to be careful. As you become more practiced you will also get faster.
Hope you find something helpful there!
The fairy queen?
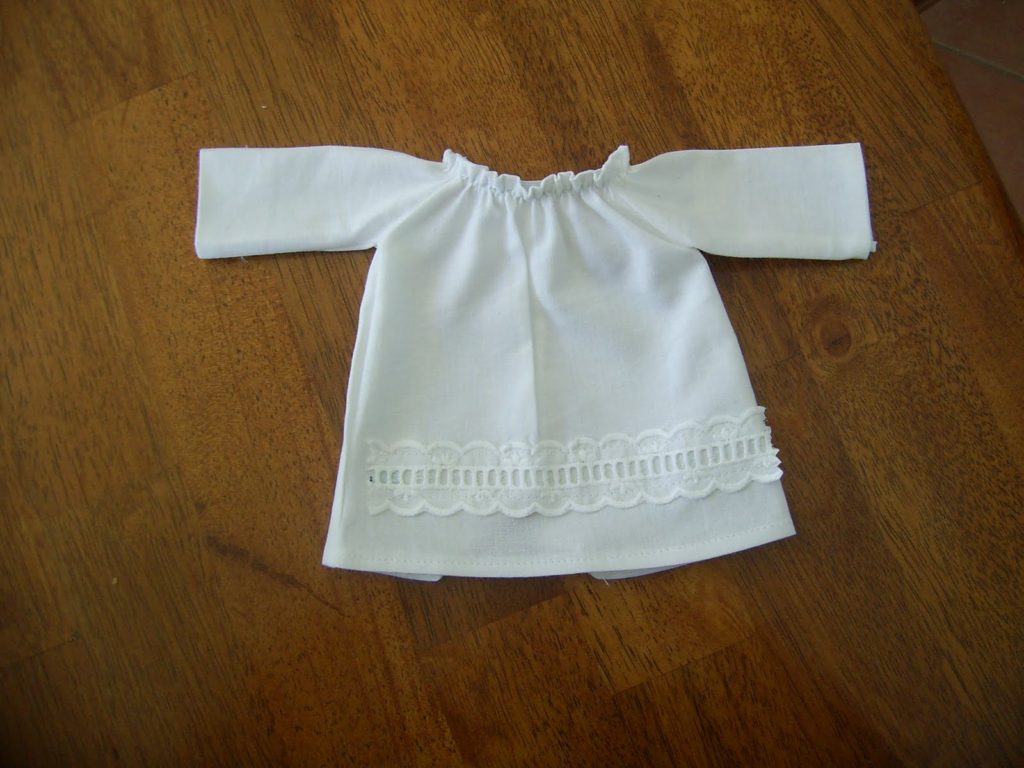
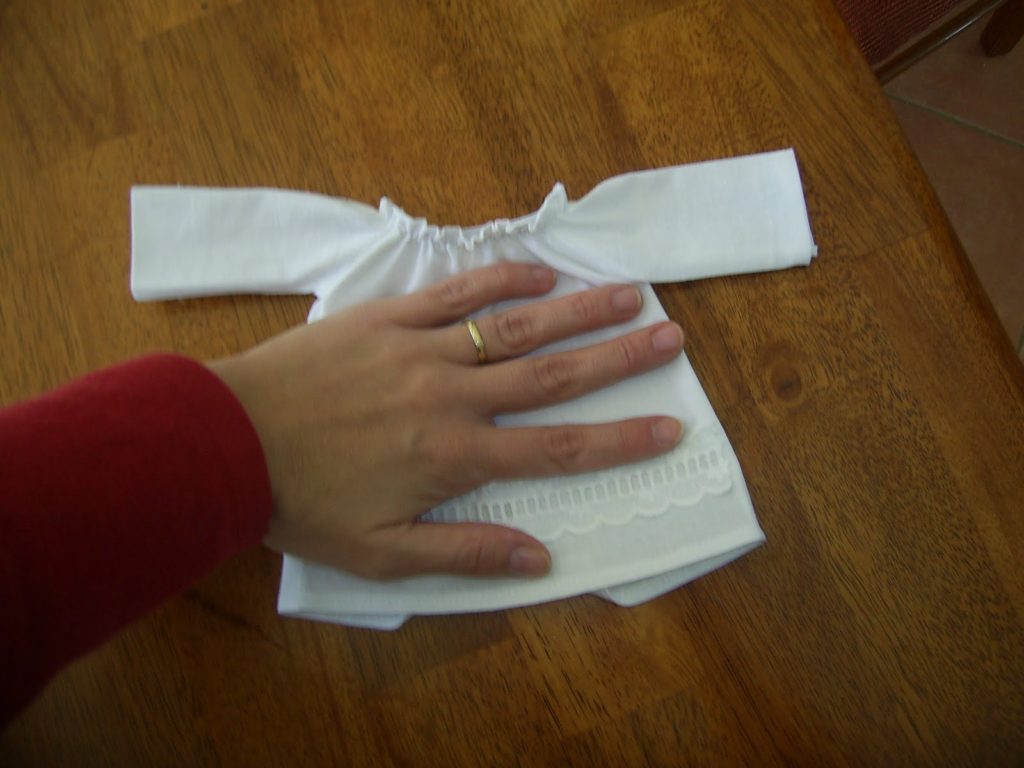
This little one has a new dress with a wool felt cape and boots and is heading far away to her new home in the U.S.A tomorrow.
Make your own yoghurt
Put a lid on the jar. Wrap the jar with a towel and secure with rubber bands. You can fill another jar with hot water and lid it to keep the temperature in the esky more even if you like, I’ve found the yoghurt sets really well doing this.
Pop your jar/s in an esky and close the lid. Leave overnight (about 12 hours) then refrigerate. How easy is that?
Reserve some of your yoghurt for the next batch to use as the starter.
Next time I’ll show you how to make yoghurt cheese or spread! Mmmmmm!!!
My giveaway on Grosgrain!!
Yes, I’m having yet another doll giveaway, but this time it’s not here. Go check it out at Grosgrain!
And if you’re a foodie, or just a Mum providing meals for her family in a simple, nutritious and frugal way, go and join up my new blog Nourish from Scratch.
Grissini and choc chip rolls
I had the idea of treating the children will these, but was a little let down by their response. Only 1 child liked them, I’m not sure why, but they were pretty dry. I feel like I still have to get to know my oven and it’s temperatures, I seem to slightly overbake things sometimes and they end up dry.
There are plenty of other recipes I want to try in this book, so I’ll be giving them a go over the next few days.
Homeschool resources
I have a new blog!
Head over to Nourish from scratch for a look! I’ll be reviewing recipes (and showing some of my own) and sharing the journey of nourishing my family, join up if you like it!