My new pattern is inspired by the classic “hug me tight” shrugs I used to see some of my elderly clients knitting for their loved ones when I worked in nursing homes.

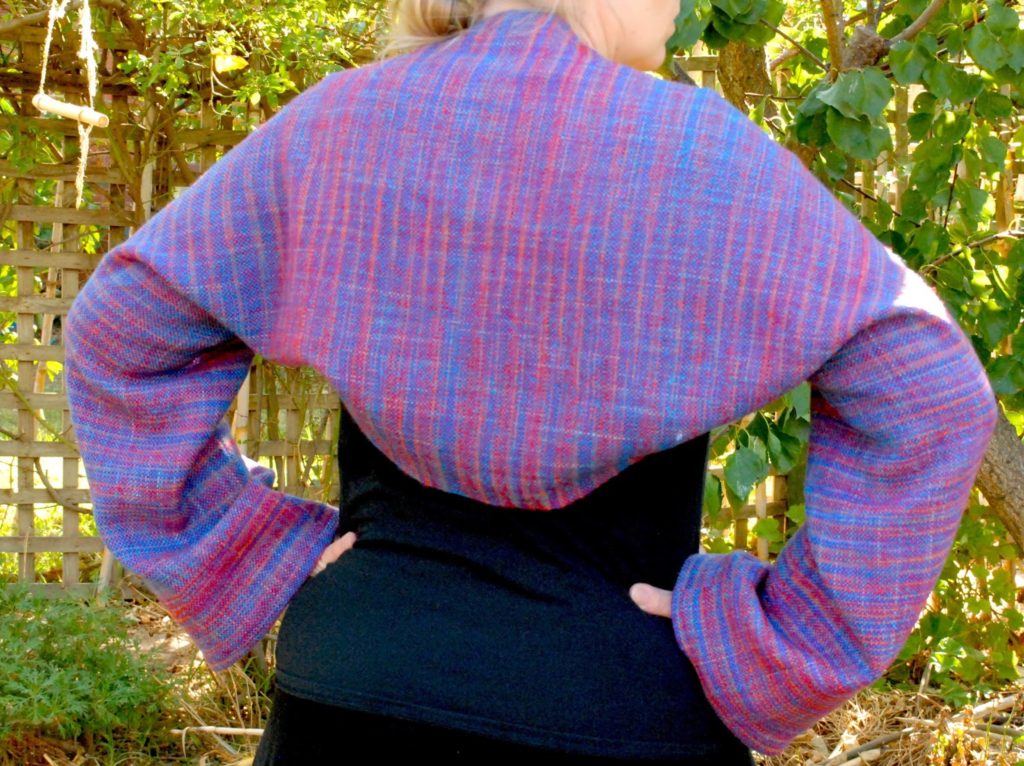
This cardigan was designed to be a simple but beautiful garment – perfect for those who are just starting out sewing with their weaving. It is also a “no cut” pattern for those who may be nervous about cutting their cloth for the first time.

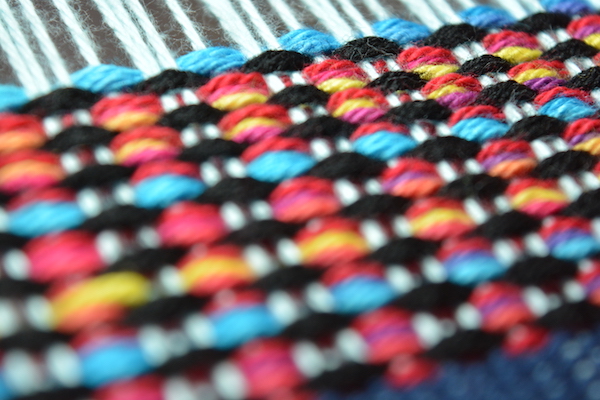
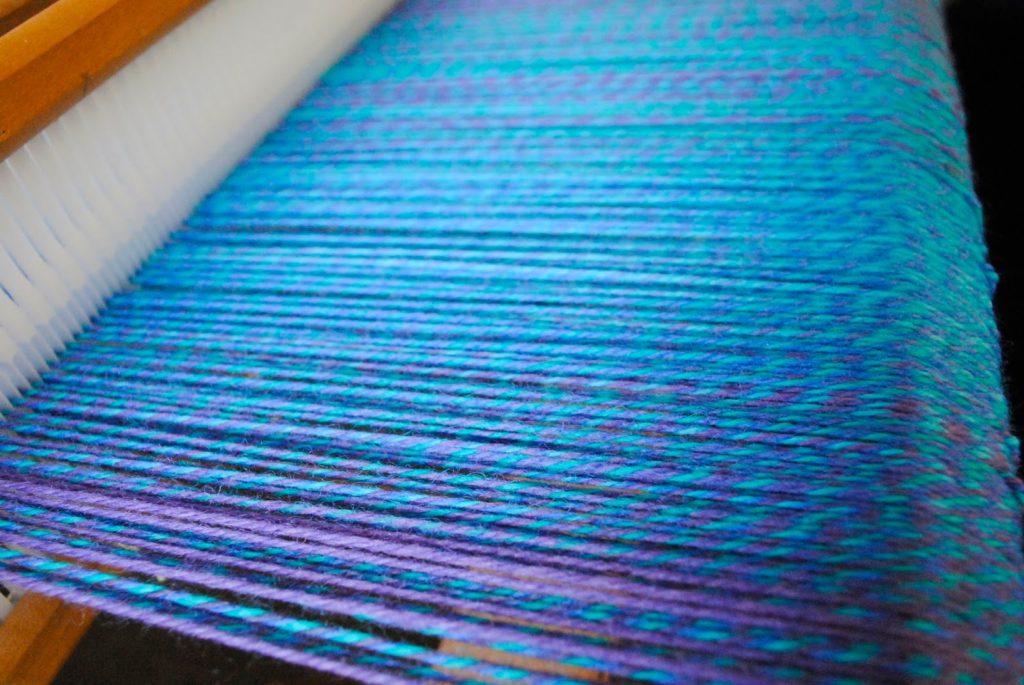
I love the way my hand dyed yarn turned out – quite different to what I expected but very much in the style I love.
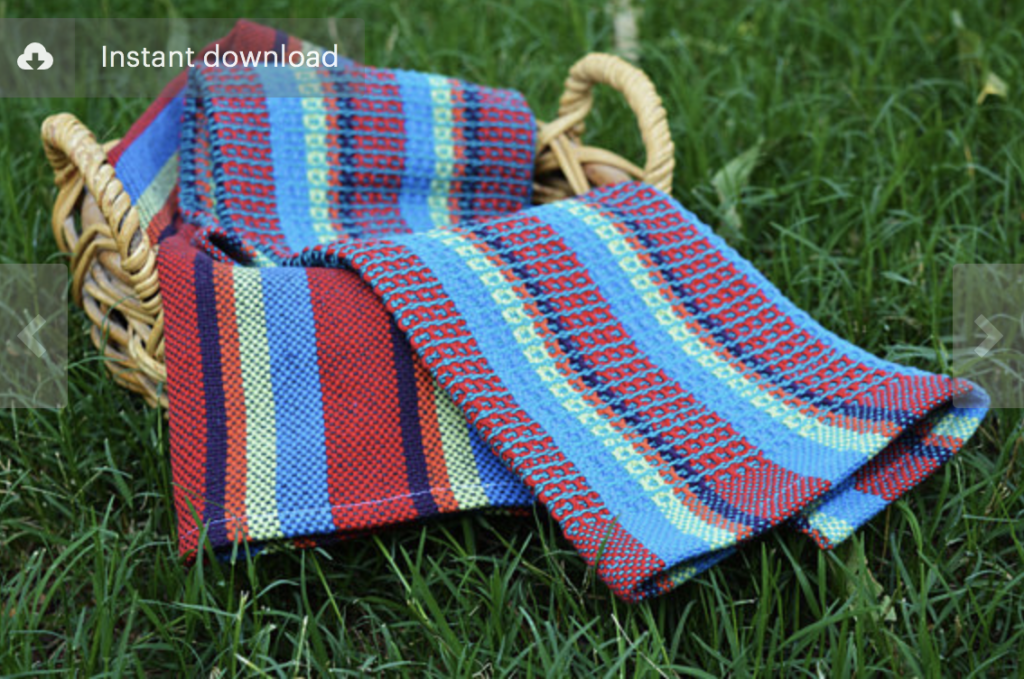
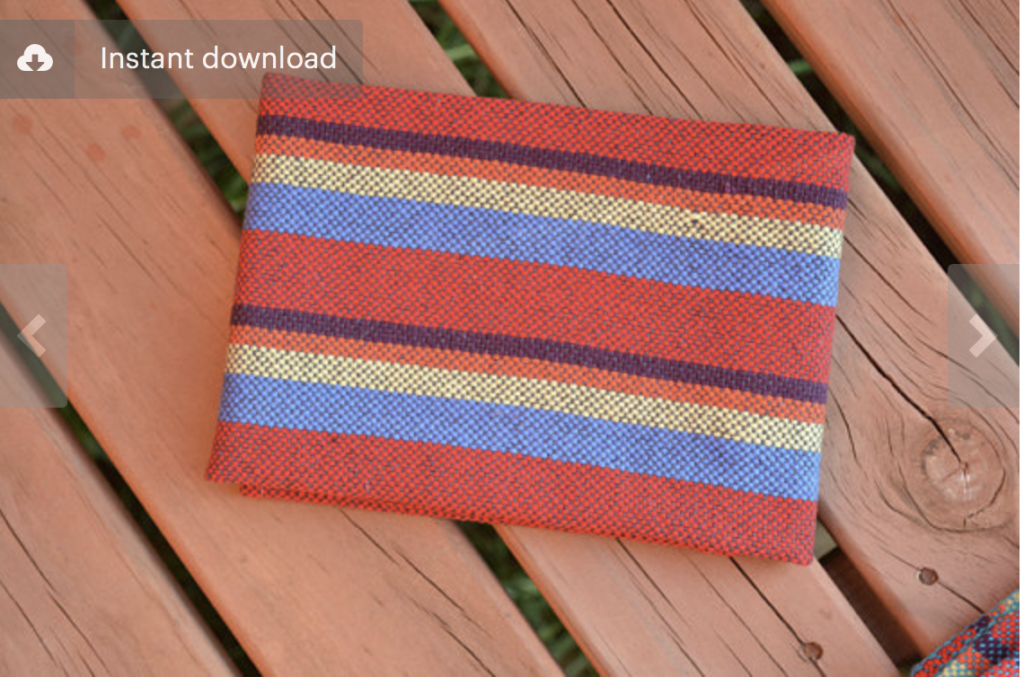
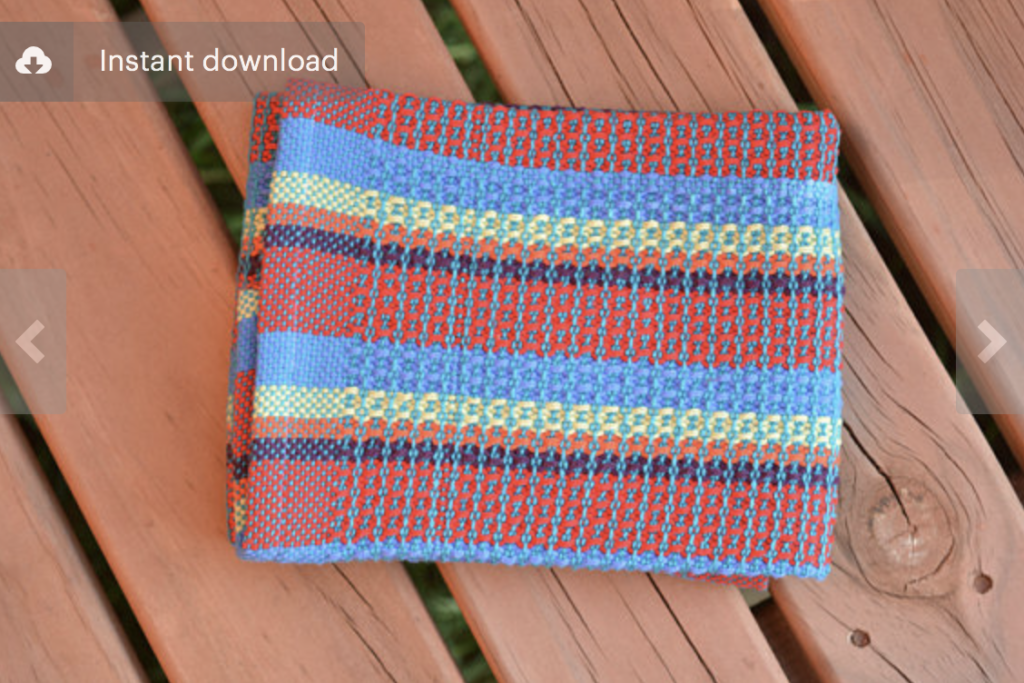
Woven with wool and designed to be a light fabric, it is a perfect garment for transitional weather because it’s warm without being too warm.
Check out my Etsy shop to find out more about the pattern.
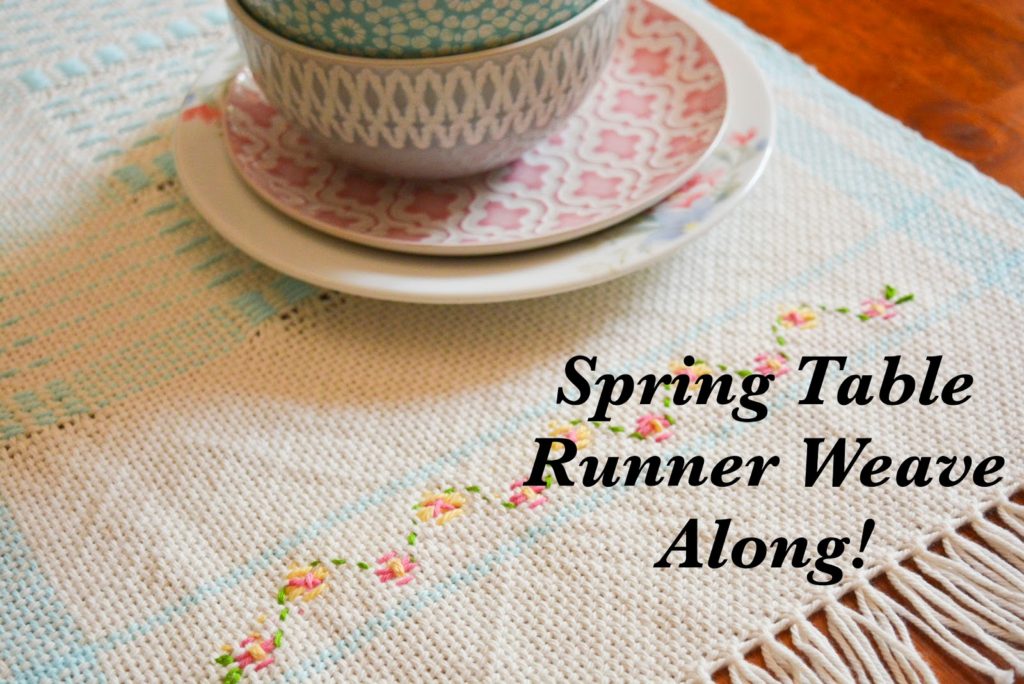
Happy Weaving!