• Skip to main content
  • Skip to primary sidebar

Kelly Casanova Weaving Lessons

  • Hi! I’m Kelly!
    • Affiliates Disclosure
  • Online Weaving School Class Index
    • Common account issues
    • Common technical issues
    • What do I get with a membership?
  • New to rigid heddle weaving? Start here!
    • Never heard of the rigid heddle loom?
    • How to weave neat edges on the rigid heddle loom
    • Rigid heddle weaving
    • Rigid Heddle Weaving Patterns
  • Patterns
  • Subscribe

Rigid heddle weaving

How to Use Pick-Up Sticks

by Kelly 24 Comments

Pick-up sticks can be a game-changer for rigid heddle weaving. These simple tools expand your loom’s capabilities, allowing you to create intricate patterns beyond plain weave. Whether you’re a beginner or looking to elevate your skills, this guide will help you understand how to use pick-up sticks effectively.

A rigid heddle loom has 2 shafts, essentially the hole threads and the slot threads. These 2 shafts allow you to work plain weave, which is a perfectly lovely weave structure on it’s own, but most weavers will begin with plain weave and then want to increase their own skills and their loom’s capabilities.

*This post contains affiliate links, which means that if you click a link and purchase, I will receive a small commission at no extra cost to you.

This is where pick up sticks enter and shine. Basically, they are simple, flat and smooth lengths of wood. You pick up warp threads and operate the stick/s from behind the heddle/reed. Your pick up sticks need to be longer than the width of your project, or they won’t hold the picked up threads. For my 24″ rigid heddle loom I use 24″ pick up sticks. I can use these same sticks whether my project is narrow or full loom width.

Incorporate one pick up stick and you can weave on 3 shafts. Incorporate two pick up sticks and you can weave on 4 shafts. And you can keep going from there, although you will probably want to learn about installing heddle rods to increase time efficiency. I happen to have a video showing you how to do that:

If that is a bit much for you at the moment, you can run with the knowledge that pick up sticks allow you to weave pretty patterns!

One of the rules of picking up warp threads with a stick is that your heddle needs to be in the “down” position. The threads we want to pick up must be slot threads, as the hole threads are already committed and are therefore inflexible.

Trying to pick up hole threads would be like trying to pick up the same threads twice! The slot threads are normally our shaft 2 threads and when we place the heddle in down position, they are raised.

Because we push our pick up stick/s to the back when not in use and they lay flat between the warp threads, they do not hinder you from being able to still operate shaft 2, as well as an additional shaft when the stick is engaged.

But I don’t think that you need to understand any of the above in order to use one or two pick up sticks, I certainly didn’t know what I was doing when I started with them. I just played around and liked what I saw and you can do the same!

Even if you are using a written pattern, you still don’t need a lot of understanding to follow them. If you see the instructions “1 up, 1 down” for your pick up, it simply means 1 warp thread will sit on top of the pick up stick, the next will sit underneath it and this will repeat across the warp.

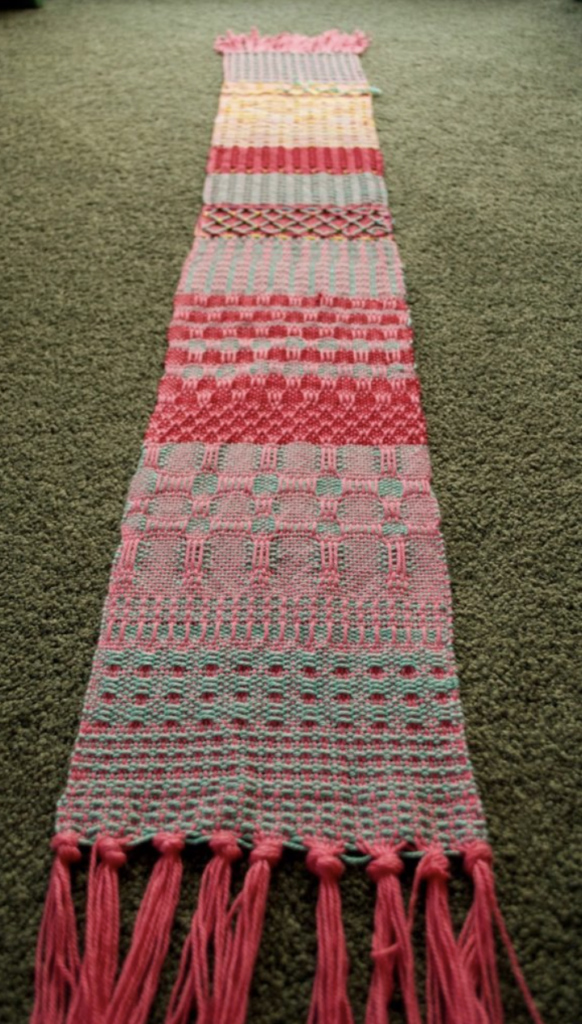
Pick up sampler

The instructions for the actual weaving will be a little different, but easy to follow. Here is a simple weaving sequence as an example:

  1. Up (heddle up)
  2. Down (heddle down)
  3. Up, pick up stick (heddle up and slide pick up stick behind the heddle, leaving flat).

If you want to see pick up sticks and examples of pick up patterns demonstrated, watch my free Youtube video:

If you’re interested in exploring pick up in the form of a project, I can help! My Kitchen Cloths on a rigid heddle loom project is available as an online class.

In my Etsy shop, you will find my Lux Hand Towels pattern, which also uses pick up.

Lux Hand Towels

Oh, and let’s not forget the free pattern you receive when you sign up to my email list, the Moroccan Dream Scarf, which is easy enough for beginner pick up stick adventurists and can look so varied, depending on the yarn and colours you decide on.

The Moroccan Dream Scarf

I have some really cool pick up patterns for free, along with a video tutorial in this post.

I’m quite sure that you will be interested in taking a look at my Pick Up Stick Playlist on Youtube:

I also have a comprehensive course, Pick Up Perfection, available for purchase. If you have a membership to the Online Weaving School, this class is included for free.

I hope this has helped you to understand how pick up sticks can be utilised in your weaving. If this post has been useful to you or if you have any questions, please leave me a comment, I love to hear from you 😊

Until next time…

Happy Weaving!

Filed Under: Rigid heddle weaving, Tutorials, Weaving Tagged With: how to use pick up sticks, how to weave patterns, pick up sticks, rigid heddle weaving, rigid heddle weaving tutorial, tutorial

Pinwheels on a rigid heddle loom!

by Kelly 15 Comments

Pinwheels are a bit of an ultimate goal for some of us rigid heddle weavers. I’ve often heard it said that it was a picture of another weaver’s pinwheel project that first excited the interest of some to the rigid heddle loom.

I’ve had many requests for a pinwheels class over the past couple of years, so I finally knuckled down, and as a result “Pinwheels for the Rigid Heddle Loom” is now available.

*This post contains an affiliate link. For further information, please view my disclosure policy.

I really enjoyed making this class, as it’s always a thrill to introduce my students to a project that I know just naturally has the “WOW!” factor in abundance.

Pinwheels can be woven on either 8 or 4 shafts, and are essentially a twill draft combined with colour and weave to produce something really impressive, but not all that difficult. You have to love that!

For this class, I chose to weave on 4 shafts (for obvious reasons – 4 shafts is way more achievable on a rigid heddle loom than 8!) using a single heddle/reed and 3 heddle rods. The set up is a little time intensive, but very comparative to the time it would take to set up on a multi shaft loom. And once you start weaving, you are more than rewarded for your efforts.

The class demonstrates a Table Topper project (rather like a table centrepiece) but also provides all the calculations for a table runner, if that is your preference. I chose my colours (Latte and Peacock) to co-ordinate with my dining room curtains, which are a greyish coffee colour.

It is important with pinwheels to choose colours that are harmonious yet have enough contrast – you want those pinwheels to pop out at you!

Before undertaking this class, I highly suggest that you complete the “Converting Pattern Drafts to the Rigid Heddle Loom” to gain a good understanding of setting up your loom according to traditional pattern drafts. The Pinwheels class would then build on that knowledge and demonstrate that there are several ways to achieve the same result.

This class is available as a part of any membership to my Online Weaving School, or can be purchased as a single class.

Until next time….

Happy Pinwheel Weaving!

Filed Under: Online Weaving School, Pinwheels, Rigid heddle weaving, Weaving Tagged With: newclass, onlinelearning, pinwheels, rigidheddleweaving

Weaving kitchen cloths

by Kelly 7 Comments

Kitchen cloths were one of the first weaving projects I ever attempted. They are really perfect for beginner weavers, as at their most simple they can be just a square of plain weave. And, at the end, the weaver has a beautiful and functional woven piece.


*Please note, this post contains affiliate links. For more information, please see my disclosure policy. 
If the weaver wants something a little more challenging, adding pick up sticks adds interest to the weave and functionality to the cloth, making the cloth not only very attractive but more absorbent with the added texture.
I am often asked the question “Which yarn is best for kitchen cloths?” 
 
In my opinion, thick cotton is the absolute best fibre for kitchen cloths. It is soft, absorbent, easy to wash and care for, unlikely to harbour bacteria if treated properly and yarns come in many different colours.
 
My favourite cotton to use for my cloths is from a mill not too far from me. It is a gorgeous cotton, so it makes sense for me to buy and excellent Australian owned and locally produced product.

I also recently tried Yarns and Colors EPIC cotton, purchased from Adelaide Hills Yarn Company. It’s a lovely soft but sturdy cotton in a great range of colours. It’s also available directly from the Dutch company website.

But, what about those of you who can’t access this yarn due to location? Well, there are plenty of alternatives! 

A very popular cotton is the American made Sugar n Cream. It is just the right weight for kitchen cloths, is affordable and comes in many bright and variegated colours.

There are some beautiful organic cottons out there too, such as Babytoly, which comes in natural as well as bright, happy colours.

I have heard excellent things about the I Love This Cotton brand, though I’ve not tried it myself.

I have also successfully used a bamboo cotton blend for cloths. The end result is a little different, the cloth is heavier when wet and does not tend to wear as well over time. Still, it make a beautiful, soft and absorbent cloth. If you’re interested in trying a blend, something like this Lion Brand Blend, which is 50% bamboo and 50% cotton would work well.


I have also had fun buying white or natural cotton to dye in variegated colours, using fibre reactive dyes. You can either use the variegated as warp and a solid, contrasting colour as weft or vice versa – both give wonderful results.
My kitchen will always have handmade cloths now, I can’t go back to the disposable cloths I once used!
 
If you are a member of the Online Weaving School, I have a Kitchen Cloths Class available to get you started. 
 
My Textured Cloths pattern only needs a small loom to weave, the Sampleit is perfect for this project.
 
I should also mention my Waffle Weave tutorial on Youtube, which gives great texture for kitchen cloths.
 
I hope that you will experience the joy of weaving and using your very own kitchen cloths.
 
Until next time…
 
Happy Weaving!


Filed Under: Rigid heddle weaving Tagged With: cotton, kitchen cloths, learn to weave, rigid heddle loom, rigid heddle weaving

What can I DO on a rigid heddle loom?

by Kelly 12 Comments

Perhaps a better question might be “What can’t I do on a rigid heddle loom?”. Yes, it’s that versatile!


I already mentioned in the previous post that you can create more complex patterns by using multiple heddles/reeds. For example, if I want to weave a 4 shaft pattern, I can use 3 heddles/reeds to achieve that, as demonstrated in my Three Heddle Adventures class. Or, if I want to use 2 heddles I can also weave some really awesome patterns, as demonstrated in my Weaving with Two Heddles class. However, many rigid heddle weavers also achieve more complex patterns by using pick up sticks to manipulate threads that are threaded in the slots of the heddle/reed. You could think of these threads as “uncommitted”, (not threaded in a hole) so free to play around with. One of the more impressive examples of complex patterns with pick up sticks is Jeen’s Pinwheels, which is actually an 8 shaft pattern! You can see another great example of that on FarmNana. I also have a simplified 4 shaft pinwheels class if that interests you!


My Midnight Shawl pattern uses 2 heddles/reeds to achieve a diamond pattern.


Another great boon to rigid heddle weavers is the use of Colour and Weave techniques. To break it down to a simple form, you arrange your warp and weft colours in such a way that, even though you’re usually working plain weave, it can look like an impressive and complicated pattern.

My Log Cabin Table Runner is a good example of the use of Colour and Weave.
 
My newest Youtube video shows you what you can do by thinking outside the box. I show you how to make a wavy and a zigzag shuttle from cardboard, so fun!
 
 
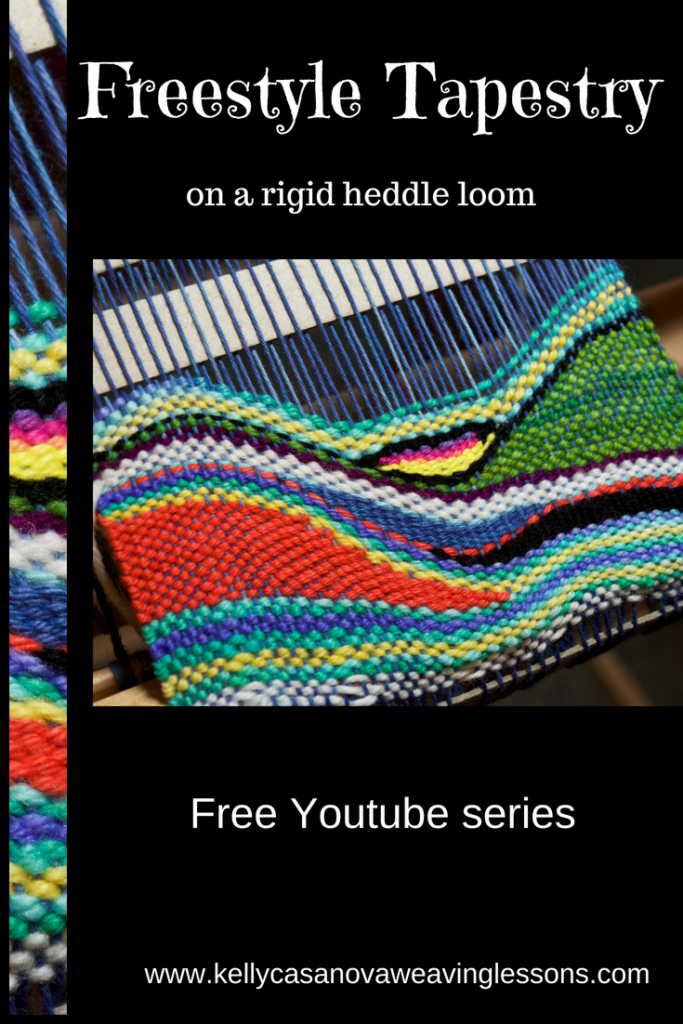
Did you know that you can use your rigid heddle loom for tapestry too? You can read more about that in this post. I also share my tapestry thoughts in this video.
There are many possibilities with tapestry on the rigid heddle loom! This video series outlines the use of freestyle tapestry.
 
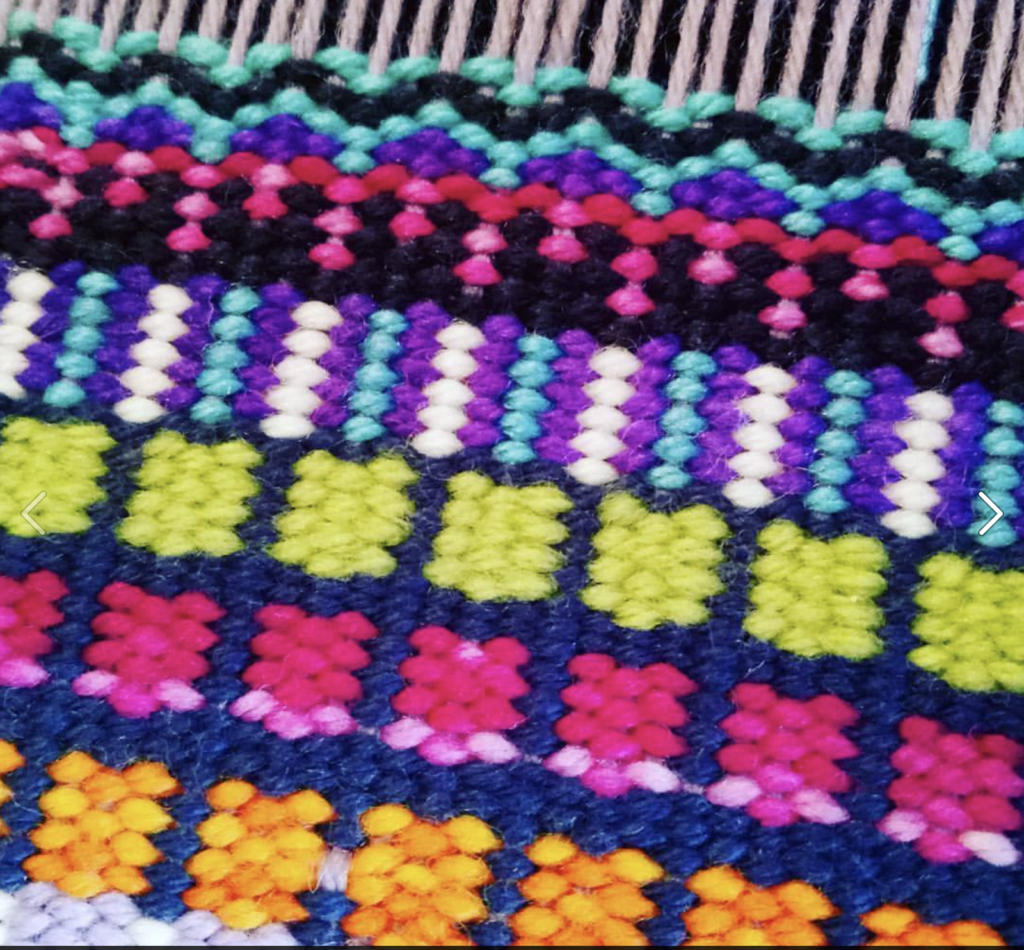
Krokbragd is one of my favourite weave structures, and is easily achievable on a rigid heddle loom. I have written about it, and have many videos on Youtube, as well as a few online classes. I just love it!
I could really go on and on because there is so much more you can do with this humble loom. Hopefully what I’ve written here has convinced you of the capabilities of rigid heddle weaving and given you some more material to look into.
 
Until next time…
 
Happy Weaving!

Filed Under: Rigid heddle weaving Tagged With: Kelly casanova weaving lessons, rigid heddle loom, rigid heddle weaving

What tools do I need for rigid heddle weaving?

by Kelly 13 Comments

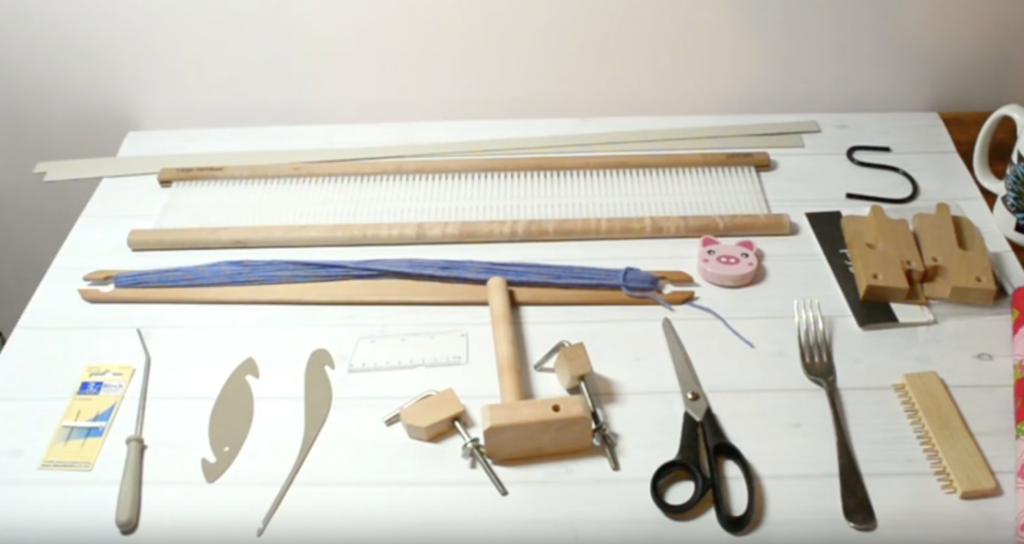
When you buy a rigid heddle loom, it should come with a few standard tools, which usually include:
 
*This post contains some affiliate links, which means if you click and buy, I receive a small commission at no extra cost to you.

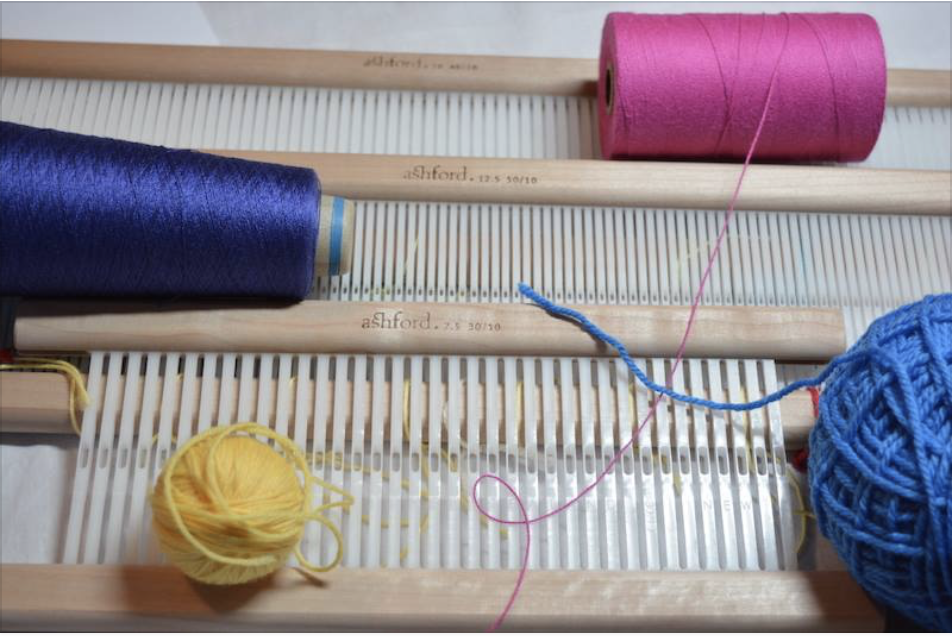
*A heddle/reed (usually 7.5 or 8 dent)
* A warping peg and clamp for direct warping
* A clamp for holding the loom to a table while warping
* A stick shuttle
* It may include a threading and reed hook
* Cardboard warp separators (may not come with all looms)
** Some looms now come with a double heddle block built in


Apart from the standard tools, there are extra things that are either essential or come in handy.
 
Other essentials:
 
*Scissors – sharp scissors will save you a lot of frustration
*Tape measure
*Warp separators (if not received with your loom)
*Yarn
*Inch ruler (for figuring out the sett of your yarn)
*Project journal for recording all your project information
*A big mug of tea (or is that just me?!)


                                    Handy optional extras:


*Tapestry needle
*Extra heddles
*Fringe twister
*Sewing machine 
*Serger
*Loom stand
*Tapestry beater, comb or household fork
* “S” hooks or other weights
*Calculator
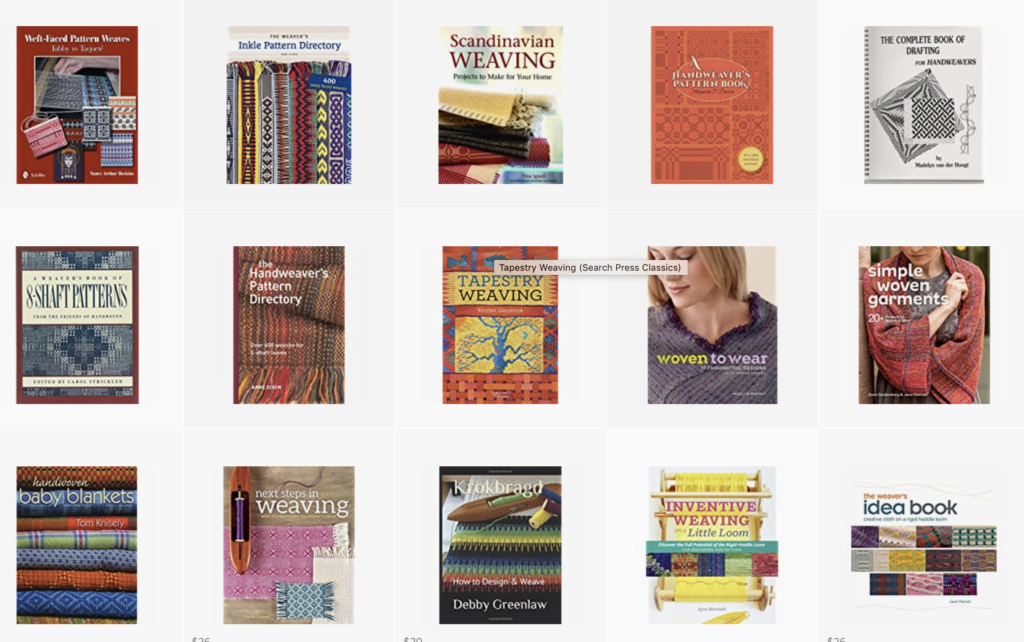
*Instructional books (the  Book Depository (affiliate link) has a huge range of great weaving books and this post will help you to determine which book/s might be right for you).
*Online lessons are an awesome tool to get started. You can check out my Youtube channel and my Online Weaving School for further help. 


This post is a companion post to this Youtube video, so pop over and watch if you want to see the tools and hear my explanations.


Something to remember when you’re just starting out with rigid heddle weaving is that you don’t need All.The.Things right away! The tools that come with a newly purchased loom are sufficient to get you started, and you can gradually build from there.

If you have any questions, don’t be shy, leave me a comment below.

Until next time…

Happy Weaving!

Filed Under: Rigid heddle weaving Tagged With: learn to weave, rigid heddle loom, rigid heddle weaving, weaving tools

What IS a rigid heddle loom?

by Kelly 10 Comments

The rigid heddle loom has gained considerable popularity in recent years due to it’s affordability, portability and versatility as a weaving loom.


*This post contains some affiliate links.

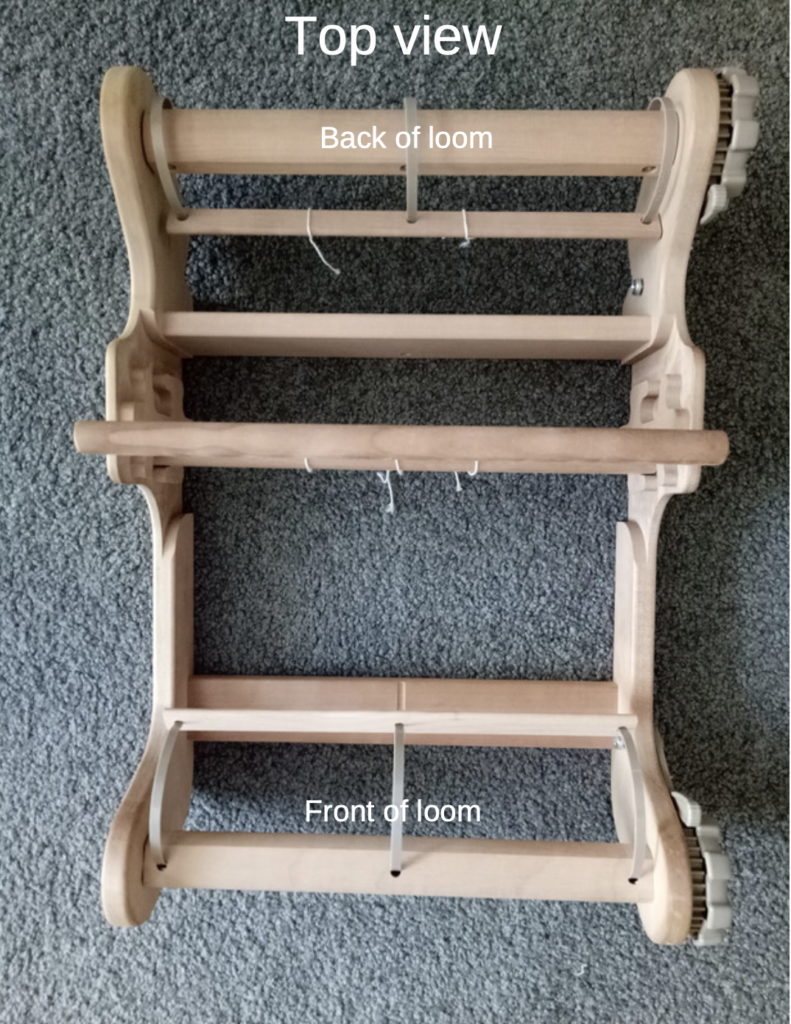
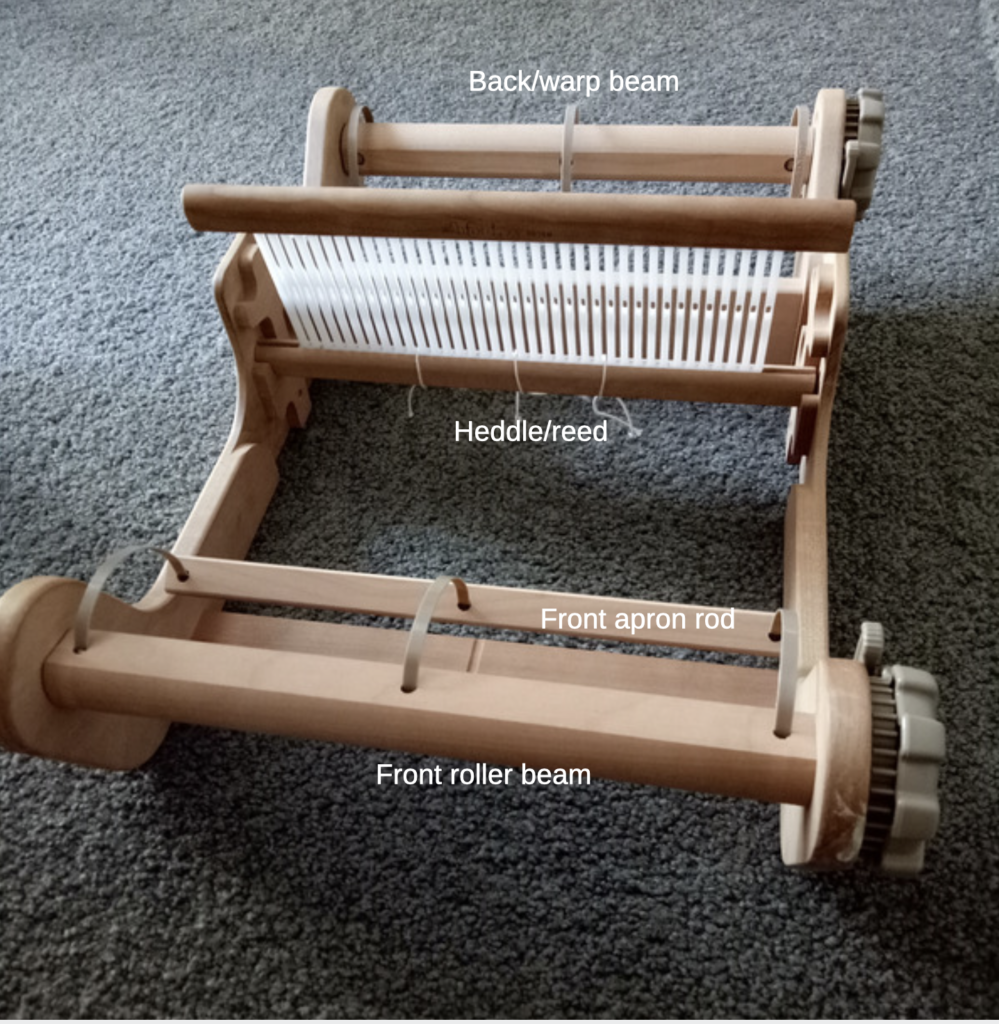
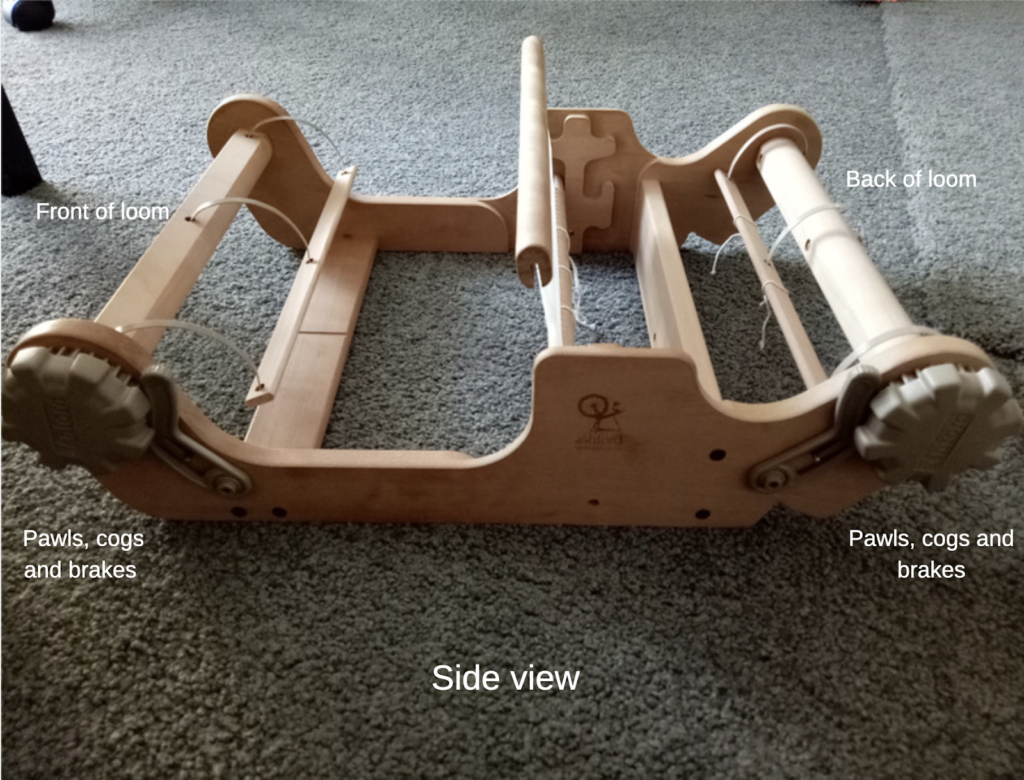
The rigid heddle loom is essentially a rectangular, wooden frame loom. However, it differs from the simple frame looms that are now readily available and often used for simple tapestry, as it has a space for a heddle/reed, making it capable of producing sheds (gaps or spaces) to weave through. It is a 2 shaft loom, but has further reaching capabilities, which I will explain further in a future post. I guess you could say that it is a crossover between a simple frame loom and a table/floor loom once you start looking at the specifics.


The “rigid heddle” that the loom gets it’s name from is an ingenious device made from wood and often plastic nowadays. A single heddle/reed gives your loom holes and slots (these are what allow you to create the sheds) plus it doubles as a beater. The more of these heddles/reeds you use, the greater the possibility and range of sheds, and therefore patterns, become available. Another benefit of using 2 heddle/reeds at a time is the ability to weave double width cloth, which is ultra cool and can be seen in my Double Weave Baby Blanket class. Some rigid heddle looms now come with a built in double heddle block, which means it is easy to have 2 heddle/reeds positioned on your loom.
In it’s most basic, 2 shaft form, you place the heddle/reed in either an up or down position, creating a different shed each time. Using these 2 sheds will give you plain weave.


This same heddle/reed will have a predetermined size or sett, which means that once you have established the sett for your project, you choose a heddle/reed that matches. As you thread the heddle/reed, the rigid plastic slots keep the threads at a certain spacing, and that is what makes your sett.


The RHL, similar to table/floor looms, has a front and back roller, meaning that you can put on a long warp and you advance the warp as you go so that the cloth will roll around the front beam as you weave. Some looms will have the option of buying an additional warp beam that attaches to the loom and allows you to put on extra long warps. It also has a tensioning system, which varies from loom to loom, but usually involves winding a pawl or a crank at the side of the loom to achieve good tension. 

In addition to your loom, you can purchase a stand, which, in my opinion is a really good option. Buying a loom and stand combo can work out more economically. I talk more about that in this video.

If you purchase a RHL new, it will come with everything you need to get started (except the yarn!)

I hope this has helped you to begin to wrap your head around what a rigid heddle loom is.

Be sure to leave me a comment if you have any questions.

Next time I’ll be discussing what tools you need and how they work, so stayed tuned for that one!

Until next time…

Happy Weaving!
Filed Under: Rigid heddle weaving Tagged With: rigid heddle loom, rigid heddle weaving

New Krokbragd Bag Class!

by Kelly 9 Comments


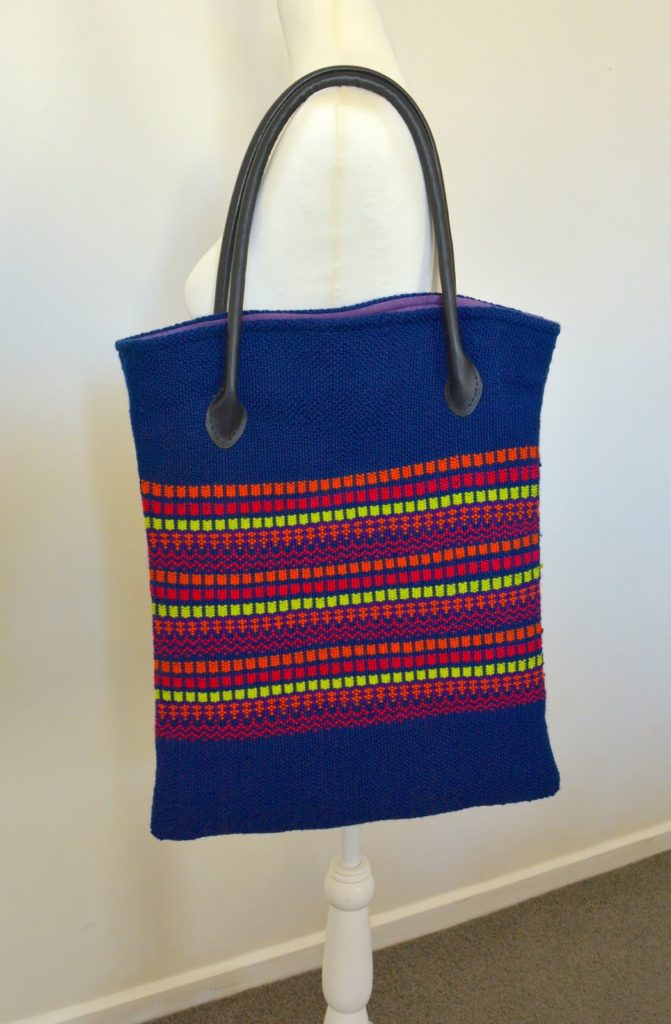
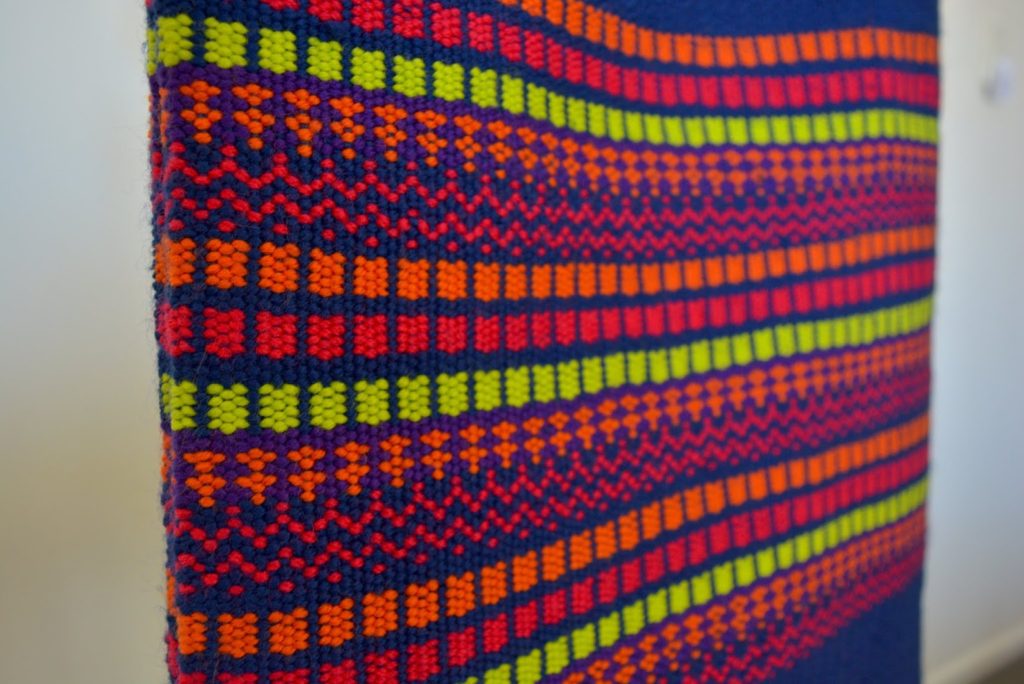
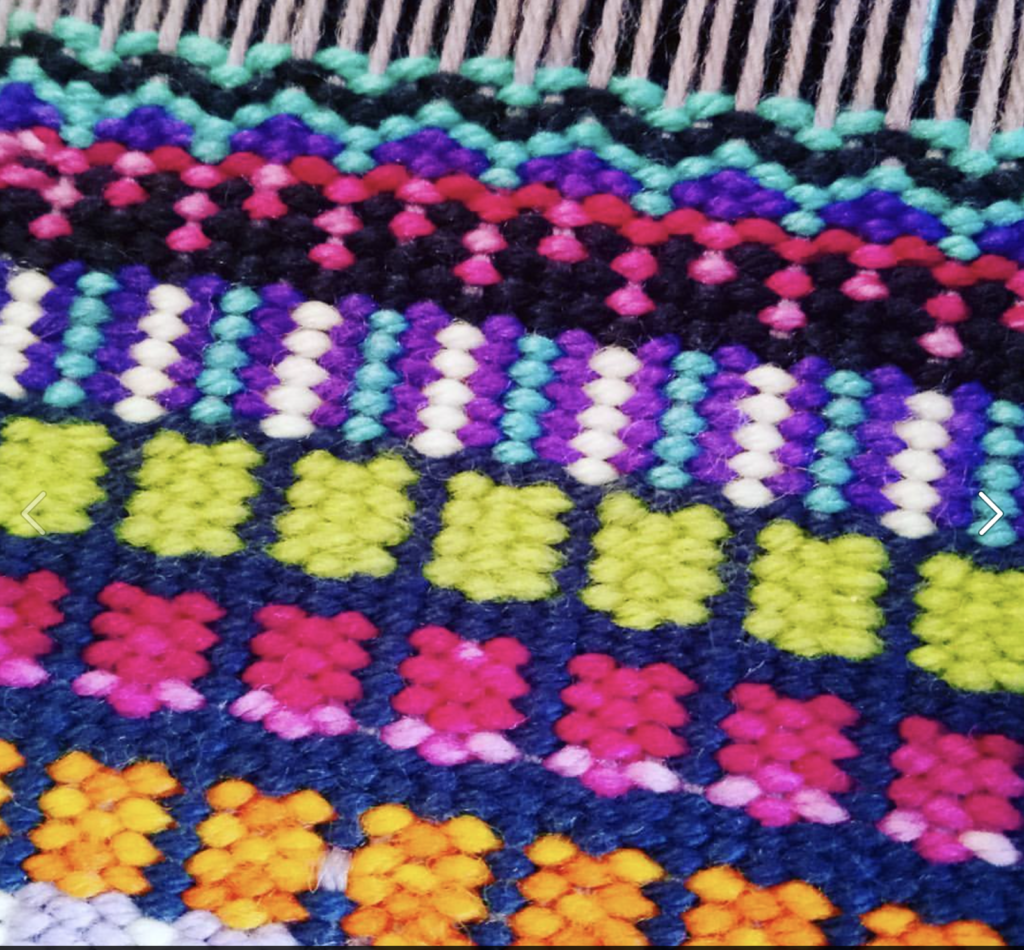
My brand new class is finished and available! When designing this bag, my plan was bold colour and design. I think I can safely say that I achieved that!


I used a contrast of deep, navy blue and a middle panel of bright colours and bold patterning to really set off the feature panel.


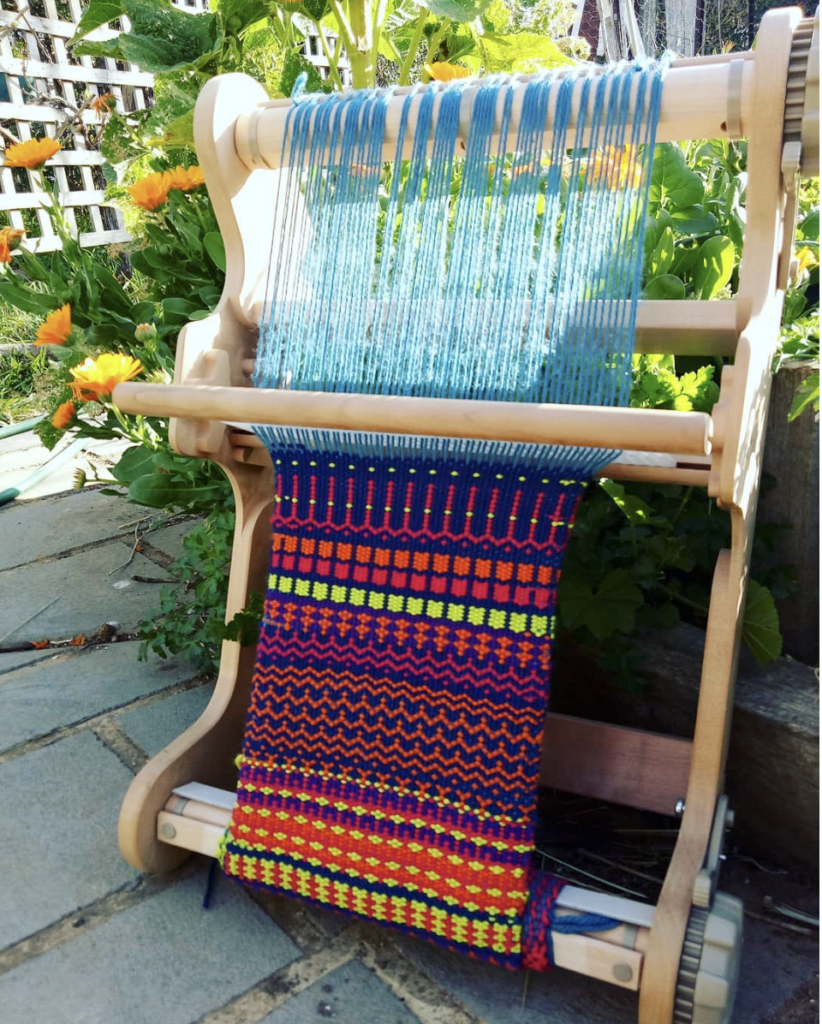
Originally I had a totally different design, but when I started weaving, found that it was a little more drab on the loom than it had been in my head. So, I whipped out the Sampleit, threw on a short warp and started experimenting with the colour palette I had chosen for the bag.

I was much happier with what I came up with on the small loom and although not all of this design made it into the bag class, I’m really happy with the finished bag – plus I have plenty of other designs up my sleeve for another time.


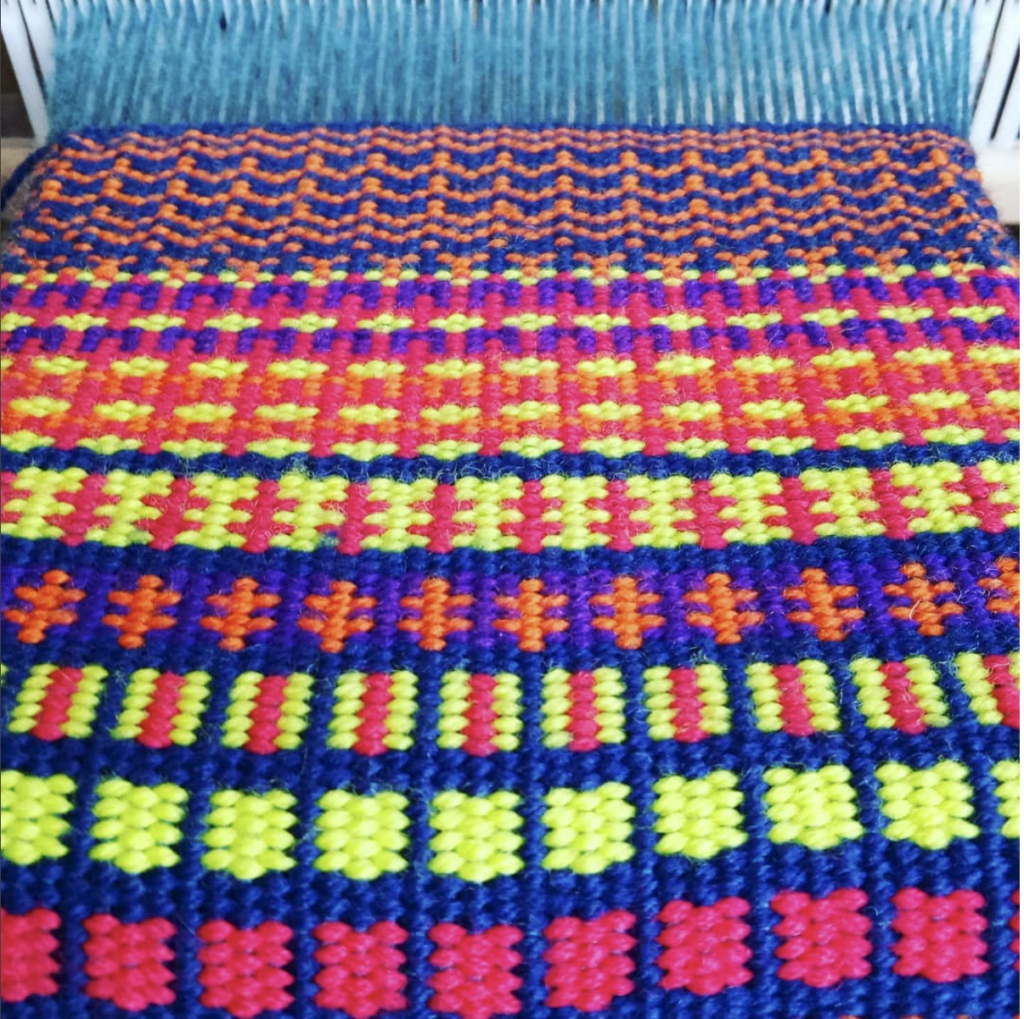
The idea for the bag actually came to my last year, when I was playing around with this sample below. It’s not until recently that I actually got around to making the class.
The project uses two heddles and provides two different methods for threading, according to your preference. Full sewing and finishing instructions are also included in the class.

The bag pairs perfectly with my Krokbragd Mug Rug Weave Along that ran recently, so definitely start with the mug rugs if you’re hesitant about giving this a go.

And, if you just want to find out more about Krokbragd, I have written this post which gives you more information, plus links to my Youtube videos on the topic.

I hope you can join me for this one, Krokbragd is so much fun, so rewarding and for me, is a weave with a total WOW factor!

Filed Under: Rigid heddle weaving Tagged With: Kelly casanova weaving lessons, krokbragd, rigid heddle weaving

Great rigid heddle weaving books!

by Kelly 10 Comments

My last post detailed some of my favourite books for 4 shafts or more, but today I’d like to talk about some great rigid heddle books.
I already have a video on this topic, but I know some people prefer to read rather than watch, plus I’ve added some extra books to the original list, so here we go!


*This post contains affiliate links. 

I’ll start with my favourite and most used book, in fact, this is the first rigid heddle weaving book I bought.

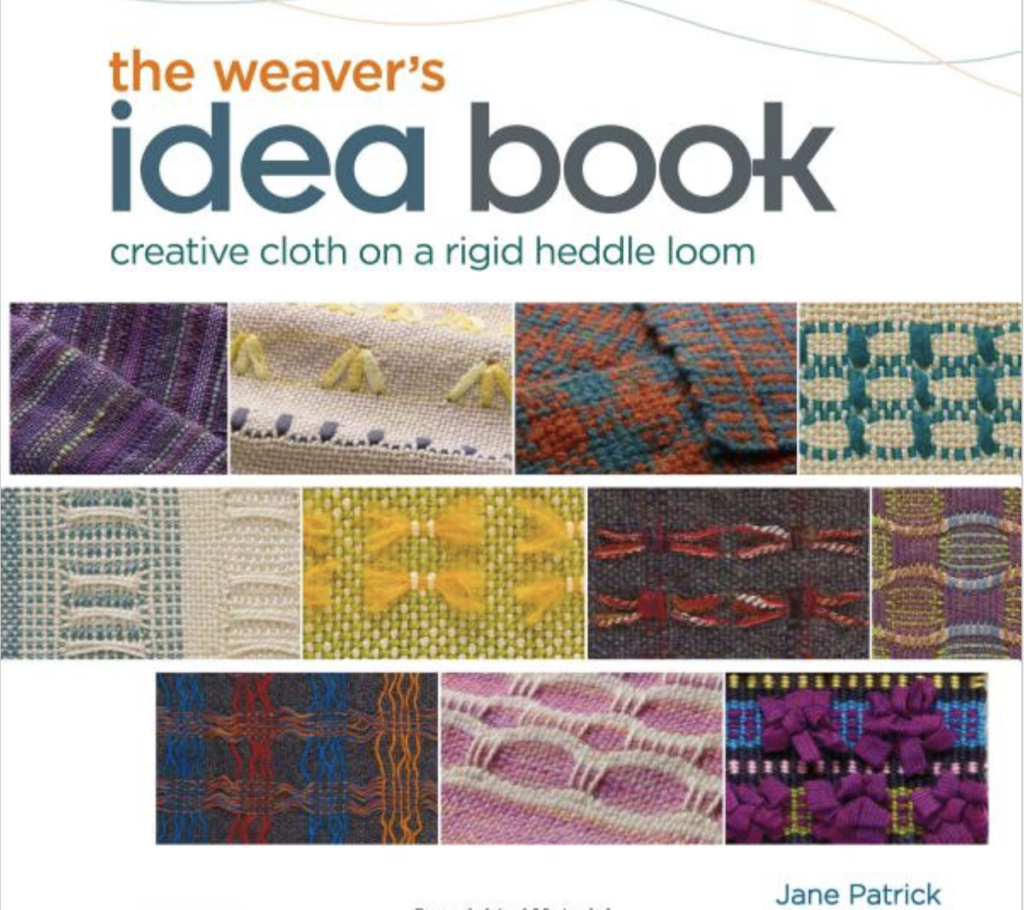
The Weaver’s Idea Book by Jane Patrick This book has so much content and is great for beginners. It allows you to start with the basics and build as you go. Just about everything you need to know initially is contained within these pages and I think of it a little like a training ground for new weavers. It is also hardcover with spiral binding, making it easy to lay flat and view while you’re weaving. Highly recommended!


Weaving made Easy by Liz Gipson. A lovely little book that includes information on loom set up. The projects are simple enough for beginners and interesting enough for all weavers.


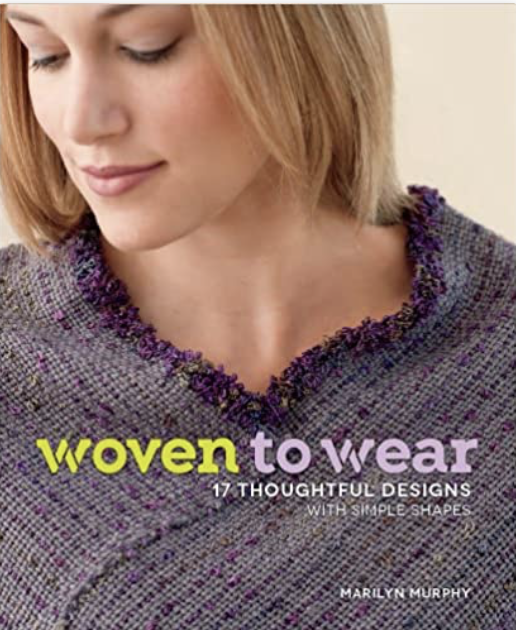
Woven to Wear by Marilyn Murphy. I also read this book as a newer weaver and loved how it stirred my imagination. It contains simple garments with lots of plain weave, making it great for beginners, particularly those wanting to get a taste for sewing with your handwoven. The sewing projects are simple rather than finicky, with the use of large shapes instead of small pieces.


Inventive Weaving on a Little Loom by Syne Mitchell This book is awesome value for beginners to intermediate with lots of ideas. For the newer weaver, there is practical information and plenty of inspiration for once you have the basics down. I think of this book as one that you may not fully appreciate until you have some more weaving experience, perhaps a book that will grow with you through your weaving journey. Towards the middle and later part of the book are projects and ideas that may be too challenging for a new weaver, but that an enthusiastic and curious weaver will definitely want to make use of later on. There is a lot of information, it is attractively set out and a joy to flip through.


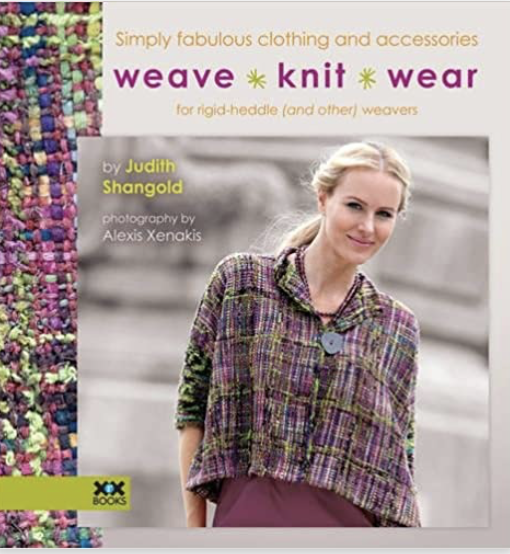
Weave, Knit, Wear by Judith Shangold  This book is responsible for opening my eyes and quickening my heart over the range of possibilities with a rigid heddle loom and garment making. Judith uses mostly plain weave, colour and design to make fabric look special. She includes design layouts and illustrations to help you wrap your head around how garments can be constructed. What I really love about this book is the fusion of weaving, knitting and crochet added in. It really has encouraged me to think outside the square and maximise my rigid heddle loom.


Simple Woven Garments by Sara Goldberg Another really great book on making simple garments with simple, colourful, hand woven cloth. There are more than 20 projects and they are all wearable! There are also details on adjusting garments to your own specifications.

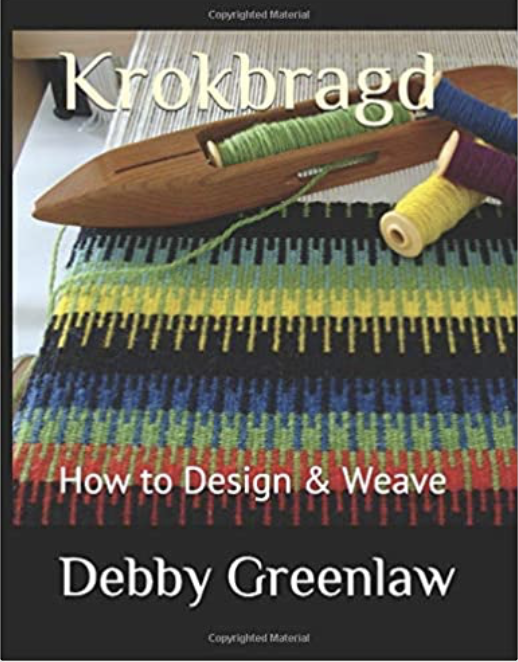
I had to come back and edit this post to include Debby Greenlaw’s new book Krokbragd: How to Design and Weave. I actually like this book so much that I wrote a review for it here, so pop over and read that if it sounds like a book you would be interested in.

To see all my book recommendations is one easy to access place, visit my Amazon Shop.

If you would like to watch this post in video format please click on the video below.


I hope you enjoyed my list!

Until next time…

Happy Weaving!

 

Filed Under: Books, Rigid heddle weaving, Weaving Tagged With: books, rigid heddle weaving, weaving books

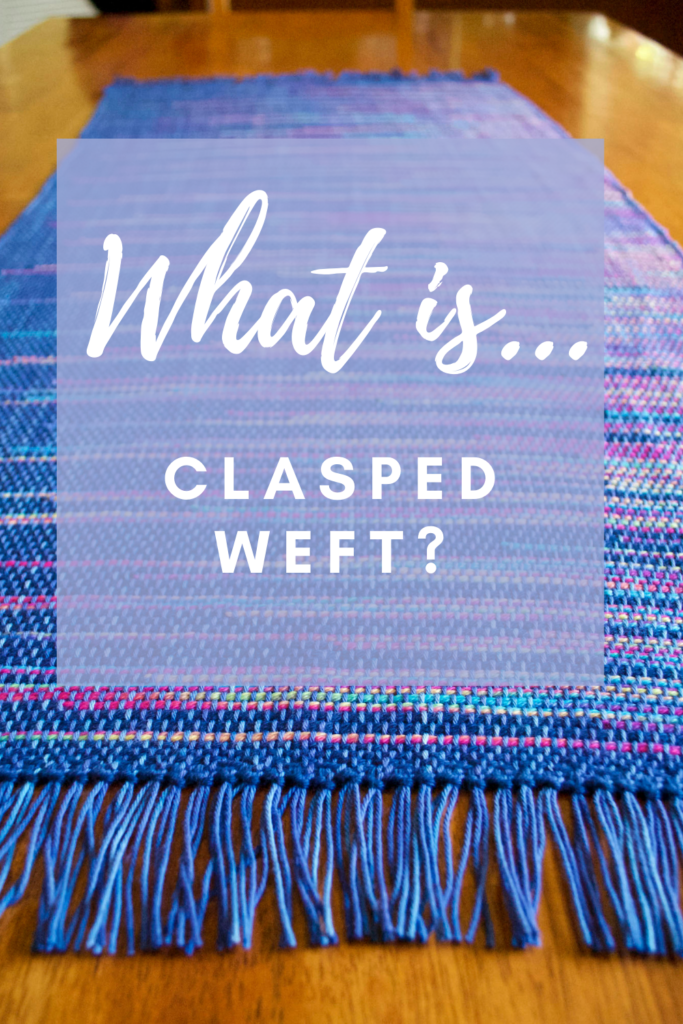
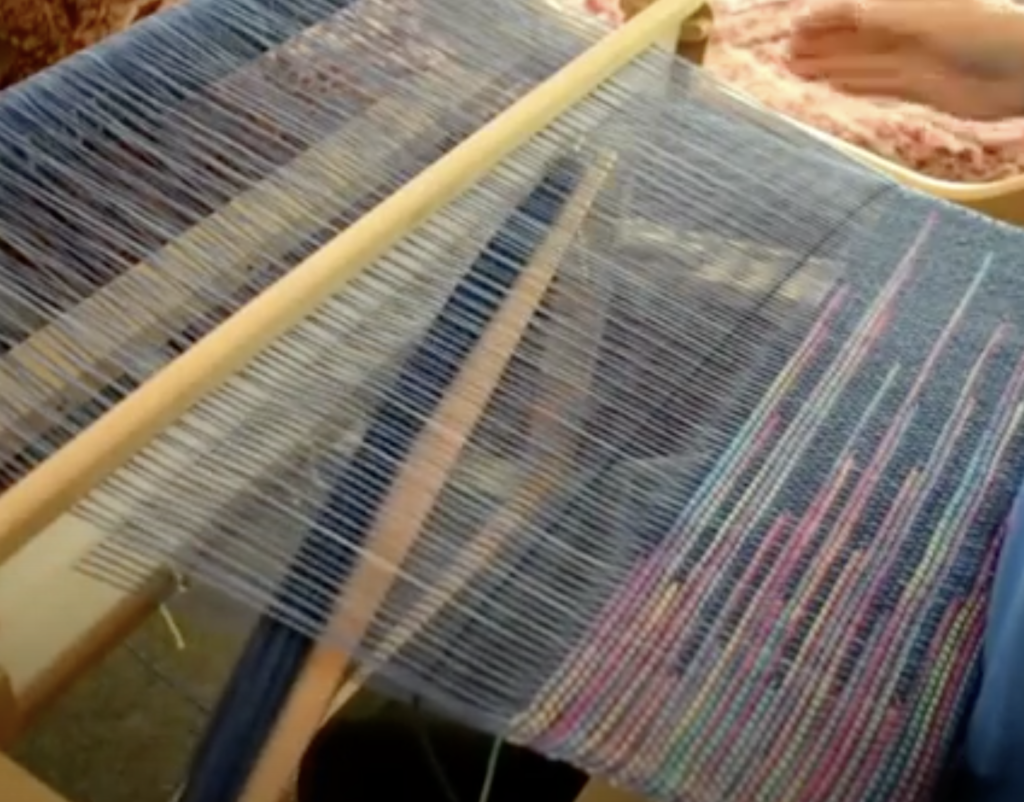
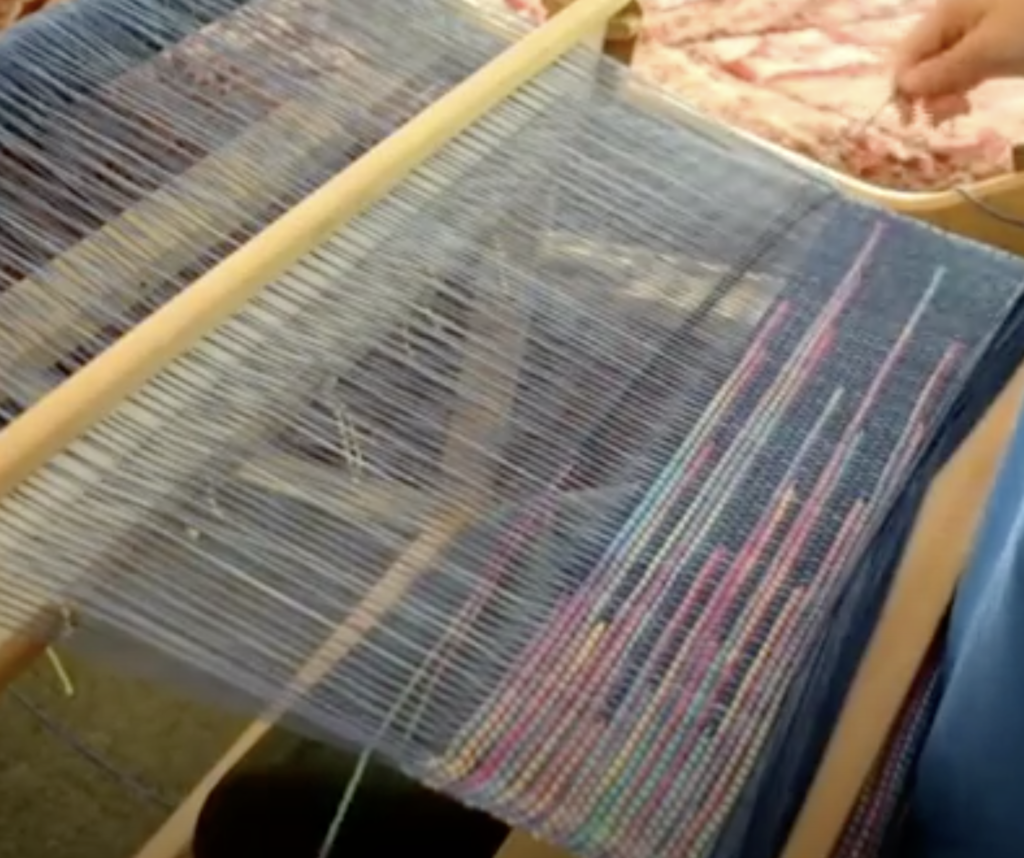
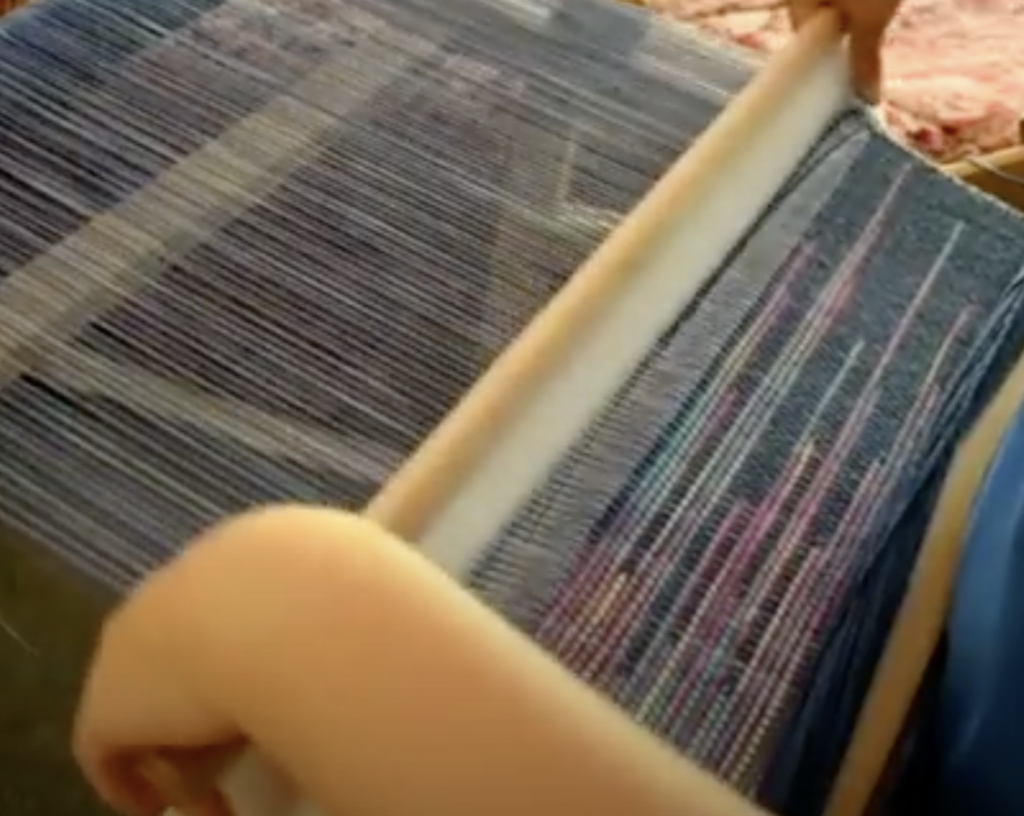
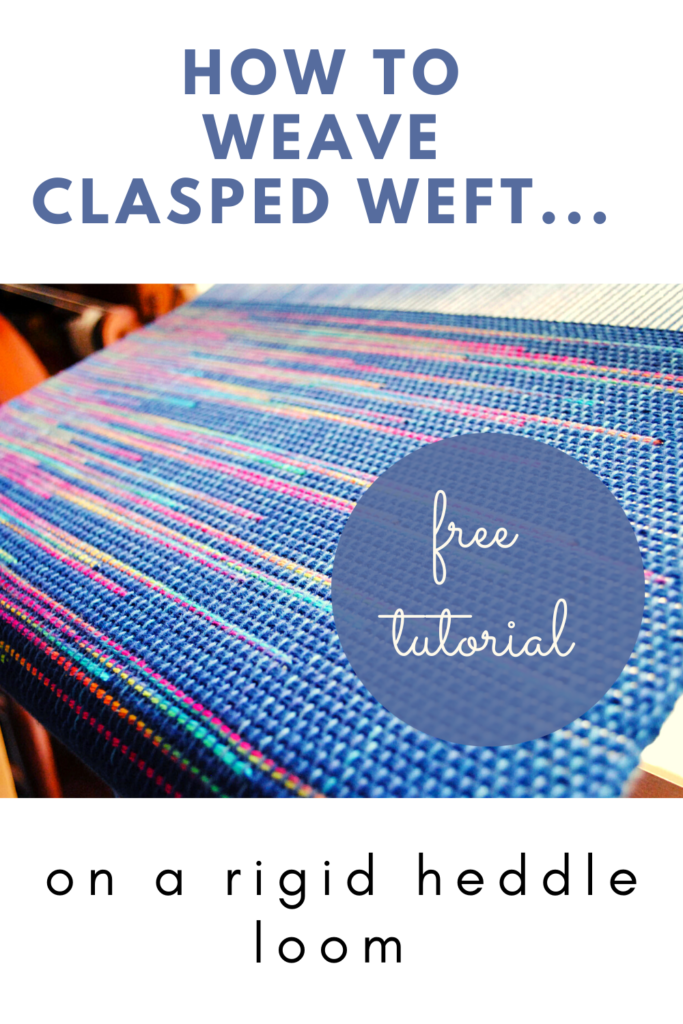
What is Clasped Weft? A step by step tutorial.

by Kelly 23 Comments

Just when you think you’ve tried everything in weaving, you come across something different, like Clasped Weft.
Clasped weft can be a great “next step” for newer weavers with a few plain weave projects completed and who are ready for something a bit more adventurous.
The cool thing about weaving clasped weft is that, similar to Colour and Weave, most of the work is in using colours to make your weaving look fancy, when in actual fact it is quite simple.
The clasped weft technique uses 2, 3 or 4 interlocking weft colours. Using 2 colours to begin with is the easiest and least complicated approach. If you have done any tapestry, you may already be familiar with the interlocking technique.
*This post contains affiliate links. for more information, see my disclosure policy.

We mainly use a plain weave structure (though clasped weft can actually be used in other structures, such as twill). It is a perfect technique for a rigid heddle loom, because, although it’s simple, it looks special and has big impact.


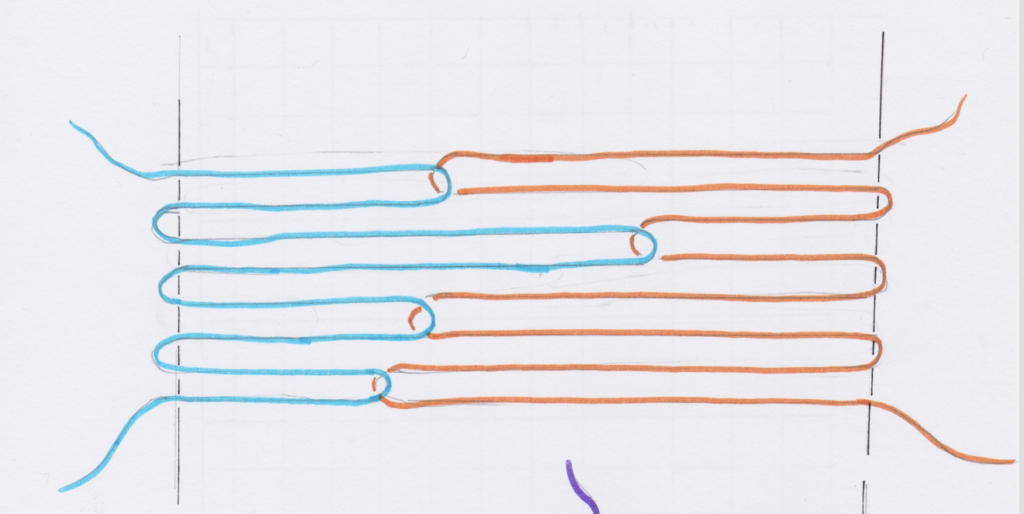
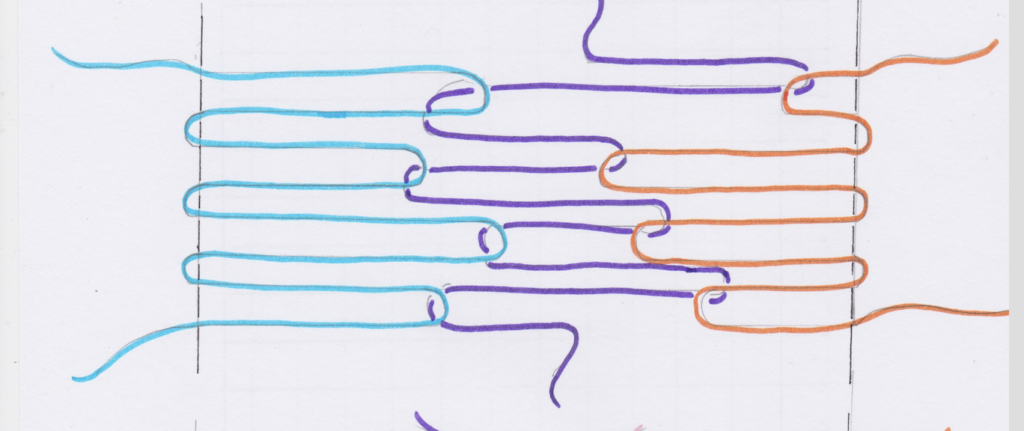
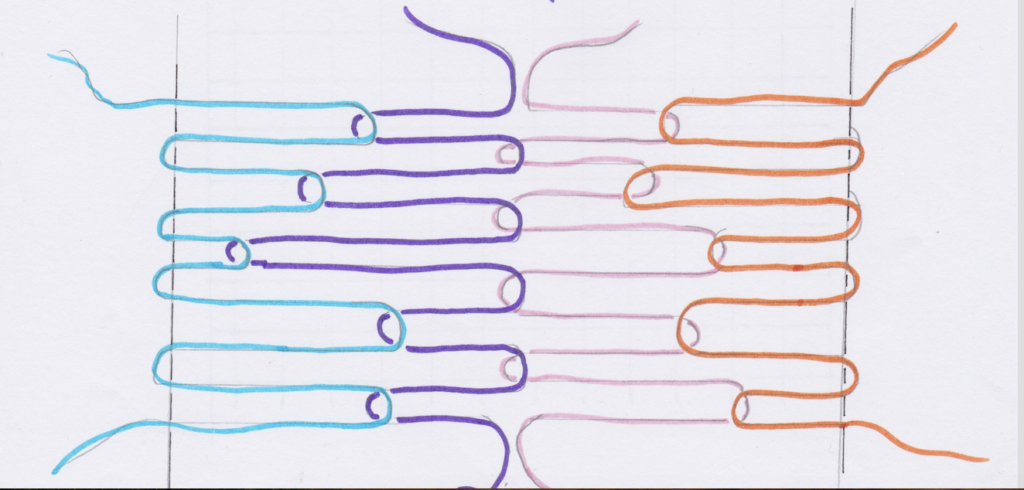
Before we go through the tutorial steps, let’s look at some (rather poorly drawn, sorry about that!) diagrams to get a clearer idea of how this works. The drawings are over simplified, as I haven’t drawn in the warp and weft interlacement, but I have drawn in the edge warp threads:

Clasped weft with 2 weft colours.

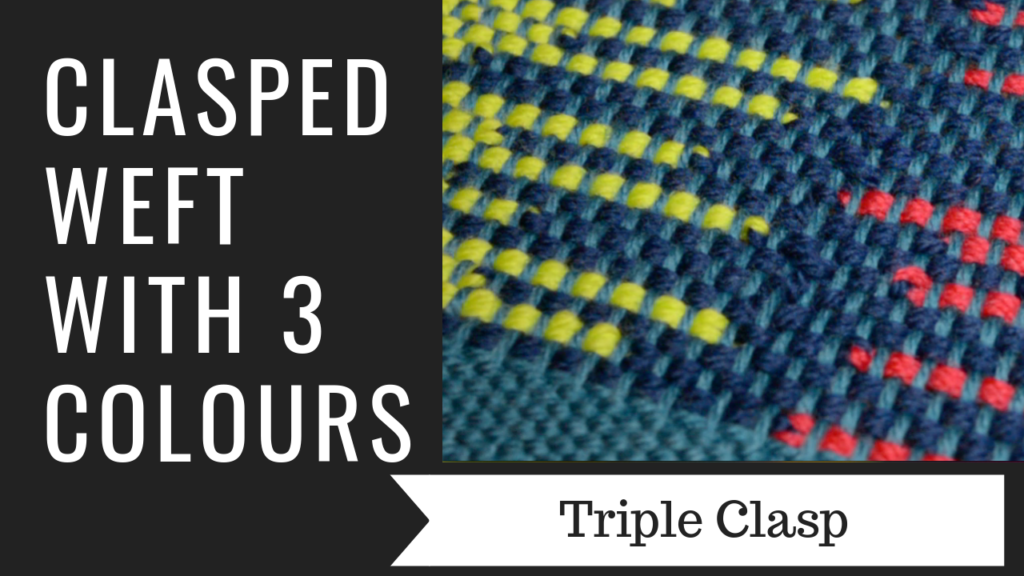
Clasped weft with 3 colours.

Clasped weft with 4 colours.

Now let’s go through the tutorial steps so that you can get clear on how clasped weft is actually woven. Today, we are just focusing on working the two weft colour technique, as I believe this is the best place to begin if you’re not familiar with clasped weft or haven’t attempted it before.
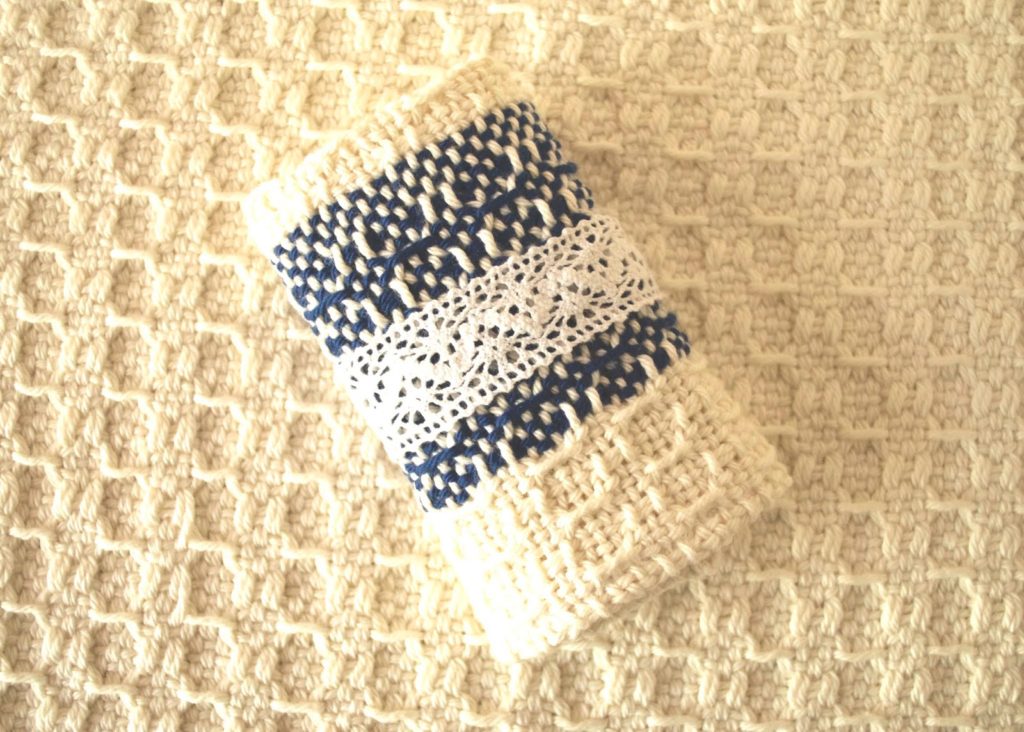
Begin with two contrasting weft yarns of the same weight. I have used one with a dark navy colour and another that is variegated with bright colours.
See the tips section below for more on why variegated works perfectly.
My warp and weft yarns were all light worsted/dk/ Australian 8 ply weight. Wool, acrylic or cotton are all fine.
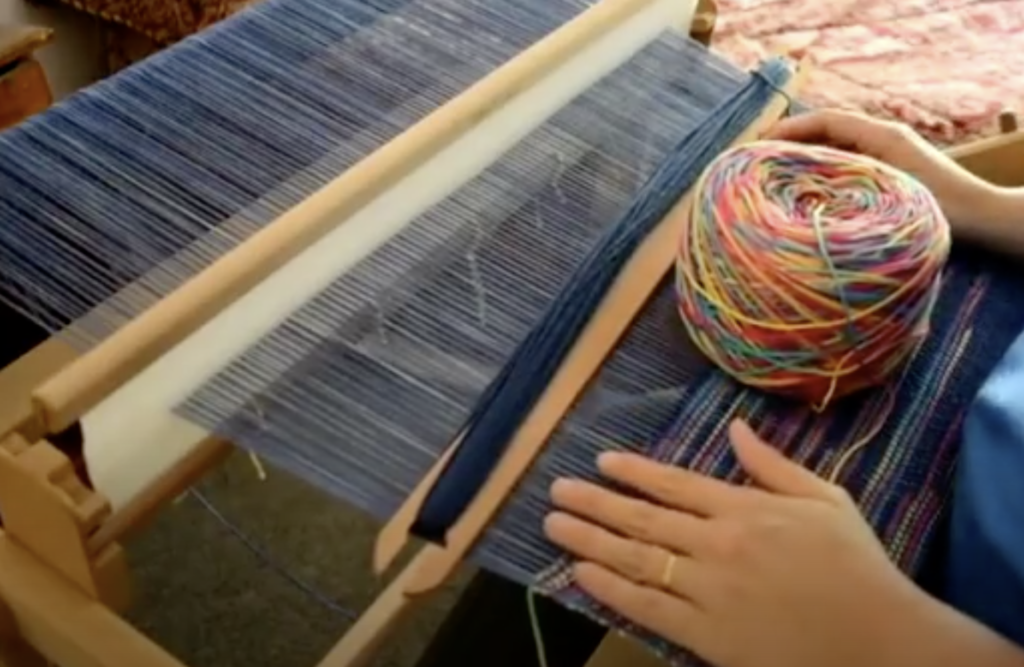
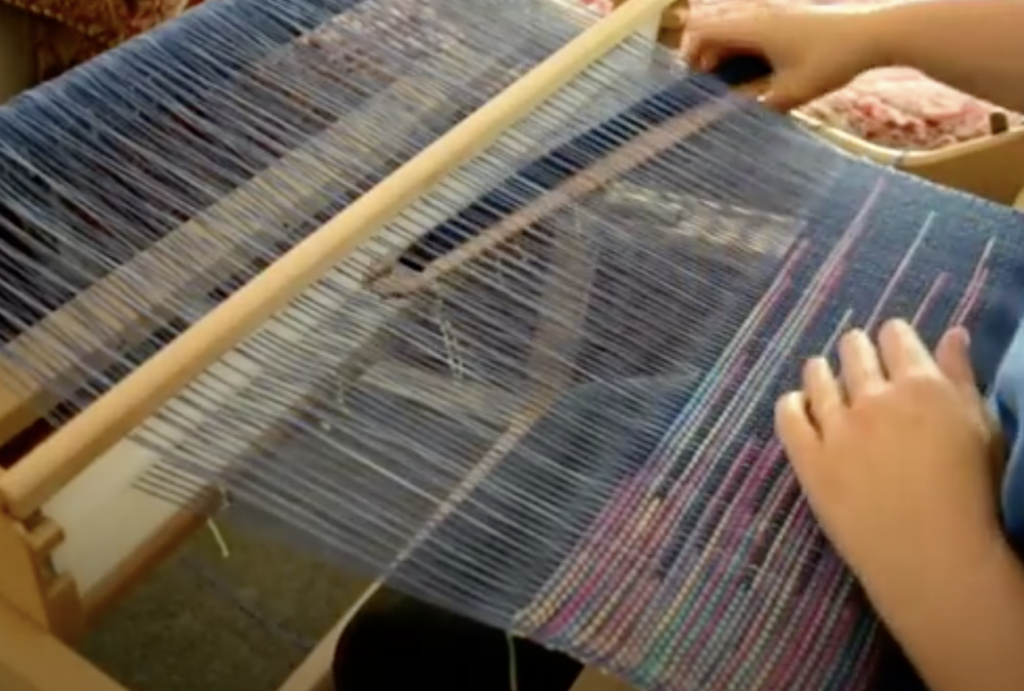
One weft yarn is loaded onto a stick shuttle, in my case this was the dark navy. The other colour is left in a ball or on the cone. My variegated colour was in a skein and so I wound it into a yarn cake with my ball winder.
A yarn cake (also known as a centre pull ball) is particularly good to work with for clasped weft, because it sits nice and flat on the floor and won’t roll away. The yarn also feeds off the yarn cake seamlessly, which makes the whole process that little bit easier. If you have a ball, you may want to sit it in a box or basket on the floor to contain it.
Place the ball of yarn on the floor at your left. It doesn’t matter if you place it on the right or left, but for the purpose of this tutorial it’s on the left.
Because the ball (let’s call it the contrast yarn) is on the left, we enter the shed with the stick shuttle on the right. Again, it doesn’t matter whether you are in the up or down shed, but I am beginning in the down shed.
Take your stick shuttle across from the right hand side to the left as though you’re going to weave a regular plain weave pick.
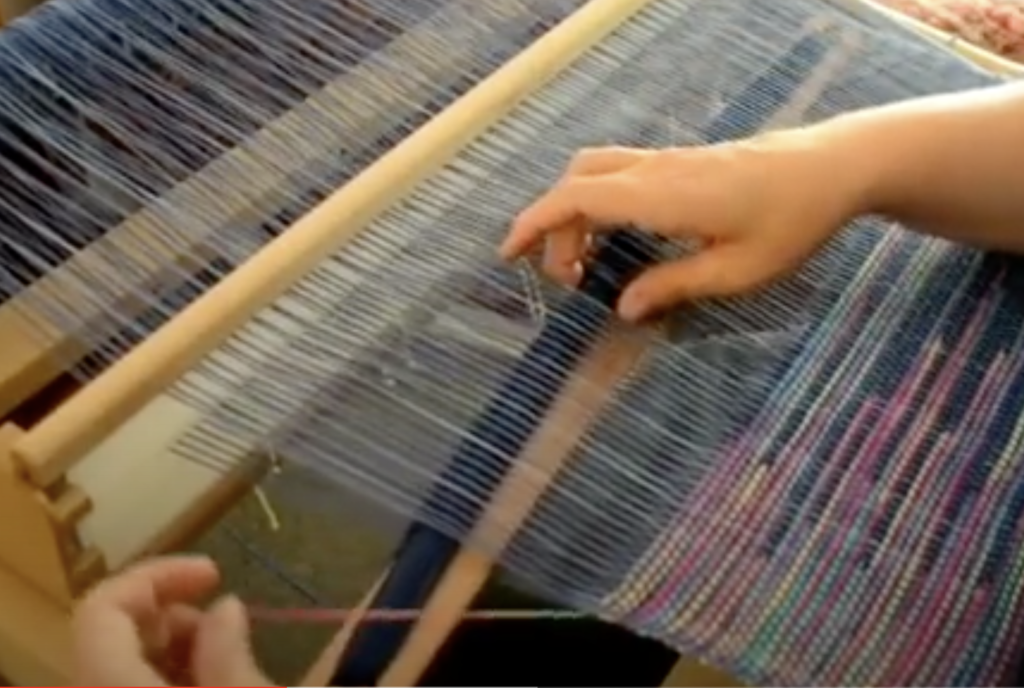
When your shuttle reaches the left hand side, pick up the contrast yarn and place it over the top of the stick shuttle.

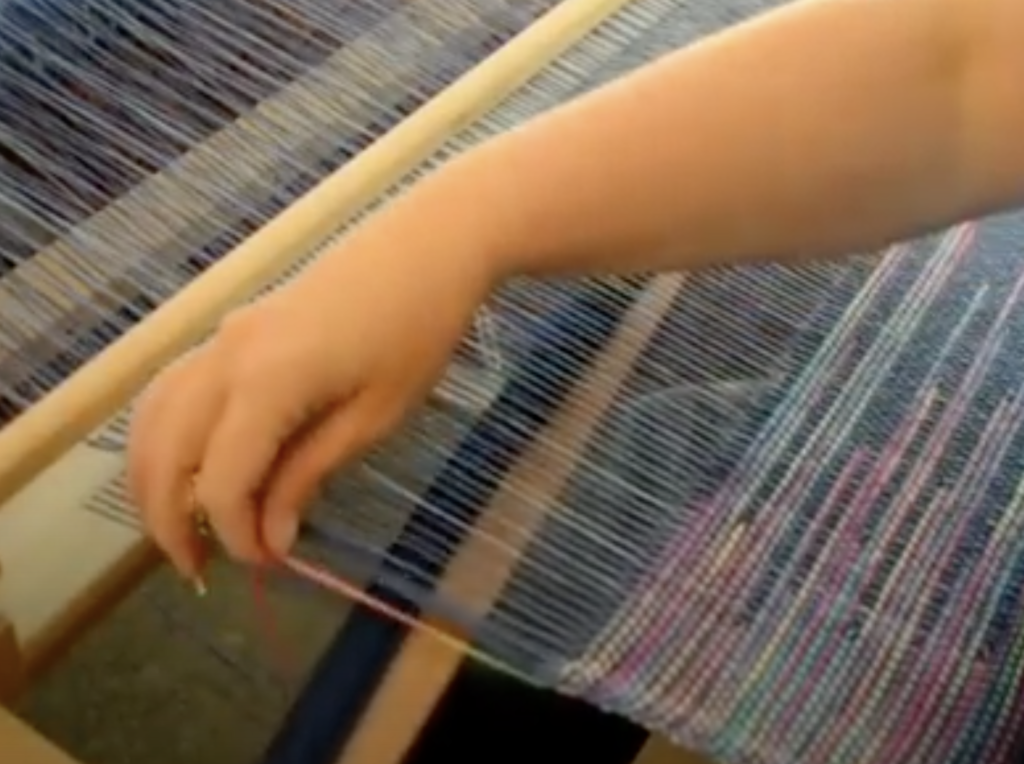
Take the shuttle the rest of the way through the shed at the left – as you would for your normal plain weave pick.

On the right hand side (where your shuttle entered), tidy up and prepare your weft yarn as though you’re going to beat the pick in. If you’re not familiar with how to do this, watch my free video on How to Weave Neat Edges.  DON’T BEAT.

Take the shuttle straight back into the same shed. Don’t change sheds, and don’t beat! Take the shuttle through, back to the right where you first entered the shed.
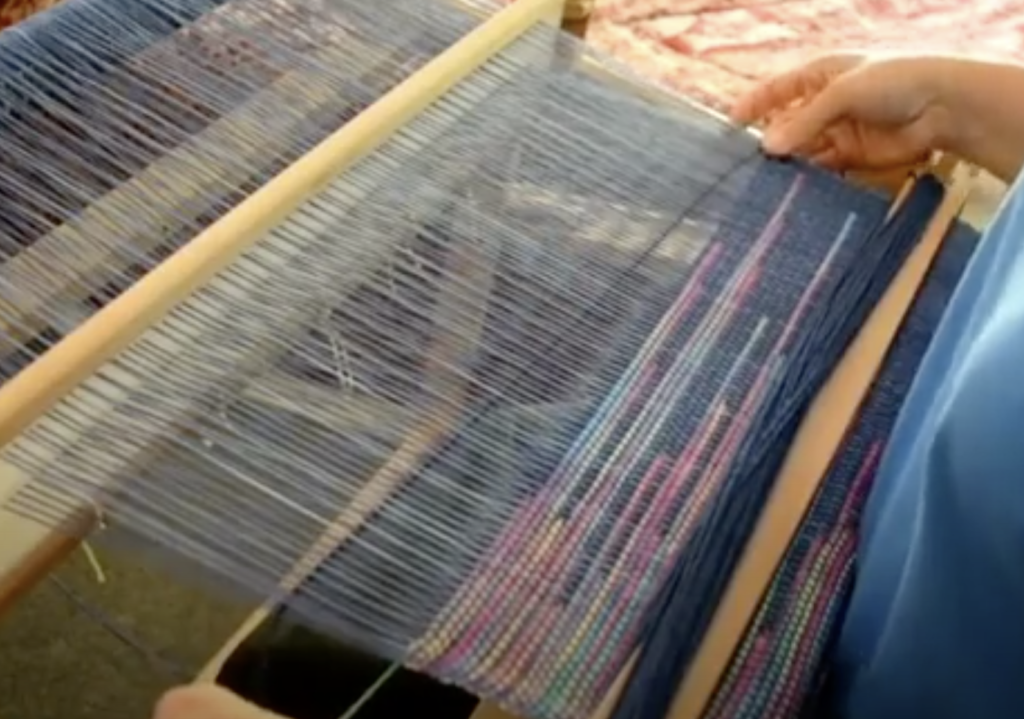
As you return the shuttle to the right, you will find that the navy yarn is linked or clasped with the contrast yarn. This means that the contrast yarn is pulled into the shed. Now you get to decide how far you will pull the contrast yarn into the shed. A little? A lot? Your choice, depending on the effect you want to achieve.
Hold both yarns under tension on either side to manipulate where you want the two yarns to go.
When you’re happy with the yarn positioning, beat the picks into place. You will notice that both yarns are now doubled in the shed.
Change to the next shed (in my case I had been working in the down shed, so I go on to change to the up shed).
Continue weaving in the exact same manner in the new shed and repeat until you’ve finished weaving.
Isn’t your head just swimming with all the possibilities of this wonderful technique?
Clasped weft can be extremely planned or extremely random. It looks wonderful both ways and is just so much fun to weave.
Here are a few recommendations for best results:
1. Use contrasting weft colours.
Light and dark will make the weaving pop. 
2. Use the same weight yarn for both warp and weft.
You will get better results and avoid the not so pretty lumps and bumps that can occur at interlocking points.
3. Variegated yarn is perfect for this.
For the 2 colour clasped weft technique, a variegated yarn with a contrasting yarn looks really cool! (See photos below and above).

              4. Using the same colour as the warp for one of your weft colours works great.

Too much colour can confuse the contrast of the clasped weft lines. In the tutorial, I used the same navy yarn for warp and weft no.1. I then used a contrast yarn for weft no.2.

If you like the look of clasped weft as much as I do, I have some great news for you! I have 3 free Youtube video tutorials that will teach you each of these techniques. Start with video 1 so that you can practice the technique, before moving on to the others. 

Clasped Weft with 2 colours
Clasped Weft with 3 colours
Clasped Weft with 4 colours
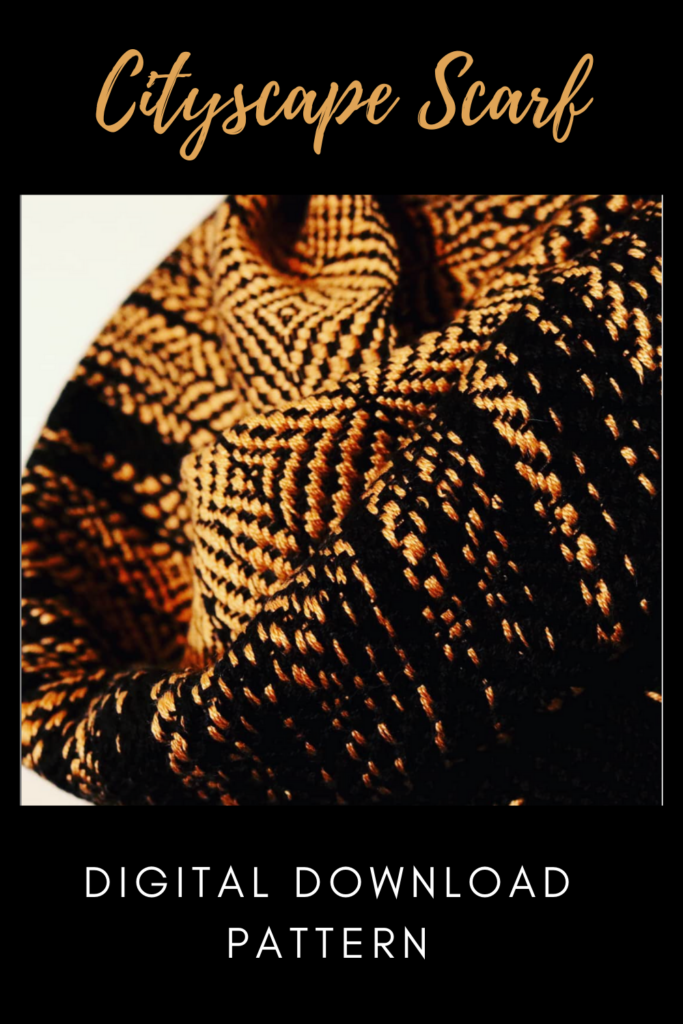
I mentioned that the clasped weft technique can also be used for other weave structures. This can create really interesting and impressive special effects. One of my Etsy patterns, The Cityscape Scarf is a perfect example of a clasped weft combined with a twill.
Try it out and let me know what you think. Leave me a comment here or under any of the Youtube videos, I love to hear from you!
Until next time…
Happy Weaving!
Filed Under: 4 shaft weaving, Free Pattern, Free tutorial, Inspiration, Online Weaving School, Rigid heddle weaving, Rigid Heddle Weaving Patterns, Tutorials, Weaving Tagged With: clasped weft, my youtube channel, rigid heddle weaving tutorial, weaving

I have a rigid heddle loom, why would I consider buying a floor loom?

by Kelly 2 Comments

I was asked this question in one of my Facebook groups. I started to type a response, then decided it would be better answered in a blog post as it’s not a simple question!


It is true that the Rigid Heddle Loom is capable of a lot (even an 8 shaft pattern if you really want to) but there are many reasons why I love to have both a RHL and a floor loom. 


I wrote a series recently that compared different types of looms that you may wish to review:


The Rigid Heddle Loom


The Table Loom


The Floor Loom


Now, I said the rigid heddle loom is capable of weaving 8 shafts, but does that mean that I would actually want to? To achieve that would mean multiple heddles, multiple pick up sticks and a pretty painstaking process that would have me leaping on to my floor loom in no time. Because the floor loom is made for this, it’s set up for more complex weaves, that is it’s job. So, while the RHL can be utilised for more complex weaves, that doesn’t mean that it’s the ideal choice.


Next, the RHL has yarn size limitations. The smallest dent heddle currently available is a 15 dent by Ashford. Yes, you can still double threads or use extra heddles to increase the available sett, but that is another difference to a floor loom and a consideration if you like to weave with fine threads.


Finally, the floor loom is a full body experience. That sounds a bit weird and new age doesn’t it?! But what I mean is that you are using your head (eyes to read the pattern as you weave, if you need to), your hands to throw and catch the shuttle (your body naturally sways slightly from side to side as you get into the rhythm) and your legs (as your feet move or “walk” the treadles to operate the shafts). It’s actually a bit of a workout!


Because of this “full body” approach on a floor loom, you are able to operate many actions at once. And that is the real beauty of floor loom weaving, the harmony of actions that allow you to work fast to achieve sometimes quite amazing results.


Don’t forget that there are pros and cons to all types of weaving and I try not to promote one over the other because I believe each weaver needs to find the right fit for their particular needs. If it seems that I am promoting the floor loom in this article, it is only within context of answering a question.


To recap, why would I buy a floor loom? 
1. Intricacy of pattern
2. Finer threads
3. Speed and efficiency


I hope this article helps you, thank you for reading!
Filed Under: Floor Loom Weaving, Rigid heddle weaving, Weaving Tagged With: floor loom, floor loom weaving, rigid heddle loom, rigid heddle weaving

  • « Go to Previous Page
  • Page 1
  • Interim pages omitted …
  • Page 12
  • Page 13
  • Page 14
  • Page 15
  • Page 16
  • Go to Next Page »

Primary Sidebar

About Kelly Casanova

Join Kindred Creatives!
Hand crafted boat shuttles

Categories

Archives

Meta

  • Log in
  • Entries feed
  • Comments feed
  • WordPress.org

Copyright © 2026 Kelly Casanova Weaving Lessons on the Foodie Pro Theme