
• Skip to main content
  • Skip to primary sidebar

Kelly Casanova Weaving Lessons

  • Hi! I’m Kelly!
    • Affiliates Disclosure
  • Online Weaving School Class Index
    • Common account issues
    • Common technical issues
    • What do I get with a membership?
  • New to rigid heddle weaving? Start here!
    • Never heard of the rigid heddle loom?
    • How to weave neat edges on the rigid heddle loom
    • Rigid heddle weaving
    • Rigid Heddle Weaving Patterns
  • Patterns
  • Subscribe

Rigid heddle weaving

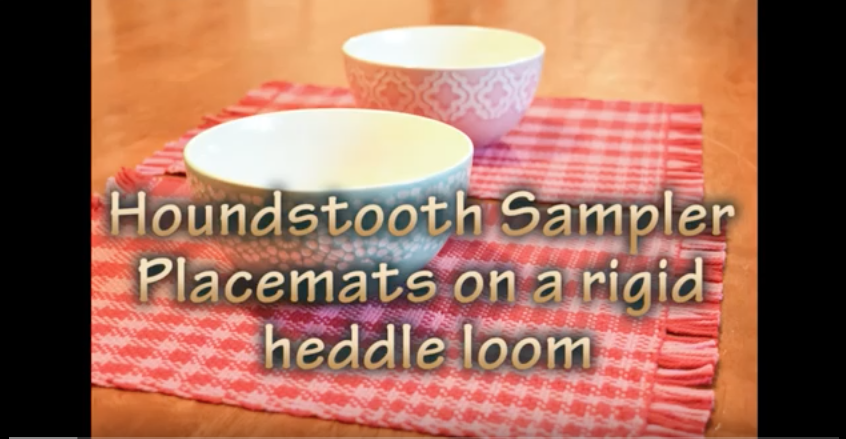
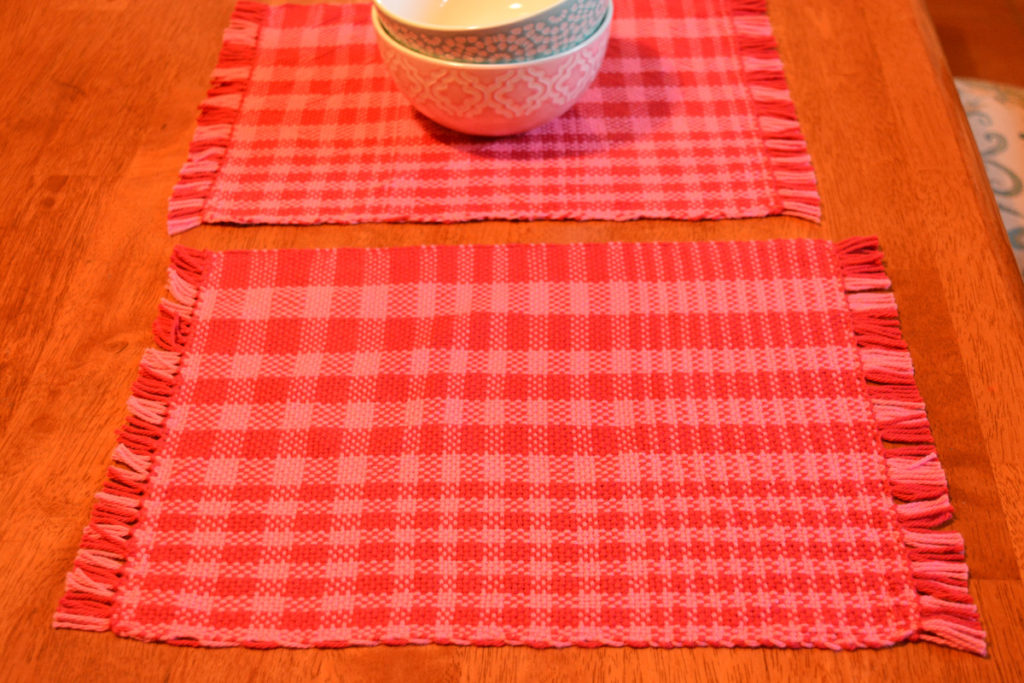
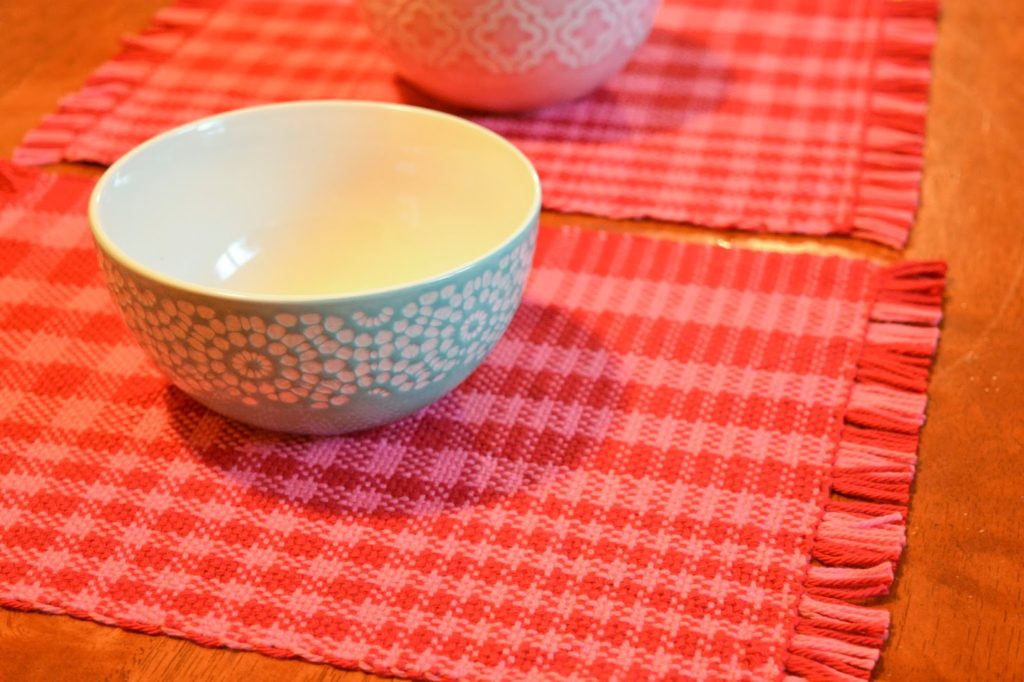
Houndstooth sampler placemats

by Kelly 1 Comment

I present you with the newest lesson on my Weaving Lessons channel!

I haven’t really delved into colour and weave in any previous lessons and I thought it was high time to explore these fascinating techniques with you.
Like much of rigid heddle weaving, houndstooth is deceptively simple. The weave structure is plain weave, the wow factor comes from the threading of colours. The lesson includes detailed video instructions as well as a printable PDF with extra information and calculations.
Perfect for beginner weavers and a quick project for the more experienced, I hope you can join me for this one!

Filed Under: Rigid heddle weaving Tagged With: houndstooth, my weaving lessons channel, my youtube channel, placemats, rigid heddle weaving, rigid heddle weaving tutorial

A little glimpse into creative family life

by Kelly Leave a Comment

I filmed this yesterday afternoon because it felt like a bit of milestone. In steaming hot weather, with a pedestal fan blowing on us, my 9 year old, set up and weaving mostly independently on the rigid heddle loom while I was weaving at the floor loom. It’s funny how things can happen so naturally and then you suddenly realise you’re living a dream moment. I posted it on Youtube, thinking it would probably be largely overlooked as viewers seem to prefer my instructional videos to anything else.


But what a response! Quite a few commented that the video had brought tears to their eyes, for different reasons. For one subscriber, it was that her parents had never invested the time in her that she craved. For another, the video brought back wonderful memories of her own creative homeschooled upbringing. Many commented on the simple beauty of the video. 


Wow, was I surprised. And so pleased. It reminds me that I am so blessed to be able to share with others in this way. It encourages me that, even if I feel like I don’t do a good enough job as a parent, others think I do. And it gives me joy, that God has much work for us to do, if only we will co-operate, love and trust.


I hope you are all having a most blessed week, until next time šŸ™‚


Filed Under: Health and home, Rigid heddle weaving Tagged With: creativity, home education, Homeschooling, rigid heddle weaving, weaving

Double heddle weaving

by Kelly 1 Comment

Recently on my Weaving Lessons channel, we explored some of the possibilities of weaving with two heddles on a rigid heddle loom. It’s these sort of techniques that really open up the imagination of what can be achieved on this humble loom. We covered sett, patterning, twill, double layer and tube weaving. Fascinating stuff! 

I love to polish off a series with a project or two, to enable students to see the new techniques in action and apply them practically.

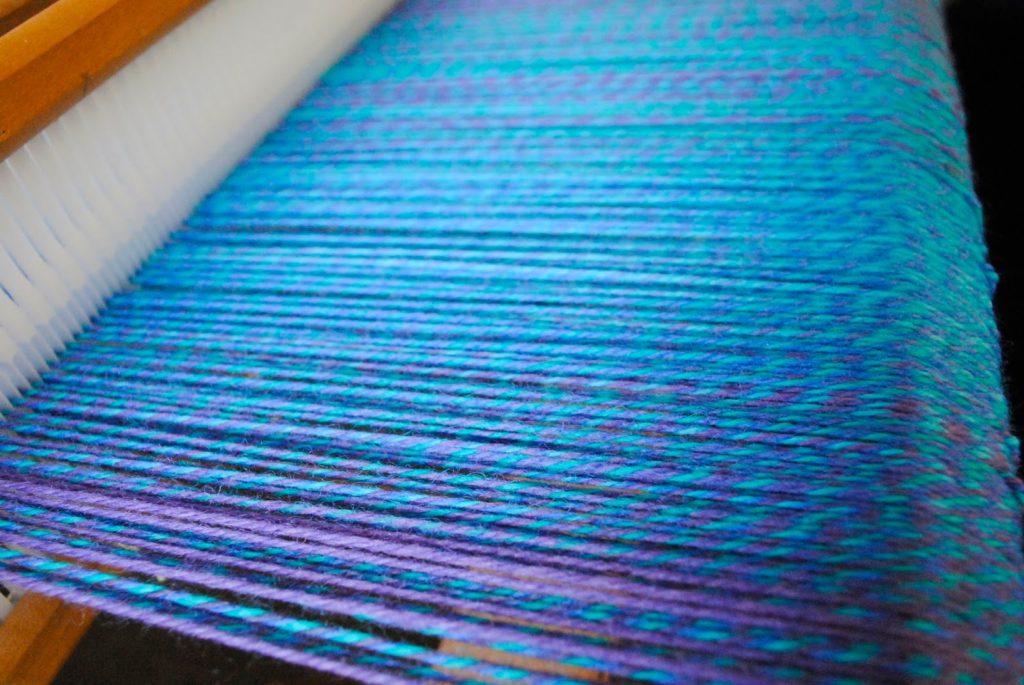
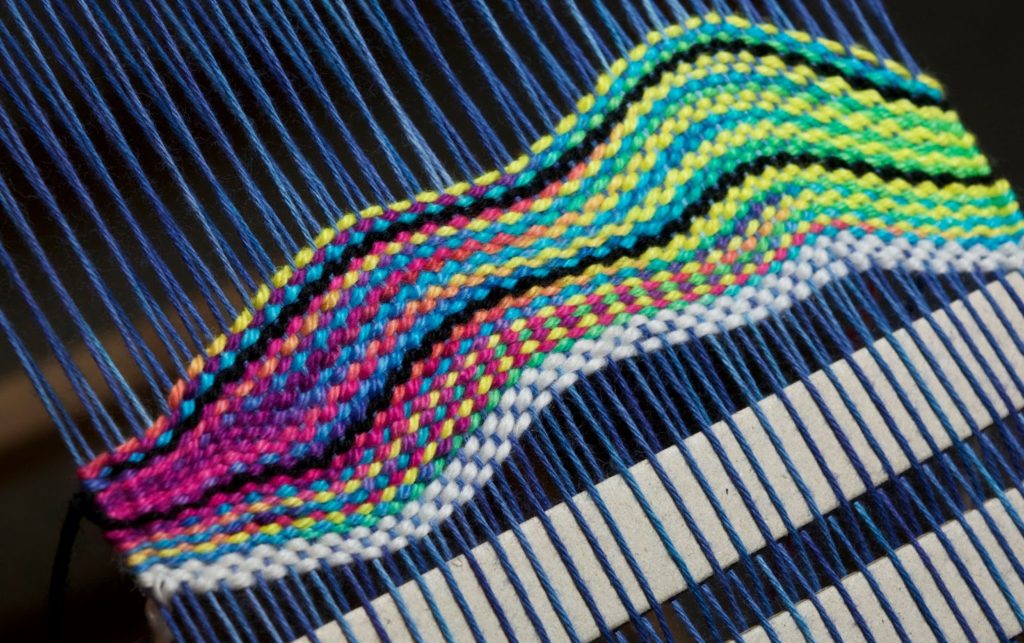
I’m not telling what the project is (yet), but if this warp is anything to go by, it’s going to be a beauty! This pure new wool is “Bloom” from Bendigo Woollen Mills and is just a delight to look at, a beautiful intricacy of colours.

I’ll be back once the videos for this project are posted, stay tuned!

Filed Under: Free tutorial, Online Weaving School, Rigid heddle weaving, Rigid Heddle Weaving Patterns, Tutorials, Weaving Tagged With: my youtube channel, rigid heddle weaving, rigid heddle weaving tutorial, weaving, wool

Honeycomb without the calories

by Kelly 6 Comments


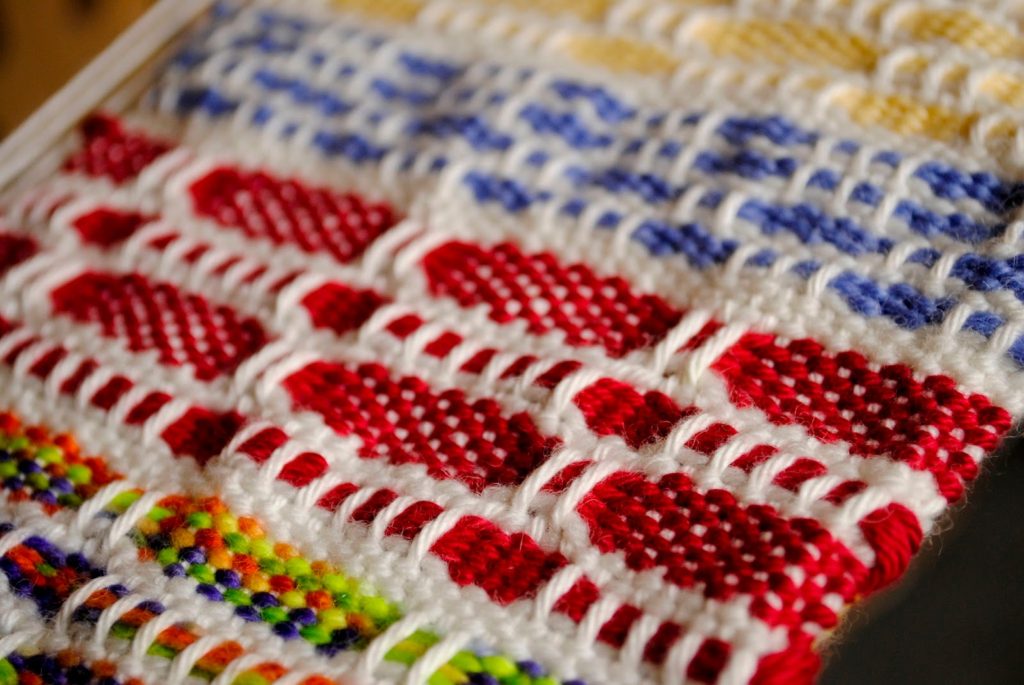
The title is a little misleading, I am, of course referring to the weave structure honeycomb rather than something edible. 

It is a gorgeous structure though, and one that is easy to achieve despite the fact that it looks quite involved. 

Check out my latest video series on weaving honeycomb on a rigid heddle loom.

Follow this link to the introductory video!

Filed Under: Free tutorial, Rigid heddle weaving, Rigid Heddle Weaving Patterns, Tutorials Tagged With: honeycomb, my youtube channel, rigid heddle weaving, rigid heddle weaving tutorial

Tapestry style weaving on the rigid heddle loom

by Kelly 4 Comments

Ā 
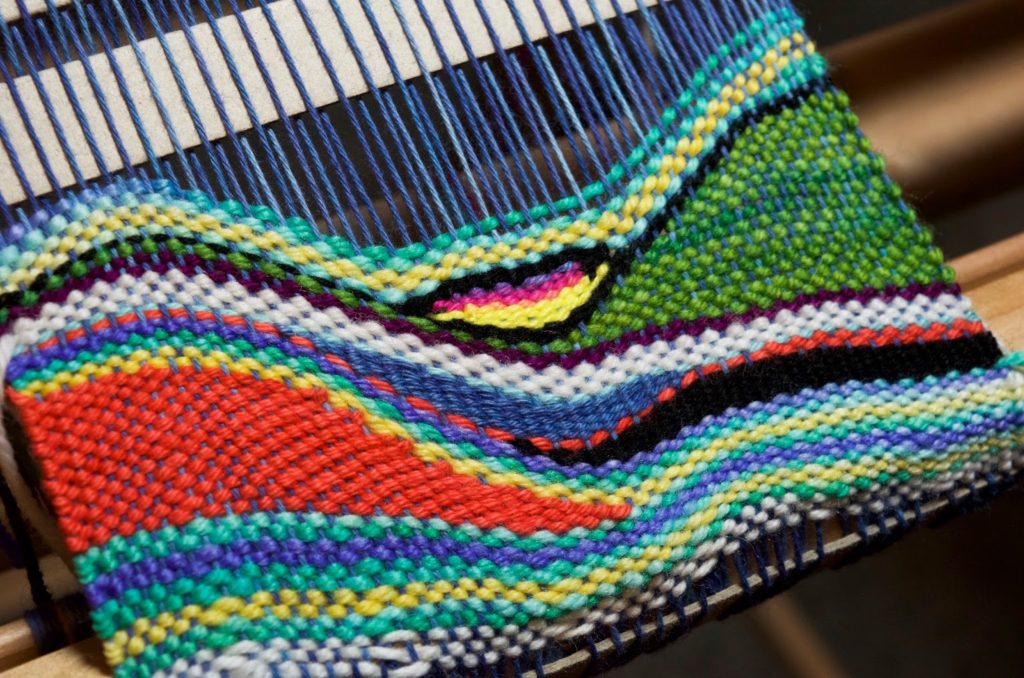
Another busy day where my thoughts turned to weaving and the temptation was to declare myself “too tired to weave”. I couldn’t bear to think of calculating and planning a project.Ā 
So I didn’t.
Ā 
*This post contains affiliate links, which means that if you click on the link and purchase, I receive a small commission at no extra cost to you.
I put a short warp on my rigid heddle loom and started to weave.

Ā 

Ā 
No real plan, just wanted to weave. I liked what I saw, so I decided to share with you in video format so you too can weave like this.
Ā 
Ā  Ā  Ā  Ā  Ā  Ā  There are three videos in total, here is the first one for you!
Ā 

Filed Under: Rigid heddle weaving, Tapestry Weaving, Tutorials Tagged With: my youtube channel, rigid heddle weaving, rigid heddle weaving tutorial, tapestry

Clasped Weft weaving on a rigid heddle loom

by Kelly 1 Comment

My latest video is now available to view, I hope you enjoy it!

Filed Under: Free Pattern, Free tutorial, Rigid heddle weaving Tagged With: clasped weft, rigid heddle weaving tutorial, weaving

Cutting handwoven cloth, one method

by Kelly 3 Comments

*This post contains affiliate links
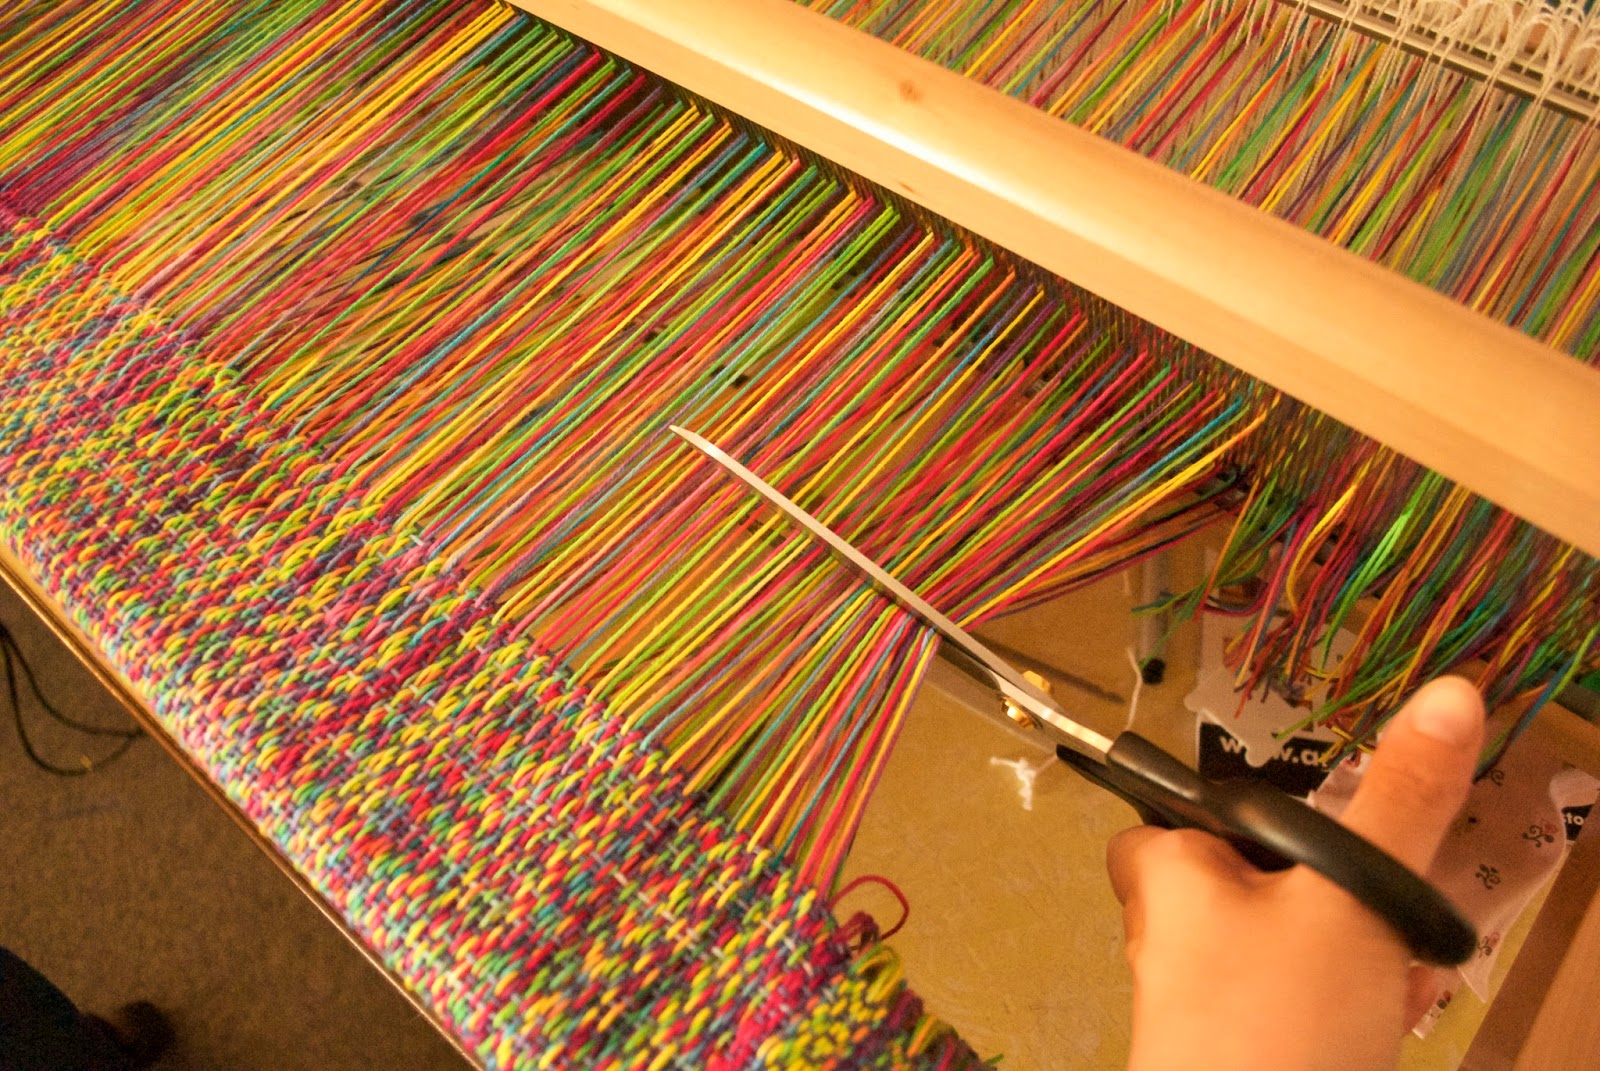
Cutting a length of cloth of the loom is so exciting! But then what? If you’re not leaving a fringe you have to finish the fabric somehow, and if you’re cutting into it you may be afraid of unravelling. This is a great, easy method to use for either finishing to hem or if you need to cut into the fabric.

Firstly, once off the loom, the fabric needs to be wet finished and dried before you consider cutting.

When you’ve determined your cutting line (whether it’s at the end of the fabric or somewhere else) cut a length of light, fusible interfacing the length of the cut and about 2 inches in width. It must be the fusible type or this won’t work. Iron it so that your cutting line is roughly in the middle (so you have half of the interfacing on either side of the cut line). For me, the cut line was where the end of the woven fabric met the beginning of the fringe. Cover with a pressing cloth and iron until fused. 

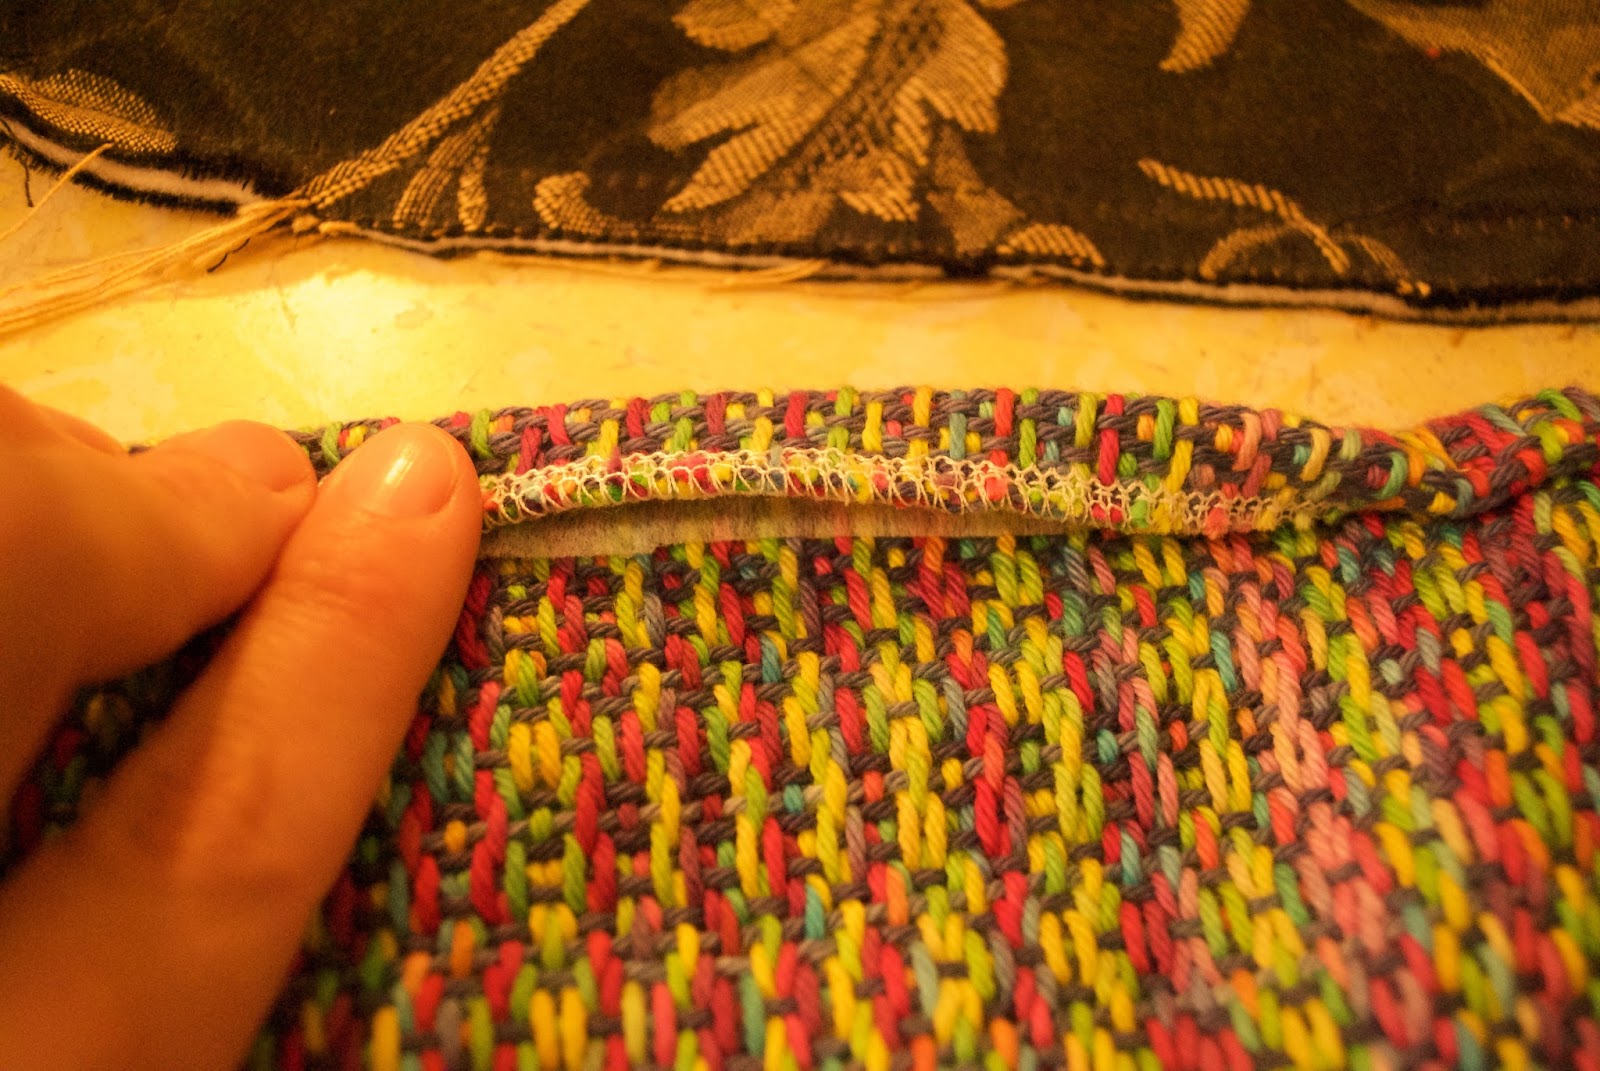
The underside of the fabric now looks like this, nothing is really visible from the front side.

 Using your cutting line as a guide, serge right across. Can you see where the fringe begins and woven cloth ends? That was my guideline for serging. If you don’t have a serger, a zigzag stitch on the sewing machine will suffice, but the serger definitely does a superior job. Janome is a reliable brand if you are in the market for a serger.

Now you have a neat serged edge. The threads are completely secure and haven’t moved in the serging process due to the interfacing fixed in place. From this point you can go on to use your fabric according to your plans or begin to hem.

To finish the fabric with a hem, I fold over the serged edge once and iron down flat.

Then a second fold to enclose the serged edge and interfacing, press with the iron once again and pin in place if you wish.

Sewing the hem can be done by machine or hand. I used my machine with a straight stitch, close to the folded edge at the back. My machine is a very simple and straightforward Janome, although mine is an older model you can see something similar here.
Voila! Easy peasy and all secure, no loose or displaced threads and the interfacing gives extra support when hemming!


I have a Youtube video covering this topic for your further research.

Filed Under: Floor Loom Weaving, Rigid heddle weaving, Tutorials, Weaving Tagged With: 4 shaft weaving, rigid heddle weaving tutorial, Sewing, weaving

3/1 lace on the rigid heddle loom

by Kelly 2 Comments

I was so encouraged by the positive feedback received on my last two videos that I decided to make another! This one is the pattern I’m using for my current tea towel project and includes a handy tip on recording information as you go. Hope you like it!

Filed Under: Free Pattern, Free tutorial, Online Weaving School, Rigid heddle weaving, Tutorials, Weaving Tagged With: rigid heddle weaving tutorial, weaving

  • « Go to Previous Page
  • Page 1
  • Interim pages omitted …
  • Page 14
  • Page 15
  • Page 16

Primary Sidebar

About Kelly Casanova

Join Kindred Creatives!

Hand crafted boat shuttles

Categories

Archives

Meta

  • Log in
  • Entries feed
  • Comments feed
  • WordPress.org

Copyright © 2026 Kelly Casanova Weaving Lessons on the Foodie Pro Theme