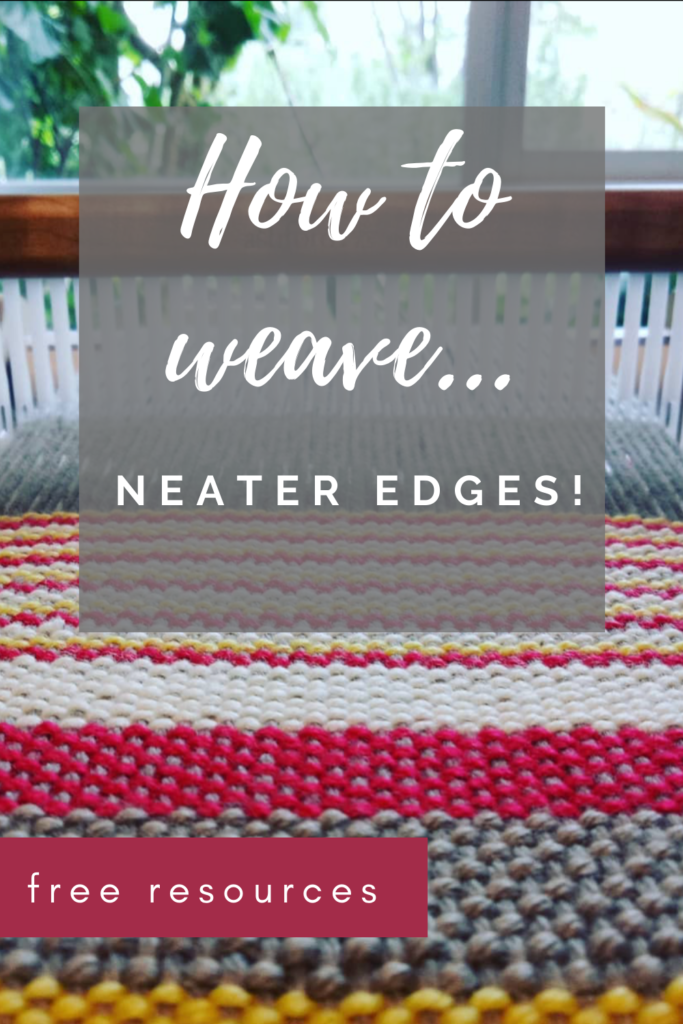
Are you a new weaver looking for rigid heddle weaving patterns for beginners — beyond just plain weave? You’re in the right place!
Rigid heddle looms are often thought of as “just for plain weave,” but that’s only the beginning. With a few simple tools and techniques, you can create stunning patterns—even as a beginner.
In this post, I’ll show you several easy weaving patterns and enhancements that go beyond plain weave, perfect for rigid heddle beginners who are ready to try something new.
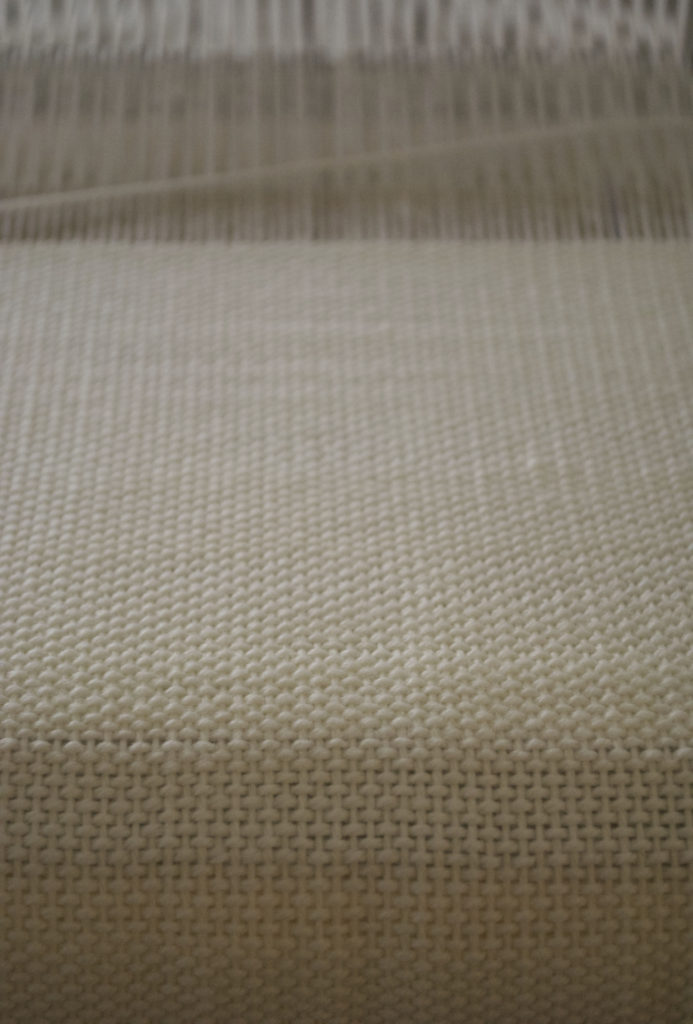
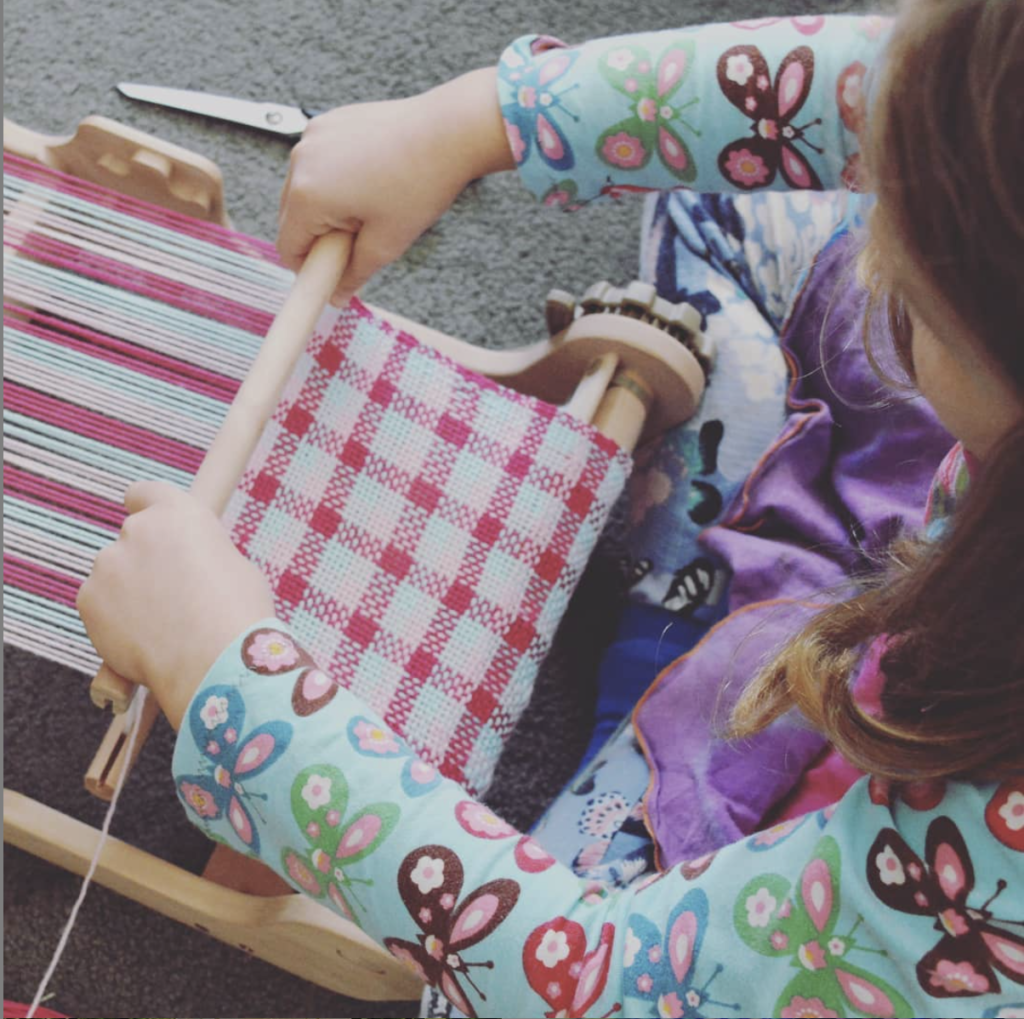
Start with the Basics – Plain Weave
- Plain weave is the foundation of rigid heddle weaving—and the best place to start if you’re new.
- To weave plain weave:
- Thread one slot and one hole, alternating across your warp
- Use the heddle in the up and down positions while weaving
- That’s it—you’re weaving!
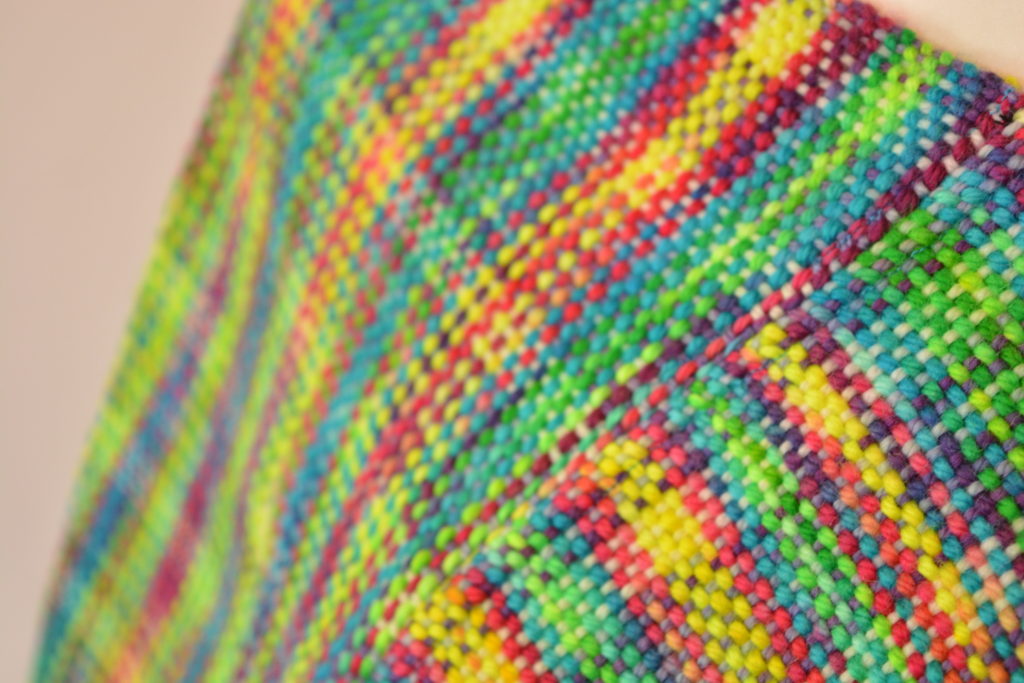
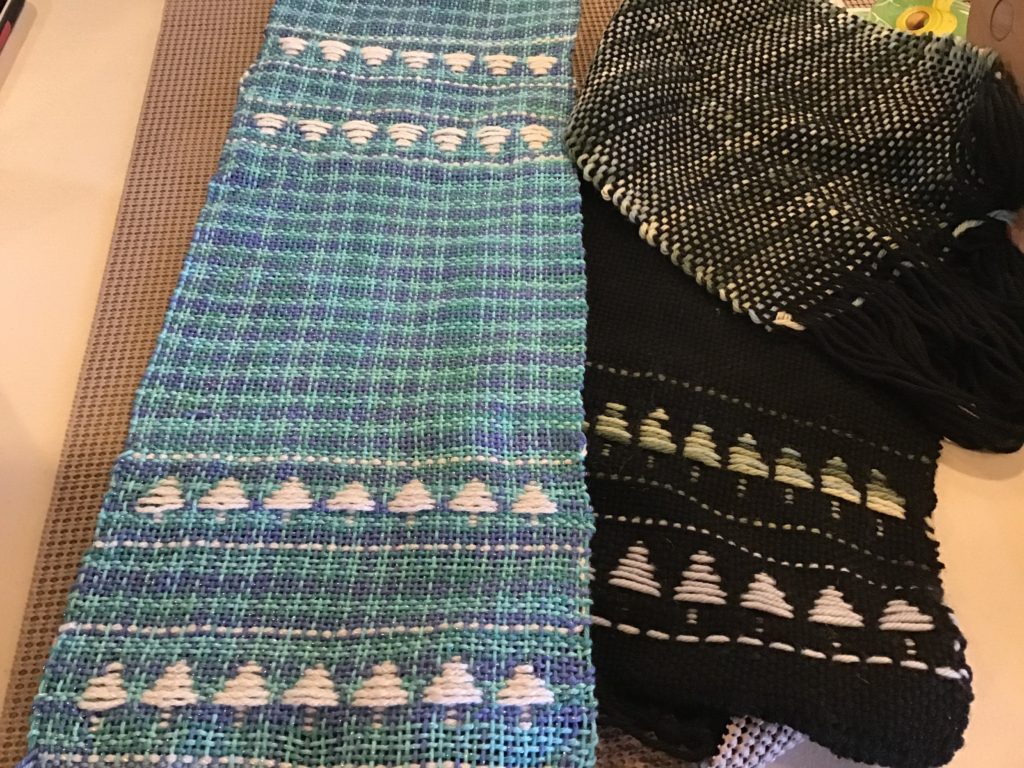
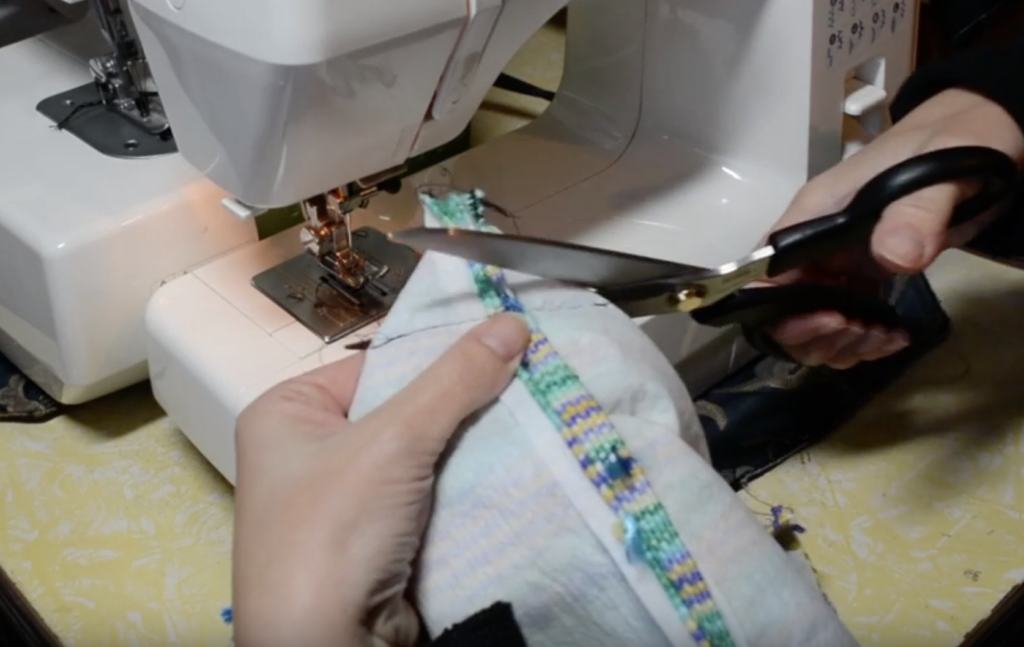
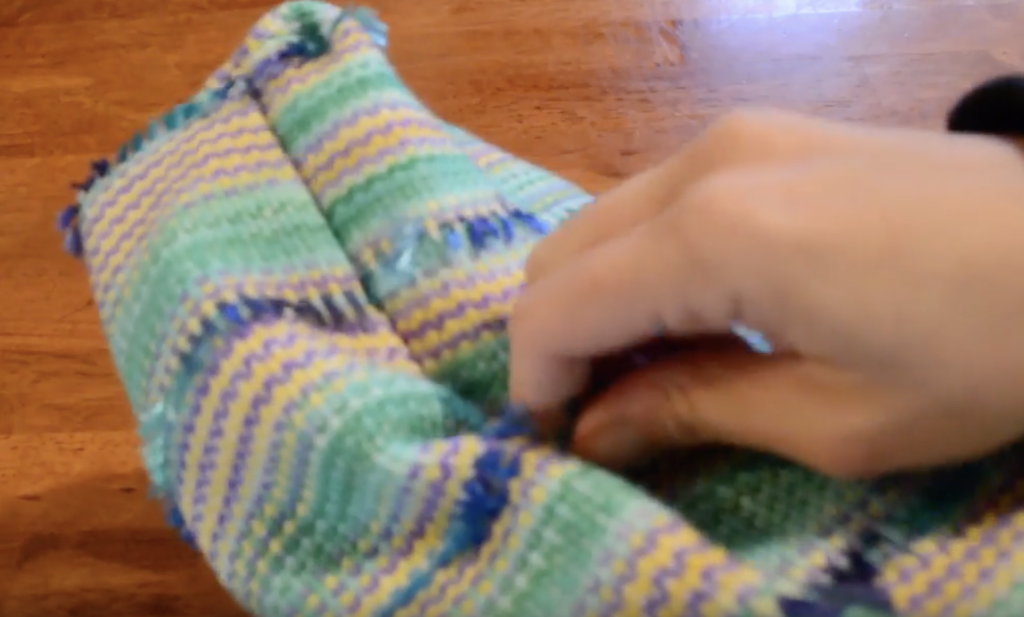
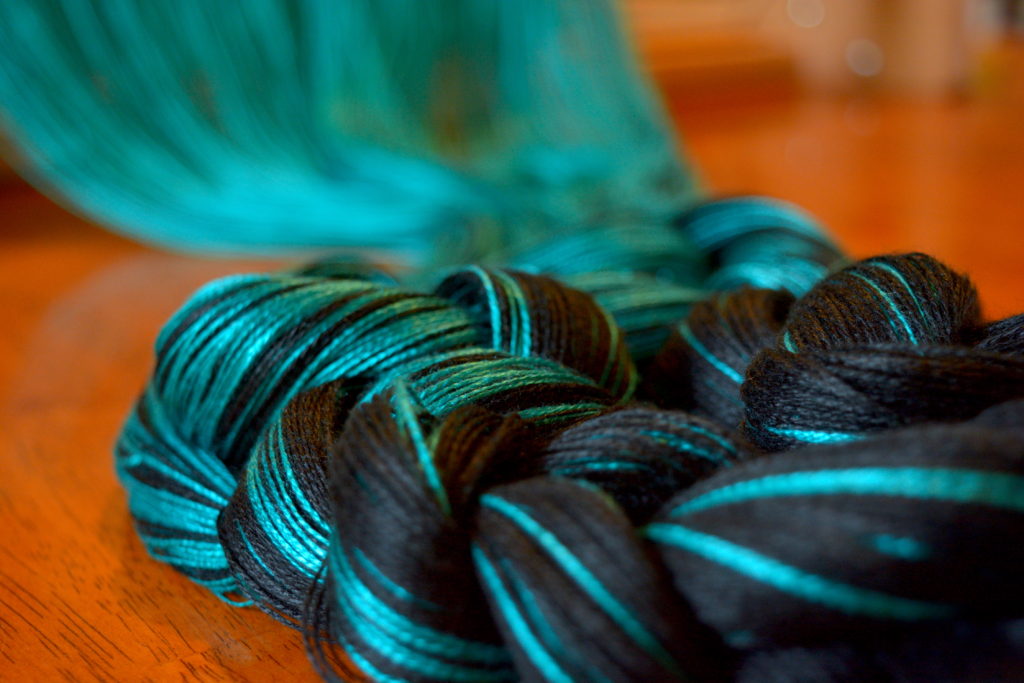
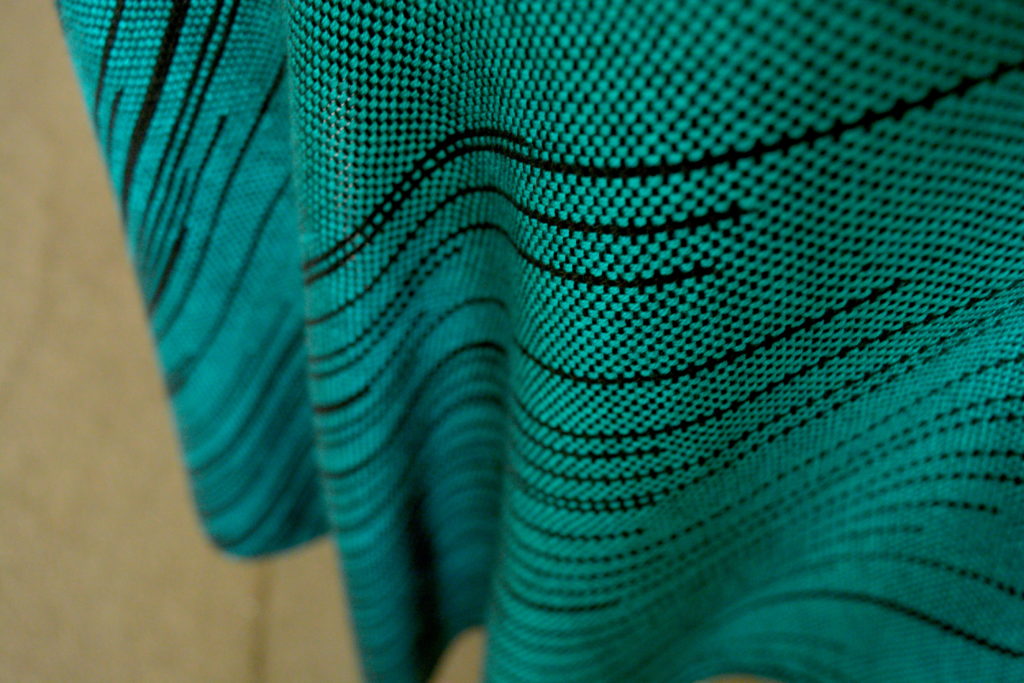
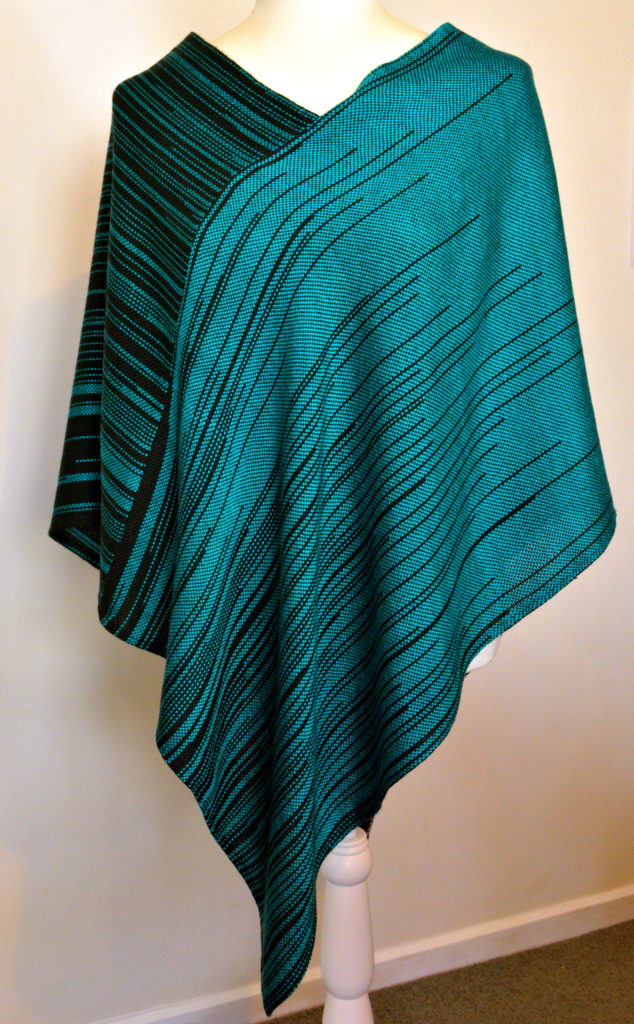
Make It Pop: Use Variegated Yarn
Want your plain weave to look more complex without changing the structure? Use a variegated yarn!
You can:
- Warp with variegated yarn and weave with a solid color
- Warp with a solid color and weave with variegated yarn
The results are always eye-catching and can resemble intricate patterns as colors shift and intermingle.
Here are some great beginner-friendly variegated yarns:
💡 Tip: Hand-dyed yarns also give beautiful, one-of-a-kind results!
Check out my free The Heart Scarf Project to see how variegated yarn can be used for a stand out piece!
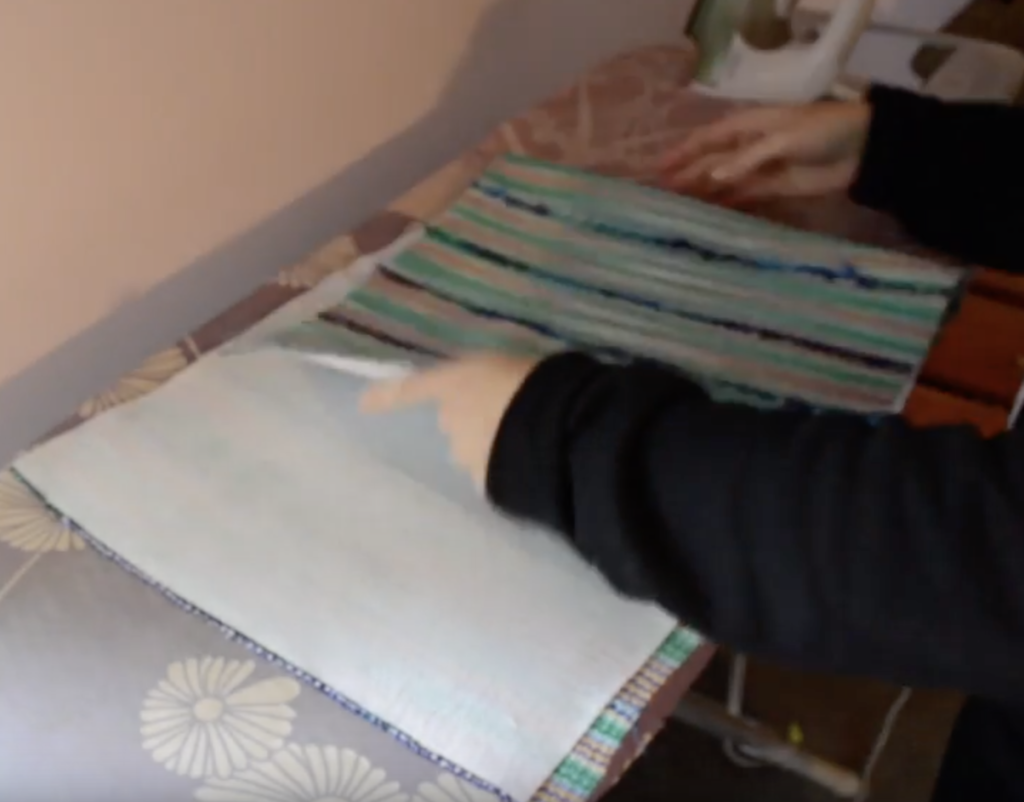
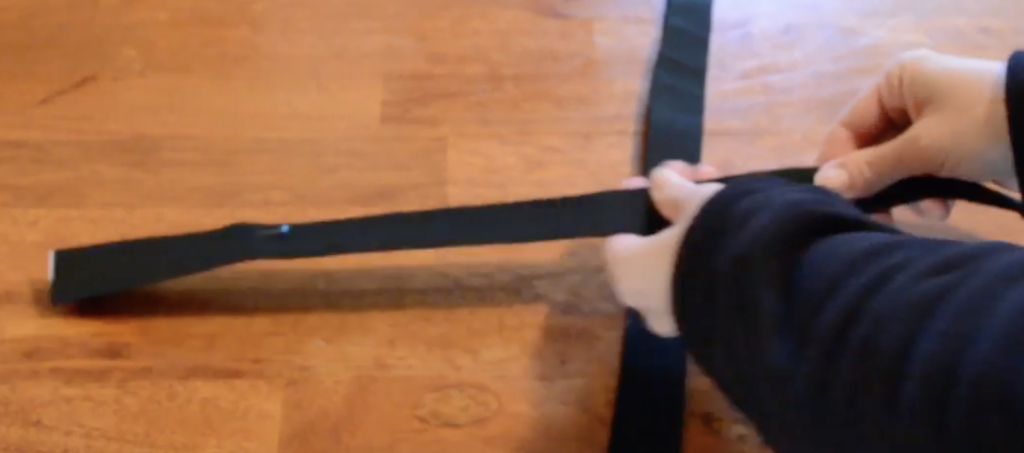
Try Clasped Weft: Easy, Creative, Colorful
Clasped weft is a fun, beginner-friendly way to make bold, graphic designs—while still using plain weave!
It works beautifully with:
- One solid yarn + one variegated yarn
- Two (or more) contrasting colors
👉 Follow this clasped weft step by step tutorial
Once you get the hang of it, try:
- 3-color clasped weft technique
- 4-color clasped weft for dramatic effects
- You can even use the clasped weft technique to create shapes!
🧵 Clasped weft is a great way to create scarves, wall hangings, and art pieces with personality.
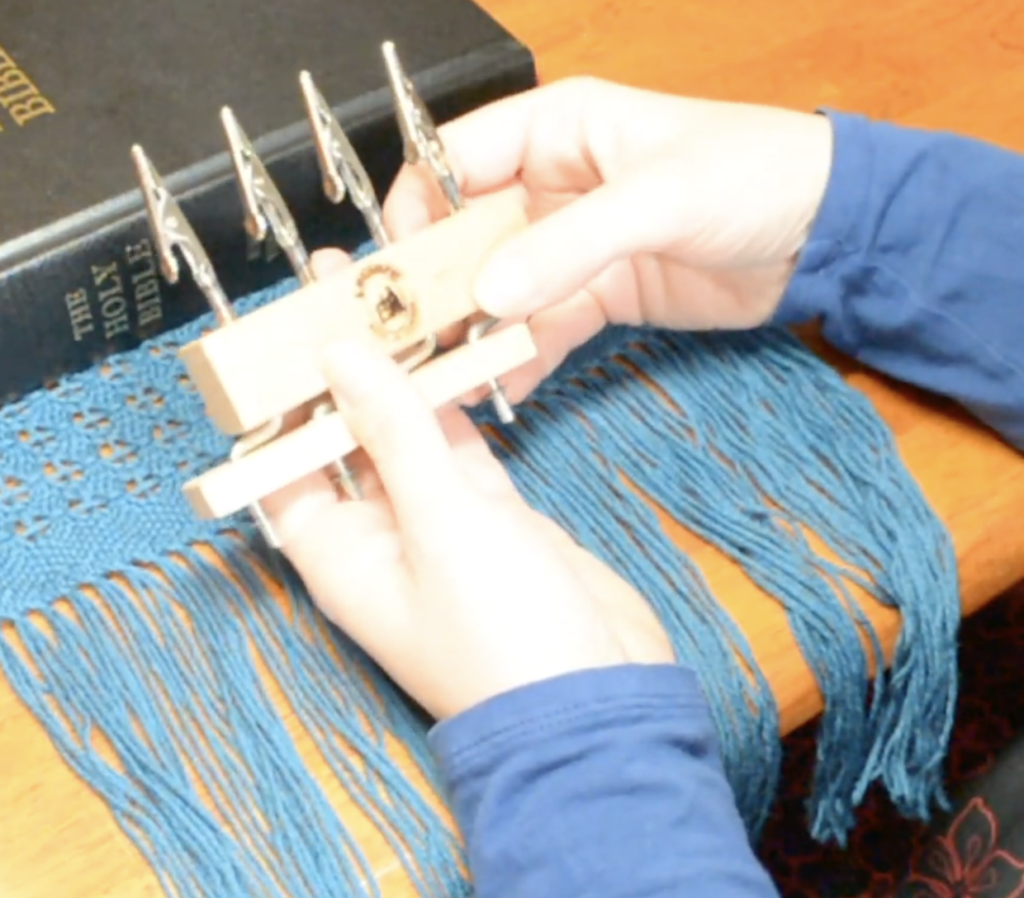
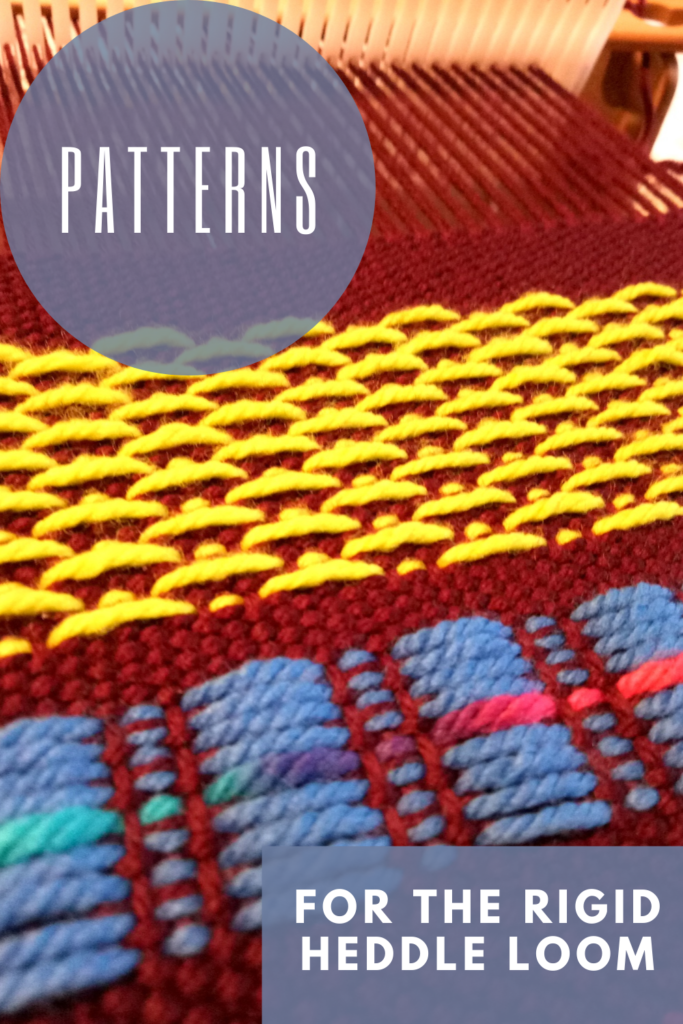
Add Pattern with Pick-Up Sticks
Ready to go beyond plain weave? Pick-up sticks are the easiest way to start weaving actual patterns on your rigid heddle loom.
What are pick-up sticks?
They’re simple flat wooden tools that let you “pick up” warp threads and create new shed patterns—without needing a multi-shaft loom.
Why Beginners Love Pick-Up Sticks:
✅ They’re inexpensive
✅ Easy to use (no complex setup)
✅ Add texture, lace, and patterns to your projects
Learn more:
Explore Even More: Overshot-Style Patterns with Pick-Up Sticks
There’s just so much you can do with one, two, or even more pick-up sticks! Most weavers start by picking up warp threads behind the heddle, but did you know you can also pick up in front of the heddle to create a kind of overshot pattern?
This technique allows your pattern to float on top of the background weave—rather than becoming part of it—making for a dramatic, dimensional look.
If you play around with the spacing of floats and use colour changes creatively, you can design all sorts of exciting patterns!
🎄 Christmas patterns are always a favourite, so if you’re curious, here are a couple of the most-loved videos on this overshot style:
What Should You Try First?
Here’s a quick beginner weaving path to get you started:
- Plain weave scarf with a solid color warp + variegated weft
- Clasped weft sampler with two bold yarns
- Simple pick-up stick pattern on a placemat or table runner
And most importantly—have fun experimenting!
So Many Patterns, So Little Time!
This post is just a brief overview of the many pattern possibilities on your rigid heddle loom. There’s so much more you can explore!
I haven’t even touched on Colour and Weave—that deserves its own post entirely. You can read more about that here: 👉 Read my Colour and Weave article
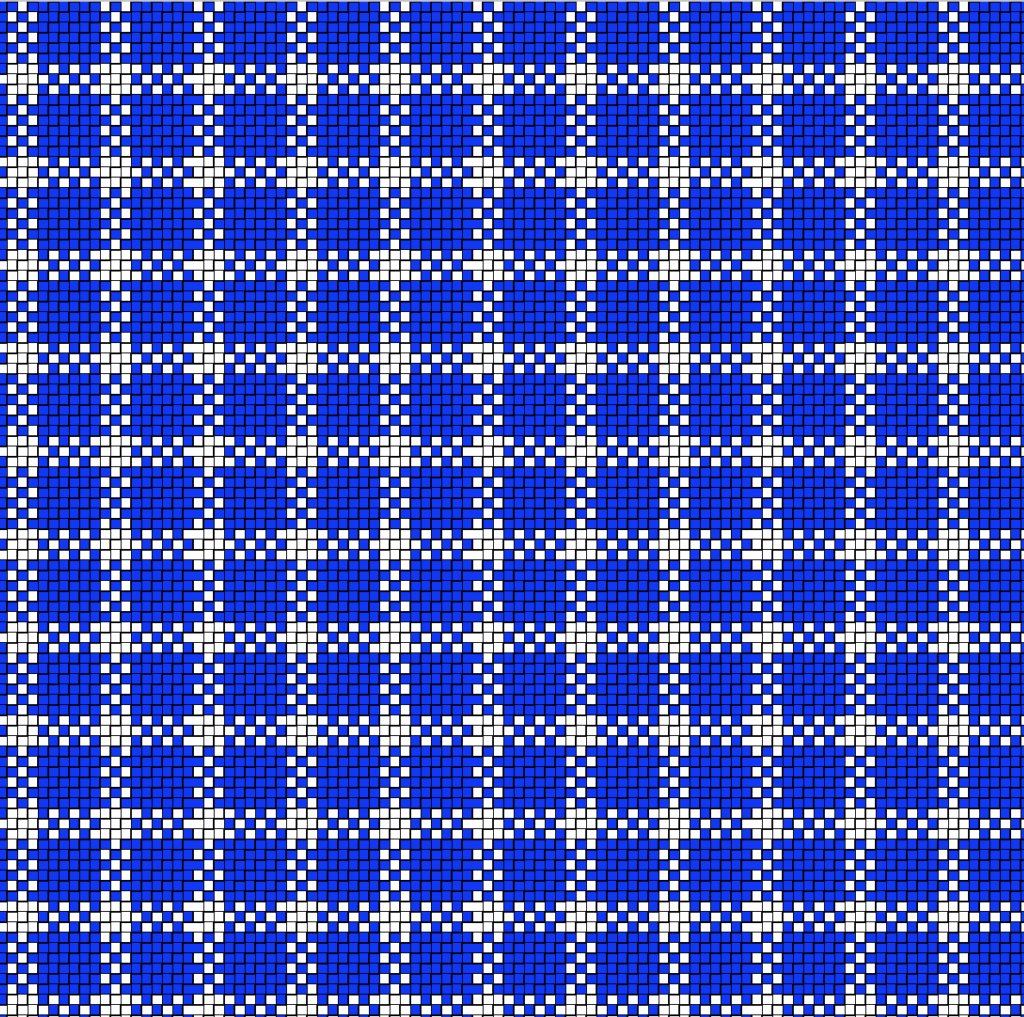
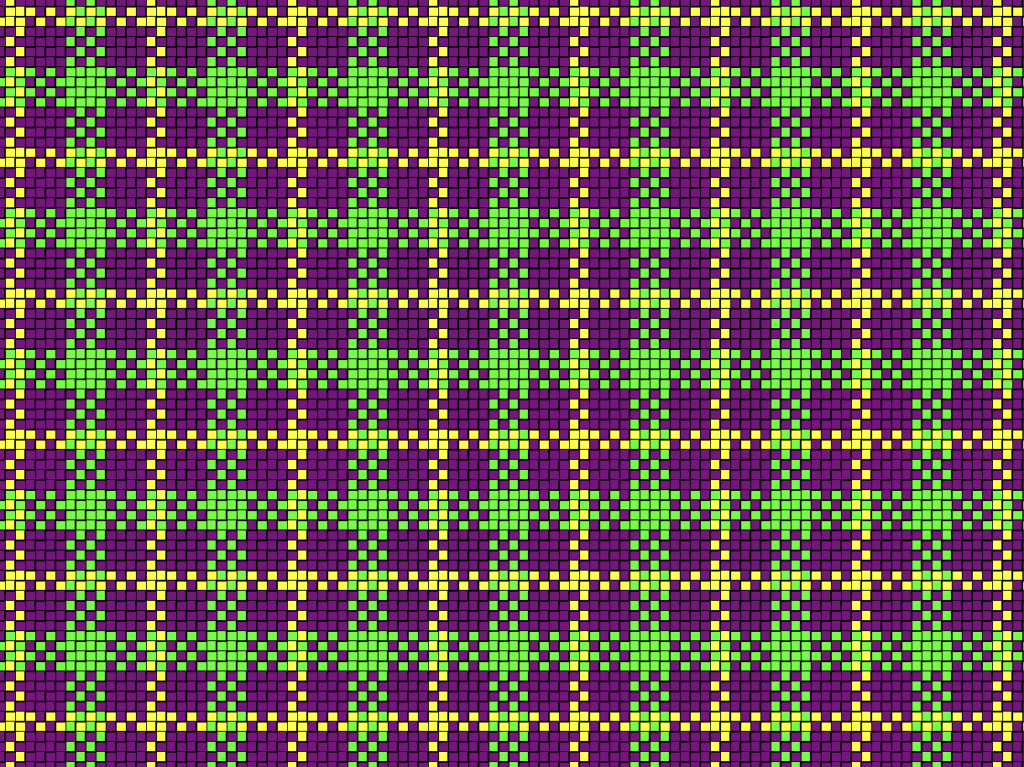
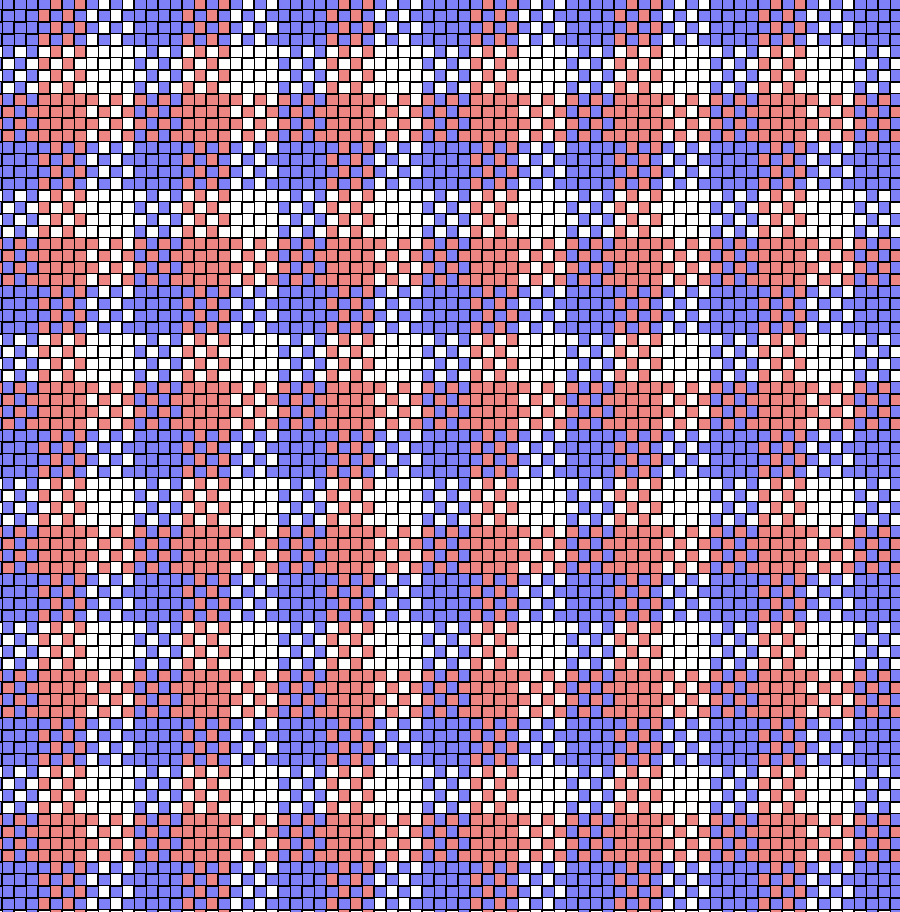
Curious about plaid? I’ve also written about that and included free drafts for you to try: 👉 Get my plaid weaving post + drafts here
Want to dive into even more pattern ideas? I’ve got you covered in this deep-dive post where I share techniques like:
- Doubled weft
- Pick-up rows
- Staggered pick-up
- Dots and butterflies
👉 Explore even more pattern techniques here
This post contains affiliate links. Please see my disclosure policy for more details.

Where to Go Next
If you’ve been weaving plain weave and wondering “what’s next?”, I hope this post has sparked some fresh ideas!
To take your weaving to the next level, I highly recommend my beginner’s class:
🎓 From Woe to Go — it’s a comprehensive, step-by-step course that helps you confidently get started on your rigid heddle loom.
If love to weave scarves, you will definitely want to check out my Rigid Heddle Beginner Scarf Bundle – this is 5 of my best selling digital download scarf patterns for one low price!
Perhaps you’re looking for some actual project ideas for your next rigid heddle weaving session? Check out this article for 5 Easy Beginner Rigid Heddle Projects!
Are you on my mailing list? I would love to have you! Sign up here and receive 10% off your next Online Weaving School purchase 👇
Until next time…
Happy Weaving!