• Skip to main content
  • Skip to primary sidebar

Kelly Casanova Weaving Lessons

  • Hi! I’m Kelly!
    • Affiliates Disclosure
  • Online Weaving School Class Index
    • Common account issues
    • Common technical issues
    • What do I get with a membership?
  • New to rigid heddle weaving? Start here!
    • Never heard of the rigid heddle loom?
    • How to weave neat edges on the rigid heddle loom
    • Rigid heddle weaving
    • Rigid Heddle Weaving Patterns
  • Patterns
  • Subscribe

Rigid heddle weaving

Clasped Warp Quechquemitl Wrap – New Class!

by Kelly 6 Comments

What on earth is a quechquemitl anyway?!

Well, it’s a traditional Mexican upper body garment for women and it’s the inspiration behind my new class.

From what I understand, it is pronounced something like “kech- ka – mil” (please do correct me if I’m mistaken!)

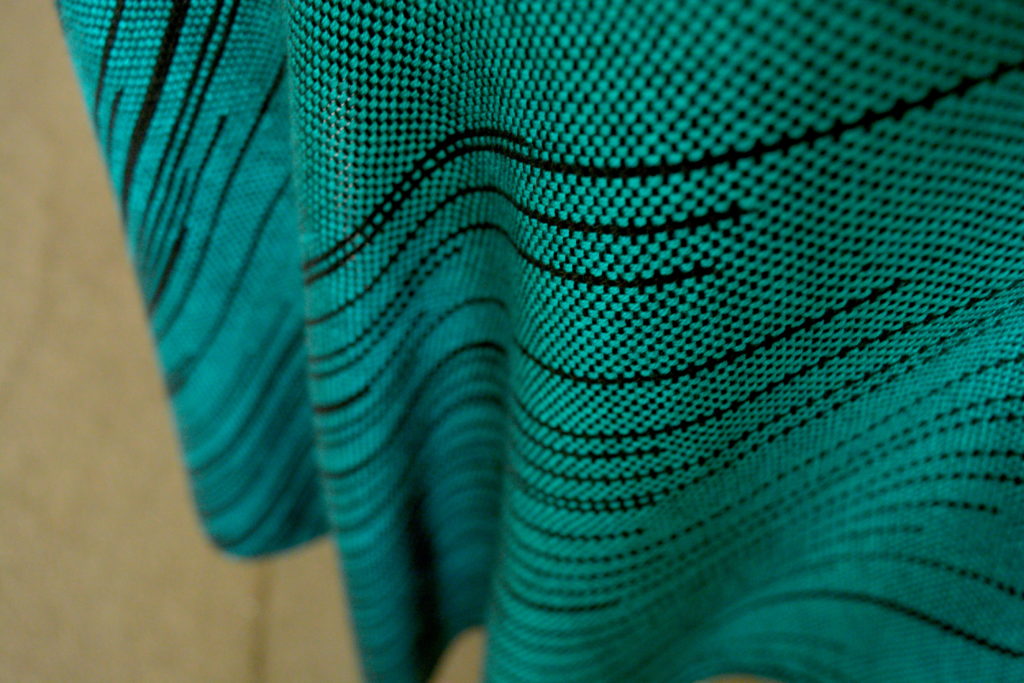
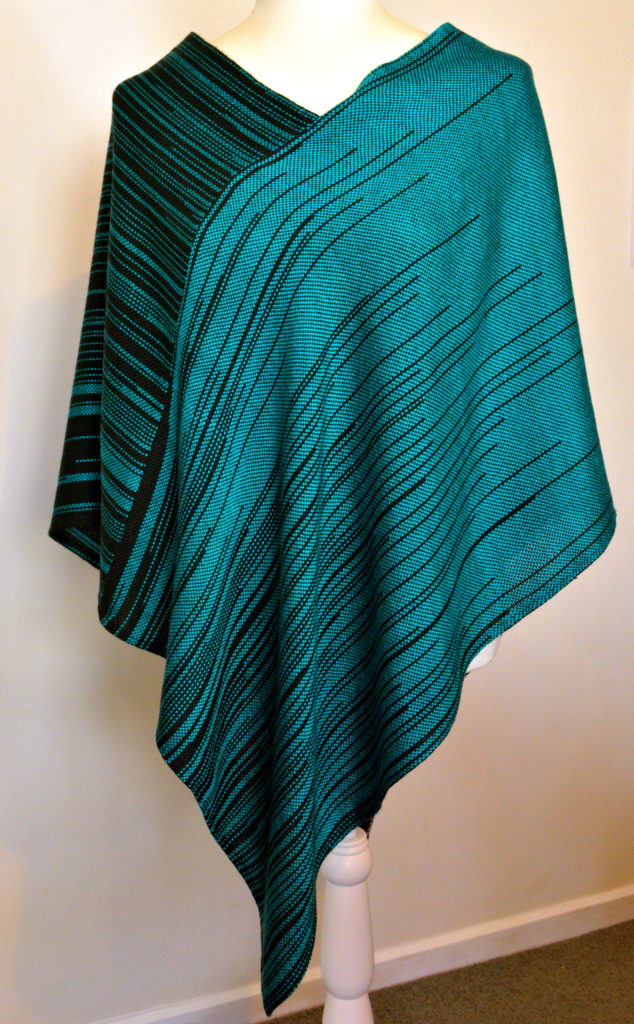
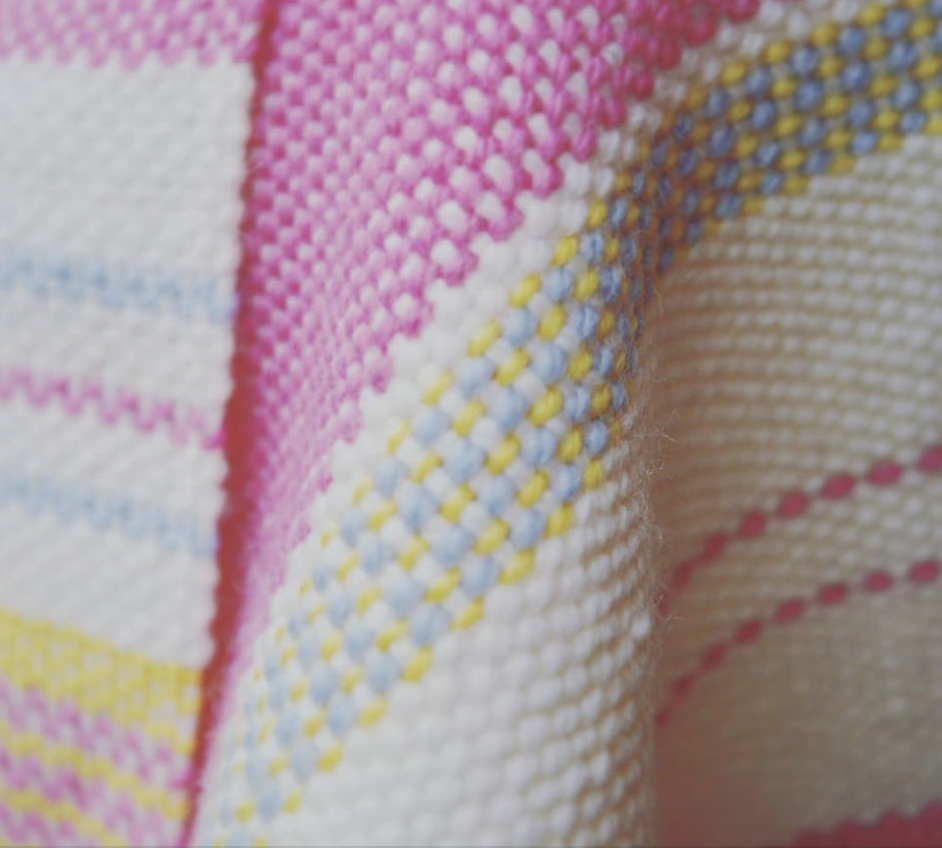
I started researching the quechquemitl because I wanted to find a flattering and easy garment to make with my clasped warp fabric. The clasped warp technique gives a striking appearance to the fabric, and I wanted to utilise that and put it on show.

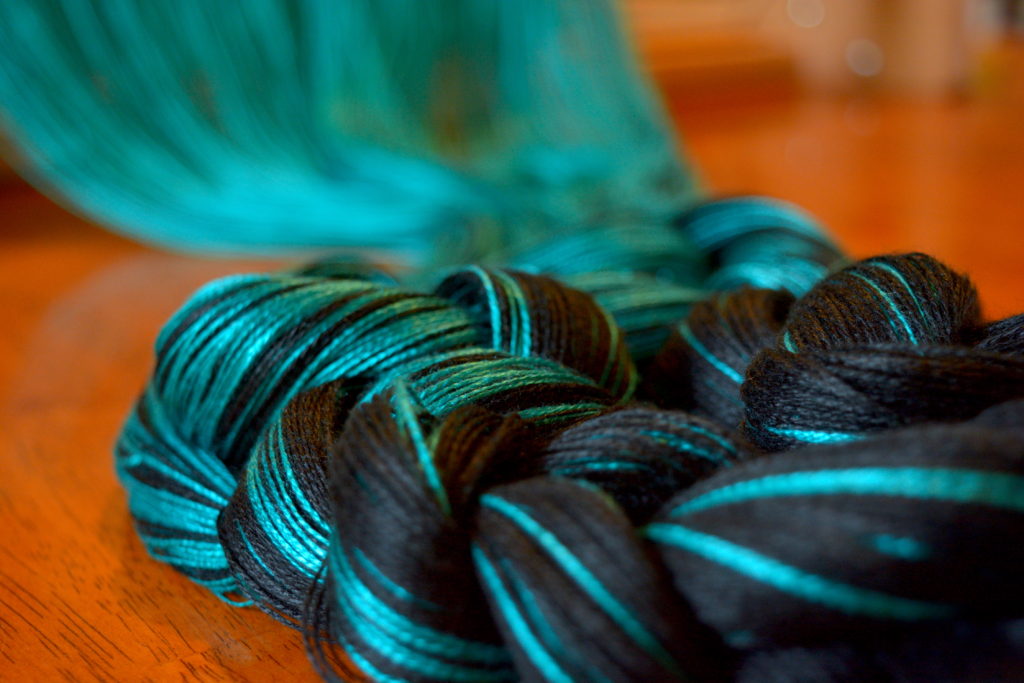
I started (as all projects should!) with some gorgeous yarn. Tencel and bamboo are both soft and light with an amazing sheen. Perfect for this project!

These fibres made a supple and drapey fabric, and the simple yet contrasting colours make the piece really special.

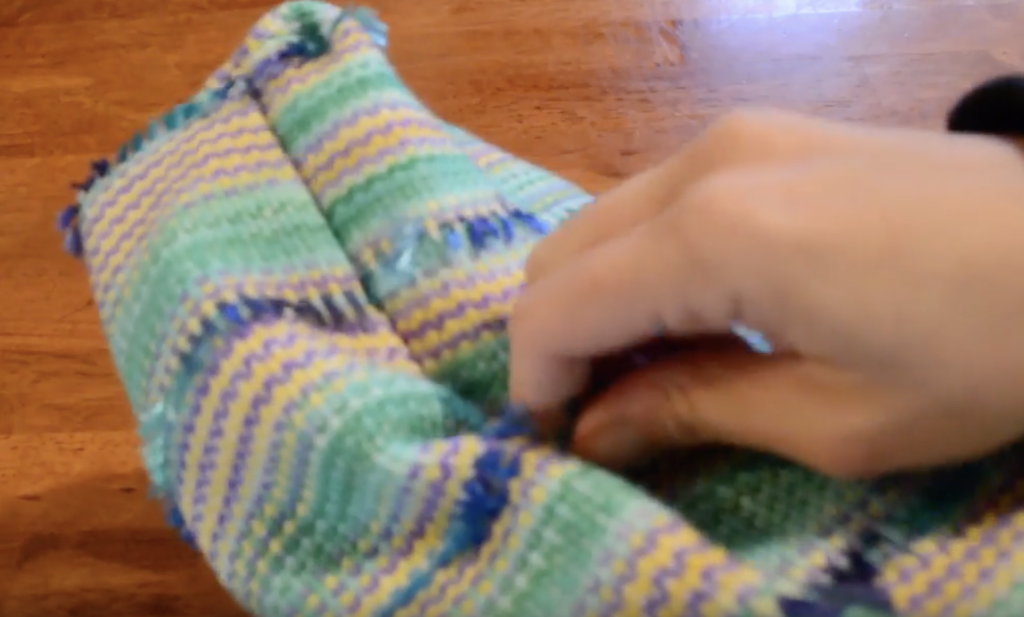
There are two ways to wear this wrap – in a poncho fashion as pictured above or you can swivel it around so that horizontal lines run across the body. Either way is totally beautiful!

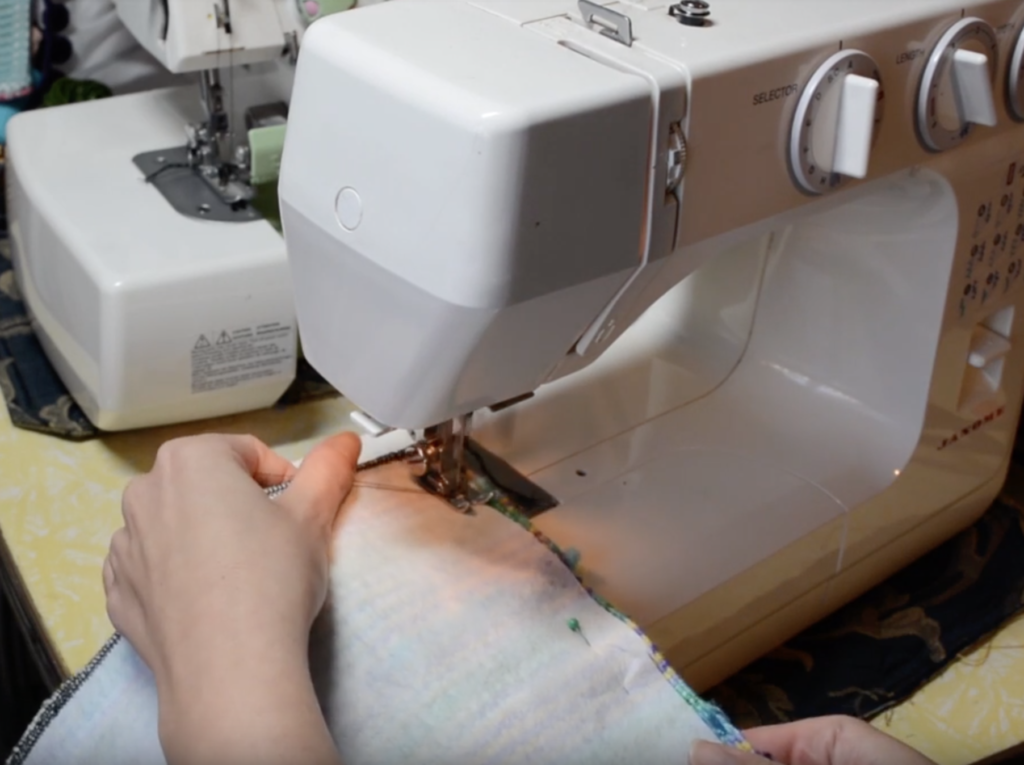
This is a low sew project, so great for those who are dipping their toes in the world of sewing.

This class is available now at my Online Weaving School. You can make a single purchase, or, if you’re already a member you can simply login and enjoy.

Happy Weaving!

Filed Under: Online Weaving School, Rigid heddle weaving, Sewing, Weaving Tagged With: new class, online weaving class, online weaving school, quechquemitl wrap, rigid heddle weaving

Tote Bag Weave Along, Lesson 8

by Kelly 2 Comments

In the last post, we laid out, pinned and prepared all of the pieces of bag to sew together.

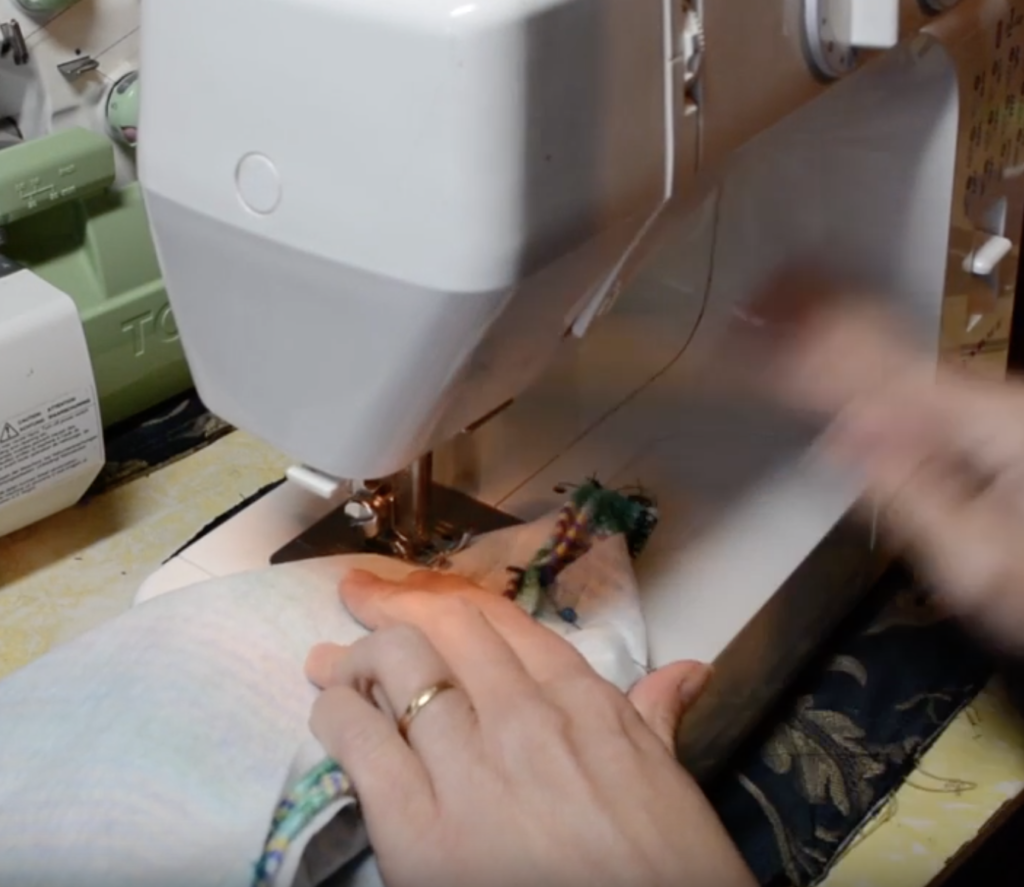
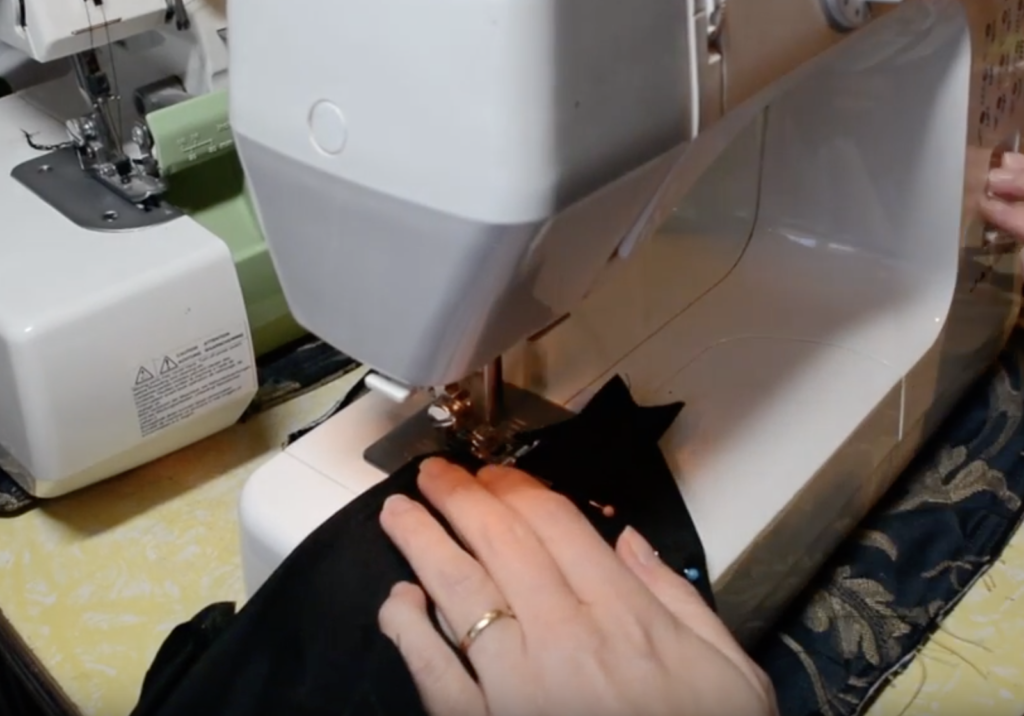
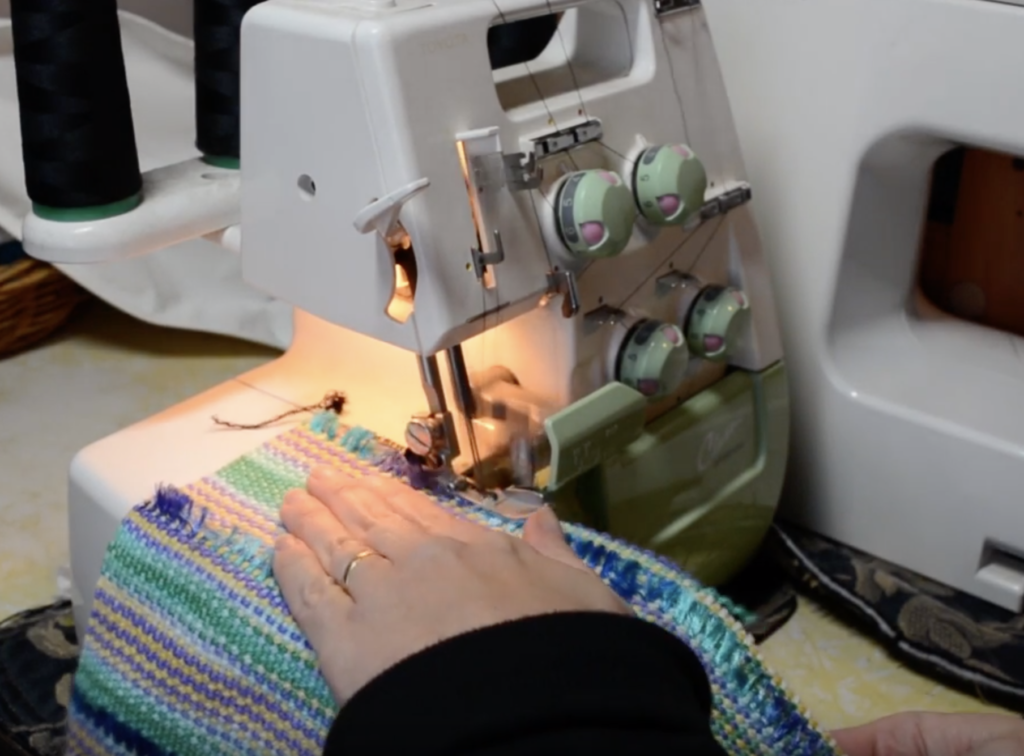
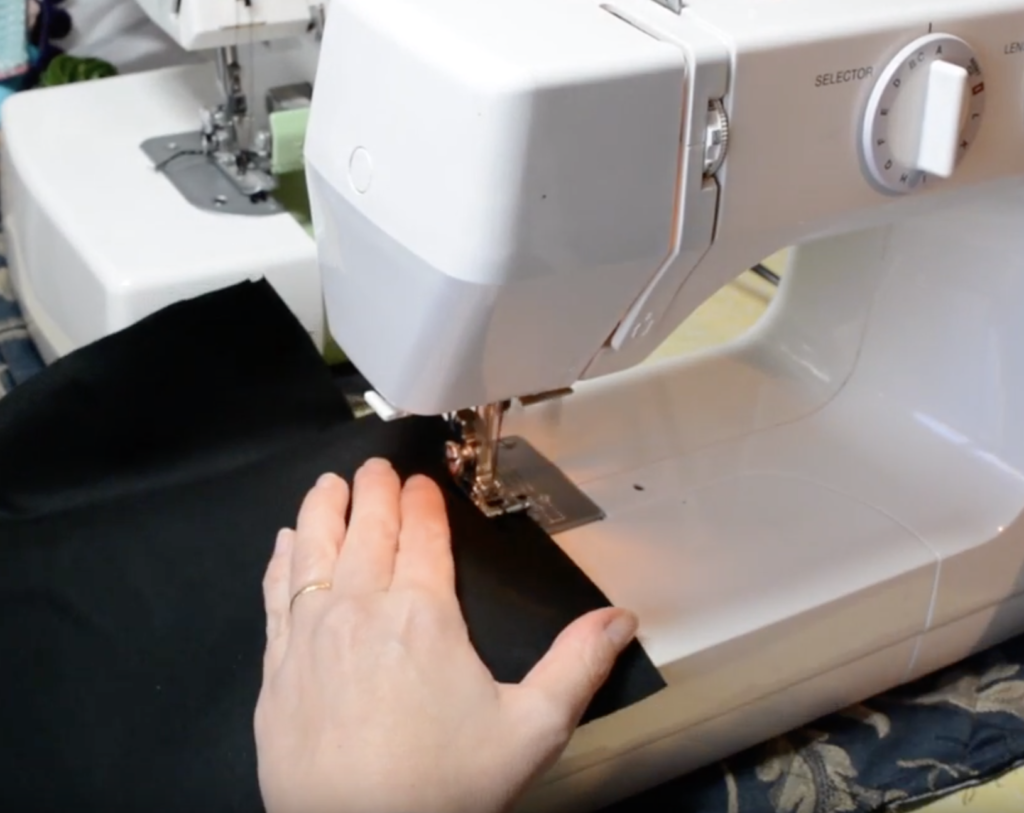
Now that we’ve pinned our 2 main bag panels together, we can take them to the sewing machine. With a straight, medium stitch, sew around 3 sides of the panels, leaving the top part that we didn’t pin open. Remove your pins as you go. When I’m sewing at the machine, I use my magnetic pin bowl to be able take pins out of the fabric quickly and pop them onto the bowl, where I know they’re not going to go anywhere. It has the added bonus of helping you find any pins that you may drop on the floor, especially on carpet. I just push the magnetic bowl around on the floor until it finds the pin, it’s very handy!

*This post contains affiliate links. This means that if you click on the link and purchase, I receive a small commission at no extra cost to you.

I’ve said it before, but it’s an even more poignant point for bag sewing, which needs to be sturdy. It is a total false economy to sew with cheap thread that is just going to break – either when you’re sewing or very soon afterwards. Use a good quality, “sew all” thread such as Gutermann.

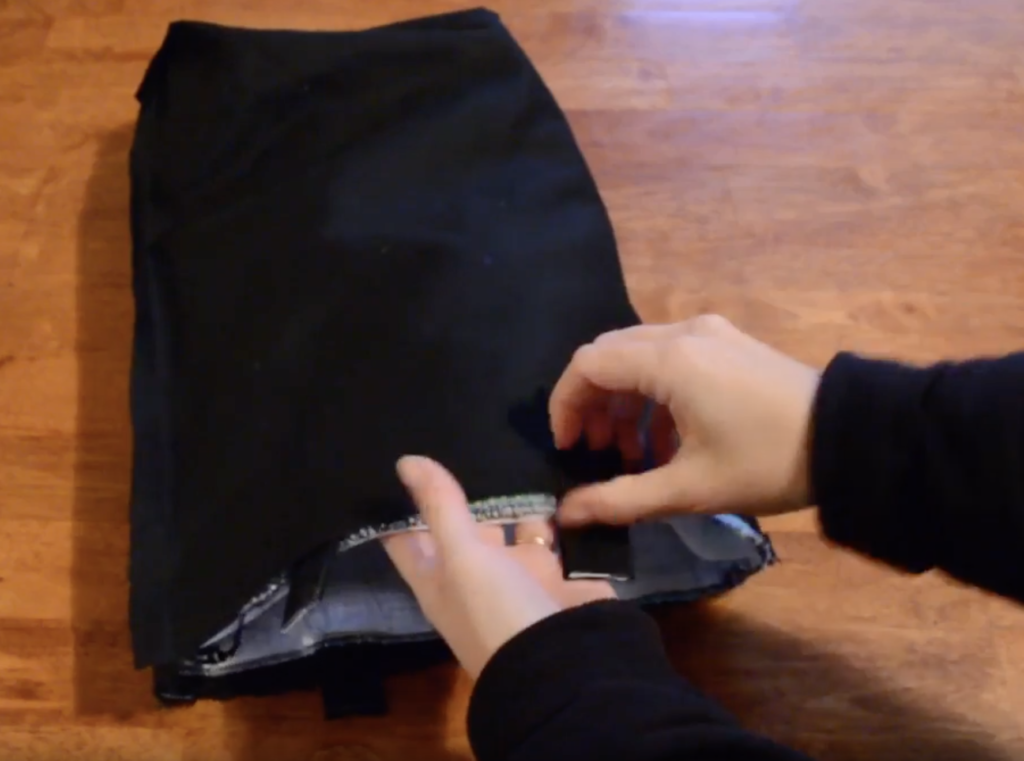
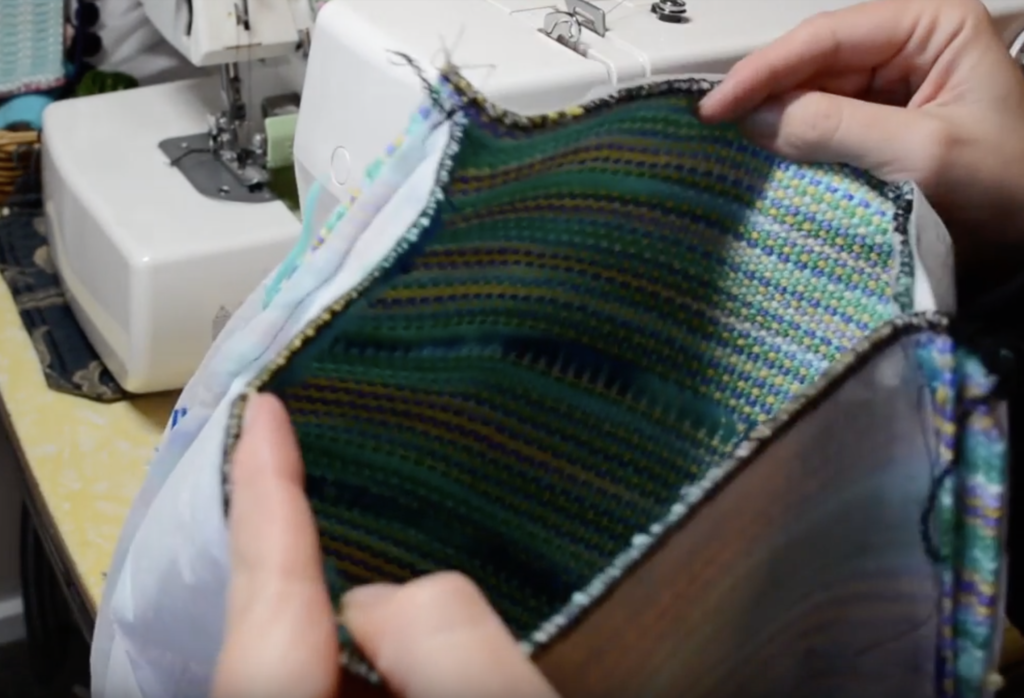
When you have sewn around all three sides you will have what looks like a very big pocket!

Now we sew the lining fabric panels together in the same way EXCEPT that we leave the 6″ gap along the bottom edge. This is really important, as you won’t be able to turn your lining to the inside of your bag without it.

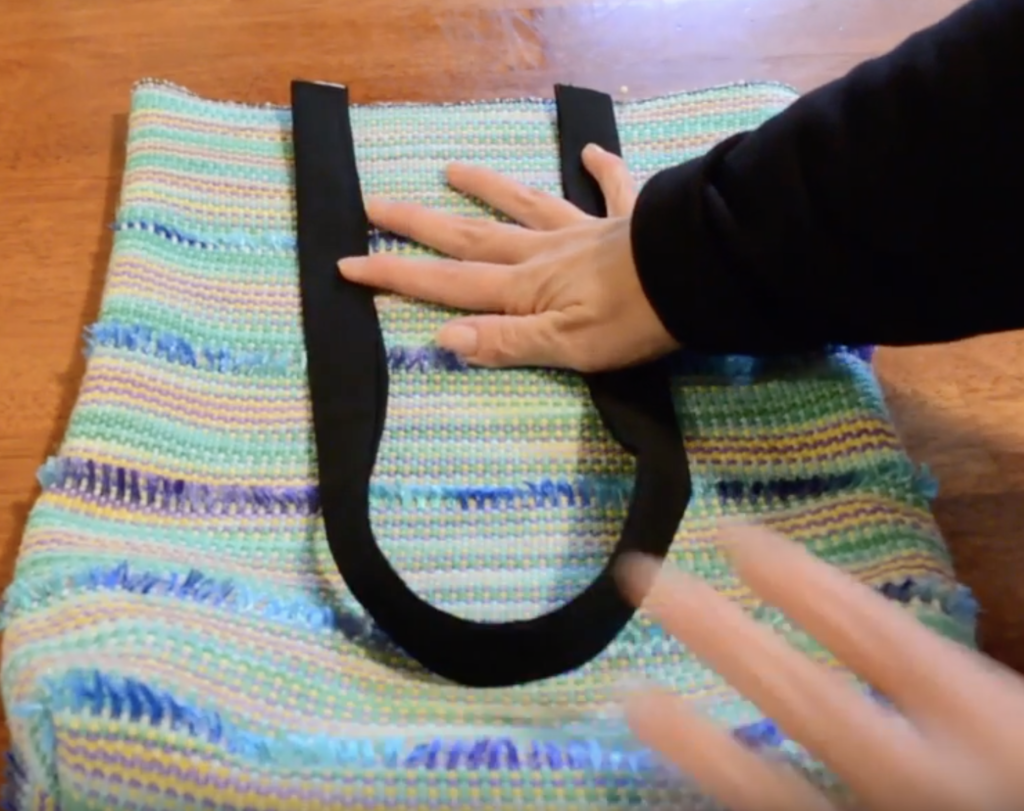
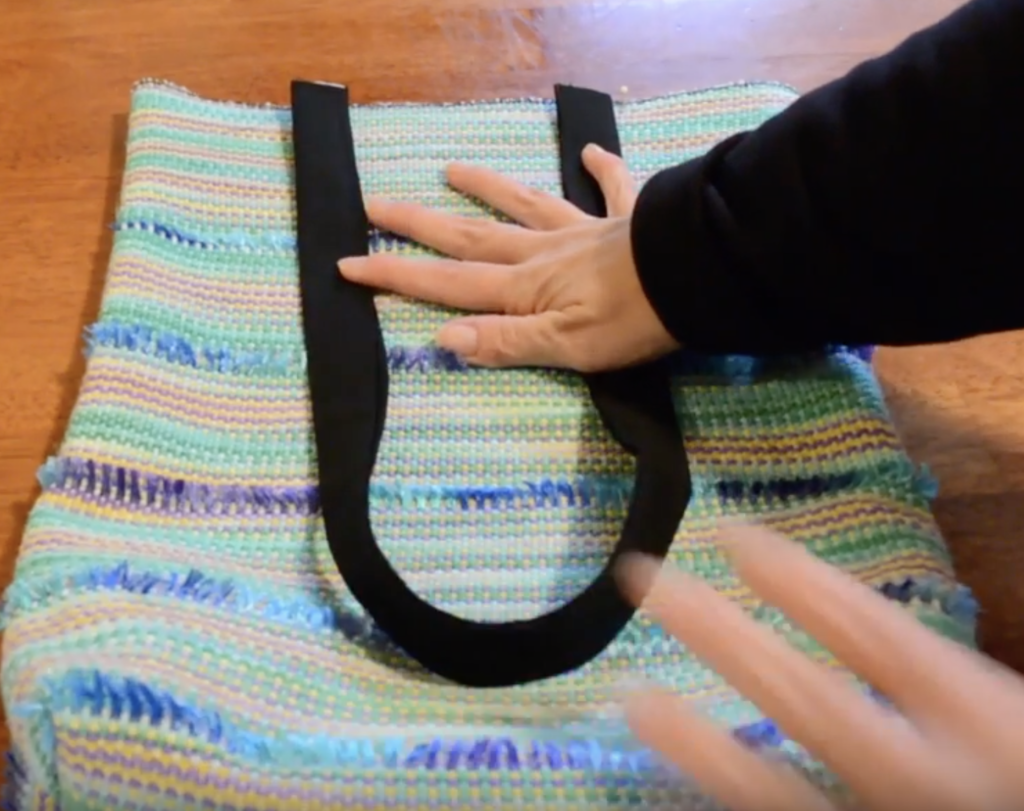
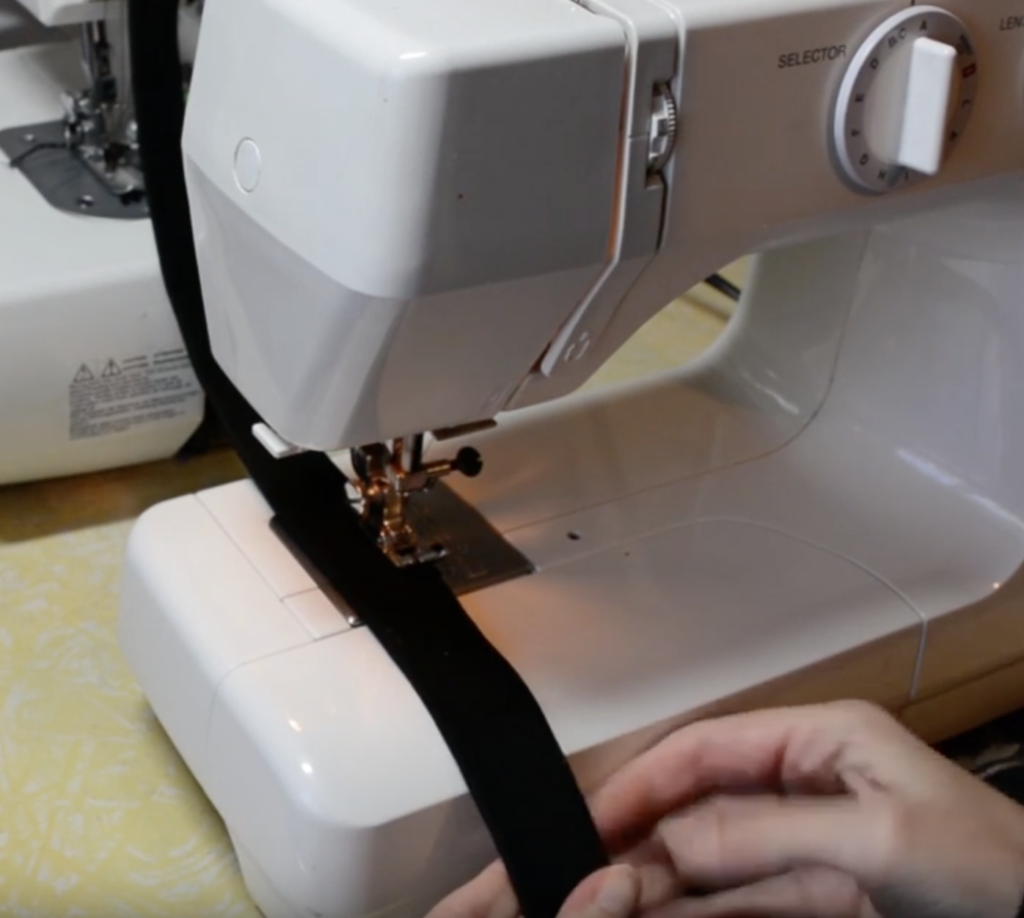
To sew the bag straps or handles, sew down one long side where the 2 edges join. You can also sew down the folded side if you like symmetry, but it’s not essential.

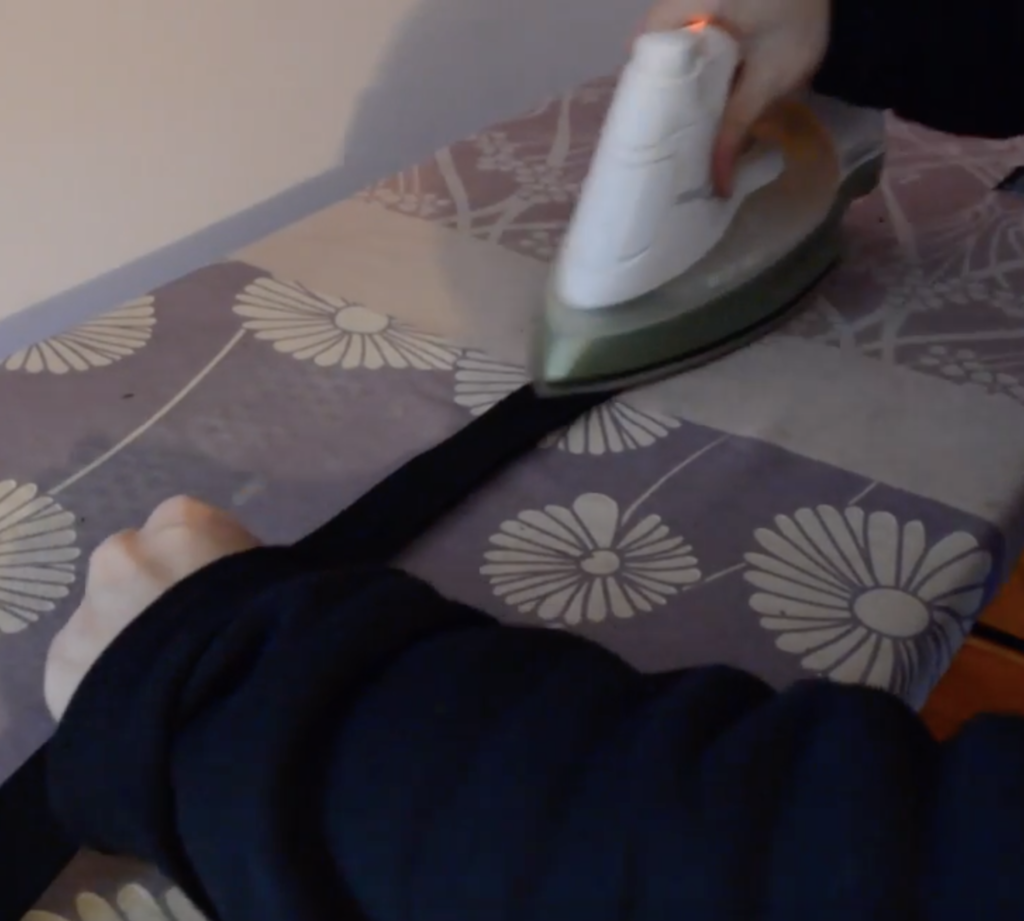
Take all of your pieces to the ironing board and press them on a steam setting. The level of heat to use will depend on what yarn you have used – you don’t want to scorch anything. If you’re worried about scorching, use a lower setting and/or a presser cloth. (This can be as simple as an old sheet or pillow case).

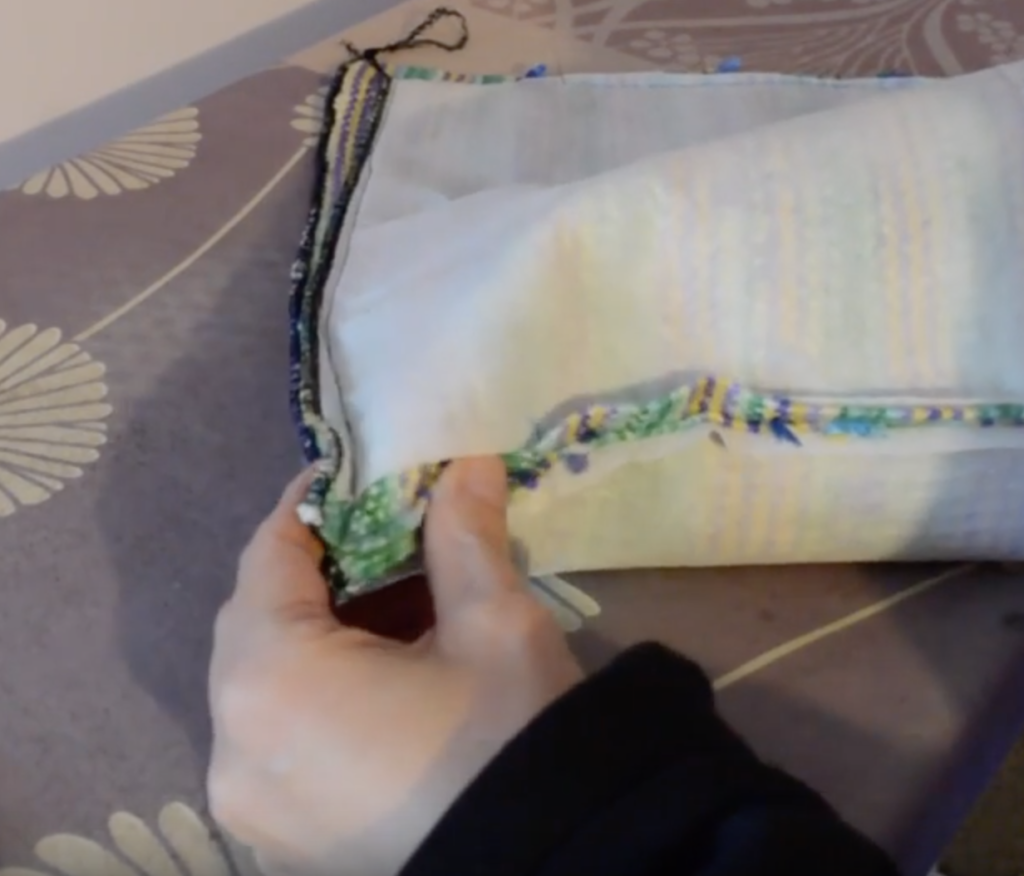
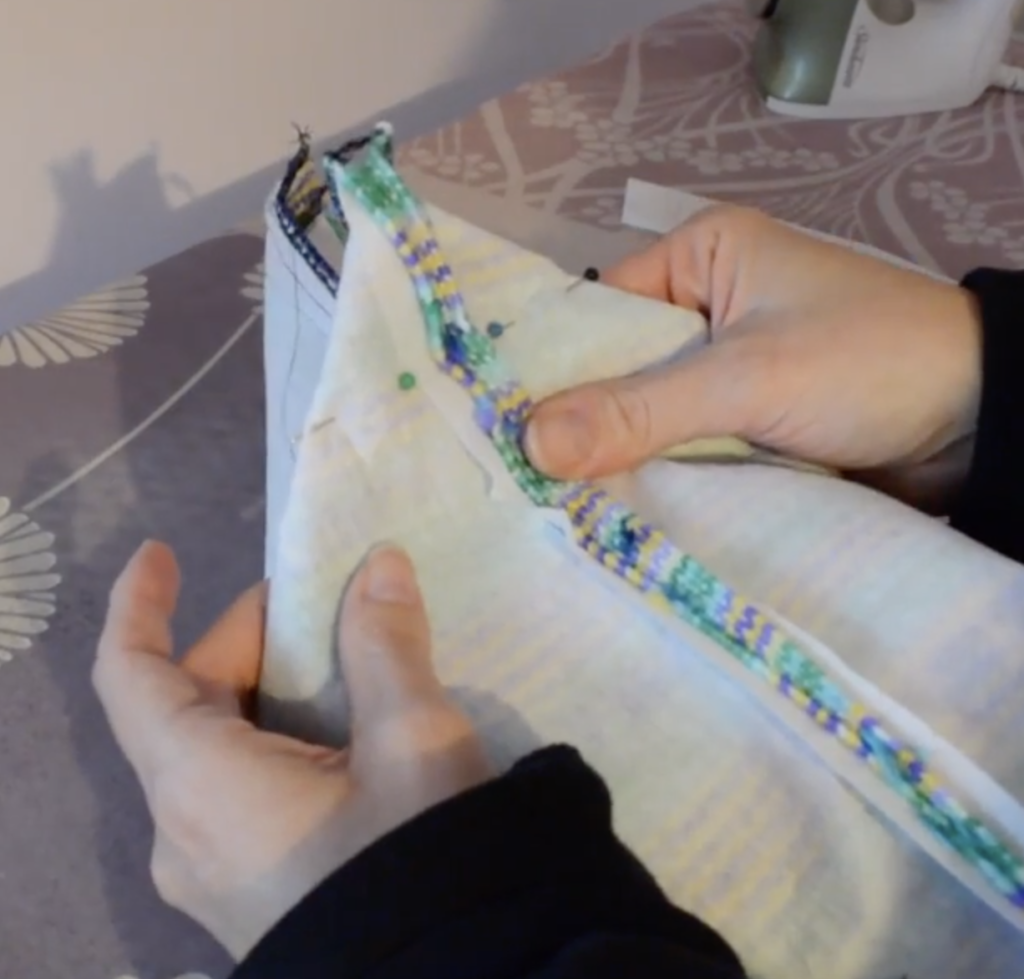
This part is best explained in the video, but to give you an overview, you put a finger into the corner of your inside out bag. Pinch the seams together so that the side and bottom seams are sandwiched together.

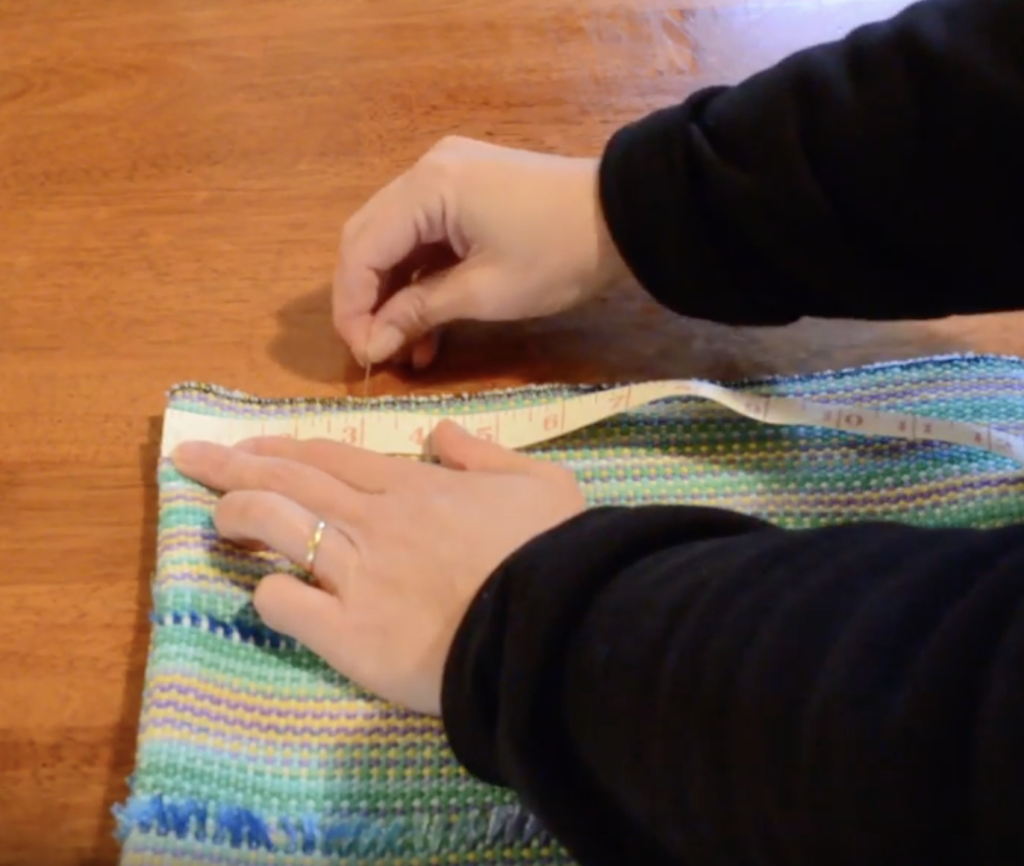
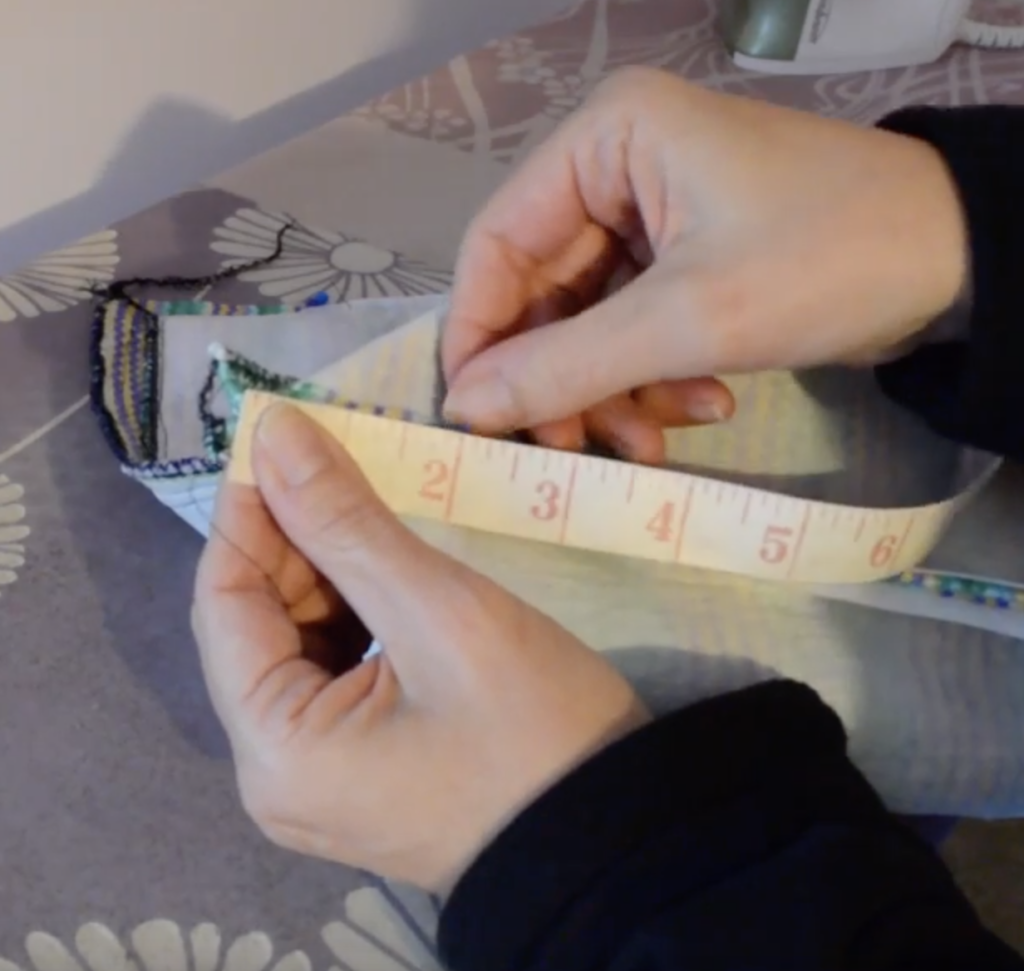
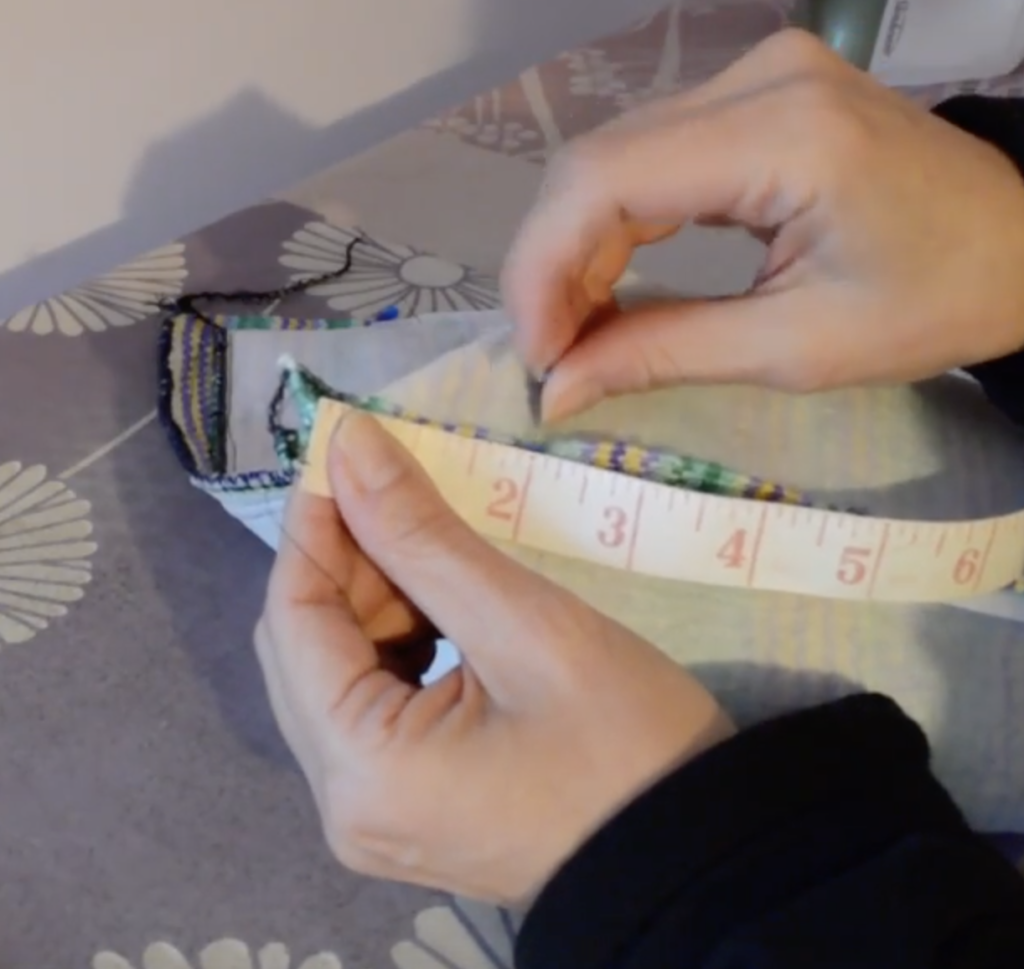
Hold a measuring tape against this seam from the top point.

Measure 2 inches along and place a pin horizontally across the pinched corner.

Place other pins horizontally across the corner at the 2″ mark, flattening the 2 layers of fabric together. You will end up with your corner in a triangular shape. Repeat to the other corner at the bottom of the bag. Now repeat the corner treatments on your lining fabric.

You can find all of this lesson in video format here:

Thanks for joining me today, as always, leave a comment about this lesson if you have any questions.

Until next time…

Happy Weaving!

Filed Under: Rigid heddle weaving, Tote Bag series, Tutorials Tagged With: rigid heddle weaving tutorial, tote bag weave along

Tote Bag Weave Along, Lesson 7

by Kelly 2 Comments

Now we’re ready to sew the bag together! If you missed the last post on taking your fabric off the loom and wet finishing, you can take a look at it here.

*This post contains affiliate links, meaning if you click on the link I will receive a small commission at no extra cost to you.

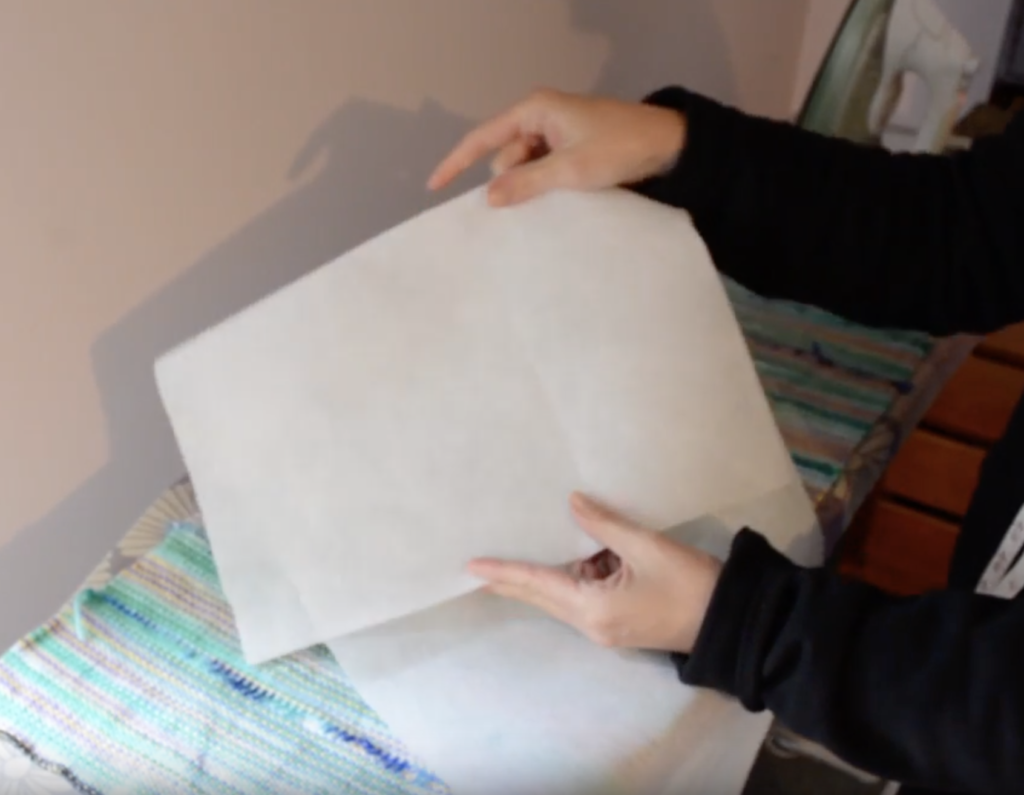
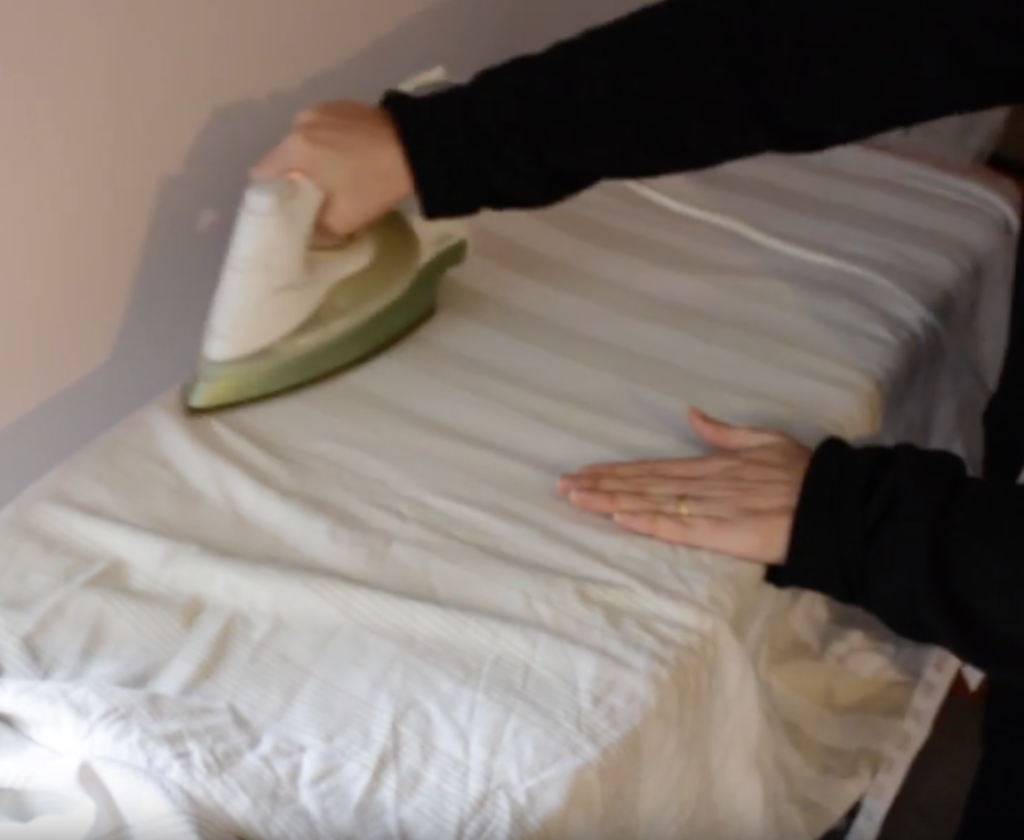
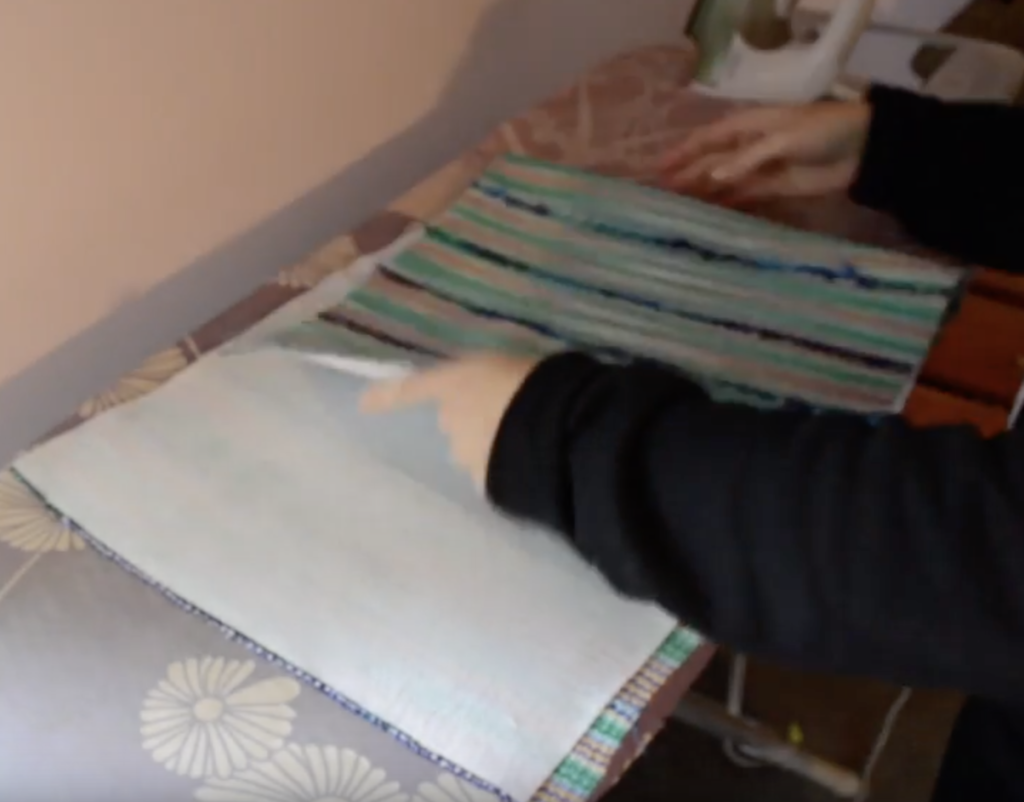
Lay the fabric out on the ironing board with the WRONG side facing up. You will notice that your fusible interfacing has a shiny side and dull side. It’s the shiny side that will fuse to the fabric, so you want to place the shiny side down so that it meets with the wrong side of your fabric. This is worth doing properly. If you place the shiny side up instead, you may find yourself in the market for a new iron!

It is best to place a presser cloth over the fabric and fusible interfacing before you begin to iron. I just use an old sheet for protection. Set your iron to “cotton” steam setting a press evenly over the fabric. You can peel back the sheet here and there to check whether you have a good bond happening. Bear in mind that the bonding is not complete until the fabric has cooled.

Your piece should look like this when ready. The interfacing is completely bonded to one side of your fabric.

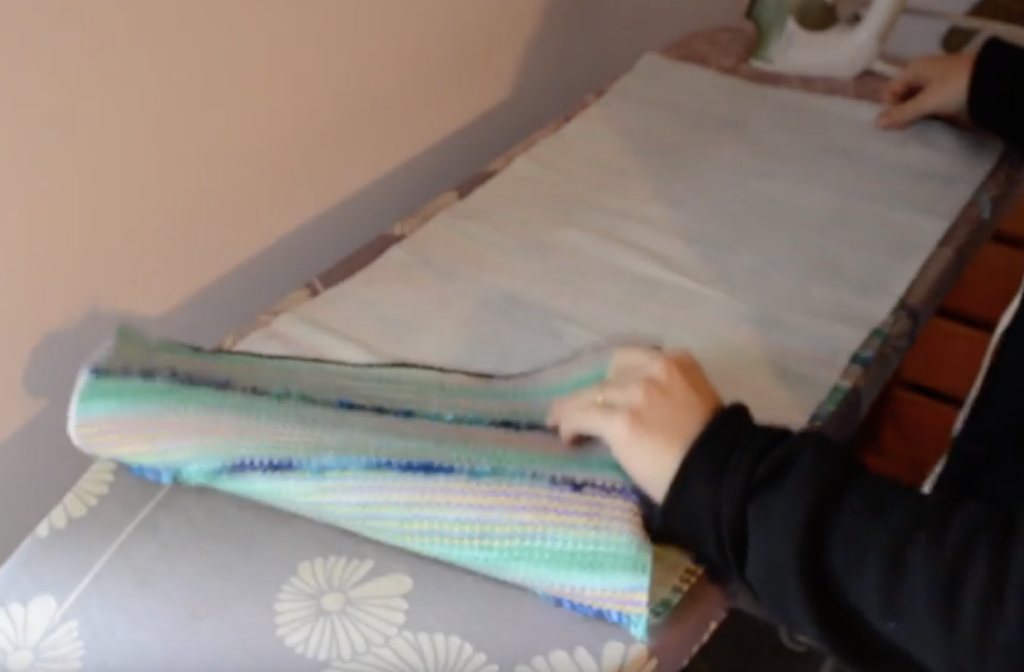
Fold the fabric over on itself so that the sides are all touching. Line up the pieces to fit as best you can.

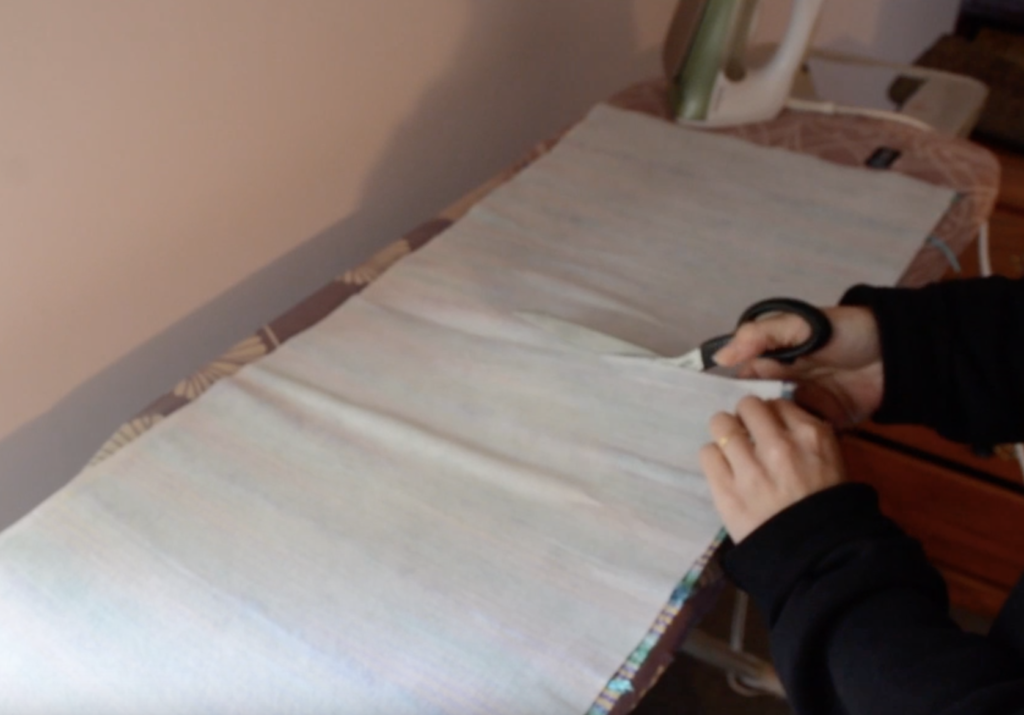
Press the fold at the bottom of the bag to make a crease. This will become your cutting mark. If you’re a bit worried about cutting your fabric, don’t be! The fusible interfacing keeps it all very secure.

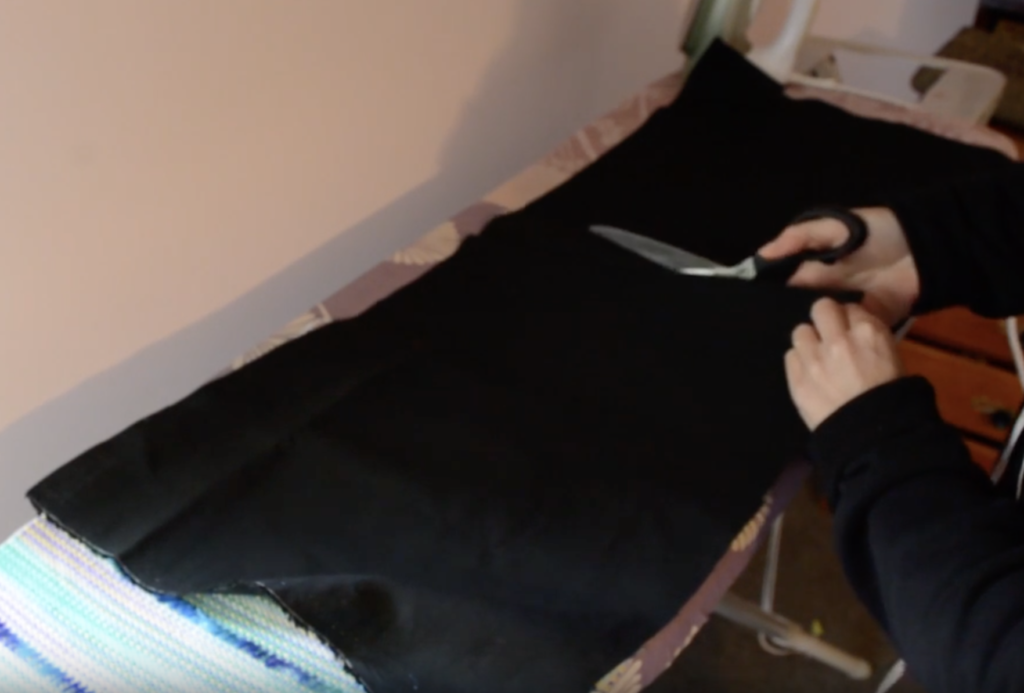
Cut right through the fabric, using the crease mark you just made.

Now you have two separate pieces, or bag panels.

At this point you will also want to cut your lining fabric in half after ironing a crease in it as you did before. There are so many choices you could make for lining fabric but if you’re really not sure, broadcloth is a good option.

If you’re not sure where to find all the measurements, they are in the Essential Info PDF in this post.

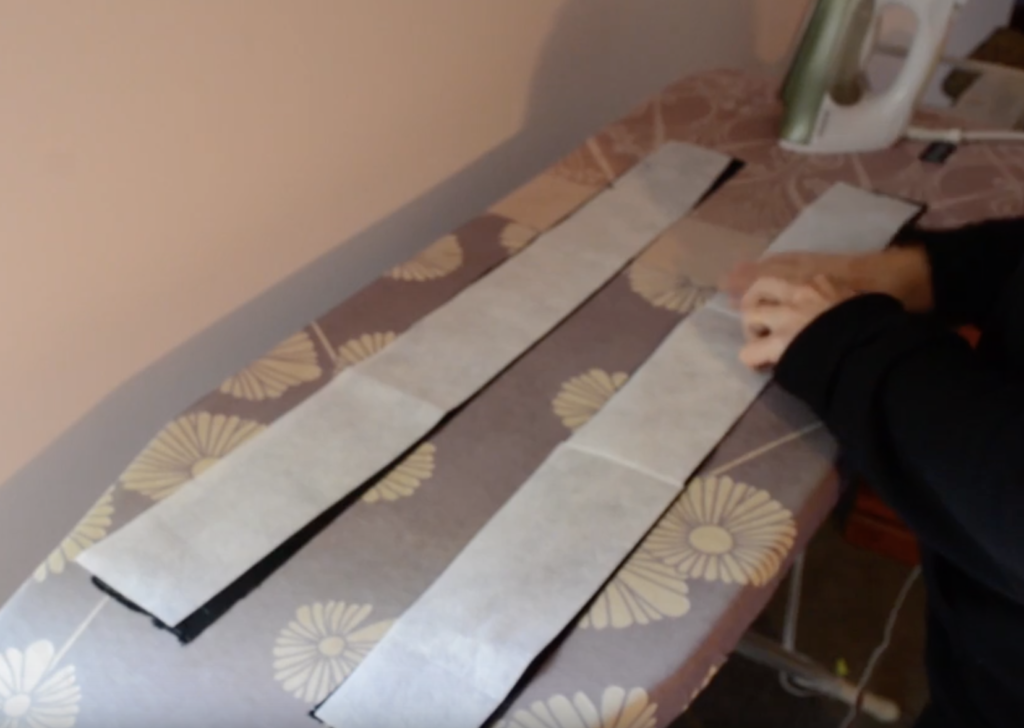
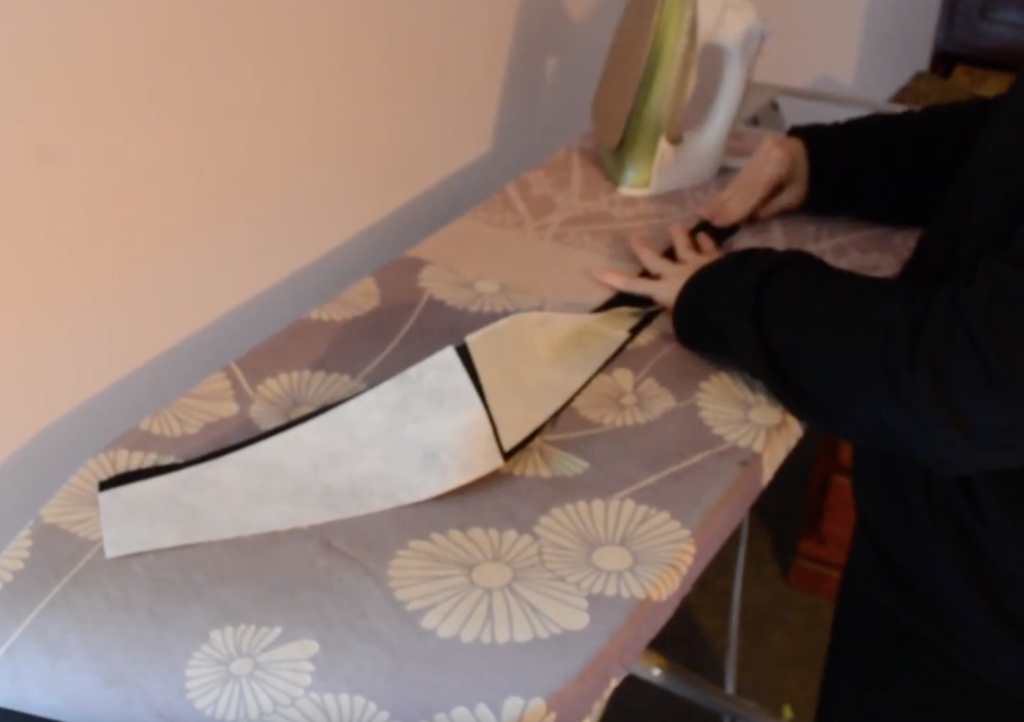
The next task is to fuse your interfacing to the bag handles, using the same method that was used for the main bag panels.

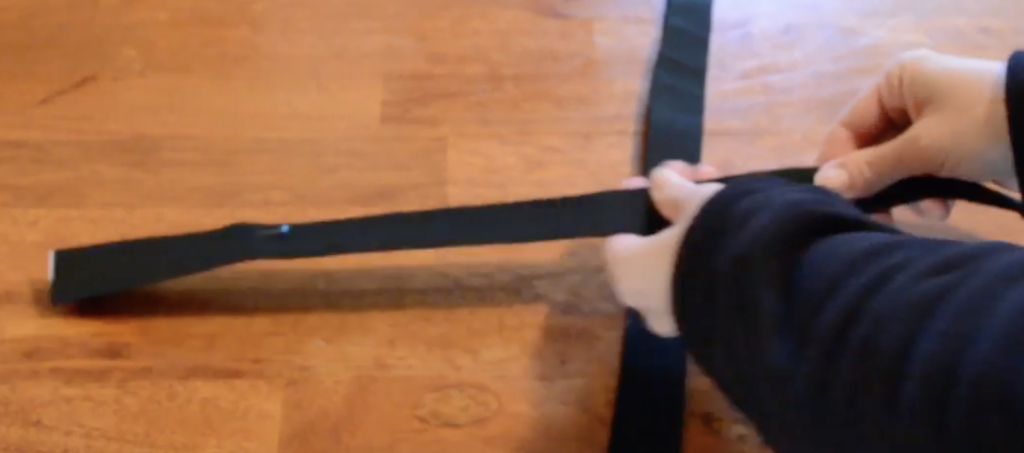
Fold the bag straps in half lengthwise and press. Open out and then fold in each long raw edge by about 1/4 inch and press. Fold the whole piece to the middle and press again. The raw edges will now be encased.

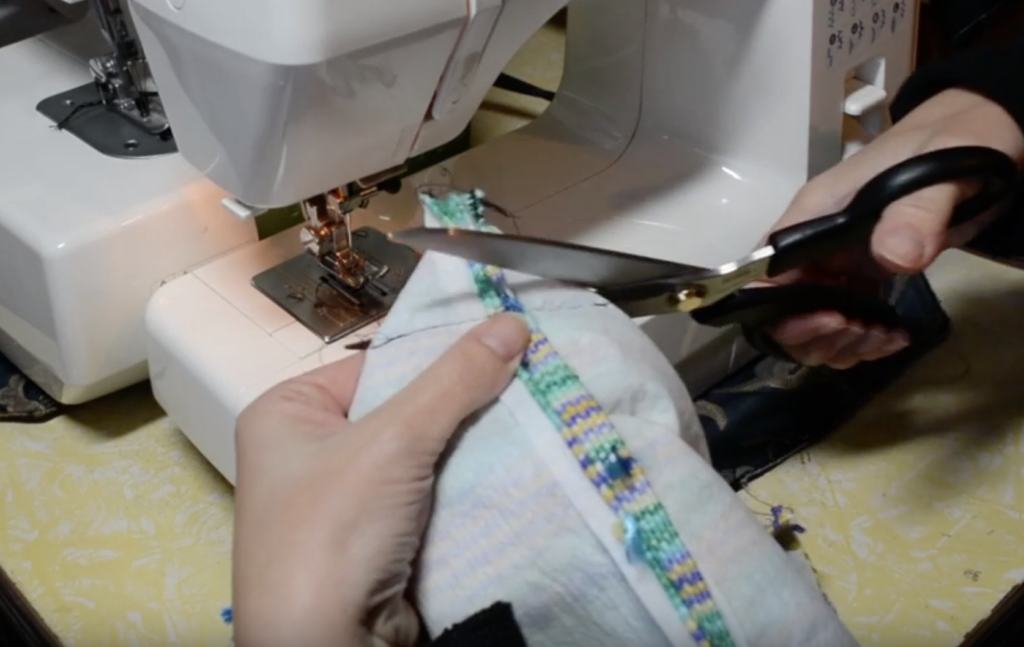
At the overlocker (serger) I run over all the raw edges. You can use a zig zag stitch on a sewing machine if you don’t have a serger.

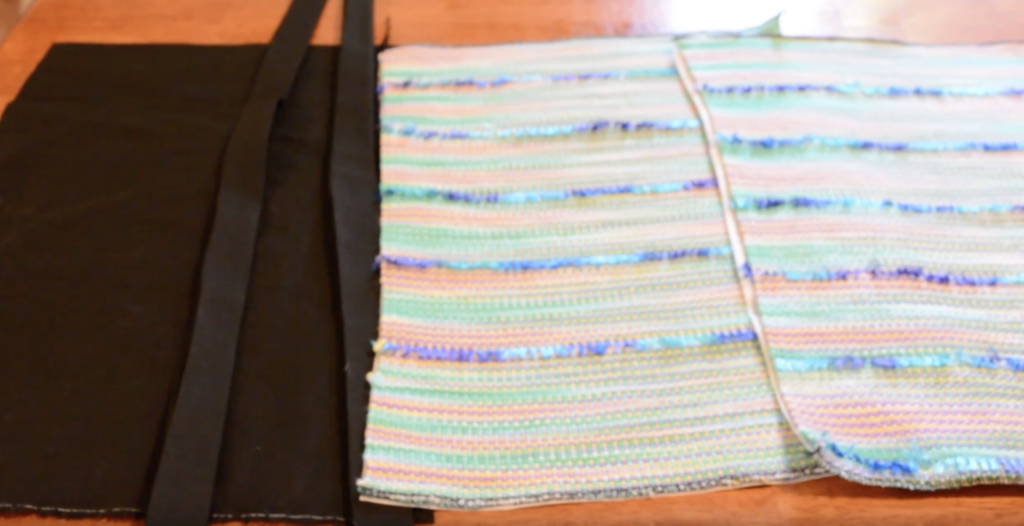
This is what we have now. 2 X serged bag panels, 2 X lining panels and 2 X prepared bag handles.

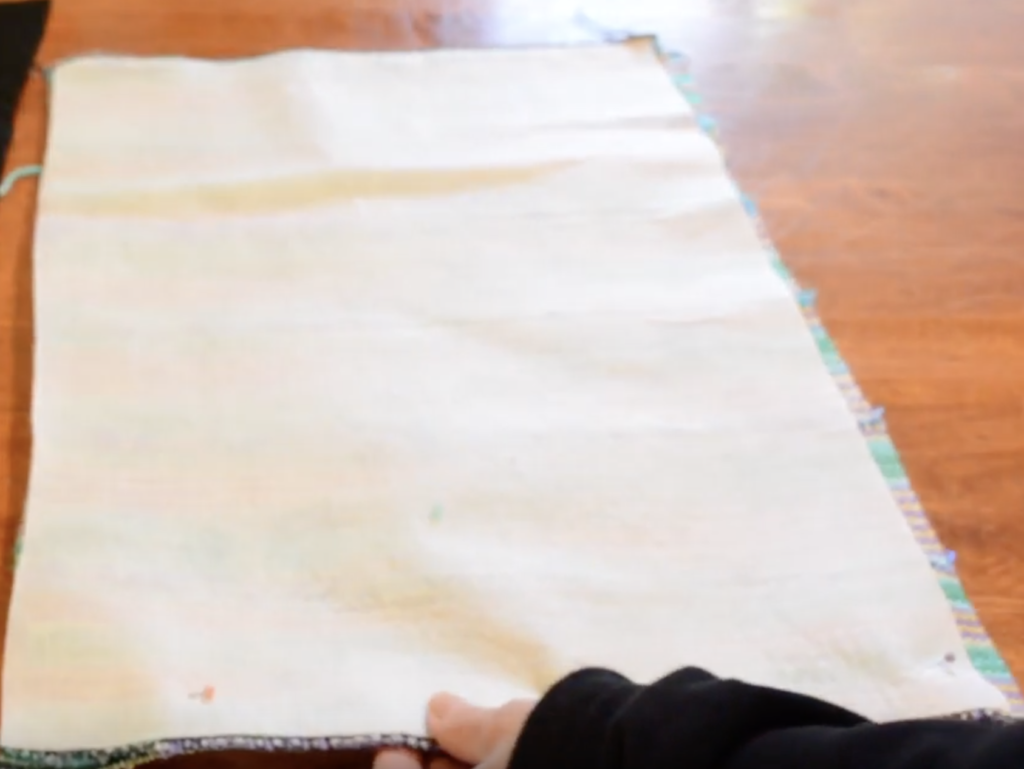
Place a bag panel on top of the other, with RIGHT sides facing. Pin around all the edges except at the top, where you need to keep and opening. Do the same with the two lining panels, keeping the top open and leaving about a 6 inch gap at the middle of the bottom for turning later.

You can also pin the bag handle pieces together just so that they are held in place when you begin to sew them together.

Now all of our pieces are pinned and prepared for sewing. Stay tuned for the next post where we will sew the bag together!

You can watch the videos for this post:

And if you feel you need to learn more about cutting your hand woven fabric, I have a post for that here as well as videos:

Until next time…

Happy Weaving!

Filed Under: Rigid heddle weaving, Sewing, Tote Bag series, Tutorials, Uncategorized, Weaving Tagged With: tote bag, weaving tutorial

Tote bag Weave Along, Lesson 6

by Kelly 1 Comment

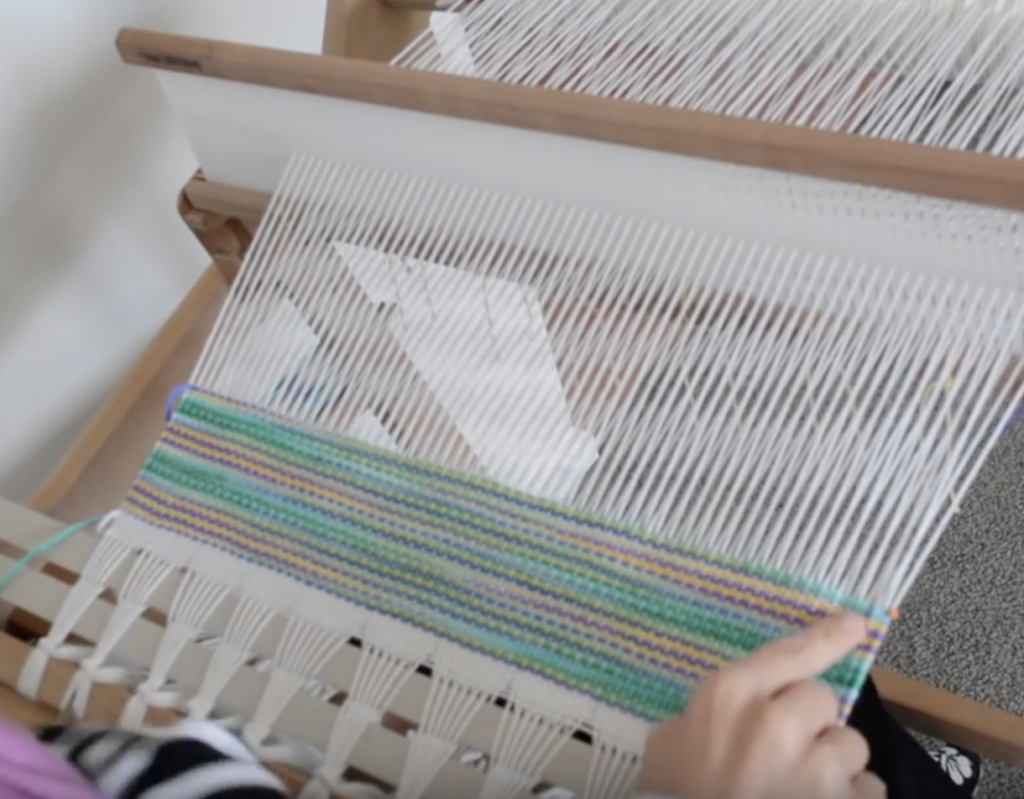
Now for the really exciting part! Once you’ve finished your required amount of weaving (check the Essential Project Information free download here) you can cut your weaving from the loom. Yay!

If you missed the last post about weaving and advancing the warp, you can find that here.

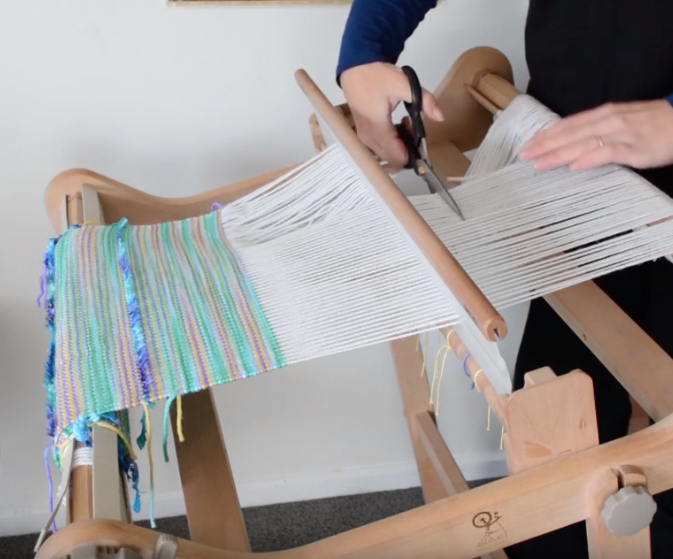
Release the warp tension at the back of the loom a little. If you want a fringe or are worried about your weaving unravelling at all, you can cut behind the reed which leaves plenty of fringe space.

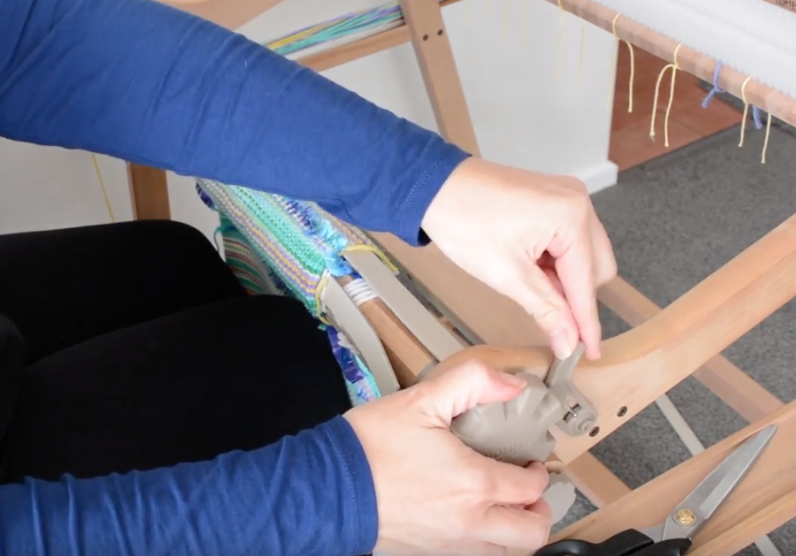
Then, back to the front of the loom to release the brake, allowing you to easily unroll your weaving from the front beam.

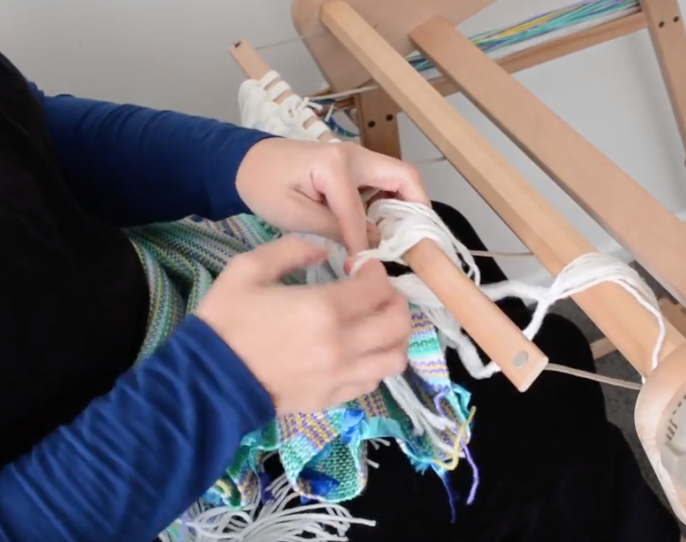
You can either cut or undo the knots from the apron rod. I usually prefer to undo the knots (especially important if you want a fringe). Also, if you wove in a header with waste yarn at the beginning, now is the time to take that out.

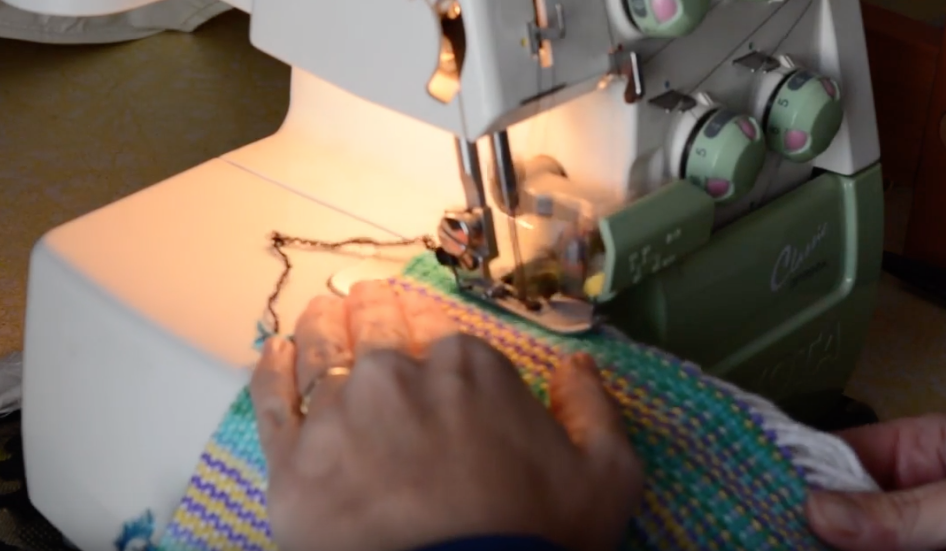
Before wet finishing, it is essential to secure the raw edges of your weaving. A serger will make this job super easy, or a sewing machine set on zig zag stitch is also good.

You can find basic wet finishing instructions at the end of this video:

Or more detailed instructions in this blog post or video:

At the end of wet finishing and drying, you have some beautiful woven fabric ready to use and sew with. That’s what we’ll be talking about next time, I hope you can join me for that!

Until then…

Happy Weaving!

Filed Under: Rigid heddle weaving, Tote Bag series, Tutorials, Weaving Tagged With: rigid heddle weaving tutorial, tote bag, tote bag weave along

Tote Bag Weave Along, Lesson 5

by Kelly Leave a Comment

In today’s post we carry on with the weaving of the tote bag panels and also talk about advancing the warp.

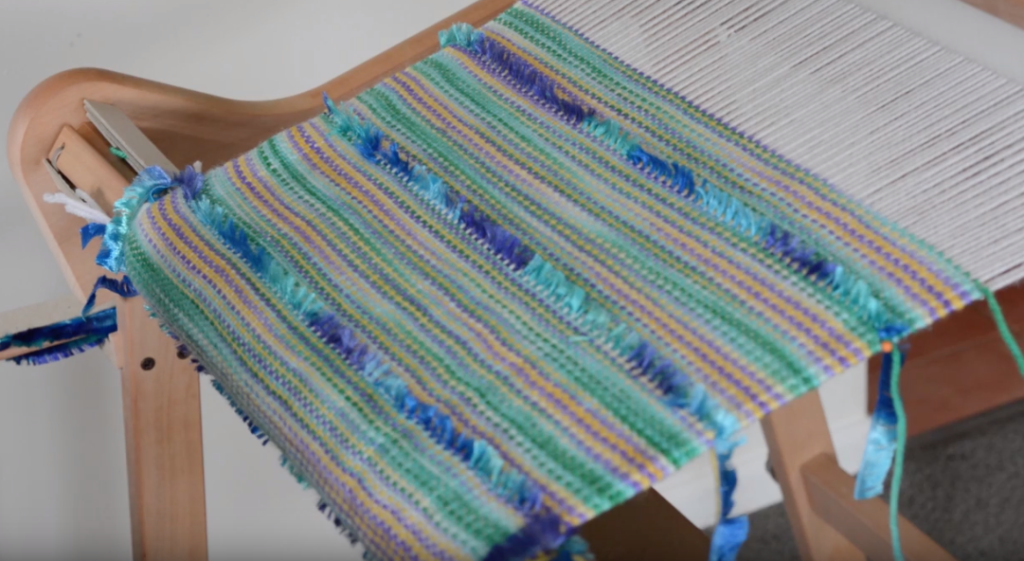
An important aspect of good weaving is advancing your warp. Of course, you can’t actually continue weaving unless you do so, as your weaving will fill right up to the heddle/reed and you won’t be able to weave any further.

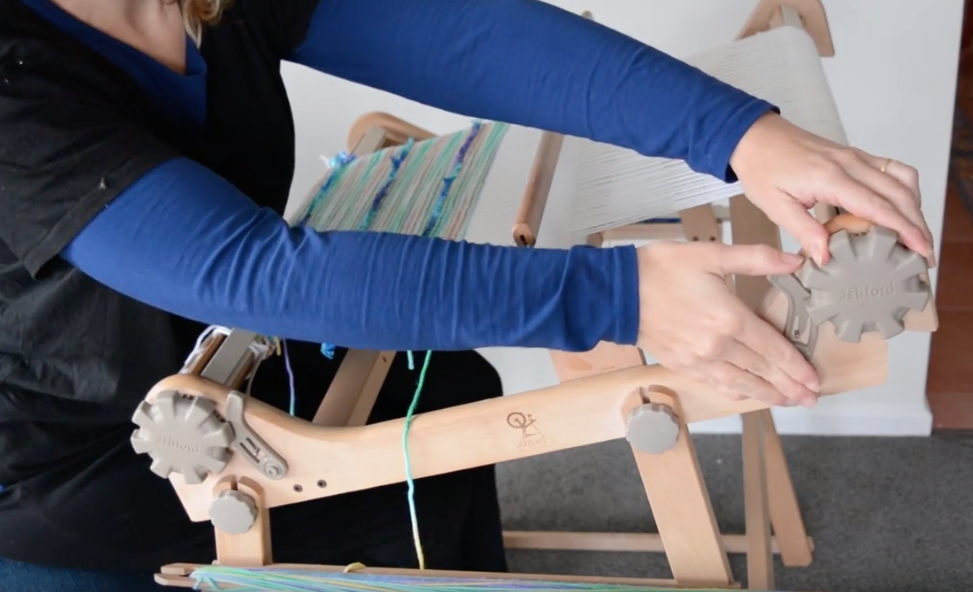
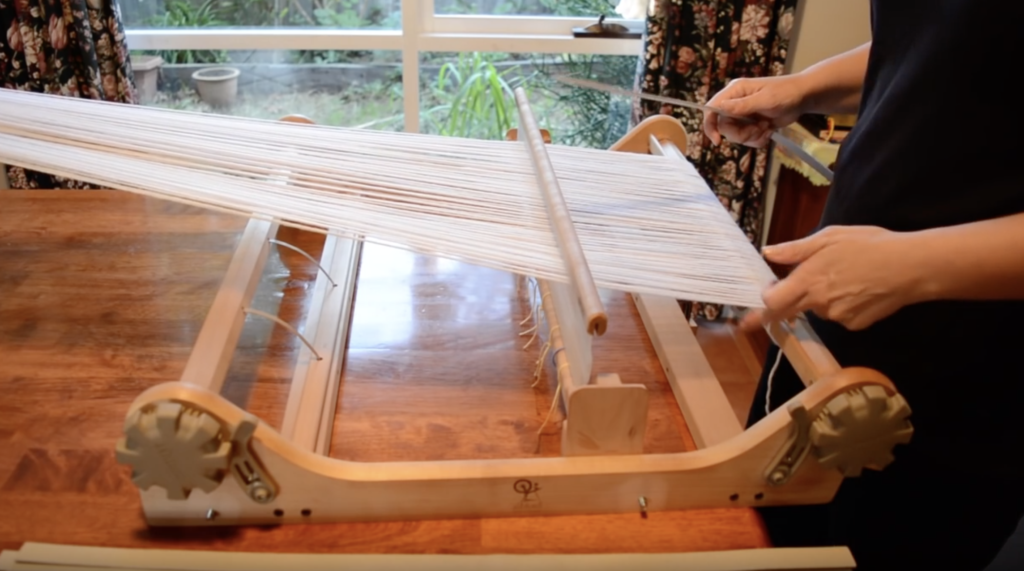
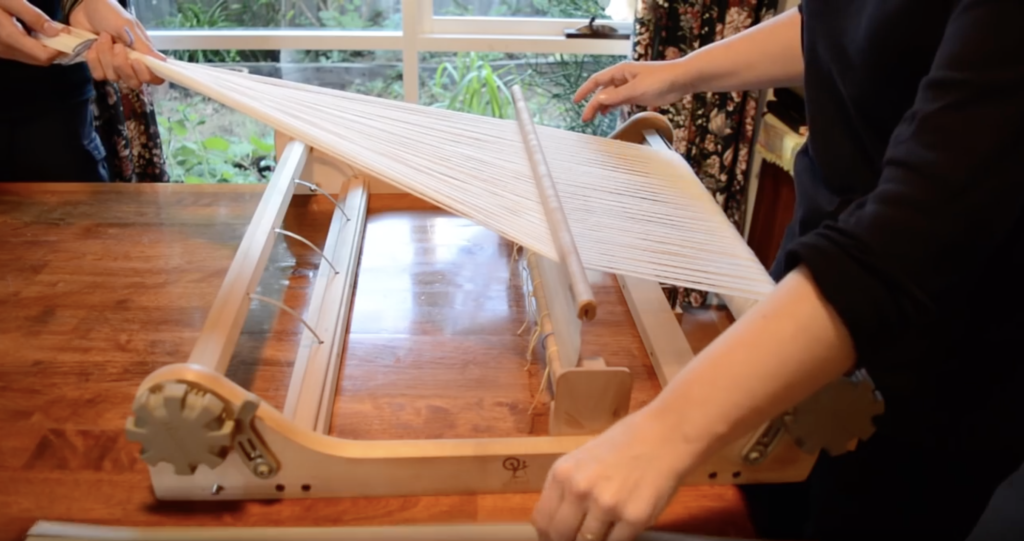
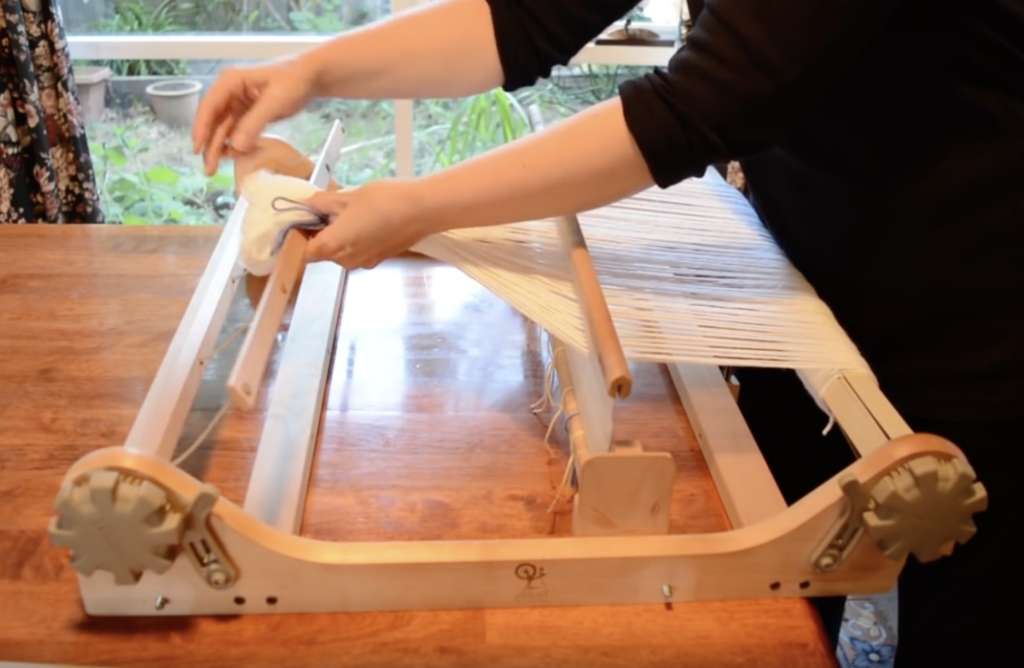
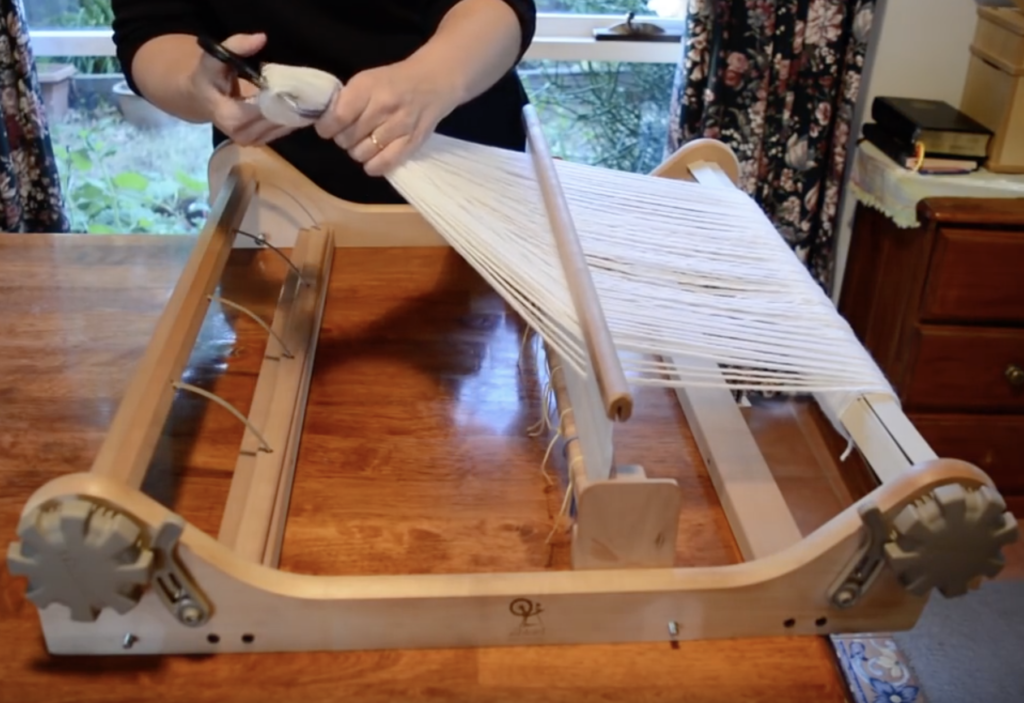
Advancing the warp exposes more of the empty warp threads so that you can keep weaving. It basically involves releasing tension at the back of the loom, rolling the warp forward at the front of the loom, regaining your tension and then continuing to weave.

Releasing tension at the back
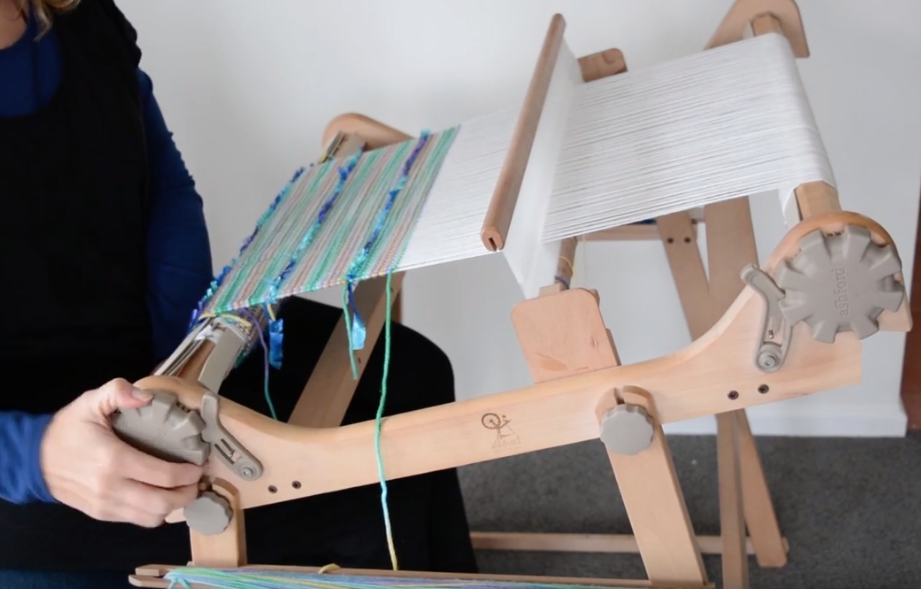
Readjusting tension at the front

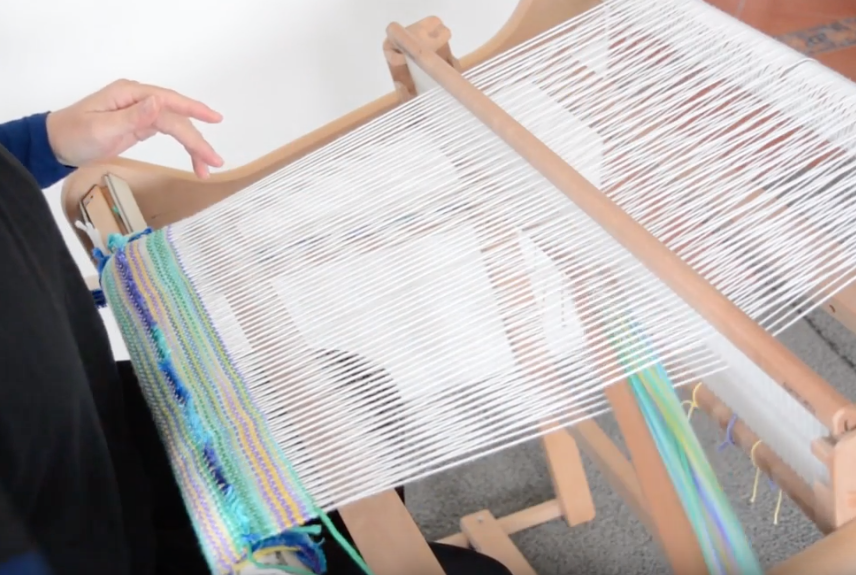
There is always a “sweet spot” for your weaving, the position is where the tension feels right and the beating is easy. If you wind forward too far, when you beat, the reed will touch the cloth beam at the front and the beat will be uneven. It’s also uncomfortable for your body to have to bring the reed so far forward, it puts strain on your wrists and shoulders.

Woah, this is way too far forward!

Advancing often, and the right amount also helps you to keep weaving at the same tension.

My “sweet spot” for weaving. Not too close to the front cloth beam, not too close to the reed.

The best tip that I have for advancing the warp is “little and often”.

This video may help you to become more familiar with your loom’s tension system and gain a little confidence for advancing your warp.

I hope this post has been a help to you! Please leave me a comment and let me know, or ask any questions you may have.

The next post will cover removing your weaving from the loom and preparing for wet finishing.

Until next time…

Happy Weaving!

Filed Under: Rigid heddle weaving, Tote Bag series, Tutorials, Weaving Tagged With: rigid heddle weaving tutorial, tote bag

Tote Bag Weave Along, Lesson 4

by Kelly 1 Comment

Now you can really get excited about your tote bag project – it’s time to get weaving! If you missed the last post on threading, you can go here to read it.

Just one more teensy thing before you start to weave – the header. The header helps to spread the warp so that you don’t have big gaps at the very start of your weaving. As with most things in weaving, there is more than one way to put in a header.

*This post contains affiliate links.

My preference is (I think) the easiest. I use 2 cardboard separators (or warping sticks as they are also called). With the heddle/reed in the up shed I insert one stick, then change to the down shed to insert the second stick. Then beat to push them into place. You may want to weave an additional header with spare yarn if you feel your warp is too gappy (I demonstrate this in the video at 1:10) Pop the heddle into the up position again and you’re ready to weave!

Don’t forget to wind your stick shuttle.

It doesn’t matter which side you enter into the shed with the shuttle, but it is useful to develop a habit when working plain weave to always enter from the same side to avoid any confusion as to which shed you should be in and to easily develop a weaving rhythm.

I give yarn recommendations in this post, but a variegated yarn is particularly effective and makes the plain weave look more fancy than it is. I dyed my own yarn for this project. You can also get a bit fancy by using a novelty yarn as a feature. I used an eyelash yarn as an occasional stripe to accent this bag.

If you are a newer weaver, you may be worried about obtaining neat edges. This is very much a matter of practice makes perfect, but this video shows you my pinching technique that has helped many newbies improve their edges.

You also want to try to keep your beat consistent and even. One way to see if you’re beating evenly is to stand up and look at your weaving from time to time. You will see quite clearly whether you are beating straight or at an angle.

Don’t forget to measure your weaving as you go. I do this in a simple manner by using a tape measure and marking my last measured place with a plastic or glass head coloured pin. I always write down the measurements as I go so that I don’t have to try to remember!

You will be advancing your warp every so often, and this video will show you how to do that.

Remember to refer back to your essential information project sheet, available as a free download for all the measurements you need to follow.

In the next lesson we will be talking more about continuing to weave and advancing the warp. Be sure to leave me a comment if you need to ask questions or are unsure of anything.

Until next time…

Happy Weaving!

Filed Under: Rigid heddle weaving, Sewing, Tote Bag series, Tutorials, Weaving Tagged With: rigid heddle weaving, rigid heddle weaving tutorial, tote bag

Tote bag Weave Along – Threading and getting ready to weave, Lesson 3

by Kelly 2 Comments

Now you’re ready to wind on your warp.

Your warp is secure with the choke tie you already put in place. If you need to read over the last lesson, please go here first.

Decision time! Are you going to warp with a helper or independently? This decision can often come down to whether you have someone to help you or not. But, if this is your first warp or if you’re not too confident with warping yet, I always recommend warping with a helper. This is a time to get to know your next door neighbour better! Or invite that friend or family member around for a cuppa and just casually mention that you need their help with something and that it won’t take but a minute!

*This post contains affiliate links

If you feel like you really need more information on warping at this stage, I have an excellent class, Warping for Beginners.

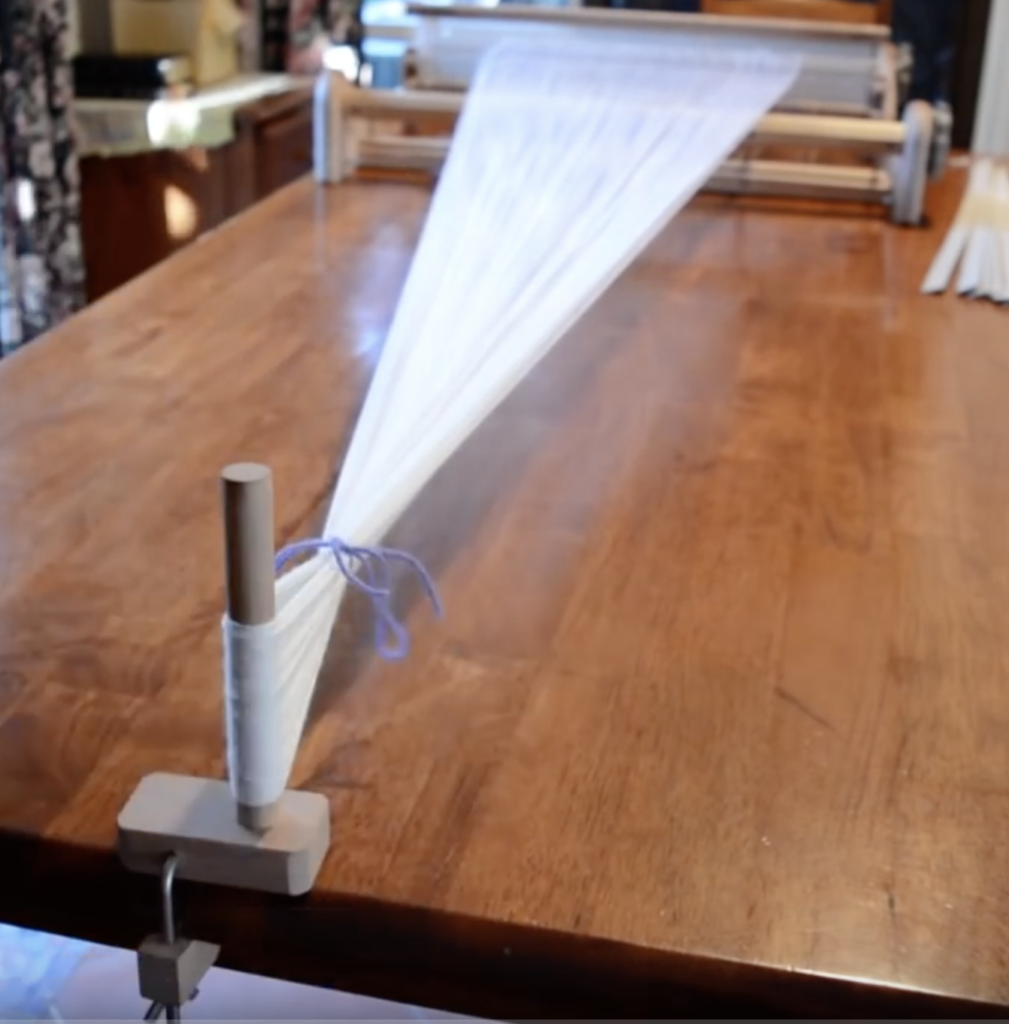
To roll your warp onto the back beam your will need something to use a separator. In the Youtube video demonstration I use my cardboard separators (also known as warping sticks) but you can also use a roll of paper or a blind if you prefer a continuous separator.

Having a helper takes the pressure off the newer weaver. You can concentrate on turning the clicker and pawl system which rolls the warp on without having to worry about uneven tension. It also means that you have two hands free instead of just one.


Place 1 cardboard separator for each full warp rotation.

I like to keep winding until the end of the warp is just over the front apron bar. This ensures that I have enough length in the warp for comfortable threading.

At this point I cut the warp ends, then undo the choke tie.

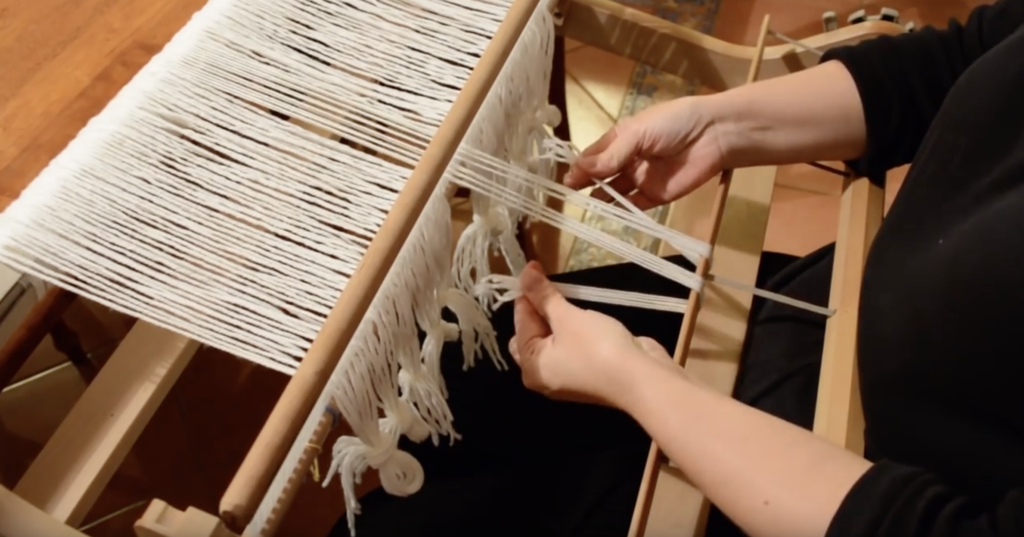
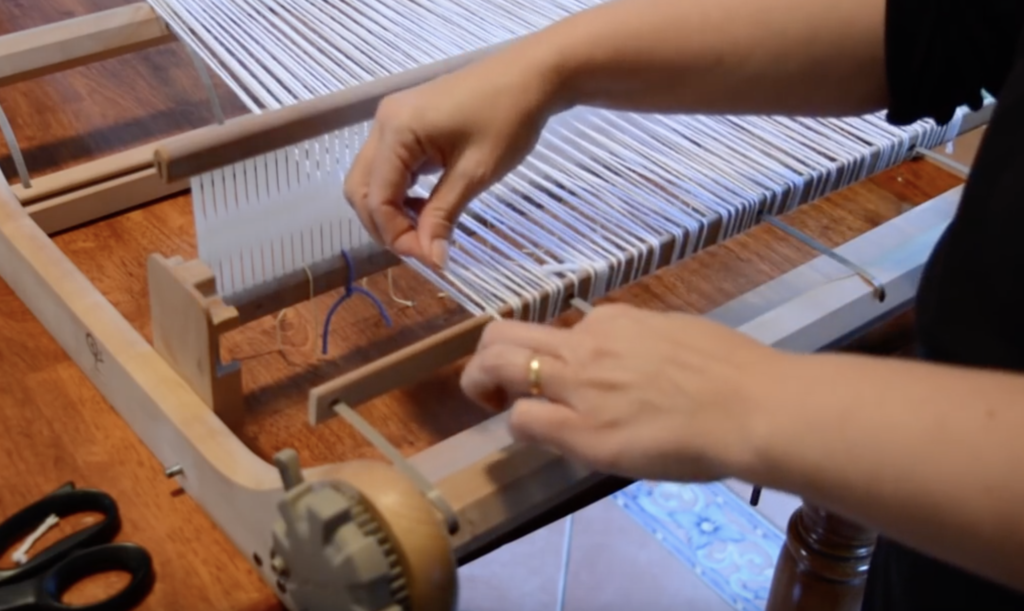
Time to begin threading! Before you start, I highly recommend that you watch my free Threading Tips video. So, for plain weave, I thread one in the left hole and leave one in the slot. It doesn’t matter whether you thread in the right or the left hole, but the left is my habit and I stick to it.

Keep threading in this simple fashion right across the width of the warp.

Now we tie on to the apron rod. Some weavers prefer to leash on but I only do that for slippery threads as I find I get better tension when I tie directly on to the rod. For this section, I will refer you to the video near the end of this post – it is much easier to show than to explain the knotting system.

Go back over your knots and tighten them all to an equal tension. You are trying to obtain firm and consistent tension, not necessarily to get them as tight as you can. If you have consistent tension, everything will tighten up when you advance the warp in readiness for weaving.

Here is the video that goes along with today’s lesson, I think you will find it very helpful!

Well, now we are almost ready to weave and things start to get exciting. Join me next time for options for putting in a header and beginning to weave!

Until next time…

Happy Weaving!

Filed Under: Rigid heddle weaving, Tutorials, Weaving Tagged With: tote bag weave along, weaving lessons

Tote Bag Weave Along – Warping, Lesson 2

by Kelly 4 Comments

In today’s Tote Bag Weave Along post, we will cover warping. The last post containing details about materials can be found here.

You can download the PDF with essential project information below.

tote-bag-weave-along-essential-infoDownload

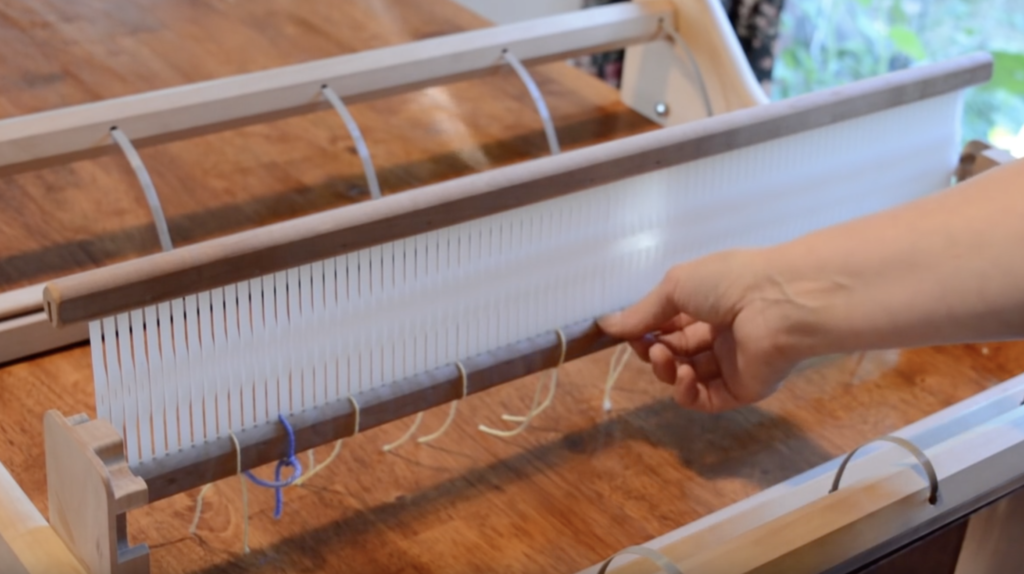
Prior to warping for any project I find it very useful to mark out the width of the project with some waste yarn to avoid having to count and re-count slots, which can be a bit tedious! I just thread the waste yarn through the slot and tie it at the bottom of the reed. Easy peasy.

*This post contains some affiliate links, meaning that if you click and purchase, I receive a small commission at no extra cost to you.

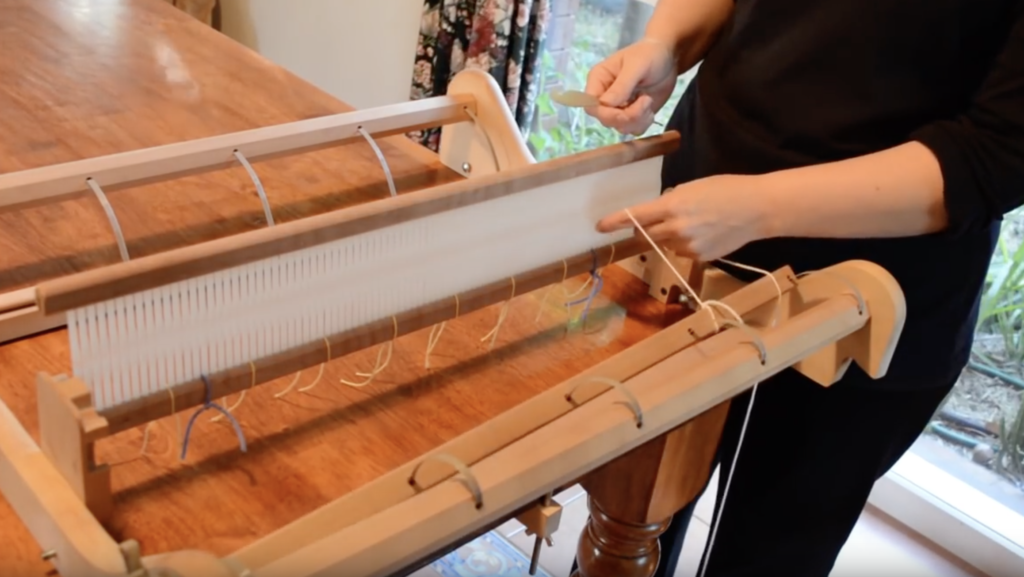
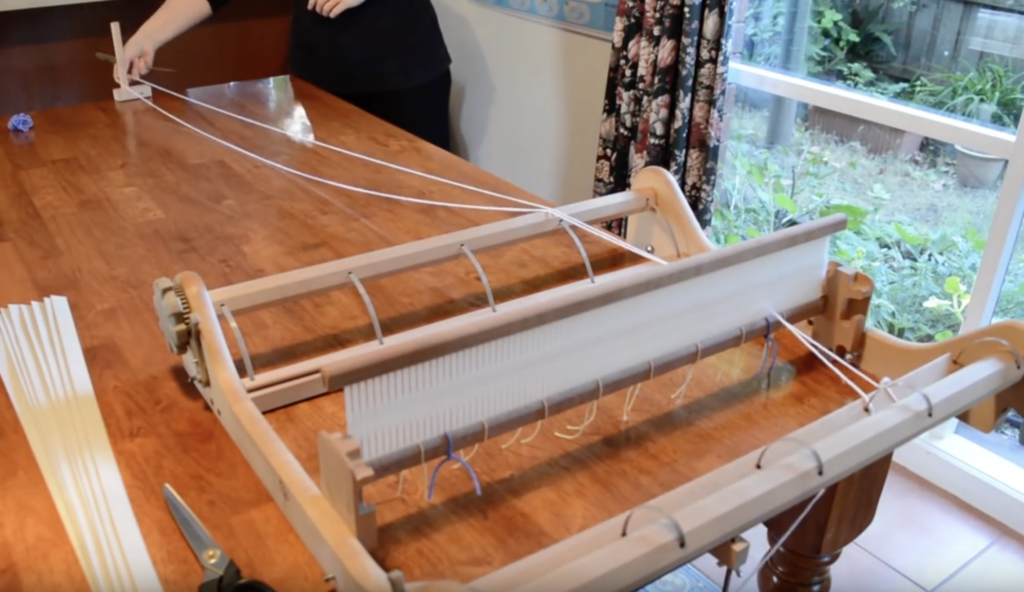
You can begin warping on the left or the right side of the loom, it doesn’t matter, but my habit is to start on the right. Tie your first length of yarn onto the apron rod, take it through the first slot and around your warping peg, back through the slot and then around the apron rod again. Alternate so that your thread goes over then under the apron rod each time.

By the time you are finished warping, you should have 2 threads in each slot. Place your yarn gently on the peg – we are not aiming for tight tension at this point, just consistent.

When you are finished warping the required number of ends, cut your yarn and tie off on the apron rod.

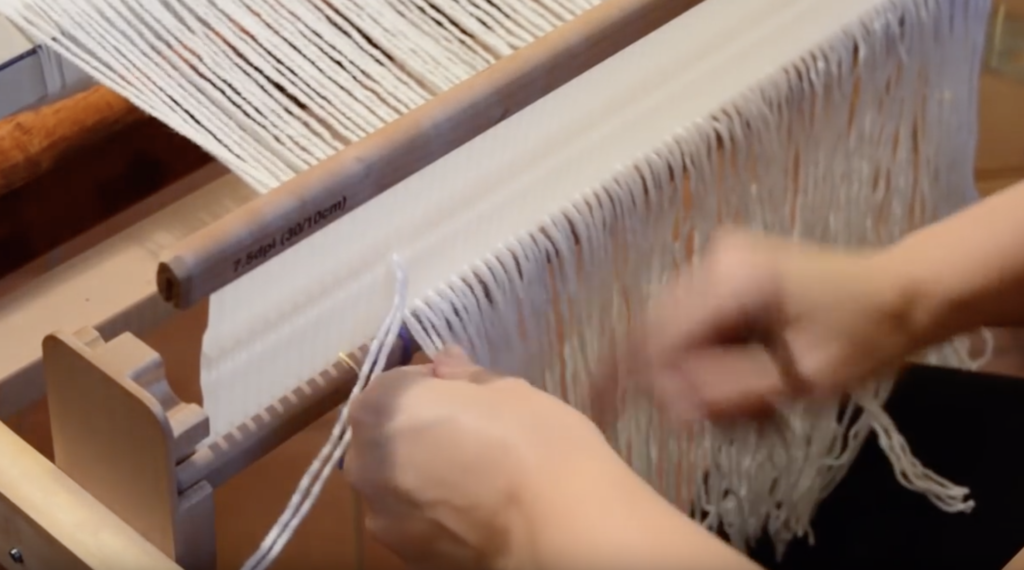
Now you’re ready to place a choke tie around the warp near the peg to keep it all together as you wind the warp onto the back beam. A piece of waste yarn in a bow is perfect for this.

The step by step video instructions for this lesson are available for free.

If you need the basic equipment to get started on this project, here are my suggestions:

I have a 24″ Ashford Rigid heddle loom (most looms will come with a 7.5 or 8 dent reed, a threading and reed hook, one stick shuttle and a direct warping peg.

Ashford also have a 16″ rigid heddle loom that is appropriate for this project.

A sewing machine is really invaluable for making bags or any other sewing you want to do with your handwoven fabric. You do not need to spend a fortune on a fancy schmancy machine with all the bells and whistles, just a basic straight and zigzag stitch machine. I have a basic Janome and am very happy with it.

I’m not going to tell anyone that a serger is a must have for sewing hand woven, but the truth is, if you do a fair bit of sewing it will make your life a whole lot easier. I have an old Toyota serger that I bought cheap many years ago as it was an ex demo model. Sergers have actually come down in price since I bought mine, so a new one would set me back the same as what I bought my old one for. I do recommend checking out Janome sergers if you’re in the market for one though.

Yarn suggestions area covered in the last post.

If you have any questions at this stage, please leave them in the comments below.

Next time we will learn how to wind the warp onto the back beam, then thread and tie on in readiness for plain weave.

Happy Weaving!

Filed Under: Rigid heddle weaving, Sewing, Tutorials, Weaving Tagged With: learn to weave, rigid heddle weaving tutorial, tote bag, tote bag weave along

June Weaving Boot Camp opens today!

by Kelly Leave a Comment

Hi Weavers!

Just a quick heads up to let you know that in just over 2 hours, I will open the doors of Weaving Boot Camp for a short time.

If you are a new weaver or you simply wish to get to know your loom and increase your confidence, this is the course for you!

To sign up, follow this link.

If you want to know more, follow this link.

If you have any questions, leave a comment under this post.

I hope to see you there, I can’t wait to get started!

Filed Under: Online Weaving School, Rigid heddle weaving, Weaving Boot Camp Tagged With: onlineweavingschool, rigid heddle weaving, weaving boot camp

Tote Bag Weave Along Lesson 1

by Kelly 13 Comments

It is almost 3 years since I first posted my Tote Bag Weave Along series on Youtube. It has been my most popular series ever, and I’ve been thrilled to see so many bags woven by others!

I’ve wanted to add extra functionality to the series for those who desire it, and that is what I’ll be doing here over the next couple of posts. I will be giving yarn details and help, printable PDF’s, as well as some step by steps for some sections of making the bag.

I’m beginning with the materials list that you can now download and print out.

totebagweavealongmaterialslistDownload

OK, lets get into some extra details and questions you may have from the list.

*This post contains affiliate links, meaning if you click and purchase on the link’s given, I receive small commission at no extra cost to you šŸ˜‰

Do I need to have a 24″ or 60cm rigid heddle loom?

Not necessarily! Although weaving the bag in one piece is the easiest option, it’s not the only way. If, for example, you had a Sampleit loom, you could weave 2 panels, 10″ wide and sew them together for each bag panel you need. (So that would be 4 panels you would weave for one bag). You could even make a design feature of your panels by weaving the wefts in different colours so that each side of your bag would contrast. Where there’s a will there’s a way!

Do I need to sew the handles myself?

Nope. You have other options for the handles too. If you have an inkle loom, you could weave them yourself, in either matching or contrasting colours. You can also purchase ready made handles and these come in a huge variety nowadays. You can choose from metal, acrylic, wood, rattan, and faux leather, to name a few!

I can’t get Australian 8 ply merino – what are my other choices?

There are many yarns you can substitute with and you don’t have to use wool. Cotton, acrylic, bamboo and others can be used too. One world of caution though. When you iron on your interfacing, your chosen yarn needs to be able to take the heat without being scorched. Cotton or superwash wool are good choices.

Here are some suggestions for you:

Lily Sugar n Cream is a range of cottons that come in the most gorgeous colours and varieties. Their variegated cottons are wonderful and they even have curated colour packs! Cascade Ultra Pima is another possibility.

For wool, you have Cascade Superwash, Patons Classic, Carlton Merino and so many more. Yarnsub.com is an excellent resource for checking and comparing yarns.

Do I have to line my bag?

No, but it does give a really nice, more professional looking finish.

Do I need to use a sewing machine?

Technically, you could hand stitch this whole project, but that is not something I would do! If you decide to, make sure your stitches are small and strong, a bag needs to be hard wearing. Whether sewing on a machine or by hand you should always use a good quality thread like my favourite, Gutermann. Cheap thread is cheap for a reason!

Next time we will go through some of the steps for the project. If I have missed anything or if you have questions about the materials, please let me know in the comments. Also, please let me know if offering the series in this format is helpful to you.

In the meantime, if you want to take a look over the Tote Bag Weave Along video series, you can start with the introduction video below.

If you have any questions about the project or anything from this post, please let me know in the comments!

Until next time…

Happy Weaving!
Filed Under: Rigid heddle weaving, Sewing, Tutorials, Weaving Tagged With: rigid heddle weaving, rigid heddle weaving tutorial, tote bag, weave along

  • « Go to Previous Page
  • Page 1
  • Interim pages omitted …
  • Page 11
  • Page 12
  • Page 13
  • Page 14
  • Page 15
  • Page 16
  • Go to Next Page »

Primary Sidebar

About Kelly Casanova

Join Kindred Creatives!
Hand crafted boat shuttles

Categories

Archives

Meta

  • Log in
  • Entries feed
  • Comments feed
  • WordPress.org

Copyright © 2026 Kelly Casanova Weaving Lessons on the Foodie Pro Theme