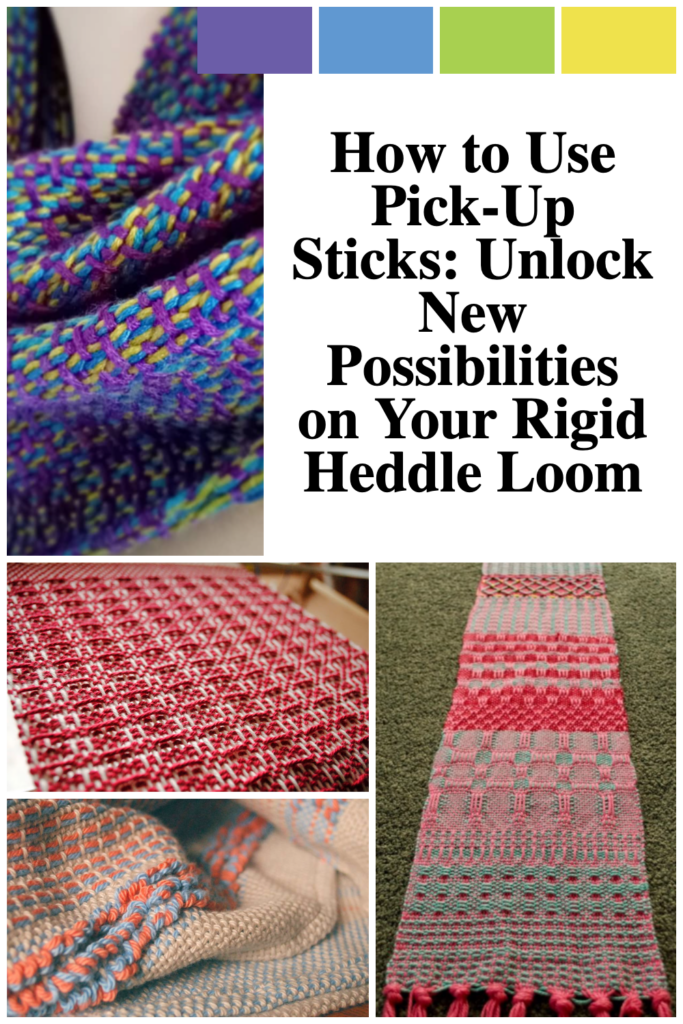
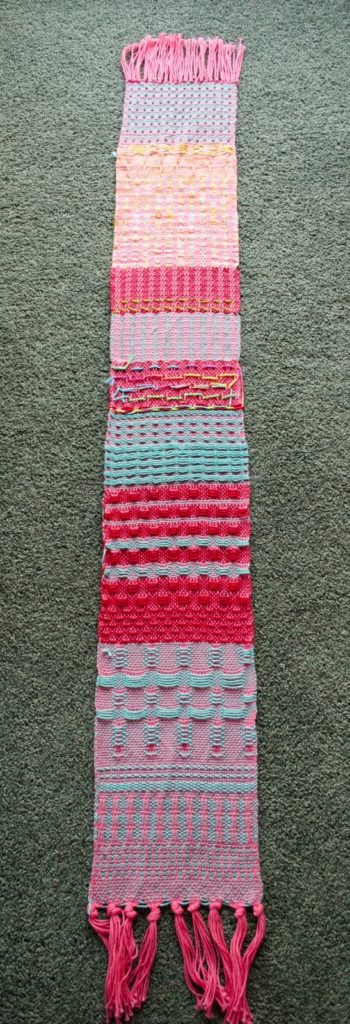
I’ve always avoided doing samples of just about anything, I’m a “just get me to the good part!” kinda girl! But I finally bit the bullet and decided to warp up the rigid heddle loom with cotton (so I can sew them into dish cloths and make the sampler useful). Armed with Jane Patrick’s “The Weaver’s Idea Book” and a couple of pick up sticks I just leafed through, picked a pattern I wanted to try and started.
What a surprise! Weaving patterns is not hard. I repeat. Weaving patterns is not hard! Why did I have this in my too hard basket for so long? Most of these patterns were made with one pick up stick, then once you’re used to that it’s easy to introduce a second stick.
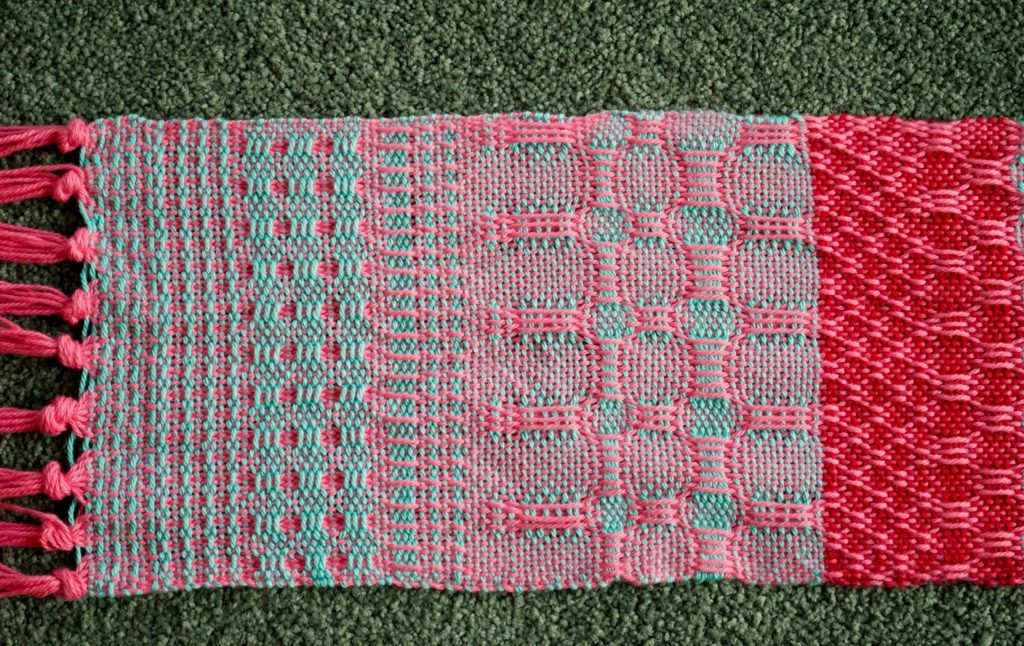
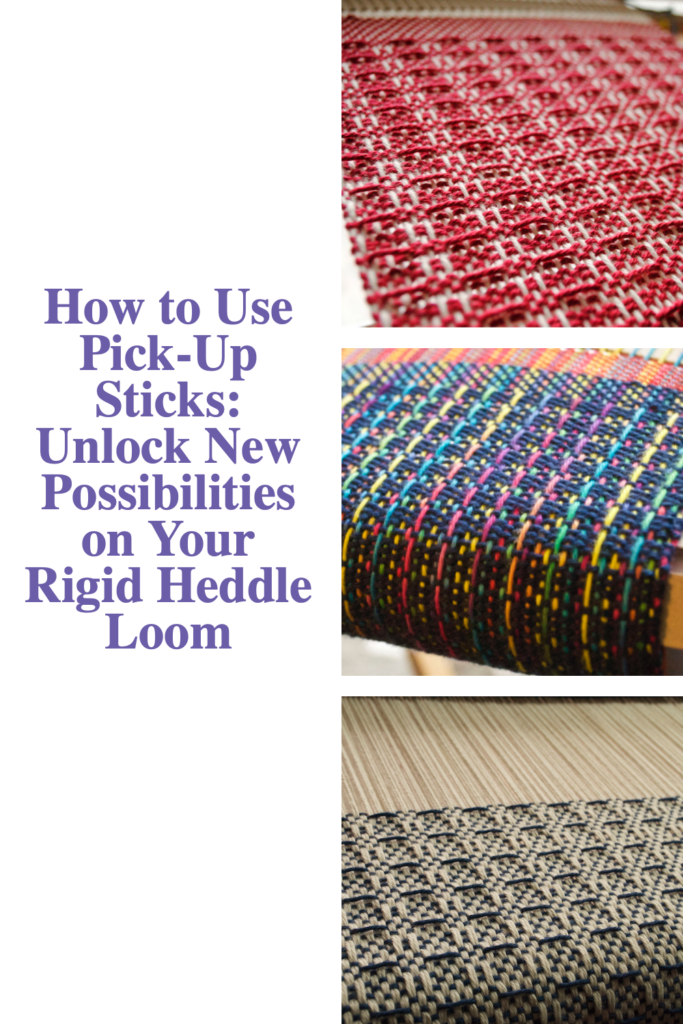
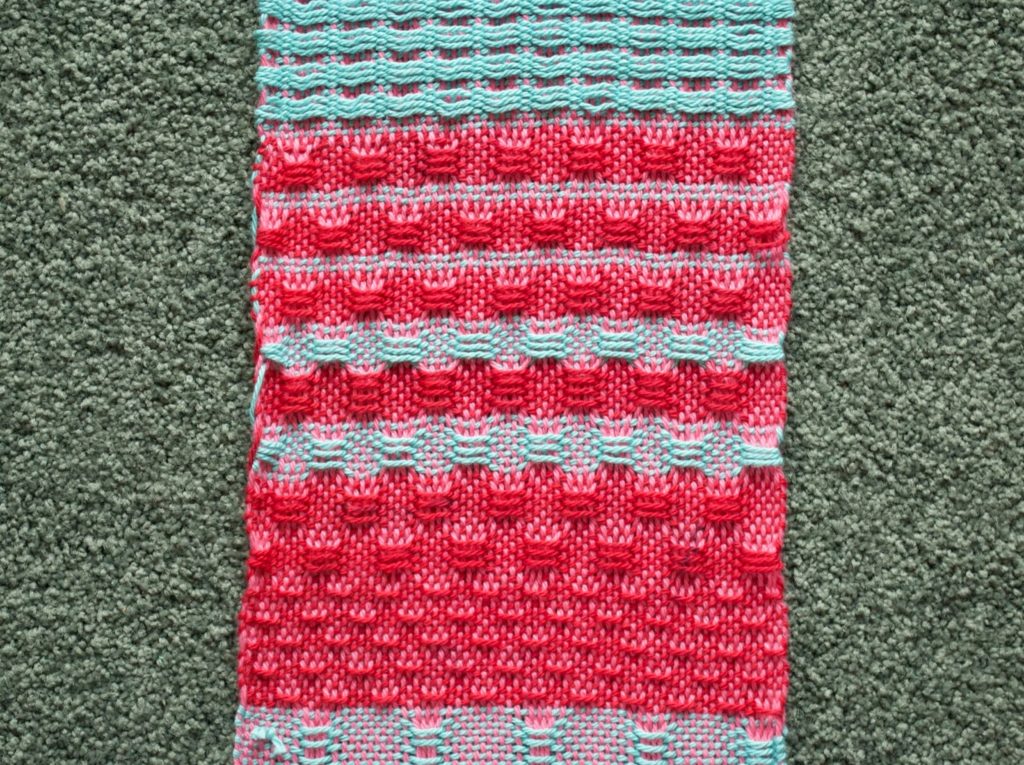
Above you can see a honeycomb pattern, some lace variations and some grouped and paired warp floats. Unfortunately I didn’t write down the patterns as I went, so lost track of a few.
As I wove pattern after pattern I realised just how many patterns are possible. Hundreds.
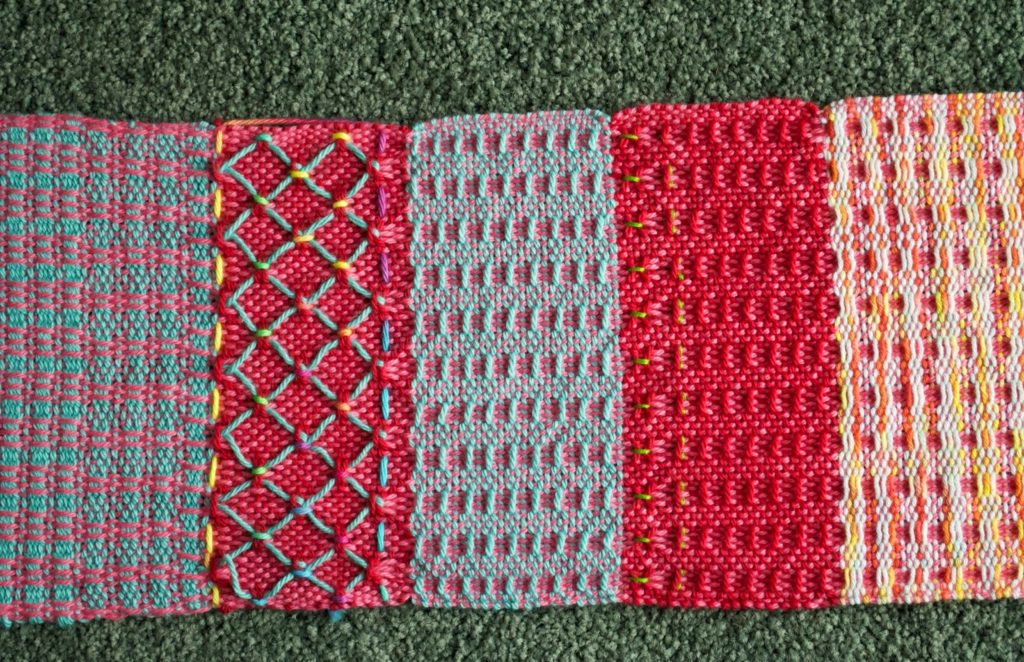
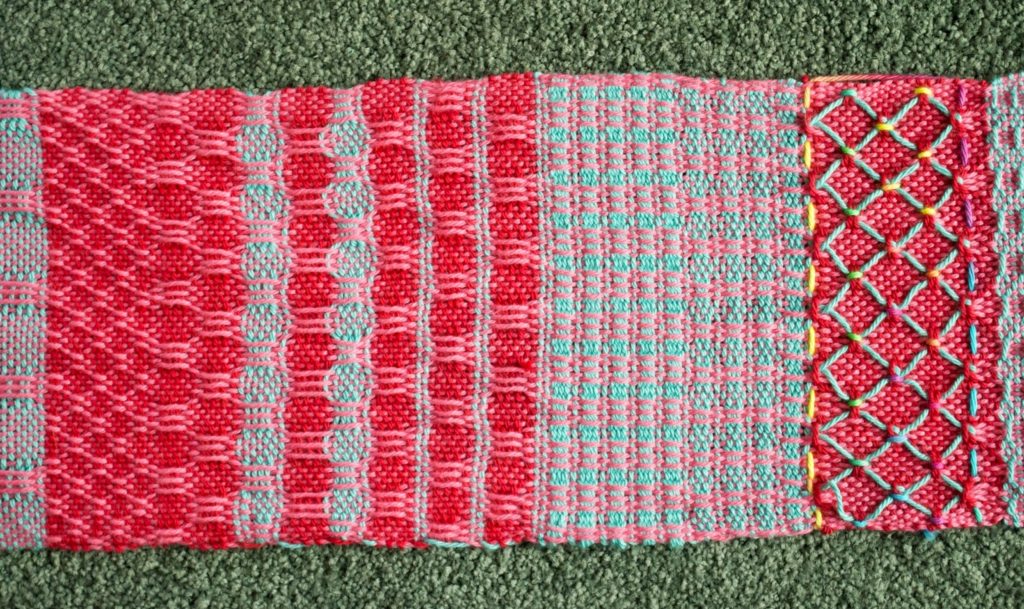
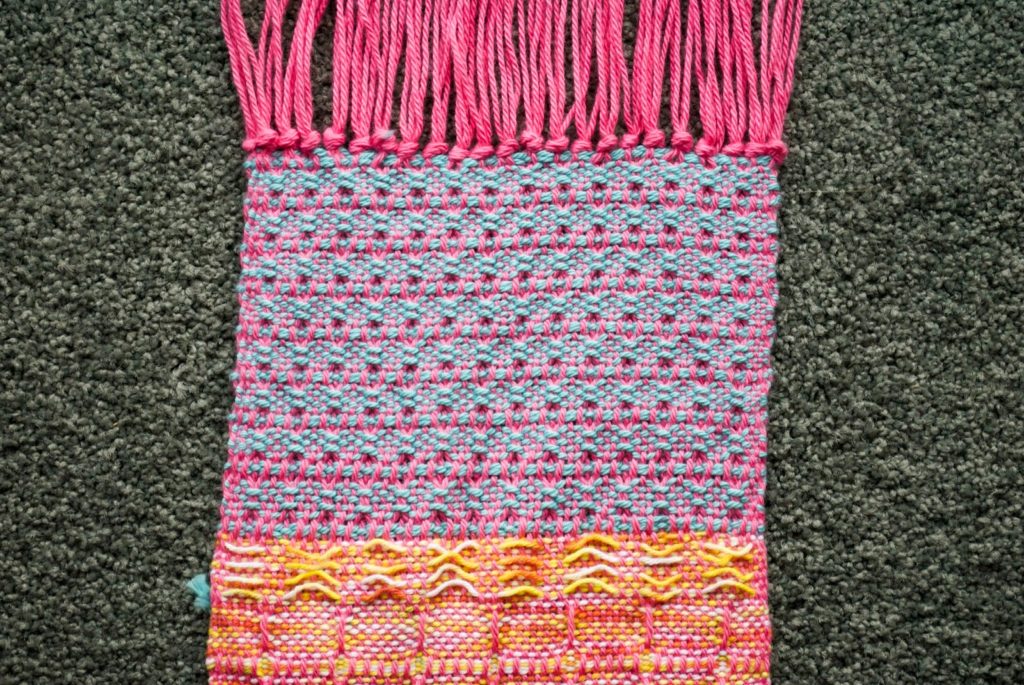
See the diamond shapes? I did a little surface embellishment with different coloured cottons and a tapestry needle. So effective!
Some more surface embellishment on the orange weave here, just tying in little knots for fun. The pink and blue you see here is a windowpane weave, which is gorgeously textured.
And now for the super cool part. Flip your work over and you have a completely new set of patterns – yes, most of the patterns are reversible and look different on each side.
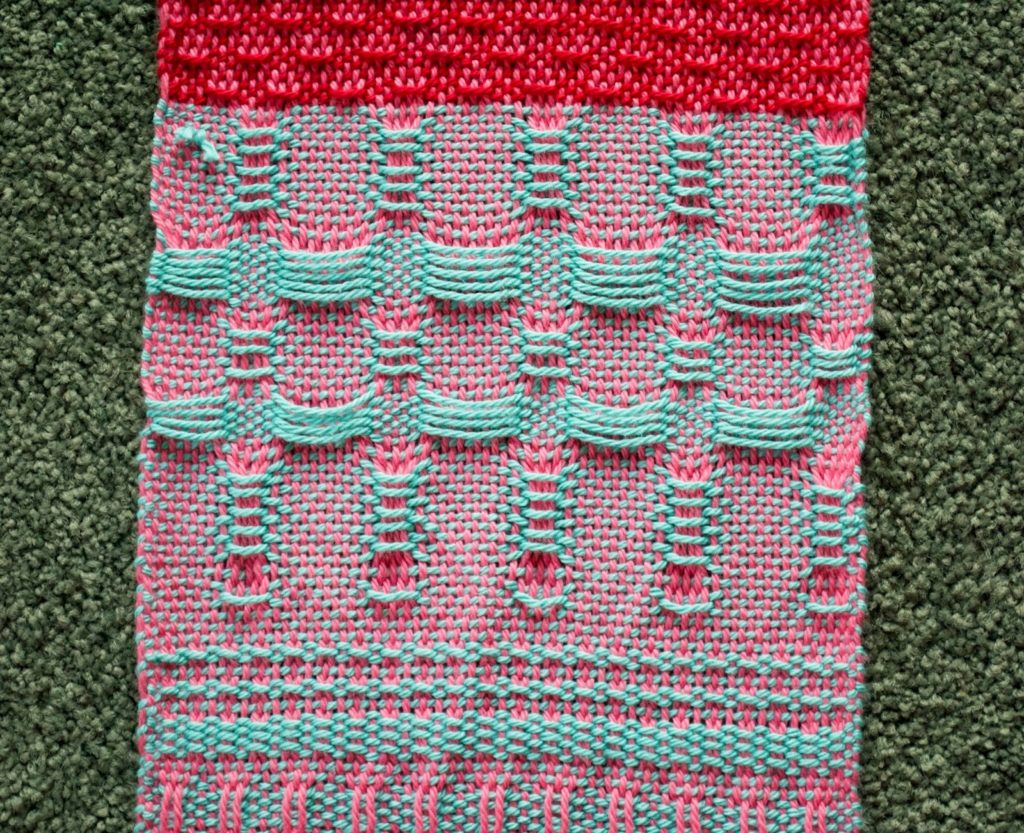
The back of the honeycomb weave becomes a series of curved weft floats.
The back looks just as good as the front but totally different!
I’ve learned so much from weaving this sampler and it was well worth the time investment.
I discovered things like if you’re weaving different patterns on one piece you need to be aware that individual patterns will have their own draw in rates, so you need to be aware of that unless you want wonky edges.
I learned that my humble rigid heddle weave is capable of much more than I gave it credit for and I still have plenty more to explore.
I learned not to be so afraid of trying something new.
I learned that making great cloth is not hard and is fun and interesting.
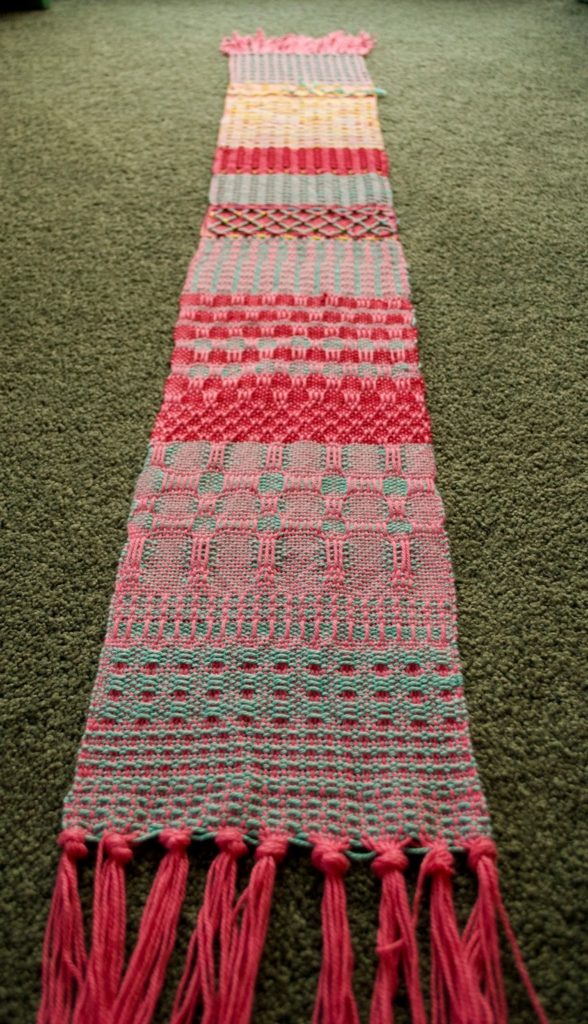
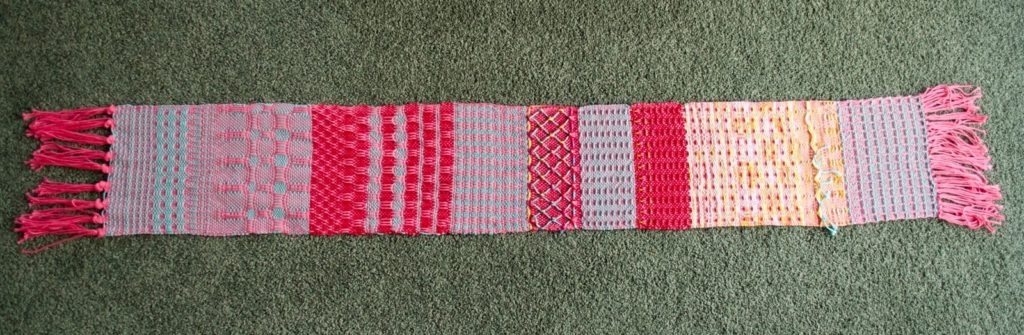
So, now I’m settled on a pattern to use for the scarf I’m doing to enter into the Melbourne Show. I’m working on it right now, can’t wait to show you when it’s finished!