Search Results for: weaving
Clasped Weft weaving on a rigid heddle loom
My latest video is now available to view, I hope you enjoy it!
New ideas and new stuff for weaving
Weaving sampler
Weaving WIP
Weaving on a rigid heddle loom
Ojo de Dios weaving
Calculate your number of ends
Here is a quick and easy calculator to find out the number of ends for your project.
You will need to know the desired width of your finished project plus the sett (ends per inch) you intend to use.
You can choose to see your number of ends with a 10% shrinkage rate included or without – whichever you prefer!
Gift Guide for Weavers 2024
It’s that wonderful time of year again, which means it’s also time for a new gift guide for weavers!
Welcome to the Gift Guide for Weavers, 2024!
This year I’m ordering the guide from lowest to highest price so you can jump to where your budget is currently at. Gifts most definitely do not have to be expensive but for some of you it may be the right time to purchase that upgrade or tool you’ve been wanting.
I don’t think I can every begin a new gift guide without making this one the first item:
- The Clover Jumbo Bent Tip Tapestry Needles are one of my favourite and most used tools in my weaving studio! They are perfect for hemstitching or embellishing a piece on the loom and weaving in ends off the loom.
I use them for hand sewing pieces of hand woven fabric together too. They are also super affordable, making them the perfect stocking stuffer.
I never knew these things existed until one of my students (hi Sandy!) very kindly sent me one. Yes, I had to read the label to find out what it was and now it’s an indispensable tool in my studio.
If you enjoy sewing your handwoven fabric with a sewing machine, you will love this low cost tool. It is a multi purpose tool but what I love to use it for most is to help run my fabric through the machine and press down seams as I go over them with the machine.
Sounds simple, but I used to use my finger for the job this tool is now doing for me! I’m happy to have my precious fingers much safer now.
I bought my first toy loom as an experiment. I was curious to know, firstly – would it work and secondly, what could I weave on one?
Well, after playing around with my toy loom for some time I have been very pleasantly surprised!
A toy loom like this is a great way to get into weaving for a small financial outlay. It is simple to learn how to use, it tensions a warp very well and pleasant to weave on.
It is a small loom, so it does have it’s limitations but it’s such a fun way to get started.
I have a number of resources available for this loom:
I bought a toy loom! Was it worth it?
I wove a blanket on a toy loom!
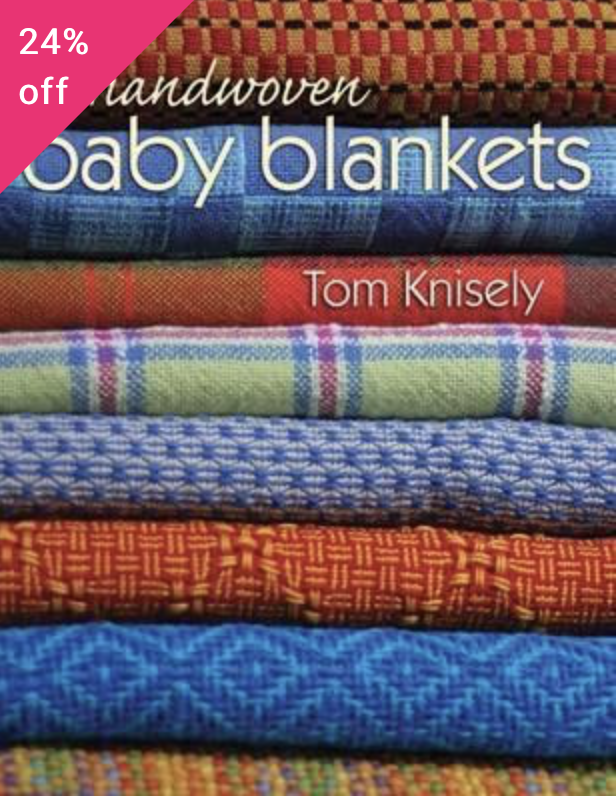
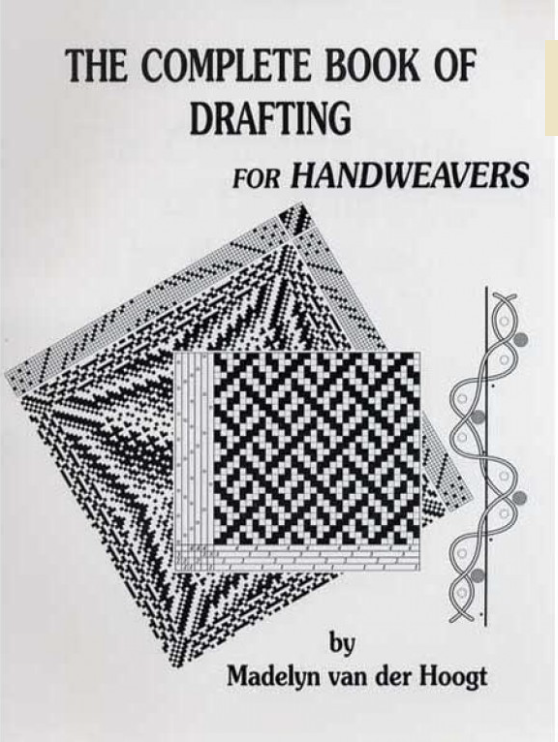
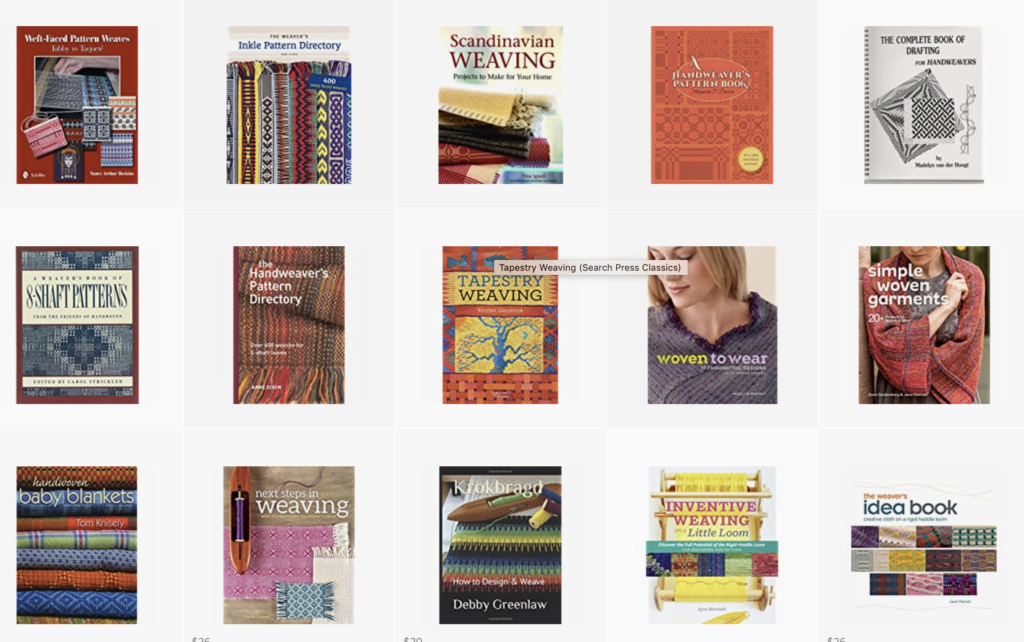
4. Weaving Books
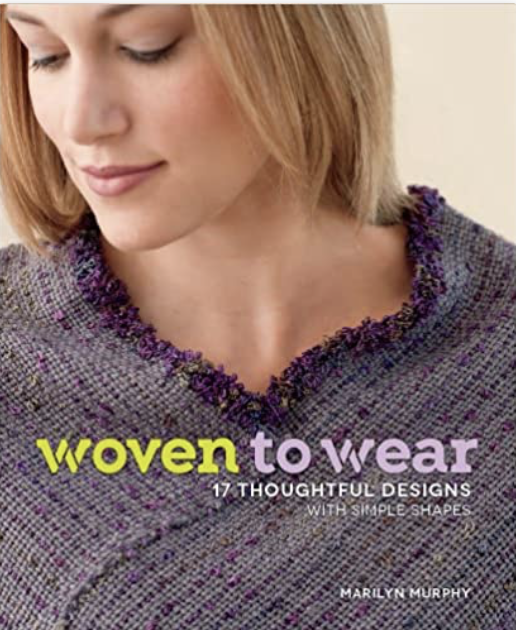
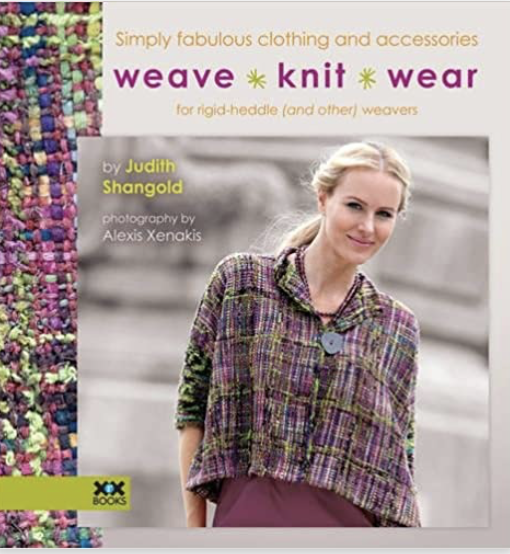
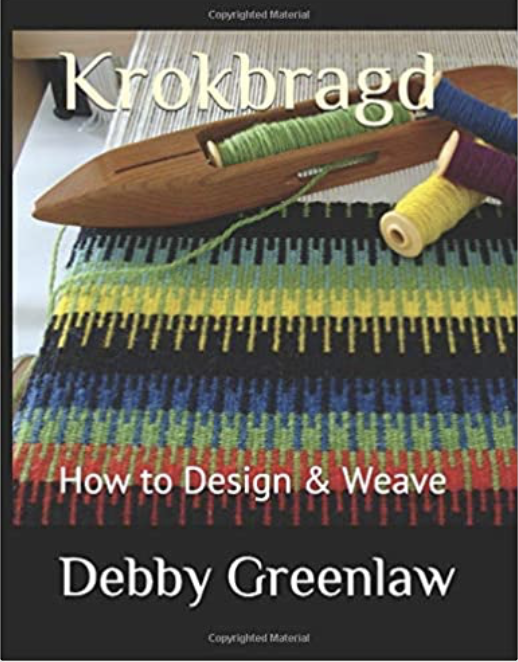
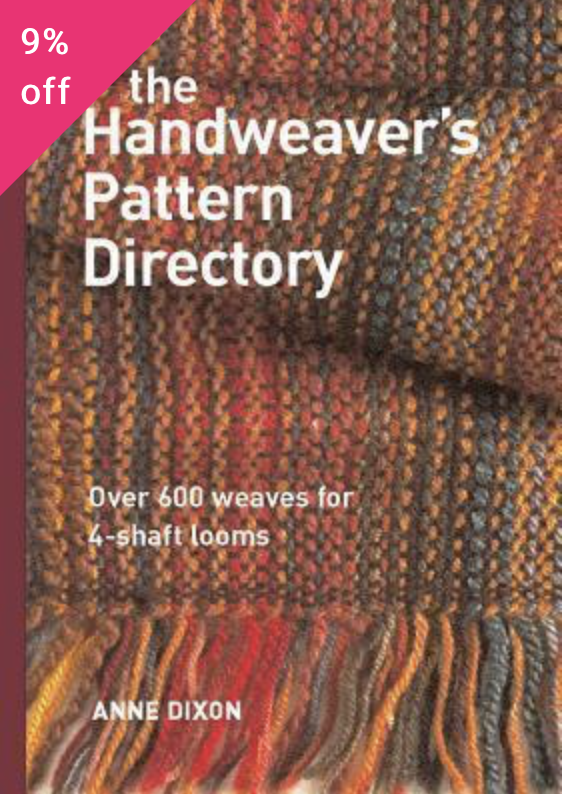
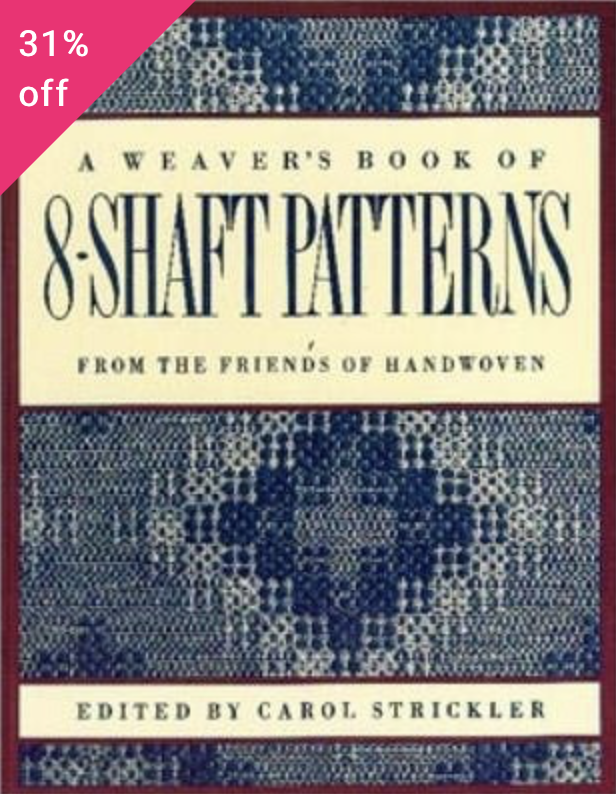
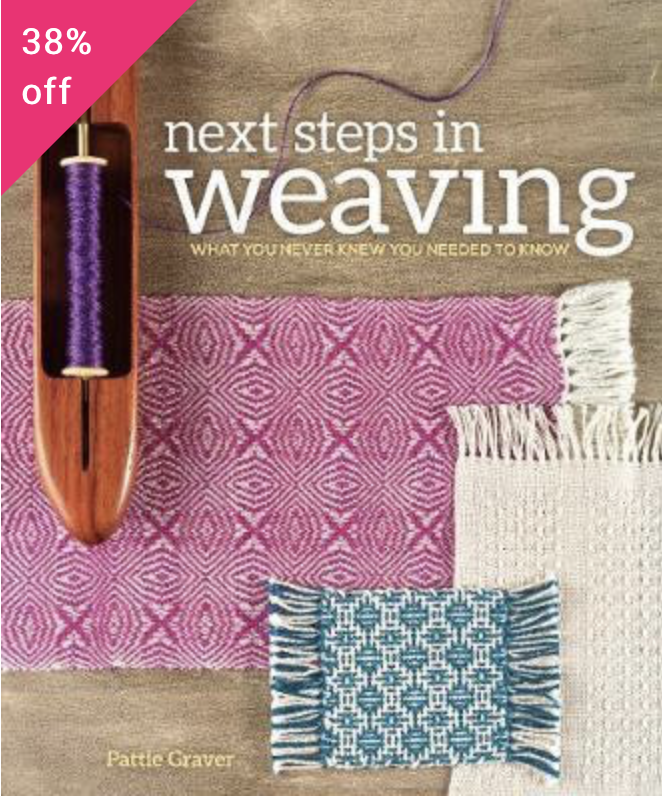
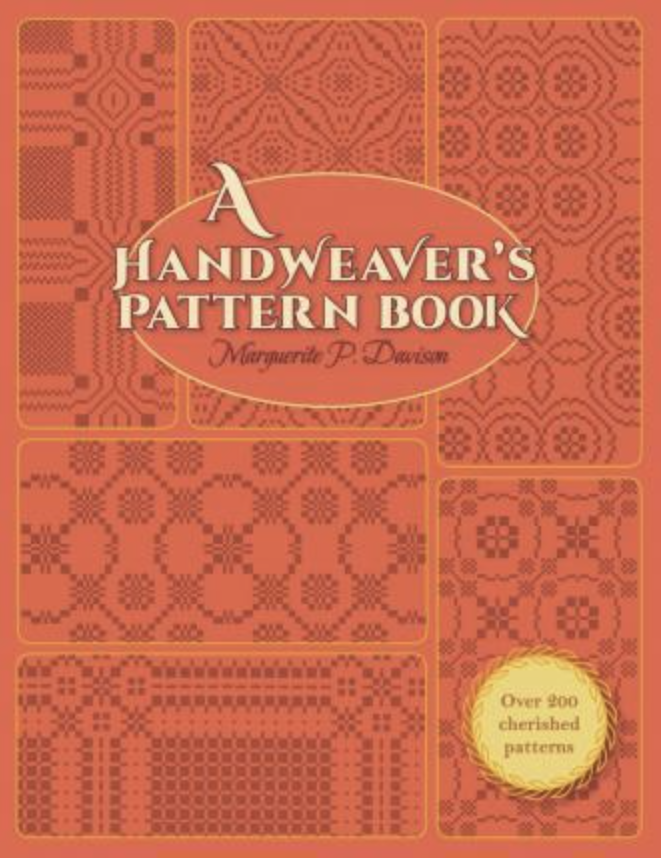
I am a huge book lover and my weaving book library is quite extensive (but there is always room for more! 😉) Weaving books are really invaluable to weavers and make a wonderful gift too.
My favourite rigid heddle books can be found in this post. And my favourite multi shaft books can be found in this post. I have many weaving books listed in my Amazon store too.
5. Ashford Table Loom Shuttle Race
This product was just released recently and is very popular with the table loom weavers! The shuttle race prevents the shuttle from diving through the warp, which can be so frustrating! Available for new and older Ashford table looms in a variety of sizes, this will be a game changer for some table loom weavers!
Another new and wonderful product from Ashford is this larger sized boat shuttle. I am absolutely loving using this with my larger countermarch loom and will definitely be utilising it with my Louet David loom as well.
An inkle loom is a great gift for so many reasons. It’s one of the most affordable and portable looms. It also allows the weaver to have a dedicated band loom without taking up space on another loom. You can be weaving a project on one loom while weaving a band to match on the inkle loom!
For an even cooler gift opportunity, Ashford has an inkle loom available as a kit that includes the loom, some cotton yarn and a wonderful inkle weaving book to get started with.
My very first rigid heddle loom was given to me as a gift from my husband! So of course, I’m a huge advocate for gifting RH looms 😊 This loom is still constantly in use in my studio.
There is a huge variety of sizes available to suit every budget and size requirements. I have a guide for new rigid heddle weavers here.
It’s no secret that I love my David floor loom! It’s compact, modern and gives you a true floor loom weaving experience. I have a review of this loom here if you want to find out more.
10. Online Weaving School Gift Voucher
The weaving school is the perfect place to get started in your weaving journey. There is a huge variety of classes available as well as memberships. Classes include rigid heddle, inkle loom, table loom and floor loom, so there is something for everyone.
To purchase a class as a gift, you simply choose “send as a gift” at checkout plus fill in the name and email of the recipient – this is how it looks:
The recipient then receives an email with instructions for how to use the gift link.
Well, I hope all of you have a wonderfully happy Christmas and maybe even receive some new weaving goodies!
Until next time…
Happy Weaving!
*This post contains affiliate links. For more information, please see my disclosure policy.
I wove a blanket on a toy loom!
I’ve been weaving on my toy loom for some time now and thought it was a good time to challenge myself (and the loom!) to see what we could do together.
I love to encourage weavers of all levels and circumstances to think outside the box when it comes to weaving and to make the most of what you have, what is available to you or what you can afford.
I also wanted to prove to those who might say “you can’t really weave fabric on a toy loom” that you definitely can! And what better way to do that than to show you how to produce something rather large from something rather small.
I have more resources available on this toy loom. In this article and videos I unbox and set up the loom, give my first impressions and then do some replacements to improve it. Then I warp it myself rather than using the pre-made warp plus show you some things you can do with the loom, including pick up.
Now, onto the lap blanket project!
My idea was to weave strips of fabric to join together later. The weaving width for the toy loom is around 6″ and once you allow for draw in and shrinkage, the actual panel width is even less than that.
I wasn’t sure what length of warp this little loom could handle, so that part was a bit experimental. I’m pleased to say that it handled the 83″ of warp length very nicely.
My plan was to direct warp the loom by clamping the loom to one end of the table with spring clamps and achieving the length of warp I desired by using the pegs on my warping board (also known as hybrid warping).
I used an Aran weight (Australian 10 ply) wool and doubled it because the heddles that are built into the toy loom are sett at about 5 ends per inch – that is quite an open sett.
I used Bendigo Woollen Mills luxury 10 ply in Coastal Blue and Shadow. I used 2 balls in each colour (they are large, 200gram balls).
For and quick and easy doubling of the warp I simply took one loop through every hole and every slot using my double ended threading hook so that the loom width was fully warped.
For the blanket, I did a total of 4 separate warps for 4 panel pieces. Each panel piece would then be divided in half to make a total of 8 panel pieces.
I wanted to have stripes on my blanket, so for warps 1 and 3 I warped with the lighter coloured wool and used the darker colour for weft. For warps 2 and 4 I warped with the darker colour and used the lighter colour for weft.
You might think it fairly time consuming to work with 4 separate warps but with the small size of the loom and the ability to direct warp, it did not take long each time. I also skipped the threading step by warping in every hole and slot, so that was a definite time saver too.
Once I had all of my panels woven I wet finished them (secured the raw ends first by serging) and allowed to dry completely, then pressed on the wool setting.
When I laid the panels out in order to check the look and sizing, some of the panels were shorter, some were longer so I had to cut and serge to ensure the sides would be uniform.
My next job was to stitch the panels together. I decided to do this by hand using mattress stitch, again because I know not everyone has a sewing machine and so I wanted to show an alternative. I have a video tutorial on how to do mattress stitch here.
I used my much loved bent tip tapestry needle, which makes this type of stitching so much easier. The stitching by hand does take time but I wanted to ensure that my stitching was very neat and a bit of a feature on the blanket.
To finish off I could have hemmed the serged sides of the blanket by hand or on my sewing machine but I wanted to give it just that little extra bit of oomph to make it special.
I decided on a single crochet border all the way around the edges of the blanket. I used the darker yarn to complete this and won a game (only just!) of yarn chicken with the very last of my dark blue wool.
The total blanket used almost 600 metres of each yarn colour for a total of 1200 metres of yarn.
I hope that by sharing this project I have inspired you to consider what you might be able to do in the wonderful world of weaving!
If you would like to see the video that goes with this article, please visit my Youtube channel:
*This post contains affiliate links. Please see my disclosure policy for more information.
Until next time…
Happy Weaving!