• Skip to main content
  • Skip to primary sidebar

Kelly Casanova Weaving Lessons

  • Hi! I’m Kelly!
    • Disclosure
  • Online Weaving School Class Index
    • Common account issues
    • Common technical issues
    • What do I get with a membership?
  • New to rigid heddle weaving? Start here!
    • Never heard of the rigid heddle loom?
    • How to weave neat edges on the rigid heddle loom
    • Rigid heddle weaving
    • Rigid Heddle Weaving Patterns
  • Patterns
  • Subscribe

posture

How to sit correctly at a rigid heddle loom

by Kelly 16 Comments

In my last post, I spoke about my back pain journey and gave all my best hints to help you avoid experiencing pain while weaving on your floor loom.

That post was very popular and many of you asked if I could do something similar for weaving on your rigid heddle loom. A floor loom and a rigid heddle loom are quite different when it comes to seating, and while a lot of the same principles I talked about in my last article regarding posture still apply, I think it’s worth going over the options.

*This post contains affiliate links. For more details, please see my disclosure policy.

I’d like to point out that, even though some of these are not my personal preference, that doesn’t mean that they’re not right for you. And, if you are using a seating arrangement currently that works really well and allows you to weave pain free – don’t change it!

Regular chair-

Some weavers use a regular, straight backed dining chair to weave. This is what I started off with when I began my rigid heddle journey, but it did not suit me at all. I did find it better if I bolstered my lower back by wedging a cushion between my back and the chair when weaving, but it was still not comfortable for me.

Weaving bench–

I would not use a weaving bench or piano stool with my rigid heddle. The length of the stool does not allow me to get right in close to the loom, and there is no back support.
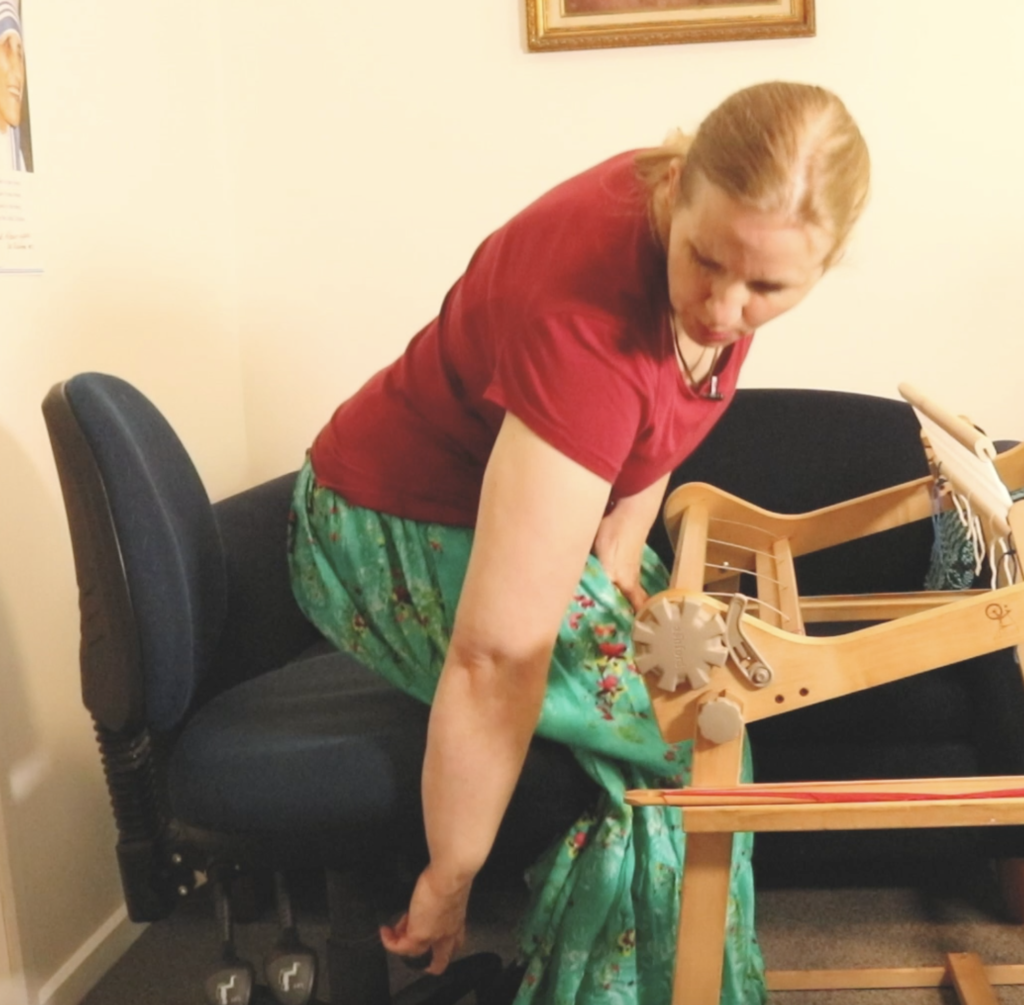
Office chair–

This is what I use and I’m going to go over in more depth why I think it is the best option in a moment.

With a stand-

I do recommend weaving with a stand for loom sizes 24″ and above. This is because the larger/wider the loom, the more difficult it is to prop against a table to weave, and the longer your reach distance will be. A longer reach distance means more stress on your body.

Without a stand-

I don’t use a stand for my Sampleit 10″ loom because it’s so small, light and portable that I can weave on it just about anywhere, it makes a great lap loom. You don’t have to have a stand for your rigid heddle, but I do think it’s really worthwhile investment. If you have or are looking at purchasing a really large loom, such as a 32 or 48″, I would definitely be wanting a stand.

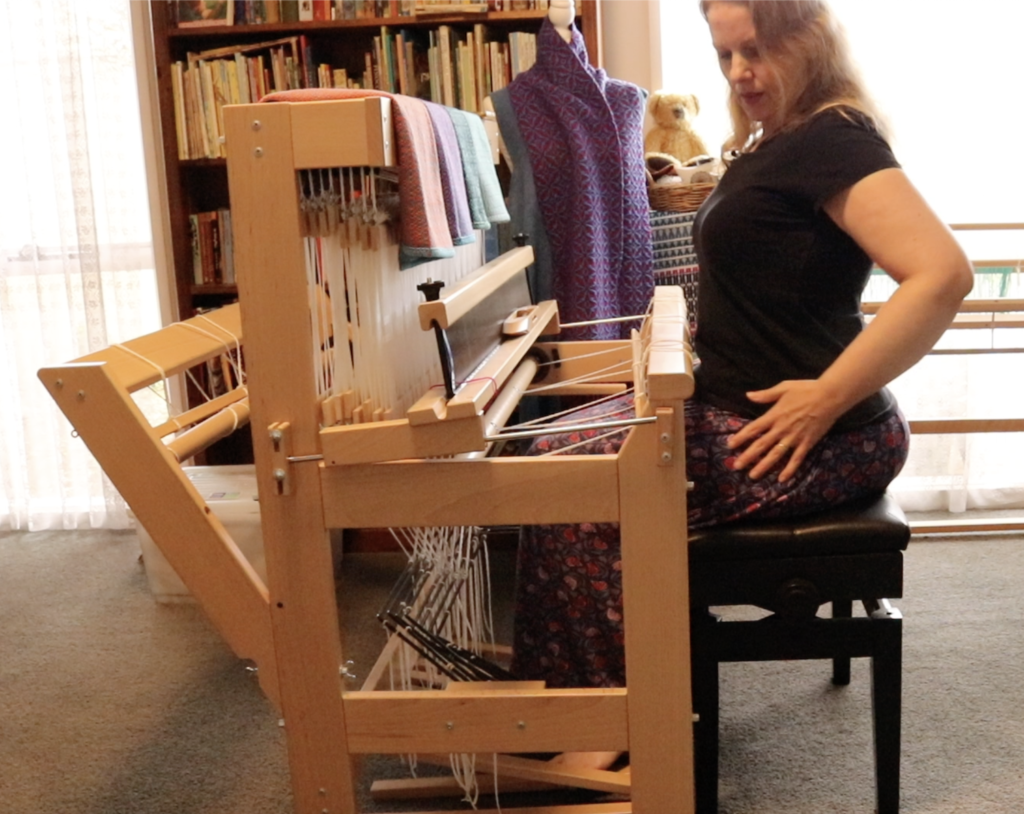
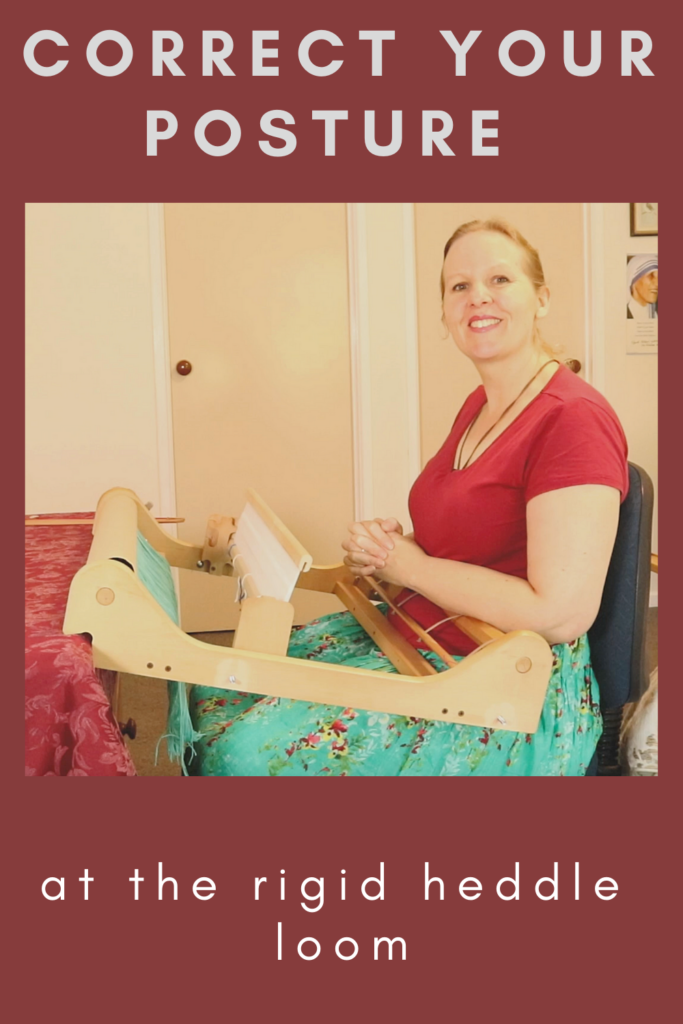
I want to talk now a little more about my office chair and why I think it’s the perfect solution. I was lucky enough to get my chair for free when my husband’s workplace was closing an office and it was barely used!
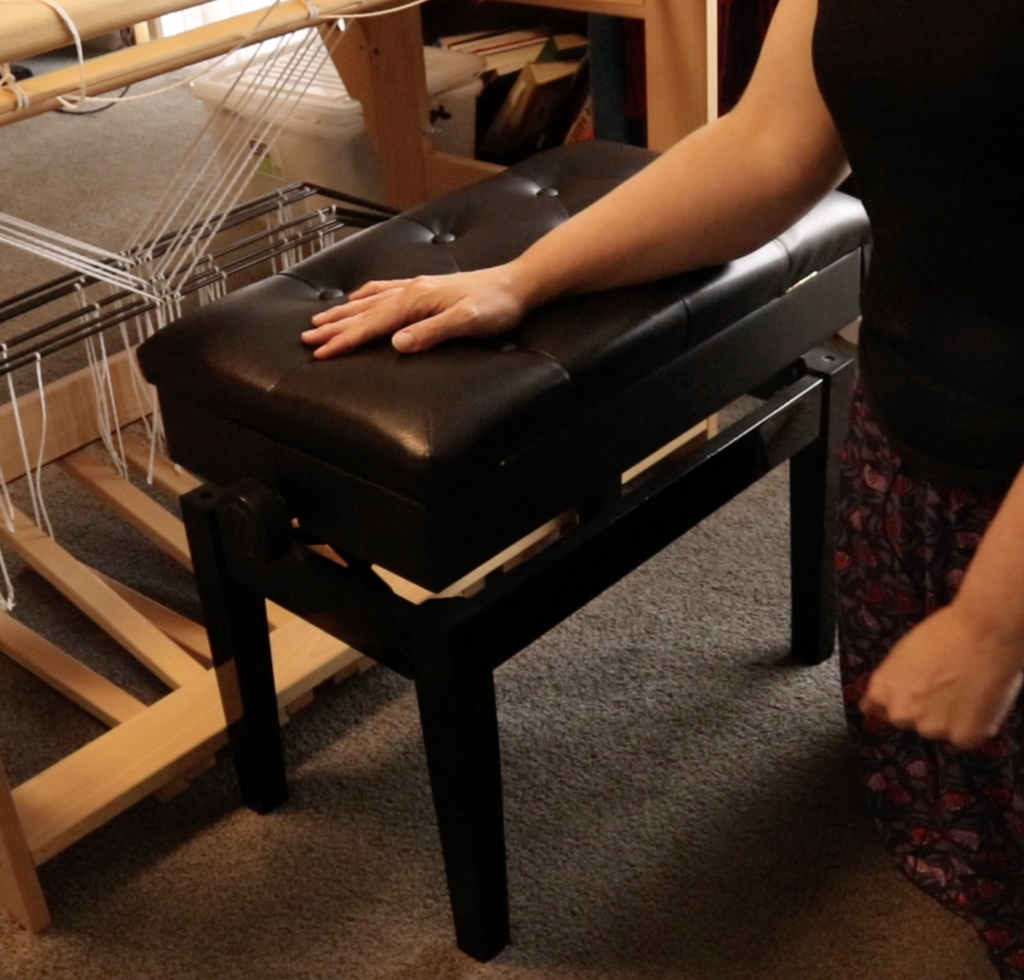
  • Height adjustable
  • Contoured
  • Back rest adjustable
  • Tiltable

    All of this means that I can sit right in close to my loom and adjust the chair to be as comfortable as I could possibly want to be. My back, shoulders and neck are not stressed because my body is so well positioned.

Because my chair is on wheels, it’s really quick to make minor adjustments to get closer to or further from the loom.

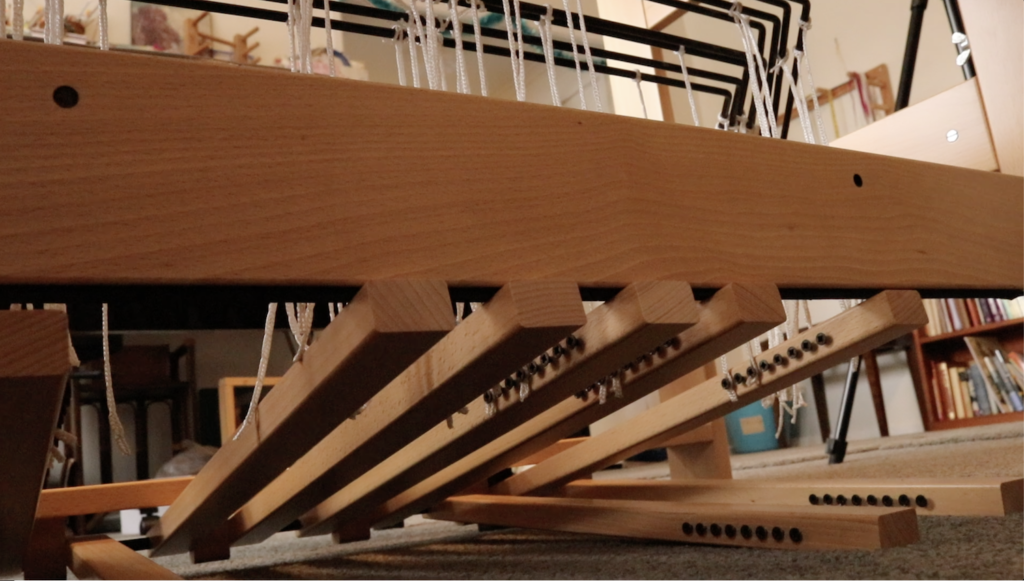
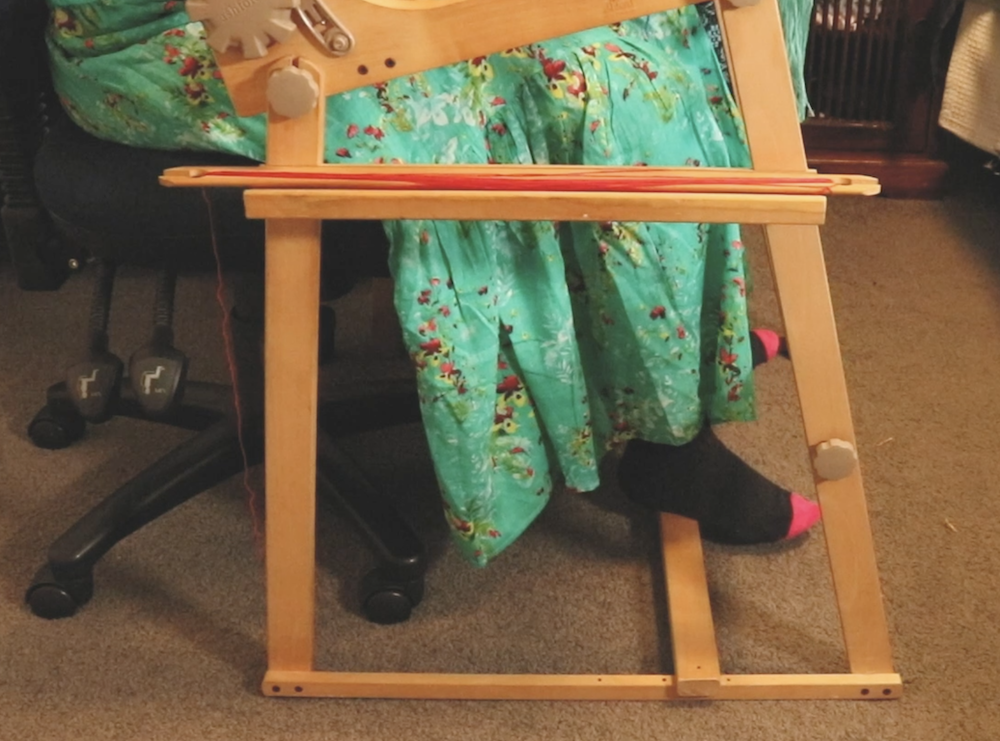
My feet are either flat on the floor or positioned on top of the stand’s stabilising bar, meaning the loom is very stable.

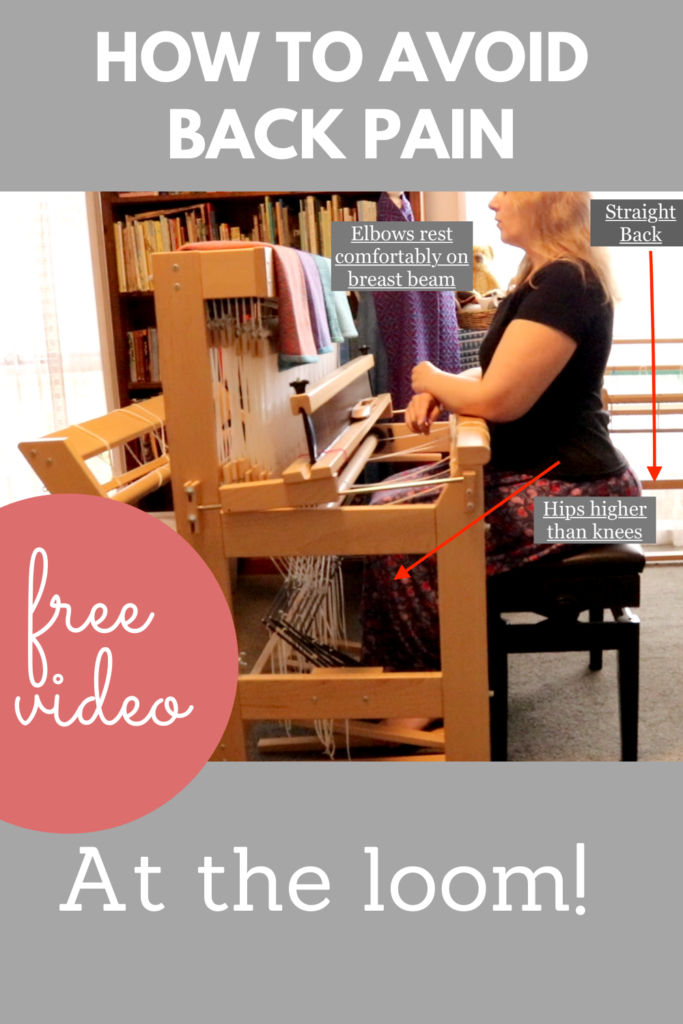
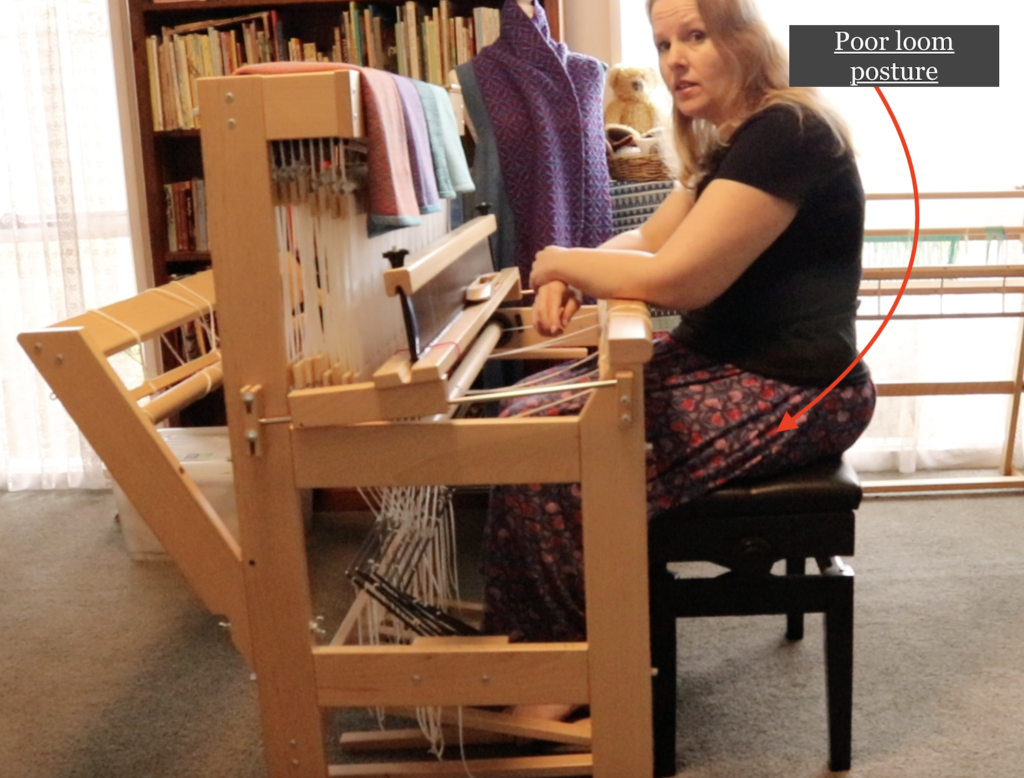
Now, just because we have a super duper chair with nice back support doesn’t mean we can get lazy about posture. Yes, it’s still possible to slouch, bend or tilt your body in ways that will wear on your back over time.

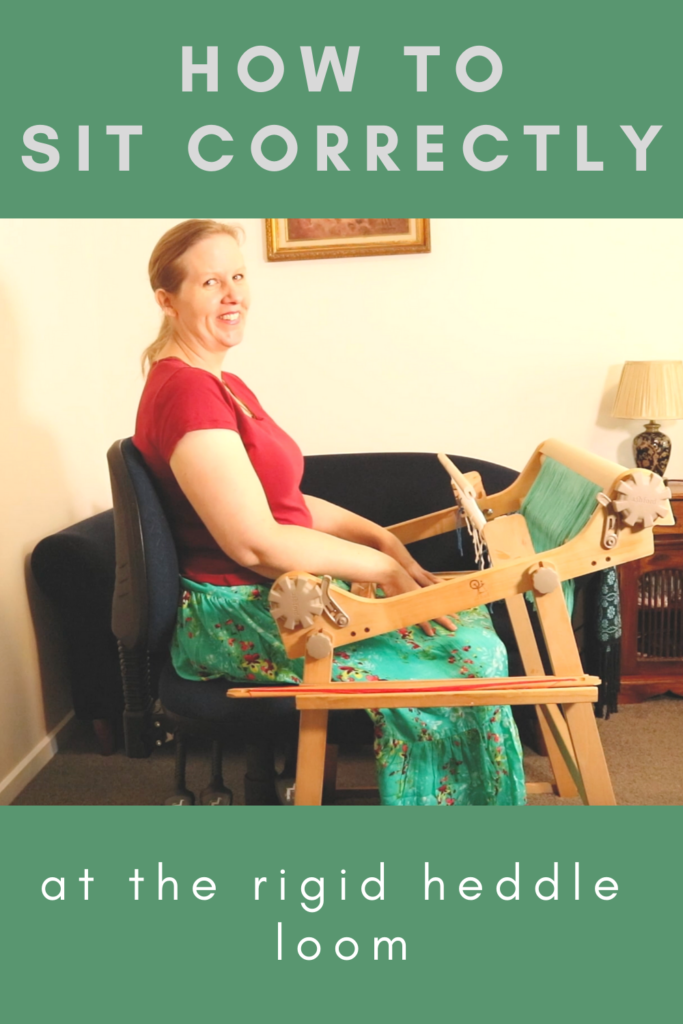
So don’t forget those good posture points – a straight back, level shoulders, elbows resting comfortably on the front beam.

Regular breaks are important, to give your body an opportunity to move about in a different way after being in one position for a while. If you want to read more about posture, breaks and stretching, I recommend you read over this post.

And to see my seating position in action, I’ve made a video for you. The video shows both how I sit with my loom on a stand and how I sit when not using a stand. You can click below to check that out:

I hope this post was helpful to you and gets you thinking about ways you can maximise your weaving time by minimising back, neck and shoulder pain.

Until next time…

Happy Weaving!

Filed Under: Free tutorial, Health and home, Inspiration, Rigid heddle weaving, Tutorials, Weaving Tagged With: back pain, posture, rigid heddle weaving

Avoiding back pain at the floor loom

by Kelly 24 Comments

This is an issue close to my heart, as I have a lower back injury. Over my years of weaving, I’ve had to find the best ways to avoid pain while being able to indulge in as much weaving as possible.

The more time you spend thinking about and implementing comfortable weaving, the more time you will be able to spend actually doing it into the future.

Firstly I’m going to talk about seating.

There are a few important factors here. Generally, a regular chair cannot be used for weaving on a floor loom, so we have to look at the best suitable alternatives.

So, what are these alternatives?

Most floor loom manufacturers also make weaving benches that can be purchased separately but are made specifically for your loom. Benches can be very pricey.

I’ve seen some weavers seated on exercise balls for threading the loom, which allows you to get very close to the shafts – I don’t intend to try this myself, but it’s another option.

I have been fortunate to find the perfect seating option for me. I use an adjustable, padded piano bench. Let me tell you why I love this option:

  1. It’s height adjustable.

    An adjustable bench is important because it allows you to adjust your seated height to suit the loom. Your posture at the loom is crucial to your long term back health. Your elbows should be able to rest on the front cloth beam without you having to raise them up. Your hips should be higher up than your legs (like they are when you’re driving a car) because otherwise you’re going to have to exert more pressure when treadling and then – hello back pain!

2. It has ample seating space.

When I was looking at buying a weaving bench, all I could think when I saw commercial weaving benches is “they obviously weren’t built for weavers with generous lower proportions!” The piano bench accommodates my… ahem… ample behind (🙈) very well because it is wide enough, but not so wide as to be a difficulty.

3. It’s padded.

I can’t imagine sitting on a non padded bench, ouch. If you can get something with padding built in, that is better because you don’t have to contend with it slipping around. 

4. It has 4 legs.

This is really useful for the threading stage, as I can angle the bench so that two legs sit inside the front of the loom, allowing me to be closer to the shafts and therefore putting less strain on my back.

If you purchase an adjustable piano bench, try to spend a bit more to get good quality. I did not do this, and am constantly having to tighten bolts because the bench is not as stable as I would like. Eventually I’ll invest in a good one!

Also, don’t get the cheap, fold out piano bench. I do have one of these for my kids to use at the piano, and it’s surprising strong, but you want a bench with four legs, as I already mentioned.

Now let’s discuss some other tips and strategies for keeping your back pain free at the loom.

If you already have pain:

  • Firstly, if your lower back is on fire REST IT! I can’t stress this enough. Do not sit at that loom again until your back has settled down, you will only make it worse. I know it’s hard to take a break but it really is necessary.
  • Take anti inflammatories if needed, use ice or heat – whatever works for you to get your back moving towards normal again. If you’re using medications due to a flair up, do it sensibly and in consultation with a medical professional.
  • If your flare up does not settle down, you may need to see someone who can help you. This may be a chriopractor, a physical therapist, a masseuse – there are options to try and you don’t have to suffer alone!

    As you weave:
  • Try to move a little or shift your weight from side to side as you weave rather than keeping your body really rigid – follow the shuttle with your body, especially if it’s a wide warp.
  • Throw and catch your shuttle in a way that is not causing you to raise your arms unnecessarily or at weird angles.
  • Get in close to the loom. The closer you are, the nearer your reach. You can also naturally brace yourself against the breast beam to beat.

Treadle positioning:

A couple of years ago we bought a new (secondhand) van following an accident where our existing van was written off. The new van was the same company and make as the last one, but was a slightly updated model.

As soon as I began driving the new van, I noticed a difference in the height of the accelerator. The new accelerator was so much higher than the old one! I had to lift my foot higher to depress the pedal. And, guess what? Yep, the hip pain started up and is still a problem. I try to limit my driving, but when I do drive I use cruise control as much as possible so that I’m not having to lift my right foot so much.

My point? The higher you have to lift your feet to operate your treadles, the more stress you will place on your legs and ultimately, your back. If your treadles are very low to the floor (as they are for my floor loom) you will not have that stress on your body.

You may find that older looms not only have treadles sitting high, you also have to depress them quite firmly. If you do have an older loom, I recommend looking at any modifications you can do to get those treadles lower to the floor.


Take regular breaks.

It’s tempting to stay in the weaving groove and forget about time, but breaks are necessary. Get up, walk, stretch. Don’t sit at the loom for so long at one time that you feel sore and stiff when you get up. Anticipate the stiffness (even set a timer if you need it) and be kind to your body by resting it.

Batching tasks:

This goes hand in hand with the last point on taking breaks. Plan out your project so that you can batch tasks.

For example, if you’re threading for a full width project, unless you are Speedy Gonzales, you have to expect that the threading will take several hours. Plan to do a certain amount at one time or on one day. Make an agreement with yourself like: “Today I will aim to thread half of this project, taking regular breaks. If I start to experience pain, I will stop or only do a quarter of the threading”. You’re still making progress, but you’re not overdoing it.

Another example: “I will aim to make my warp today, dress my loom tomorrow, do half of the threading the next day and the second half the following day etc”. Break the tasks down to keep them achievable. You may end up doing more than you planned because you are pain free, but the point is to have a plan in place.

Accept bodily limitations:

This is a hard one! I’m sure we all wish that we were completely fit, healthy and pain free. But we need to be realistic and accept that we are not perfect. Accept the physical limitations you may have and don’t push yourself beyond them. Work with what you can do and make that your focus.

Sit up straight!

Did you ever here those words from your mother at the dining table? Well, she was right! 😆 You want to sit naturally, not rigidly at the loom, but you also want to keep your back nice and straight. If you find yourself slumping often, go back and check the seating points I discussed. It may be that your bench is not at a correct height.

Overall loom posture is really important. Remember – elbows on the breast beam, hips higher than knees, back straight!

I hope this post has been helpful to you. I have made a companion video so you can see just how I sit at my loom. You can view that here:

If you want to get started in floor loom weaving, my Introduction to Floor Loom Weaving course is perfect. It takes you through step by step processes to give you the confidence to get weaving!

Want to know more about my floor loom? Check out my review by clicking here.

Let’s keep the conversation going! Do you have any helpful tips to add? Any questions? I would love to hear from you in the comments.

Until next time…

Happy Weaving!

Filed Under: 4 shaft weaving, 8 shaft weaving, All about looms, Floor Loom Weaving, Health and home, Online Weaving School, Reviews, Weaving Tagged With: avoid back pain, back pain, floor loom weaving, posture

Primary Sidebar

Categories

Archives

Meta

  • Log in
  • Entries feed
  • Comments feed
  • WordPress.org

Copyright © 2025 Kelly Casanova Weaving Lessons on the Foodie Pro Theme