
This is the companion video to the one on spot lace. It shows how you can take your weaving further by using surface embroidery techniques. Easy to follow, easy to do but visually stunning!
rigid heddle weaving tutorial
5/1 spot lace on a rigid heddle loom
I’m doing well with the videos this week! This one is for 5/1 spot lace and is a companion video for another new one on surface embroidery. Enjoy!
Krokbragd Tulips on a rigid heddle loom
Another video I just finished, still on the krokbragd theme but this time weaving some cool tulips!
I’m having so much fun experimenting with krokbragd, there are just so many possibilities 🙂
Beginner’s Krokbragd
My newest video is on krokbragd for beginners. It’s not the best video I’ve made – it was late, it was hot and I was tired. But I think it’s passable, I hope you think so too!
How to make a heddle rod on a rigid heddle loom
My newest video is ready for viewing! It is a tutorial on how to make a heddle rod, which makes weaving with more than one pick up stick on the rigid heddle loom so much easier!
Clasped weft table runner
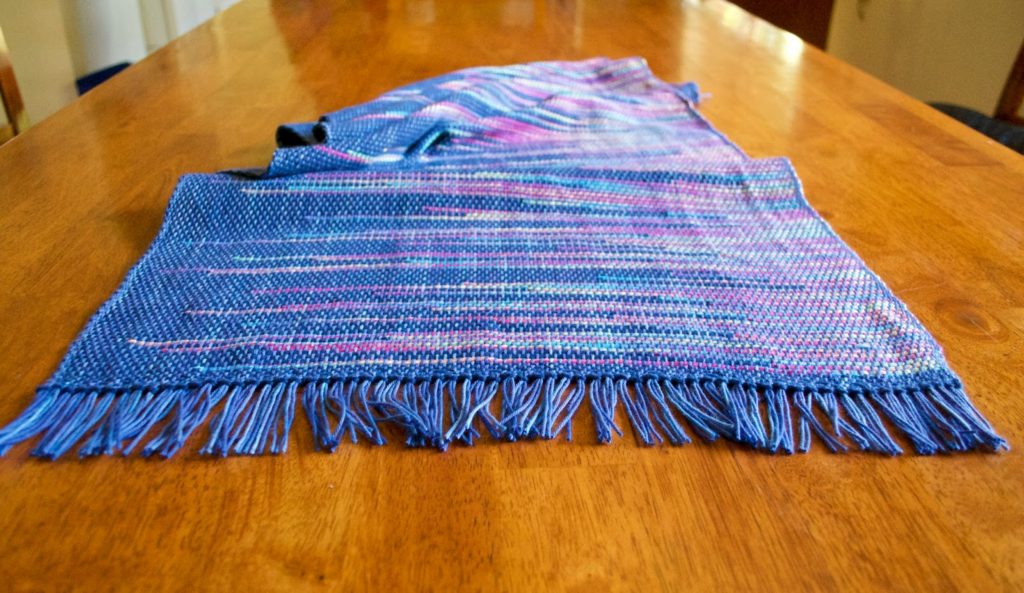
More of a table centre piece, it doesn’t quite have the length of a runner. This is the piece I wove for my recent rigid heddle clasped weft video tutorial.
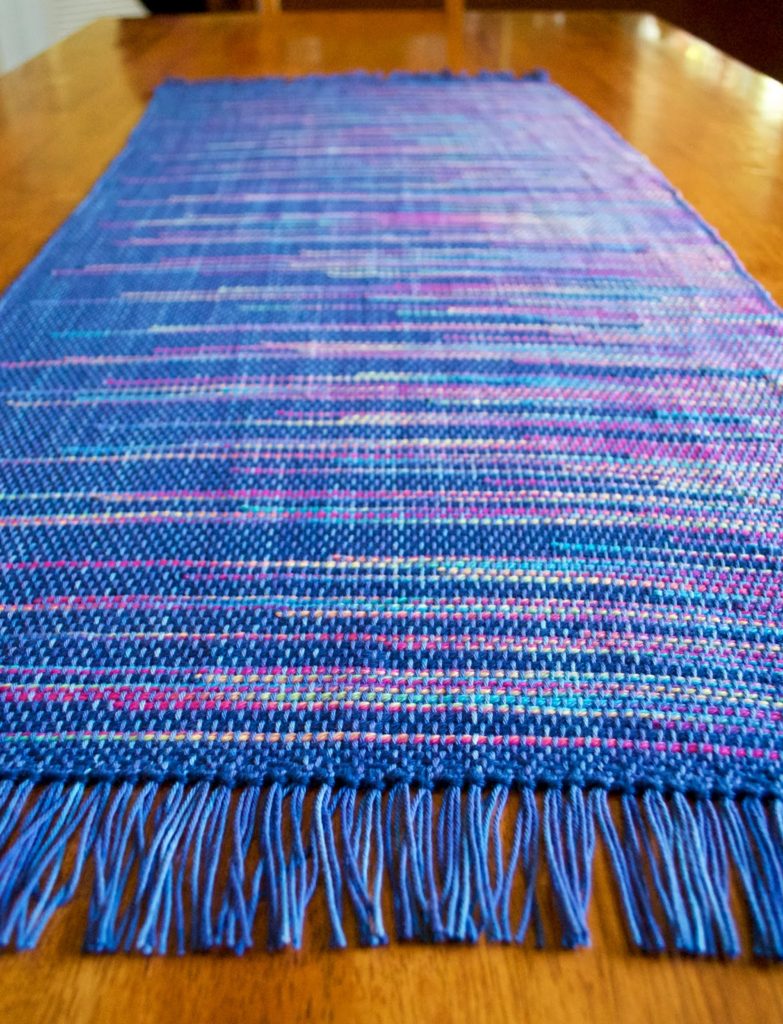
I dyed the cottons specifically for this project. I wanted a good contrast between the variegated rainbow and the blues.
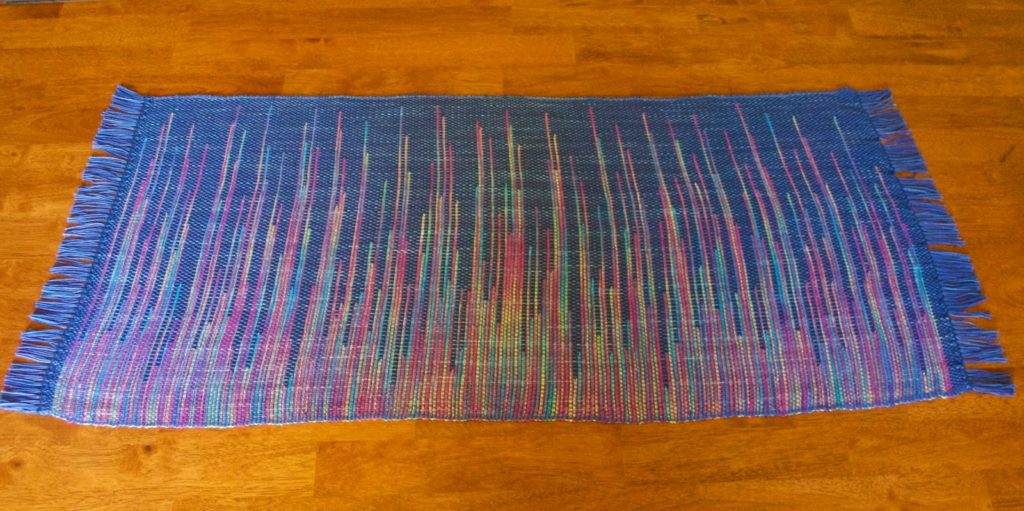
I love the clasped weft technique, the finished product and the process of randomly incorporating lengths of colour.
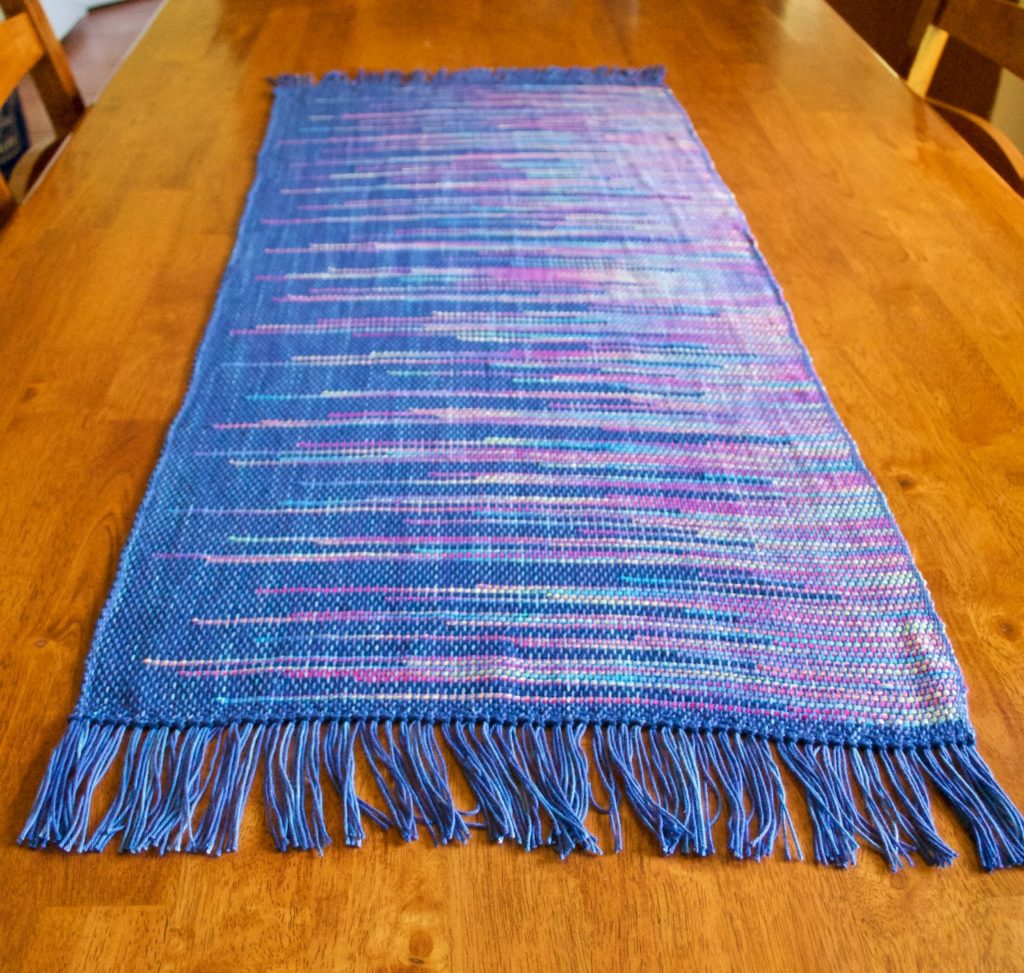
I hemstitched whilst on the loom so that the piece would sit flat on the table.
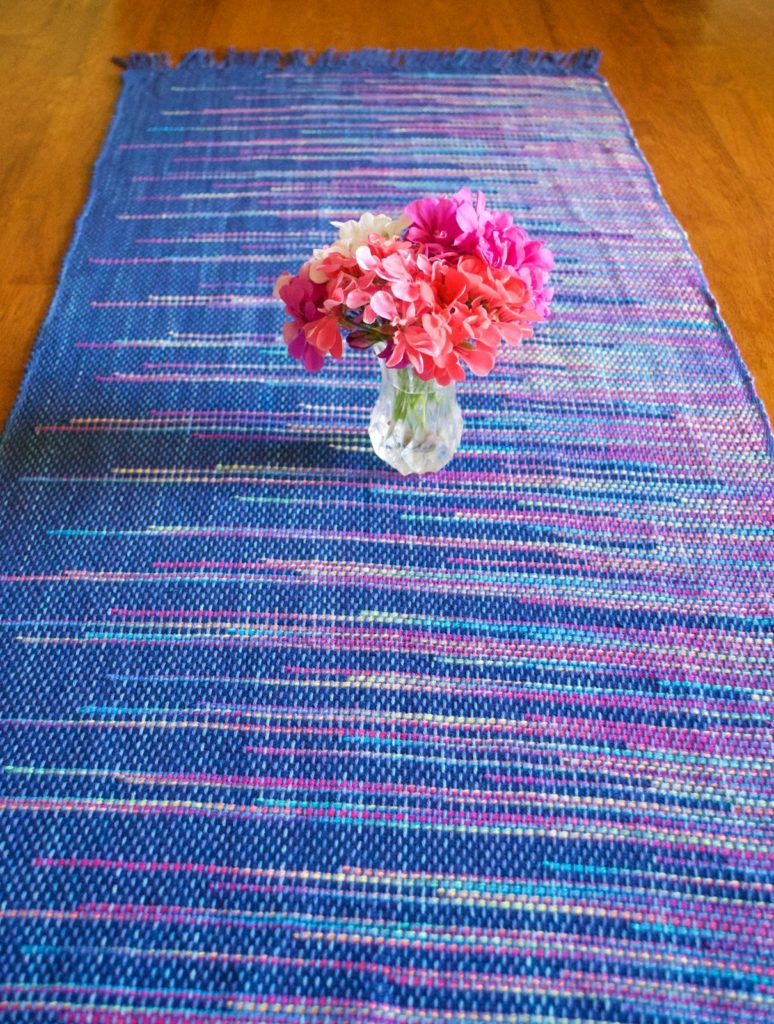
If you like this piece as much as I do it is available to purchase in my Etsy shop. And if you want to give the technique a go yourself please take the time to watch my video, it’s not as scary as it looks!
Clasped Weft weaving on a rigid heddle loom
My latest video is now available to view, I hope you enjoy it!
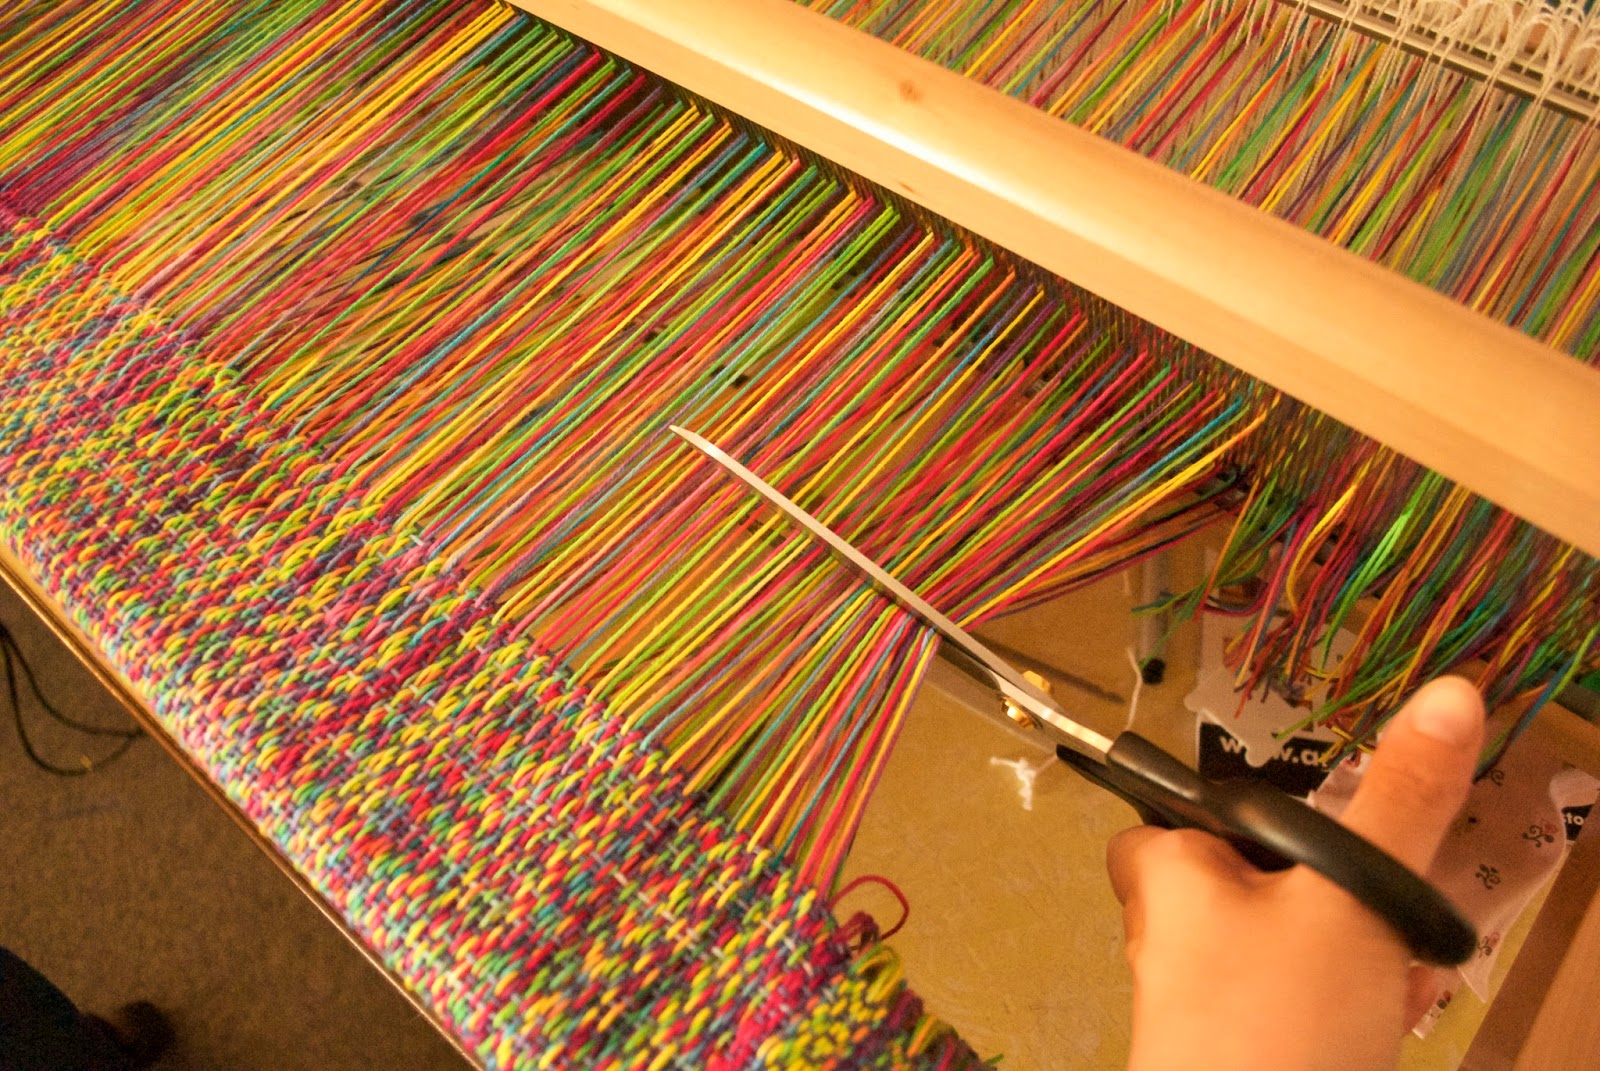
Cutting handwoven cloth, one method
*This post contains affiliate links
Cutting a length of cloth of the loom is so exciting! But then what? If you’re not leaving a fringe you have to finish the fabric somehow, and if you’re cutting into it you may be afraid of unravelling. This is a great, easy method to use for either finishing to hem or if you need to cut into the fabric.
Firstly, once off the loom, the fabric needs to be wet finished and dried before you consider cutting.

When you’ve determined your cutting line (whether it’s at the end of the fabric or somewhere else) cut a length of light, fusible interfacing the length of the cut and about 2 inches in width. It must be the fusible type or this won’t work. Iron it so that your cutting line is roughly in the middle (so you have half of the interfacing on either side of the cut line). For me, the cut line was where the end of the woven fabric met the beginning of the fringe. Cover with a pressing cloth and iron until fused.

The underside of the fabric now looks like this, nothing is really visible from the front side.
 Using your cutting line as a guide, serge right across. Can you see where the fringe begins and woven cloth ends? That was my guideline for serging. If you don’t have a serger, a zigzag stitch on the sewing machine will suffice, but the serger definitely does a superior job. Janome is a reliable brand if you are in the market for a serger.
Now you have a neat serged edge. The threads are completely secure and haven’t moved in the serging process due to the interfacing fixed in place. From this point you can go on to use your fabric according to your plans or begin to hem.
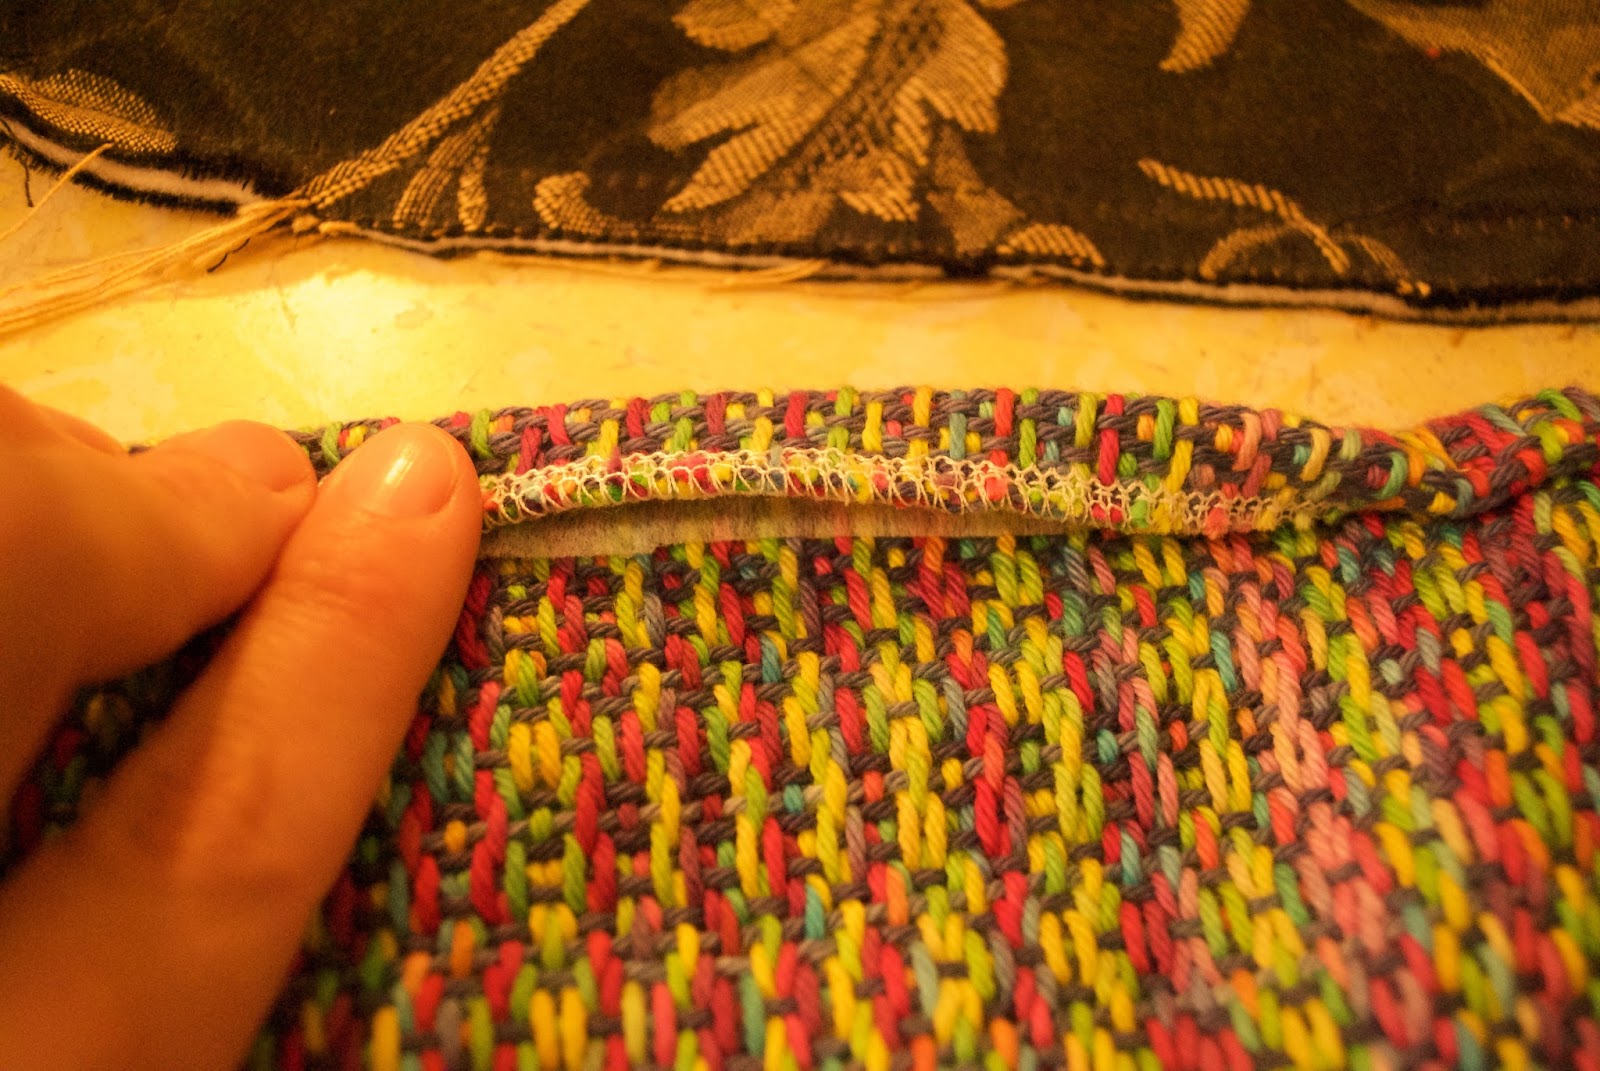
To finish the fabric with a hem, I fold over the serged edge once and iron down flat.

Then a second fold to enclose the serged edge and interfacing, press with the iron once again and pin in place if you wish.

Sewing the hem can be done by machine or hand. I used my machine with a straight stitch, close to the folded edge at the back. My machine is a very simple and straightforward Janome, although mine is an older model you can see something similar here.
Voila! Easy peasy and all secure, no loose or displaced threads and the interfacing gives extra support when hemming!
I have a Youtube video covering this topic for your further research.
I have a Youtube video covering this topic for your further research.
Another video tutorial
This video is all about achieving neat edges while weaving, I hope it helps someone out there.
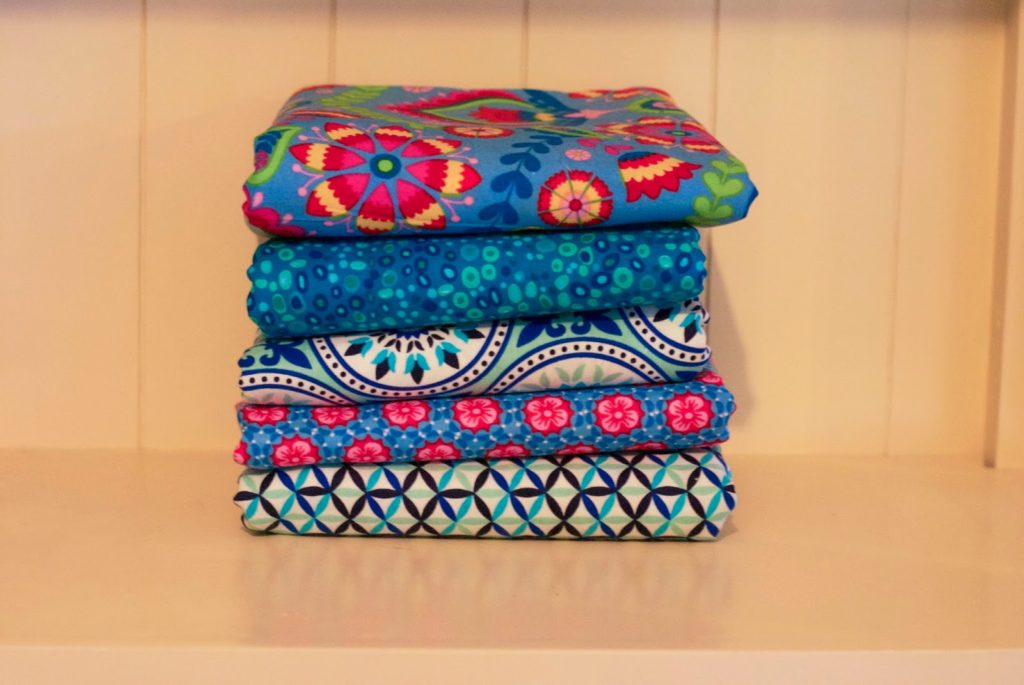
It’s a long time since I bought new fabric and Spotlight was having a 30% off sale so I couldn’t resist! My eldest daughter has a birthday in a few weeks, so I have plans 😉
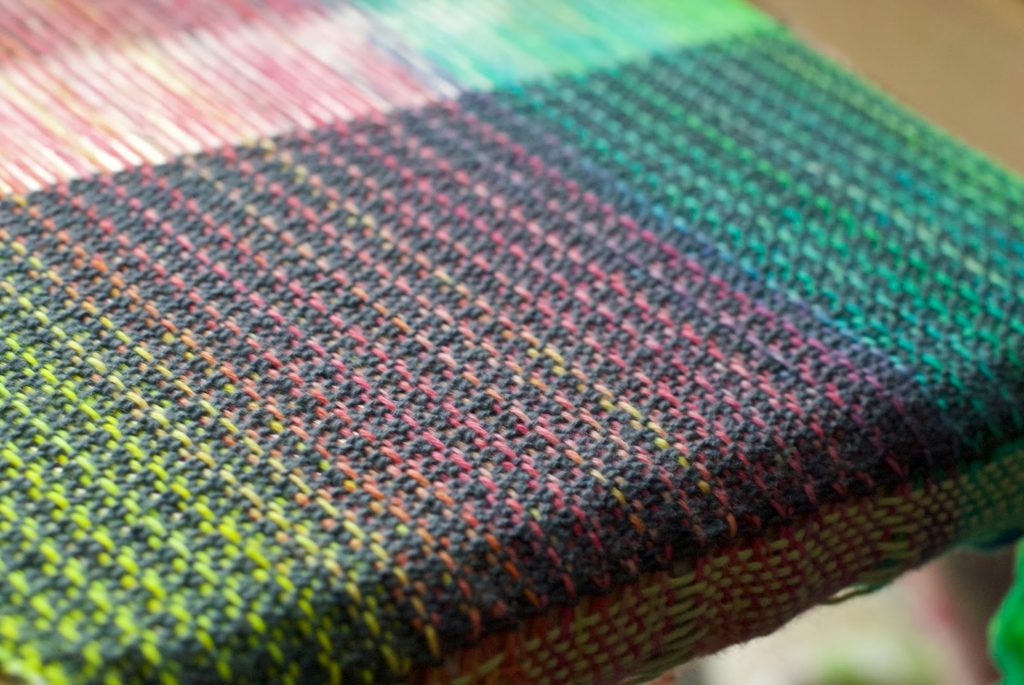
This is my current weaving WIP – a merino scarf with a pastel gradient warp and solid grey weft. I started out weaving in plain weave with black yarn but hated the result, so I “unwove” and restarted with the grey and a warp float pattern – so much better!
3/1 lace on the rigid heddle loom
I was so encouraged by the positive feedback received on my last two videos that I decided to make another! This one is the pattern I’m using for my current tea towel project and includes a handy tip on recording information as you go. Hope you like it!