• Skip to main content
  • Skip to primary sidebar

Kelly Casanova Weaving Lessons

  • Hi! I’m Kelly!
    • Disclosure
  • Online Weaving School Class Index
    • Common account issues
    • Common technical issues
    • What do I get with a membership?
  • New to rigid heddle weaving? Start here!
    • Never heard of the rigid heddle loom?
    • How to weave neat edges on the rigid heddle loom
    • Rigid heddle weaving
    • Rigid Heddle Weaving Patterns
  • Patterns
  • Subscribe

rigid heddle weaving tutorial

Tote Bag Weave Along, Lesson 8

by Kelly 2 Comments

In the last post, we laid out, pinned and prepared all of the pieces of bag to sew together.
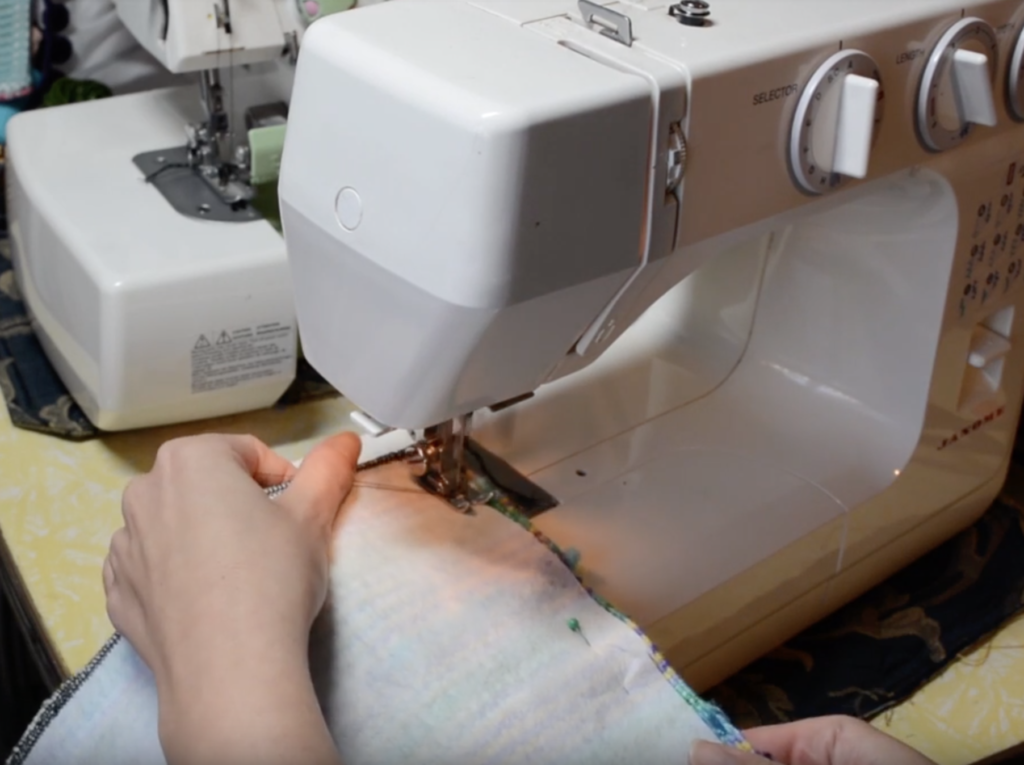
Now that we’ve pinned our 2 main bag panels together, we can take them to the sewing machine. With a straight, medium stitch, sew around 3 sides of the panels, leaving the top part that we didn’t pin open. Remove your pins as you go. When I’m sewing at the machine, I use my magnetic pin bowl to be able take pins out of the fabric quickly and pop them onto the bowl, where I know they’re not going to go anywhere. It has the added bonus of helping you find any pins that you may drop on the floor, especially on carpet. I just push the magnetic bowl around on the floor until it finds the pin, it’s very handy!

*This post contains affiliate links. This means that if you click on the link and purchase, I receive a small commission at no extra cost to you.

I’ve said it before, but it’s an even more poignant point for bag sewing, which needs to be sturdy. It is a total false economy to sew with cheap thread that is just going to break – either when you’re sewing or very soon afterwards. Use a good quality, “sew all” thread such as Gutermann.
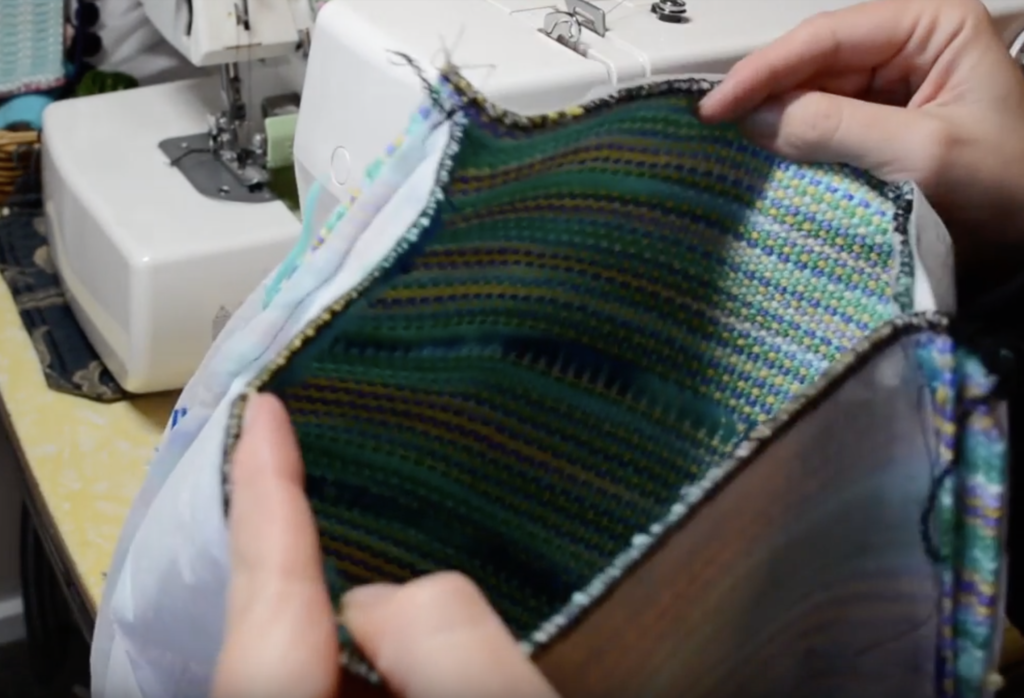
When you have sewn around all three sides you will have what looks like a very big pocket!
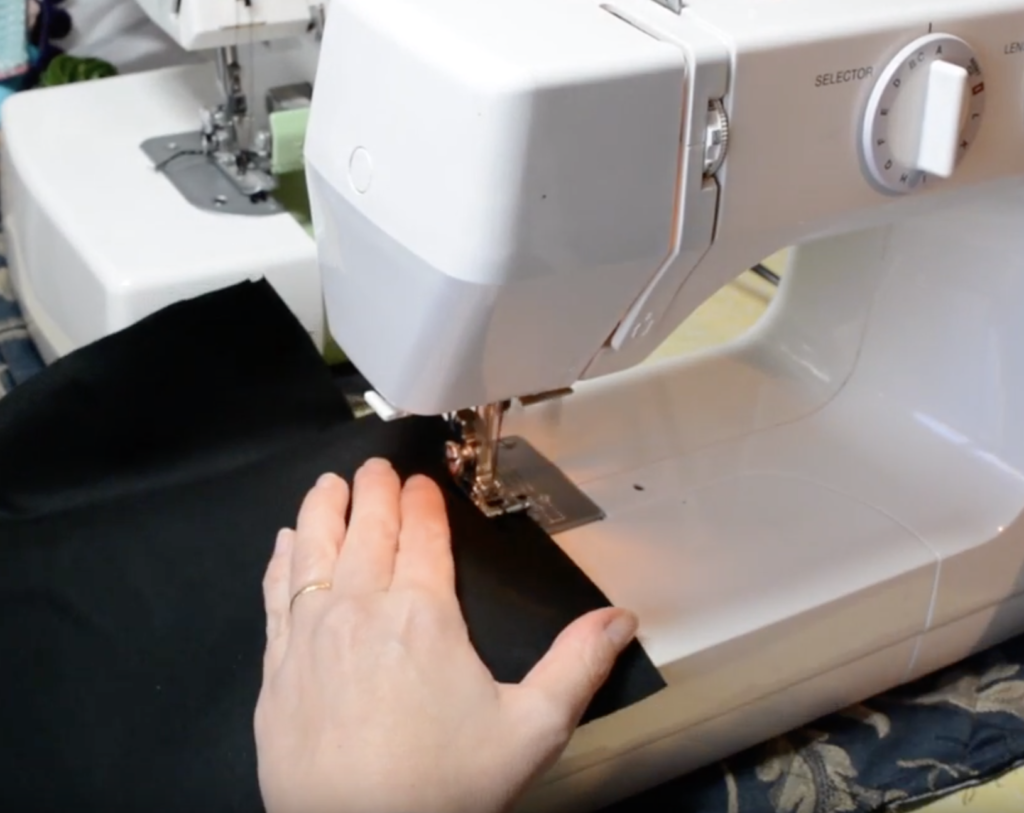
Now we sew the lining fabric panels together in the same way EXCEPT that we leave the 6″ gap along the bottom edge. This is really important, as you won’t be able to turn your lining to the inside of your bag without it.
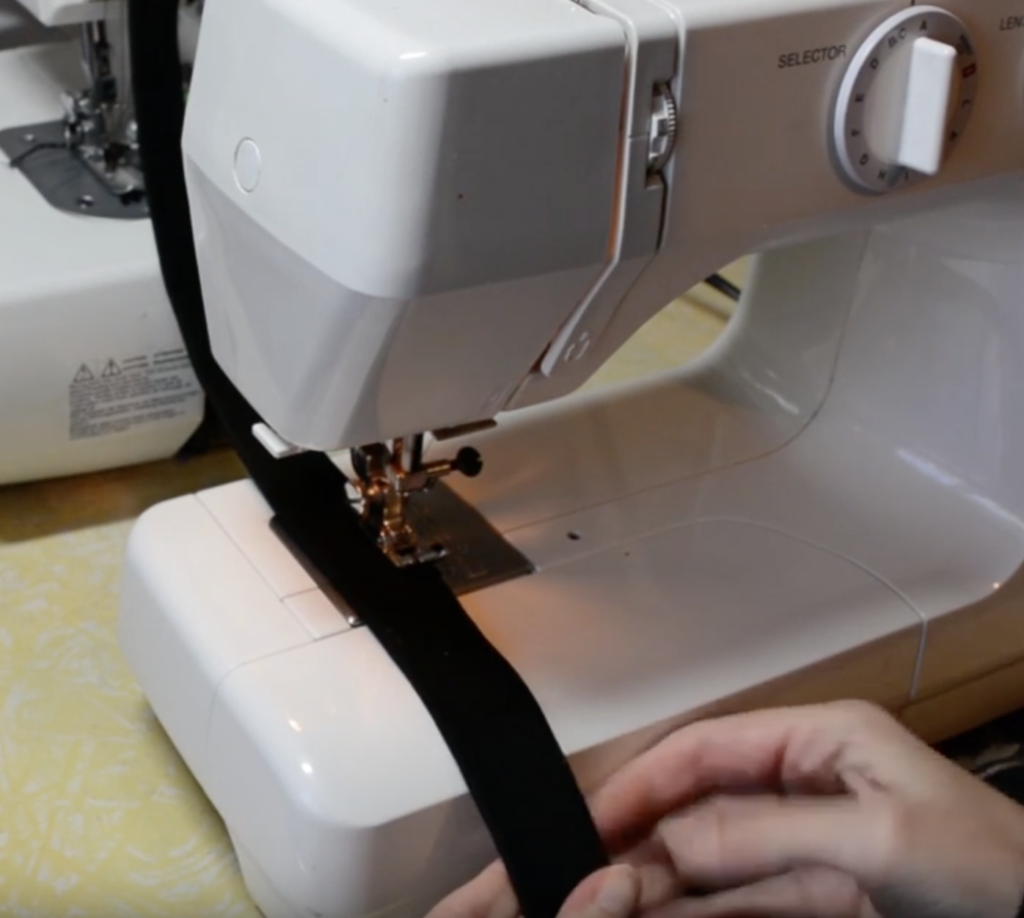
To sew the bag straps or handles, sew down one long side where the 2 edges join. You can also sew down the folded side if you like symmetry, but it’s not essential.
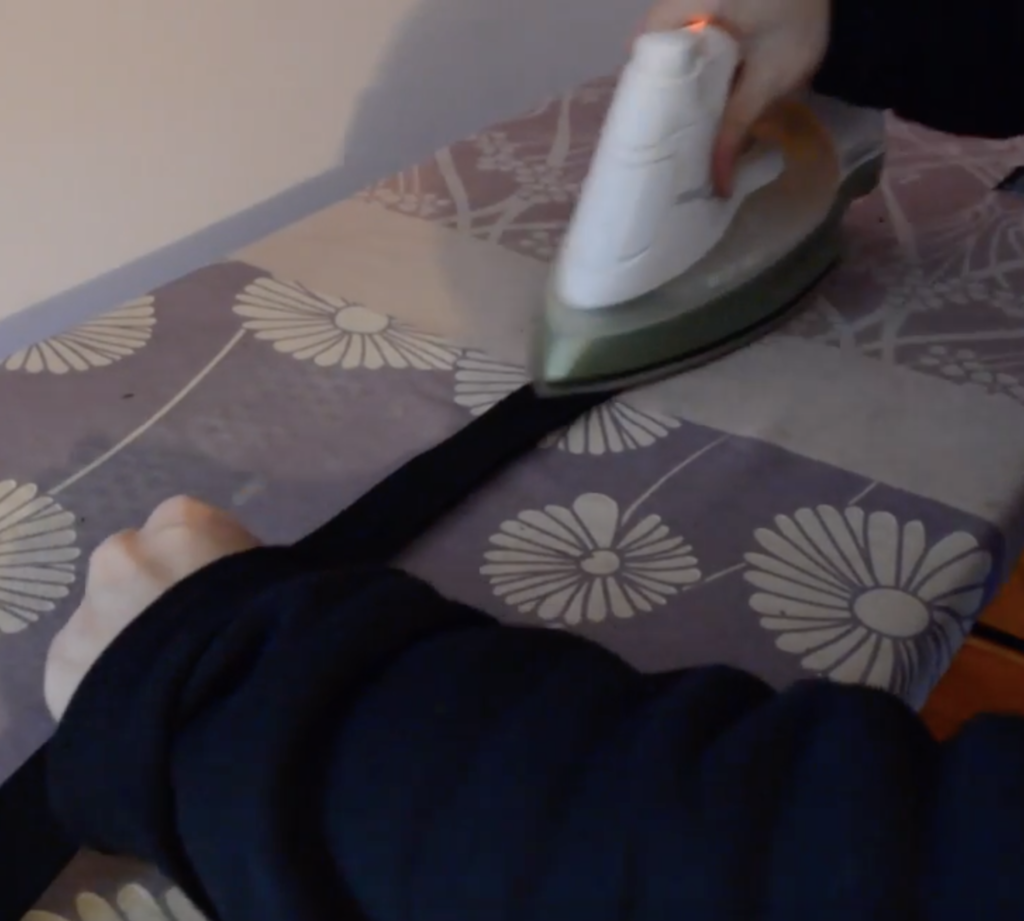
Take all of your pieces to the ironing board and press them on a steam setting. The level of heat to use will depend on what yarn you have used – you don’t want to scorch anything. If you’re worried about scorching, use a lower setting and/or a presser cloth. (This can be as simple as an old sheet or pillow case).
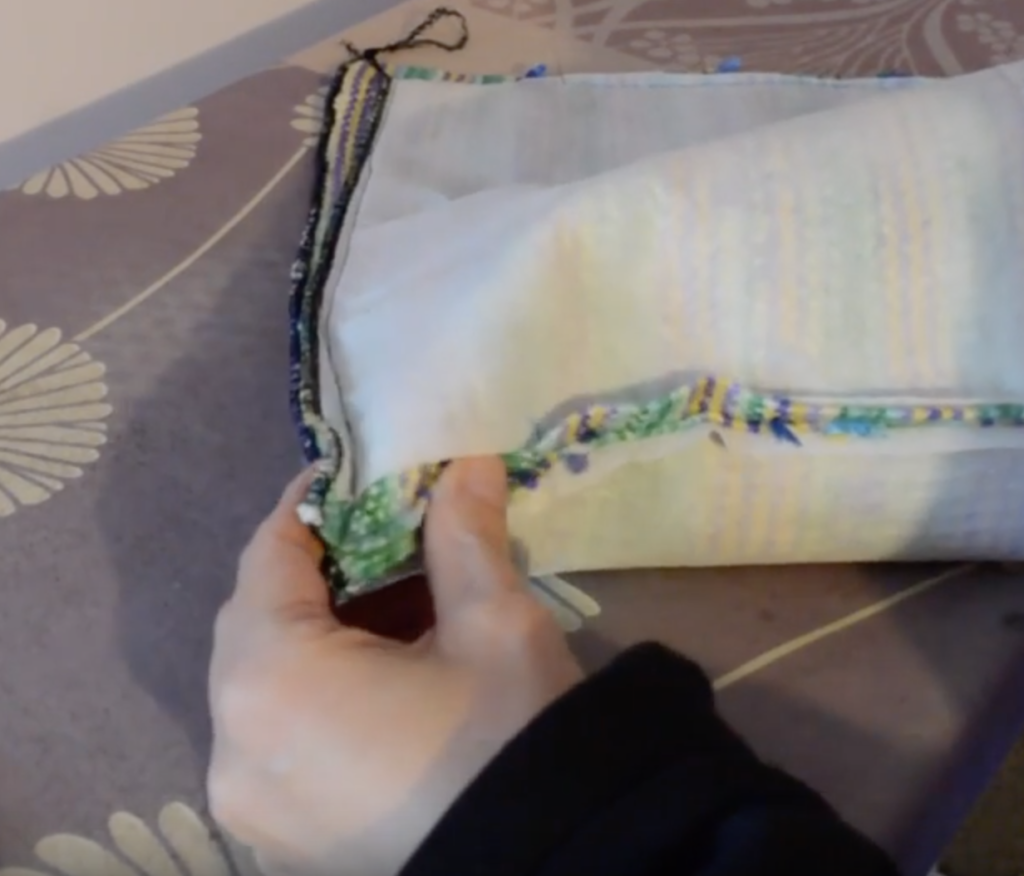
This part is best explained in the video, but to give you an overview, you put a finger into the corner of your inside out bag. Pinch the seams together so that the side and bottom seams are sandwiched together.
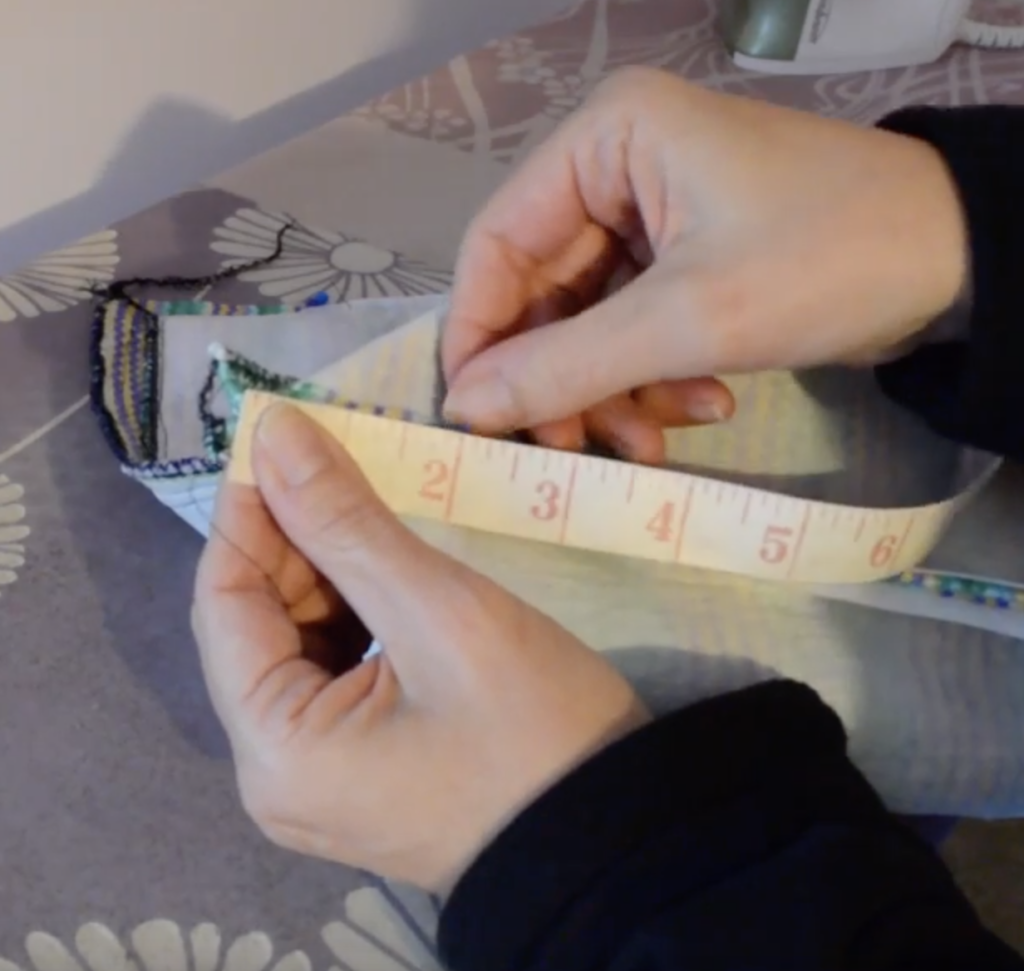
Hold a measuring tape against this seam from the top point.
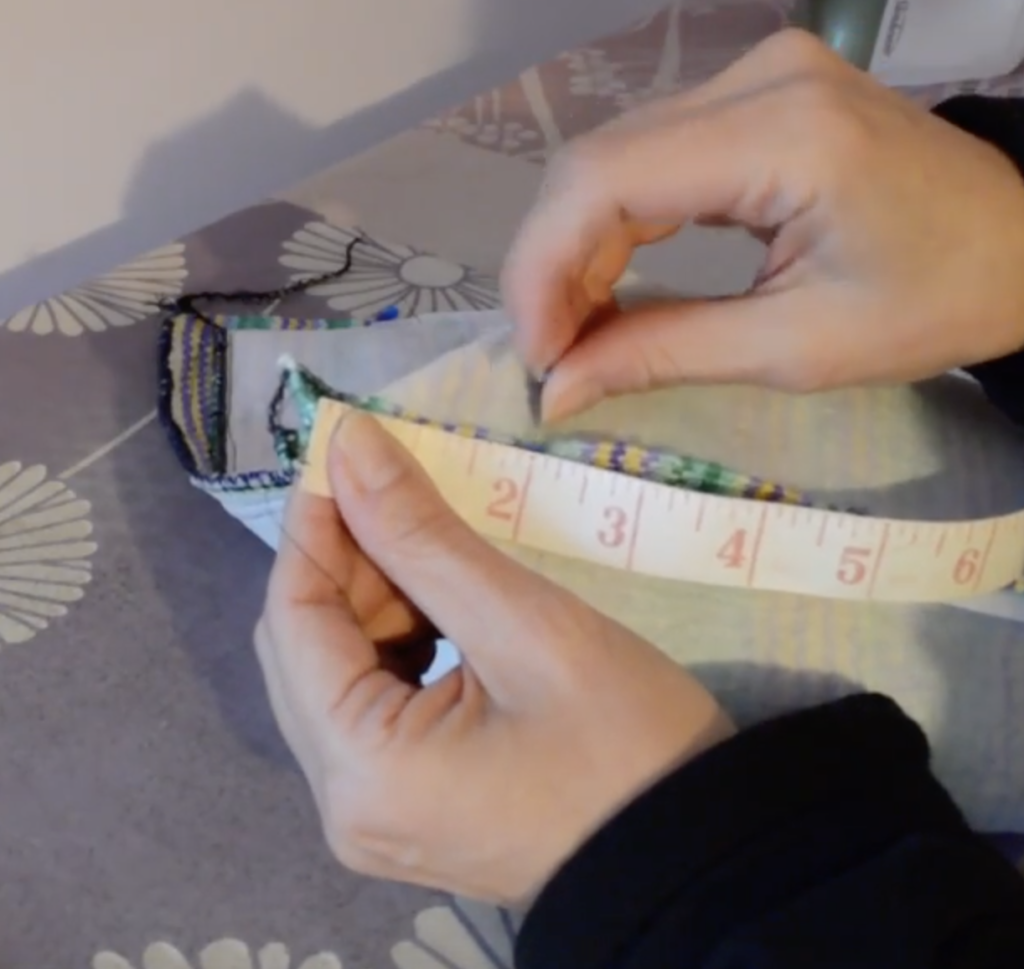
Measure 2 inches along and place a pin horizontally across the pinched corner.
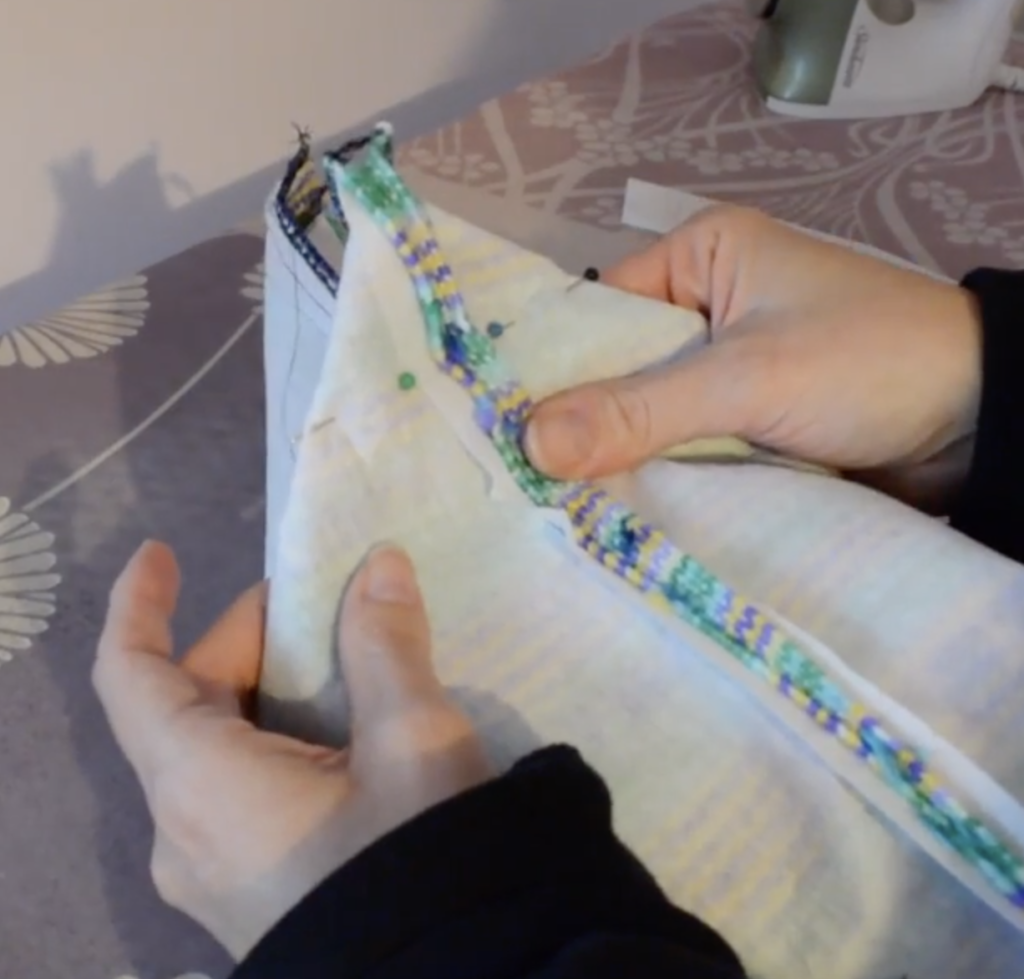
Place other pins horizontally across the corner at the 2″ mark, flattening the 2 layers of fabric together. You will end up with your corner in a triangular shape. Repeat to the other corner at the bottom of the bag. Now repeat the corner treatments on your lining fabric.

You can find all of this lesson in video format here:

Thanks for joining me today, as always, leave a comment about this lesson if you have any questions.

Until next time…

Happy Weaving!

Filed Under: Rigid heddle weaving, Tote Bag series, Tutorials Tagged With: rigid heddle weaving tutorial, tote bag weave along

Tote bag Weave Along, Lesson 6

by Kelly 1 Comment

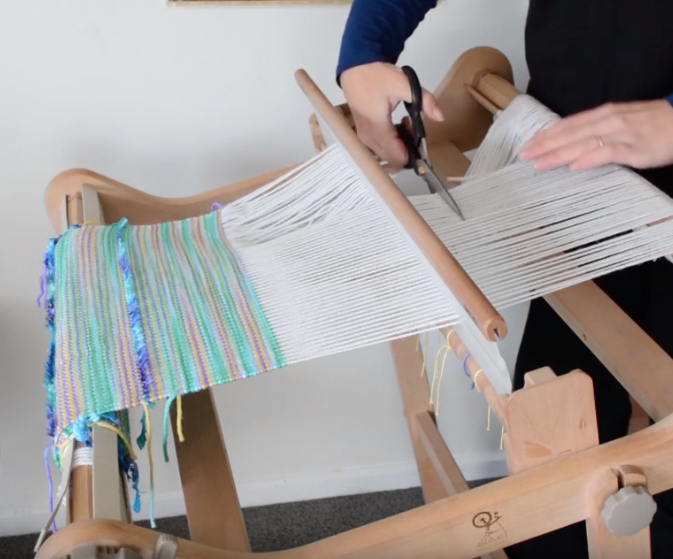
Now for the really exciting part! Once you’ve finished your required amount of weaving (check the Essential Project Information free download here) you can cut your weaving from the loom. Yay!

If you missed the last post about weaving and advancing the warp, you can find that here.

Release the warp tension at the back of the loom a little. If you want a fringe or are worried about your weaving unravelling at all, you can cut behind the reed which leaves plenty of fringe space.

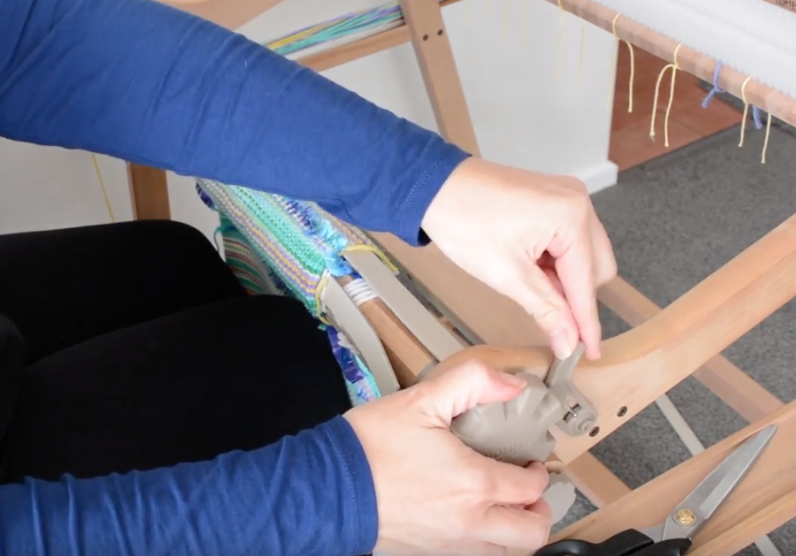
Then, back to the front of the loom to release the brake, allowing you to easily unroll your weaving from the front beam.

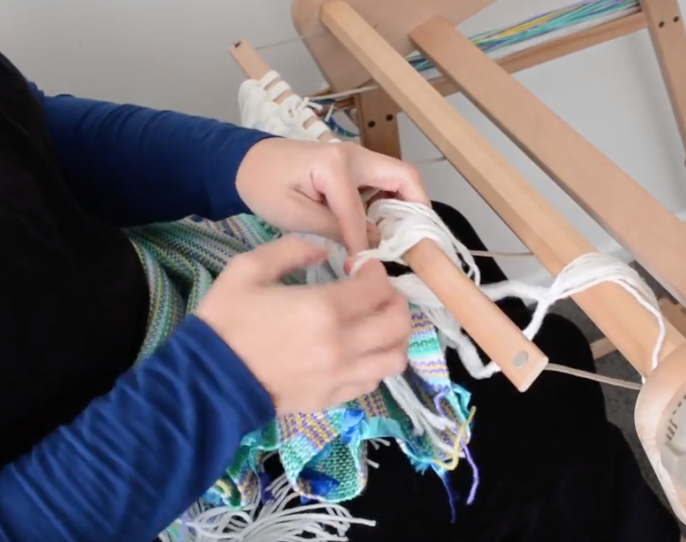
You can either cut or undo the knots from the apron rod. I usually prefer to undo the knots (especially important if you want a fringe). Also, if you wove in a header with waste yarn at the beginning, now is the time to take that out.

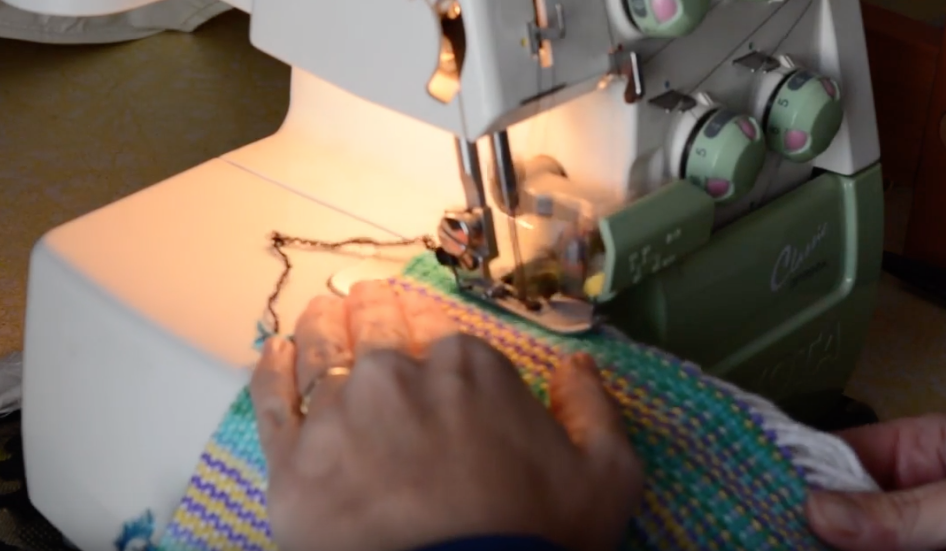
Before wet finishing, it is essential to secure the raw edges of your weaving. A serger will make this job super easy, or a sewing machine set on zig zag stitch is also good.

You can find basic wet finishing instructions at the end of this video:

Or more detailed instructions in this blog post or video:

At the end of wet finishing and drying, you have some beautiful woven fabric ready to use and sew with. That’s what we’ll be talking about next time, I hope you can join me for that!

Until then…

Happy Weaving!

Filed Under: Rigid heddle weaving, Tote Bag series, Tutorials, Weaving Tagged With: rigid heddle weaving tutorial, tote bag, tote bag weave along

Tote Bag Weave Along, Lesson 5

by Kelly Leave a Comment

In today’s post we carry on with the weaving of the tote bag panels and also talk about advancing the warp.

An important aspect of good weaving is advancing your warp. Of course, you can’t actually continue weaving unless you do so, as your weaving will fill right up to the heddle/reed and you won’t be able to weave any further.

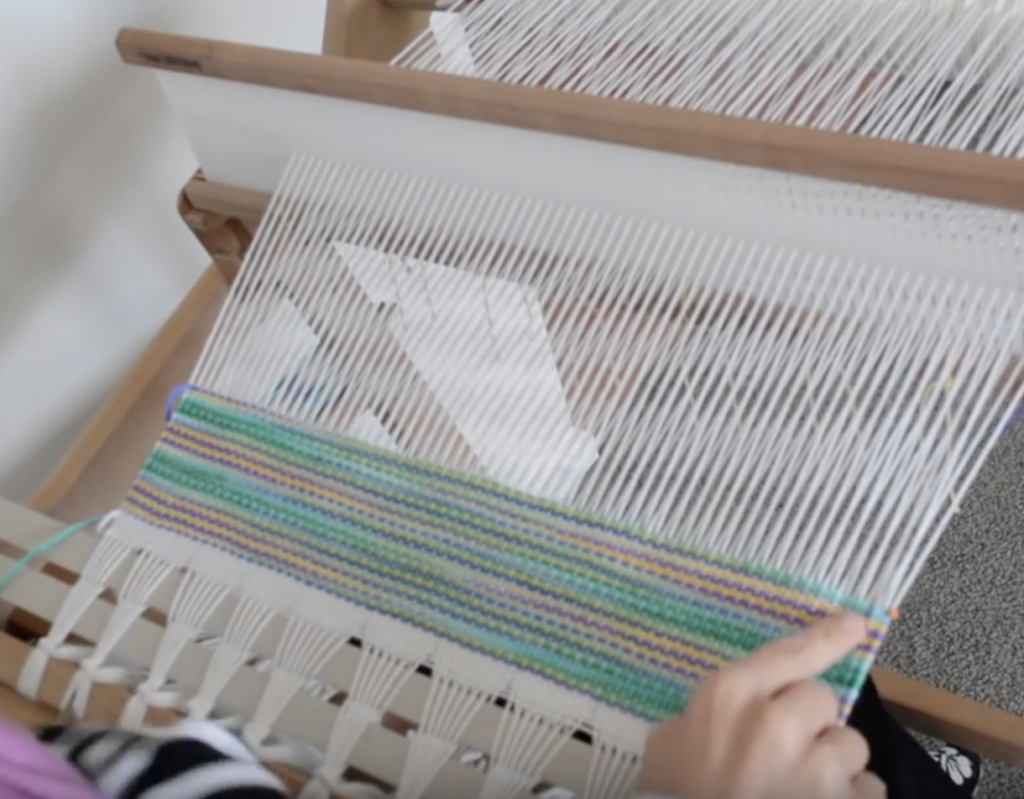
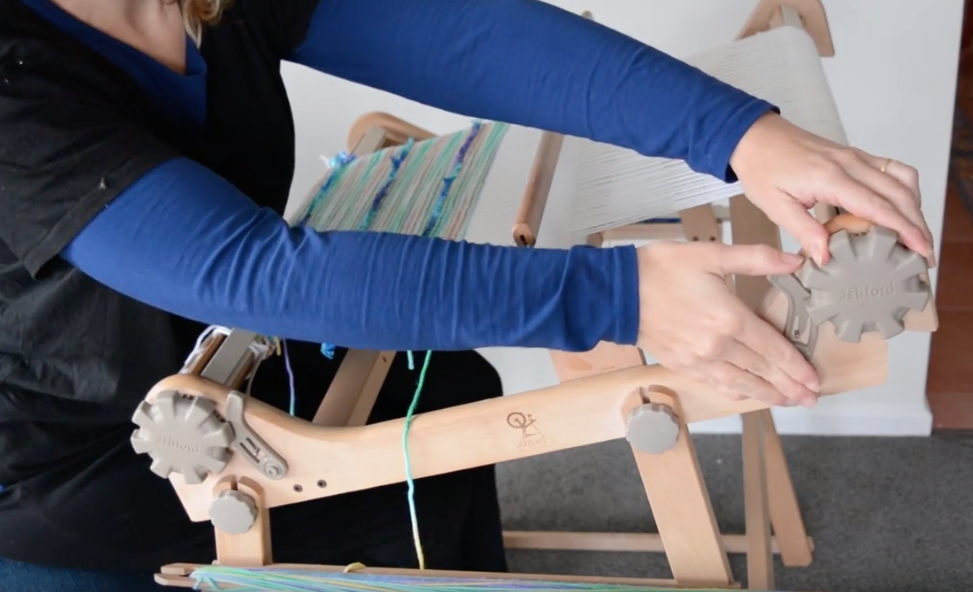
Advancing the warp exposes more of the empty warp threads so that you can keep weaving. It basically involves releasing tension at the back of the loom, rolling the warp forward at the front of the loom, regaining your tension and then continuing to weave.

Releasing tension at the back
Readjusting tension at the front

There is always a “sweet spot” for your weaving, the position is where the tension feels right and the beating is easy. If you wind forward too far, when you beat, the reed will touch the cloth beam at the front and the beat will be uneven. It’s also uncomfortable for your body to have to bring the reed so far forward, it puts strain on your wrists and shoulders.

Woah, this is way too far forward!

Advancing often, and the right amount also helps you to keep weaving at the same tension.

My “sweet spot” for weaving. Not too close to the front cloth beam, not too close to the reed.

The best tip that I have for advancing the warp is “little and often”.

This video may help you to become more familiar with your loom’s tension system and gain a little confidence for advancing your warp.

I hope this post has been a help to you! Please leave me a comment and let me know, or ask any questions you may have.

The next post will cover removing your weaving from the loom and preparing for wet finishing.

Until next time…

Happy Weaving!
Filed Under: Rigid heddle weaving, Tote Bag series, Tutorials, Weaving Tagged With: rigid heddle weaving tutorial, tote bag

Tote Bag Weave Along, Lesson 4

by Kelly 1 Comment

Now you can really get excited about your tote bag project – it’s time to get weaving! If you missed the last post on threading, you can go here to read it.

Just one more teensy thing before you start to weave – the header. The header helps to spread the warp so that you don’t have big gaps at the very start of your weaving. As with most things in weaving, there is more than one way to put in a header.

*This post contains affiliate links.

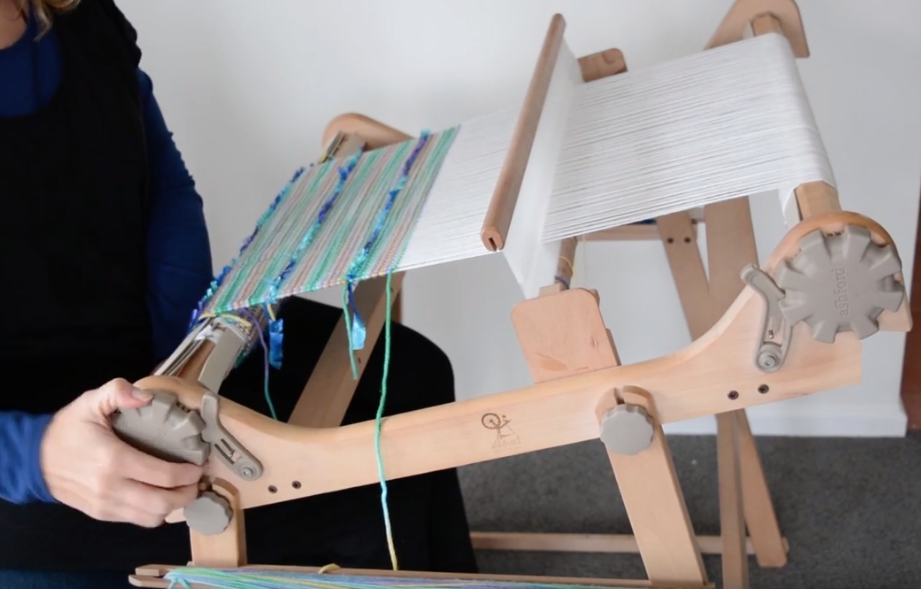
My preference is (I think) the easiest. I use 2 cardboard separators (or warping sticks as they are also called). With the heddle/reed in the up shed I insert one stick, then change to the down shed to insert the second stick. Then beat to push them into place. You may want to weave an additional header with spare yarn if you feel your warp is too gappy (I demonstrate this in the video at 1:10) Pop the heddle into the up position again and you’re ready to weave!

Don’t forget to wind your stick shuttle.

It doesn’t matter which side you enter into the shed with the shuttle, but it is useful to develop a habit when working plain weave to always enter from the same side to avoid any confusion as to which shed you should be in and to easily develop a weaving rhythm.

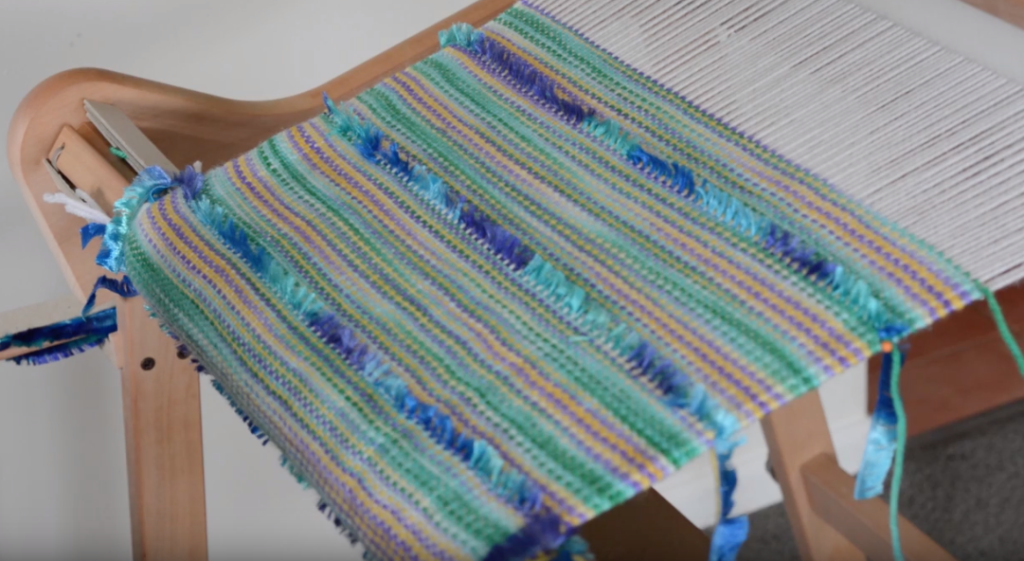
I give yarn recommendations in this post, but a variegated yarn is particularly effective and makes the plain weave look more fancy than it is. I dyed my own yarn for this project. You can also get a bit fancy by using a novelty yarn as a feature. I used an eyelash yarn as an occasional stripe to accent this bag.

If you are a newer weaver, you may be worried about obtaining neat edges. This is very much a matter of practice makes perfect, but this video shows you my pinching technique that has helped many newbies improve their edges.

You also want to try to keep your beat consistent and even. One way to see if you’re beating evenly is to stand up and look at your weaving from time to time. You will see quite clearly whether you are beating straight or at an angle.

Don’t forget to measure your weaving as you go. I do this in a simple manner by using a tape measure and marking my last measured place with a plastic or glass head coloured pin. I always write down the measurements as I go so that I don’t have to try to remember!

You will be advancing your warp every so often, and this video will show you how to do that.

Remember to refer back to your essential information project sheet, available as a free download for all the measurements you need to follow.

In the next lesson we will be talking more about continuing to weave and advancing the warp. Be sure to leave me a comment if you need to ask questions or are unsure of anything.

Until next time…

Happy Weaving!
Filed Under: Rigid heddle weaving, Sewing, Tote Bag series, Tutorials, Weaving Tagged With: rigid heddle weaving, rigid heddle weaving tutorial, tote bag

Tote Bag Weave Along – Warping, Lesson 2

by Kelly 4 Comments

In today’s Tote Bag Weave Along post, we will cover warping. The last post containing details about materials can be found here.

You can download the PDF with essential project information below.

tote-bag-weave-along-essential-infoDownload

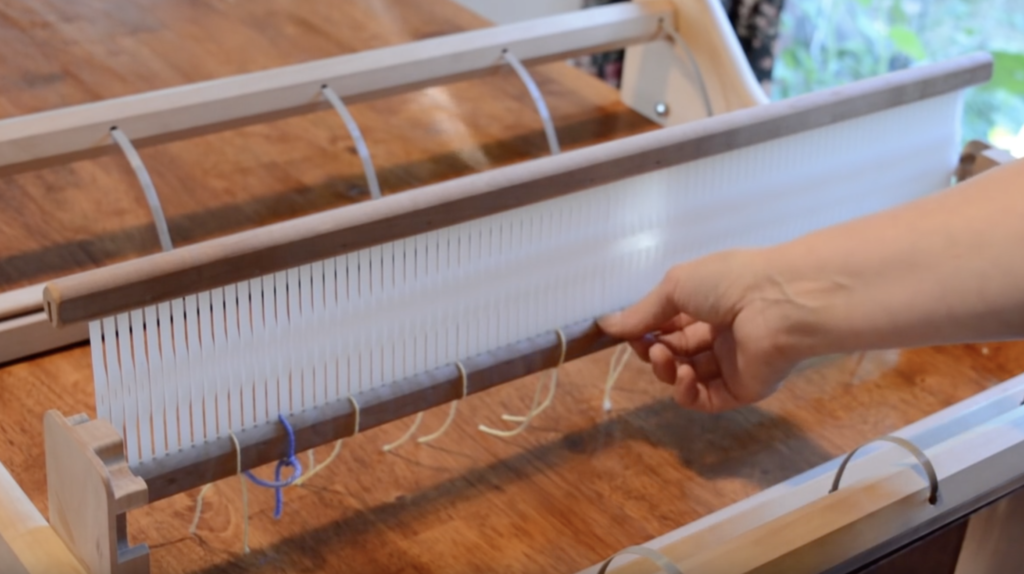
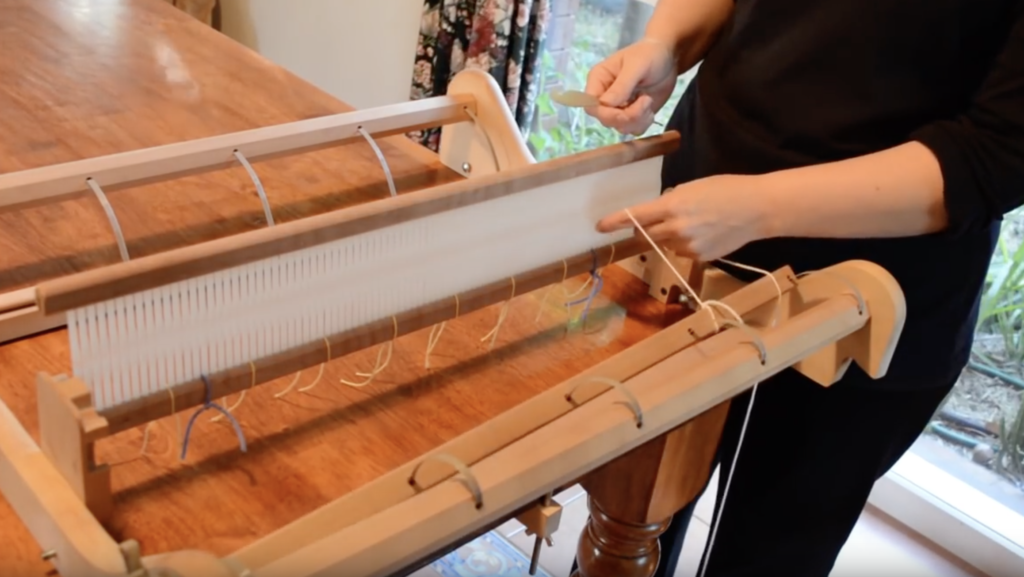
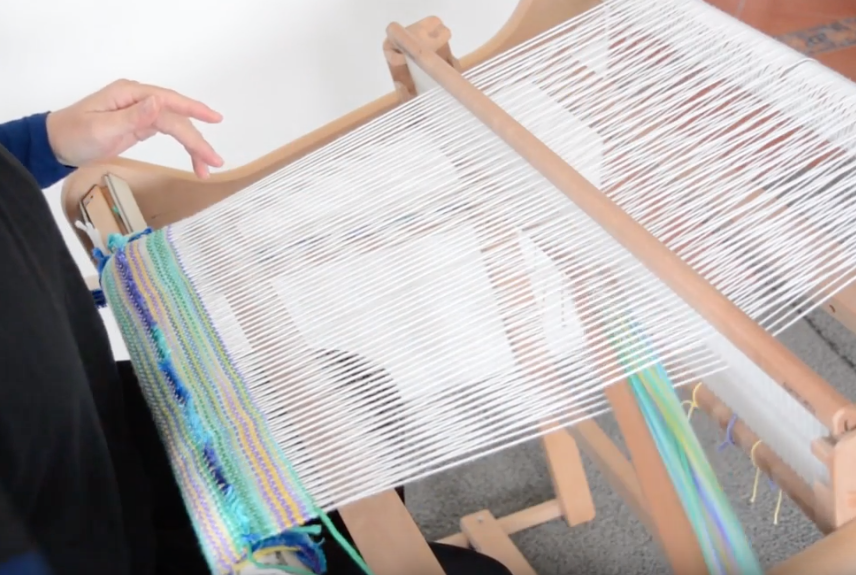
Prior to warping for any project I find it very useful to mark out the width of the project with some waste yarn to avoid having to count and re-count slots, which can be a bit tedious! I just thread the waste yarn through the slot and tie it at the bottom of the reed. Easy peasy.

*This post contains some affiliate links, meaning that if you click and purchase, I receive a small commission at no extra cost to you.

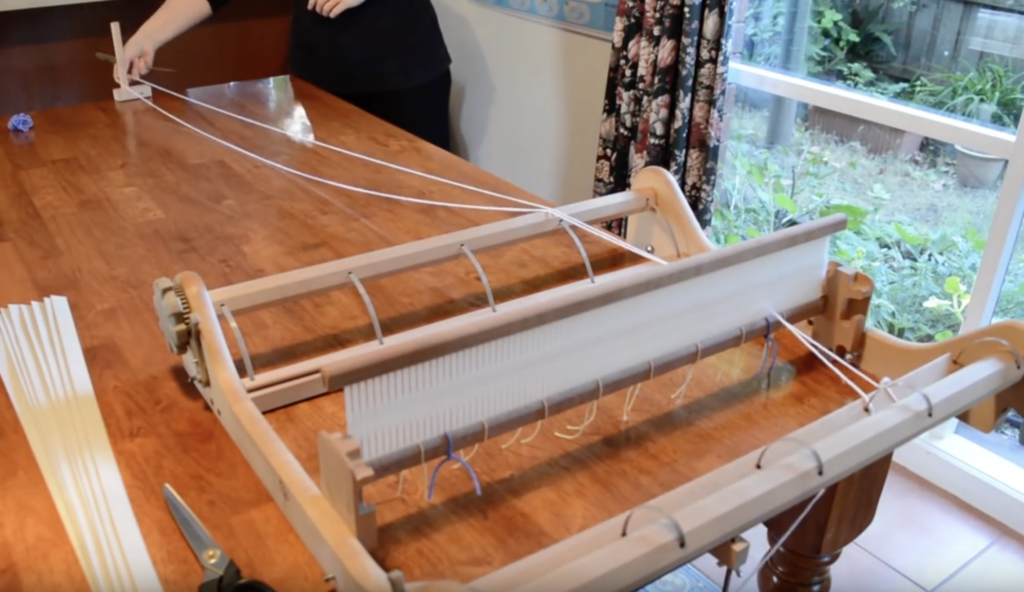
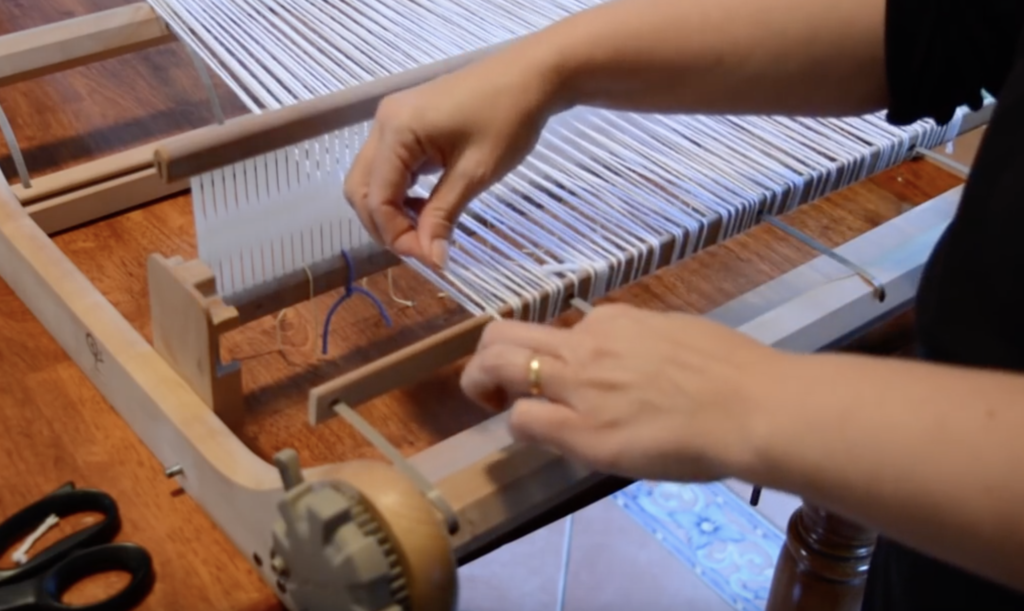
You can begin warping on the left or the right side of the loom, it doesn’t matter, but my habit is to start on the right. Tie your first length of yarn onto the apron rod, take it through the first slot and around your warping peg, back through the slot and then around the apron rod again. Alternate so that your thread goes over then under the apron rod each time.

By the time you are finished warping, you should have 2 threads in each slot. Place your yarn gently on the peg – we are not aiming for tight tension at this point, just consistent.

When you are finished warping the required number of ends, cut your yarn and tie off on the apron rod.

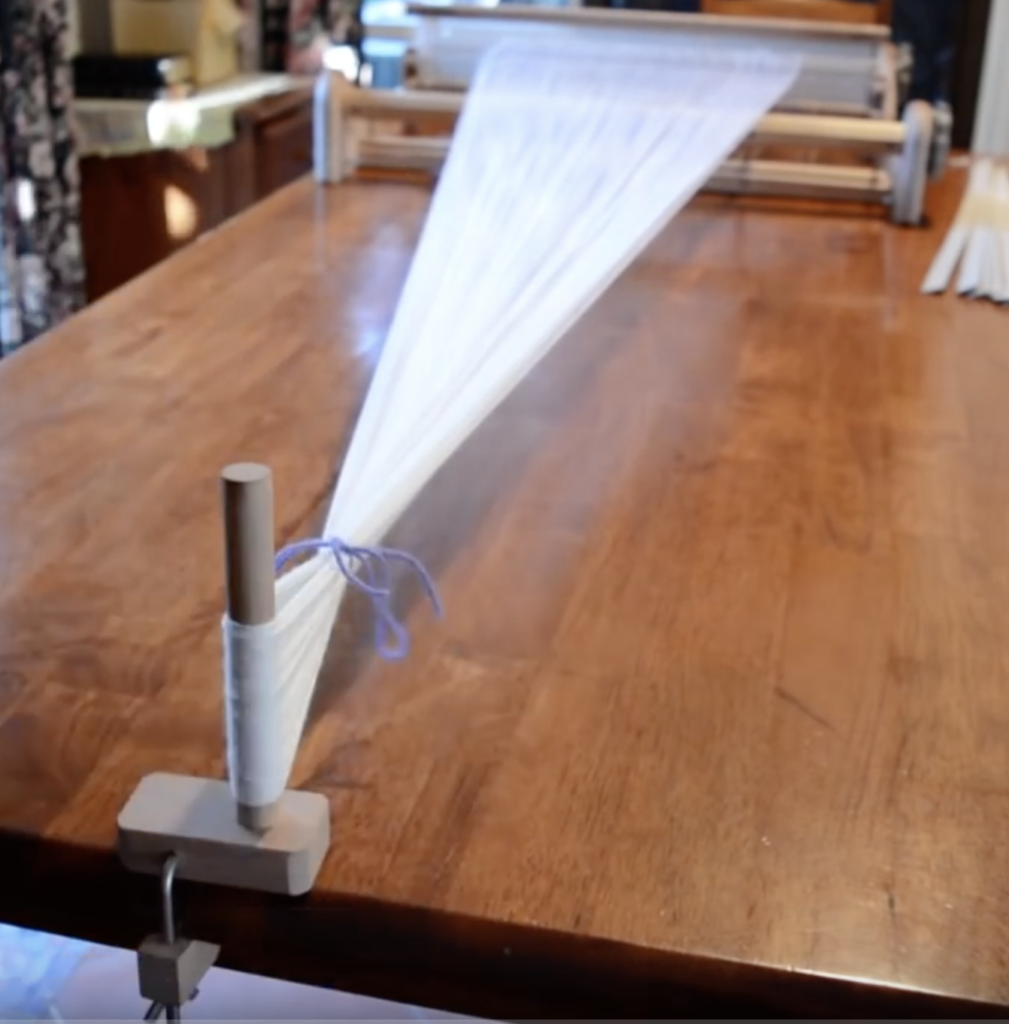
Now you’re ready to place a choke tie around the warp near the peg to keep it all together as you wind the warp onto the back beam. A piece of waste yarn in a bow is perfect for this.

The step by step video instructions for this lesson are available for free.

If you need the basic equipment to get started on this project, here are my suggestions:

I have a 24″ Ashford Rigid heddle loom (most looms will come with a 7.5 or 8 dent reed, a threading and reed hook, one stick shuttle and a direct warping peg.

Ashford also have a 16″ rigid heddle loom that is appropriate for this project.

A sewing machine is really invaluable for making bags or any other sewing you want to do with your handwoven fabric. You do not need to spend a fortune on a fancy schmancy machine with all the bells and whistles, just a basic straight and zigzag stitch machine. I have a basic Janome and am very happy with it.

I’m not going to tell anyone that a serger is a must have for sewing hand woven, but the truth is, if you do a fair bit of sewing it will make your life a whole lot easier. I have an old Toyota serger that I bought cheap many years ago as it was an ex demo model. Sergers have actually come down in price since I bought mine, so a new one would set me back the same as what I bought my old one for. I do recommend checking out Janome sergers if you’re in the market for one though.

Yarn suggestions area covered in the last post.

If you have any questions at this stage, please leave them in the comments below.

Next time we will learn how to wind the warp onto the back beam, then thread and tie on in readiness for plain weave.

Happy Weaving!

Filed Under: Rigid heddle weaving, Sewing, Tutorials, Weaving Tagged With: learn to weave, rigid heddle weaving tutorial, tote bag, tote bag weave along

Tote Bag Weave Along Lesson 1

by Kelly 13 Comments

It is almost 3 years since I first posted my Tote Bag Weave Along series on Youtube. It has been my most popular series ever, and I’ve been thrilled to see so many bags woven by others!

I’ve wanted to add extra functionality to the series for those who desire it, and that is what I’ll be doing here over the next couple of posts. I will be giving yarn details and help, printable PDF’s, as well as some step by steps for some sections of making the bag.

I’m beginning with the materials list that you can now download and print out.

totebagweavealongmaterialslistDownload

OK, lets get into some extra details and questions you may have from the list.

*This post contains affiliate links, meaning if you click and purchase on the link’s given, I receive small commission at no extra cost to you 😉

Do I need to have a 24″ or 60cm rigid heddle loom?

Not necessarily! Although weaving the bag in one piece is the easiest option, it’s not the only way. If, for example, you had a Sampleit loom, you could weave 2 panels, 10″ wide and sew them together for each bag panel you need. (So that would be 4 panels you would weave for one bag). You could even make a design feature of your panels by weaving the wefts in different colours so that each side of your bag would contrast. Where there’s a will there’s a way!

Do I need to sew the handles myself?

Nope. You have other options for the handles too. If you have an inkle loom, you could weave them yourself, in either matching or contrasting colours. You can also purchase ready made handles and these come in a huge variety nowadays. You can choose from metal, acrylic, wood, rattan, and faux leather, to name a few!

I can’t get Australian 8 ply merino – what are my other choices?

There are many yarns you can substitute with and you don’t have to use wool. Cotton, acrylic, bamboo and others can be used too. One world of caution though. When you iron on your interfacing, your chosen yarn needs to be able to take the heat without being scorched. Cotton or superwash wool are good choices.

Here are some suggestions for you:

Lily Sugar n Cream is a range of cottons that come in the most gorgeous colours and varieties. Their variegated cottons are wonderful and they even have curated colour packs! Cascade Ultra Pima is another possibility.

For wool, you have Cascade Superwash, Patons Classic, Carlton Merino and so many more. Yarnsub.com is an excellent resource for checking and comparing yarns.

Do I have to line my bag?

No, but it does give a really nice, more professional looking finish.

Do I need to use a sewing machine?

Technically, you could hand stitch this whole project, but that is not something I would do! If you decide to, make sure your stitches are small and strong, a bag needs to be hard wearing. Whether sewing on a machine or by hand you should always use a good quality thread like my favourite, Gutermann. Cheap thread is cheap for a reason!

Next time we will go through some of the steps for the project. If I have missed anything or if you have questions about the materials, please let me know in the comments. Also, please let me know if offering the series in this format is helpful to you.

In the meantime, if you want to take a look over the Tote Bag Weave Along video series, you can start with the introduction video below.

If you have any questions about the project or anything from this post, please let me know in the comments!

Until next time…

Happy Weaving!
Filed Under: Rigid heddle weaving, Sewing, Tutorials, Weaving Tagged With: rigid heddle weaving, rigid heddle weaving tutorial, tote bag, weave along

How to Use Pick-Up Sticks

by Kelly 24 Comments

Pick-up sticks can be a game-changer for rigid heddle weaving. These simple tools expand your loom’s capabilities, allowing you to create intricate patterns beyond plain weave. Whether you’re a beginner or looking to elevate your skills, this guide will help you understand how to use pick-up sticks effectively.

A rigid heddle loom has 2 shafts, essentially the hole threads and the slot threads. These 2 shafts allow you to work plain weave, which is a perfectly lovely weave structure on it’s own, but most weavers will begin with plain weave and then want to increase their own skills and their loom’s capabilities.

*This post contains affiliate links, which means that if you click a link and purchase, I will receive a small commission at no extra cost to you.

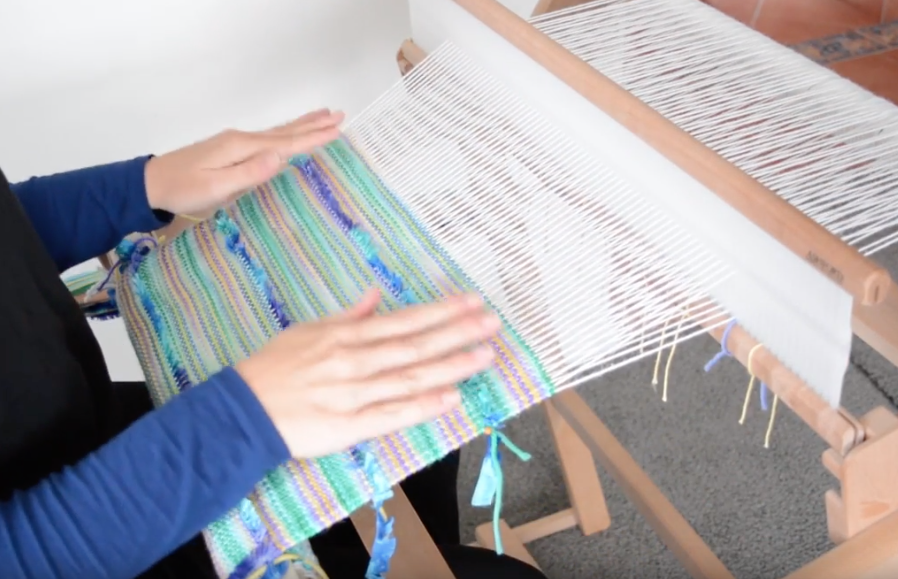
This is where pick up sticks enter and shine. Basically, they are simple, flat and smooth lengths of wood. You pick up warp threads and operate the stick/s from behind the heddle/reed. Your pick up sticks need to be longer than the width of your project, or they won’t hold the picked up threads. For my 24″ rigid heddle loom I use 24″ pick up sticks. I can use these same sticks whether my project is narrow or full loom width.

Incorporate one pick up stick and you can weave on 3 shafts. Incorporate two pick up sticks and you can weave on 4 shafts. And you can keep going from there, although you will probably want to learn about installing heddle rods to increase time efficiency. I happen to have a video showing you how to do that:

If that is a bit much for you at the moment, you can run with the knowledge that pick up sticks allow you to weave pretty patterns!

One of the rules of picking up warp threads with a stick is that your heddle needs to be in the “down” position. The threads we want to pick up must be slot threads, as the hole threads are already committed and are therefore inflexible.

Trying to pick up hole threads would be like trying to pick up the same threads twice! The slot threads are normally our shaft 2 threads and when we place the heddle in down position, they are raised.

Because we push our pick up stick/s to the back when not in use and they lay flat between the warp threads, they do not hinder you from being able to still operate shaft 2, as well as an additional shaft when the stick is engaged.

But I don’t think that you need to understand any of the above in order to use one or two pick up sticks, I certainly didn’t know what I was doing when I started with them. I just played around and liked what I saw and you can do the same!

Even if you are using a written pattern, you still don’t need a lot of understanding to follow them. If you see the instructions “1 up, 1 down” for your pick up, it simply means 1 warp thread will sit on top of the pick up stick, the next will sit underneath it and this will repeat across the warp.

Pick up sampler

The instructions for the actual weaving will be a little different, but easy to follow. Here is a simple weaving sequence as an example:

  1. Up (heddle up)
  2. Down (heddle down)
  3. Up, pick up stick (heddle up and slide pick up stick behind the heddle, leaving flat).

If you want to see pick up sticks and examples of pick up patterns demonstrated, watch my free Youtube video:

If you’re interested in exploring pick up in the form of a project, I can help! My Kitchen Cloths on a rigid heddle loom project is available as an online class.

In my Etsy shop, you will find my Lux Hand Towels pattern, which also uses pick up.

Lux Hand Towels

Oh, and let’s not forget the free pattern you receive when you sign up to my email list, the Moroccan Dream Scarf, which is easy enough for beginner pick up stick adventurists and can look so varied, depending on the yarn and colours you decide on.

The Moroccan Dream Scarf

I have some really cool pick up patterns for free, along with a video tutorial in this post.

I’m quite sure that you will be interested in taking a look at my Pick Up Stick Playlist on Youtube:

I also have a comprehensive course, Pick Up Perfection, available for purchase. If you have a membership to the Online Weaving School, this class is included for free.

I hope this has helped you to understand how pick up sticks can be utilised in your weaving. If this post has been useful to you or if you have any questions, please leave me a comment, I love to hear from you 😊

Until next time…

Happy Weaving!
Filed Under: Rigid heddle weaving, Tutorials, Weaving Tagged With: how to use pick up sticks, how to weave patterns, pick up sticks, rigid heddle weaving, rigid heddle weaving tutorial, tutorial

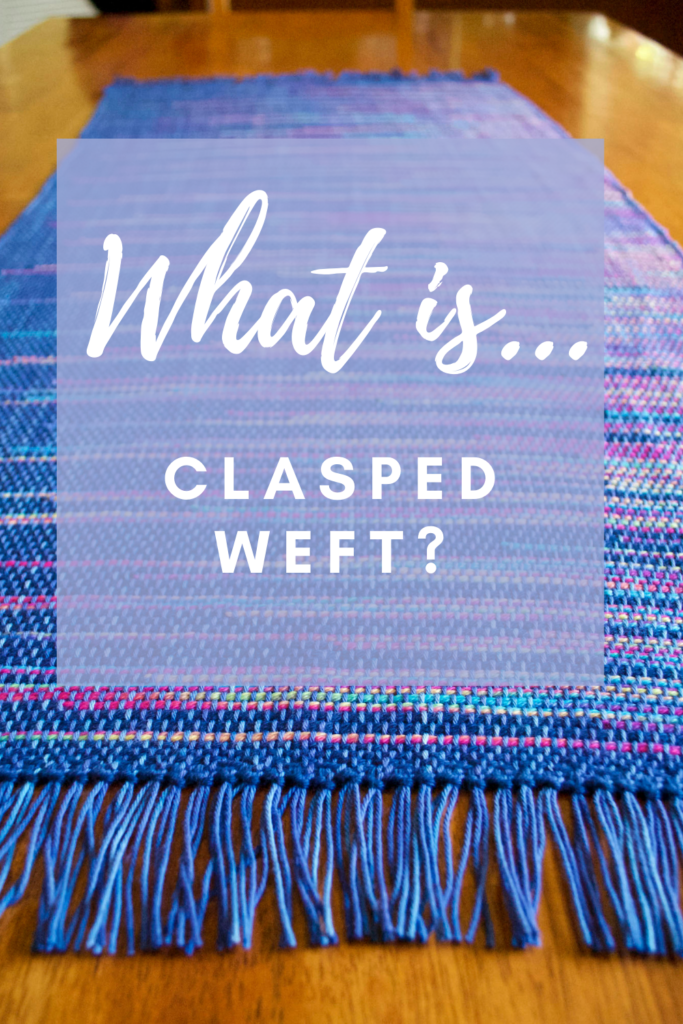
What is Clasped Weft? A step by step tutorial.

by Kelly 23 Comments

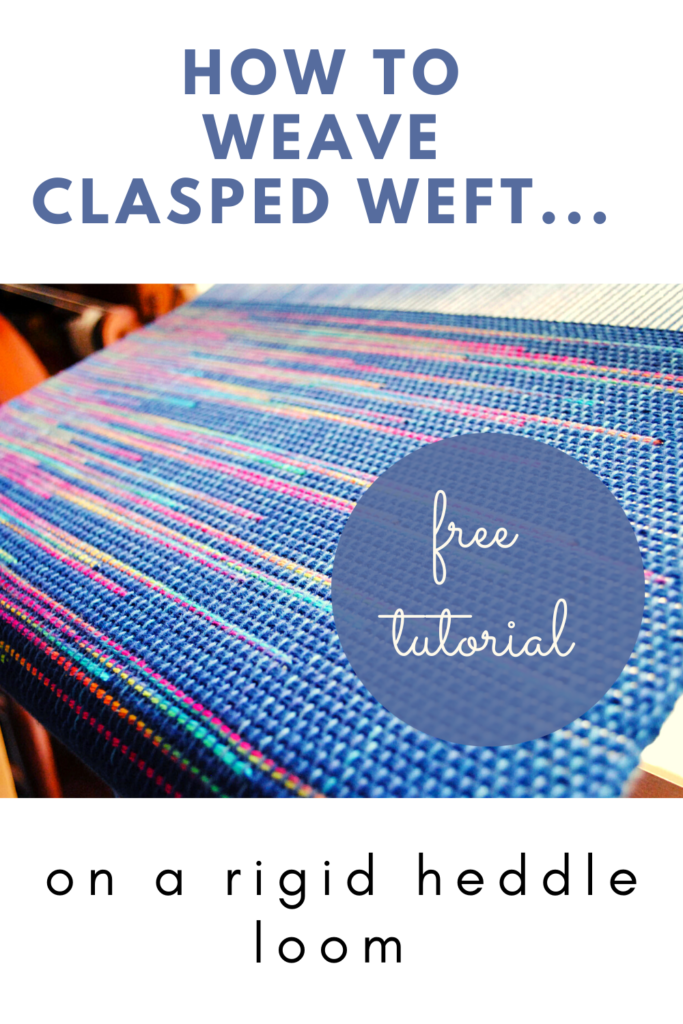
Just when you think you’ve tried everything in weaving, you come across something different, like Clasped Weft.
Clasped weft can be a great “next step” for newer weavers with a few plain weave projects completed and who are ready for something a bit more adventurous.
The cool thing about weaving clasped weft is that, similar to Colour and Weave, most of the work is in using colours to make your weaving look fancy, when in actual fact it is quite simple.
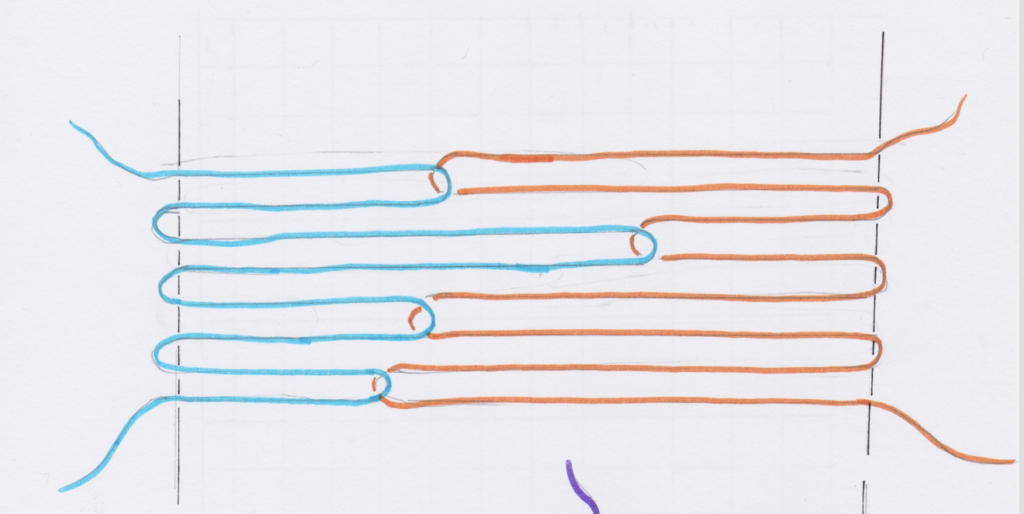
The clasped weft technique uses 2, 3 or 4 interlocking weft colours. Using 2 colours to begin with is the easiest and least complicated approach. If you have done any tapestry, you may already be familiar with the interlocking technique.
*This post contains affiliate links. for more information, see my disclosure policy.

We mainly use a plain weave structure (though clasped weft can actually be used in other structures, such as twill). It is a perfect technique for a rigid heddle loom, because, although it’s simple, it looks special and has big impact.


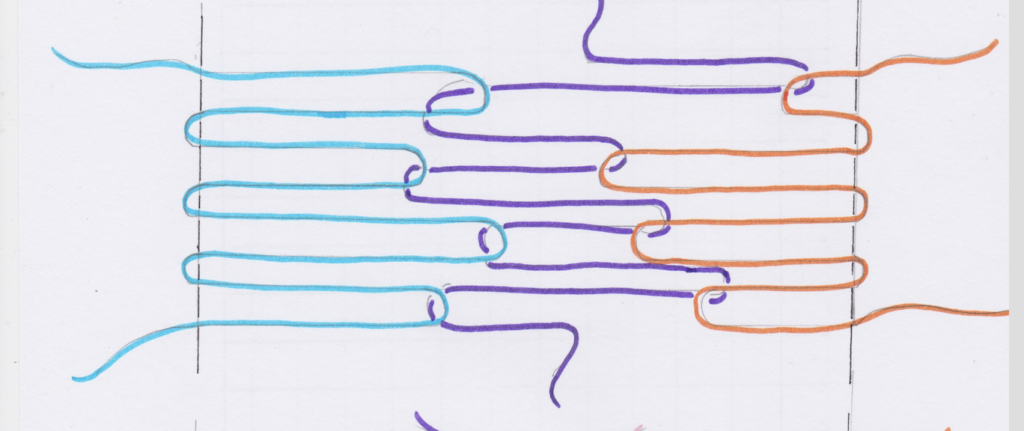
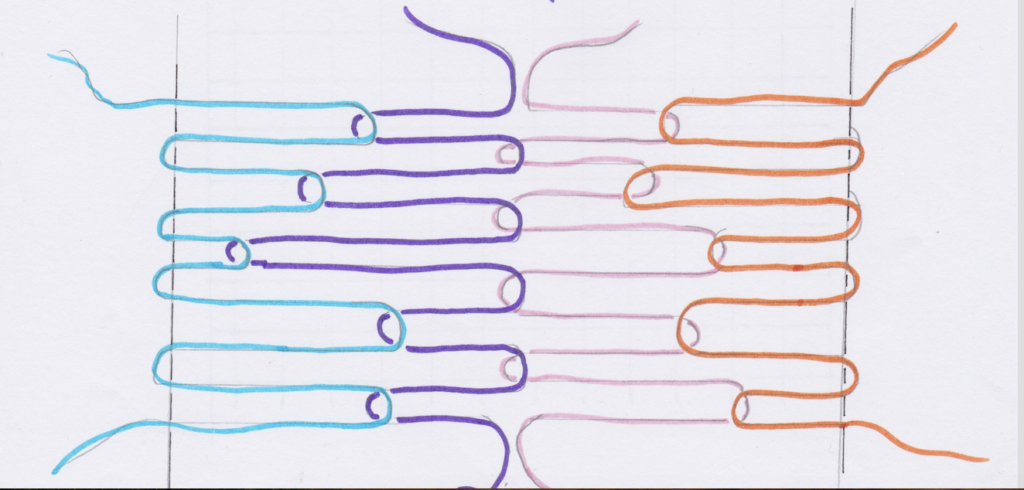
Before we go through the tutorial steps, let’s look at some (rather poorly drawn, sorry about that!) diagrams to get a clearer idea of how this works. The drawings are over simplified, as I haven’t drawn in the warp and weft interlacement, but I have drawn in the edge warp threads:

Clasped weft with 2 weft colours.

Clasped weft with 3 colours.

Clasped weft with 4 colours.

Now let’s go through the tutorial steps so that you can get clear on how clasped weft is actually woven. Today, we are just focusing on working the two weft colour technique, as I believe this is the best place to begin if you’re not familiar with clasped weft or haven’t attempted it before.
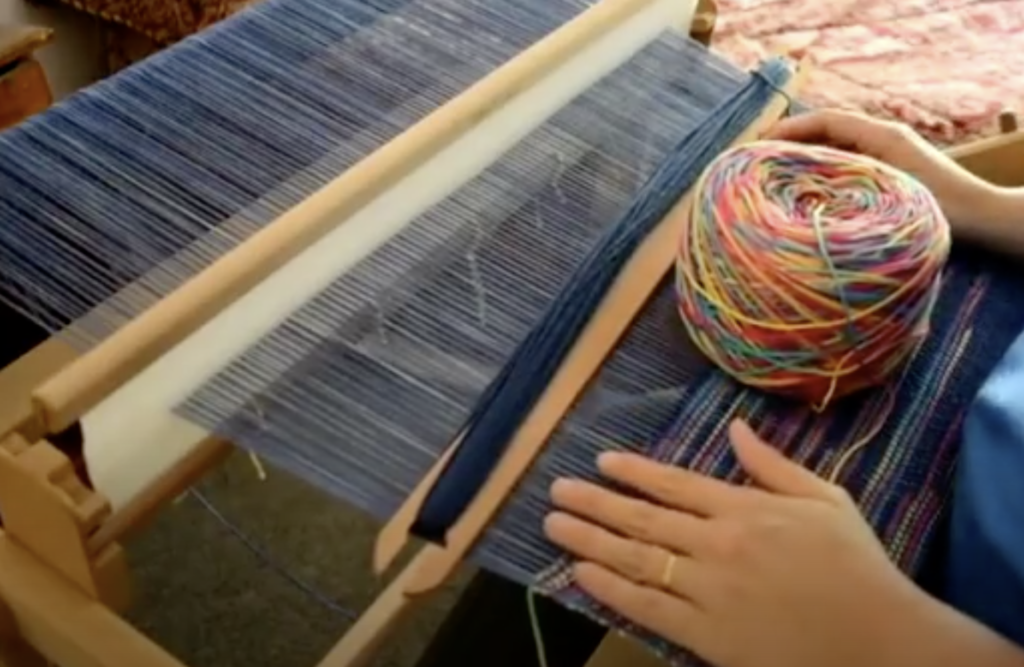
Begin with two contrasting weft yarns of the same weight. I have used one with a dark navy colour and another that is variegated with bright colours.
See the tips section below for more on why variegated works perfectly.
My warp and weft yarns were all light worsted/dk/ Australian 8 ply weight. Wool, acrylic or cotton are all fine.
One weft yarn is loaded onto a stick shuttle, in my case this was the dark navy. The other colour is left in a ball or on the cone. My variegated colour was in a skein and so I wound it into a yarn cake with my ball winder.
A yarn cake (also known as a centre pull ball) is particularly good to work with for clasped weft, because it sits nice and flat on the floor and won’t roll away. The yarn also feeds off the yarn cake seamlessly, which makes the whole process that little bit easier. If you have a ball, you may want to sit it in a box or basket on the floor to contain it.
Place the ball of yarn on the floor at your left. It doesn’t matter if you place it on the right or left, but for the purpose of this tutorial it’s on the left.
Because the ball (let’s call it the contrast yarn) is on the left, we enter the shed with the stick shuttle on the right. Again, it doesn’t matter whether you are in the up or down shed, but I am beginning in the down shed.
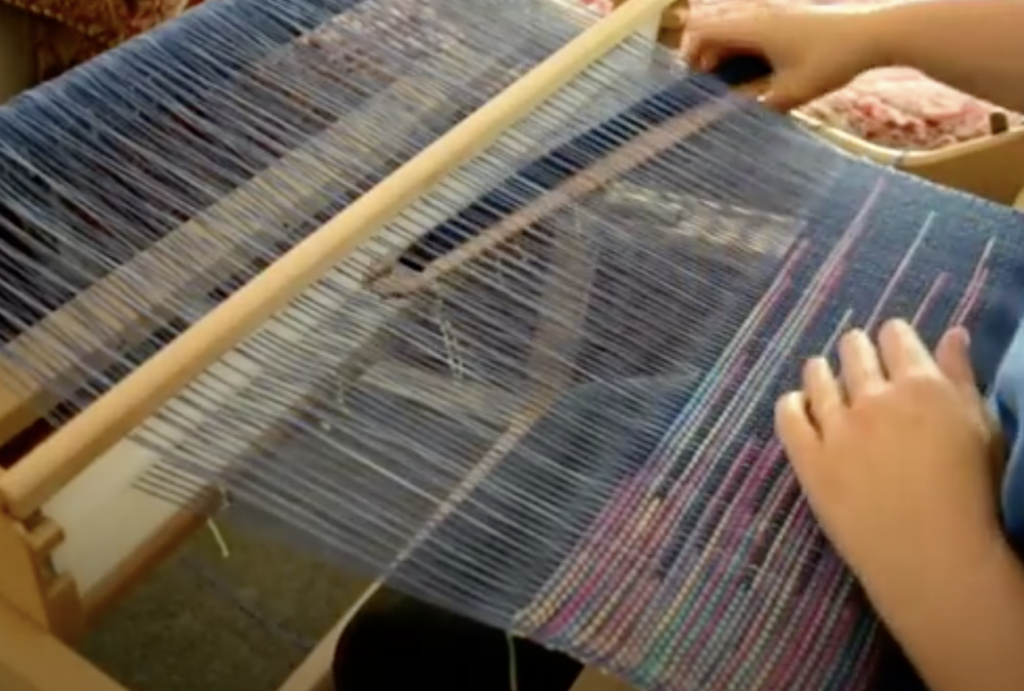
Take your stick shuttle across from the right hand side to the left as though you’re going to weave a regular plain weave pick.
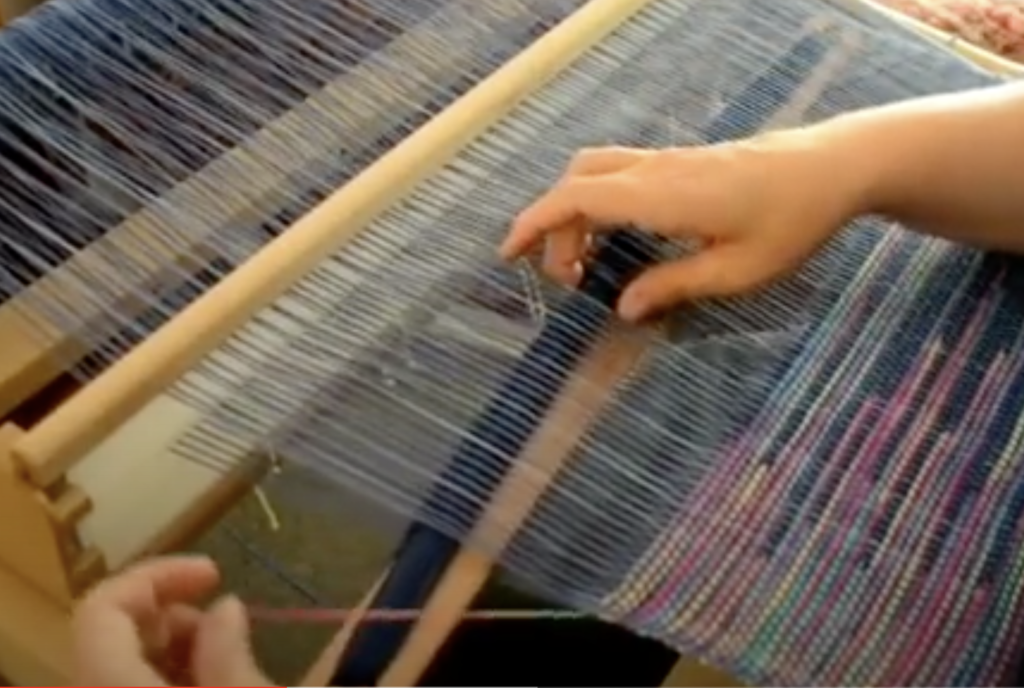
When your shuttle reaches the left hand side, pick up the contrast yarn and place it over the top of the stick shuttle.

Take the shuttle the rest of the way through the shed at the left – as you would for your normal plain weave pick.

On the right hand side (where your shuttle entered), tidy up and prepare your weft yarn as though you’re going to beat the pick in. If you’re not familiar with how to do this, watch my free video on How to Weave Neat Edges.  DON’T BEAT.

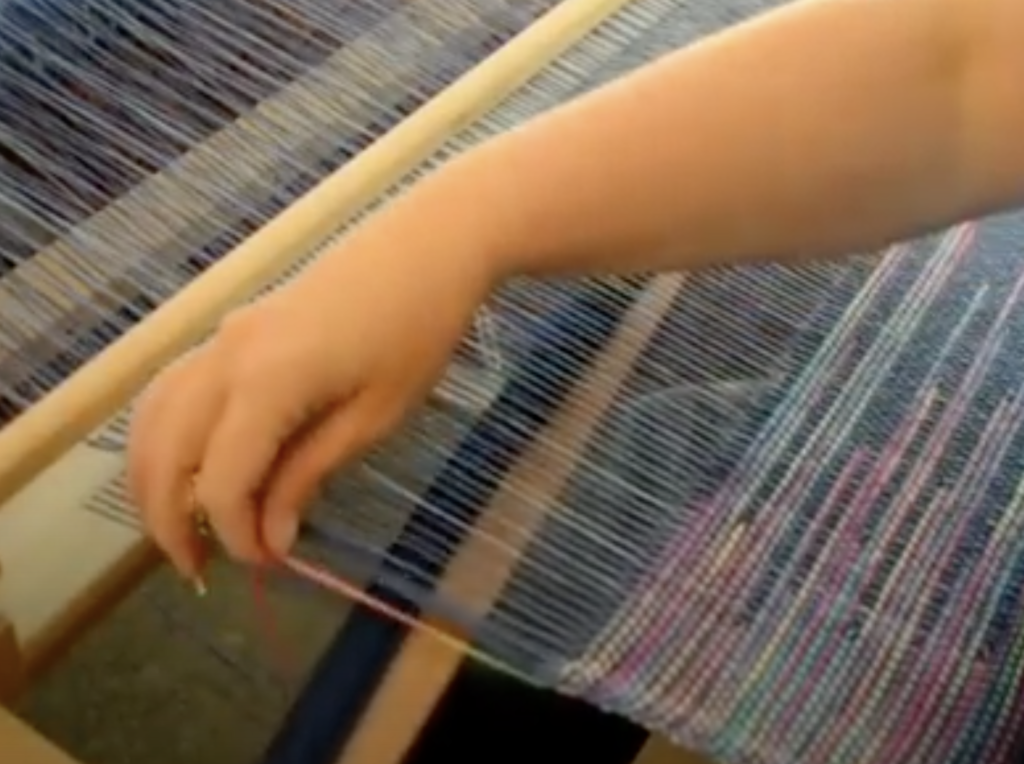
Take the shuttle straight back into the same shed. Don’t change sheds, and don’t beat! Take the shuttle through, back to the right where you first entered the shed.
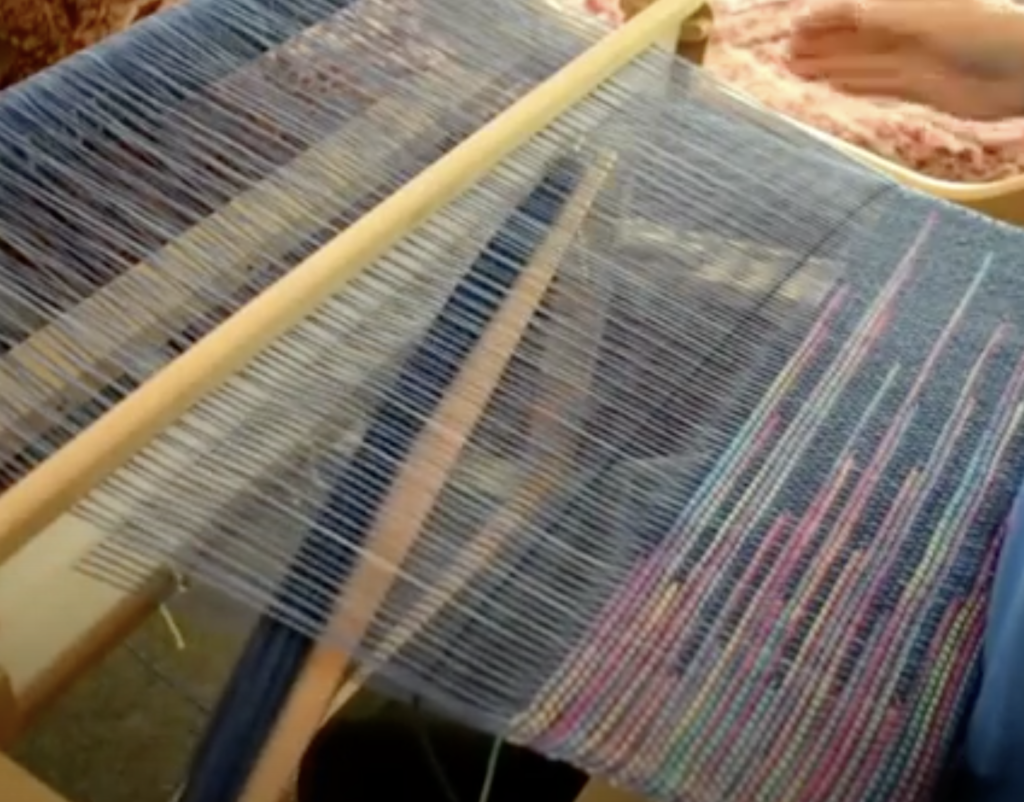
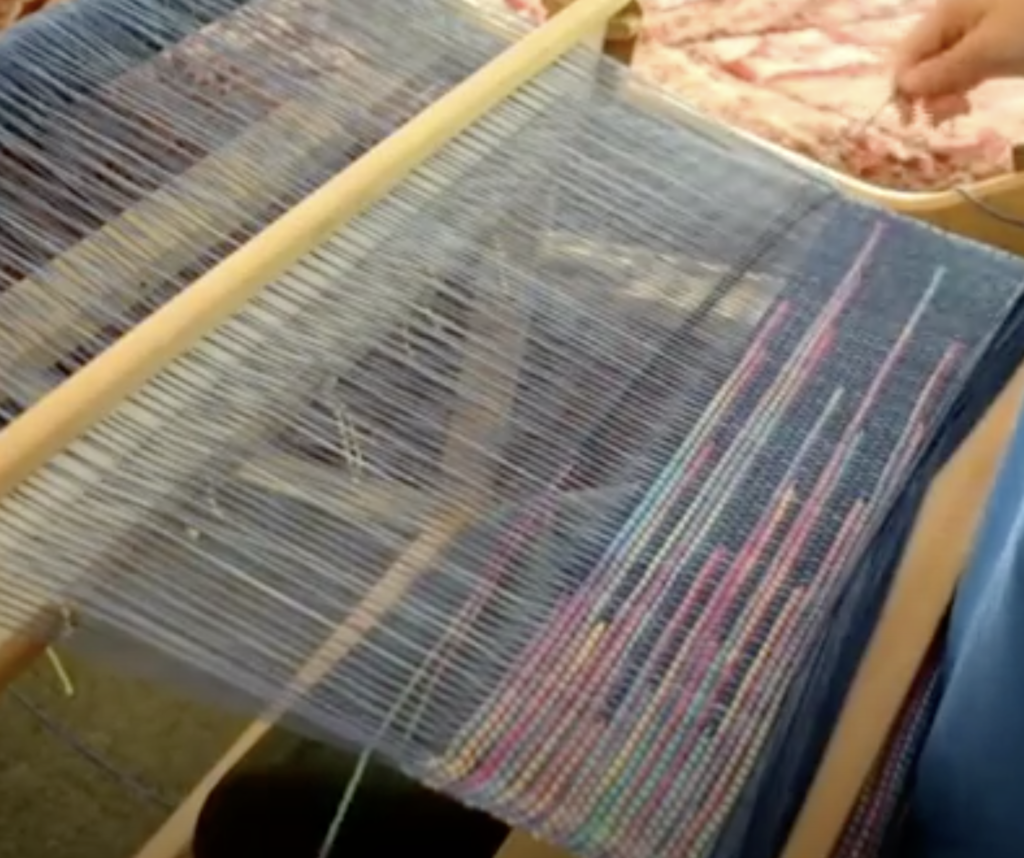
As you return the shuttle to the right, you will find that the navy yarn is linked or clasped with the contrast yarn. This means that the contrast yarn is pulled into the shed. Now you get to decide how far you will pull the contrast yarn into the shed. A little? A lot? Your choice, depending on the effect you want to achieve.
Hold both yarns under tension on either side to manipulate where you want the two yarns to go.
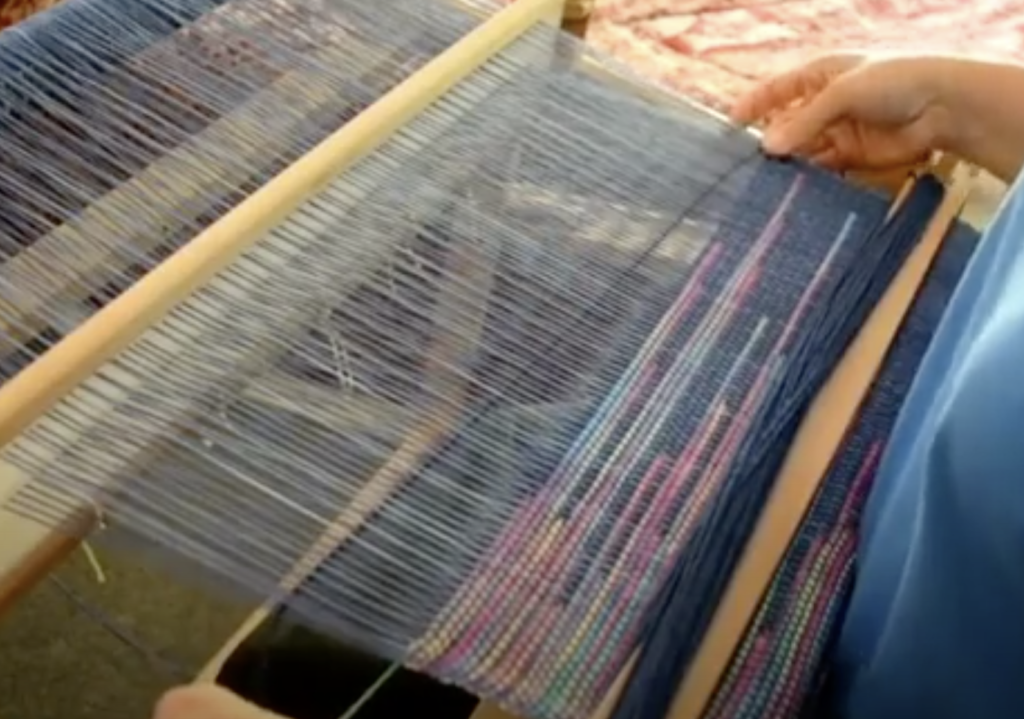
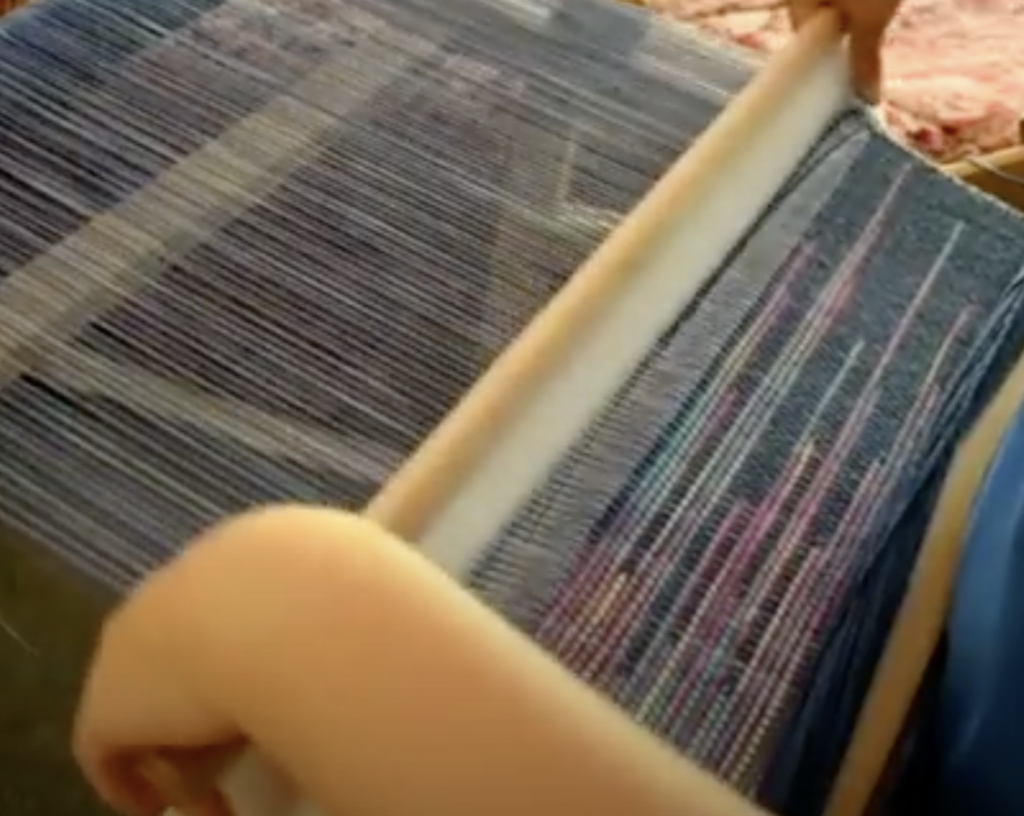
When you’re happy with the yarn positioning, beat the picks into place. You will notice that both yarns are now doubled in the shed.
Change to the next shed (in my case I had been working in the down shed, so I go on to change to the up shed).
Continue weaving in the exact same manner in the new shed and repeat until you’ve finished weaving.
Isn’t your head just swimming with all the possibilities of this wonderful technique?
Clasped weft can be extremely planned or extremely random. It looks wonderful both ways and is just so much fun to weave.
Here are a few recommendations for best results:
1. Use contrasting weft colours.
Light and dark will make the weaving pop. 
2. Use the same weight yarn for both warp and weft.
You will get better results and avoid the not so pretty lumps and bumps that can occur at interlocking points.
3. Variegated yarn is perfect for this.
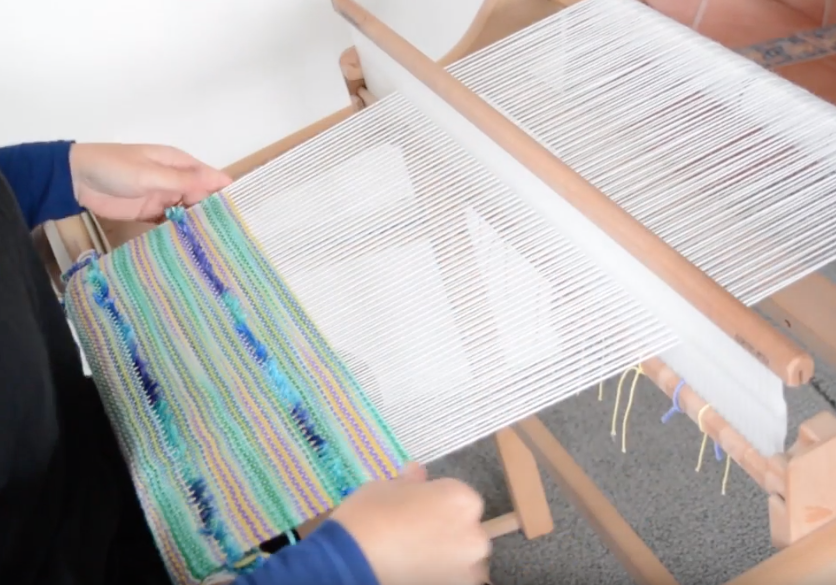
For the 2 colour clasped weft technique, a variegated yarn with a contrasting yarn looks really cool! (See photos below and above).

              4. Using the same colour as the warp for one of your weft colours works great.

Too much colour can confuse the contrast of the clasped weft lines. In the tutorial, I used the same navy yarn for warp and weft no.1. I then used a contrast yarn for weft no.2.

If you like the look of clasped weft as much as I do, I have some great news for you! I have 3 free Youtube video tutorials that will teach you each of these techniques. Start with video 1 so that you can practice the technique, before moving on to the others. 

Clasped Weft with 2 colours
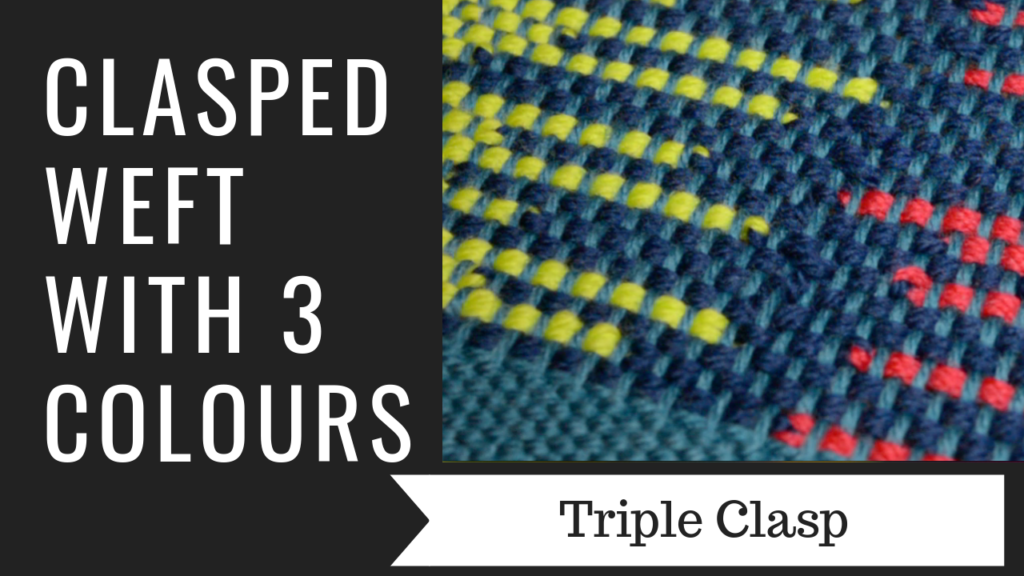
Clasped Weft with 3 colours
Clasped Weft with 4 colours
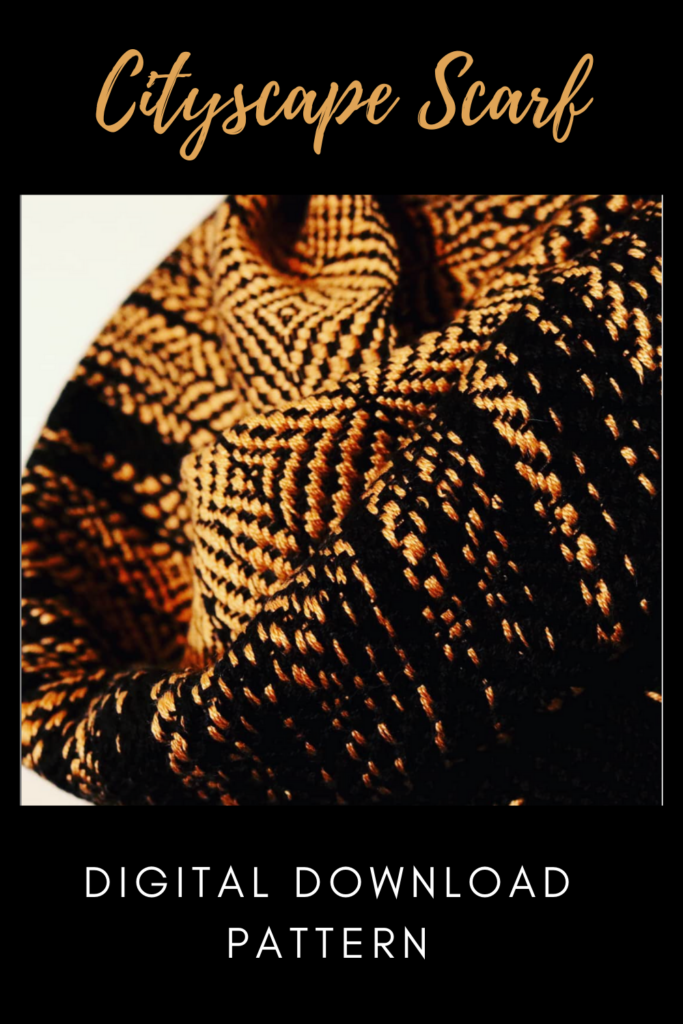
I mentioned that the clasped weft technique can also be used for other weave structures. This can create really interesting and impressive special effects. One of my Etsy patterns, The Cityscape Scarf is a perfect example of a clasped weft combined with a twill.
Try it out and let me know what you think. Leave me a comment here or under any of the Youtube videos, I love to hear from you!
Until next time…
Happy Weaving!
Filed Under: 4 shaft weaving, Free Pattern, Free tutorial, Inspiration, Online Weaving School, Rigid heddle weaving, Rigid Heddle Weaving Patterns, Tutorials, Weaving Tagged With: clasped weft, my youtube channel, rigid heddle weaving tutorial, weaving

Spring Table Runner Free Rigid Heddle Project!

by Kelly Leave a Comment

Winter is fast approaching us here in Australia, but for those in the Northern Hemisphere, you are looking forward to the mildness and beauty of Spring. It’s a wonderful time to be freshening up household linens and table decor with new hand wovens!
 
*This post contains affiliate links
 
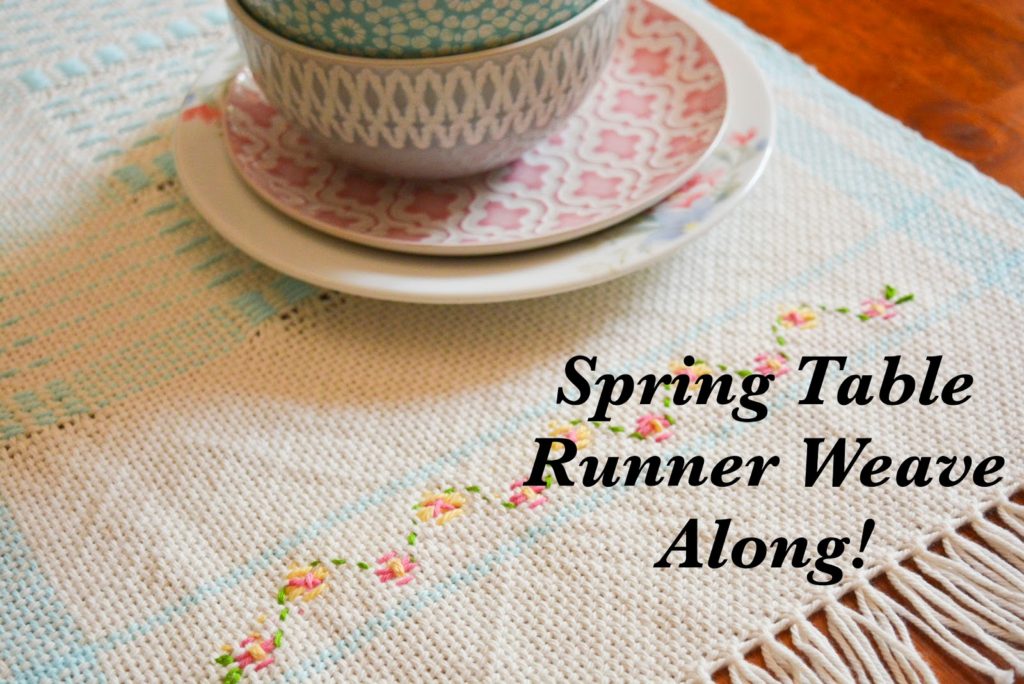
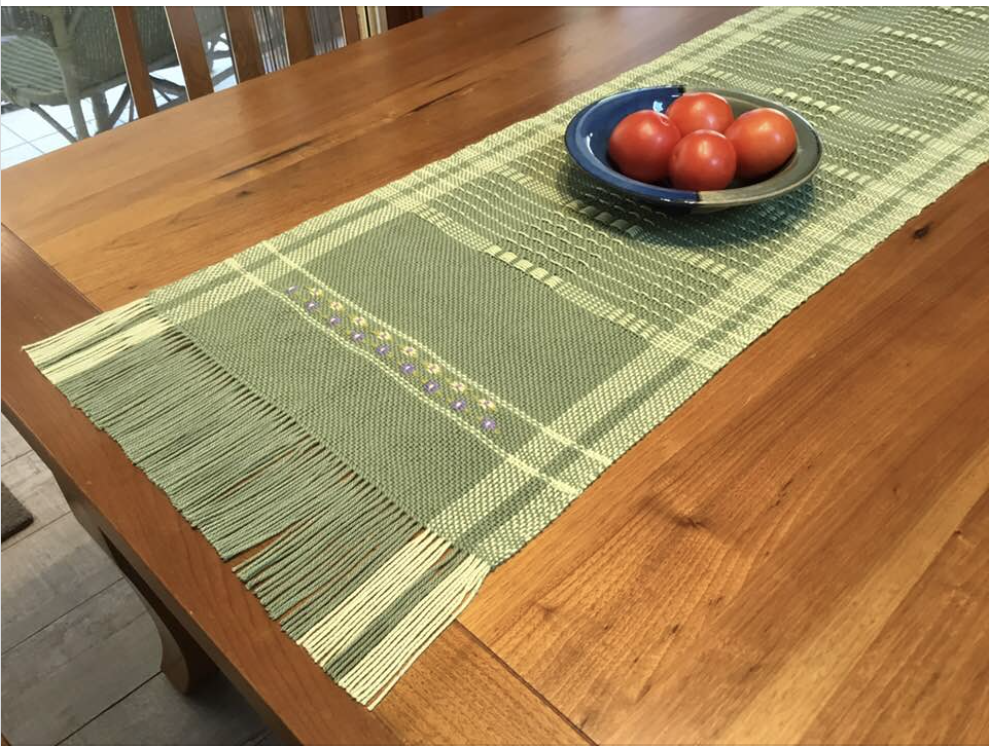
The Spring Table Runner project was initially run as a weave along, but can of course be undertaken at any time. I chose light and pastel colours to give that spring feel and also embroidered a delicate spray of flowers on either end of the runner to really make it feel like Spring.

 
The table runner is woven with lovely thick and soft cotton for easy care. The design is worked by using colour in the warp and weft, plus some simple pick up for additional interest.
 
You can download the free, printable PDF for the Spring Table Runner right here-  
Spring-Table-RunnerPDFDownload

What you will need to complete this project:

*A rigid heddle loom, 20″ or wider

*A 7.5 dent reed/heddle

* 2 x stick shuttles, at least as long as the width of your project

*A pick up stick, longer than the width of your project

*A double ended reed and heddle hook or a separate threading hook and reed hook

I know that many of you do not have access to the same yarns that I do. Let’s have a look at some suitable yarns you could use to complete this project:

For the 10 ply/ worsted/aran weight:

Bendigo Woollen Mills Cotton 10 ply

Lily Sugar n Cream cotton

Lion Brand 24/7 Cotton

Knit Picks Dishie Worsted cotton

Hobby Lobby I Love This Cotton

For the 8 ply/ light worsted/dk weight:

Bendigo Woollen Mills Cotton 8ply

Cestari Old Dominion 100% cotton

Maurice Brassard 8/8 cotton

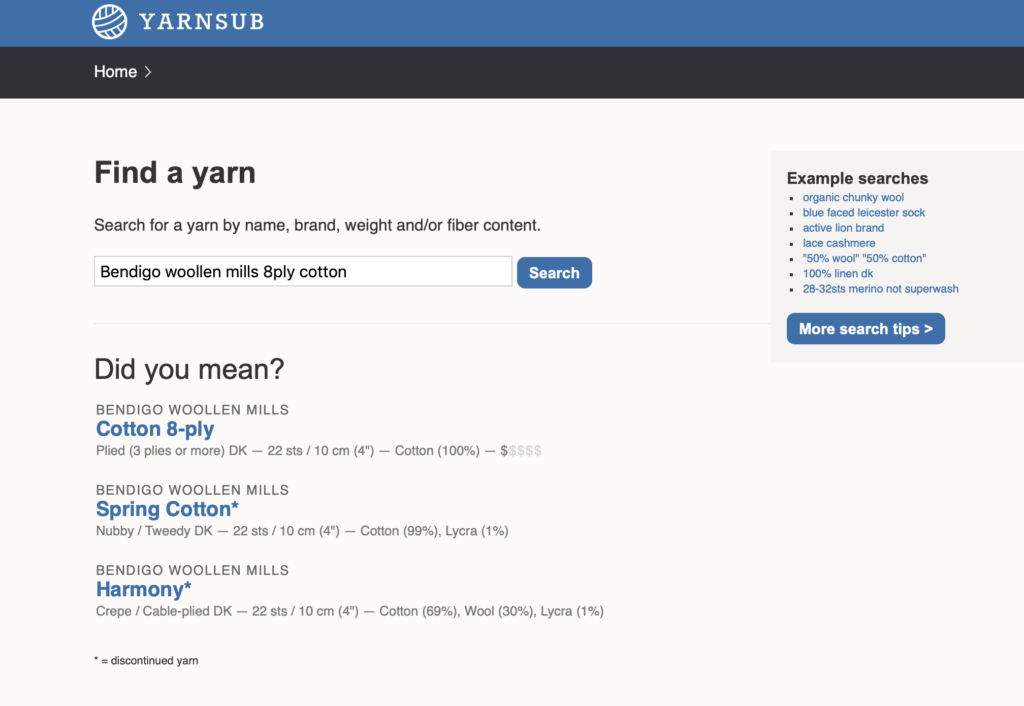
Yarnsub.com is also an excellent resource for finding a variety of yarns with similar characteristics to what I used. It is a simple site to use, but if you’re unsure, here is an example:

On the homepage, enter into the search box the yarn than you wish to substitute. Here I’ve entered “Bendigo Woollen Mills 8ply cotton”.

Hit “enter” on your keyboard or click on the little spy glass. Choose the correct yarn from the list below. In this case, I will click the top yarn.

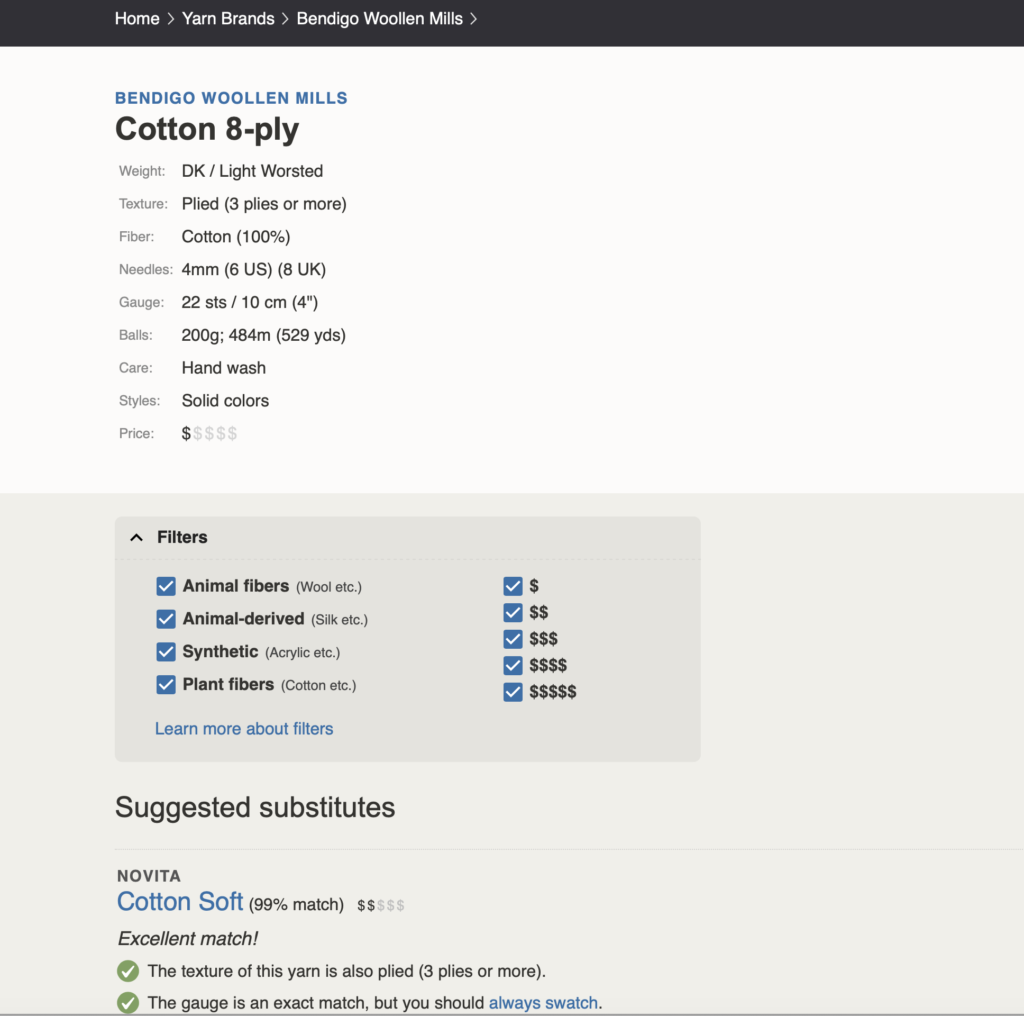
When you see this page, start scrolling down for all of the listed possible matches or near matches. This particular search gave 50 results!! You will see after each suggested yarn there is a percentage match – that will tell you how well the suggested substitute matches your original search. It’s brilliant!

You can of course substitute colours depending on availability and individual tastes. One of my favourite runners that I’ve seen is this one, woven by Juliet.

A very different colour scheme is used here, but still feels very Spring like and is absolutely beautiful!

The entire playlist of videos for the class can be found here-

The video series plus PDF can also be viewed at my Online Weaving School, if you prefer.

I really hope that this Spring Table Runner brings a little freshness to your table and joy into your home!

If you have any questions or comments, please leave them under this post, I would love to hear from you.

Until next time…

Happy Weaving!
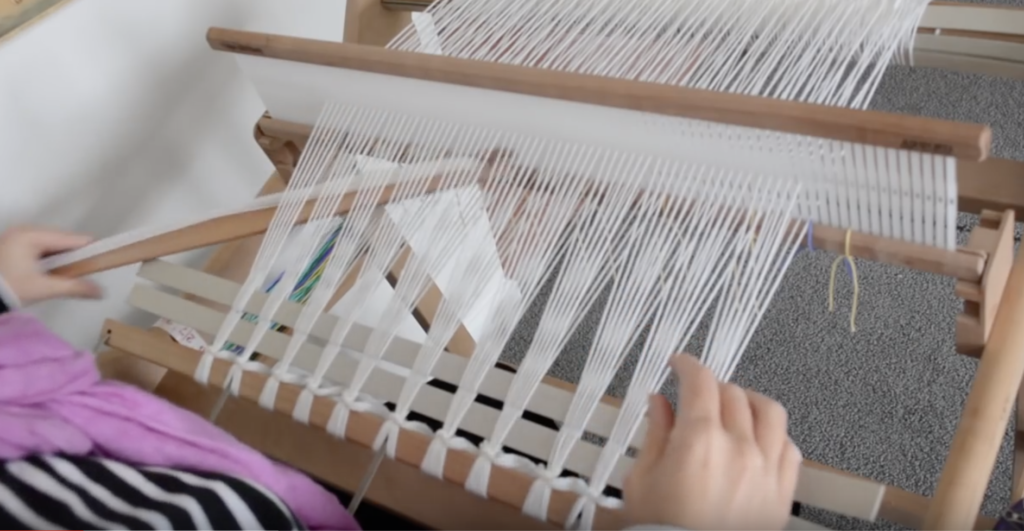
Filed Under: Free Pattern, Free tutorial, Health and home, Inspiration, Rigid heddle weaving, Tutorials, Weaving Tagged With: Kelly casanova weaving lessons, rigid heddle weaving, rigid heddle weaving tutorial, spring table runner

What is krokbragd weaving and how do I get started with it?

by Kelly 11 Comments

Krokbragd weaving has captivated my weaving heart and mind ever since I first laid eyes on it. So, what is it krokbragd? And how is it pronounced?!


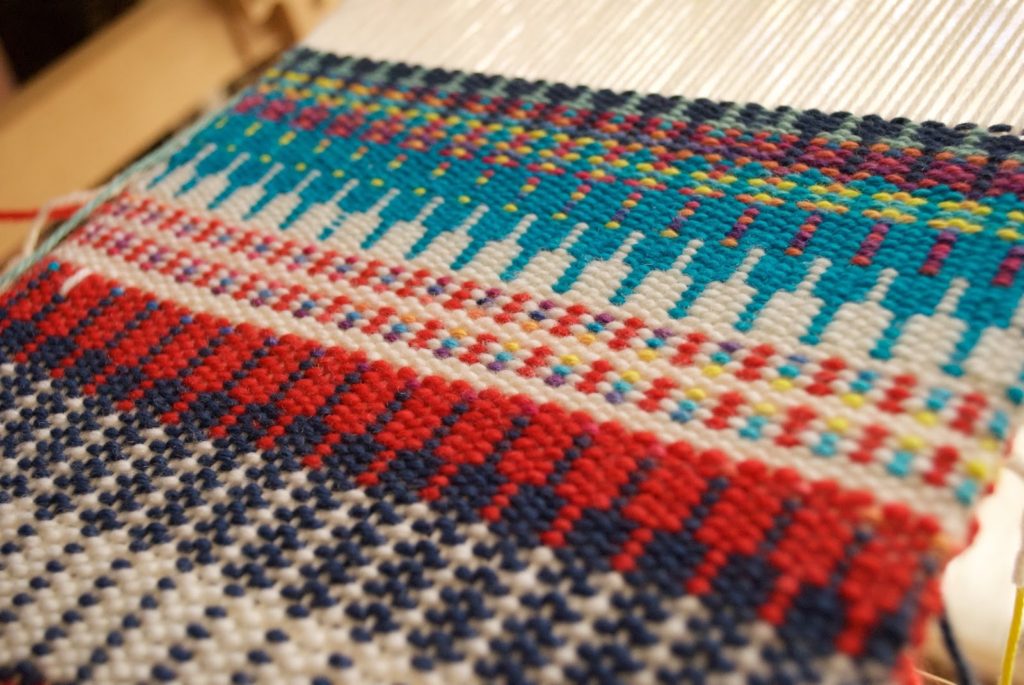
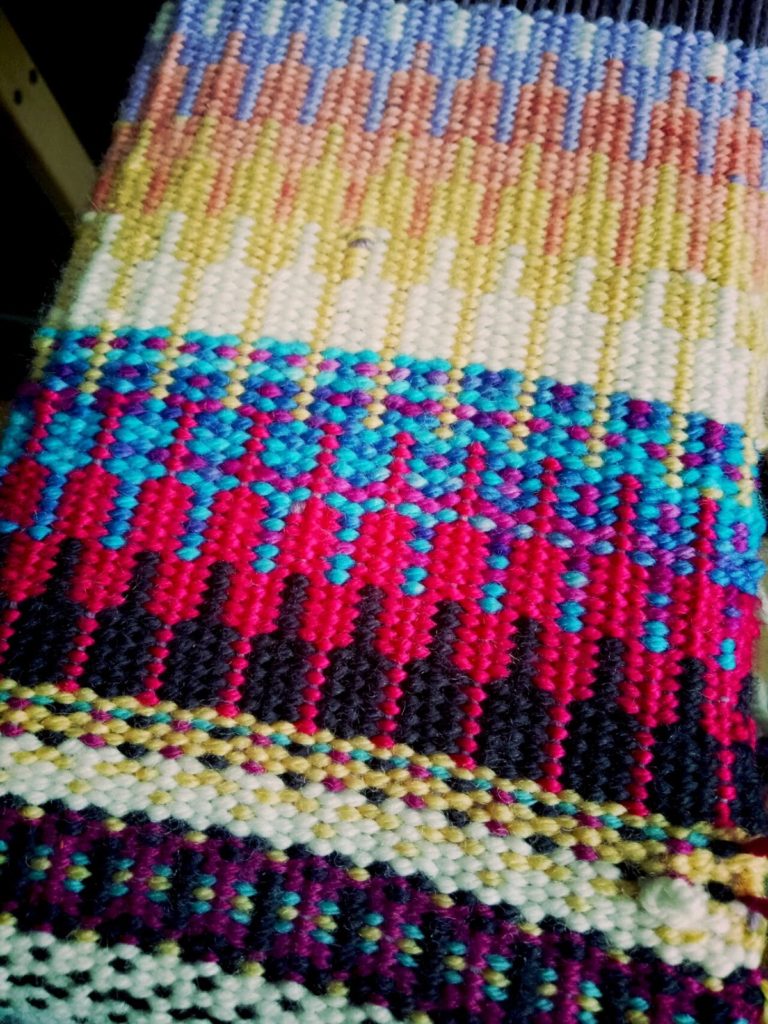
Krokbragd is a twill weave structure that originated in Scandinavia/Norway. It is usually (but not exclusively!) woven on 3 shafts and is weft faced (meaning the weft is dominant, covering most of the warp).  I have heard it pronounced in several different ways, from “croak-brod”, to “croak- brog” or “crok – brag”.


This weave structure produces bold and colourful patterns. The  weaving sequence has three simple steps and does not change, so the patterns are formed by changing colours. It’s quite magical!

The more you experiment with krokbragd, the more you feel that the possibilities are really endless.
Because the weft is packed in, krokbragd produces a dense, heavy fabric.
Historically, in Scandinavia, items with this structure were mainly heavy duty pieces such as chair and travel cushions as well as for warmth in the form of bed coverings.
It was also used artistically, mainly for wallhangings. It is likely that some wallhangings served a double purpose of keeping the home more cosy, as hangings were sometimes used as door coverings to keep out cold draughts.
Krokbragd lends itself beautifully to the rigid heddle loom and there are a number of ways you can set up your loom to achieve the three shafts you need for basic krokbragd.
If you find this weave structure as fascinating as I do, you may want to visit my free krokbragd tutorials for the rigid heddle loom on Youtube.
Weaving tulips is lots of fun!

My Krokbragd 101 online course is now available! This is a step by step course that will have you weaving beautiful krokbragd in no time!
Here are some other great krokbragd resources to help you get started:
Krokbragd – How to Design and Weave by Debby Greenlaw
Krokbragd Patterns by Debby Greenlaw
Krokbragd Bag Online Class
Krokbragd Mug Rug Weave Along Online Class (members only)
Krokbragd 101 Online Course
How to weave krokbragd on a rigid heddle loom
Until next time…
Happy Weaving!
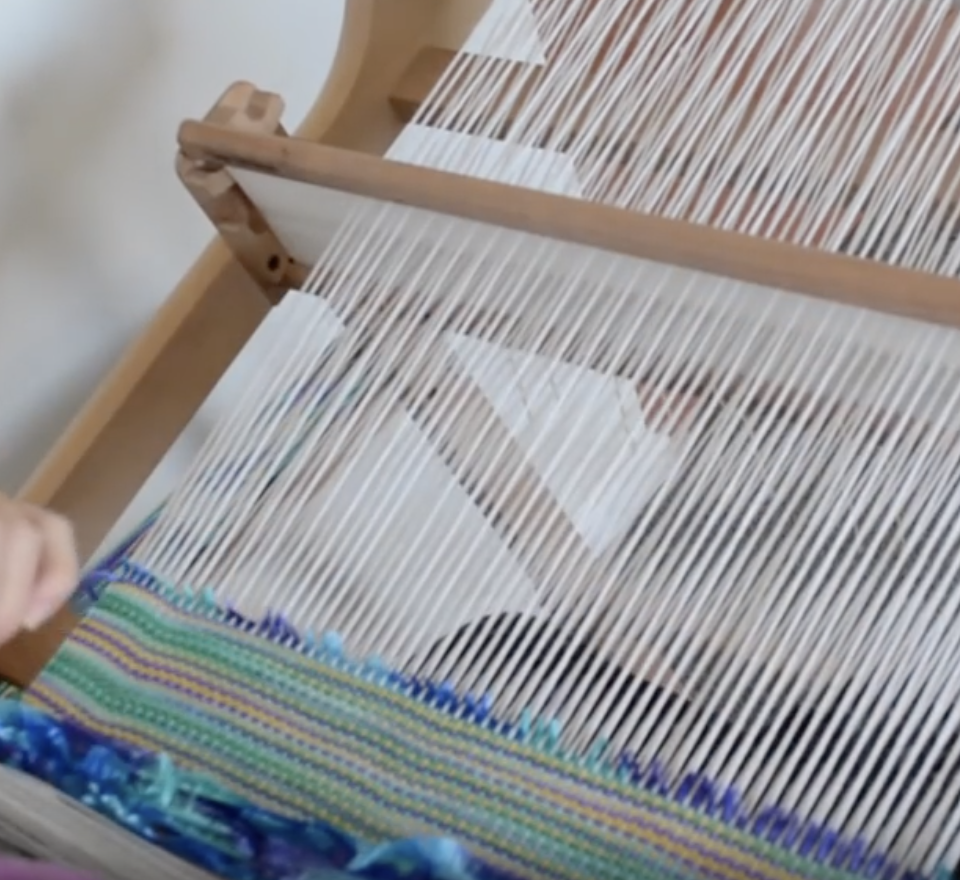
Filed Under: Krokbragd Tagged With: Kelly casanova weaving lessons, krokbragd, rigid heddle weaving, rigid heddle weaving tutorial

  • « Go to Previous Page
  • Page 1
  • Page 2
  • Page 3
  • Page 4
  • Page 5
  • Go to Next Page »

Primary Sidebar

Categories

Archives

Meta

  • Log in
  • Entries feed
  • Comments feed
  • WordPress.org

Copyright © 2025 Kelly Casanova Weaving Lessons on the Foodie Pro Theme