I am so excited to bring you the news that this course is now available! The Introduction to Floor Loom Weaving course is my biggest class yet, with almost 4.5 hours of video instruction plus printable PDFs.

I designed this course for new floor loom weavers, or those who simply want to “make friends” with their loom and gain confidence weaving.
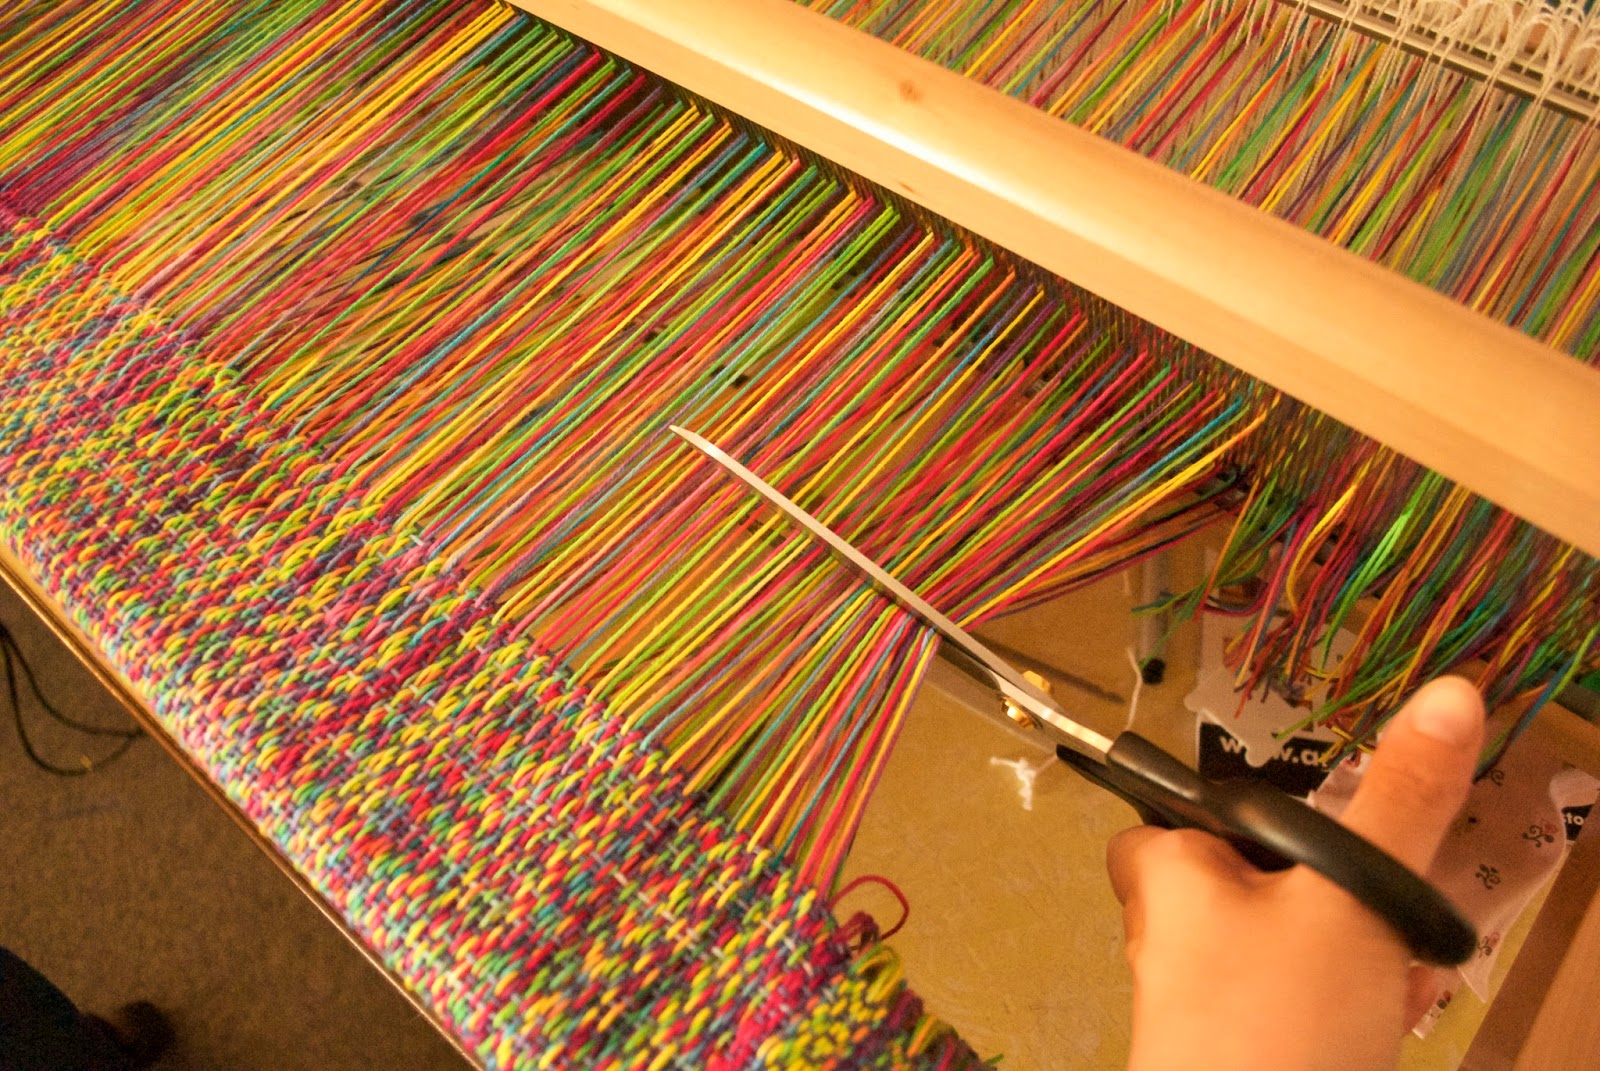
The topic list is huge, but includes loom anatomy, calculations, reading drafts, warping, dressing the loom, the mechanics of weaving, and much more!
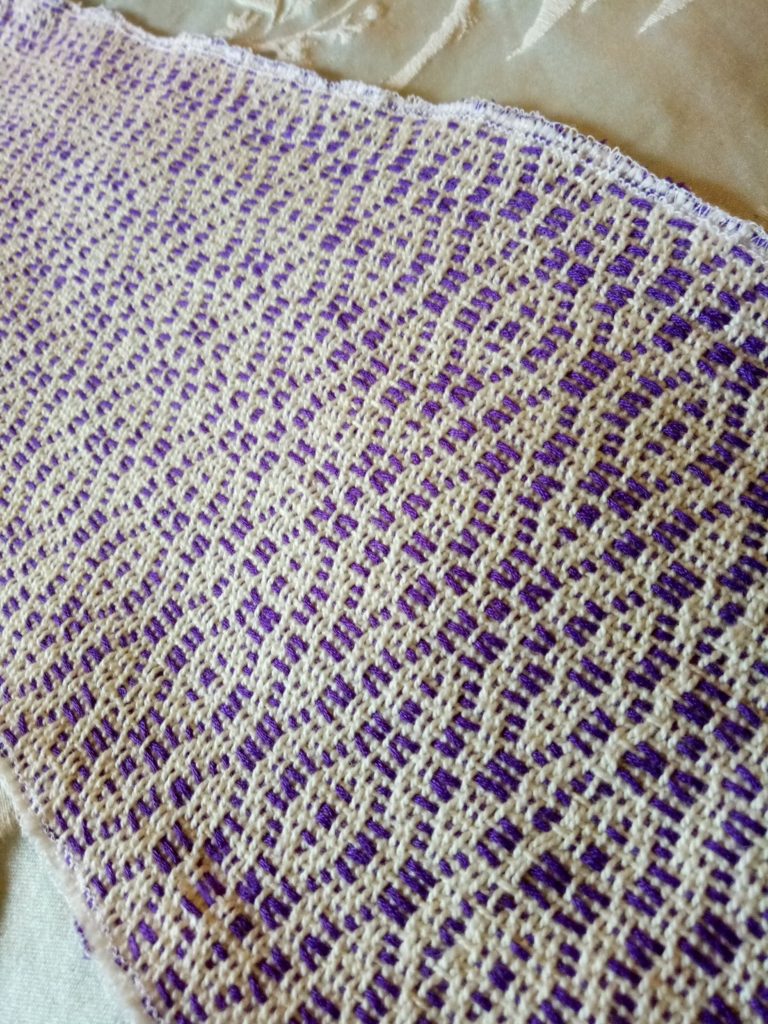
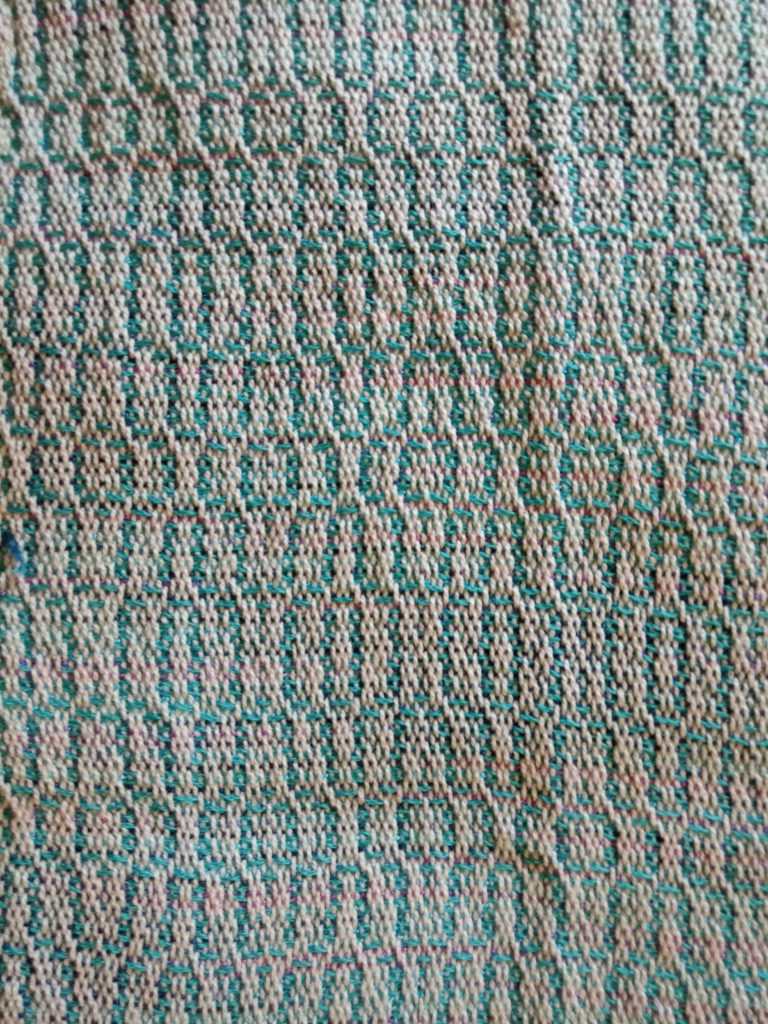
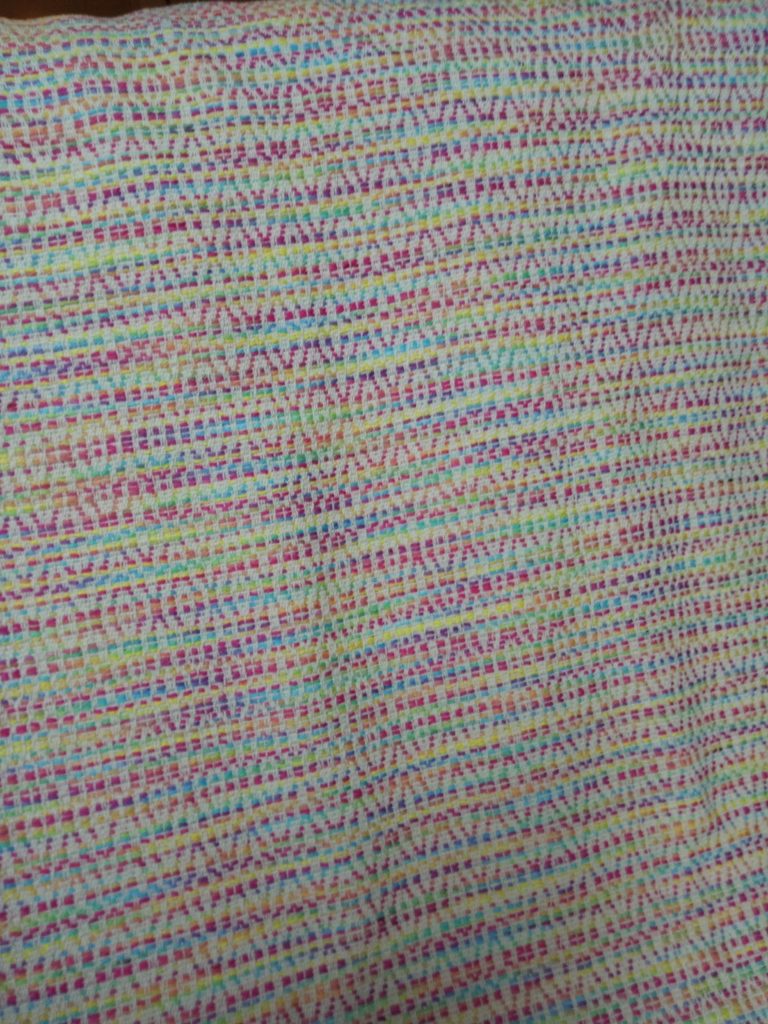
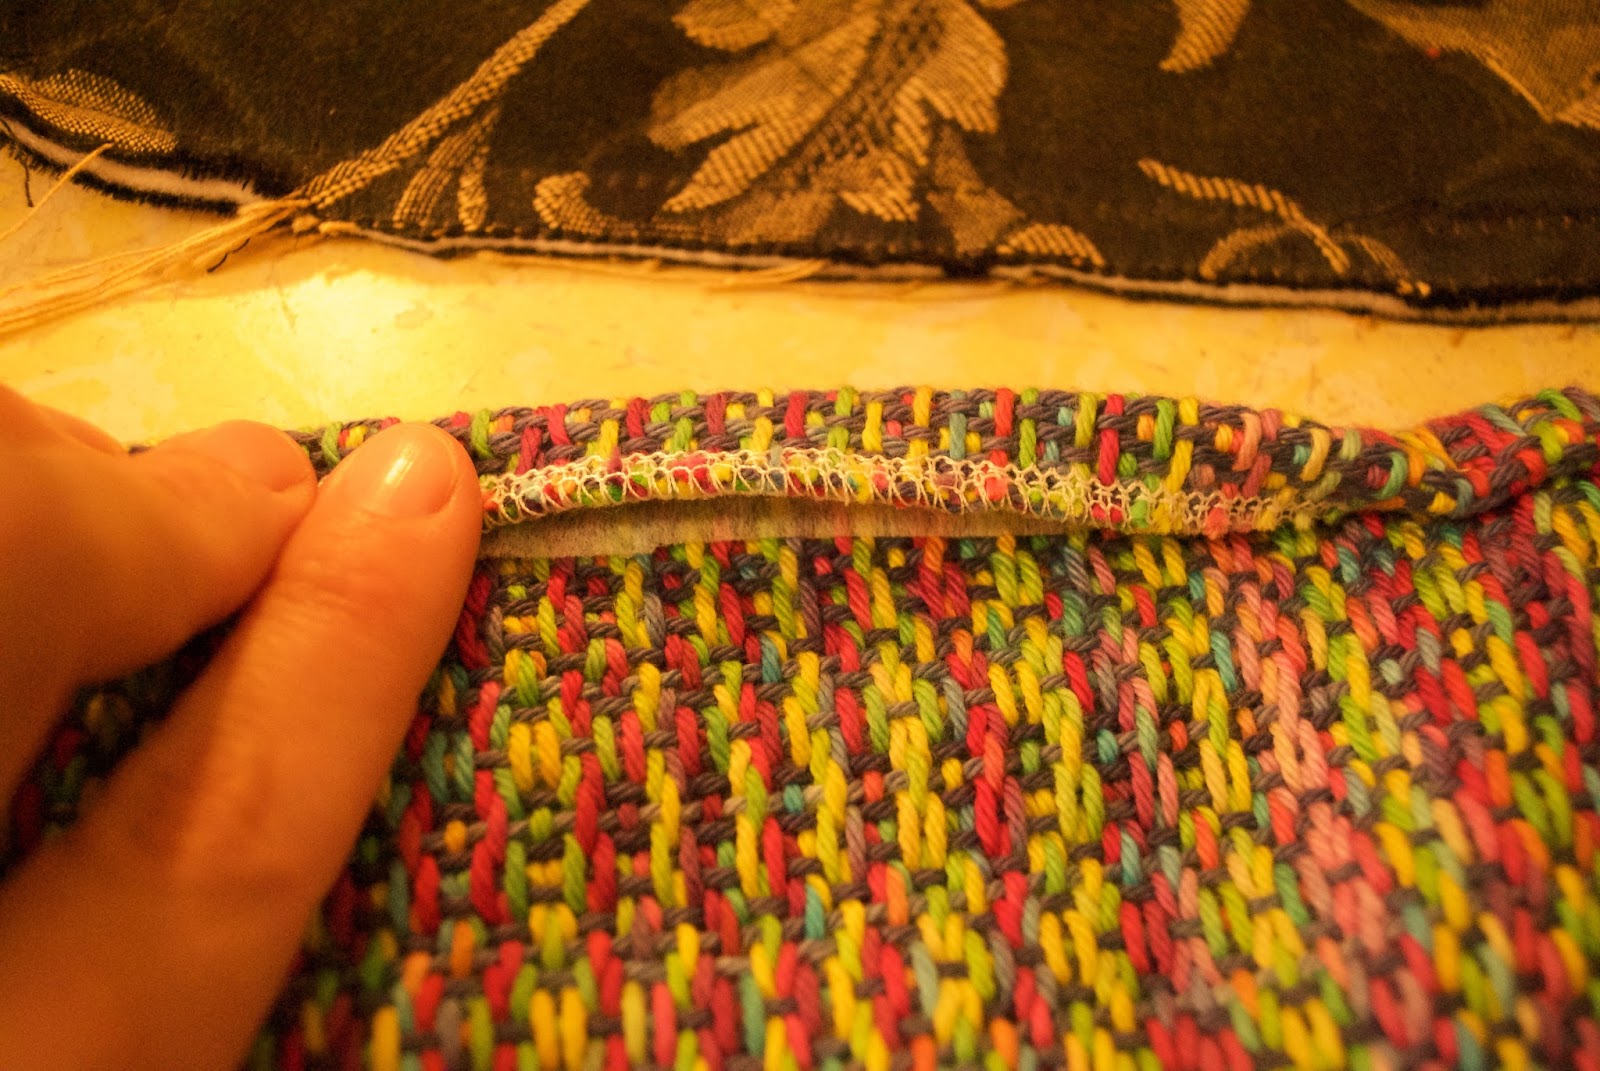
The course is project based so participants will end up with a beautiful 3 shaft double cowl scarf.
I hope to make follow up classes to take students through 4 and 8 shaft projects in the near future.
If you’re interested in this course, visit my Online Weaving School, where you can watch a preview for the class. It is available as a single purchase, or, if you are a subscriber, this course is included in your subscription, simply login to view.
Happy Weaving!