• Skip to main content
  • Skip to primary sidebar

Kelly Casanova Weaving Lessons

  • Hi! I’m Kelly!
    • Affiliates Disclosure
  • Online Weaving School Class Index
    • Common account issues
    • Common technical issues
    • What do I get with a membership?
  • New to rigid heddle weaving? Start here!
    • Never heard of the rigid heddle loom?
    • How to weave neat edges on the rigid heddle loom
    • Rigid heddle weaving
    • Rigid Heddle Weaving Patterns
  • Patterns
  • Subscribe

Floor Loom Weaving

Should I buy a larger loom?

by Kelly 19 Comments

One of the number one questions I’m asked by either brand new or seasoned weavers is “Should I buy a larger loom?”

In this post I will take you through the main points to consider when you’re wondering whether a size upgrade is the right choice for you.

*This post contains affiliate links.

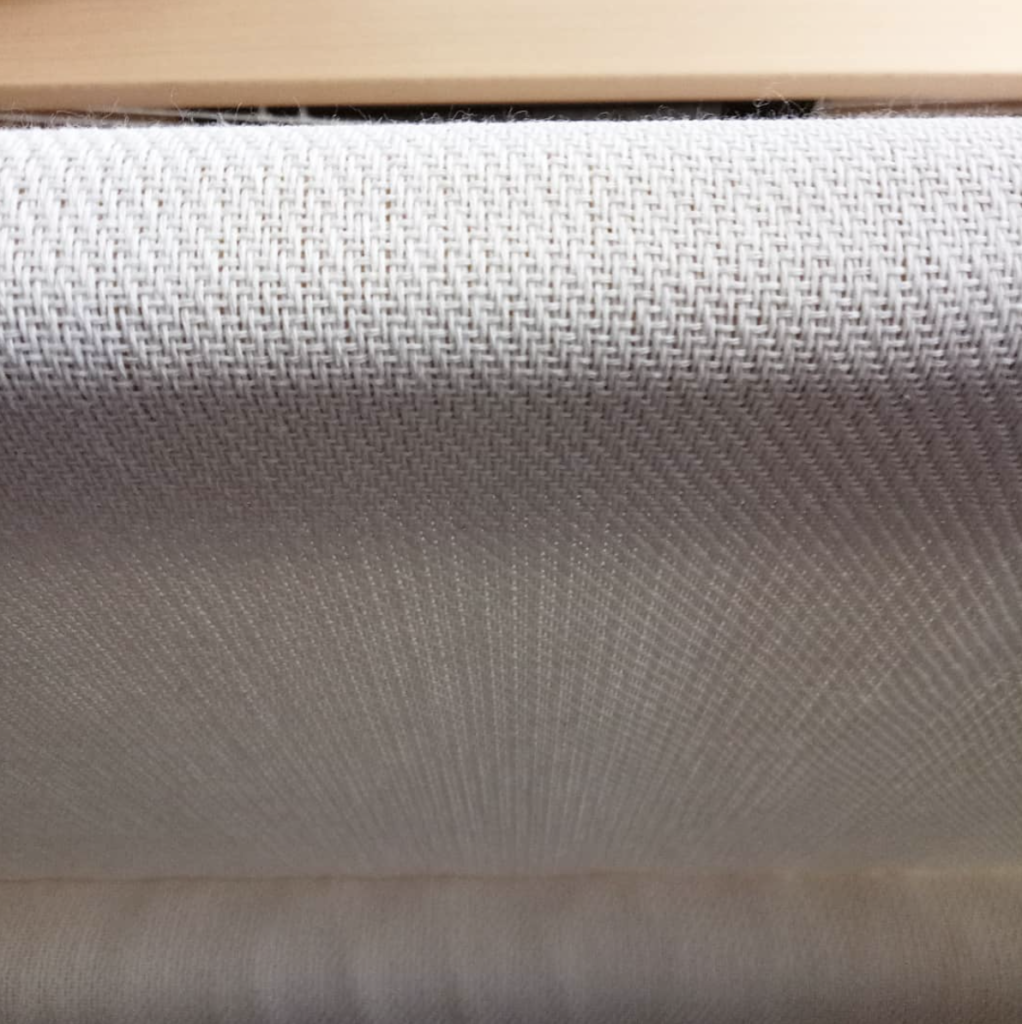
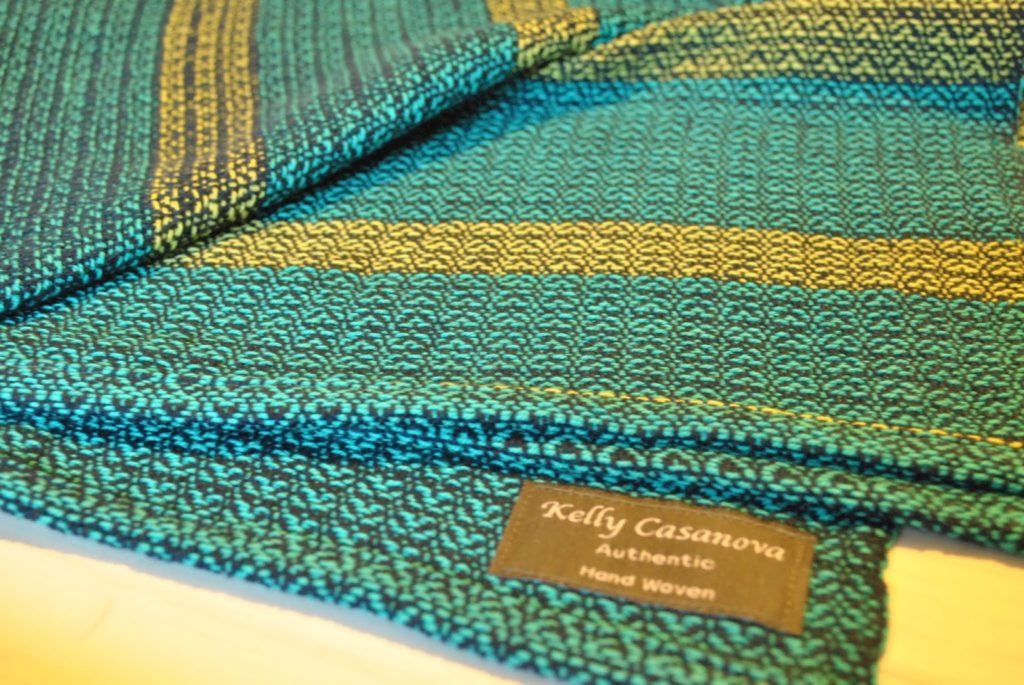
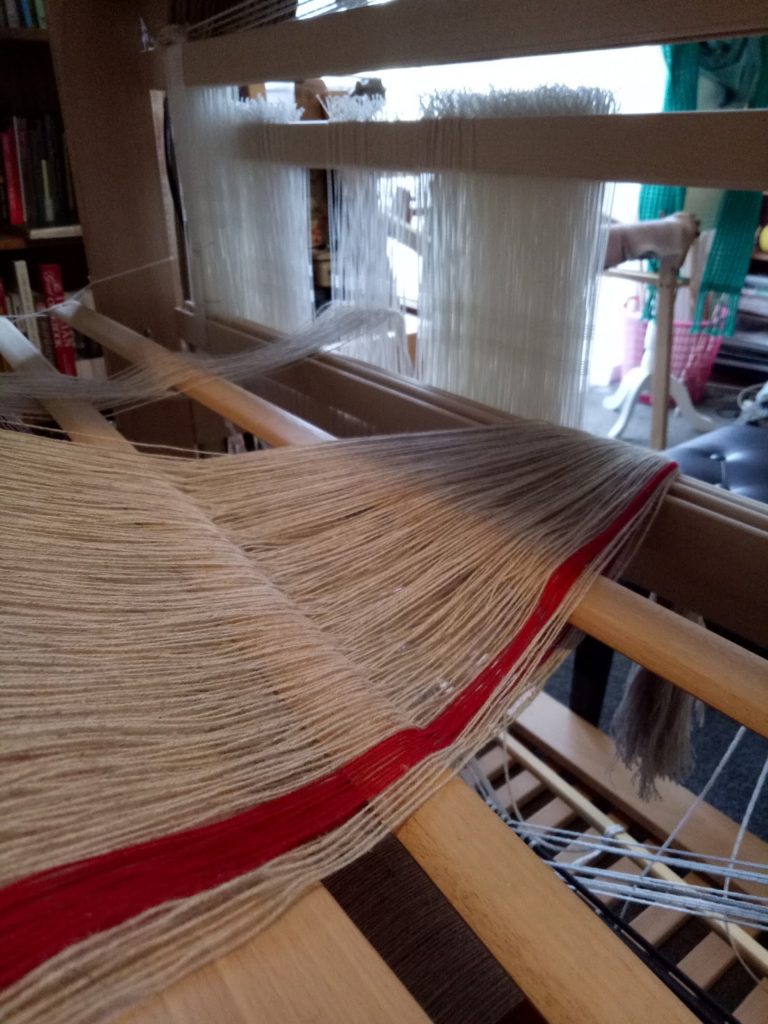
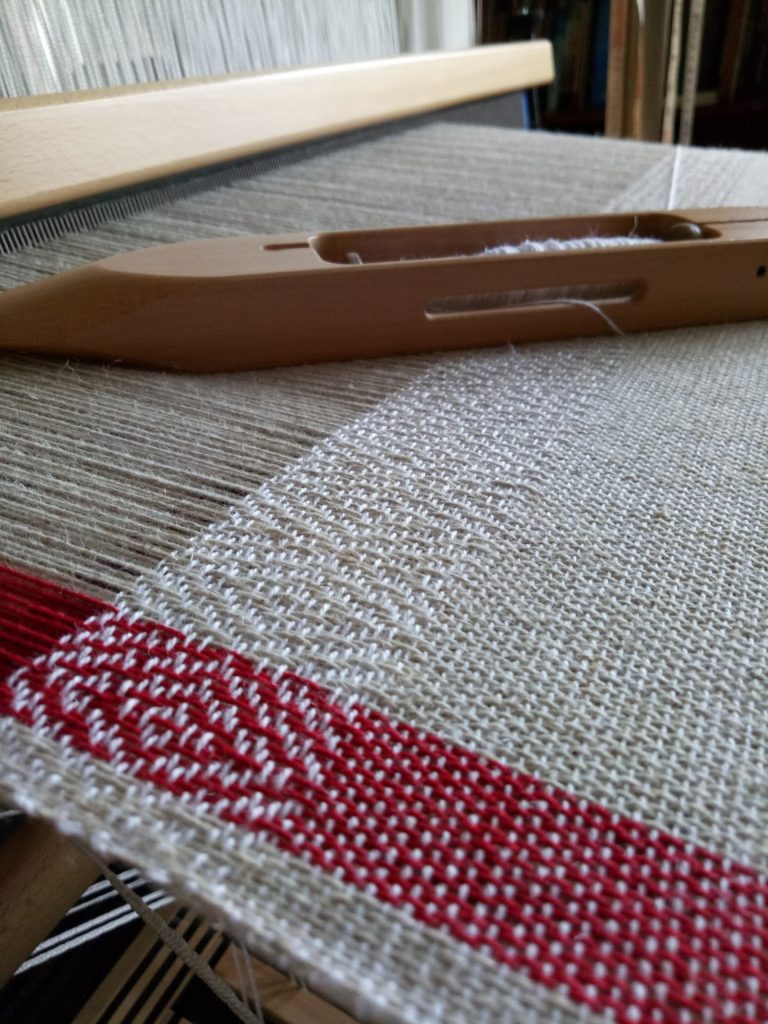
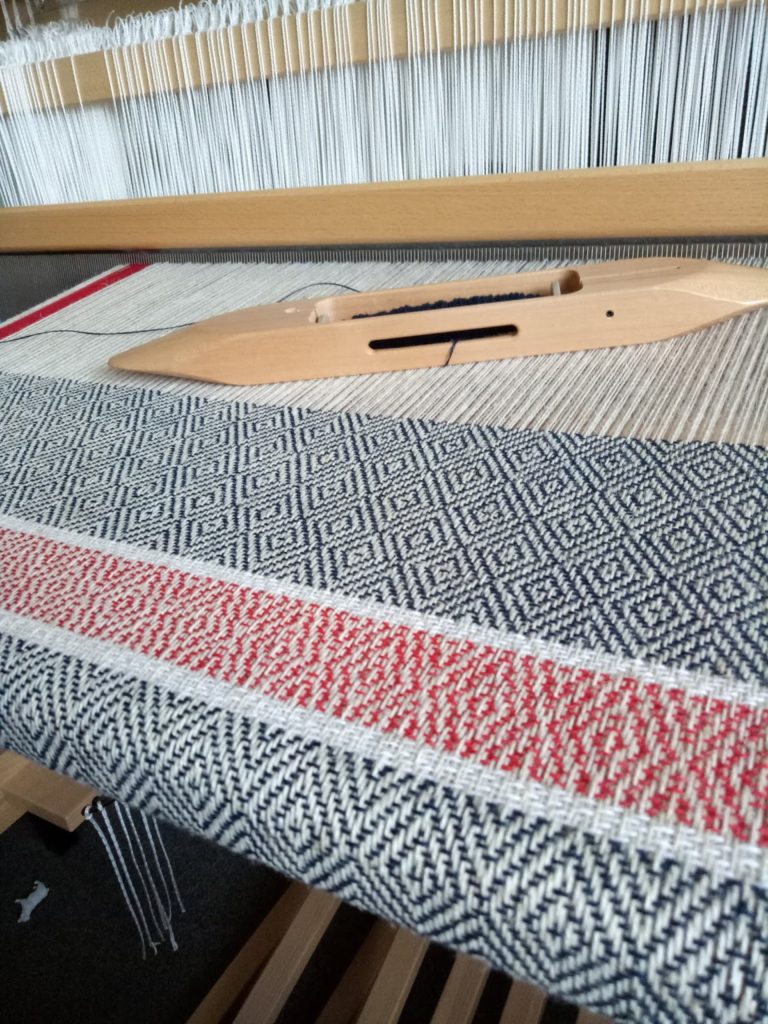
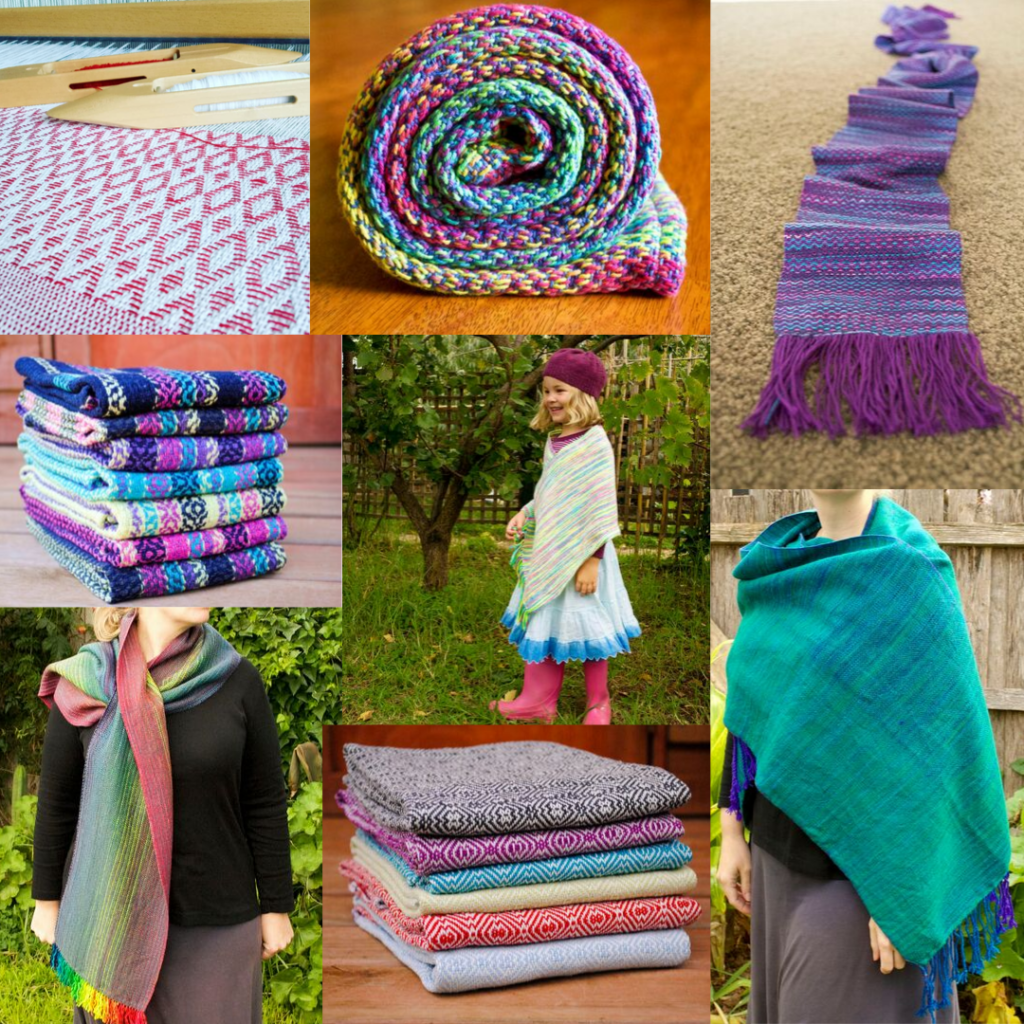
The first consideration is what type of loom we’re talking about. Most people who ask me are rigid heddle weavers. So I’ll cover rigid heddle looms first, specifically Ashford looms, as they have the largest sizes available.I often recommend my 24″ loom as a great starting point for a beginner who wants a decent, but not huge width. It is wide enough to weave smaller width items like scarves but just large enough to weave kitchen towels and bags.

You can, of course weave yardage to sew with (to make your own clothes and larger items) but that involves sewing panels together to make wider widths. Depending on the item you plan to sew, this may or may not work well.

Beyond the 24″, the next size up is the 32″ rigid heddle loom. The largest currently available is the 48″ rigid heddle loom.

When considering a larger loom, consider the following points:

  • Do you have the physical space for a larger loom?

If you buy a rigid heddle loom 24″ (that is the size I have) or above, I would definitely recommend to also purchase a stand with it.

I personally would not enjoy using a larger loom trying to lean it on the edge of a table or similar, and I don’t think that this would allow you to maintain a beneficial weaving posture. A good posture is really important – even if you have no physical injuries or problems, know that you could develop problems long term through repetitive poor setup and practices. So a stand is well worth the investment.

But, this means that your loom will be free standing rather than packed away. Do you have a space where you can set up a loom of that size and leave it on the stand when finished? Or does your living space/s dictate that your loom would need to be packed away in between uses?

  • What is your budget?

This is a pretty important consideration for most of us! Naturally, the larger your loom, the more it will cost. And not just the initial outlay for the loom, but addition tools or pieces that you wish to add along the way. Every time you buy a different sized heddle/reed, a pick up stick, a stick shuttle – these are all going to be larger to compliment and fit your loom and that will cost more.

Here are a couple of examples as a comparison. I’ll list the 24″ loom specifics as compared to the 48″. All prices are in US dollars.

24″ RHL and stand – $394 USD (you can sometimes find a combo deal of the loom and stand together for a slightly cheaper price).

24″ 10 dent reed/ heddle – $37.50

22″ stick shuttle – $7.50

48″ RHL and stand – $695

48″ 10 dent reed/heddle – $89

48″ stick shuttle $40

Uh huh, big price differences!

  • What do you intend to weave?

Some new weavers don’t really consider this when purchasing. Not being familiar with the possibilities or not having used a loom before, it can be very difficult to know what items you will end up enjoying weaving. If you only intend to weave scarves and smaller items, why go to the expense of the largest loom?

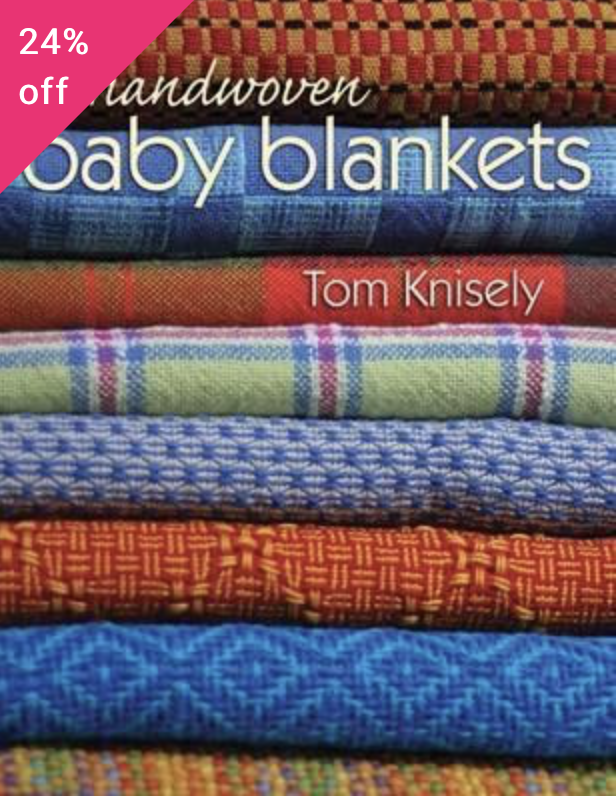
On the other hand, you may find that your absolute favourite thing to weave is baby blankets or afghans, therefore making the larger loom well worth your consideration. What if you make the decision to buy a smaller loom but after a little experience find that you want something larger?

Well, the good news is that rigid heddle looms are easy to resell. If you have kept it in good condition, it should be easy to find an eager new weaver willing to take it off your hands for a fair price. You can then use this money to invest towards the larger one.

  • How is your back?

Back or shoulder problems? Neck trouble? Then you need to consider carefully whether a larger loom is the right choice for you. A larger loom means a much wider reach with a shuttle.

As an example, I can sit very comfortably at my 24″ on it’s stand, extend each arm out to insert the stick shuttle and not have to move forward in my seat.

As someone who has a back injury and regular flare ups, if I had to lean forward or to the side every time I wanted to throw a pick, that would be a real problem for me. It would be a much greater strain on my body. I prefer to accept my limitations and be grateful that I am able to weave on the 24″ and plan my projects accordingly.

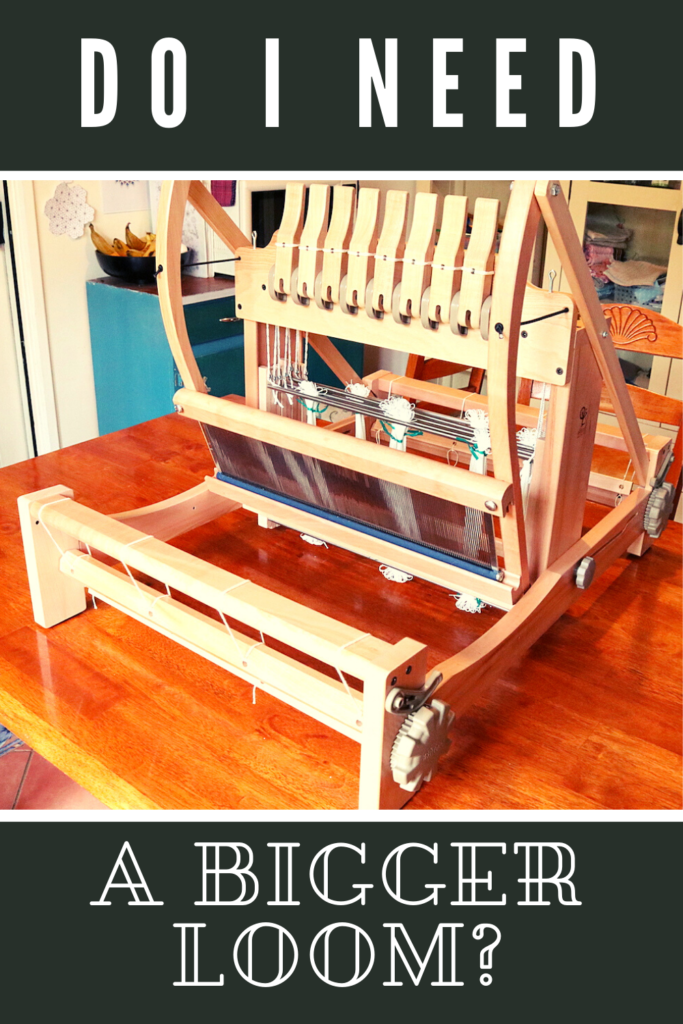
That brings me to the next related topic, the table or floor loom.

I’ve written a large number of articles on this topic, here is a list of those posts if you’re interested in researching more.

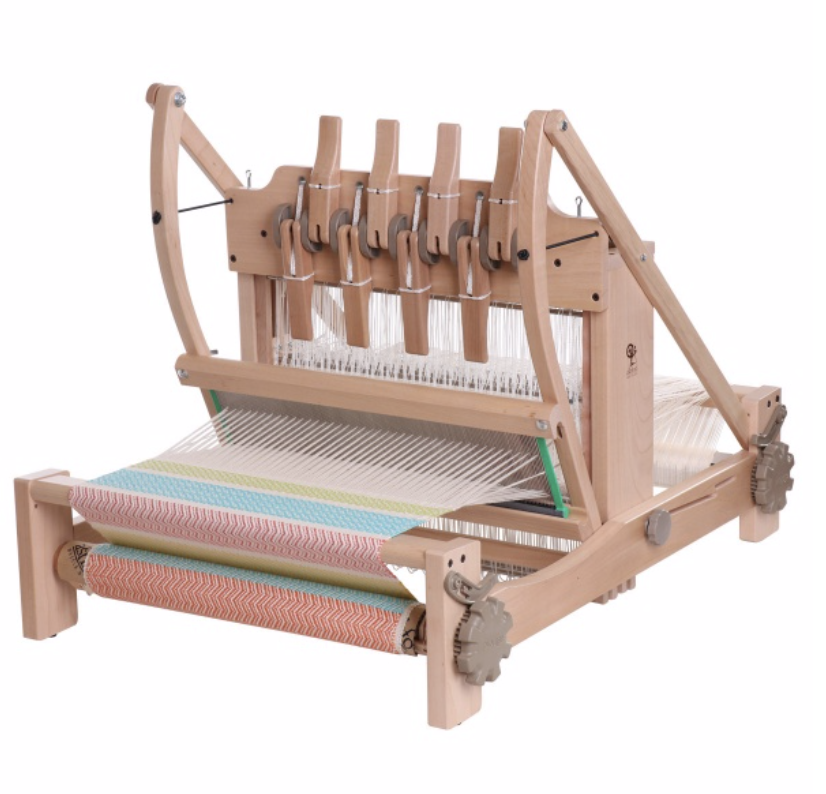
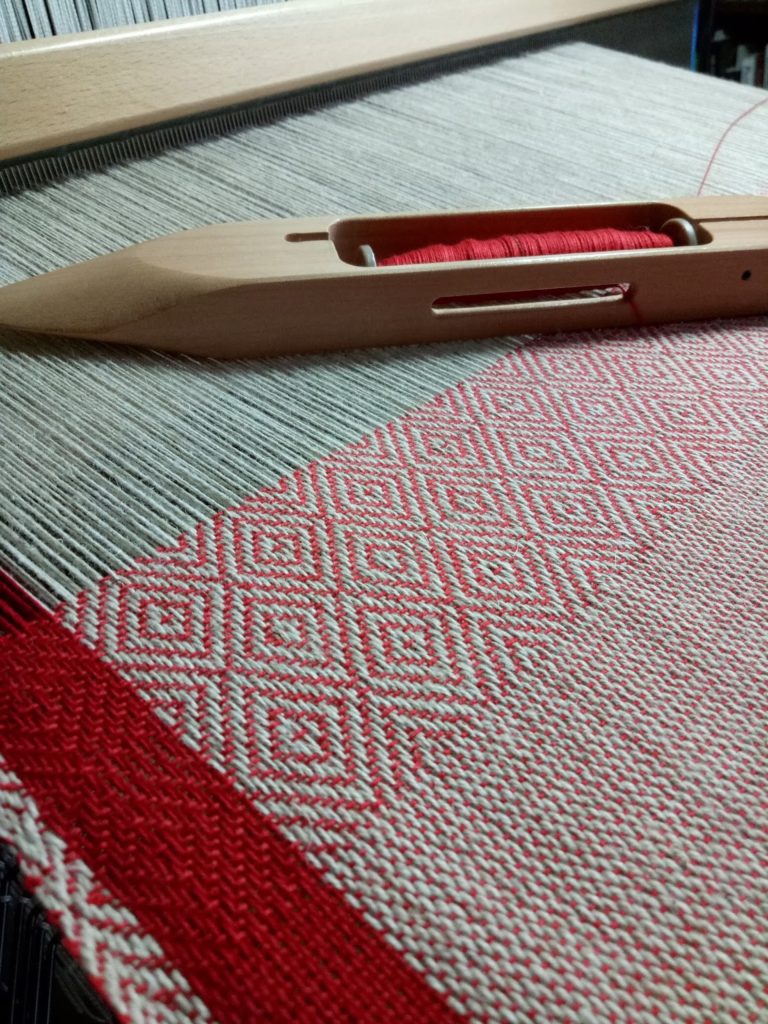
When I had my 8 shaft, 32″ table loom it was a little more difficult to weave on when I had it fully warped, but with the correct height adjustable chair, it was more than manageable. I still miss that loom, I sold it to make space and provide extra funds for my floor loom. I’ve since replaced it with a smaller 16″ table loom that I can use for teaching purposes – perfect!

Now that I have my Louet David 2, 35″ floor loom, even though it is the widest loom I have owned, it is a good fit for me width wise. It is wide enough to weave baby blankets and wide shawls.

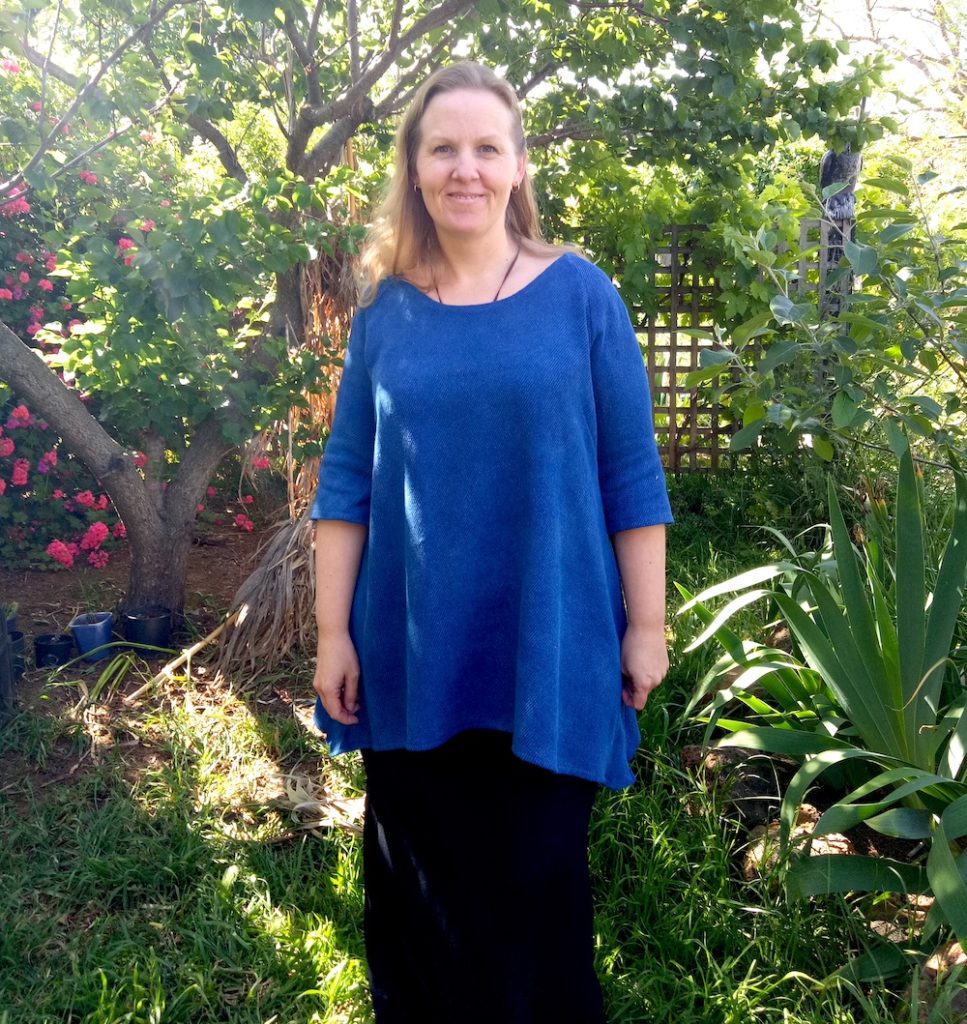
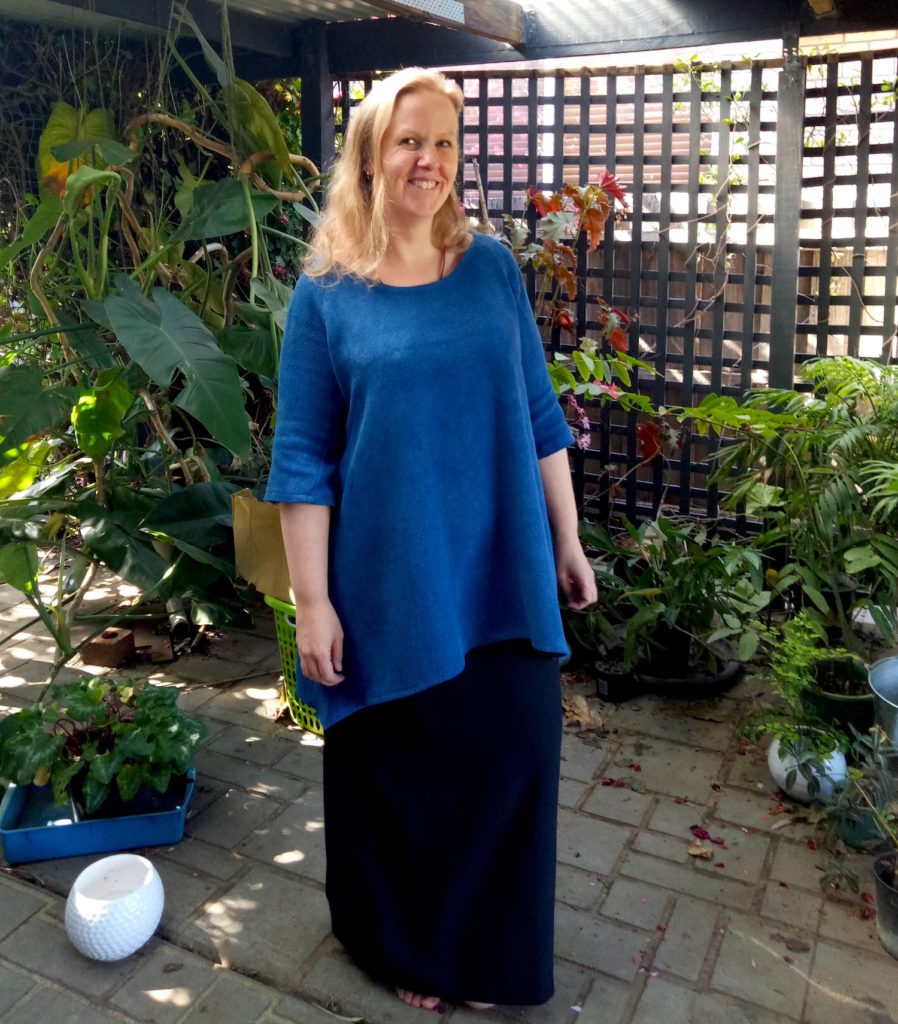
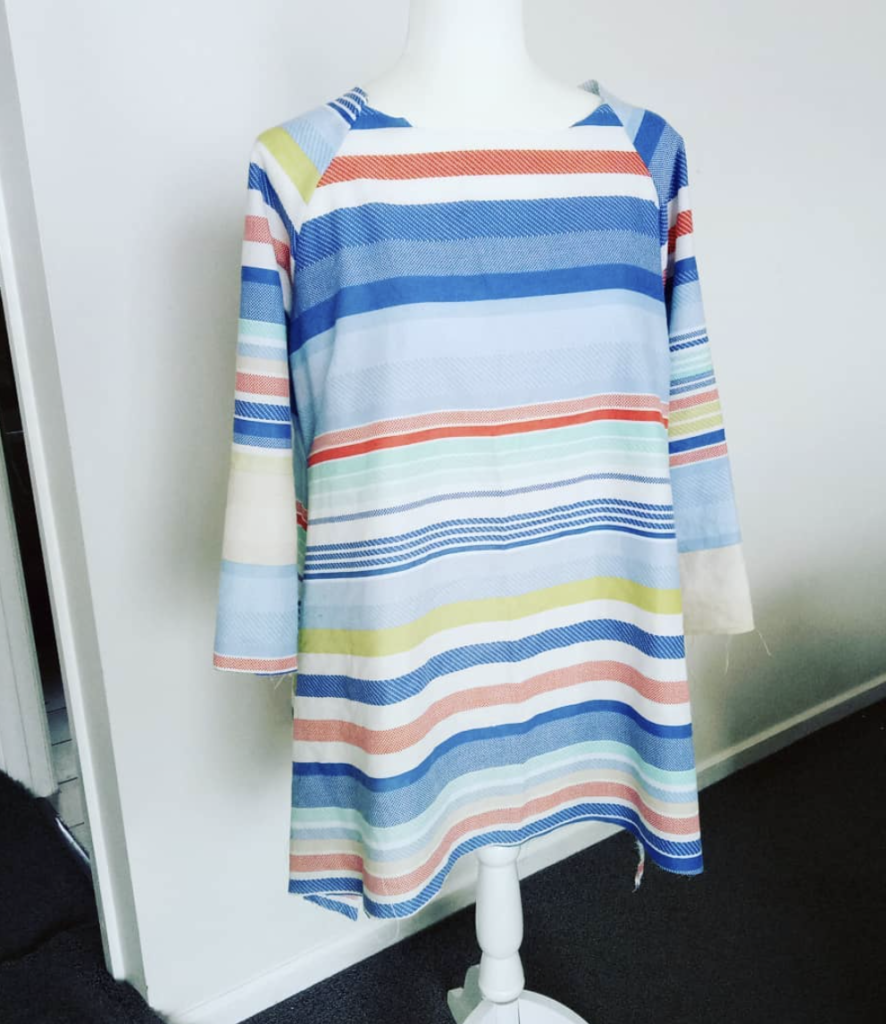
Recently I wove yardage on it for my Clothtober project, which was a tunic for me and it worked out well. So, why is this loom not a problem for my back? Well, I always use a boat shuttle with this loom.

Because the tension is excellent, I can shoot my boat shuttle back and forth with ease. I am also seated on an adjustable piano bench and find that I develop a slight rocking motion as I get into the weaving rhythm. Although my shoulders do get a little sore if I put in a long weaving session, it is not excessive and generally my back is fine as long as I’m not in a dreaded flare up phase.

The action of throwing a boat shuttle is quite different to passing a stick shuttle. Yes, you an use a boat shuttle with a rigid heddle loom too, but I generally don’t because it can’t hold the same tension so I end up mostly passing the boat shuttle through anyway.

I should also add, if you do have a rigid heddle loom that is a little smaller than you would like, you always have the option of double width weaving. Although somewhat limited, it is a really terrific way to double the width of your fabric. I have two classes that teach you how to do this – Doubleweave Baby Blanket and Weaving with Two Heddles. I also have the Rainbow Lap Blanket, which is woven entirely on a Sampleit loom.

I certainly didn’t intend to write such an epic post when I sat down to address this topic today, but there is a lot more to be said about it than I realised! I hope my ramblings have been of use to you.

As always, leave me a comment with any questions or additional points you may have to add. I appreciate your input!

Until next time…

Happy Weaving!

Filed Under: 4 shaft weaving, 8 shaft weaving, Floor Loom Weaving, Rigid heddle weaving, Weaving Tagged With: buying a loom, floor loom weaving, rigid heddle weaving, table loom weaving

My completed Clothtober project!

by Kelly 20 Comments

I’m so excited to be finished! A little overdue perhaps, but isn’t the nature of slow cloth?

I went through quite a few of the weaving details like yarns and weave structure in last week’s post, so please check that out if you’re interested (and read of my nightmare-ish warp!)

*This post contains an affiliate link

I’m happy to say that the actual weaving was fairly plain sailing and enjoyable with the simple 1&2, 2&3, 3&4, 4&1 order of treadling.

So, once removed from the loom I had a lovely long length of delightful cloth without serious errors (I’m happy to say that the double threading error referred to in the last post does not even show in the finished garment!)

I made a lovely big vat of indigo and tested it with the neck facing pieces I had cut out of a light commercial cotton. The colour was even better than expected, so I felt very good about submitting my long piece of cloth to the vat.

Have you ever dyed with indigo? It is a wonderful, peaceful and relaxing process. While I was standing at my laundry sink, I had the door next to me wide open and a blackbird hopped right up beside me. He didn’t even notice I was there! I thought to myself “perhaps this is the very best way to live. Quietly, slowly, making beautiful things”. It certainly struck me as a beautiful moment in time.

I took my cloth outside (indigo is very messy!) to let the magic happen. As oxygen hits the cloth, it turns from a glorious green to a wonderful blue. The blue is much darker when wet, so I took that into account. I wanted a dark blue. So, I went back to the vat for a total of 3 dippings. On the last dip, I left the cloth sitting in the vat for at least half an hour.

I absolutely love the colour in this shot. I would have preferred that it stay this dark and rich as it dried, but alas that was not the case. I still think it came out a beautiful colour anyway. That is another of the charms of indigo, even if you obtain a very light colour it is bound to be a really beautiful blue – I don’t think an indigo vat can produce anything ugly!

As an aside, I have just begun work on my Journey to Japan course. One of the focuses of the course will be learning to dye with indigo, so if that interests you, be on the lookout for that.

The next step once my fabric was dry was to cut out the pattern. I’m not scared of cutting my handwoven fabric as it all turns out well as long as you take the right precautions. For this project I cut the pieces as I would for commercial fabric but got them quickly to the serger without disturbing the fabric too much, and it was fine. If you’re worried about cutting your handwovens, you may want to check out this video:

There was a hitch with cutting out the pattern though. The fabric had shrunk more than I calculated for. My front and back pattern pieces didn’t fit the folded fabric! Aaaaagh!!

These are the things that feel horrible at the time, but later I am really grateful for. Why? Because I learn! Not only do I learn what to do by thinking about all the possibilities, I also learn that I might be more capable than I thought, which is a great confidence booster! So, I ended up with some odd little shapes and pieces that I tacked on here and there to make up for the lack of width. And it worked!

I now have a comfortable, special garment that fits really well. Unfortunately we are coming into warmer weather here in Australia, so I won’t get much wear out of it this year, but I expect it to last many, many years. If the indigo fades at all, I’ll do as the Japanese do and re-dip it. Only I know the work that went into making this, but that makes it all the more rewarding.

The little voice in me says that the neckline is too wide and so are my hips. But I told the little voice to shut up please, I want to bask in the joy of having woven, dyed and sewn a garment from scratch just for me.

I don’t know if any of you decided to make your own garment for Clothtober, but I’m thinking I need to make this an annual thing, even if it’s just to push myself to do something just for me again.

Until next time…

Happy Weaving!

Filed Under: 4 shaft weaving, Clothtober, Floor Loom Weaving, Inspiration, Sewing, Weaving Tagged With: 4shaftweaving, clothtober, hand woven, handmade, indigo

Clothtober progress

by Kelly 5 Comments

I would rather be here to tell you that my Clothtober project is completely finished, but alas, life is not like that. Life is busy, distracting and full.

So, instead of showing you my finished project I am here to update you on my progress. Because I have made progress, and sometimes that is more important than the finish line.

I started with a 10/2 weight cotton. I wanted a light weight and soft fabric for my finished garment. I had woven samples with Full Circle Australian Cotton previously and felt that it was the perfect fit for this project.

I decided on a 4 shaft, straight draw twill for a couple of reasons.

  1. It’s an easy and familiar threading pattern that doesn’t take as long to thread as 8 shaft straight draw.
  2. As I’m using all one colour, I didn’t want to weave a pattern that would not be seen all that well after dyeing.
  3. I wanted a really good drape for my garment, and felt that twill would be more suitable than plain weave.

I chose a sett of 25 ends per inch, meaning that for my 10 dent reed I sleyed 2,3. If that is gobbledygook to you, it means that I placed 2 warp threads in the first reed space, then 3 in the next, then back to 2 and so on. I did this because I only have a size 10 reed for my floor loom.

As soon as I had my warp chains on the loom (800+ ends!) I started having trouble. Was it the yarn or was it me? Hmm, probably a mixture of both. As mentioned, I have used this yarn before, but only as a short, narrow warp for a sampler. This one is full width on my 90cm loom. I had so many snags and tangles, and by the time I was finally ready to weave I had quite a few broken threads. Certainly, this 10/2 cotton is very fine and perhaps not as strong as the regular 8/2 cottons I’m accustomed to.

So, the warping took a really long time and I got to exercise a lot of patience. I also learned (yep, still learning with every single project!) that this yarn may be more suitable next time as a weft if I intend on a wide warp again.

If you have ever struggled with a difficult warp, you know that special moment of being threaded, sleyed, tied on and ready to weave. Oh, the joy!

I noticed after a couple of inches of warping that I had doubled up on ends in one of the reed dents. This means there is one small section of fabric that has a thicker section and stands out as a stripe.

I could have unwoven, re-sleyed and then re-woven. But I didn’t. I decided I could live with the fault and hence forth consider it a design element.

I’m more than half way done weaving and can’t wait to finish up and take this long length of cloth (4 yards or so) off the loom.

I’m now considering which dye process I want to use. I want a dark blue, so I’m considering indigo or a fibre reactive blue. We shall see. As I weave, I have plenty of time to ponder these things.

To read more about the dyeing and sewing of the cloth, click here.

Until next time…

Happy Weaving!

Filed Under: 4 shaft weaving, Clothtober, Floor Loom Weaving, Weaving Tagged With: 4shaftweaving, clothtober, floorloomweaving, weaving

Clothtober!

by Kelly 48 Comments

I’ve been thinking a lot about clothes lately. How dissatisfied I am with my current wardrobe and why. What I might be able to do about it.

I don’t have all that many clothes, and I tend to wear the same things over and over. Once I’m comfortable with something I don’t want to give it up and I really do wear things until they’re completely worn out. This means I don’t have to go shopping too often.

I’m one of those strange women who actually hate clothes shopping. It’s like a vicious cycle on repeat. I head out to the local shopping centre, sometimes the op shop. I have a list of what I need (I never randomly buy clothes, that is just not my personality type!) And the search begins.

I go through a series of predictable steps. I can’t find what I actually want or need, so I compromise, because I need it, because I’ve worn my other clothes to death. I start to try things on. I start to feel hot. Physically hot. Is it the act of trying on one thing after another, or the building anger that nothing fits or looks right that causes this overheating? Probably an even mixture of the two.

I leave the shop. Sometimes I leave with a purchase, which is never really something that I love, it’s just something to get me by until the next thing wears out and I’m forced to come back.

My body type just doesn’t seem to exist on a clothing rack. I need 3 different sizes, 1 for my chest and waist, a larger one for my upper arms, and an even larger one for my hips. So nothing ever fits.

There is something good about all this, I’m coming to that!

It has forced me into a place of action. I’m tired of not wearing clothes I like. I’m tired of being uncomfortable. I’m tired of feeling like I have not style because I can’t buy what I really like. I want to change this.

So, here is my line of thinking. I’m a weaver. I can sew. Pattern drafting is my weakness, but perhaps I can use existing patterns as a template and change them to fit my body? Perhaps, through putting in the extra work and time and effort, I will be able to produce something I enjoy wearing? And perhaps I will even enjoy wearing it more because I know how much time went into it! Instead of junky, off the rack, ill fitting clothes, I can build my own wardrobe of special pieces! Bingo!

I have already begun. I sketched ideas first, then started looking for a sewing pattern that might fit the bill.

I started with the “Esme tunic dress pattern” from Lotta Jansdotter’s book, Everyday Style. (Affiliate link) This book has so many wonderful, classic designs that I would love to build a wardrobe from. I cut the tunic out from the largest size and sewed up a quick muslin from an old bedsheet. The problem was when I set the sleeves in. They looked terrible! No amount of tweaking and re-sewing could make it look better.

After plenty attempts to change my muslin and plenty of sage advice from Instagram and Facebook friends, I decided to look for a different pattern with a raglan sleeve instead of a set in.

I stumbled upon the It’s Always Autumn blog and found a free Raglan tee pattern. She has a lot of really good free patterns, so be sure to check them out if you head over there. Using that tee pattern I started tweaking and changing to get the dress tunic I had in mind. It took hours of cutting, placing darts, sewing, ripping apart, sewing again and then doing it all over and over, to finally get a tunic pattern that fits me properly and in a style I like! Here is the muslin.

Semi fitted, yet not clingy – perfect! And did I mention that it fits?!

OK, so now onto the fabric. I’ll give more of my warp details next time, but the basic idea is to weave the fabric from an undyed cotton and then dye it to a colour I like. Yes, I want this garment to be as customised as possible!

A lot of my social media followers seem to be right into this idea, so I thought “why not make a thing of it? I can encourage other weavers to make an item of clothing with the same aims in mind. And, if we do it through October, then I can name it Clothtober!” Win, win!

So, I’m going to be sharing more details of this project as I go along (and lets face it, with over 800 ends to warp and thread, this is not going to be over in a flash!) And I hope that I may inspire some of you to choose an item of clothing you want to weave for yourself. According to your skills and what you need in your wardrobe. I will be weaving on my floor loom, but you can do what you like.

Ideas?

A skirt, a fitted blouse, a poncho, a jacket, a top, pants, a hat?

If you feel you need some extra help, here are some classes that may interest you:

Clasped Warp Quechquemitl Wrap

Garment making on a rigid heddle loom

Wrist warmers

I’ve also been eyeing the Bias Top sewing pattern from Sarah Howard, which looks terrific.

What do you think, is this something you can do? Are you fed up with crappy clothes that don’t fit?

Let me know in the comments if you want to join in. What will you make? Or perhaps you just want to follow along with my project for future inspiration, that is fine too.

Next time I’ll be talking about finding your own individual style, so be sure to check that out.

Until then…

Happy Weaving!

Filed Under: 4 shaft weaving, Clothtober, Floor Loom Weaving, Sewing, Weaving Tagged With: clothtober, tunicdress, weaving

My Favourite Books for Multi Shaft Weaving

by Kelly 9 Comments

I love books, so it makes sense that I am a huge lover of good weaving books. It can be hard to know which books are worth buying, especially if you’re buying online and can’t view the book before purchase.


I have already made a video on my favourite rigid heddle weaving books, but haven’t talked about my floor loom or multi shaft books.


This is certainly not an exhaustive list, and I definitely plan on increasing my collection over the years, but these are a few that I have found particularly good.

*This post contains affiliate links


I will start with my absolute favourite. If, in some terrible circumstance, I had to choose just one of the following books to keep, this one would be it!

The Handweaver’s Pattern Directory by Anne Dixon only covers 4 shaft weaves, and yet, with the number of pattern drafts you could feasibly use this book for years before even considering buying an 8 shaft book. There is nothing I do not love about this book! Yes, it is a little expensive, but I consider  it my “go to” for any 4 shaft weaving. It’s a hardcover book with spiral binding. This is awesome because you can lay the book flat to follow a threading or treadling pattern, and the hard cover prevents any damage to the pages. I’ve had mine for many years and it still looks as good as new. The layout shows you exactly what you can expect from each draft by providing colour pictures and yarns used to achieve each one – great for those just starting out.

Once again, not a cheap book, but this one is an absolute classic!  Carol Strickler’s A Weaver’s Book of 8 Shaft Patterns has plenty of information on 8 shaft weaves, explanations of tie ups and treadlings, and black and white pictoral representations of each weave (there are almost 900 photos). Individual yarn suggestions are not given, but in each new chapter, suggestions are made for particular weave structures. Many of the drafts have historical information – where the draft came from (if known) or where it is adapted from, which provides the keen weaver the opportunity for further research if desired. 
Next Steps in Weaving by Patty Graver has been a great one to add to my library. Published in 2015, it has a more modern and fresh feel. The layout is uncluttered but still contains a lot of information. I admit that I read this book when it first came out and I was in the infancy of my multi shaft journey. I felt like some of it was a bit beyond me at the time. However, when I cam back to it later (after a lot of research and practice) I found that the language now made sense and it was in fact a very helpful book! 
The beginning of the book goes over understanding terminology and drafts (something that many new weavers struggle with!) She explains twills and twill orders and then launches straight into the projects. This is my style of learning and teaching – project based! To get stuck in and actually learn something as you do it, rather than be stuck at the starting line with a lot of theory and fear of how to put it into practice. Patty starts with some basic twill projects, then shows more advanced versions to expose the reader to what is possible with variations and colour. The threading charts for the projects are all colour coded, which I think is a really great visual learning cue for newer weavers, and even for more seasoned weavers who just want to follow a threading chart in a simple format.
There is a lot more I could say about this book, but then this post may turn into a book itself! So, I’ll finish up with this. It’s a great book, the projects and samples are beautiful and inspiring, and even if, like me, you find it a little overwhelming to begin with, it is a book you can keep going back to over and over.
A Handweaver’s Pattern Book by Marguerite P Davison is another well know weaver’s classic. It was first published in 1944 as a green book, the orange one being a more recent and publication. Thanks to the generosity of a student, I now own the green book as well. This book has 200 pattern drafts and has 4, 6 and 8 shaft weaves. The layout is a little more old fashioned (though there are black and white photo representations of most drafts) and some may find it difficult to decipher the way in which the drafts are drawn. That should not put off the adventurous weaver though, as it is very beneficial to be able to read all styles of drafts so that you can decipher them, no matter what country or time period they are from. 
This is one of those books that you read and just think, “that is a lovely little book”. Simple, lovely big photos, nice colour. Tom Knisely’s Handwoven Baby Blankets starts out with a useful section on the basics of baby blanket weaving, such as sizes, colours and materials. 
There are over 30 projects and it includes both 4 and 8 shaft. Every project has specific yarn and colour descriptions. If you’re interested in weaving baby blankets, I highly recommend this delightful book!
Probably my most asked question from multi shaft weavers is “how do I read a draft?” The next step on from understanding how to read and use a weaving draft is to begin drafting them yourself. This is something that is of huge interest to me, but something I have not devoted enough time to as yet and still have much to learn. If you are interested in drafting for yourself, Madelyn van der Hoogt’s The Complete Book of Drafting for Handweavers is going to help a lot! While I confess that I have not made my way through the entirety of the book yet (it is in a workbook style with drafting exercises for you to follow), I intend to do so as it contains such valuable information. This book is available from The Woolery.
If you’re as interested in coverlets as I am, these are my most loved coverlet books I own:
Carol Strickler’s American Woven Coverlets
Keep me Warm one Night, Burham and Burnham 
(This one is also in my possession thanks to the generosity of a student and it is now one of my most treasured books!)
A Book of Patterns for Hand-Weaving, Mary Meigs Atwater
Weaving a Traditional Coverlet, Helen Jarvis
My last recommendation is for those who are keen to branch out into double weave on your floor loom or table loom.
Doubleweave by Jennifer Moore. Whether you are wanting to explore weaving double cloth or double (even triple) width, this popular book will be a very valuable addition to your collection.
I do have more weaving books in my collection, but these books I’ve listed and described are the ones that I am most happy to recommend and really feel that they would benefit your weaving library too.
I hope you have found this post helpful, please let me know if you have any questions. Do you own any of these books? Which is your most used?
Until next time…
Happy Weaving!


Filed Under: 4 shaft weaving, 8 shaft weaving, Books, Floor Loom Weaving, Weaving Tagged With: books, recommended books, weaving, weaving books

I have a rigid heddle loom, why would I consider buying a floor loom?

by Kelly 2 Comments

I was asked this question in one of my Facebook groups. I started to type a response, then decided it would be better answered in a blog post as it’s not a simple question!


It is true that the Rigid Heddle Loom is capable of a lot (even an 8 shaft pattern if you really want to) but there are many reasons why I love to have both a RHL and a floor loom. 


I wrote a series recently that compared different types of looms that you may wish to review:


The Rigid Heddle Loom


The Table Loom


The Floor Loom


Now, I said the rigid heddle loom is capable of weaving 8 shafts, but does that mean that I would actually want to? To achieve that would mean multiple heddles, multiple pick up sticks and a pretty painstaking process that would have me leaping on to my floor loom in no time. Because the floor loom is made for this, it’s set up for more complex weaves, that is it’s job. So, while the RHL can be utilised for more complex weaves, that doesn’t mean that it’s the ideal choice.


Next, the RHL has yarn size limitations. The smallest dent heddle currently available is a 15 dent by Ashford. Yes, you can still double threads or use extra heddles to increase the available sett, but that is another difference to a floor loom and a consideration if you like to weave with fine threads.


Finally, the floor loom is a full body experience. That sounds a bit weird and new age doesn’t it?! But what I mean is that you are using your head (eyes to read the pattern as you weave, if you need to), your hands to throw and catch the shuttle (your body naturally sways slightly from side to side as you get into the rhythm) and your legs (as your feet move or “walk” the treadles to operate the shafts). It’s actually a bit of a workout!


Because of this “full body” approach on a floor loom, you are able to operate many actions at once. And that is the real beauty of floor loom weaving, the harmony of actions that allow you to work fast to achieve sometimes quite amazing results.


Don’t forget that there are pros and cons to all types of weaving and I try not to promote one over the other because I believe each weaver needs to find the right fit for their particular needs. If it seems that I am promoting the floor loom in this article, it is only within context of answering a question.


To recap, why would I buy a floor loom? 
1. Intricacy of pattern
2. Finer threads
3. Speed and efficiency


I hope this article helps you, thank you for reading!

Filed Under: Floor Loom Weaving, Rigid heddle weaving, Weaving Tagged With: floor loom, floor loom weaving, rigid heddle loom, rigid heddle weaving

Baby Blanket Project

by Kelly 6 Comments

I finished my baby blanket just in the nick of time, the day after my gorgeous new nephew was born. I already knew the baby was a boy and chose the colours accordingly. 
 
I told Nicky from Thread Collective what I wanted to weave and she recommended Venne Organic 8/2 cotton. I’m so glad I went with it, it may be a little more expensive, but for good reason! It is soft but I didn’t have a single broken warp thread, it was strong and just lovely to weave with. 
*This post contains an affiliate link. Please see my disclosure policy for further information.
 
 
I warped with the royal blue. I’m not sure why, but I started discovering errors from this point on. Too many distractions perhaps?
 
Error 1: I missed a part of the threading sequence in one spot. 
The fix: I had missed threading 3 heddles, so I made the missing heddles out of tapestry cotton and inserted them in place. Then, I measured out the missing warp threads, threaded through my string heddles, and weighted them over the back of the loom. Not ideal, but it worked!
The weighted threads.
Error 2: I re-sleyed the reed 3 times (yes, 3!!) because I kept missing a slot or doubling up. This was really frustrating as I just wanted to get weaving at this point. Even after the 3 re-sleys, I still ended up with one slot doubled up with threads. So, the blanket has a fault running through vertically. Rather than go back and re-sley again, I decided to just live with it!
My idea for weaving was to experiment with the weft, initially I thought I would do one shot of turquoise and one of green. I didn’t like the way that looked though. I experimented further (this is why it’s always great to warp a little extra for sampling) and decided on 3.5 inch stripes of blue, alternating with 1 inch stripes of green. It has a nice balance.
 
Here you can really see the hearts, aren’t they cute?! This is one side.
And this is the other side. Originally I had planned to back the blanket with flannelette once it was off the loom, but in the end I couldn’t decide which side of blanket I liked better, so no backing. It will be a light blanket instead 🙂 
You can find a copy of this draft here. It is also pinned to my Weaving board on Pinterest.
The weaving draft is very easy to follow, both the threading and treadling follow repetitive, simple to memorise sequences.
 
The dimensions of the finished blanket are:
Width – 27.5″
Length- 44″
 
The approximate cost of the project:
I used almost a whole 250 gram cone for warp. For the weft, I alternated between the turquoise and green cones, using less of the green. I estimated the total cost at around $55AUD, which covers the threads, postage cost on the threads, sewing supplies and label.
 
What I learned:
*I don’t work well with deadlines. On one hand, needing to be finished by a certain date is a good motivating factor but on the other hand, rushing causes stress and mistakes. 
*I learned that I definitely want to work with Venne organic cotton again.
*I would also like to use this draft again and I think it could be adapted to all sorts of projects. 
*I already knew this, but this project reminded me that weaving with quality threads is expensive!
*Perhaps most importantly, I learned that, once again most mistakes or errors in weaving are totally fixable if you can just find or think of a work around.
 
If you are interested in floor loom weaving or are a newbie floor or table loom weaver, be sure to check out my Introduction to Floor Loom Weaving course to get you up and weaving!
 
This pattern draft is not from a book, but if you love to weave baby blanket’s, I recommend 
Hand Woven Baby Blankets by Tom Knisely.
 
There is a huge selection of blankets, from 2 to 8 shafts and many different yarns and colours. It’s a lovely and inspiring book. 
 

Filed Under: 4 shaft weaving, Floor Loom Weaving Tagged With: 4 shaft weaving, baby blanket, floor loom weaving, hearts, organic cotton

The week in review, phew!

by Kelly 2 Comments

The week started out well and then WOOSH, I turned around and it was almost over already. A lot of weeks are like that these days. But it doesn’t trouble me, as long as the week is well spent.

Autumn is well and truly upon us and the cold has crept in. This does not trouble me either, I am quite fond of cool weather and it inspires me to surround myself with fibre.
We celebrated our son’s 18th birthday with much cheer and delightful dishes. I was reminded of the great blessing he is to our family, and what a fine young man he is. It is certainly bittersweet having your children grow up.
I finally launched my newest class, Rigid Heddle Garment Making! I was so thrilled to finish what had become a lengthly undertaking and I was so happy with the end project.

The response has been enthusiastic, as many students have been asking me to put this class together.

In other weaving news, this is what I have on the floor loom. The warp is plain white cottolin and hemp and I’m changing up the cotton weft colours as I go. The draft is an 8 shaft from Carol Strickler’s 8 shaft pattern book. It took me ages to get going with this and I had to re-sley the reed THREE times due to silly mistakes. I’m happy to say that the weaving is all going smoothly! I’m making a set of towels.

The threading is rose path and the weaving is very much like an overshot – one pattern pick (red)…

followed by a tabby pick (white). Rather lovely!

I almost forgot, I also have a new Youtube video! The topic is a very popular one – weaver neater edges. 

So yes, a very busy week indeed with lots happening.
I have two new projects in the planning stages. One will be my next Etsy pattern (speaking of Etsy – my sales passed 400 this week and continue to climb!), the other will be a new online class with a difference. You will have to wait and see what the “difference” is, I have a lot of work to do before I reveal more details!

I hope you have had a great week, rich with blessings, family, good health and of course, a good dose of weaving!


Filed Under: Floor Loom Weaving, Rigid heddle weaving Tagged With: floor loom weaving, Kelly casanova weaving lessons, rigid heddle weaving

Which loom to buy, part 3 – the Floor Loom

by Kelly 3 Comments

It’s hard to know where to start the discussion on floor looms for a few reasons. There are many, many types of floor looms available from many different loom companies. Out of the three types of looms I have discussed in this series, a floor loom is the one that requires the most research on the part of the buyer to ensure the right loom is purchased.
My floor loom is the David 2 by Louet
There are 3 main types of floor loom available –
* Countermarch
*Counterbalance
*Jack
 
I’m not going to go into the specifics of each loom here, (my Introduction to Floor Loom Weaving course does that) but there are obvious differences between each one that should affect your decision making. 
 
Lets have a look firstly at the benefits of a floor loom in general:
*Complex patterns can be achieved
*There are many choices for how many shafts, with many looms having upgrades to more shafts later.
*They are large and sturdy pieces of equipment
*They can take long warps and most looms have the ability to install a second warp beam for even longer warps.
*You can weave fast because your feet are operating the treadles, which in turn operate the shafts and there is no need to set the shuttle down in between picks.
*There are many resources available for floor loom weaving, in the form of books, online classes and face to face classes.
*Materials and parts and generally readily available.
*There are so many choices, from a basic 4 shaft to a computerised loom (depends on your budget!)


And, the negatives:
*Many floor looms are large and heavy, so not portable
*Depending on the loom, it can take up a lot of space – so you need to have room to house the loom as well as clearance space so that you can move around the loom for warping etc.
*A floor loom can be very expensive.
*The warping/threading process can be hard on your back.
*Warping is a long process, it takes a while to get used to this fact!


Would I recommend buying a secondhand floor loom? 
Yes and no! If you already have a working knowledge of floor looms so that you can make an educated decision, then absolutely look for a secondhand loom, which can literally save you thousands of dollars.
BUT…
If you are completely new to floor loom weaving, have never used one and are not familiar with the parts and what they do, I would be very cautious about buying secondhand. Many people sell looms from a deceased estate or similar and they really know nothing about weaving or looms – even whether it is in working order. This can actually work in your favour if you are educated because the vendor may sell cheaply, not understanding the value of what they are selling!
 
When looking at a second hand loom ask yourself – 
*Does it have all the necessary parts? If not, what is the make of the loom? Are these still made? Am I going to be able to get replacement parts? If the loom is in pieces – when was it last put together? Am I able to put it together? If the reed is rusty, am I confident that I can return it to it’s former glory? Am I going to regret this purchase because I have not researched enough? And, so on!
 
A great way to buy second hand can be through a weaving guild. The loom will generally have been well cared for and in use. The seller may be willing to give you a lesson on setting up. You can try it out before you buy in many cases. They will know the history of the loom. 
 
Try not to be impatient, wait for the right loom at the right price.
 
The best advice I can give to someone who is in the market for a new or used loom is DO YOUR RESEARCH! Talk to people, read articles, get advice.
 
I hope this series has helped you to understand more about different types of looms.
 
For more on floor loom weaving, check out my free Youtube videos:
 
Tools for floor loom weaving
David 2 by Louet Review
Just me weaving
 
How noisy is the David 2?
 
Or have a look at my Introduction to Floor Loom Weaving Course. 
 
Until next time, Happy Weaving!


Filed Under: Floor Loom Weaving, Weaving Tagged With: floor loom, floor loom weaving

Towels just for moi!

by Kelly 3 Comments

 I recently completed a project that I undertook just for me. Most of my weaving is for classes, patterns or customers, so to set aside the time to weave something for myself was pretty special!


As you may already know, I make bread for my family. I use kitchen towels to cover the rising dough and to cover the finished loaves as they cool. Perfect! Bread towels were what I needed!
I warped with 22/2 cottolin in natural with a red cotton stripe to accent.

Then I decided on M & W threading and some 2/2 twill variations.


I changed up the colour for each new towel so that some have bold patterns and others subtle.


For this one I changed both the colours and the treadling for a feature border.
To finish off, a little embroidery.


I am very happy with my new set of towels. Being hand woven with quality yarn, I know these will last many years in my kitchen.

How about you? Do you find that you’re always weaving or making for someone other than yourself? Perhaps you want to follow my lead and put aside some time to make something special just for you!

Filed Under: #weaveforme challenge, 4 shaft weaving, Floor Loom Weaving, Weaving Tagged With: 4 shaft weaving, floor loom weaving, weaving

  • « Go to Previous Page
  • Page 1
  • Page 2
  • Page 3
  • Page 4
  • Go to Next Page »

Primary Sidebar

About Kelly Casanova

Hand crafted boat shuttles

Categories

Archives

Meta

  • Log in
  • Entries feed
  • Comments feed
  • WordPress.org

Copyright © 2026 Kelly Casanova Weaving Lessons on the Foodie Pro Theme