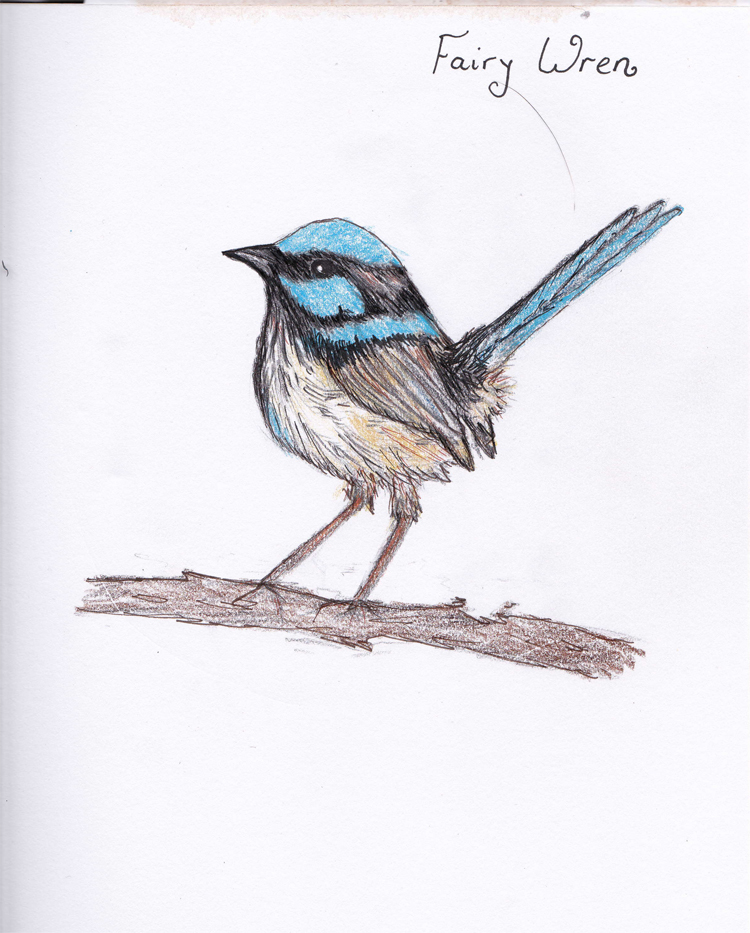
The girls were reluctant to have a go – I think they are too used to drawing what they want rather than within a theme. It’s a great way to challenge your drawing skills and expand though, so I told the girls that I intended to draw a picture and so they could too. It worked!
Search Results for: weaving
Planning to NOT fail
I was trying to juggle the demands of family, homeschooling, activities outside the home, volunteer roles and a growing home business and so I assumed that there was simply too much for me to do on my own. This lead to exhaustion and a definite lack of hope – how could I get through everything that needed to be done?
Towards Christmas and in the holidays afterwards it started to dawn on me. Each day would start with that overwhelmed feeling, knowing I would be chasing my tail until I fell into bed that night. You would think after 12 years of doing this, I would have systems in place, but life is ever changing as people grow and every year is different to the last. I started thinking – does it have to be this way? What positive changes could I make to avoid another year in this state?
Well, a few years ago, I decided that I hated planning. I felt that if I spent the best part of my day educating the children, why should I spend my precious evenings planning for the next day? So I did away with all planning and I think that is where things started to go wrong, though at the time I felt I was freeing myself of a great burden. I think also over this time period, the kids, whether consciously or sub consciously, began to lost confidence in me. And I definitely began to lose confidence in me!
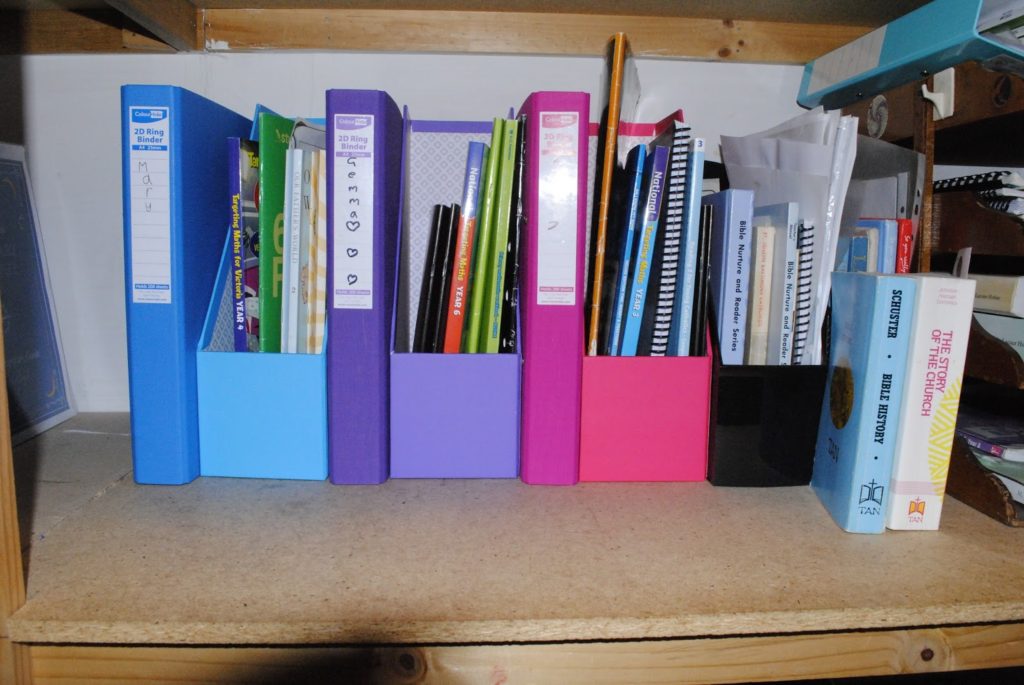
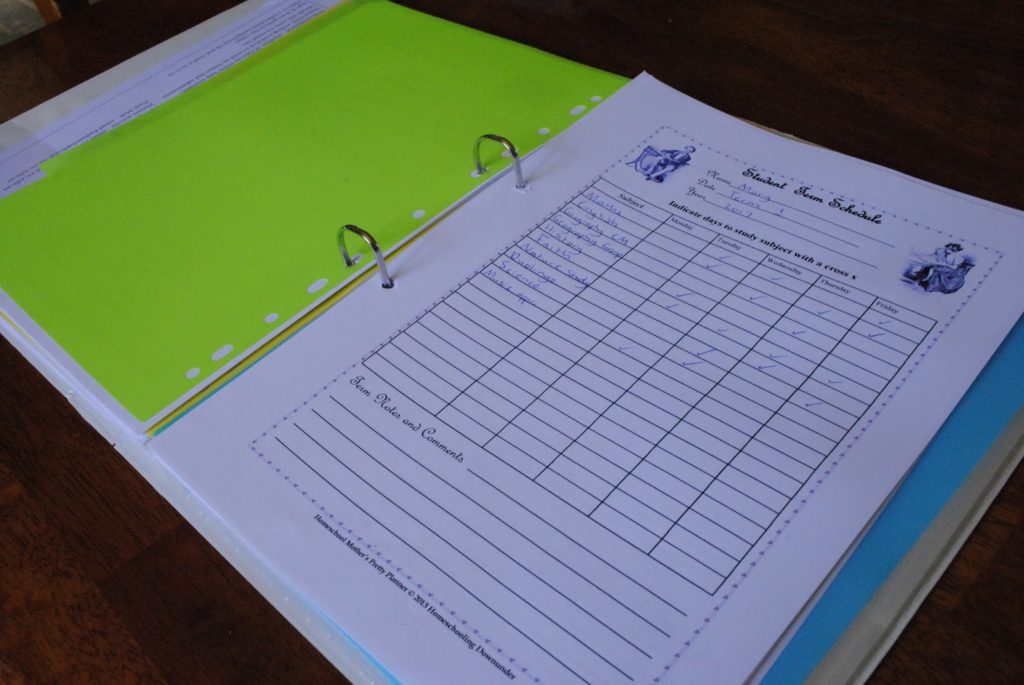
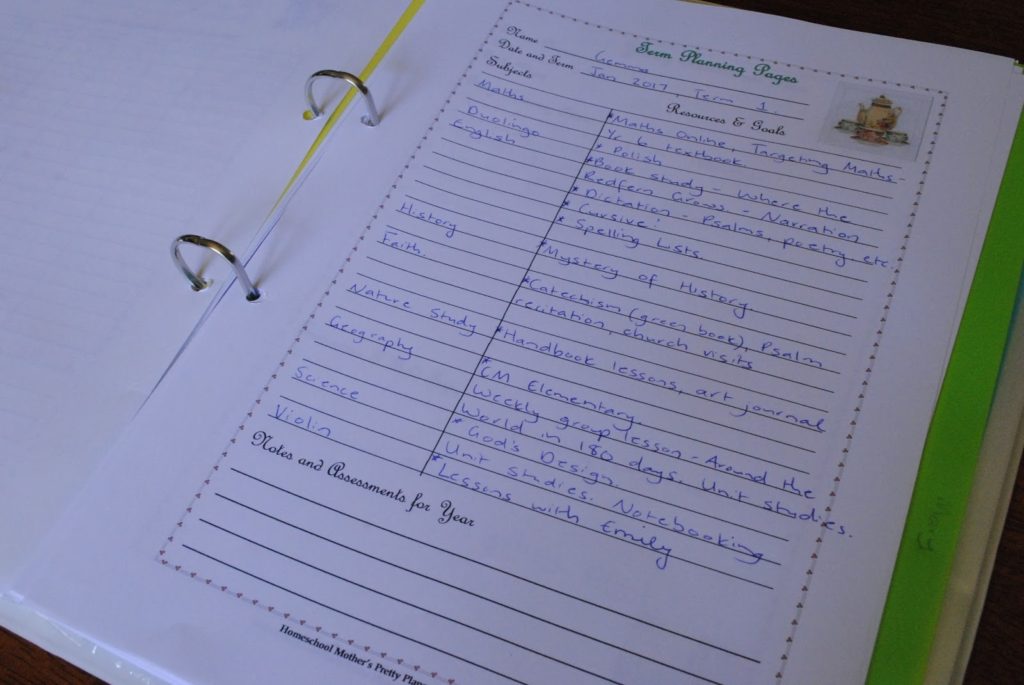
But now I was ready to give planning another try – not in the way that I used to. At the start of this year, I bought a planner from Homeschooling Downunder and printed out the pages I felt would be relevant. I bought colour coded folders and boxes for each child.
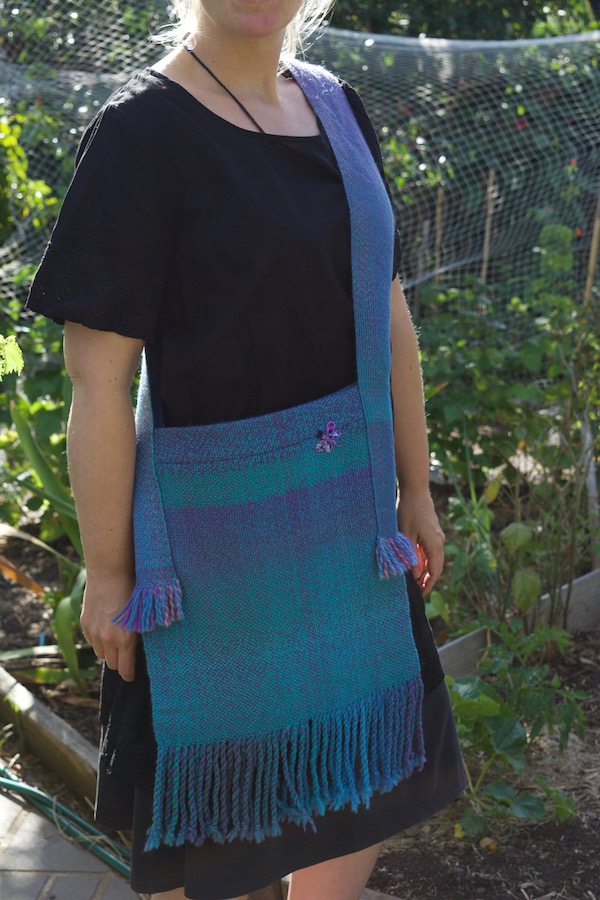
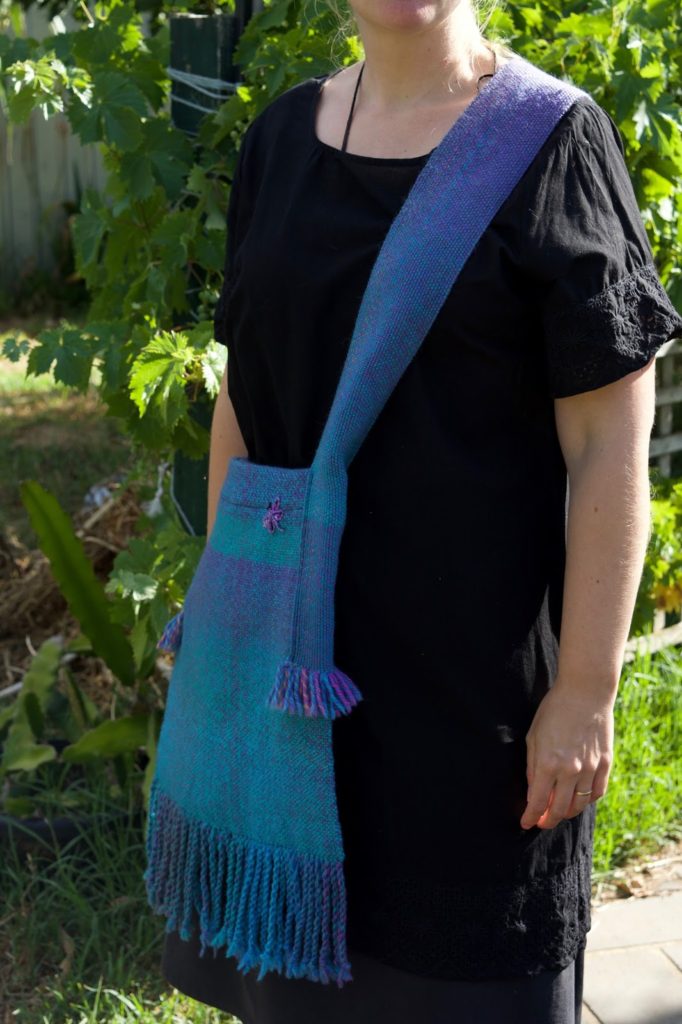
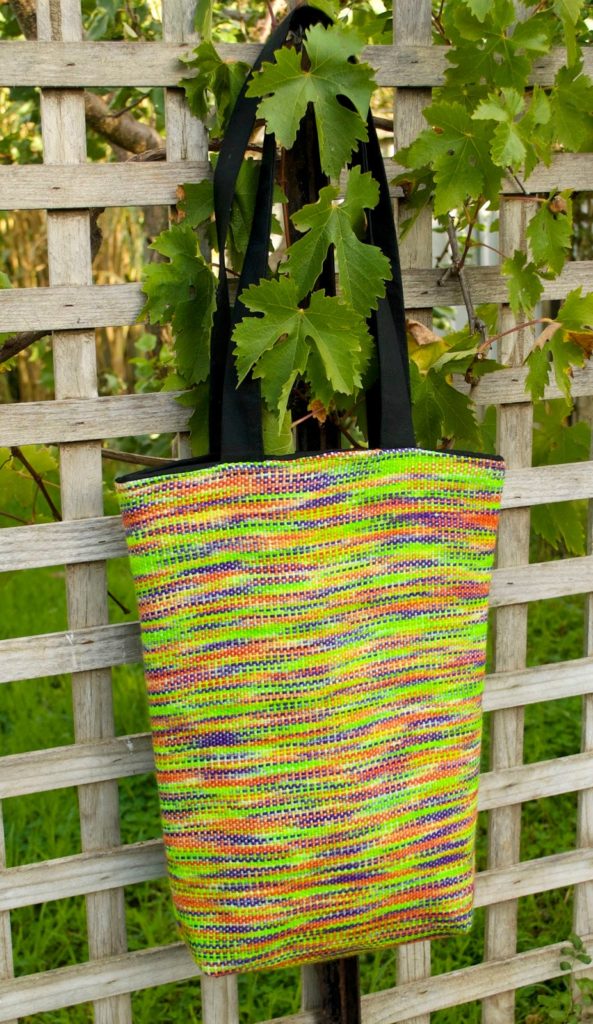
Slouchy satchel bag – new lessons
I’m a silly sausage!
But let me explain.
Just over a year ago I uploaded a couple of weaving videos to Youtube. I was just interested in sharing, considering I don’t actually know any real life weavers, I suppose I was welling up with excitement at all my weaving discoveries. And sharing is fun!
So, what happened? Well, very unexpectedly, the videos were well received. People started subscribing to my channel and talking about them in Facebook weaving groups. And they’re still subscribing and talking!
All of the enthusiasm and positive feedback inspired me to make more videos. The rest, as they say, is history!
I now have two Youtube channels. One is free to watch, the other is on a paid subscription basis. I started the paid channel because many (most) of my videos take hours in the planning, filming, editing and instructing. Plus the cost of all the materials. I have made the channel affordable and aim to have a huge library of videos available to subscribers, as well as exciting projects, techniques and the occasional giveaway. It’s the place that I’m happy to give away my weaving secrets 🙂 I’m really pleased that many have joined this new channel and hope that it grows over the next year.
Growing the dream.
All of the above has allowed me to hope a little more that my dreams may be possible. I may eventually be able to move past the “pocket money” stage of online teaching into the “actual income” stage. I may be able to start teaching real life classes.
And ultimately, one day, I may be able to have my own teaching studio. Big ask, I know!
in 2017 I’ll be putting a lot of work into my paid channel. Doing videos for both channels this year has been rewarding in many ways, but in addition to my homeschooling commitments I have found myself a little burnt out and suffering some niggly health conditions at this end of the year. I feel I spent way too much precious time sitting at the computer! So, the paid channel will be my main focus next year.
If you haven’t seen my channels yet, you can find the free one here and the paid channel here.
I hope you had a most blessed Christmas and a Happy New Year to you all!
I’ll try to make it here more often, really I will…
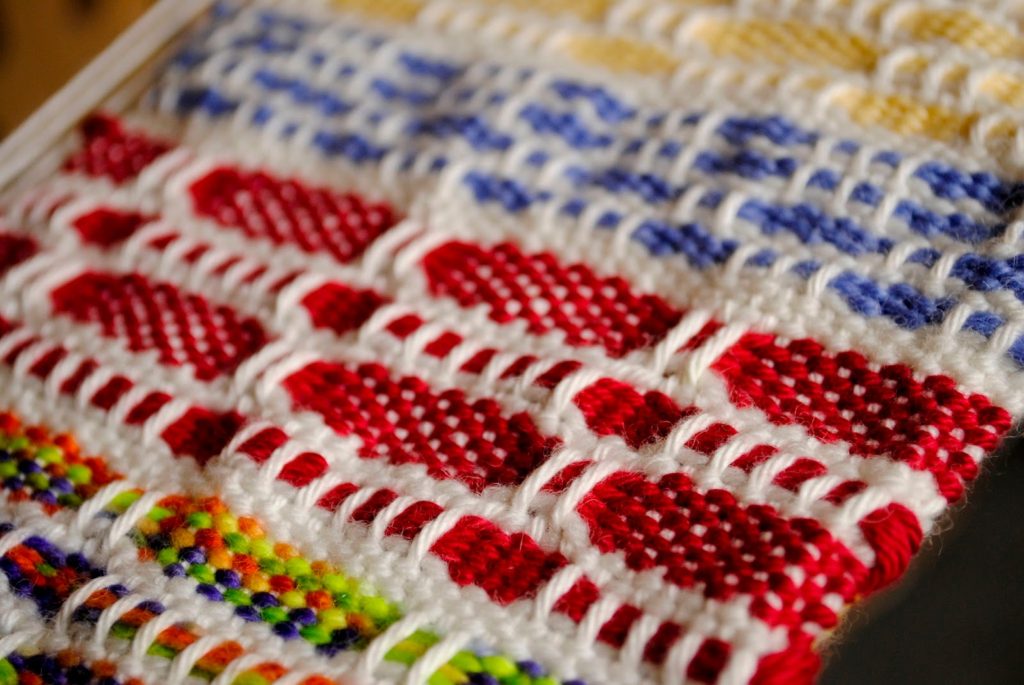
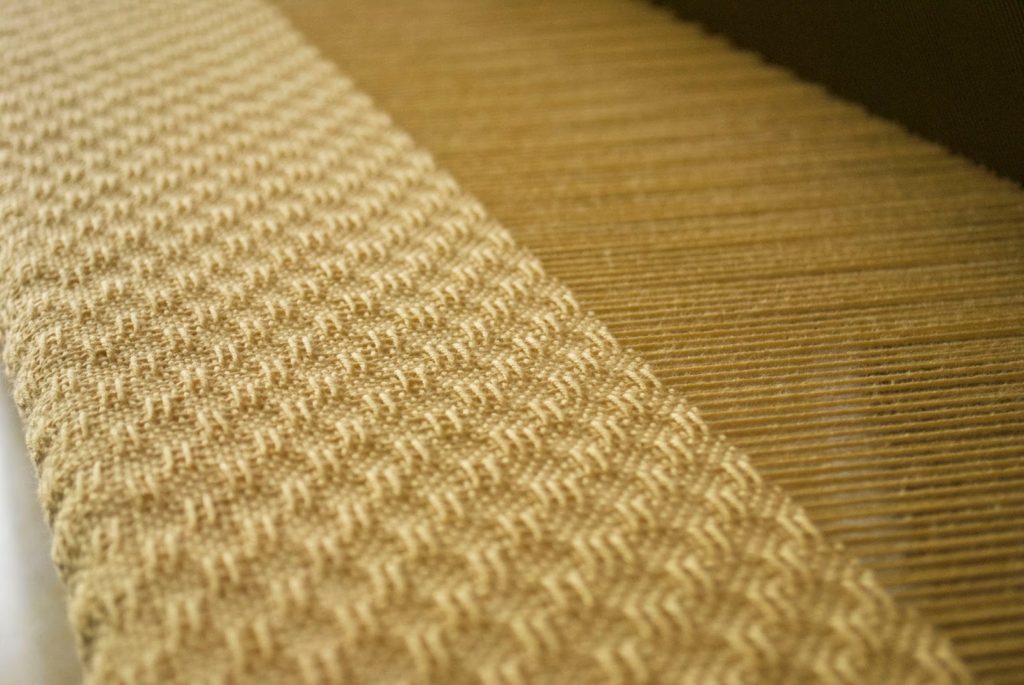
Honeycomb without the calories
New weave along series!
Life and Learning at home
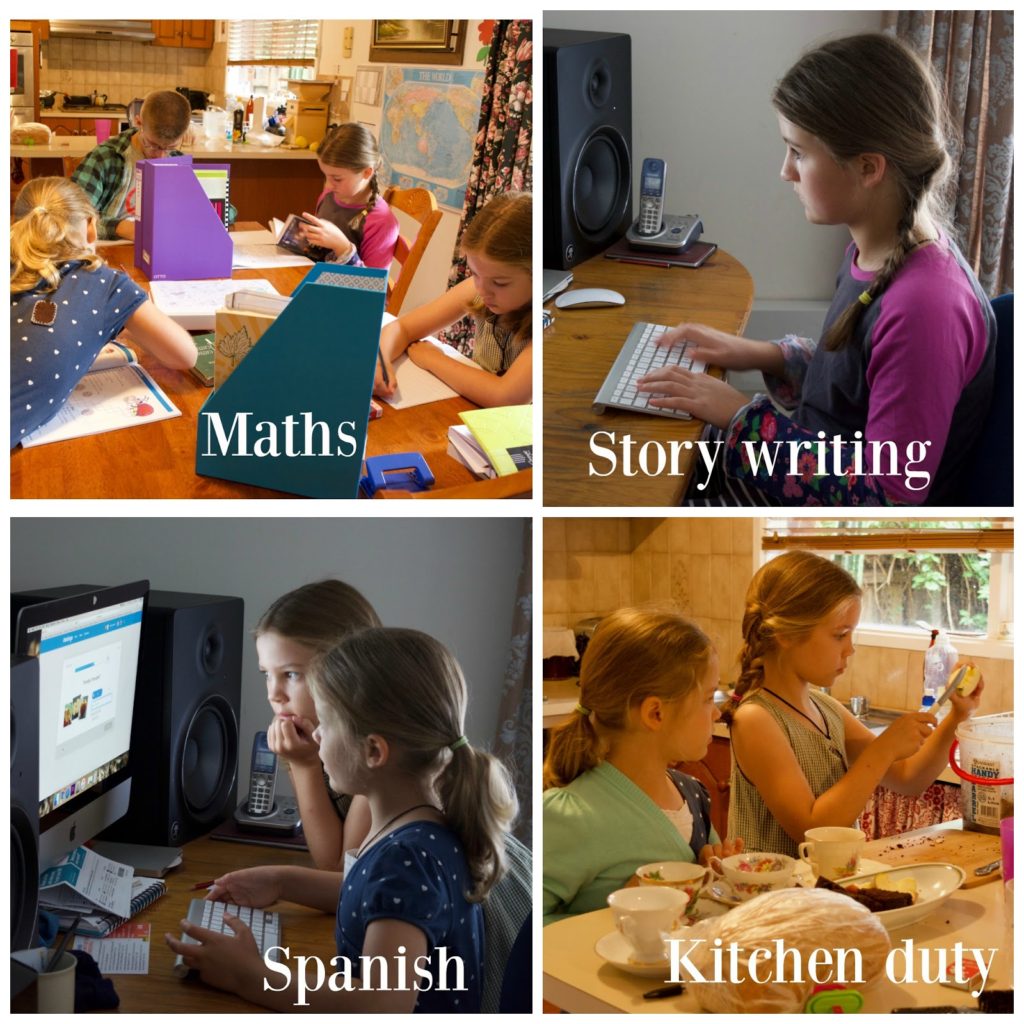
Every now and then I write down some of the things we’ve done in a day. Especially if I’m feeling the kids haven’t focused enough on academics or, the ever gnawing feeling at many a homeschool Mum, that they haven’t learned enough.
Today it was challenging to write that list, there was too much! I thought I’d share with you some of what we did to give an idea of an average day and to show you that even if you don’t feel like you’ve done a lot, it’s pretty amazing when you reflect back.
Youtube channel update
Another is an explanation of sett, which can be confusing to new weavers. The next is how to determine sett for your project. And then, just for fun I have a slideshow of some of my weaving to inspire you!
I have so many ideas for more videos, but there are limiting factors – chiefly lack of time and money! I’ll keep building where I can and I do have what I hope will be a really exciting series of videos planned, so stay tuned for more information!
Whey, sourdough, yeasted – what should I call this bread recipe!
I made this bread as an experiment today and it was a success. It’s a little unconventional in the combination of ingredients, but it works, so here is the recipe!
Ingredients
450 grams wholemeal flour (freshly ground if possible)
50 grams rye flour
500 grams white plain flour
2 teaspoons yeast
1/4 cup sourdough starter
200ml whey, room temperature
2 teaspoons salt
2 tablespoons of honey
3 tablespoons sunflower oil
500ml warm water
Method
Place all dry ingredients in a large mixing bowl. Add sourdough starter and whey. Start up your mixer with a dough hook (or mix with wooden spoon if mixing by hand). Mix honey and oil with warm water and gradually add to mix. Continue to mix on low for 10 minutes, or mix by hand until combined and then knead for 10 minutes or until elastic.
Place dough in an oiled bowl and cover with glad wrap. Allow to double in size (usually an hour depending on the weather).
Divide dough into 2 loaves and shape either into bread tins or into rounds on a tray. If using tins, be sure to oil them or for trays, use good quality baking paper to avoid any sticking. Cover with glad wrap once again and allow to sit for another 45 minutes – 1 hour.
In the meantime, preheat oven to 250 degrees (C).
Slash tops of loaves with a sharp knife or razor blade and place in oven. Set the timer for 5 minutes.
Turn oven down to 220 deg (C) and bake for a further 30 minutes*.
Turn out and cool on wire rack.
* Due to the wholemeal flour, your loaves may brown more than you would like. If they start to brown too much, cover with a large piece of foil for the remainder of the baking time.


