Search Results for: weaving
Surface embroidery on 5/1 Spot Lace for a Rigid Heddle Loom
This is the companion video to the one on spot lace. It shows how you can take your weaving further by using surface embroidery techniques. Easy to follow, easy to do but visually stunning!
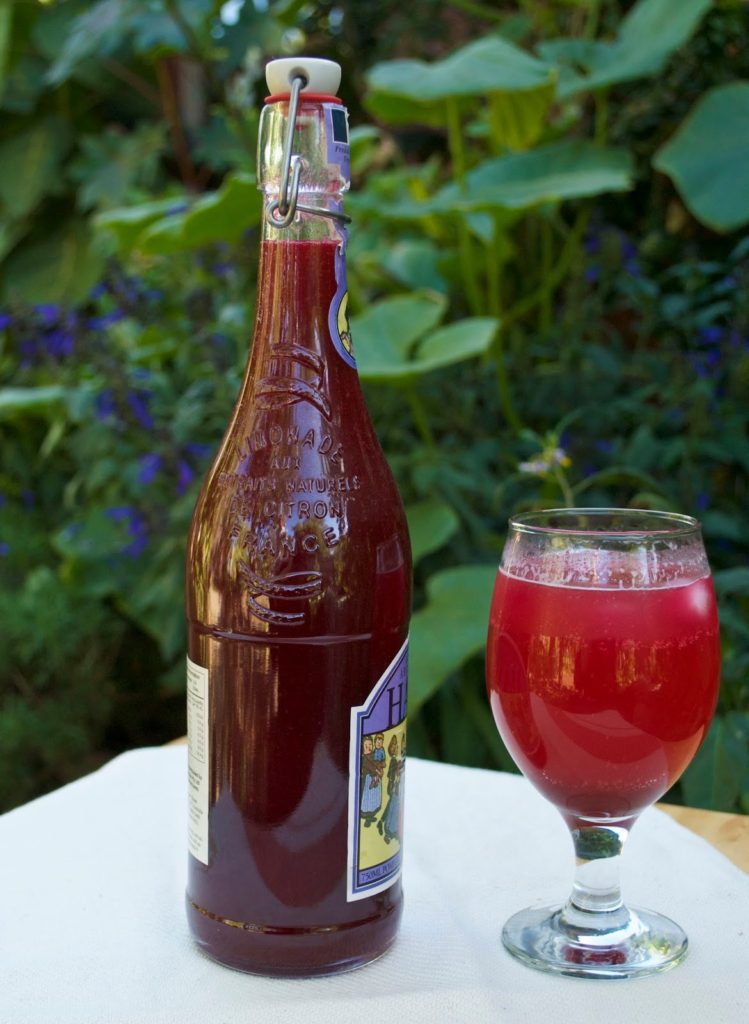
Prickly Pear syrup recipe
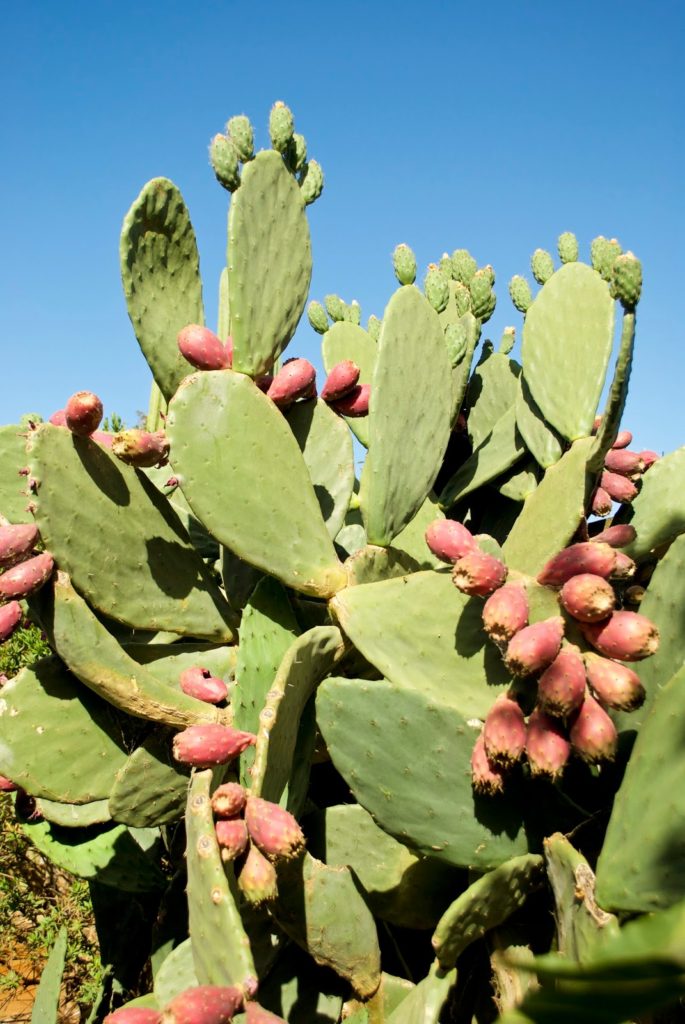
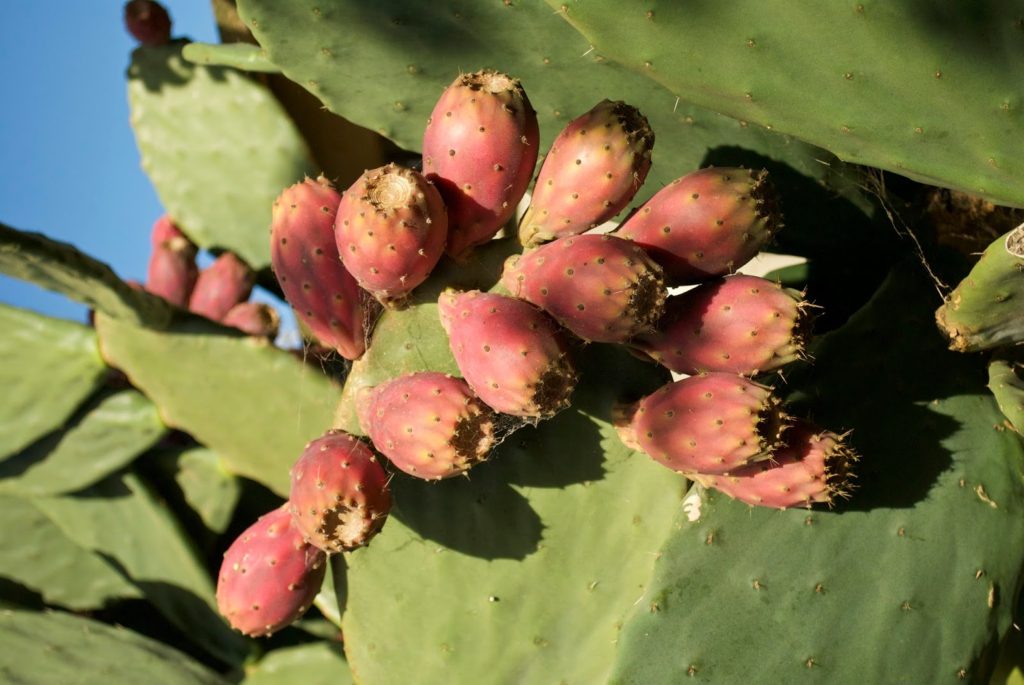
I’ve been doing some research into Navajo natural dyeing techniques – prickly pear fruit with it’s fabulous, vivid magenta to strong pink colour would be an obvious choice.
I was afraid of the possible, painful consequences of harvesting the fruit, but following some instruction from my somewhat experienced husband, I went ahead and I’m so glad I did. Harvesting and preparation instructions are here.
Not only did I pick and prepare enough fruit to start my yarn dyeing experiment, I also came up with a delicious syrup! Here is the recipe for you:
Ingredients:
1.1kg ripe prickly pear fruit
500grams white sugar
1 teaspoon citric acid
Method:
When the fruit is prepared and peeled (see harvesting and preparation method here) chop each fruit into 3 and blend in a food processor. No food processor? Place in a bowl and mash really well with a potato masher. Place a strainer or colander over a large saucepan. Strain the juice, leaving the seeds in the strainer. Use a spoon to push through all that goodness.
Once you have your juice, add the sugar and citric acid. Warm over a low heat until sugar in dissolved, then increase heat to medium until the liquid comes to a light boil. Boil for no more than 5 minutes.
Allow to cool, poor into a glass bottle or similar and keep in the fridge.
Uses:
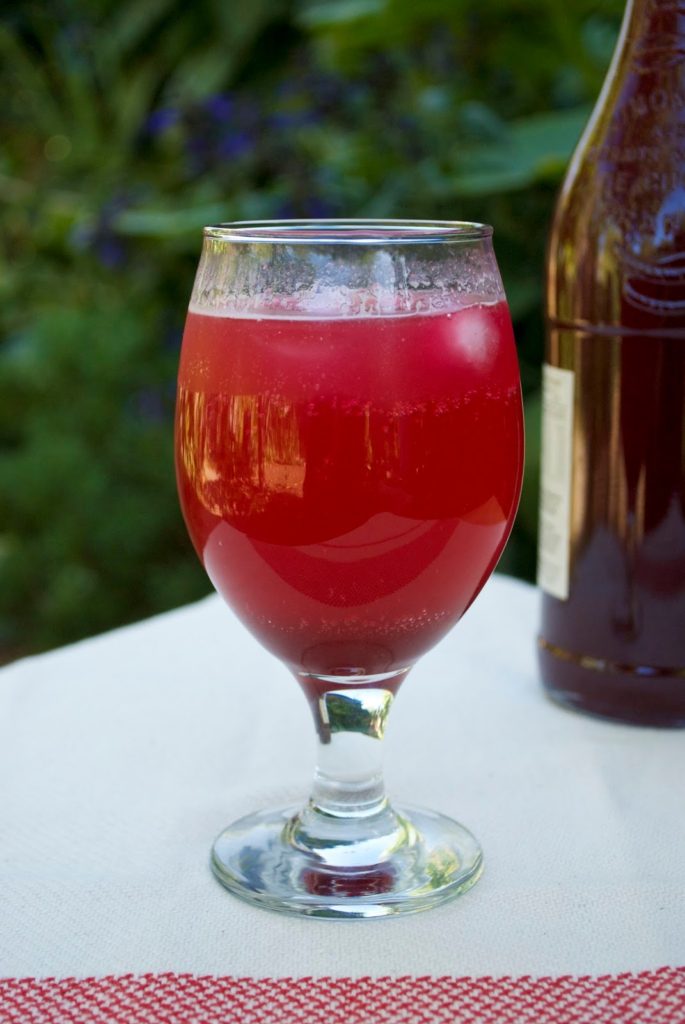
Can be used as a cordial, just mix with water, mix with mineral water and ice for a refreshing drink, drizzle over ice-cream, yoghurt, pancakes, waffles or fruit salad. Anything you would use a fruit syrup for, this syrup can be used.
Hope you enjoy it!
Harvesting and preparation of prickly pear fruit.
What you need:
Good quality kitchen/washing up gloves. The good quality part is important, they are tougher! *See note.
A plastic bucket
Long handled tongs
Small, sharp paring knife
A large mixing bowl or similar to put your peeled fruit into.
Plastic bag
Water
What to do:
This first part is completed outside.
Half fill your bucket with water. Stand back from the cactus (the long handled tongs give you further reach). The hair like spines (glochids) will begin to come off as soon as your tongs touch the fruit, so be aware of where they are falling. For this reason it is better not to harvest on a really windy day.
Grabbing the fruit with the tongs, give a twist or two and place the fruit straight into the bucket. Continue this process until you have the number you require. Make sure the water is covering the fruit.
Now tip the water out, somewhere that no one is likely to walk or weed etc. Using a hose, spray water into the bucket onto the fruit, covering it once more. Tip out once again. You can repeat the spray and tip one more time (I do).
Put on your gloves. If your gloves are strong you should be fine to pick up the fruit now. Cut off each end and make a slit down the centre with the knife. Begin to peel back the skin from the slit until it is all removed. Place the skin either back in the bucket or straight into the plastic bag. Place the peeled fruit into the bowl. Continue for all fruit.
Now you can take the fruit inside to use. I give one last rinse in water just in case there are any remaining spikes. It is delicious fresh or there are lots of interesting recipes to try (I have a prickly pear syrup recipe coming soon!)
Clean up:
I throw all the peelings into the regular rubbish bin in a plastic bag. As far as I know, the peelings can not be composted due to the spines – I certainly don’t want them ending up in my compost. If you have successfully composted peelings, I would be most interested to know.
* I used good quality kitchen gloves to prepare the fruit. After working in the kitchen with the peeled fruit, I went back outside to clean up the peelings. However, I put on a different pair of kitchen gloves, a lower quality, thinner pair. As soon as I touched the bucket with the peelings, I got spiked. So it really is worth having the good quality gloves!
Shop update
Krokbragd Tulips on a rigid heddle loom
Another video I just finished, still on the krokbragd theme but this time weaving some cool tulips!
I’m having so much fun experimenting with krokbragd, there are just so many possibilities 🙂
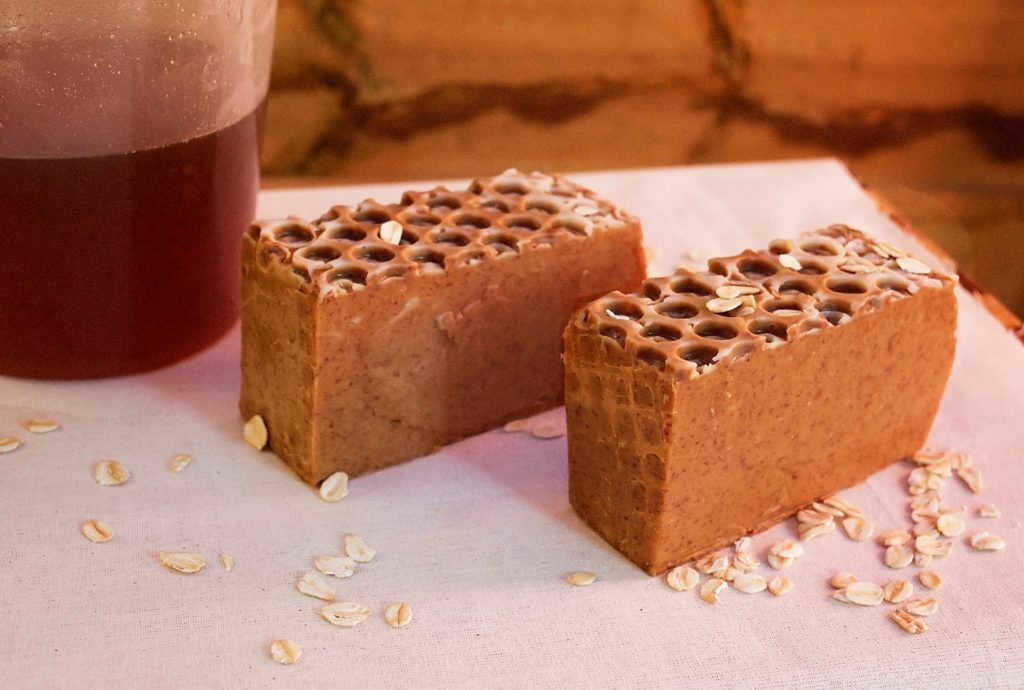
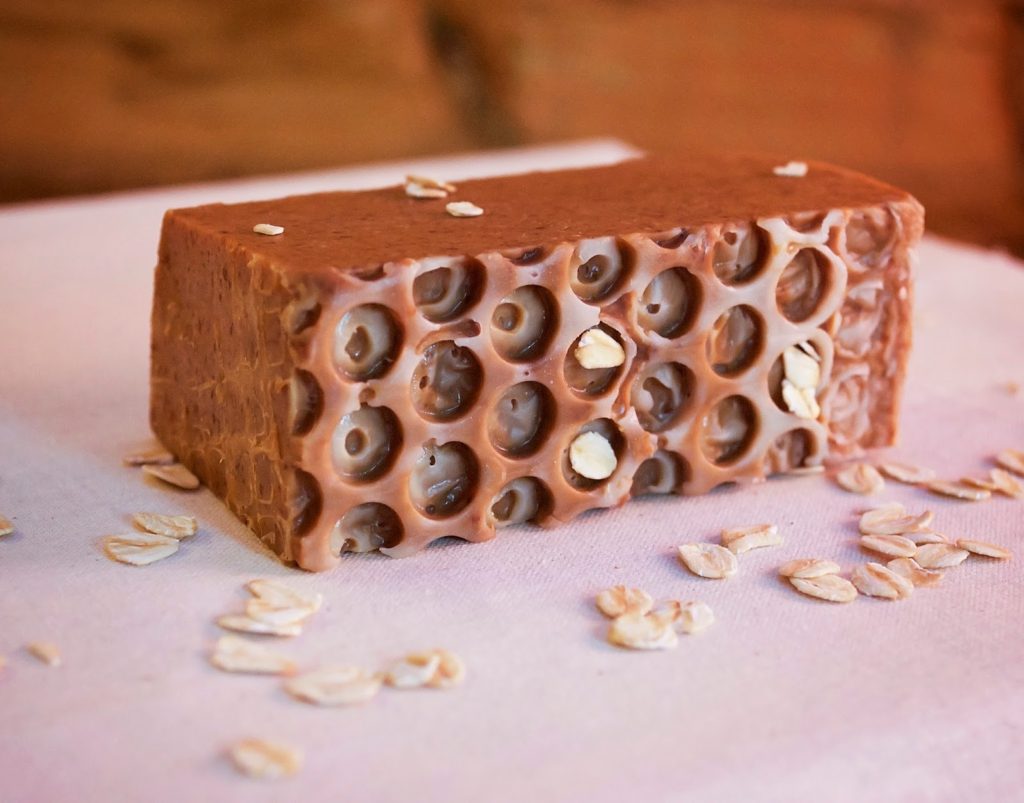
Honey and oat soap
How to make a heddle rod on a rigid heddle loom
My newest video is ready for viewing! It is a tutorial on how to make a heddle rod, which makes weaving with more than one pick up stick on the rigid heddle loom so much easier!
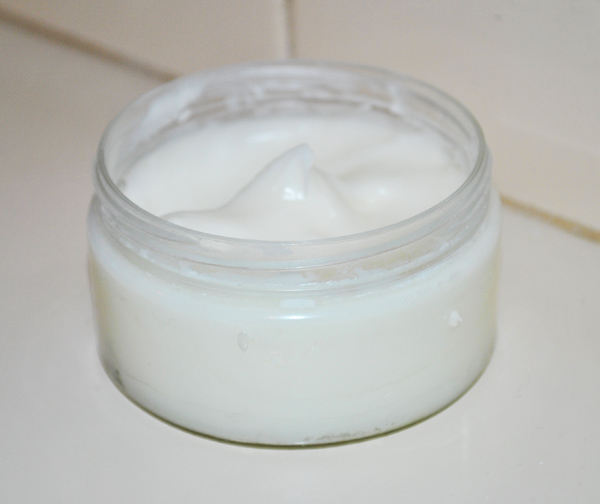
Natural homemade deodorant
1/4 cup bicarb soda (baking soda)
1/4 cup cornflour
4 tablespoons organic virgin cold pressed coconut oil
10 drops essential oil (optional) My favourite is lavender.
Mix all ingredients together until creamy. If the oil is solid it can be melted with heat to combine with the dry ingredients more readily. After your daily shower, just rub about a choc dot sized amount of paste onto the armpit area. In hot weather, your deodorant will melt unless kept in a cool spot, I keep mine at the bottom of the cupboard in the ensuite which is a very cool room so mine only melts on really hot days. If it does melt, it won’t affect the quality, just give it a stir and pop it in the fridge until solid again.


