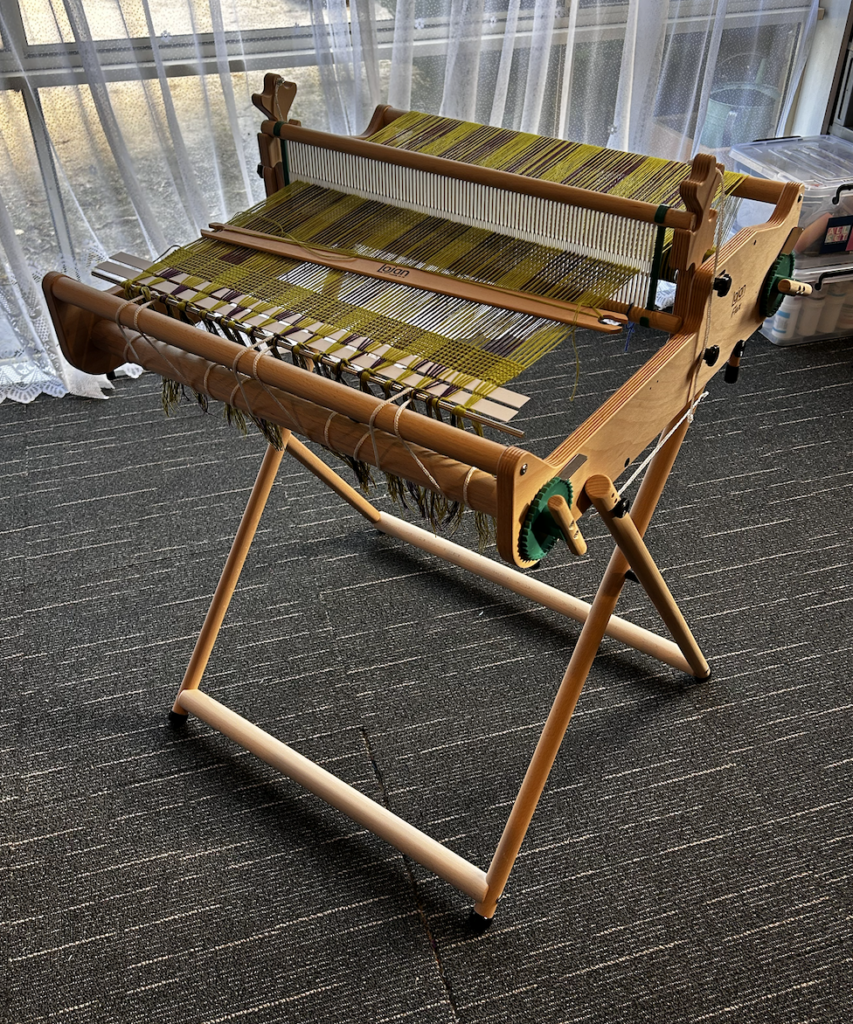
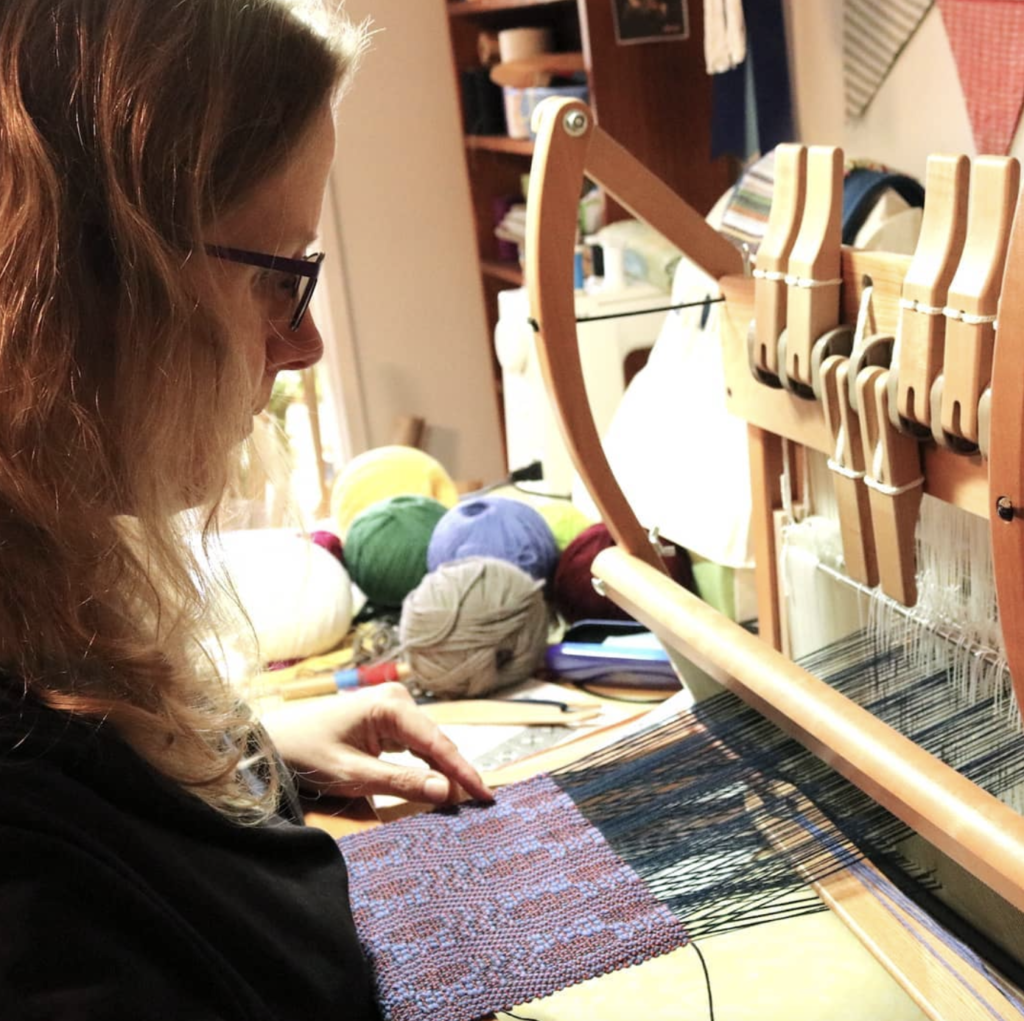
What an exciting time to be a weaver! At this time in history we have so many resources, tools and support available.
Loom companies are innovating and listening to what weavers want, which is great news for us.
Today I’m looking at some new looms that have just come out this year (in fact, two of them are currently only available for pre-order!) and discussing why they may or may not be the right solution for you if you’re in the market for a new table loom.
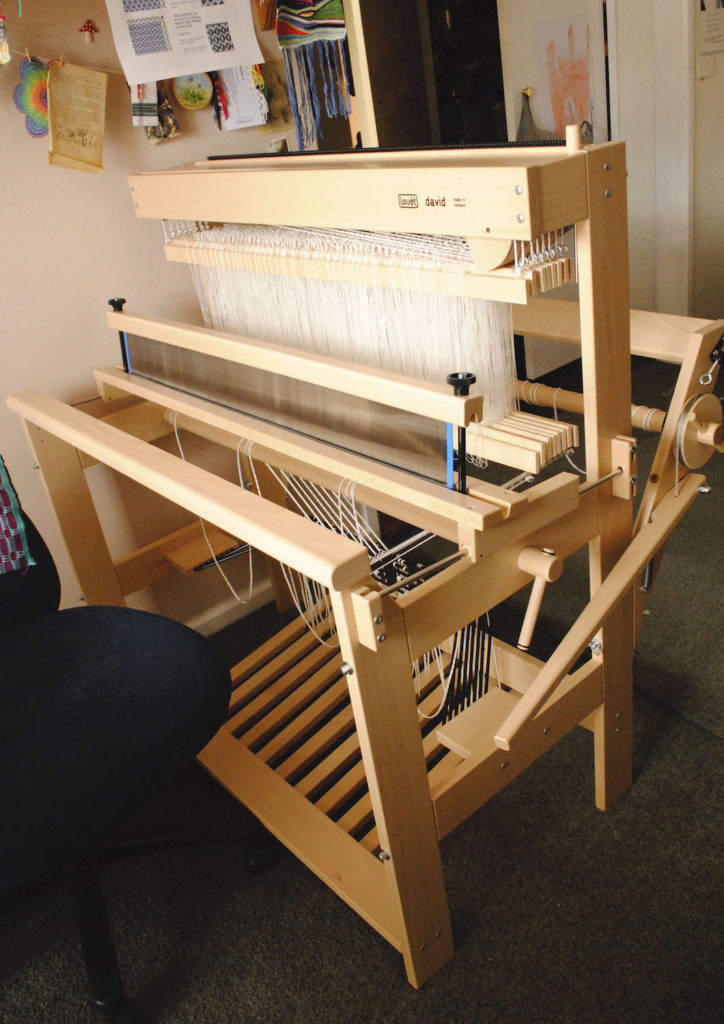
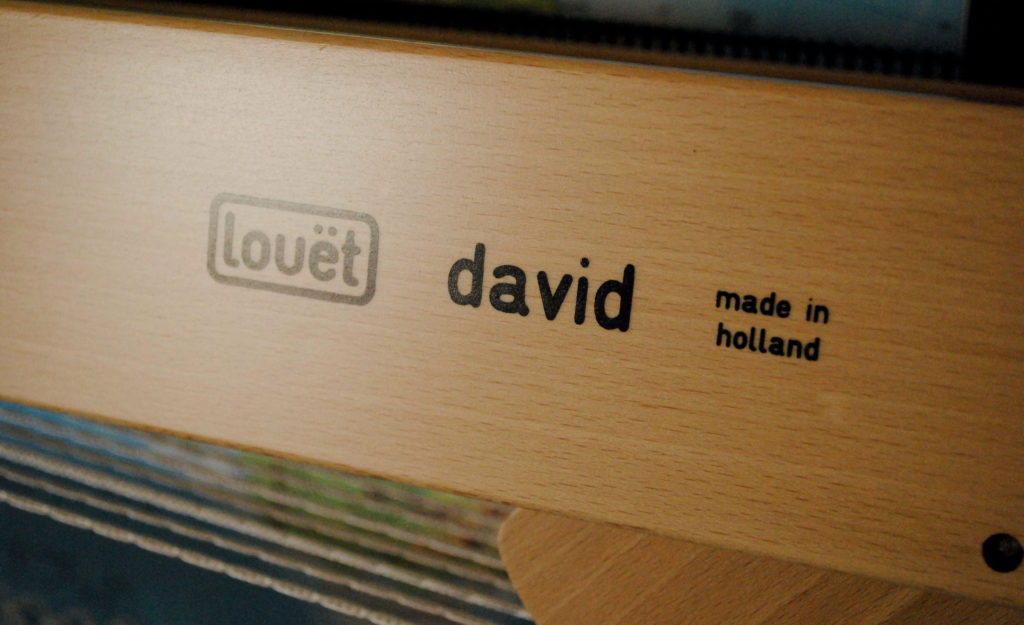
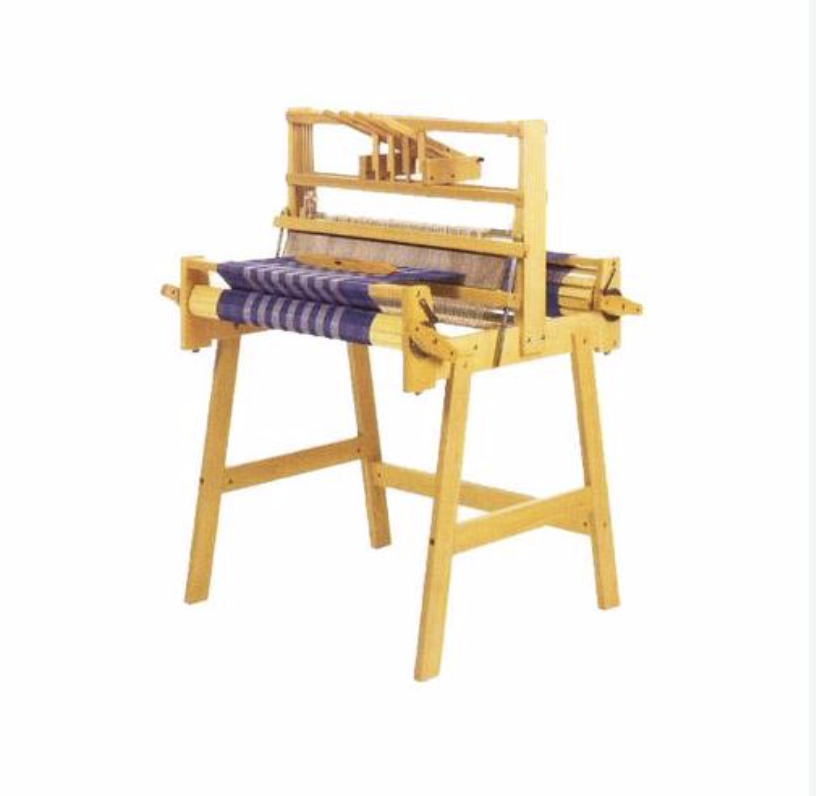
I’m going to focus on three new looms specifically. First up we have a Louet loom. As a disclaimer, I do not own a Louet table loom myself. However, I am familiar with the company and their looms and have owned a Louet David floor loom for many years and absolutely love it.
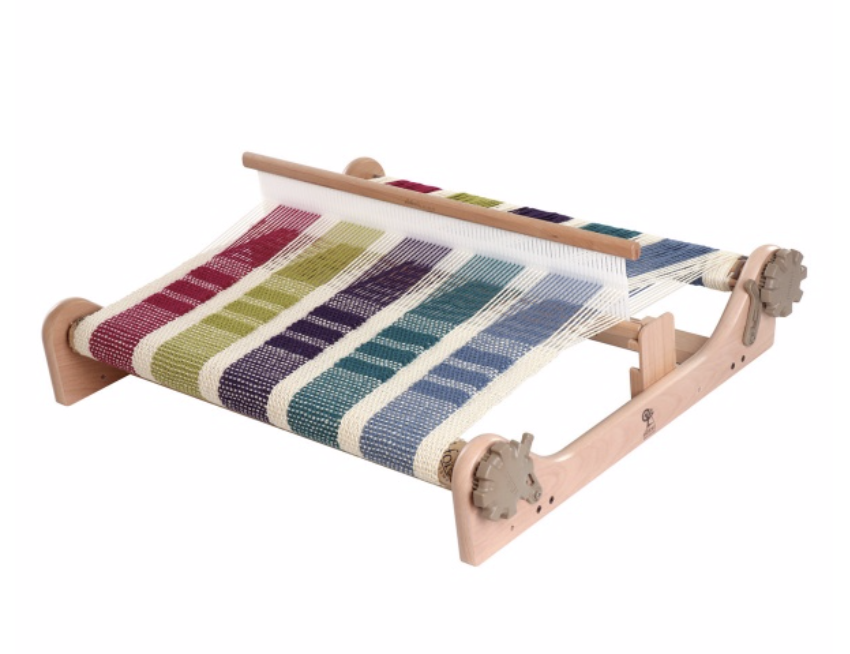
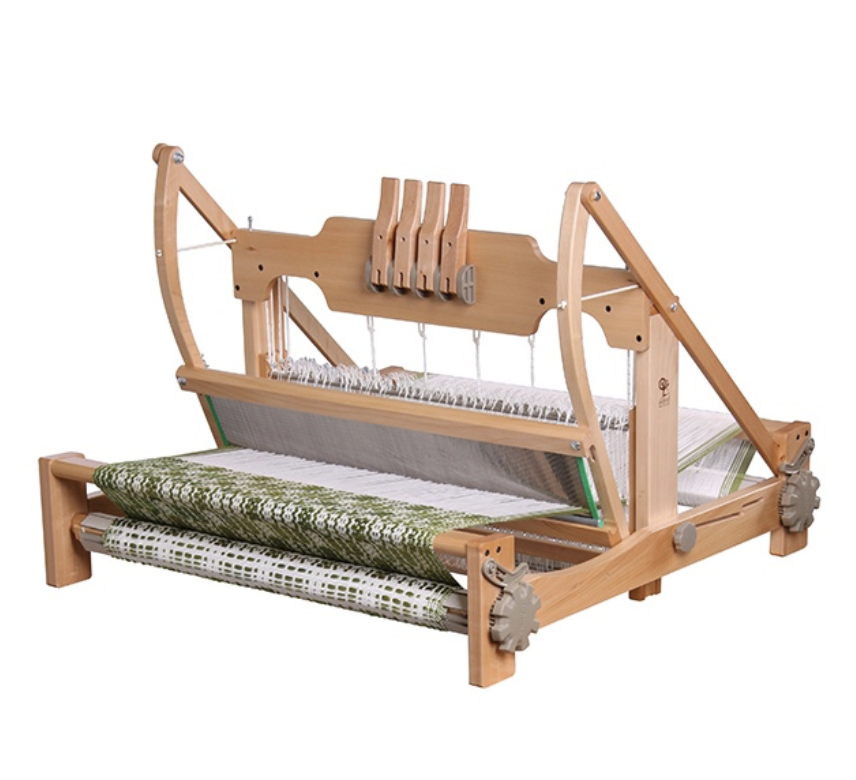
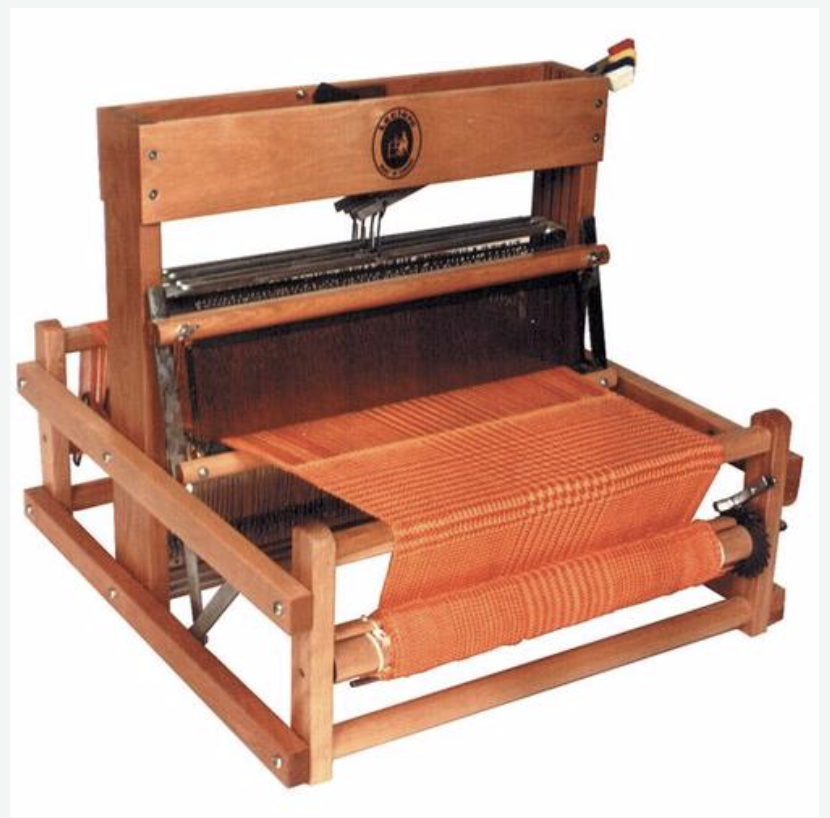
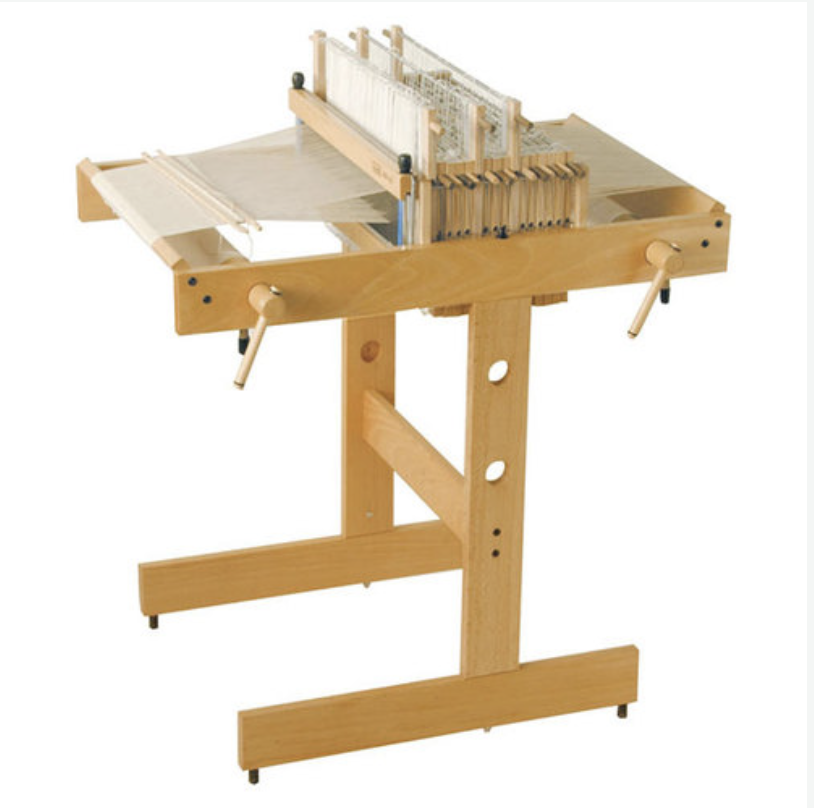
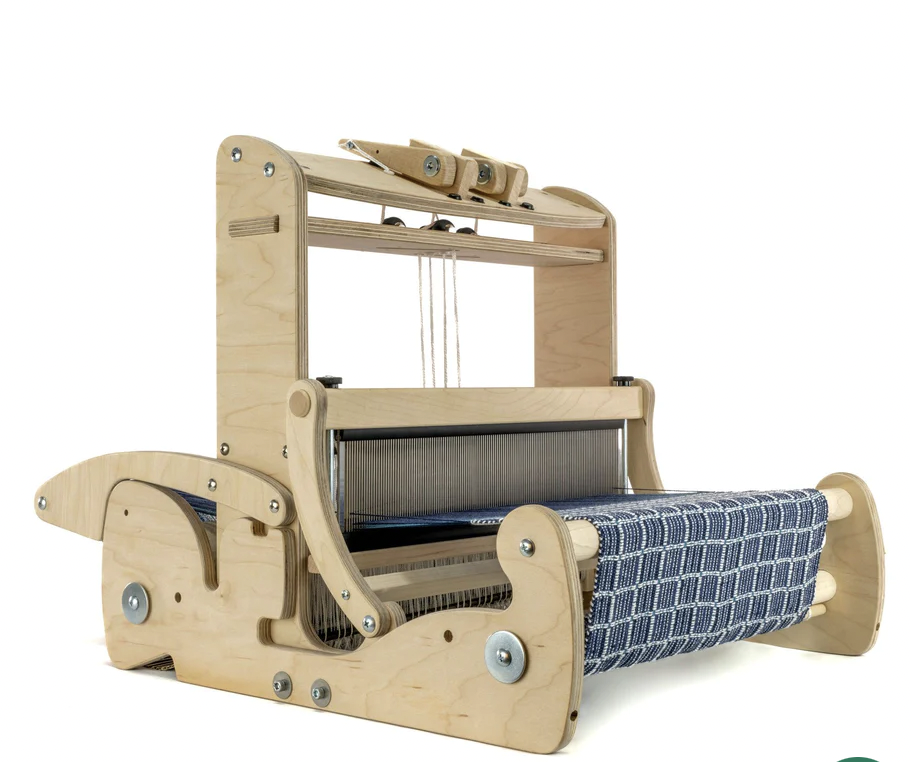
Louet Jane 16 Shaft Table Loom
This brand new table loom from Louet has just become available for pre- order. Previously the Jane was only available with up to 8 shafts.
Here are some of the features of the new 16 shaft Jane:
Available in 50 and 70cm weaving width.
Overhead beater.
Foldable and portable.
Comes with travel bag.
You can purchase the new Jane with 8 shafts and upgrade to 16 shafts later because there is room to do that. This is a great bonus for those who want the option to upgrade later without having the initial outlay.
Things I love-
Smart design, slimline, minimal to increase functionality.
Not heavy.
Attractive.
Quality.
Extra shafts without compromising on weaving width.
Now let’s do some cost comparisons for this loom. Please note that all prices are in USD and relevant to December, 2023. The width refers to weaving width, not actual loom width.
8 shafts – width 50cm $1,517 width 70cm – $1,722
16 shafts – width 50cm – $1,650 Width 70cm – $1,750
The prices between the 8 and 16 shafts are not all that different, so that is something to seriously consider.
In Australia, the Jane 16 shaft is available for pre-order here.
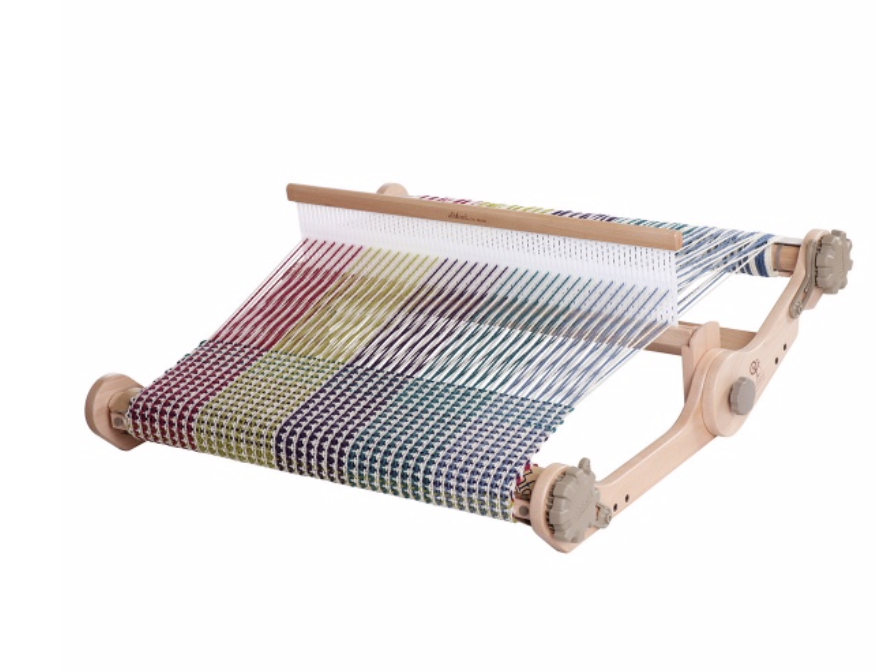
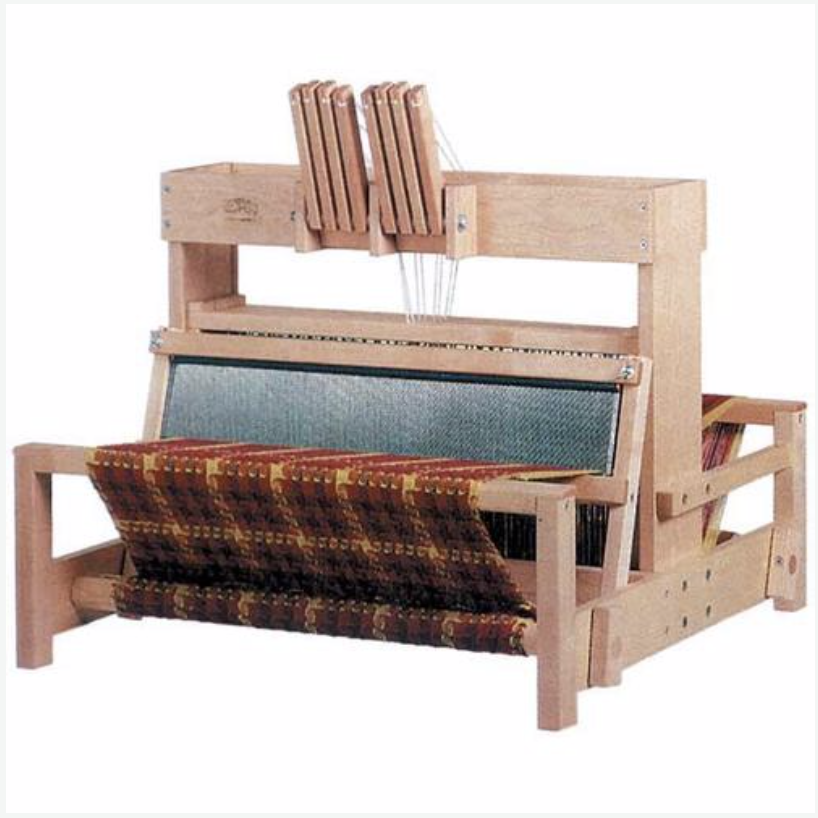
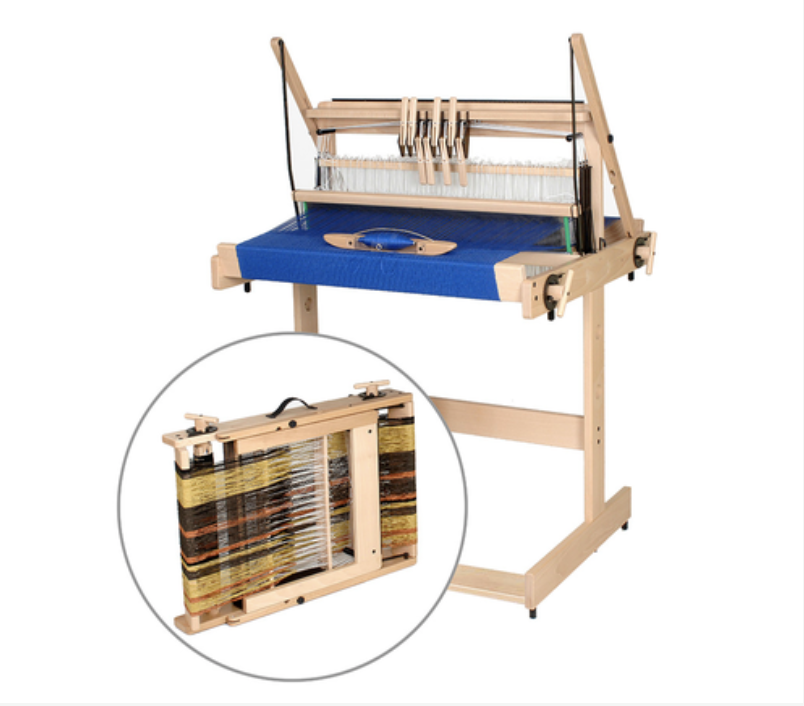
The second table loom we’re looking at today is also available for pre-order, with an expected delivery date being around mid 2024. This release will be a limited edition.
I have owned an 8 shaft Ashford table loom for many years and I think they are terrific looms.
One of the differences between the new Louet and Ashford is the available weaving widths. The Ashford will be available with a weaving width of up to 80cm, which is a little wider and might be important to you.
8 shaft – width 60cm – $1,050 width 80cm – $1,115
16 shaft – width 60cm – $1,695 width 80cm – $1,950.
Slightly different pricing and sizing between the two.
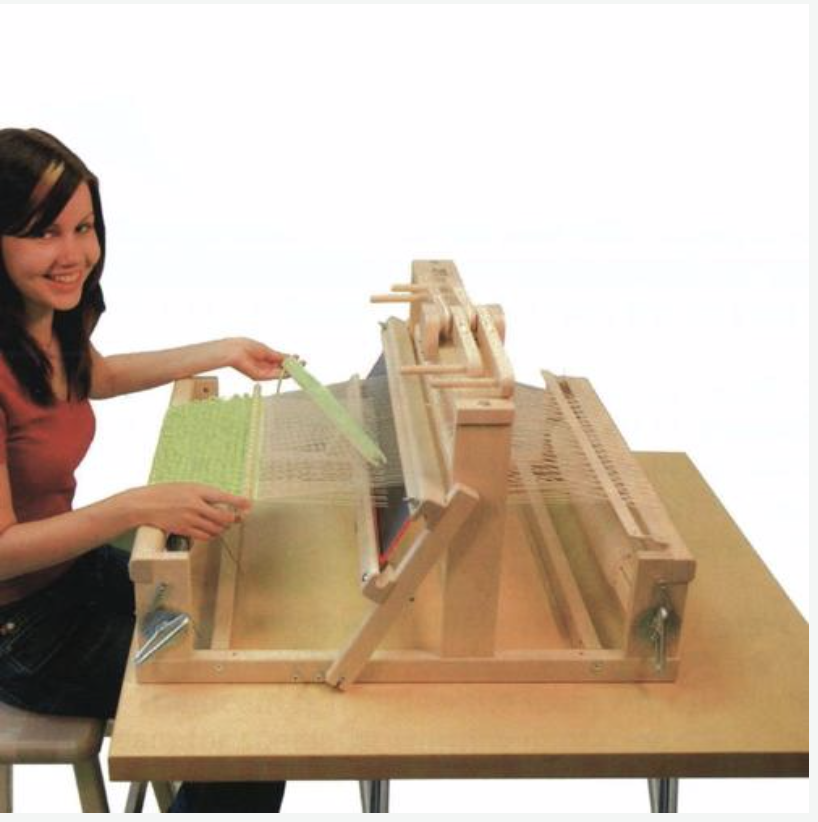
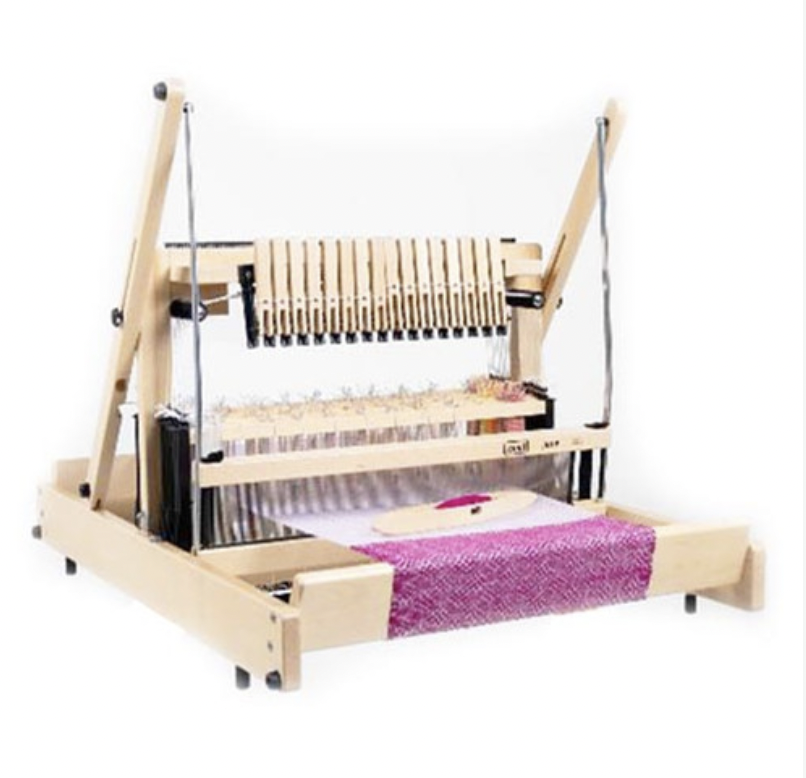
Now, I admit that I cheated a little bit on the third loom, as it’s not actually a table loom at all! But, I have good reason for including it in this article.
Boy, was I impressed when Schacht released this new concept during the year! A kit to convert an existing rigid heddle loom to a 4 shaft loom.
Now, here is the catch. The Quartet kit will only attach to a 15″ Cricket loom and you can weave up to, bit not beyond 4 shafts. And you are limited to that 15″ weaving width.
So, why did I include it in this list?
Well, if you happen to already be in possession of a 15″ Cricket, then this could be the perfect way to upgrade to more shafts without the additional investment of a table loom.
The situation I would NOT recommend that you buy the Quartet is if you don’t already have the Cricket to use it with. In this situation, I would definitely recommend looking at a table loom instead, one reason being that you will not have your rigid heddle loom taken up with an attachment and only be able to weave one project at a time, but more importantly, by the time you purchased the Cricket plus the Quartet your investment amount would be getting close to the cost of some new table looms.
Here is the price breakdown:
Quartet – $473
15” Cricket – $252
Combined – $725
The second last point that I want to make here to help you make table loom decisions is to put careful consideration into how many shafts you will actually want to use.
16 shafts certainly sounds very appealing, but first you could ask yourself what you would weave on 16 shafts? Are you just starting out on a multi shaft loom? Do you know or understand what you might weave on 16 shafts?
Shiny object syndrome is a reality, but I encourage you to be practical and honest about your own needs. Perhaps you are fascinated with the idea of weaving on more than 8 shafts and have been researching. Or maybe you would be happy with just 4 shafts. If you doubt you could spend very long weaving 4 shaft weave structures, think otherwise! Even after years and years of floor and table loom weaving I still weave more often on 4 shafts than any other. Check out Anne Dixon’s Handweaver’s Pattern Directory to start exploring just how much you can do with 4 shafts.
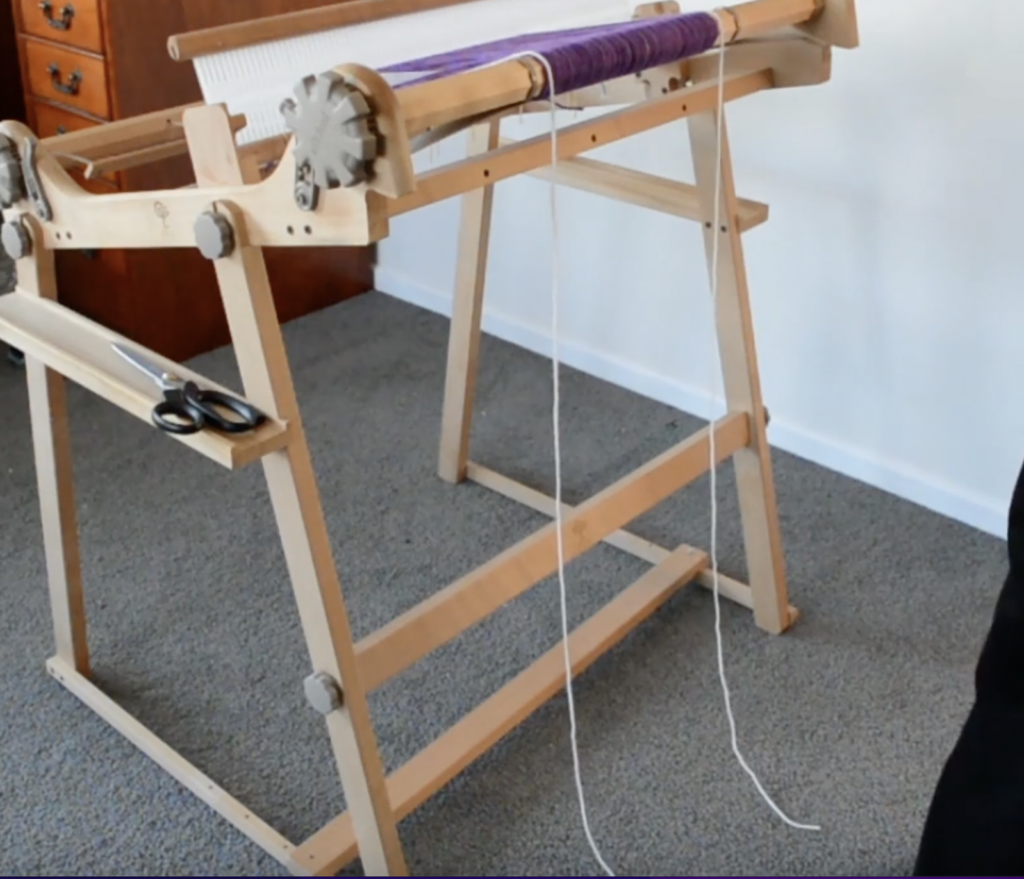
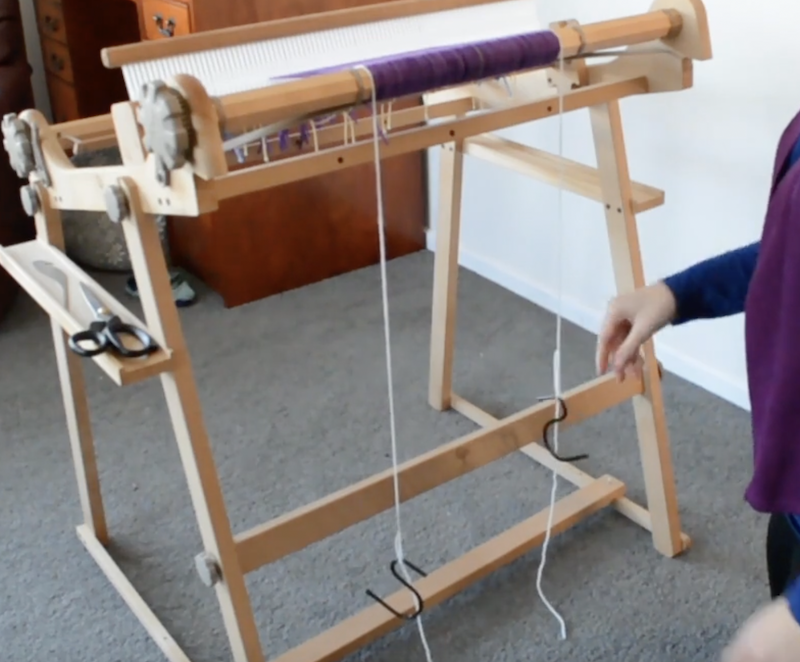
And lastly, don’t forget to budget for the extras! If you are buying a new table loom, it will come with things like stick shuttles, warping separators, enough texsolv heddles to get you started and a reed for the beater.
The extras that you need to look out for are things like boat shuttles, raddles, (except for Louet looms – they have built in raddles!) threading hooks, additional texsolv heddles, and possibly a stand if you don’t have a table space.

If the prices listed above look way too prohibitive to you, check out guilds and Facebook groups for secondhand looms. You are not likely to find one of the new 16 shaft looms being sold as used for some time yet, but if you do happen to find a table loom that suits you, you will certainly save a lot of money. Sometimes a secondhand loom will even come with all the extra tools (maybe even yarn) to get you started.
You can view this article in video format here-
I hope you have enjoyed learning more about these new looms and feel free to keep the conversation going in the comments section by sharing your experience or asking questions you may have.
Until next time…
Happy Weaving!
*This post contains affiliate links. For further information, please see my disclosure policy.