Search Results for: bear making
Beary cute!
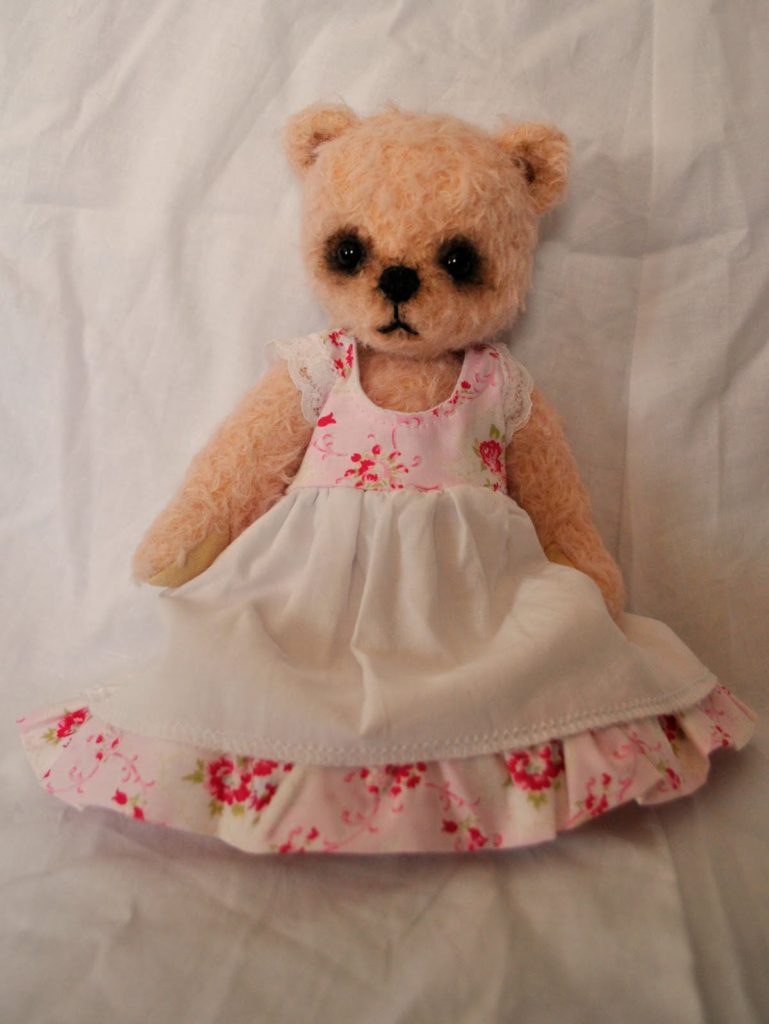
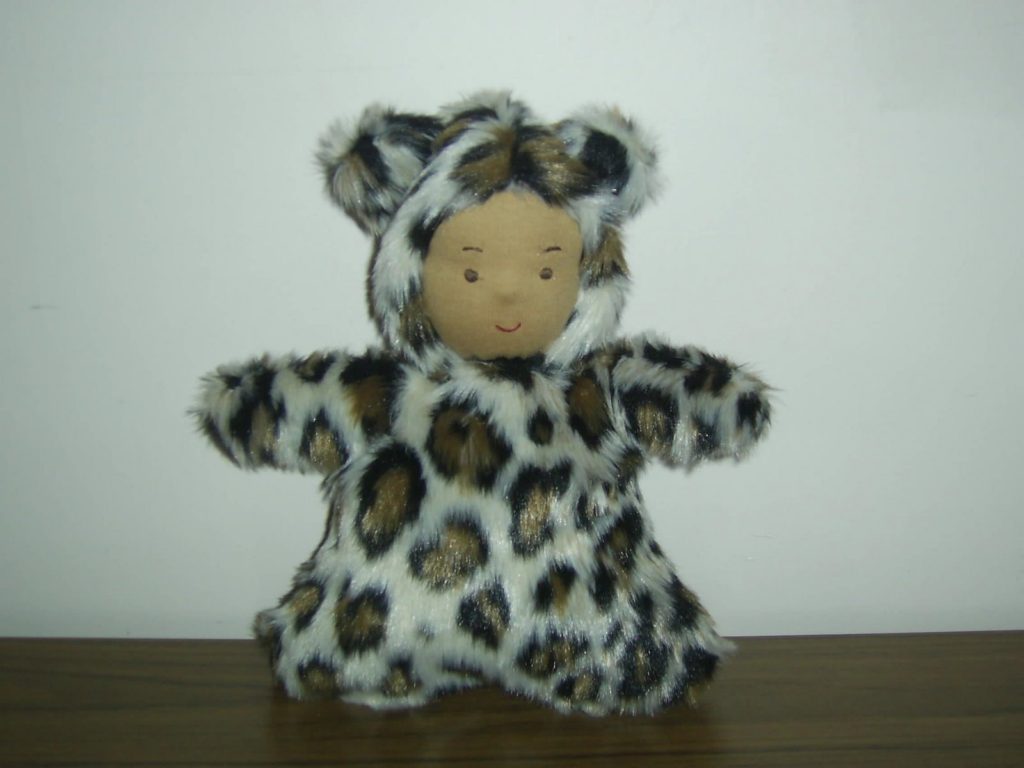
She is 22cm tall and I suspect will be very well loved!
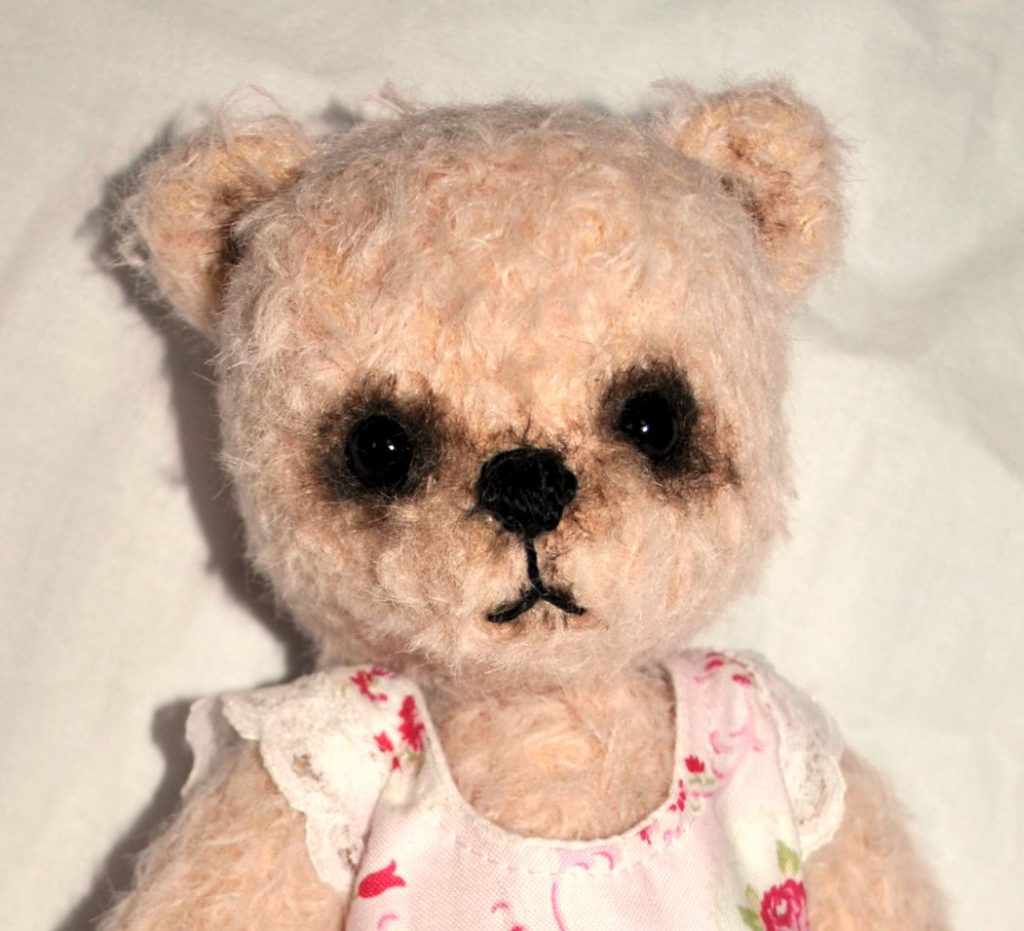
The finished bear
Another bear doll

She is being sent as a gift to someone who has been generous to me. I like making these – they’re really cute and feel just right to hold. My 3 year old daughter is giving much encouragement at the moment with her exclamations of “oh Mum, she’s beautiful!” and by hanging around the sewing table to watch and read to me while I work. I even have to appreciate my 19 month old daughter snatching handfuls of wool from the bag and running off with them held to her face – at least she appreciates natural materials!
Teddy bear

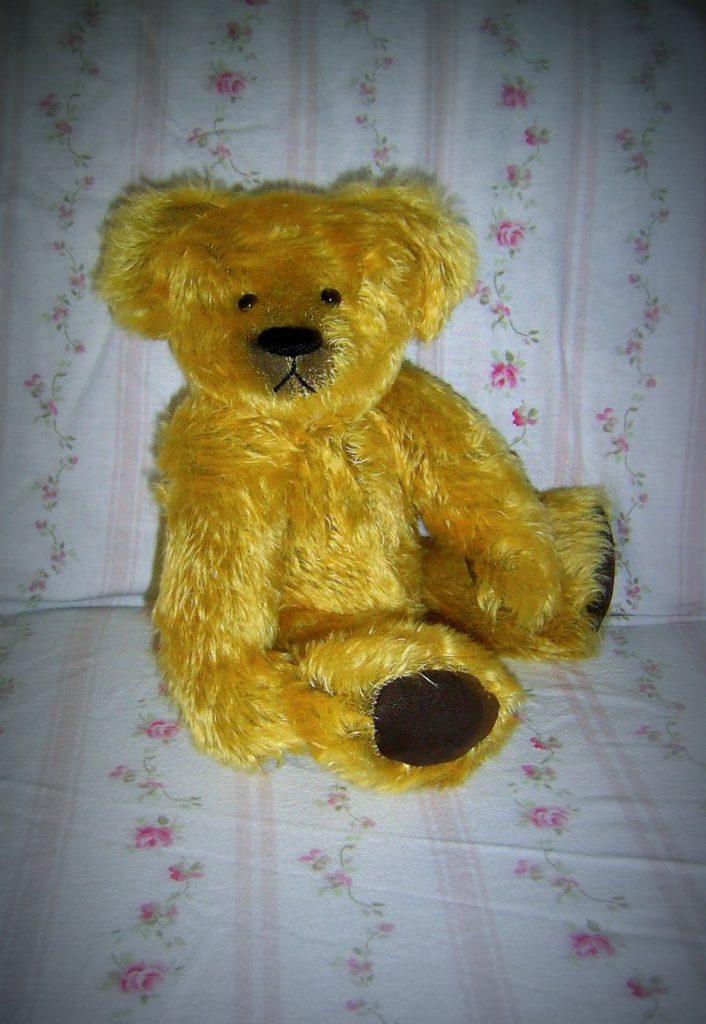
I finally finished this bear for my son. Bearmakers – I take my hat off to you, this is much more difficult than I thought! I had numerous problems in the making process and was not in positive spirits when I finished. He is 13 inches tall and passed the snuggle test lastnight, so at least he’ll be well loved.
Online Weaving School 3 year anniversary giveaway!
It’s hard to believe that 3 years have passed since I began my Online Weaving School. Many of you have been with me for all of that time and longer, but if you’re new here, I’d like to tell you a little about my teaching journey.
*This post contains affiliate links
I’ve always been a creative person but making things with my hands became more important to me when I found myself an at home Mum with 4 children. The urge to relax and create became very strong and somewhat vital. I needed that quiet, meditative time away from my regular daily duties.
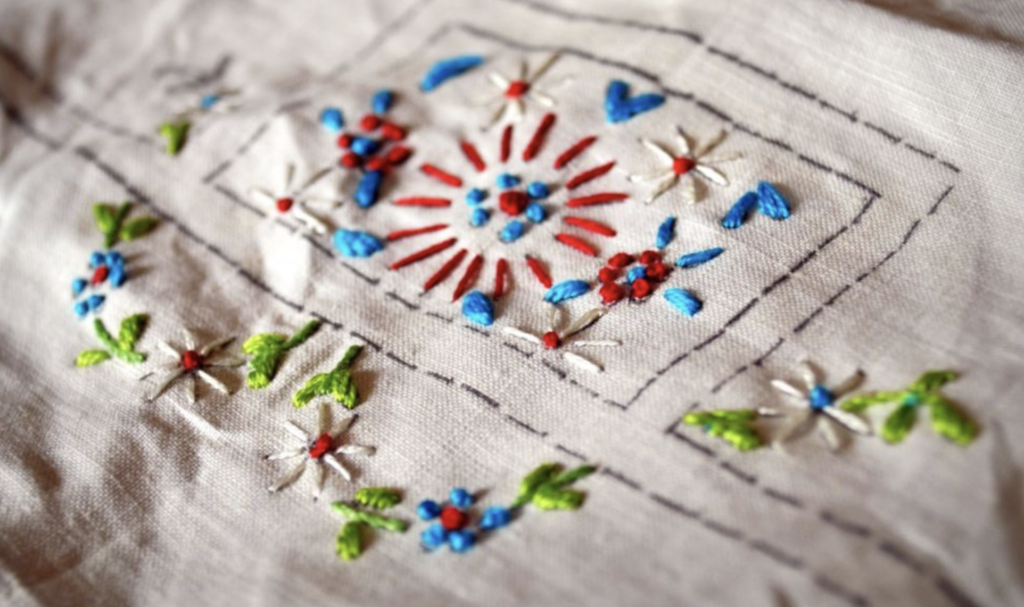
I started with embroidery after my mother in law gifted me with some vintage supplies. Then I got a sewing machine and started sewing clothes for my kids. From there I started making dolls. This began my relationship with Etsy, where I sold my dolls. Then bear making, quilting, knitting, spinning, dyeing and weaving. Many of these were learned books, some from just teaching myself and some (especially knitting) from Youtube. Youtube was just becoming a thing at that time. When I came to weaving, I found it the perfect culmination of so many of the arts and skills I had already been practicing for years. When I found weaving, I felt like I had come home.
After I had been weaving for some time and felt very confident at my rigid heddle loom, I felt that I really wanted to share some of the wonderful things I had learned. I was almost bursting with excitement and passion but I didn’t know any other weavers at all.
So I made a video and uploaded it to Youtube. I didn’t know anything about how to teach or how to use Youtube. My son helped me to film and edit to make the video passable. I expected nothing, I didn’t even think about whether anyone would be interested. I just thought it might help someone and I wanted to share.
As it turns out, that video is still helping weavers, 5 years later! People loved the video and asked for more. I made more. And I loved it. It was so rewarding to know that I could help others and share this passion for weaving.
After a while, my Youtube hobby was starting to cost a lot of money in materials and the meagre income from Youtube ads didn’t even begin to cover the expense. I was a stay at home Mum, homeschooling her children and relying on my husband to earn enough income to keep us fed and clothed.
So, using a Youtube paid channel, I started to (gasp! how could I even dare to!) charge for classes. This was a big mind shift for me. People wanted to pay me in exchange for classes!! I still ran my free channel, but the paid channel was a huge blessing. Now at least I could cover my expenses, even if I still wasn’t really earning anything extra. When the Youtube paid channels ceased to exist, I had a fairly sizeable following of enthusiastic weavers. And they still wanted more! So, I found Teachable and set up my tiny Online Weaving School and community.

3 years later, that “tiny” weaving school has grown to over 4000 registered users and 750 paid memberships and is still growing! I am still pinching myself. Thanks to the constant support from my wonderful and loyal students, I now provide the income for my family of 6. This is something I never would have dreamed could happen and I have learned so much. I would go so far as to say that having my weaving school has transformed me as a person – or perhaps better to say, it has formed me into the person I was meant to be.
Aside from all of the obvious benefits the success of the school has brought me are the less obvious blessings. The beautiful friendships and relationships I’ve encountered with weavers all over the world. The ability to help others not just to learn to weave, but to share other difficult life burdens. It is amazing to be in a position where you feel you can truly make a difference to the lives of others!
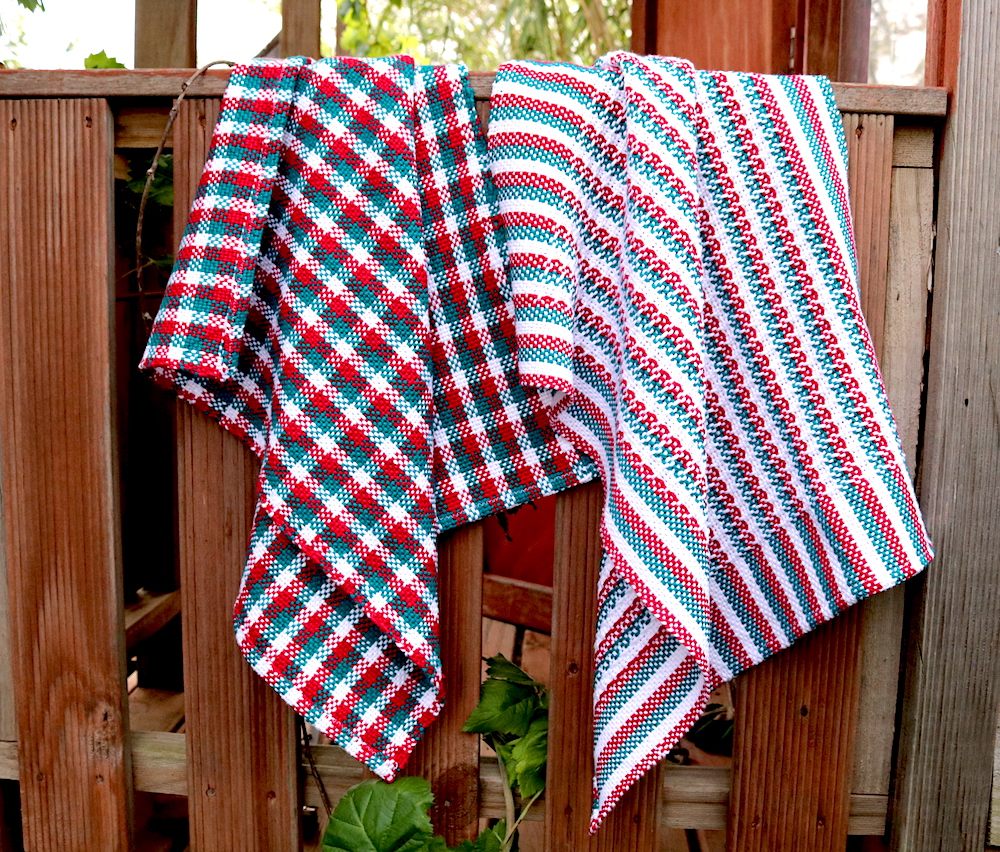
If you already know or follow me, then you will be aware of my recent free project, The Wash Your Hands Towels. I designed these towels in the time of uncertainty while the world was suffering from the effects (and still is) of the coronavirus pandemic. This has been a hugely popular project and seemed to come at just the right time for many weavers at home under lockdown. I’ve seen lots of different versions completed in a big variety of colours, it’s been wonderful to see.
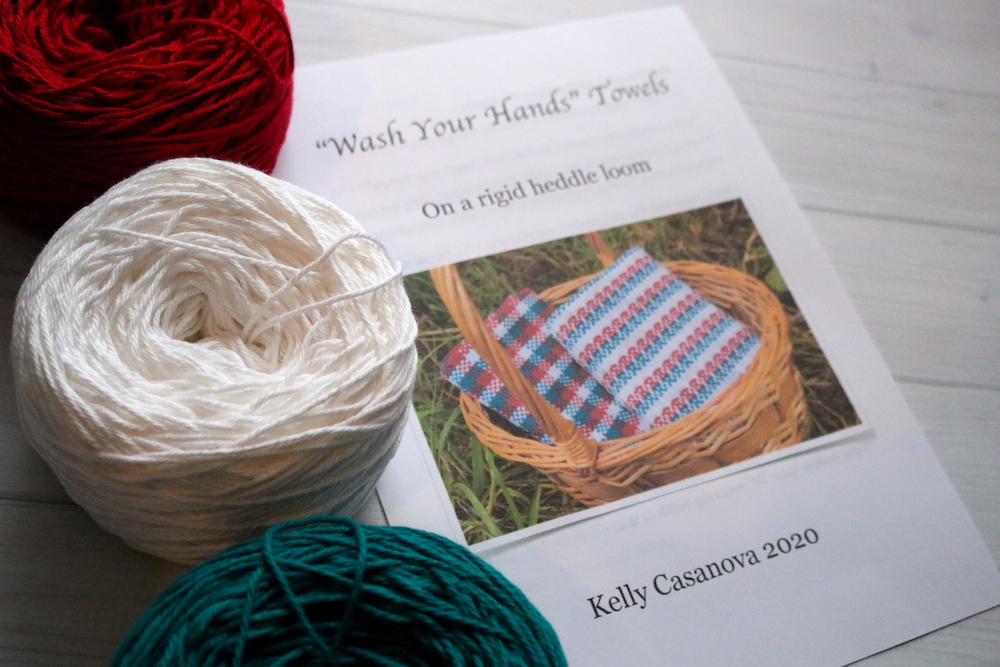
So, I thought a very appropriate way to celebrate this 3 year milestone would be to give away a Wash Your Hands Towels Kit. This kit will be a one off, as I don’t have plans to make kits available for sale.
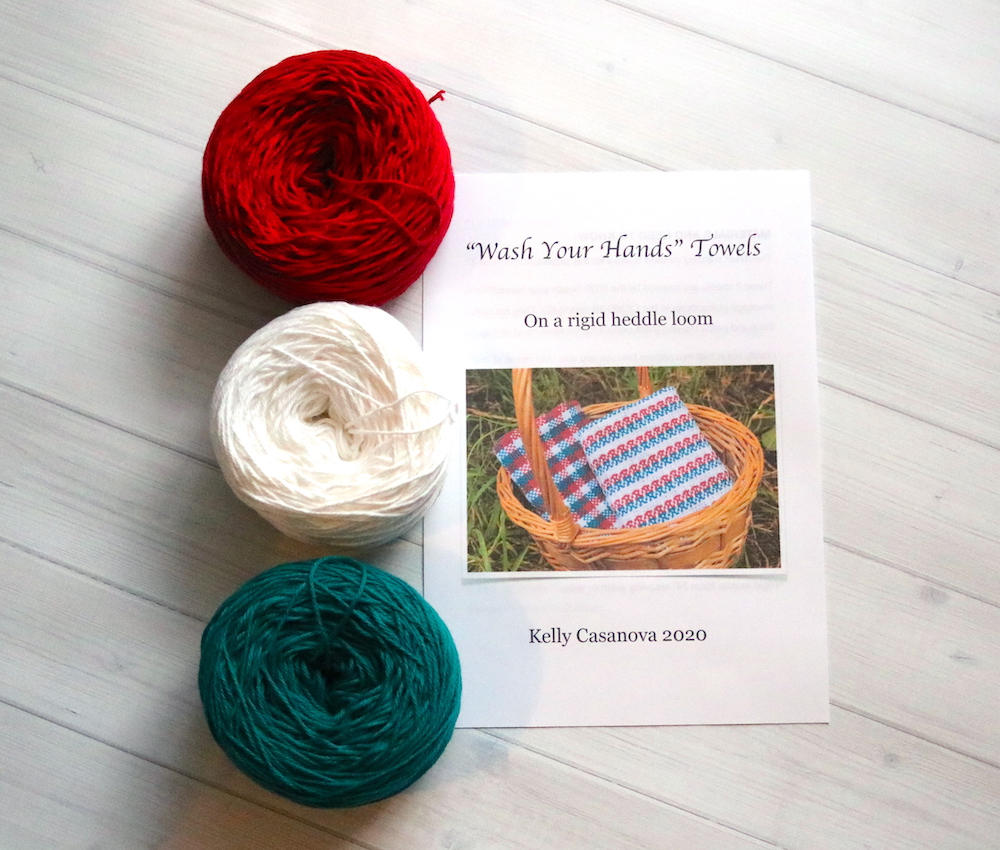
Included in the kit is all the beautiful Australian cotton yarn you need to make two towels plus a paper printed PDF. You use the PDF in conjunction with the video tutorial. If you wish to know what you need to complete this rigid heddle project, read this post that has all the details.
This giveaway is open to all, wherever you happen to be in the world. Entries are open until the end of this month of May 2020.
To enter the giveaway, please leave me a comment here (only comments on this blog post will be considered entries) and tell me why you would like to win.
Make sure you are on my email list to keep up to date with the giveaway and for the winner announcement.
I look forward to reading all your comments and drawing a winner!
THIS GIVEAWAY IS NOW CLOSED. CONGRATULATIONS TO THE WINNER – VEENA RAGHAVEN!
Until next time…
Happy Weaving!
Waldorf teddy doll
 I’ve been thinking of combining doll and bear making for ages – and here she is!
I just happened to have some left over fur fabric from the bear I’m making for the boy, its so lovely and soft. I think this one would be a perfect night time companion. She is in my Etsy shop now, although some “little people” here would prefer that she stays……
SOLD – Thankyou Krissy!
Should I start with Etsy or Shopify?
Opening your first online shop is such an exciting experience!
When I first started out as an Etsy seller in 2008 there were really only a couple of options for handmade sellers. Etsy is the one that has stood the test of time, but in 2024 you have a lot of choices when it comes to selling online and it may be difficult to choose one that best suits you, your products and your budget.

I sold my handmade goods on Etsy for many years and in the past 5 years I have moved almost exclusively into selling digital products. For me, digital products looks like hand weaving PDF patterns and ebooks.
This year, for a variety of reasons, I decided to open a Shopify store. This store contains the same patterns and ebooks as my Etsy store and the customer experience is quite similar. For now, I am keeping both stores open, and I will explain why as you read on.
Etsy has changed considerably since I opened my first shop there 16 years ago. Many of the changes (in my opinion) have not been for the better and that is why I have started my own store, on my own terms elsewhere.
I still do recommend Etsy for absolute beginners though, and we will have a look at the reasons why.

I’m going to take you through what I consider the pros and cons of Etsy and Shopify as well as how much my monthly fees cost.
Etsy Pros:
It is still a great option for absolute beginners. It’s easy to make an account and start listing products. All payments are processed for you and the templates are simple. Basically, you don’t need a lot of tech knowledge to get started.
One of the main attractions of Etsy for newbie sellers is the tiny financial outlay. The only initial cost you will pay is 20 cents to list an item.
If you don’t make any sales for the month all you will be asked to pay is the 20 cent listing fee, so this is great for beginners as there is very little risk.
The other huge benefit to having a shop on Etsy is that it is a marketplace. This is great for those who are just starting out and may not have a customer base already.

Etsy Cons
Once you make a sale you must pay fees. Any you may be unpleasantly surprised by how much those fees add up to!
Yes, you start out with your very low 20 cent listing fee, but once a sale is made there is a transaction fee of 6.5% (this is even charged on your shipping amount) followed by payment processing fees. The payment processing fees will vary according to your physical location.
I mentioned in the “Pros” section that Etsy is a marketplace, and that can really help to build a customer base. Conversely, that marketplace can work against you because you have so very many competitors and it can be hard to be seen and found by new customers. There are many things you can do to optimise your listings but if you want to increase your reach Etsy will expect you to pay more for that in the form of offsite (which you can’t opt out of!) and onsite ads.
Now, another way in which a marketplace on Etsy can be a disadvantage is that when someone clicks on your listing to take a closer look, Etsy shows additional listings below your listing from other sellers. Effectively, they are using your page space to advertise other sellers!
Here is a screenshot example: I clicked on a knitted rabbit pattern listing from the wonderful Little Cotton Rabbits. When I scrolled down the listing page a little, Etsy had lists and pictures of similar items from other sellers and then underneath that there are more listings from other sellers under “You may also like”.

Underneath that, there are even more collections of other products to browse and related searches to explore.
OK, I get it, Etsy is a business, they exist to make money and they don’t care if they make a percentage of your sale or from another seller. But it certainly doesn’t help me, the seller, if my page advertises other sellers and I am not compensated for that.
On Etsy, you can’t collect emails in an automated fashion to be able to build and contact your customer base. This means that If anything happens to your Etsy shop you can’t get in touch with existing customers and you also can’t use Etsy to build a mailing list (an essential part of any business startup).
You also don’t own your shop and can be removed from Etsy at any time without warning. This has happened to many sellers who inadvertently or mistakenly breached copyright and had their shops removed. It can be a laborious and time consuming process to get a shop back and results in lost revenue while you’re trying to sort out the issues with Etsy customer service (which can be frustrating, to say the least).
I understand why Etsy does deactivate or remove shops, as copyright can be a huge issue in the selling field, but they seem to throw everyone into the same pool without carefully looking at individual circumstances. An example of this would be if a seller had made a short product video for one of their listings, and in the listing the seller is wearing a branded t-shirt. This can be seen as an instant copyright breach and the seller can be penalised, meanwhile the seller is wondering what on earth happened, as they were just wearing what they were wearing that day when they filmed the video!
A beef that I personally have with Etsy is that it is unrecognisable from back when I started, when it was a truly handmade marketplace. It felt niche and special in those days. Now they allow “vintage”, “supplies” and even print on demand. It feels more like a commercial shopping centre.

Shopify Pros
Shopify has a professional, clean and customisable look. Even if you don’t customise anything it still looks great and is easy to navigate.
It’s easy to setup and use and payments and ordering are simple processes
One of the best and most important part is that your own shop on the internet, you own it and can collect emails of your customers. You set your own parameters and no one can take the shop from you.
You can have a domain name of your own choosing for your shop, so it’s easy for customers to find.
Shopify Cons
You need to have a way to get eyes on your shop, Shopify is not a marketplace. If you already have an audience (especially in the form of a mailing list) it won’t be hard to share your shop link. But if you’re starting from scratch it’s going to be much harder for potential customers to find your shop.
The monthly fee that Shopify charges as hosting fees is charged whether you make sales or not. This can be a big disadvantage to a newer seller unless you get a lot of sales right away.
In addition to the monthly hosting fees, there are other fees that you will likely have to pay for customisation. This is not something that I realised when I first signed up for Shopify – I assumed that everything would be covered by the monthly fee. I use some apps for things like displaying customer feedback and social media icons.
Speaking of fees, I’m going to share some of my financials for both Etsy and Shopify to give you an idea of what to expect. Please note that my sales for both can vary immensely from month to month, this is particularly relevant to the Etsy figures considering they take a percentage of earnings.

FEES – Please bear in mind that these are my figures. Yours may look quite different.
Etsy per month -For me, the monthly fees range from $50 – $1600 (yes, really!!)
Shopify per month – $42 per month plus apps of around $20 = total of $60 a month
When you compare these figures you can probably see why I started the Shopify store. Overall, for me as an established seller with a very healthy customer base (over 12,000 sales on Etsy at the time of this article) Shopify fees work out at a much more affordable rate and are not dependent on my total sales for the month.
FINAL THOUGHTS ON SHOPIFY-
I wanted to share my thoughts as a newer user of Shopify. My sales in my Shopify store have been slower than I had hoped, but that is business in general in the present climate. I’m seeing slow sales in the Online Weaving School, my Etsy store and my affiliate links. There is a lot of economic uncertainty and inflation remains high, this is all having an impact on my business.
Also, having been on Etsy for 16 years, customers are comfortable with seeing and buying from me there. They are familiar with the process and they know where to find me. Not everyone likes change and I completely understand that.
Hopefully people will start to use my Shopify store more as time goes on as I would prefer to continue moving away from Etsy.
If you are interested in starting your own Shopify store, be sure to use my link to sign up! You can get your first month for just $1 when you sign up for a free trial, which is a great way to try out Shopify and see what you think.
Or if you are wondering about different avenues you can take for getting started selling your handmade products, check out there articles:
3 ways to start selling online for free!…
Do you want to start selling your weaving?…
What I would do differently if I started selling now…
I hope you found this article helpful in making a decision for yourself and your own needs as a seller or potential seller.
This post may contain affiliate links. For more information, please see my disclosure policy.
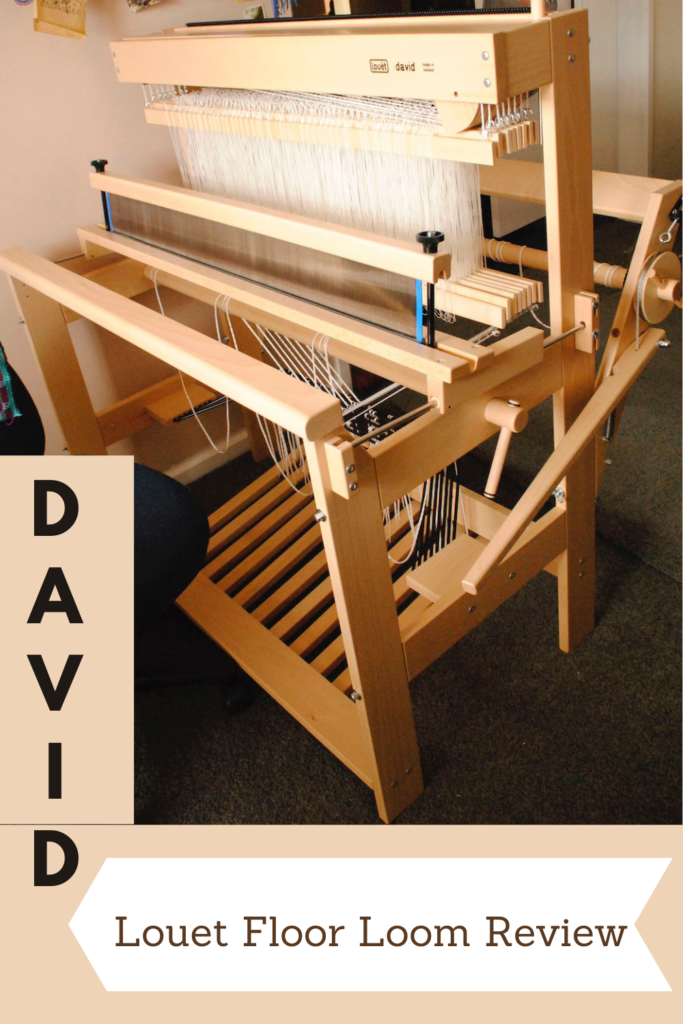
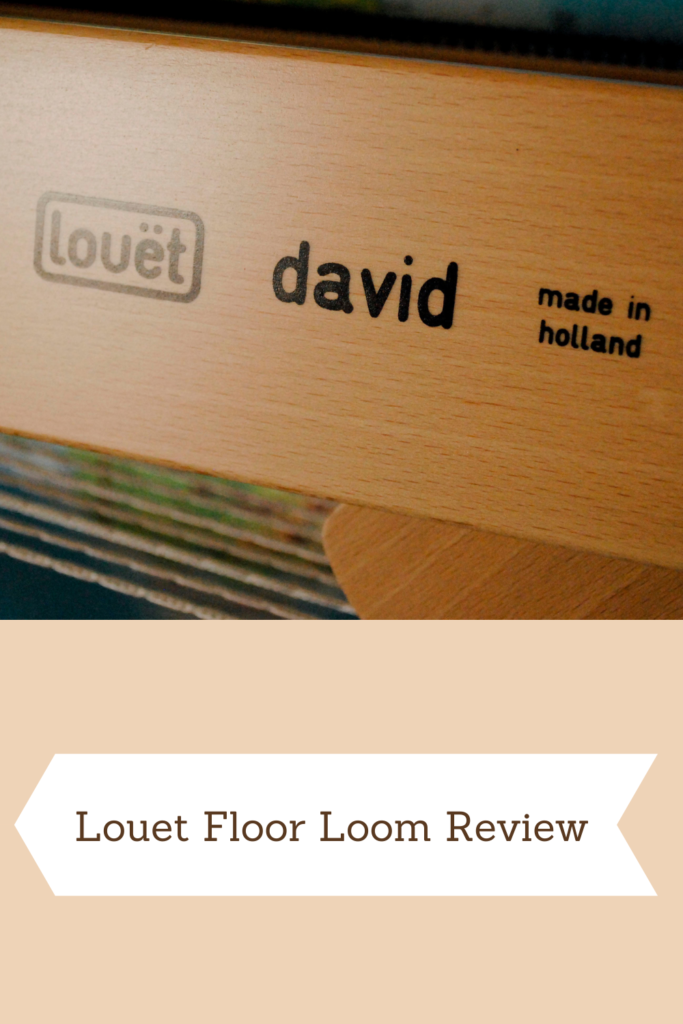
Floor Loom Review – David 2 Louet loom
I’ve had a lot of people ask me to do a review of my David 2 by Louet floor loom.
This post is not sponsored or endorsed by Louet, it’s just an honest review for your own information or research.
I have written about this loom and floor looms in general before, and also about what to expect when your loom arrives, but this article gets into the specifics of the Louet David.
If you purchase a new David in 2024 or after, you will be buying the David 3, not the David 2. The David 2 has been retired. But this is still a very useful review as there are only a couple of minor differences between the 2 and 3.
If you are purchasing a used David, it may well be a David 2 and would be exactly like my floor loom.
I must admit that when I was looking for a floor loom to purchase it was kind of hard to get information on this particular loom. All I really had to go on was a little amount of information on the Louet website.
*This post contains affiliate links. Please see my disclosure policy for further information.
I knew that I wanted something compact enough to fit in the smaller space I had available and due to my lack of experience with floor looms at the time, I wasn’t confident that a second hand, possible fixer upper would be a sensible choice.
One of the reasons that I was interested in the David is because I live in Australia and there are somewhat limited choices when it comes to looms and most have to be custom ordered and imported.
The Schacht Baby Wolf was a very strong contender in my decision making because it was more familiar to me and it was easier to find information on it.
To further complicate the issue, I had never woven on a floor loom (true story!)
Through a good deal of googling, I had found an agent in Sydney who could order a David for me. Not only that, she and her husband delivered the loom in person and brought it into my home, even though they are from another state! Amazing customer service!
I will be going over the loom discussing a few different features and then giving you my opinions on the positives and negatives. There are not many negatives, but maybe the things that I’d like you to think about if you’re considering purchasing the same loom.
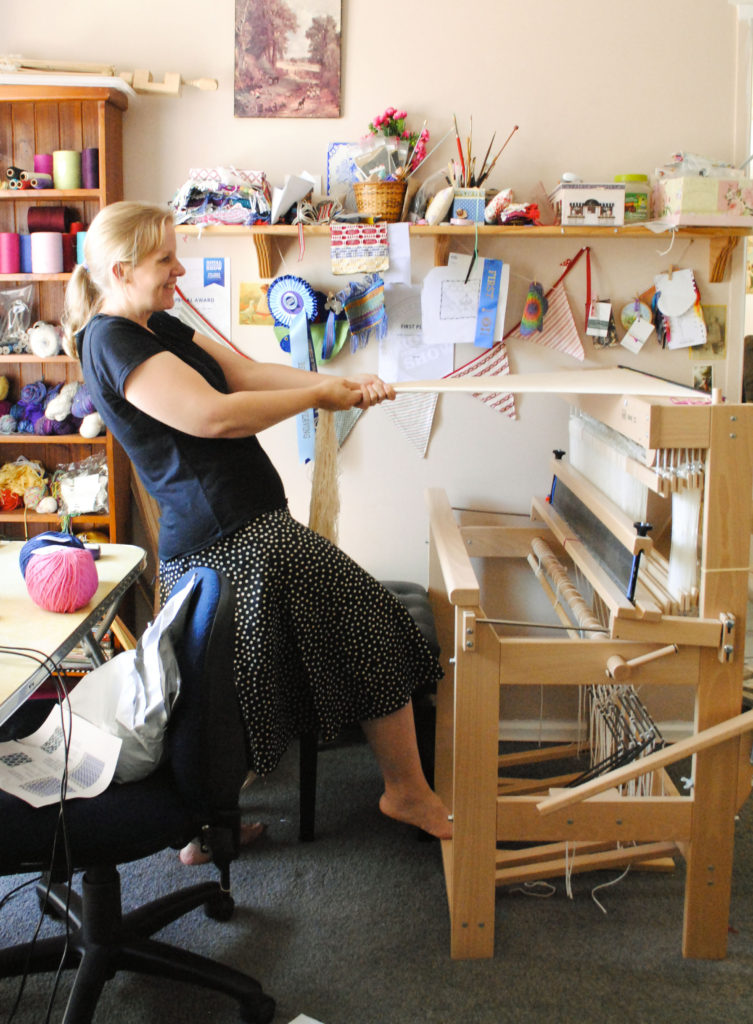
The first thing that I do love about this loom is the compact size. I’ve had it in a couple of different positions in my studio, and it’s easy to move and fits a variety of spaces. The weaving width is 90cm (35″) which is a good width for many different projects.
You need a certain amount of space at the front and back of the loom for warping – I think a 1 metre clearance at the front and back of the loom is optimal. You can get away with less, but it may be a little cramped.
The next thing I love about this loom is the quality of make. I can’t fault the quality at all, from the wood, the finishing to all of the pieces that go with it, it’s just beautiful quality and design.
My husband actually put it together for me – I’ll admit that because my brain is not very wired for putting things together and following set written instructions, but my husband is very good at that. He didn’t have any trouble following the directions. It did take quite a few hours to put together, but that is to be expected with a loom of this size and type.
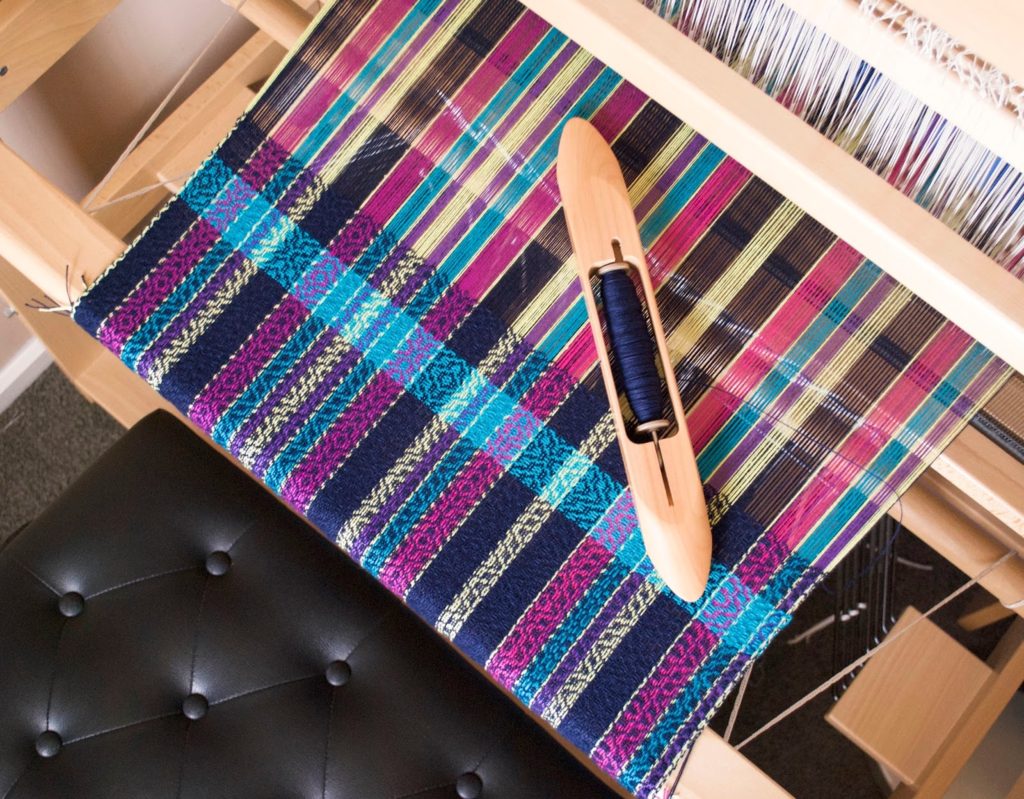
The David loom comes with texsolv heddles and cords. I personally really love texsolv as it is so light and quiet. Metal heddles can be heavy and noisy, but this is a personal preference and not to suggest that one is better than the other.
Treadling on the David is very light and easy. It is not the least bit clunky when treadling because of the spring system and it’s easy on your body. Speaking of treadling, I like the texsolv tie up system which is simple to learn to use and quite quick to tie up. There is no real “tying” up, you just pop the texsolv cord holes over the treadle screw heads and away you go. The texsolv cording is strong so you don’t have to worry about breakage while treadling.
The David has a gliding beater, meaning that your beater is positioned on metal rods. It “glides” back and forth on the rods, so it is level and steady. I’ll admit that it took me a bit of getting used to. The Ashford table loom I had been weaving on previously had an overhead beater, which is loose and swinging.
The gliding beater is not as easy to use in some ways, as it is rigid and set on the tracks of the metal rods. Now that I’ve been using it for a number of years, I am used to it and have found ways to weave most effectively with it. I do think that once you’re accustomed to it, it does result overall in a more even beat.
One thing that really helped was using a small amount of lubrication on the rods. I couldn’t find much information on whether or not this was a good idea, but to me the beater was feeling quite stiff and not so enjoyable to weave with.
So, I applied a very small amount of lubricant with a dry, clean rag. The difference was amazing! I now usually lubricate between projects. The beater now really does feel like it’s gliding. Just be sure to use a non silicon lubricant that won’t build up a residue on the metal rods. I use the Australian made Inox lubricant spray.
Always apply the lubricant to the rag, not directly to the metal.
Another way to work successfully with the gliding beater is to find the right warp tension. Too tight and the beater doesn’t glide as well. Just like on any loom, there is a sweet spot for tension that you discover through experience. I am careful when I advance my warp to advance to the spot that feels right for me – not too far towards the front beam or, once again, the beater will struggle and the look of your weaving will suffer.
I advance in small increments and adjust gently towards a firm tension. I hope that makes sense!
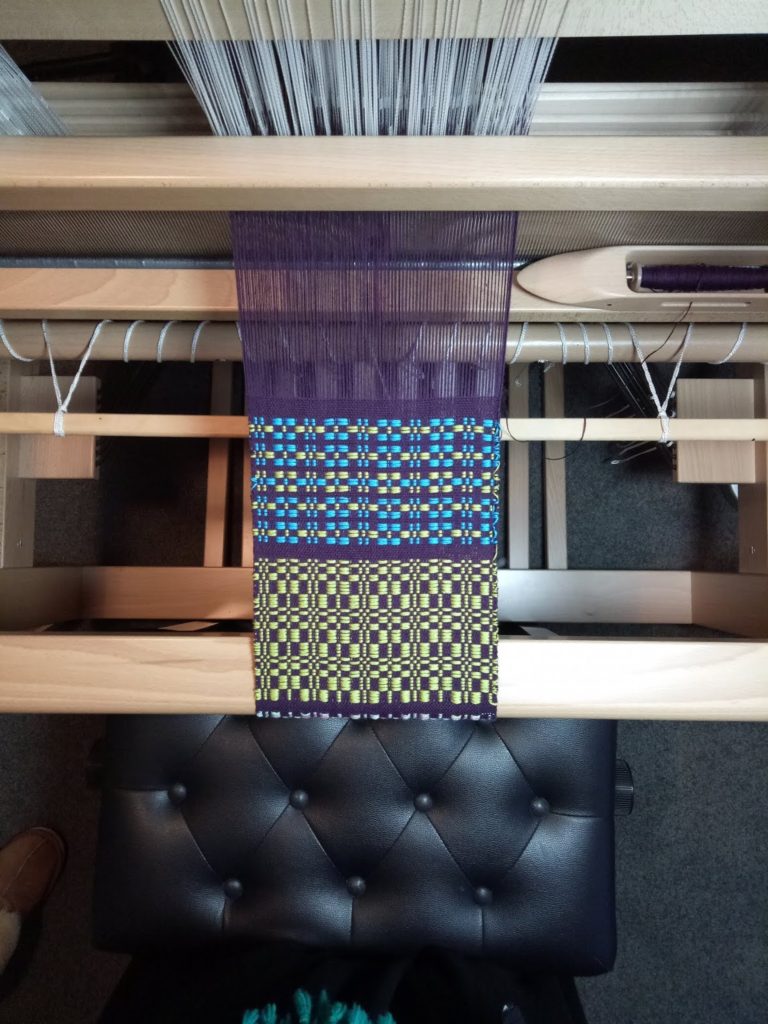
This loom came with a 10 dent reed. I haven’t purchased another reed at this point due to the expense and lack of space to be able to store yet another piece of weaving equipment. When I need to use a different sett, I just adjust the number of threads in my reed to accommodate. I very often weave at 20 epi, so I simply double my ends in the reed.
The reed and beater are removable for warping and threading, as is the front breast beam. This is really handy when you get to the threading stage, as you can get in really close to the heddles to thread which saves my back from days of pain afterwards!
One feature that I’ve found particularly great is the ability to put add or remove heddles to the shafts after warping. With my table loom I have to collapse the castle (the upright part of the loom) and tilt it in order to adjust heddle numbers. Not so practical.
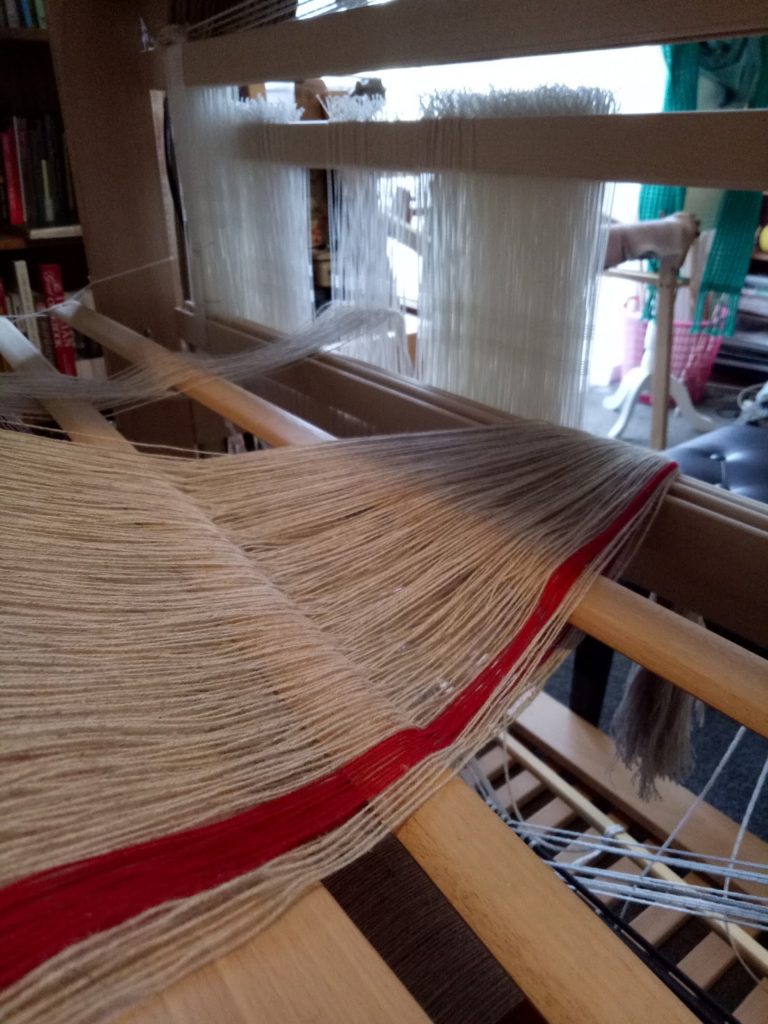
On the David, if I have miscalculated the heddles for my project and I need a few extra all I have to do is unhook the texsolv cords on the top and bottom of the shaft, slide the new heddles on and hook the cords back on.
Another feature I particularly like about this loom is the friction brake. I can be weaving away and when I’m ready to advance my warp all I have to do is lean over the side and pull up the friction brake to release the warp tension. Then I use a handle also on the right hand side to advance my warp forwards.
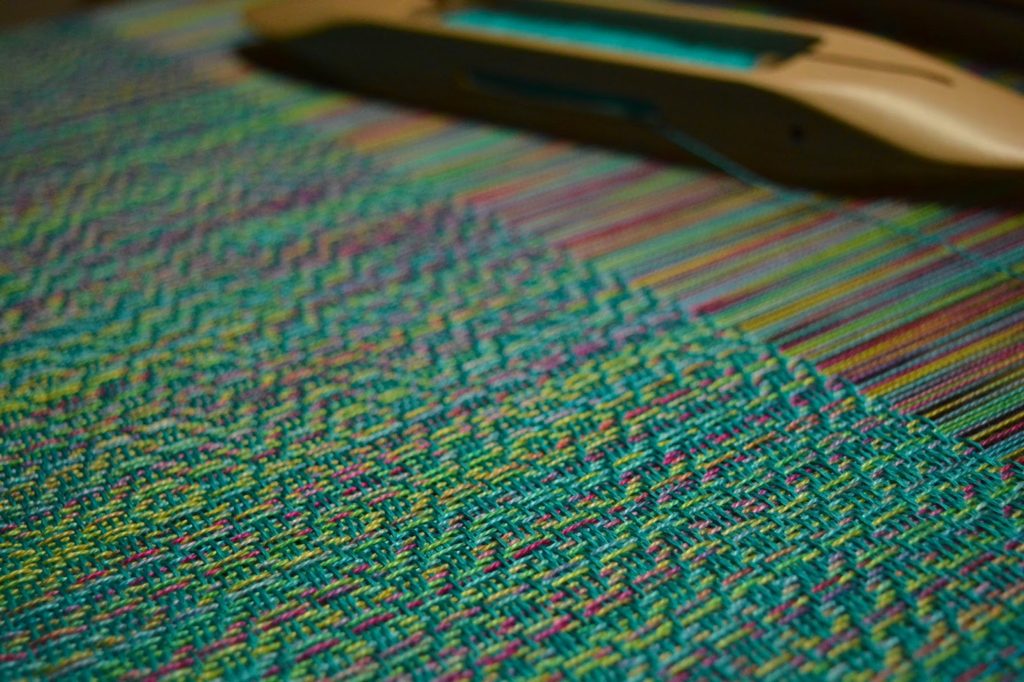
Louet looms have a built in raddle, which is a unique feature. It means that instead of taking your warp off the warping board and then taking it to a table to lay into a raddle, then tying the raddle onto the loom to begin warping, you just take the warp from the warping board directly to the loom. When you wind on the warp, you can then tension the warp over the top of the loom, which can be quite handy if you are using weights to assist with tensioning.
I usually have to break up my time placing threads in the raddle, as standing for a longer amount of time wreaks havoc on my back!
I hope to eventually purchase a sectional warp beam for my David, as I prefer to warp floor looms with my Sawyer Bee Warping Square.
You receive a pair of lease sticks and some wooden separator sticks with the loom. I have devised my own methods for using the lease sticks, as initially I found it way too fiddle trying to deal with the sticks while warping and threading. I didn’t have the extra pair of hands to hold the sticks steady, so I now use stretchy bands (like the Ashford bands that they call “helping hands”) and these make a huge difference. I also like to use metal rings that open and close through the holes in the ends of the sticks to help keep them together and hold them steady.
I use the wooden warp separators mostly at the front of the loom as I advance my warp. At the back I use a roll of brown craft paper which does an excellent job.
I feel that I have a new appreciation for my David loom since purchasing a much larger floor loom. The David is simple to dress and weave on and so light to treadle.
Those are all the basics of the loom, I could definitely talk about other features but this article is already getting long!
Now, you may be wondering what the cost of this loom is?
Bear in mind that I bought this loom a number of years ago now and inflation is crazy.
At the time of purchase, my loom cost around $4000AUD. That included the cost of importing. That price does not include the extras I needed such as boat shuttles, extra heddles, weaving bench etc.
There are also optional extras available like an extra cloth beam (for longer warps), sectional beam and a Louet weaving bench. I don’t have any of these. I use a piano stool as a weaving bench, it’s much more affordable.
Revolution Fibers in the US list a current price from $4,770USD (at the time of writing this article).
In Australia, you can purchase from Thread Collective at a current price of $6,780AUD.
These prices don’t include shipping and can vary according to the rise and fall of the Australian dollar.
If you would like to know even more about this loom, I have a number of videos that will interest you.
This is my first video review of the Louet David which I filmed a few years ago. You get to see the parts of the loom, although some of the information is different to this article as my opinions may have changed over time:
I also have a demonstration to show how quiet this loom is:
And a fun little video that I made not too long after I purchased the loom. It’s nice for me to look back and see how much faster I weave now!
I hope this article has been informative and interesting for you! If you have any questions, please leave a comment below, I love to hear from you 😊
Until next time…
Happy Weaving!

