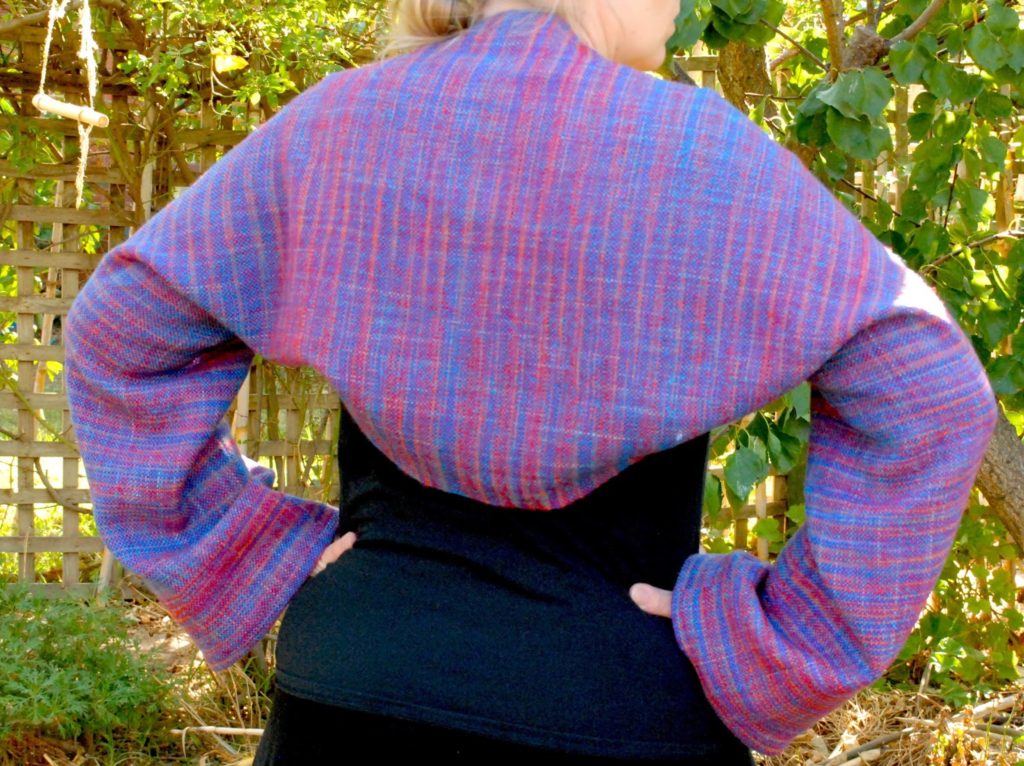
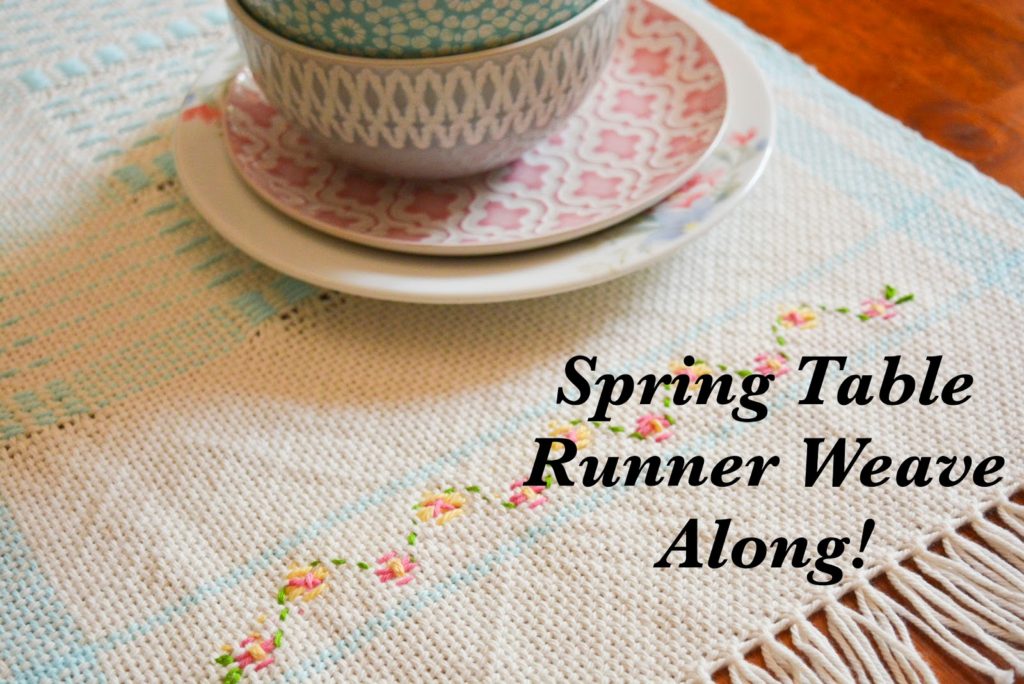
I recently completed a project that I undertook just for me. Most of my weaving is for classes, patterns or customers, so to set aside the time to weave something for myself was pretty special!
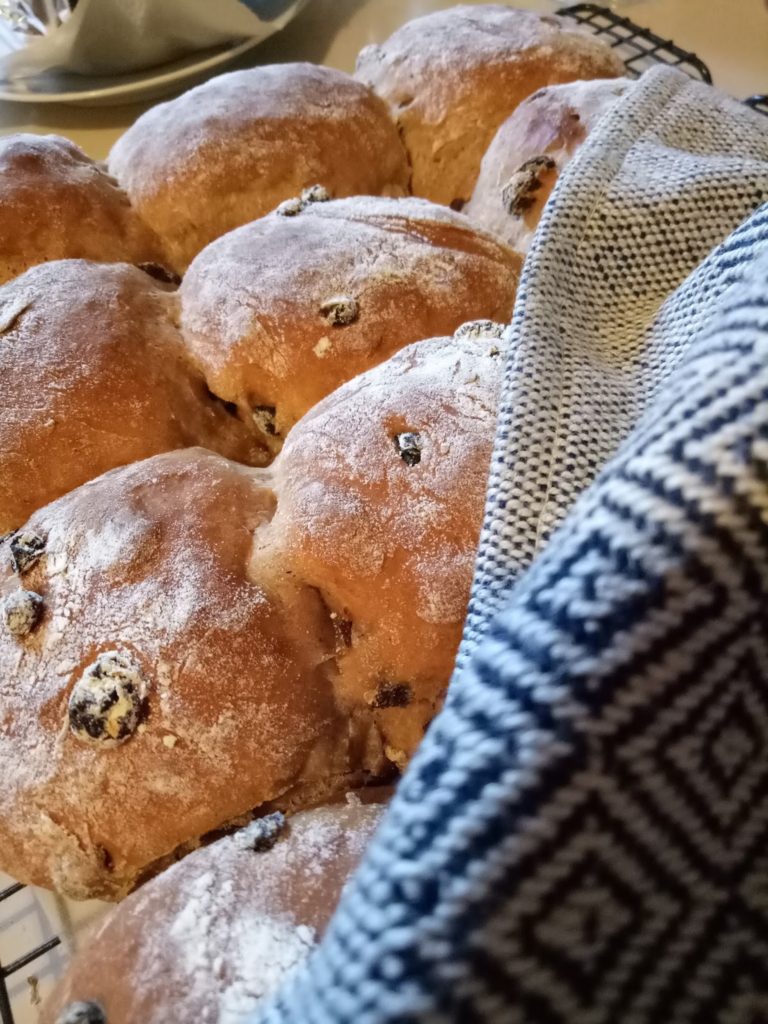
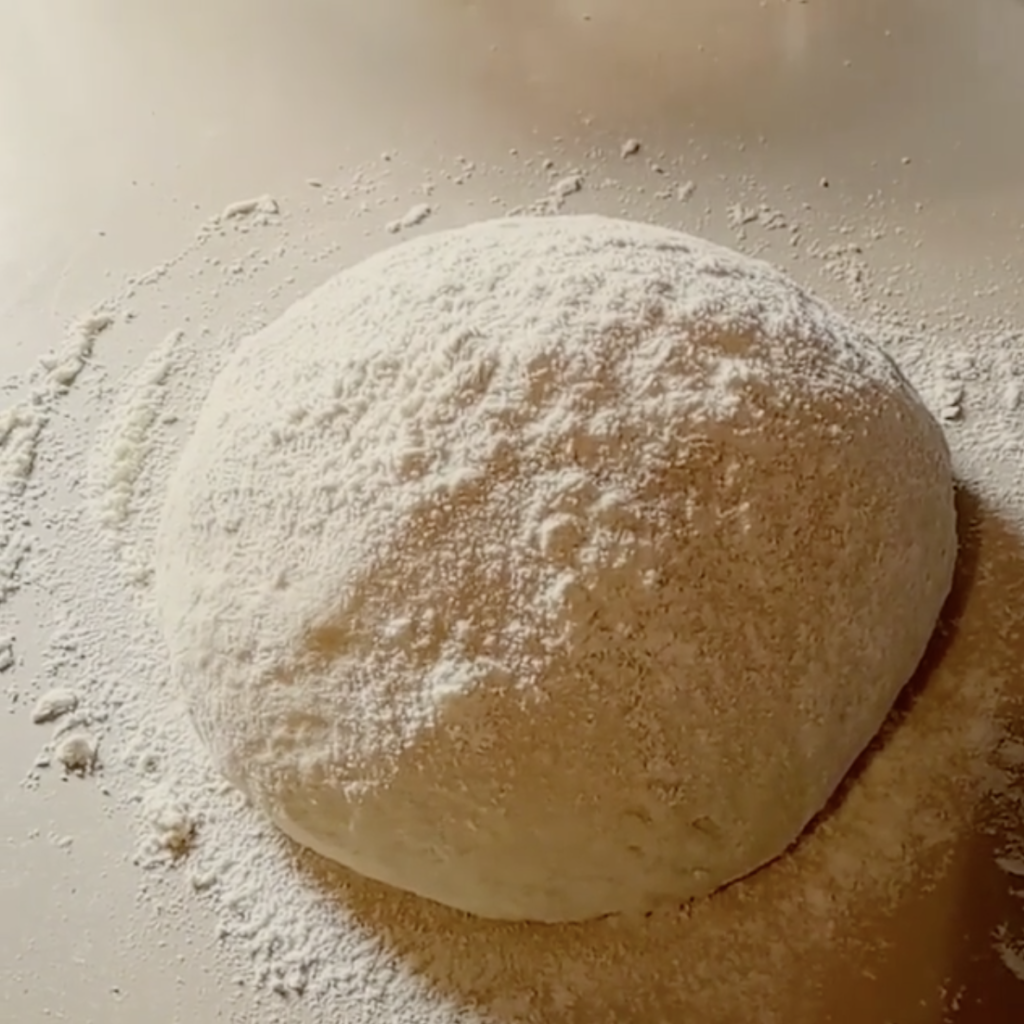
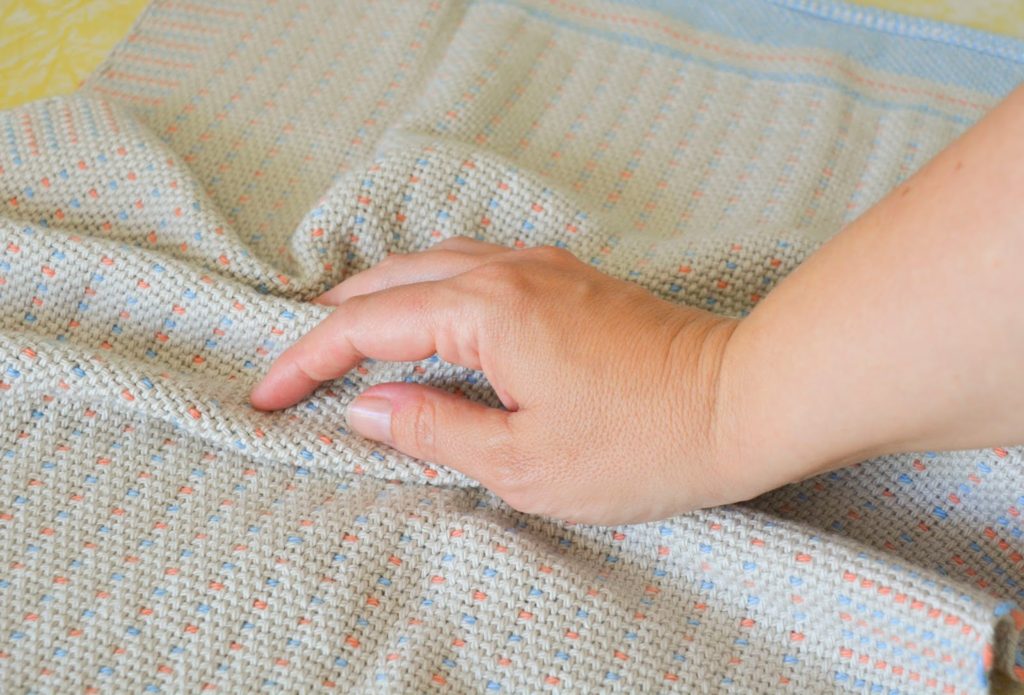
As you may already know, I make bread for my family. I use kitchen towels to cover the rising dough and to cover the finished loaves as they cool. Perfect! Bread towels were what I needed!
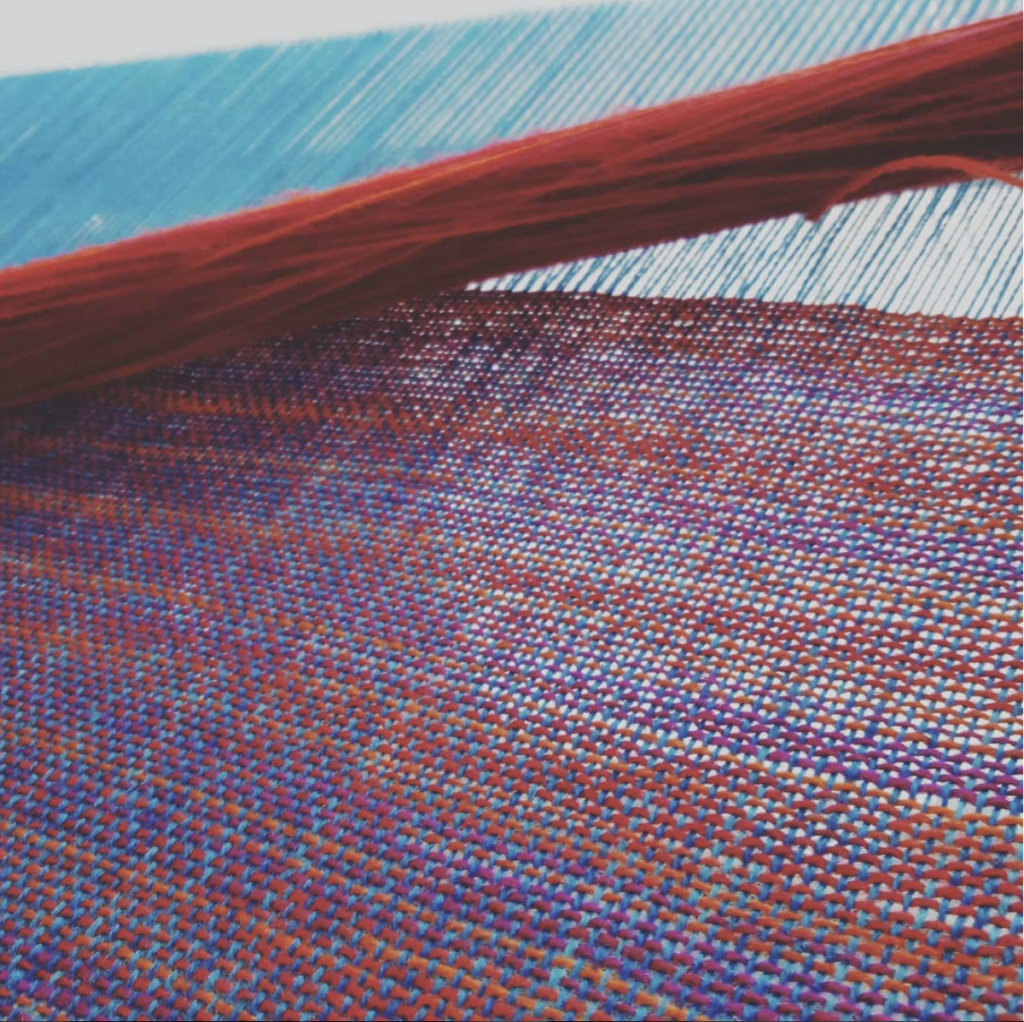
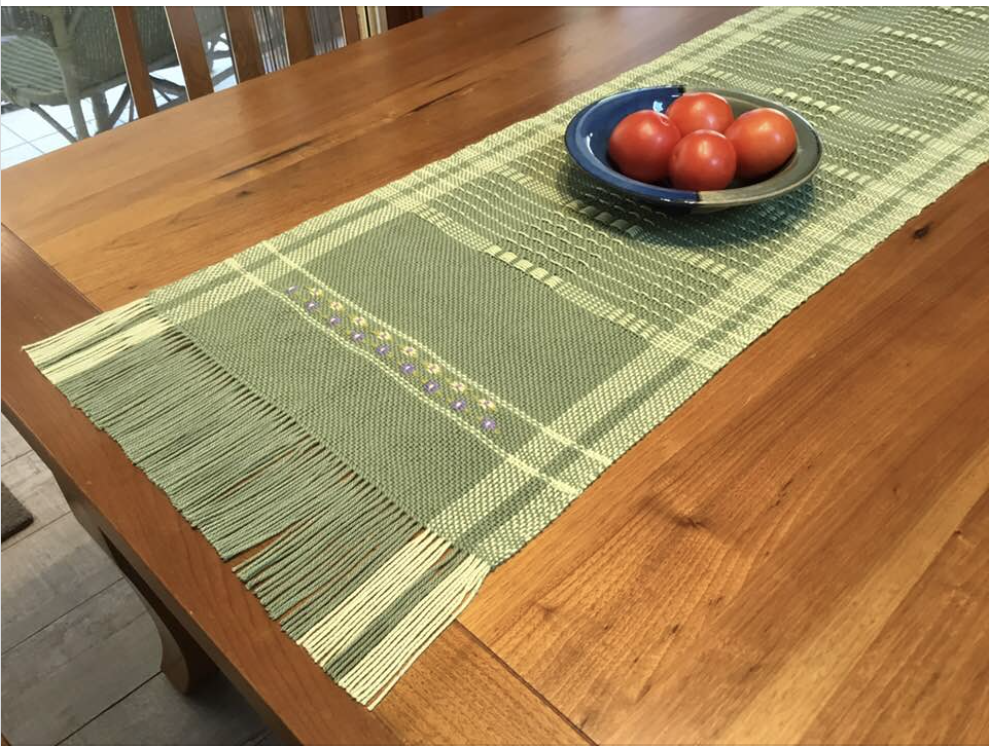
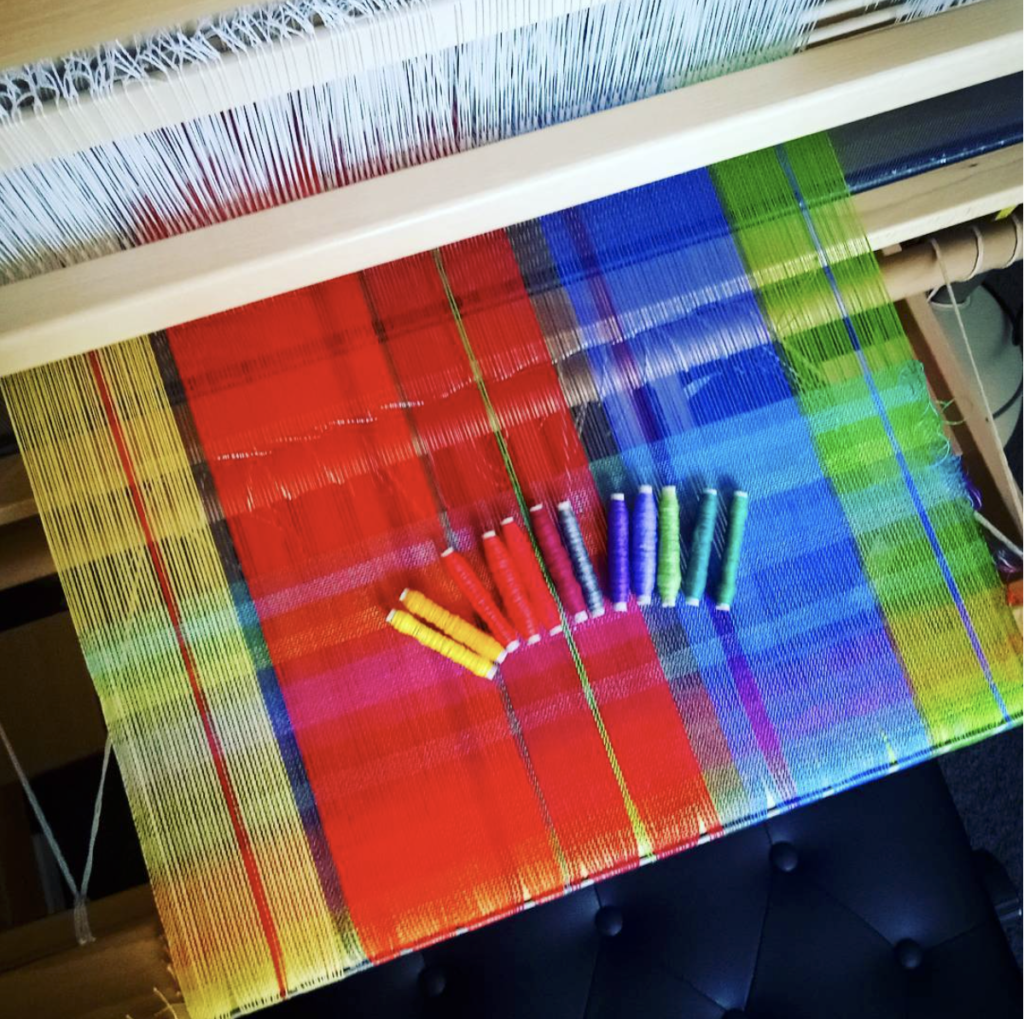
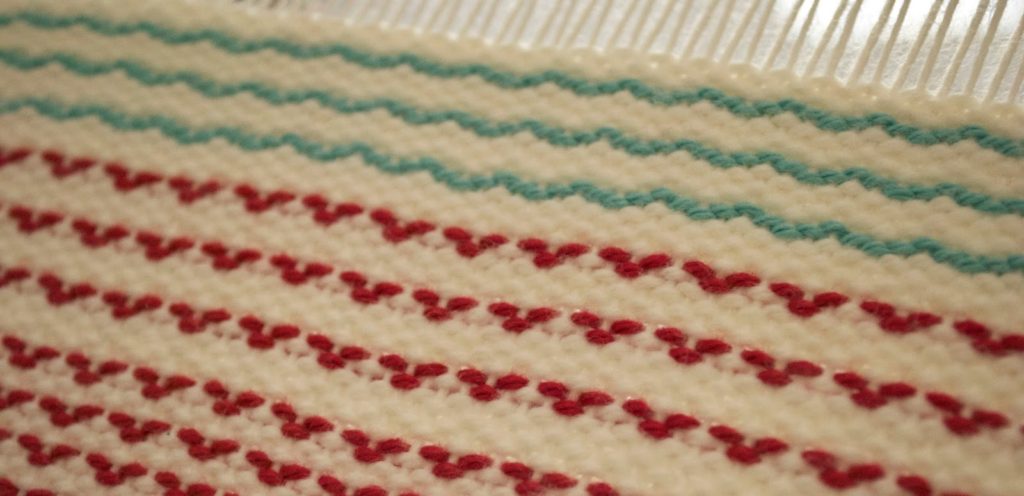
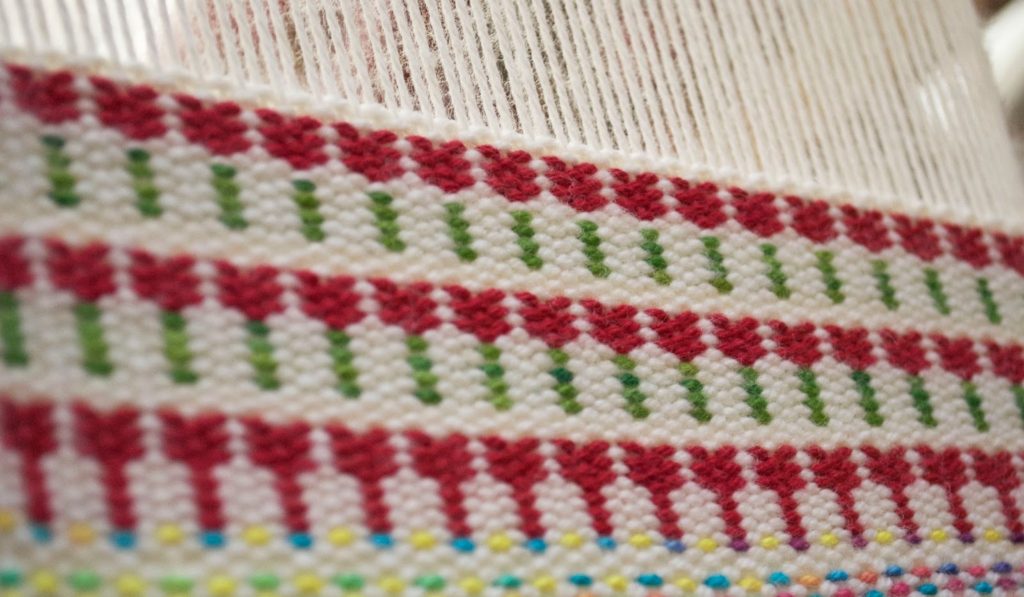
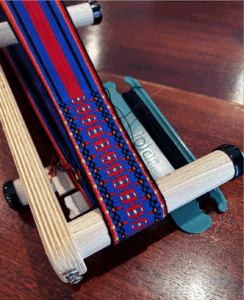
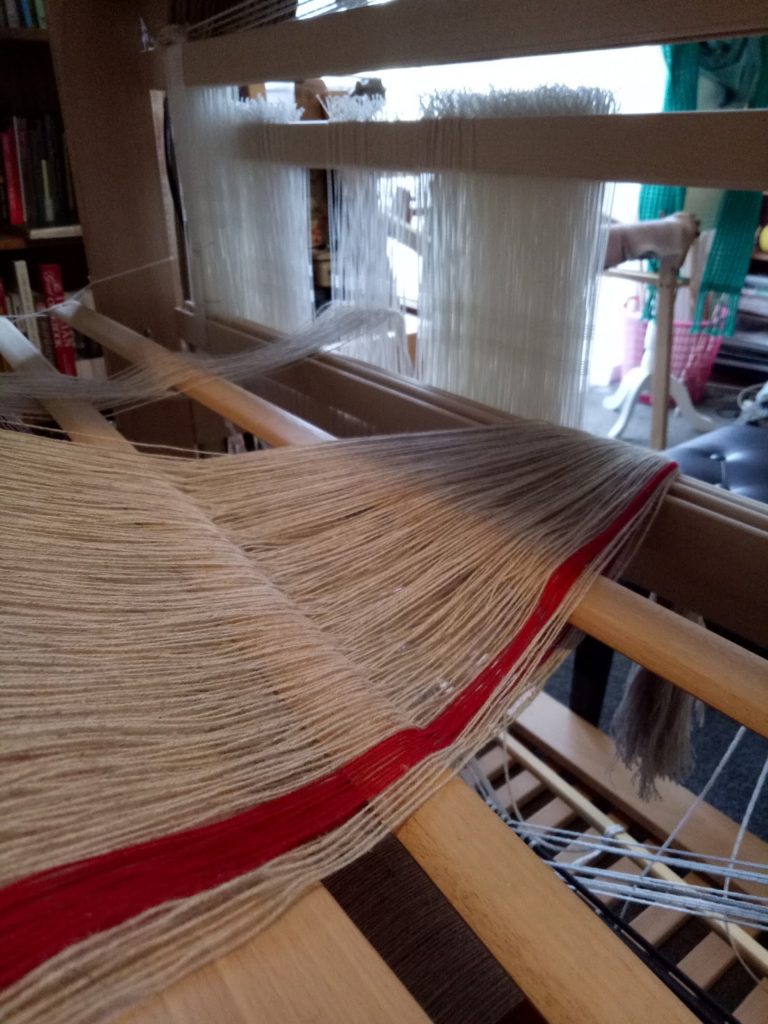
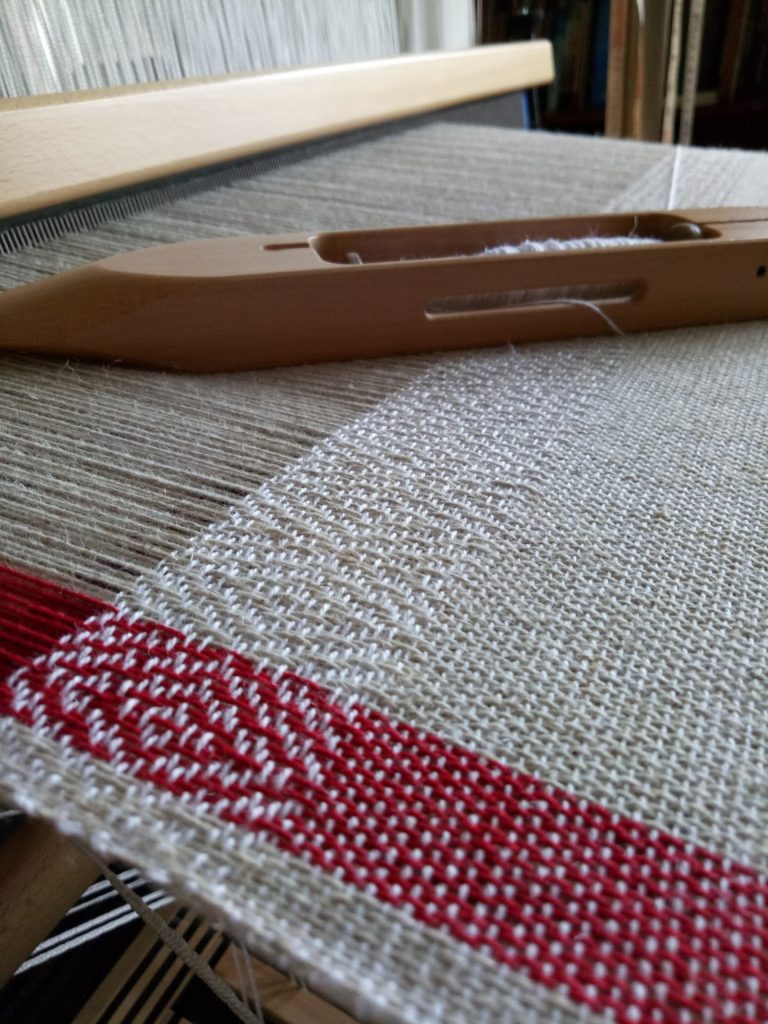
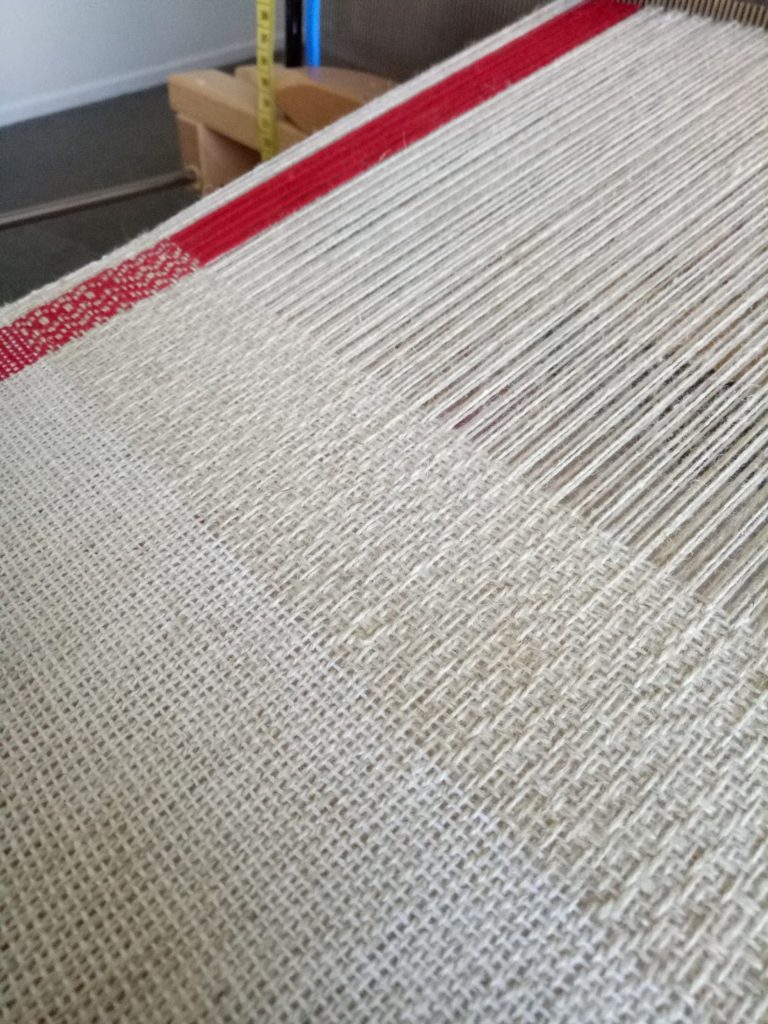
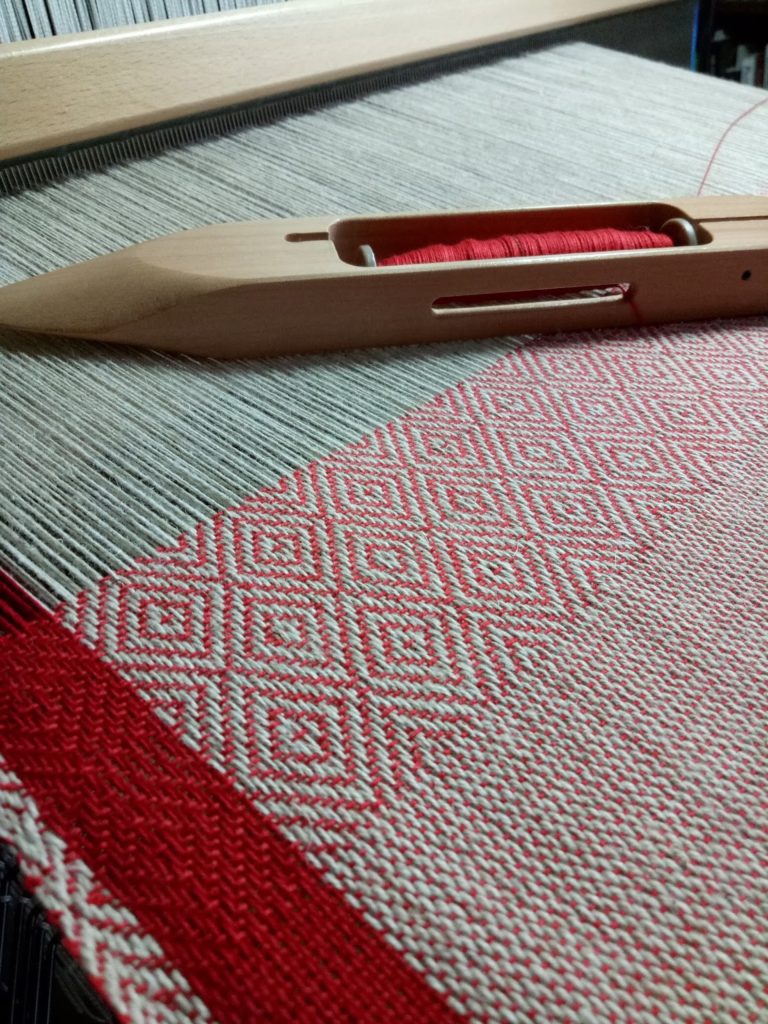
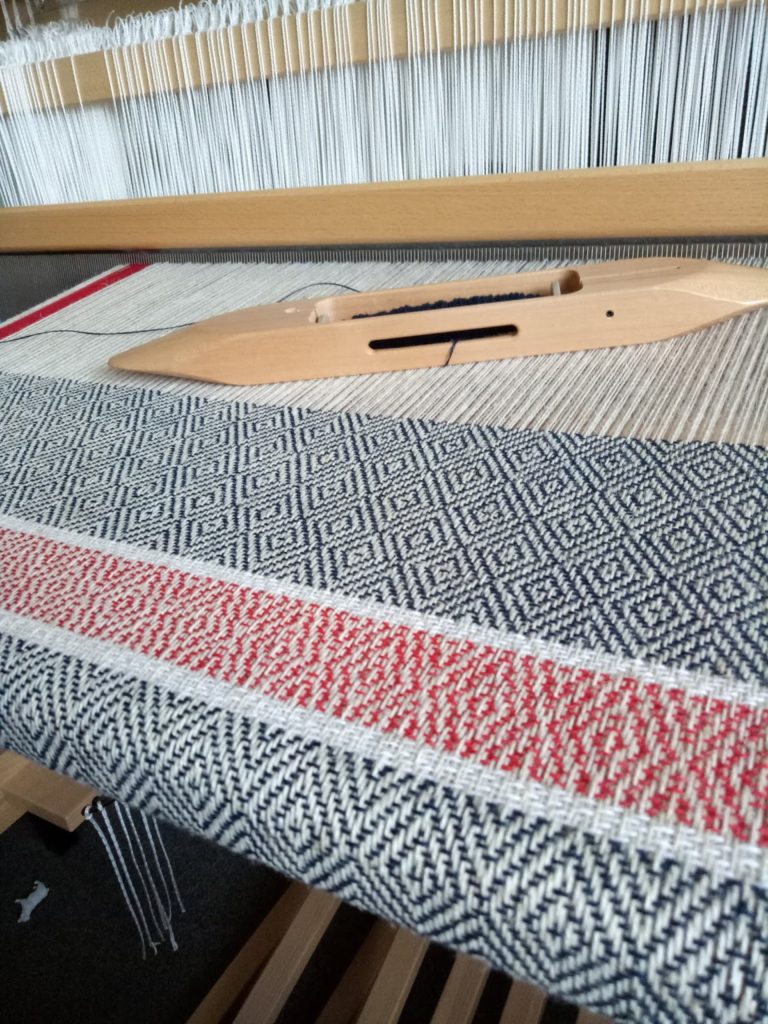
I warped with 22/2 cottolin in natural with a red cotton stripe to accent.
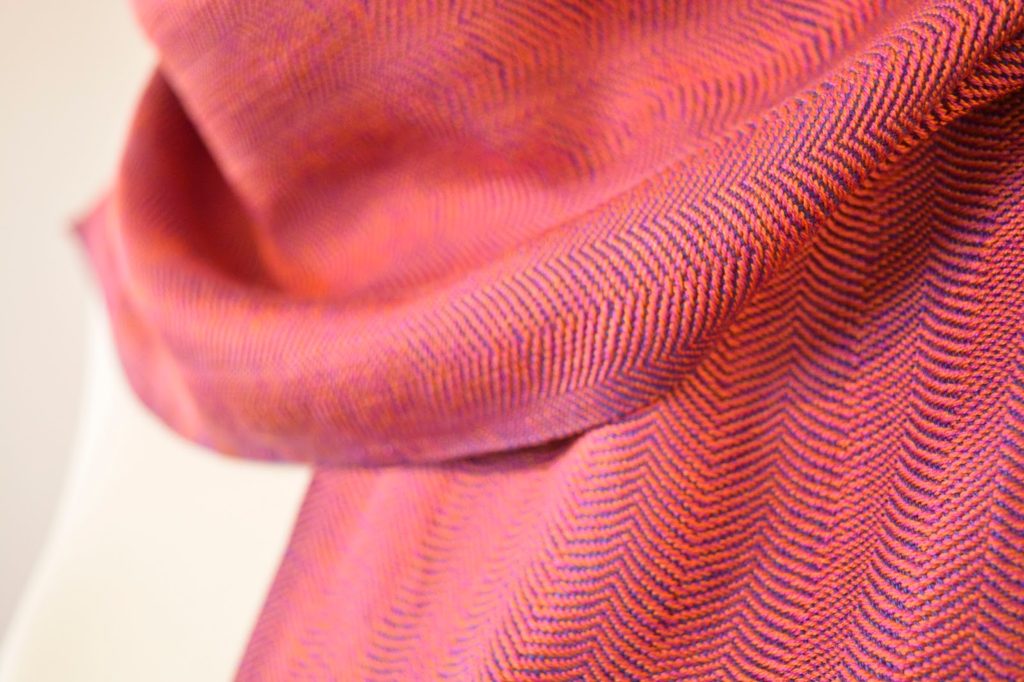
Then I decided on M & W threading and some 2/2 twill variations.
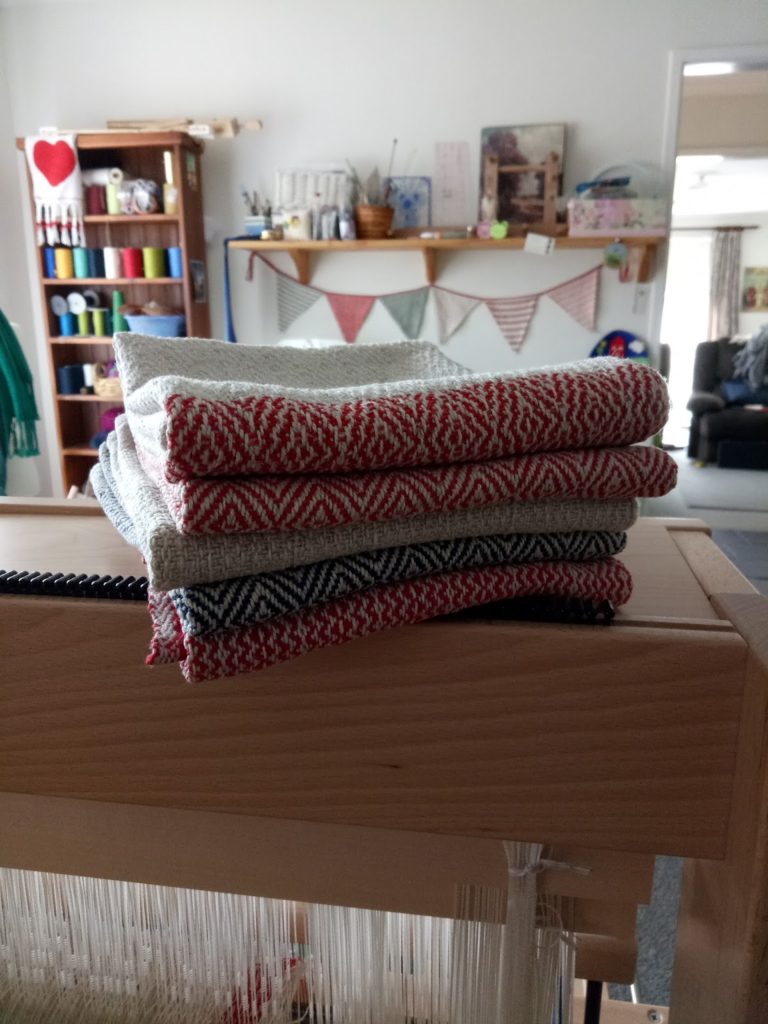
I changed up the colour for each new towel so that some have bold patterns and others subtle.
For this one I changed both the colours and the treadling for a feature border.
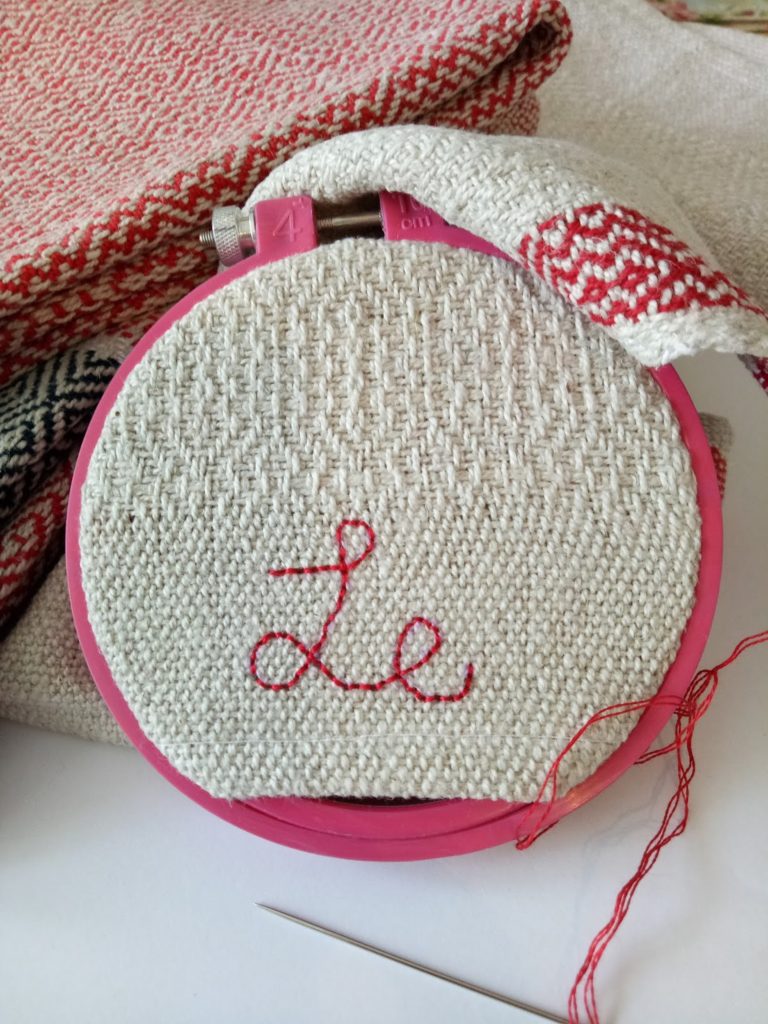
To finish off, a little embroidery.
I am very happy with my new set of towels. Being hand woven with quality yarn, I know these will last many years in my kitchen.
How about you? Do you find that you’re always weaving or making for someone other than yourself? Perhaps you want to follow my lead and put aside some time to make something special just for you!