• Skip to main content
  • Skip to primary sidebar

Kelly Casanova Weaving Lessons

  • Hi! I’m Kelly!
    • Disclosure
  • Online Weaving School Class Index
    • Common account issues
    • Common technical issues
    • What do I get with a membership?
  • New to rigid heddle weaving? Start here!
    • Never heard of the rigid heddle loom?
    • How to weave neat edges on the rigid heddle loom
    • Rigid heddle weaving
    • Rigid Heddle Weaving Patterns
  • Patterns
  • Subscribe

Kelly

Prickly Pear syrup recipe

by Kelly 2 Comments


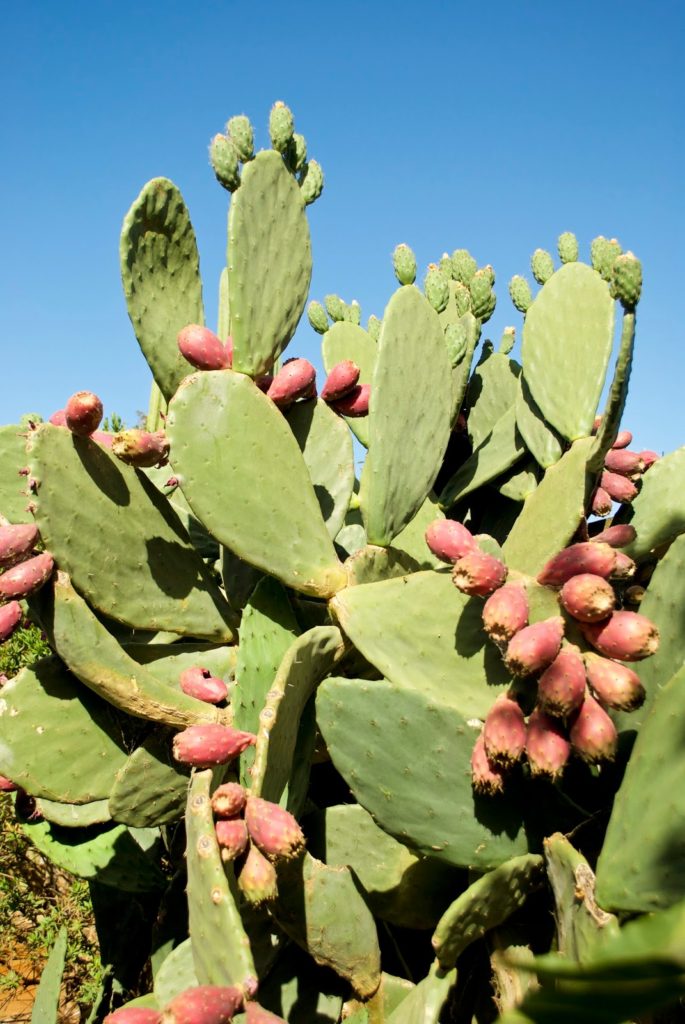
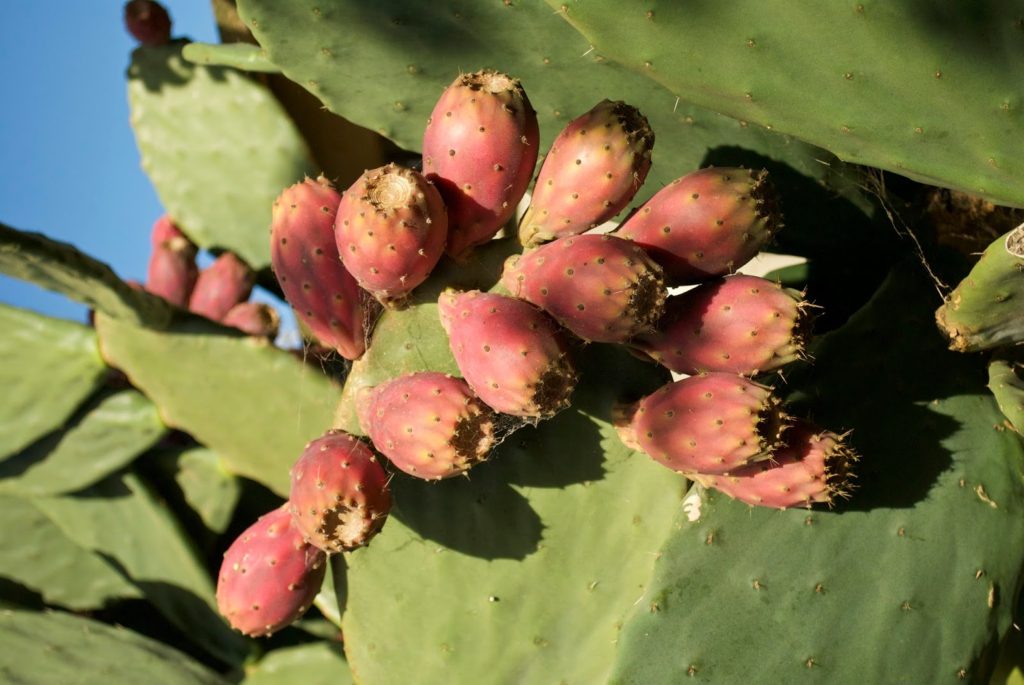
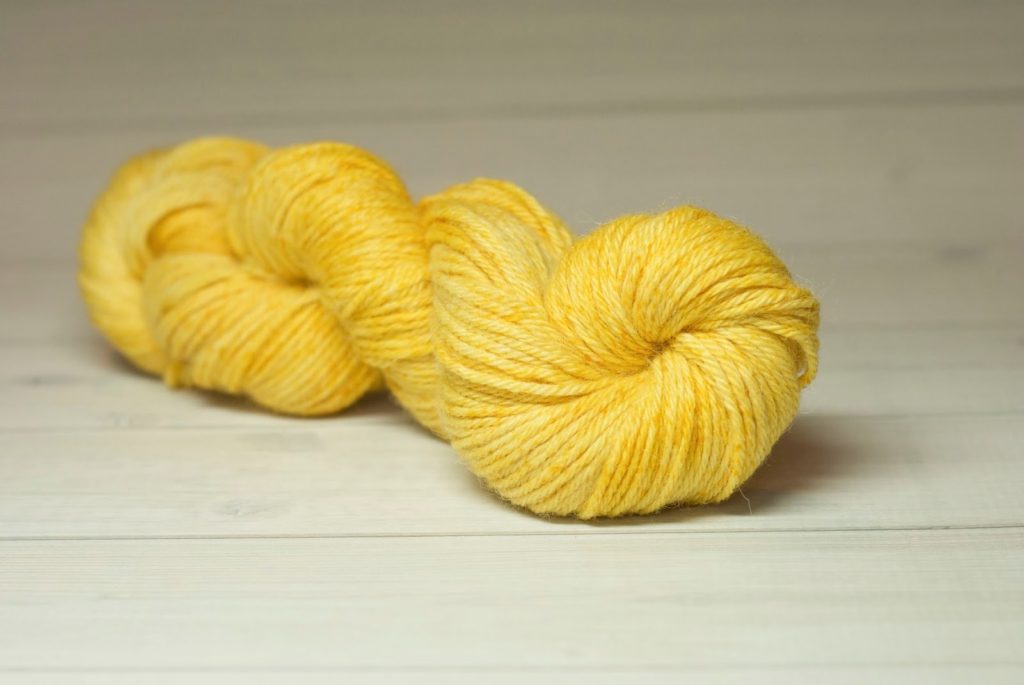
I’ve been doing some research into Navajo natural dyeing techniques – prickly pear fruit with it’s fabulous, vivid magenta to strong pink colour would be an obvious choice. 


I was afraid of the possible, painful consequences of harvesting the fruit, but following some instruction from my somewhat experienced husband, I went ahead and I’m so glad I did. Harvesting and preparation instructions are here.


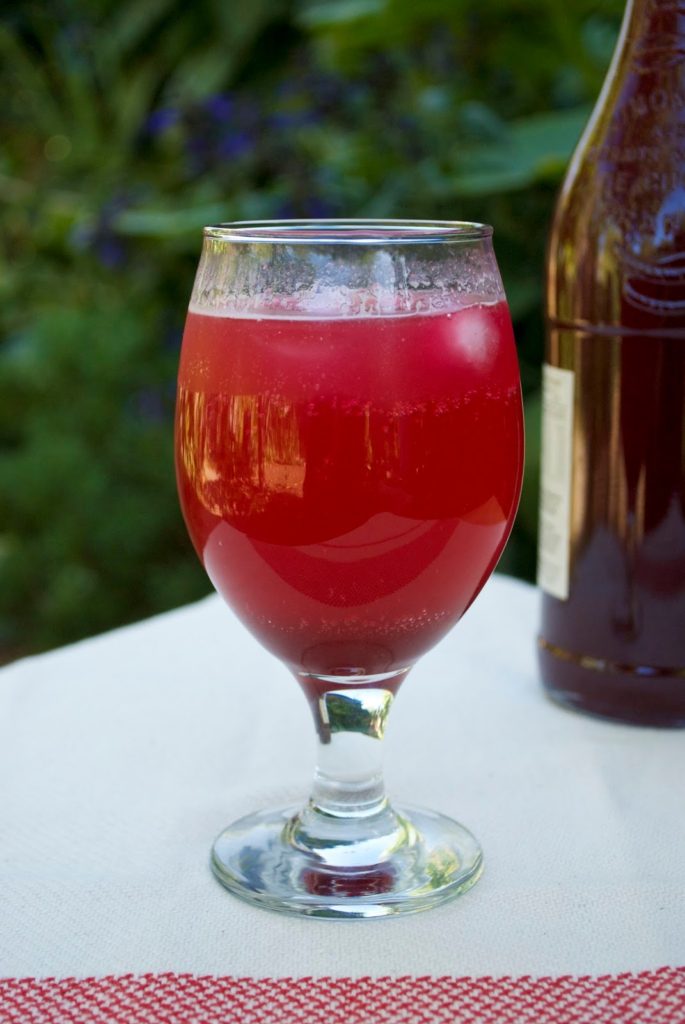
Not only did I pick and prepare enough fruit to start my yarn dyeing experiment, I also came up with a delicious syrup! Here is the recipe for you:


Ingredients:
1.1kg ripe prickly pear fruit
500grams white sugar
1 teaspoon citric acid


Method:
When the fruit is prepared and peeled (see harvesting and preparation method here) chop each fruit into 3 and blend in a food processor. No food processor? Place in a bowl and mash really well with a potato masher. Place a strainer or colander over a large saucepan. Strain the juice, leaving the seeds in the strainer. Use a spoon to push through all that goodness. 
Once you have your juice, add the sugar and citric acid. Warm over a low heat until sugar in dissolved, then increase heat to medium until the liquid comes to a light boil. Boil for no more than 5 minutes.
Allow to cool, poor into a glass bottle or similar and keep in the fridge.


Uses:
Can be used as a cordial, just mix with water, mix with mineral water and ice for a refreshing drink, drizzle over ice-cream, yoghurt, pancakes, waffles or fruit salad. Anything you would use a fruit syrup for, this syrup can be used.


Hope you enjoy it!

Filed Under: Uncategorized Tagged With: Gardening, my recipes, Recipes and food

Harvesting and preparation of prickly pear fruit.

by Kelly Leave a Comment

Ouch! Yep, those little spikes hurt and there are plenty of them. But don’t let that deter you – the prickly pear has delicious fruit and you can even eat the paddles (leaves also known as napales) but in my opinion that is an acquired taste, as in, one that I personally have not acquired!


What you need:


Good quality kitchen/washing up gloves. The good quality part is important, they are tougher! *See note.
A plastic bucket
Long handled tongs
Small, sharp paring knife
A large mixing bowl or similar to put your peeled fruit into.
Plastic bag
Water


What to do:


This first part is completed outside.


Half fill your bucket with water. Stand back from the cactus (the long handled tongs give you further reach). The hair like spines (glochids) will begin to come off as soon as your tongs touch the fruit, so be aware of where they are falling. For this reason it is better not to harvest on a really windy day.
Grabbing the fruit with the tongs, give a twist or two and place the fruit straight into the bucket. Continue this process until you have the number you require. Make sure the water is covering the fruit.


Now tip the water out, somewhere that no one is likely to walk or weed etc. Using a hose, spray water into the bucket onto the fruit, covering it once more. Tip out once again. You can repeat the spray and tip one more time (I do).


Put on your gloves. If your gloves are strong you should be fine to pick up the fruit now. Cut off each end and make a slit down the centre with the knife. Begin to peel back the skin from the slit until it is all removed. Place the skin either back in the bucket or straight into the plastic bag. Place the peeled fruit into the bowl. Continue for all fruit.


Now you can take the fruit inside to use. I give one last rinse in water just in case there are any remaining spikes. It is delicious fresh or there are lots of interesting recipes to try (I have a prickly pear syrup recipe coming soon!)


Clean up:
I throw all the peelings into the regular rubbish bin in a plastic bag. As far as I know, the peelings can not be composted due to the spines – I certainly don’t want them ending up in my compost. If you have successfully composted peelings, I would be most interested to know.


* I used good quality kitchen gloves to prepare the fruit. After working in the kitchen with the peeled fruit, I went back outside to clean up the peelings. However, I put on a different pair of kitchen gloves, a lower quality, thinner pair. As soon as I touched the bucket with the peelings, I got spiked. So it really is worth having the good quality gloves!

Filed Under: Uncategorized Tagged With: compost, Gardening, Recipes and food, Tutorials

Shop update

by Kelly 2 Comments

I’ve had a huge shop update! There are heaps of colours and bases of yarn to choose from, including some I haven’t offered previously.   
Get a head start on your Winter knitting and head over to my shop for a look at all the new, squishy goodies 🙂


Filed Under: Uncategorized Tagged With: Etsy, hand dyed wool, hand dyed yarn

Krokbragd Tulips on a rigid heddle loom

by Kelly 5 Comments

Another video I just finished, still on the krokbragd theme but this time weaving some cool tulips!


I’m having so much fun experimenting with krokbragd, there are just so many possibilities 🙂

Filed Under: Uncategorized Tagged With: krokbragd, rigid heddle weaving, rigid heddle weaving tutorial

Beginner’s Krokbragd

by Kelly Leave a Comment


My newest video is on krokbragd for beginners. It’s not the best video I’ve made – it was late, it was hot and I was tired. But I think it’s passable, I hope you think so too!

Filed Under: Uncategorized Tagged With: krokbragd, rigid heddle weaving, rigid heddle weaving tutorial

Honey and oat soap

by Kelly 8 Comments

 
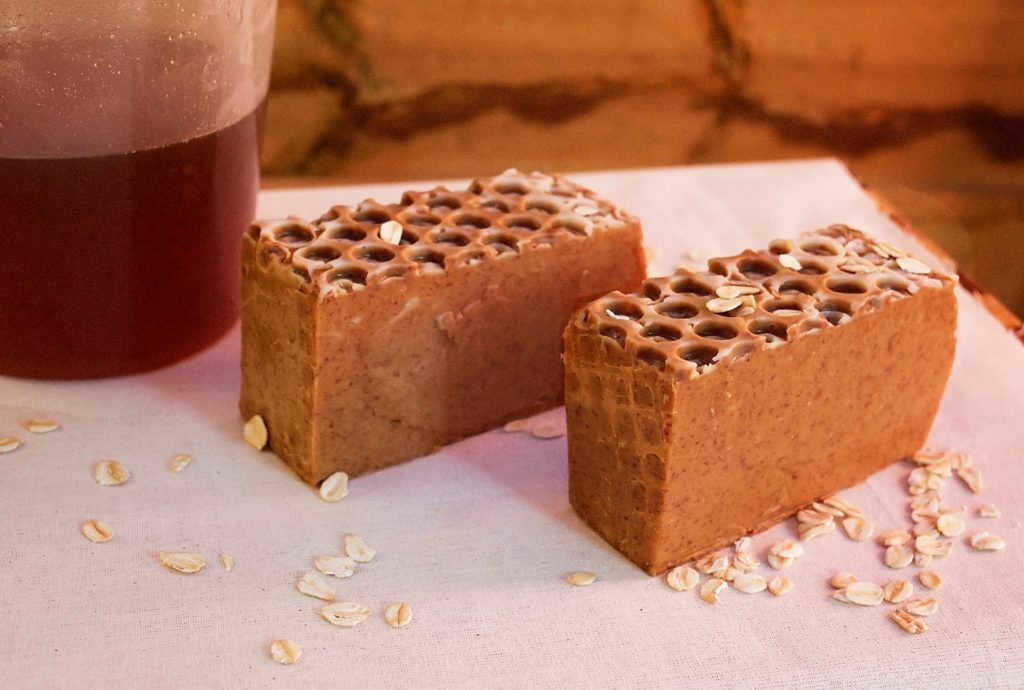
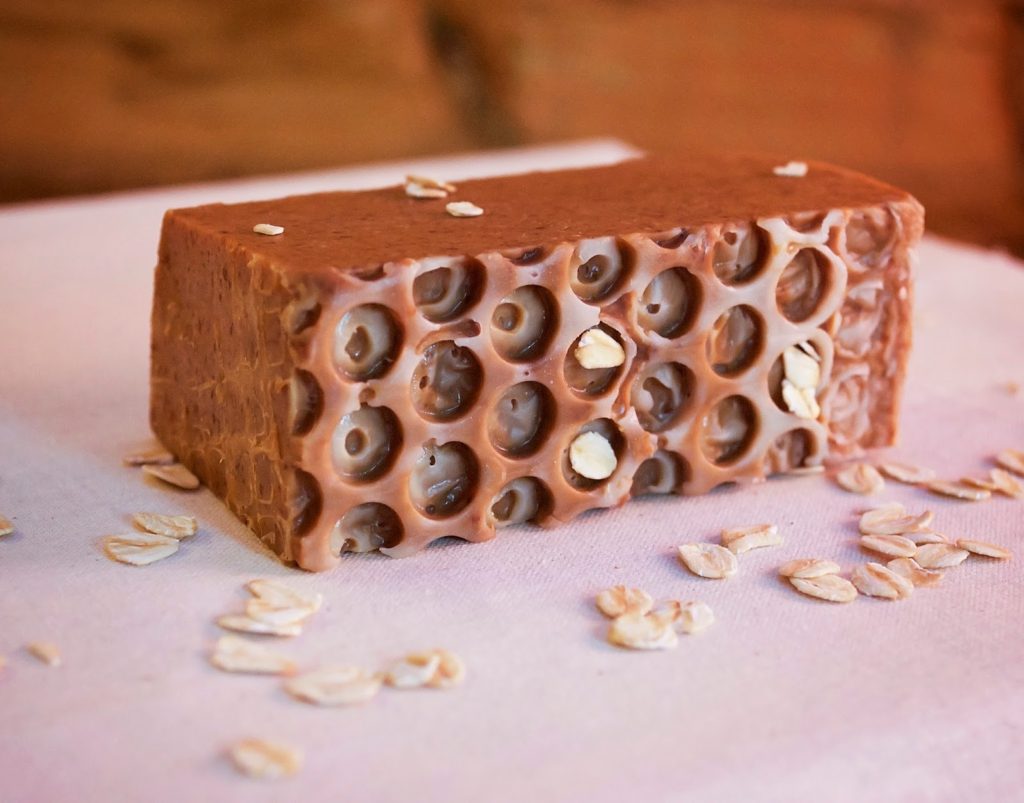
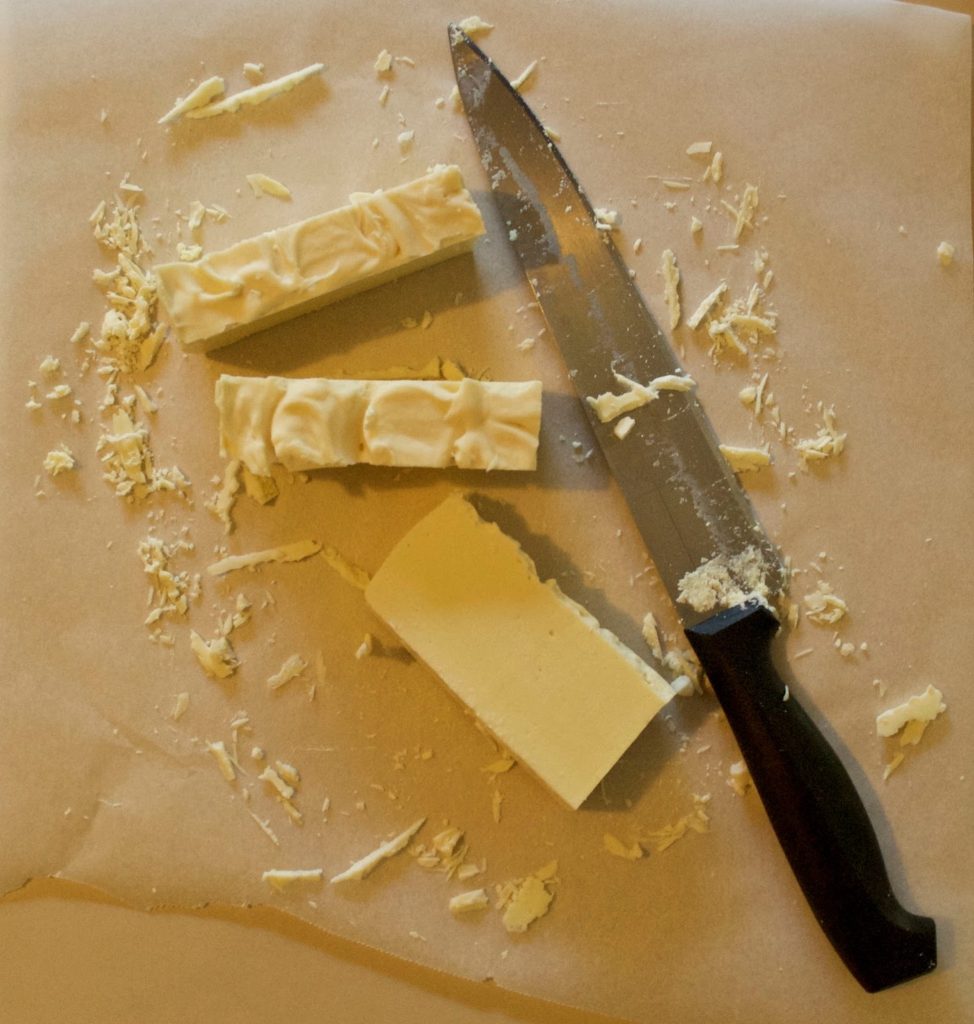
I had my first go at making a soap with some add – ins. Up until now I had stuck to my “cheats” castile recipe but thought it was time for something a bit different. It was really no more difficult than making a regular batch.
 
I’m surprised at the beautiful rich colour the bars have turned just from the addition of honey and ground oats. And it smells as good as it looks, with no artificial additives. I can’t wait until it has cured long enough to use.
*This post contains affiliate links
 
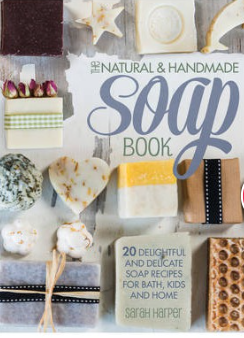
The recipe is from The Natural and Handmade Soap Book by Sarah Harper. There are heaps of recipes in here I want to try!
 
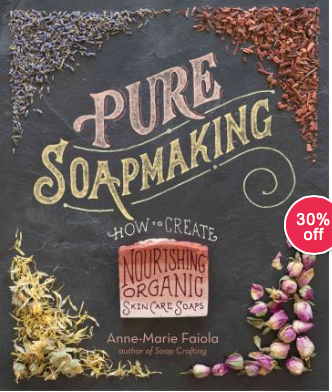
I also have Pure Soap making by Anne- Marie Faiola, which has a big variety of recipes.


Filed Under: Soapmaking Tagged With: handmade soap, soap, soap making

How to make a heddle rod on a rigid heddle loom

by Kelly 2 Comments

My newest video is ready for viewing! It is a tutorial on how to make a heddle rod, which makes weaving with more than one pick up stick on the rigid heddle loom so much easier!

Filed Under: Uncategorized Tagged With: rigid heddle weaving, rigid heddle weaving tutorial, Tutorials, weaving

Natural homemade deodorant

by Kelly 1 Comment

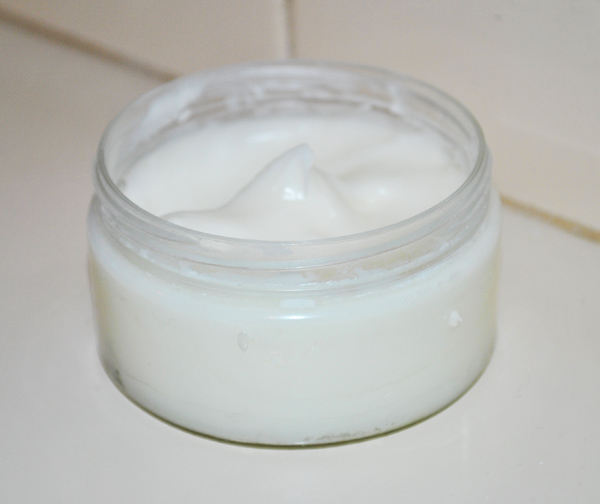
I’ve been using this natural deodorant for almost 10 years now and am so grateful that I made the switch from the nasty store aerosol deodorant.
I wrote this recipe on my blog years ago as part of another post but it’s hard to find and people are constantly asking me for the recipe.
*This post contains affiliate links
It’s a very simple recipe and takes only a few minutes to whip up.
A little goes a long way, so one jar will last for a long time.
 

1/4 cup bicarb soda (baking soda)
1/4 cup cornflour
4 tablespoons organic virgin cold pressed coconut oil 
10 drops essential oil (optional) My favourite is lavender.

Mix all ingredients together until creamy. If the oil is solid it can be melted with heat to combine with the dry ingredients more readily. After your daily shower, just rub about a choc dot sized amount of paste onto the armpit area. In hot weather, your deodorant will melt unless kept in a cool spot, I keep mine at the bottom of the cupboard in the ensuite which is a very cool room so mine only melts on really hot days. If it does melt, it won’t affect the quality, just give it a stir and pop it in the fridge until solid again.

Filed Under: Health and home Tagged With: coconut oil, deodorant, frugal living, handmade, health, natural deodorant, self sufficiency

It’s cheap, it’s healthy, it’s No Bake Date Slice!

by Kelly 3 Comments

I love medjool dates but unfortunately, at around $20 a kilo they’re a bit much for our modest budget. I thought I’d start experimenting with the much cheaper (at $2.99kg) dried, packaged, pitted dates.
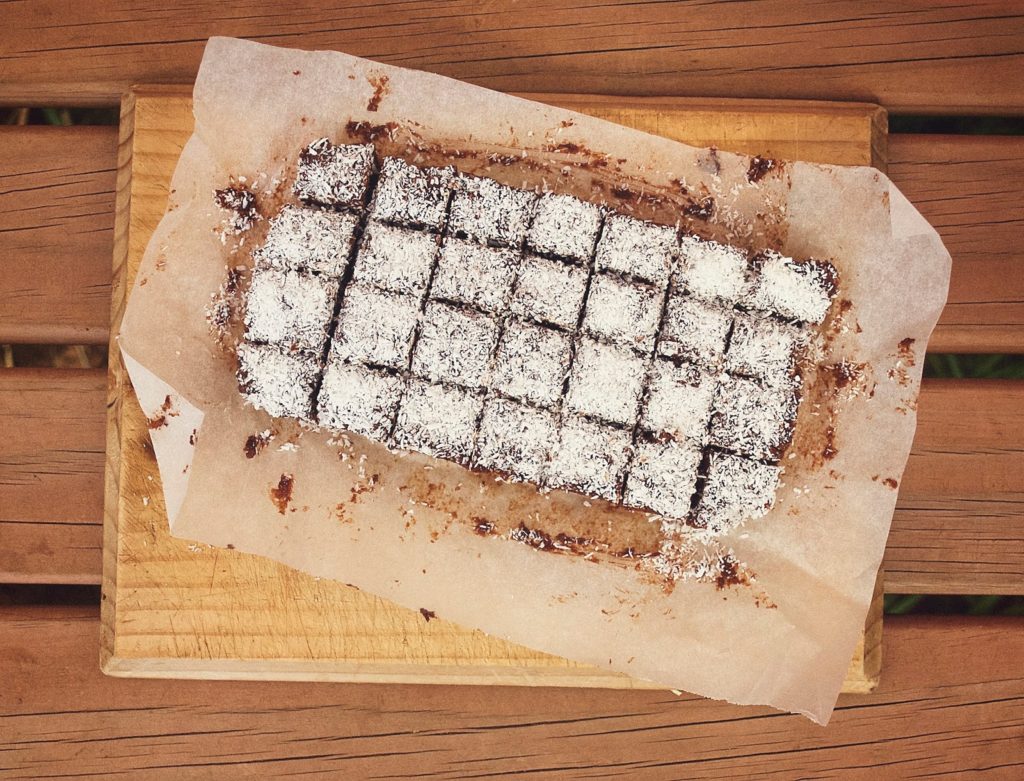
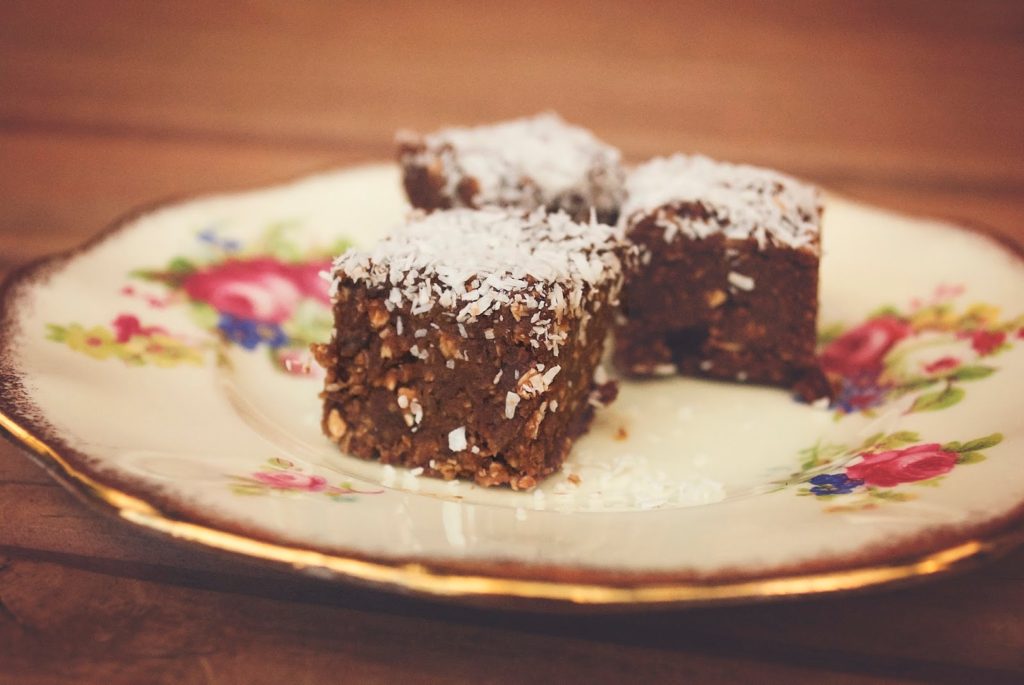
And I’ve had success! This is a delicious, healthy and economical treat. I love to have a piece in the middle of the day or in the afternoon with a cup of tea and the children love it too.
Recipe

40 dried and pitted dates
1 cup desiccated coconut
1 cup rolled oats
1.5 tablespoons cocoa powder
1 tablespoon tahini
1 tablespoon honey
1 teaspoon vanilla extract
2 – 3 tablespoons date syrup *see method

Place dates in a large bowl and add enough hot water to just cover the dried fruit. Soak for at least an hour, longer is fine.
Strain dates, reserving liquid. *This liquid is your date syrup.

Place all ingredients into a food processor and blend thoroughly. 

Press the processed mixture into a tin or container lined with non stick baking paper (I use a bread loaf tin). Let the baking paper fall over the edges of the tin, this makes it easy to pick up later. The back of a spoon is useful for pressing. Sprinkle with extra coconut if desired.

Place in the fridge for at least 2 hours to set. Take out of tin using the edges of the baking paper to pick it up. Cut into squares and keep in an airtight container in the fridge.

Note: Date syrup is also delicious on yoghurt if you have leftovers and can also be used as a sweetener or topping for fruit.

Filed Under: Uncategorized Tagged With: healthy eating, my recipes, Recipes and food, weight loss and health

The Simple Life

by Kelly 5 Comments

It’s quite a popular topic nowadays, the “simple life” and how to obtain it. Do some people spend so much time pursuing this so called simplicity and their ideal of what that is that they miss the point entirely? 


Is the simple life about living the dream or living the reality? The dream for me is a country property and earning a good income through a  handmade business. The reality is suburbia, traffic, very little time to devote to a business of any kind and a very limited budget. But that’s not the point, right? 

The point is, what can I do right now to live the simple life given my circumstances? 


I was pondering the simple life and what simplicity means to me. It occurred to me that one of the most rewarding parts of simple living is that you can take very little and turn it into something 
special.

Home made bread for example. Usually 4 ingredients. Inexpensive, ordinary ingredients. Add time, love, technique and you have something awesome.

Weaving is another example. With threads and a loom I can make the most beautiful variety of things.


Soap making? Once again, very few ingredients. A bit of time and attention and you have a whole batch of creamy, natural soap for your family.


That property in the country may or may not ever happen, in the meantime I will try to be grateful for all I have and all I can do. And if it does happen, I guess I’ll be well prepared 🙂

Filed Under: Uncategorized Tagged With: bread, frugal living, simple living, soap making, weaving

  • « Go to Previous Page
  • Page 1
  • Interim pages omitted …
  • Page 33
  • Page 34
  • Page 35
  • Page 36
  • Page 37
  • Interim pages omitted …
  • Page 115
  • Go to Next Page »

Primary Sidebar

Hand crafted boat shuttles

Categories

Archives

Meta

  • Log in
  • Entries feed
  • Comments feed
  • WordPress.org

Copyright © 2025 Kelly Casanova Weaving Lessons on the Foodie Pro Theme