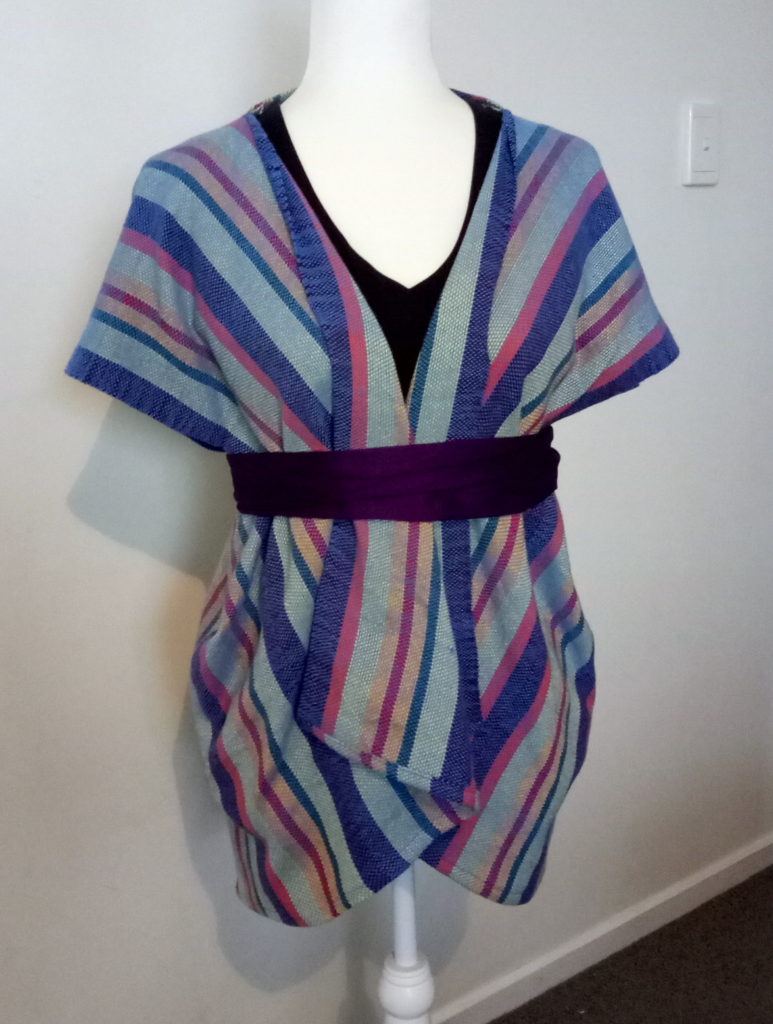
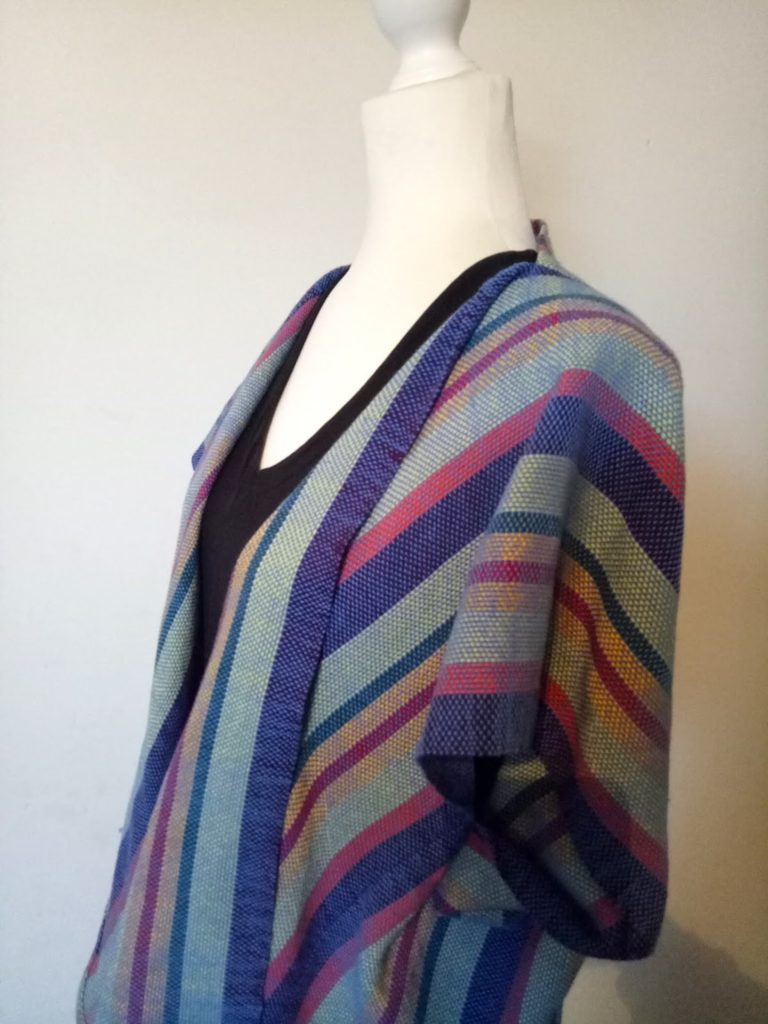
It is true that the Rigid Heddle Loom is capable of a lot (even an 8 shaft pattern if you really want to) but there are many reasons why I love to have both a RHL and a floor loom.
I wrote a series recently that compared different types of looms that you may wish to review:
The Rigid Heddle Loom
The Table Loom
The Floor Loom
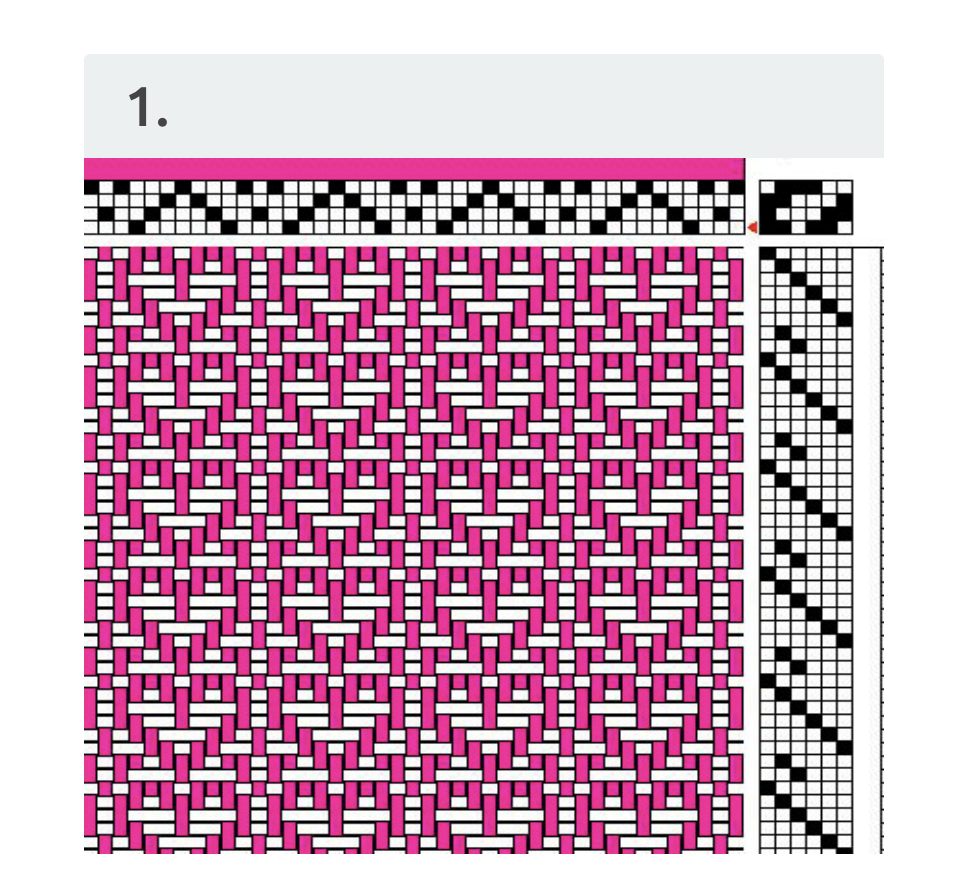
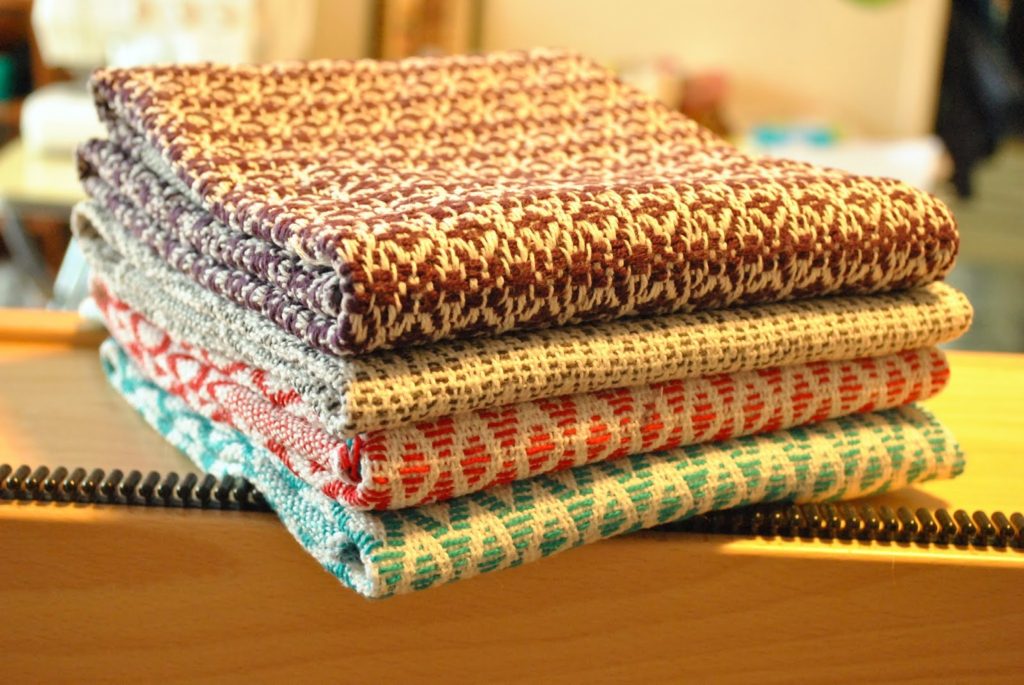
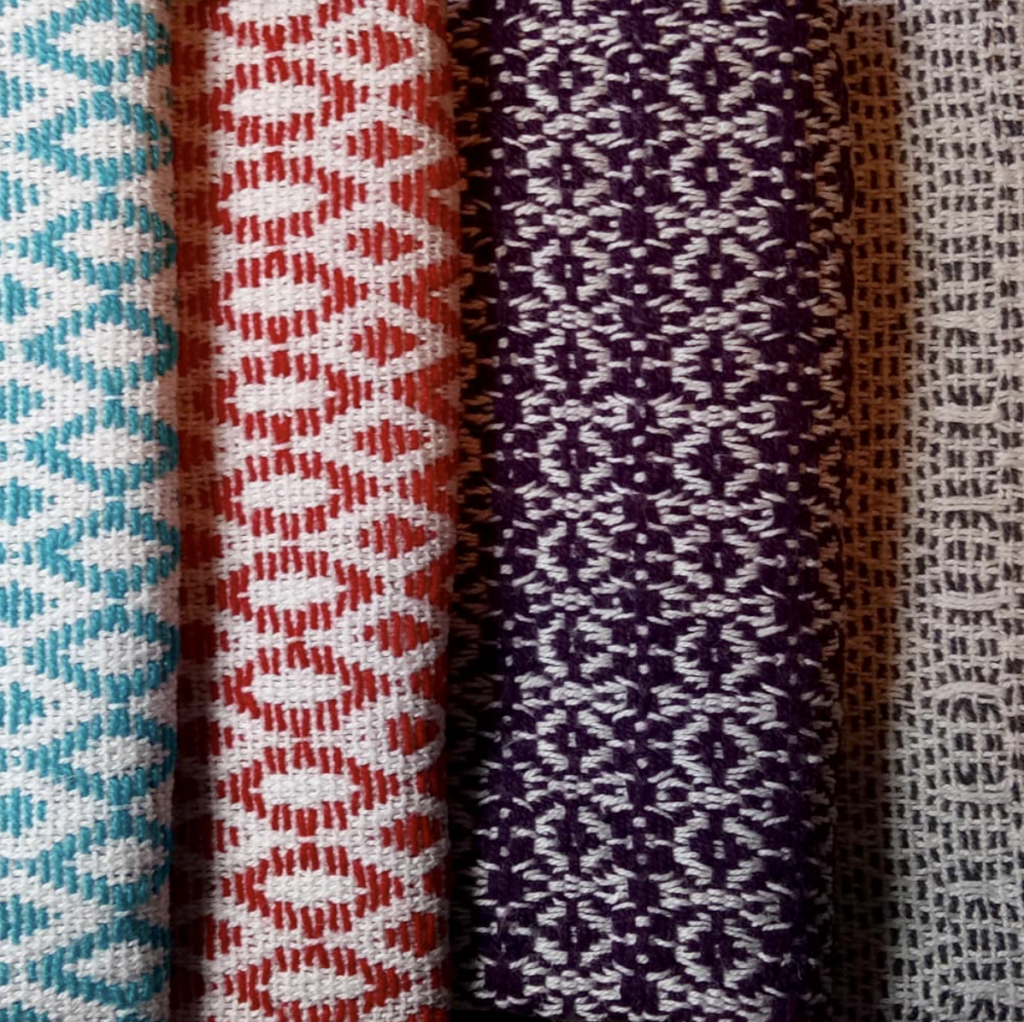
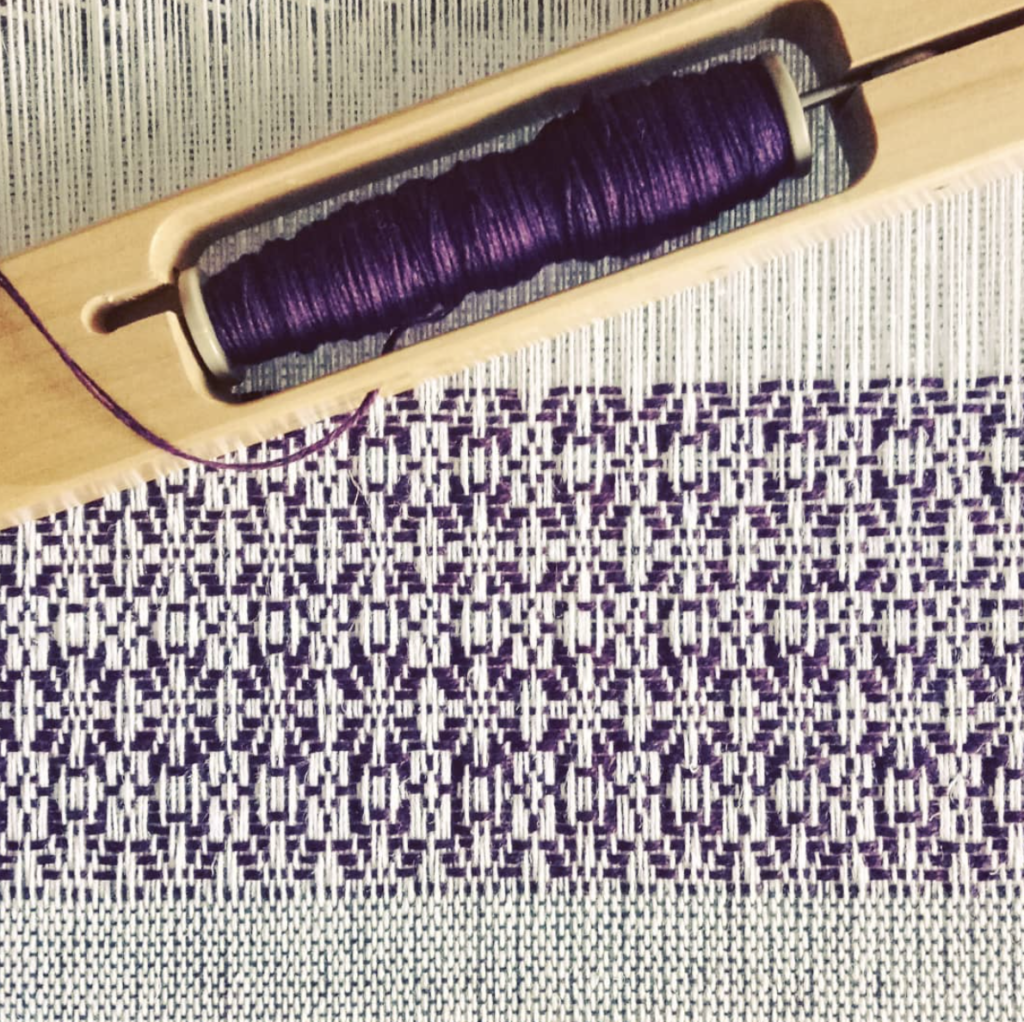
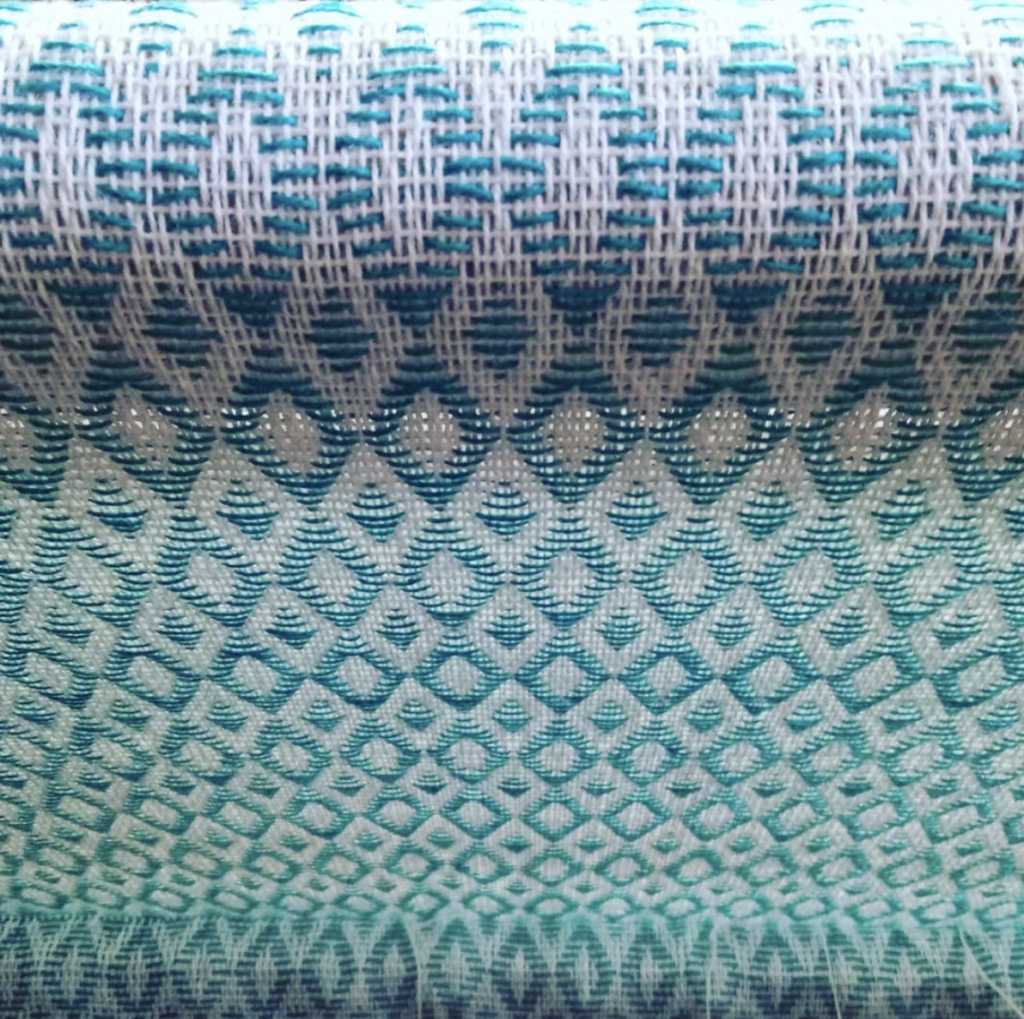
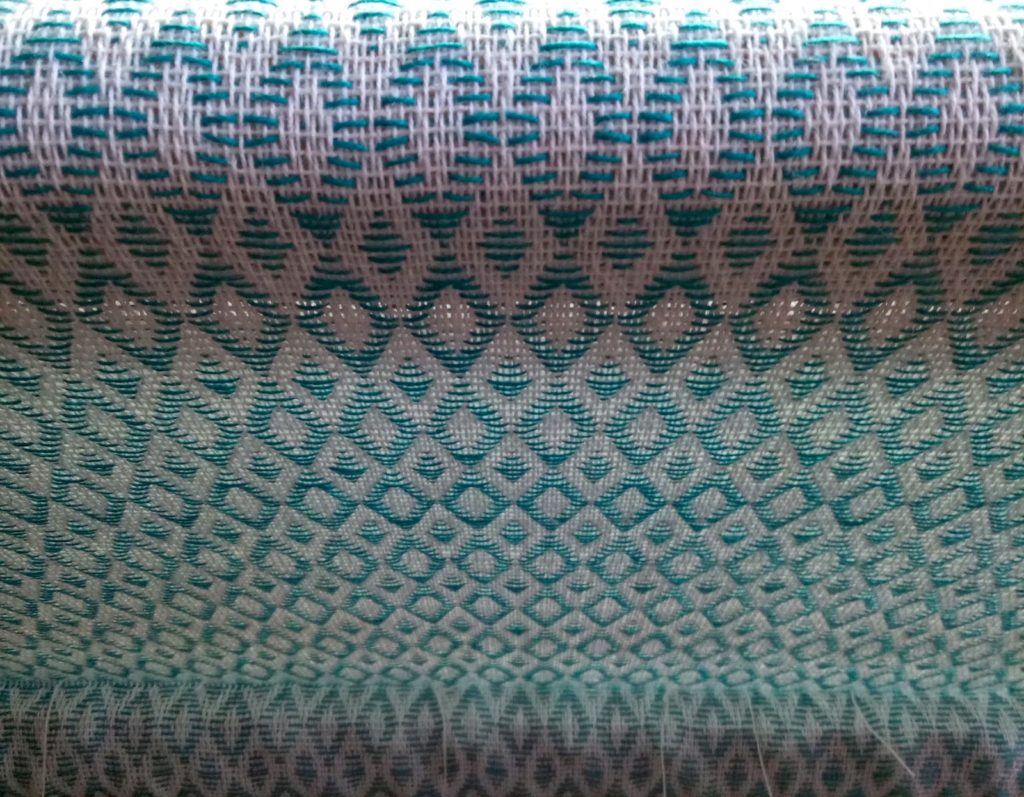
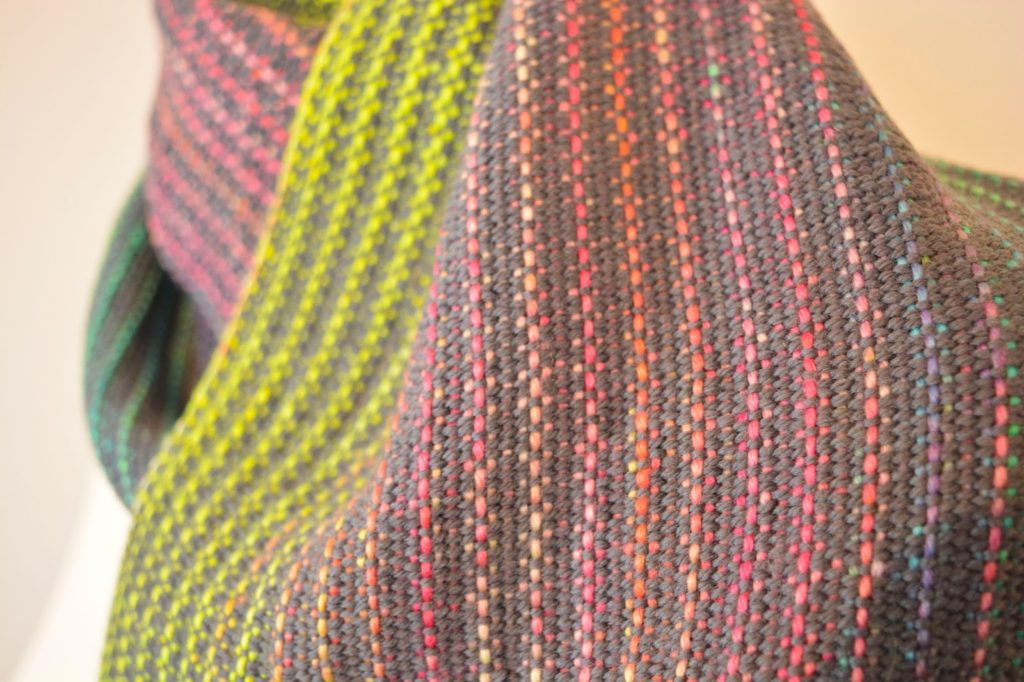
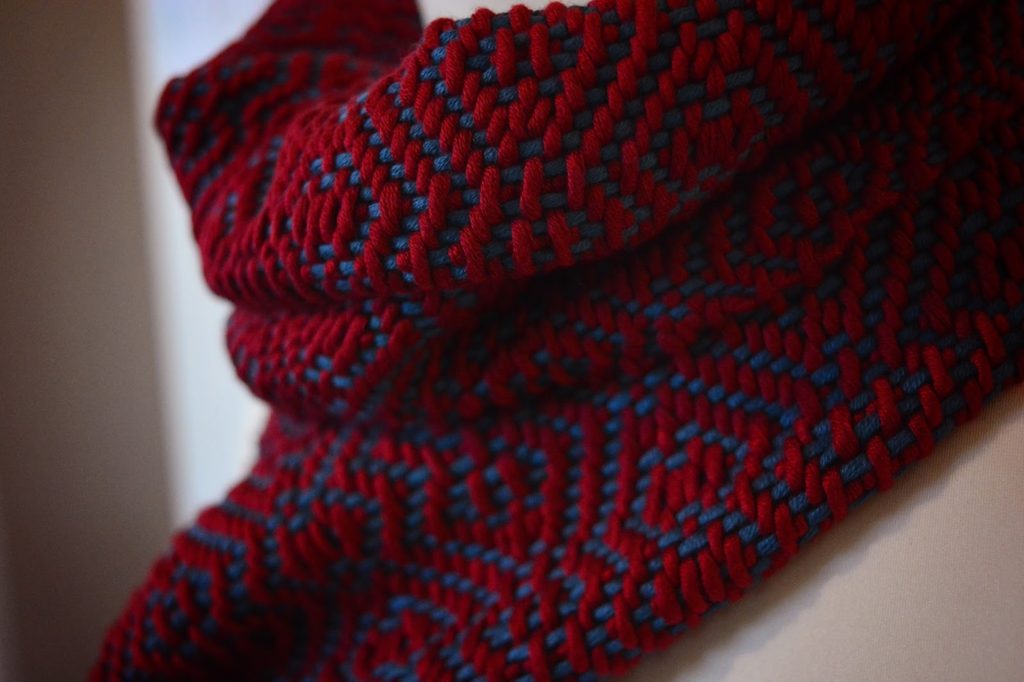
Now, I said the rigid heddle loom is capable of weaving 8 shafts, but does that mean that I would actually want to? To achieve that would mean multiple heddles, multiple pick up sticks and a pretty painstaking process that would have me leaping on to my floor loom in no time. Because the floor loom is made for this, it’s set up for more complex weaves, that is it’s job. So, while the RHL can be utilised for more complex weaves, that doesn’t mean that it’s the ideal choice.
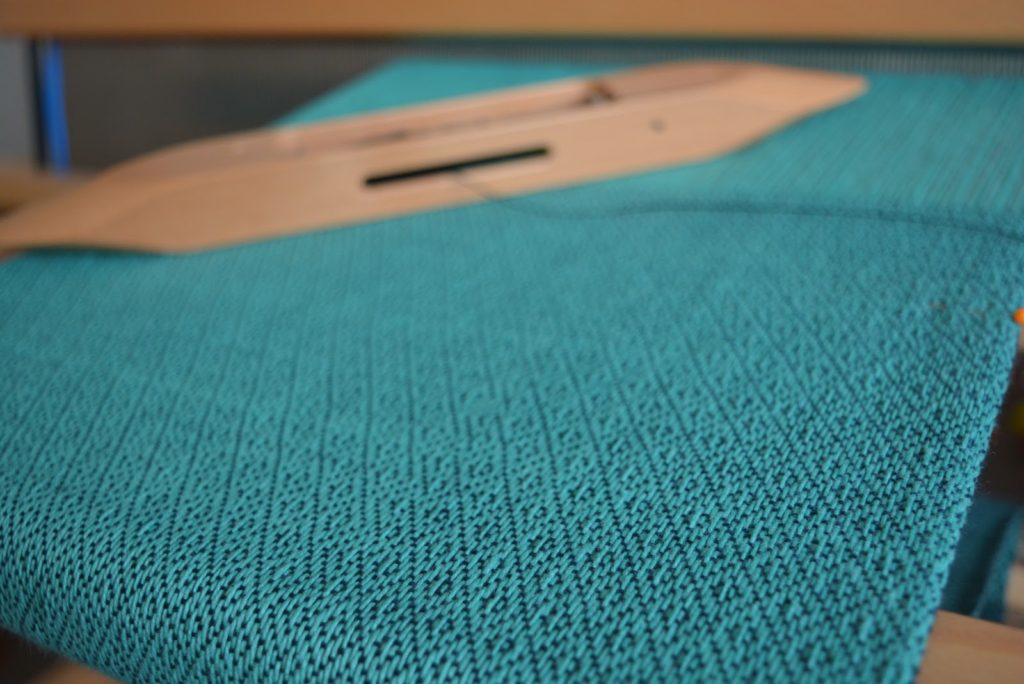
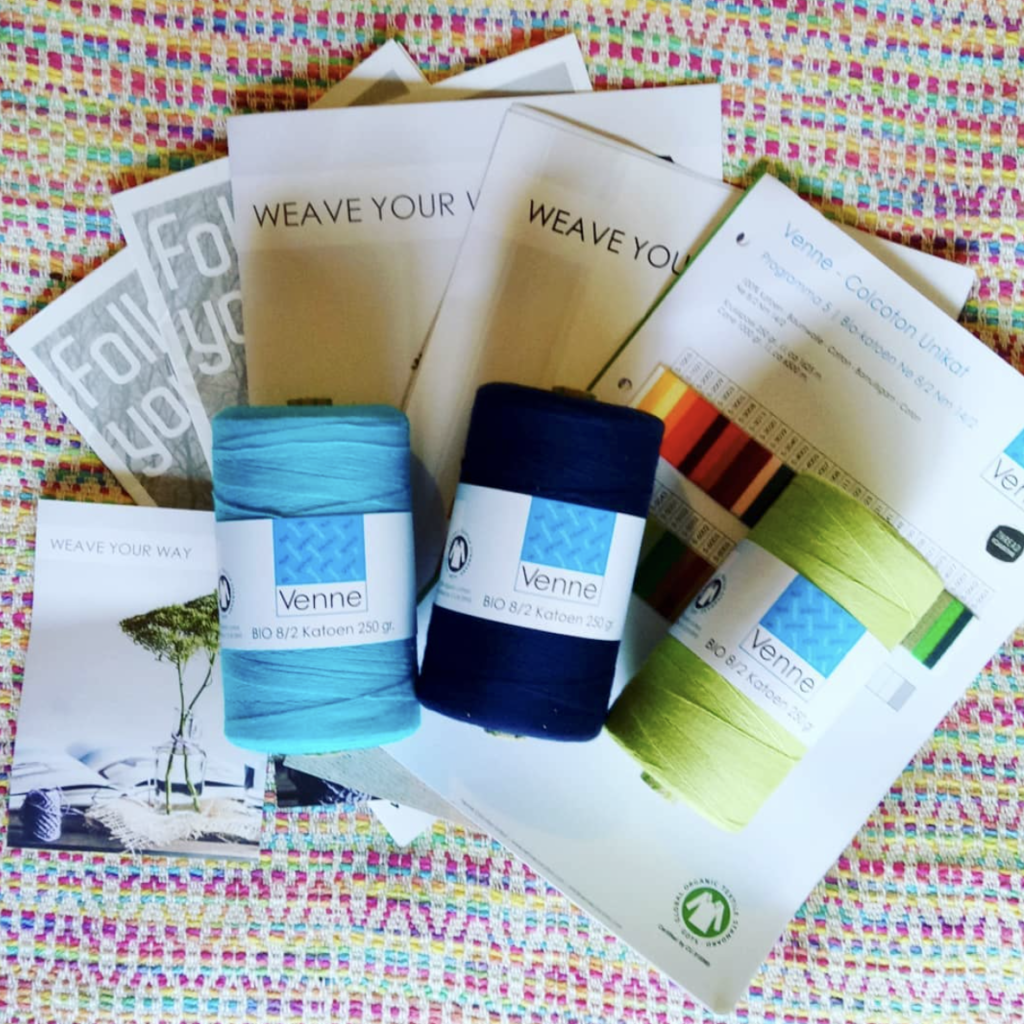
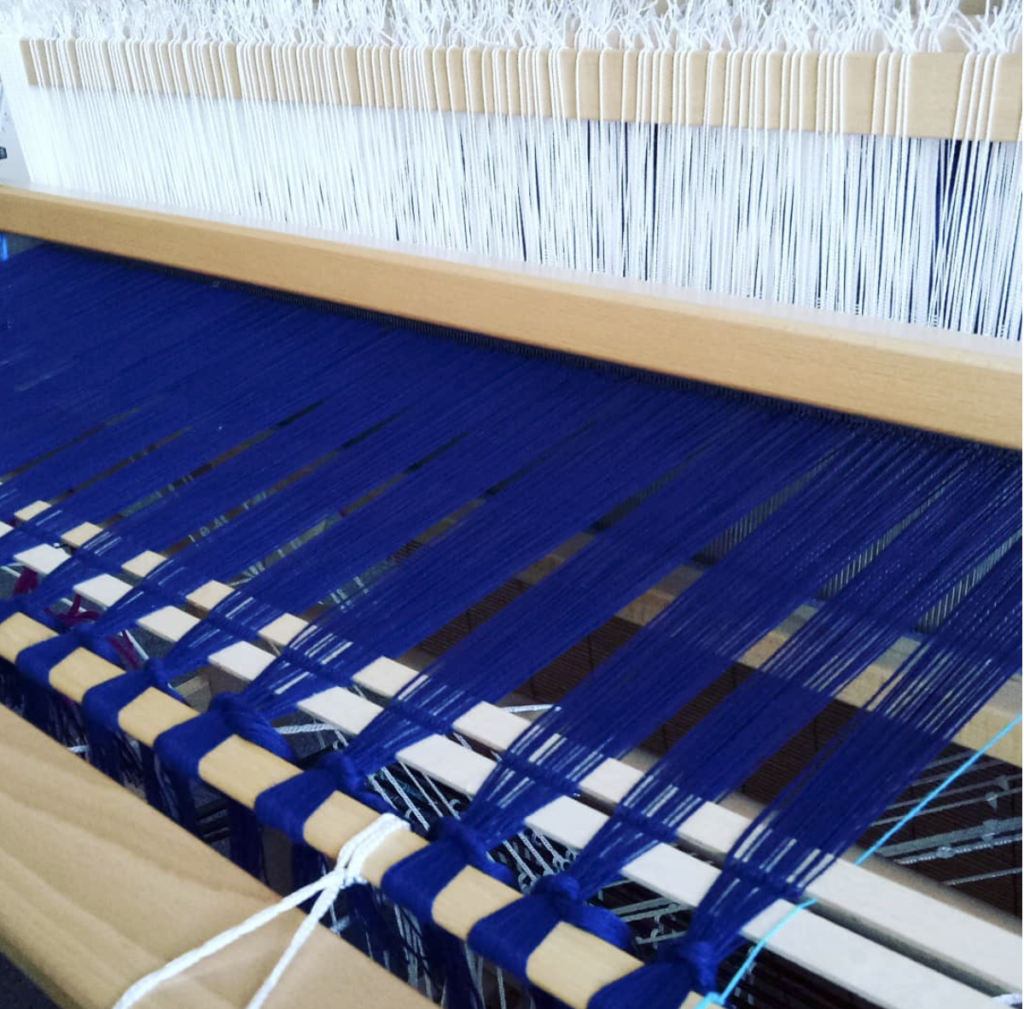
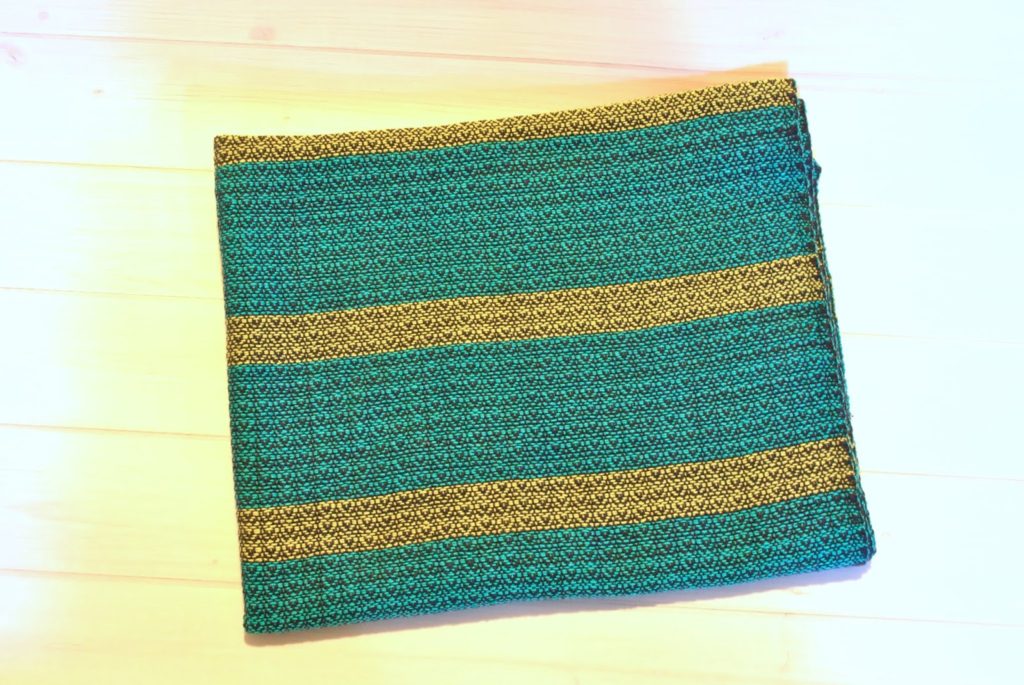
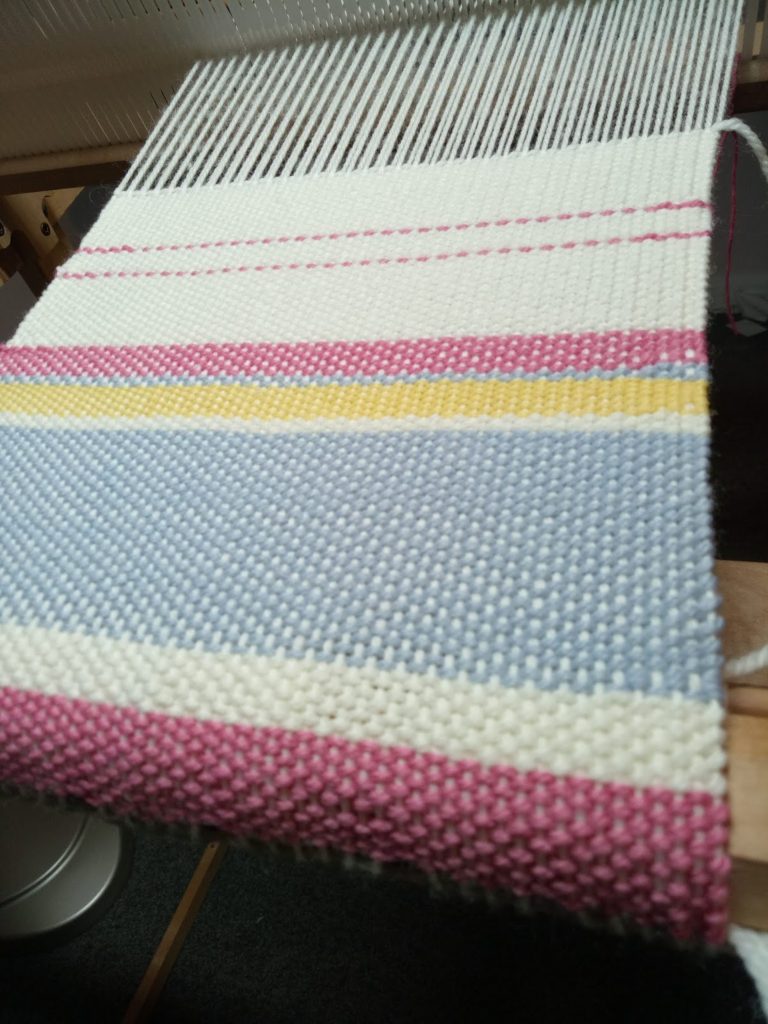
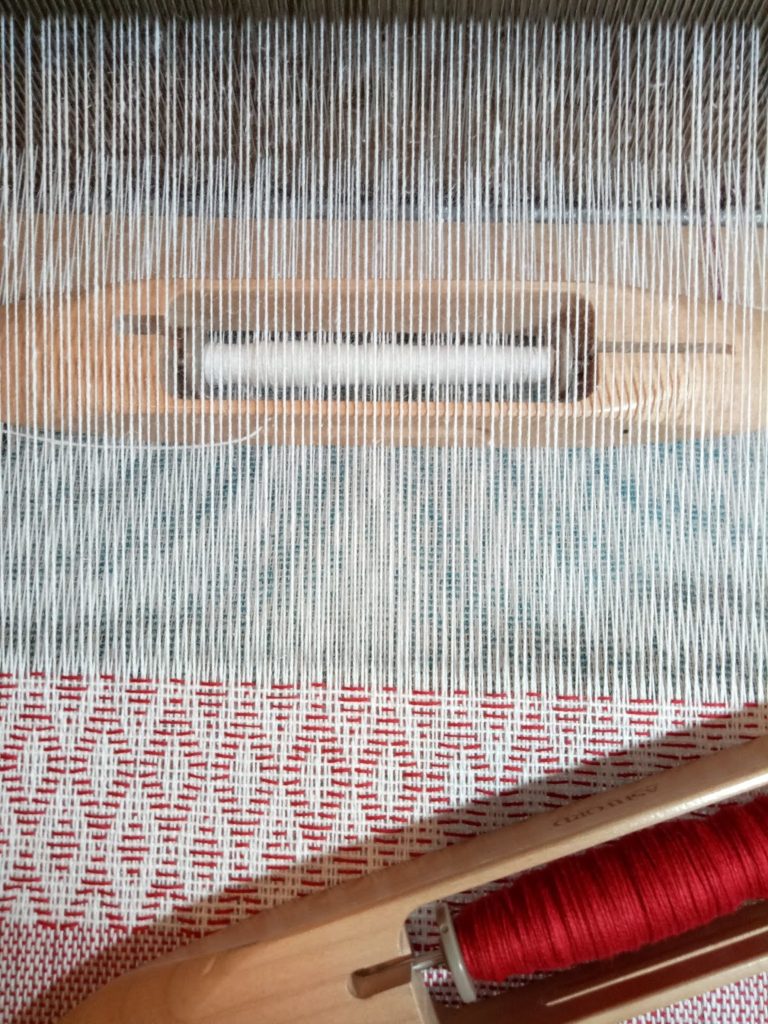
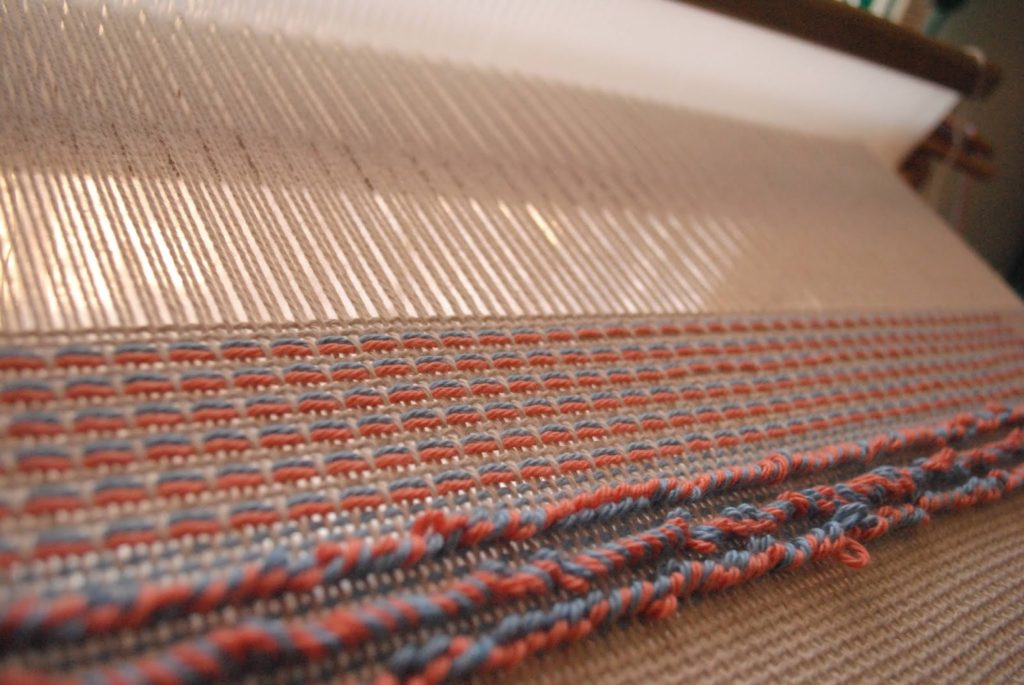
Next, the RHL has yarn size limitations. The smallest dent heddle currently available is a 15 dent by Ashford. Yes, you can still double threads or use extra heddles to increase the available sett, but that is another difference to a floor loom and a consideration if you like to weave with fine threads.
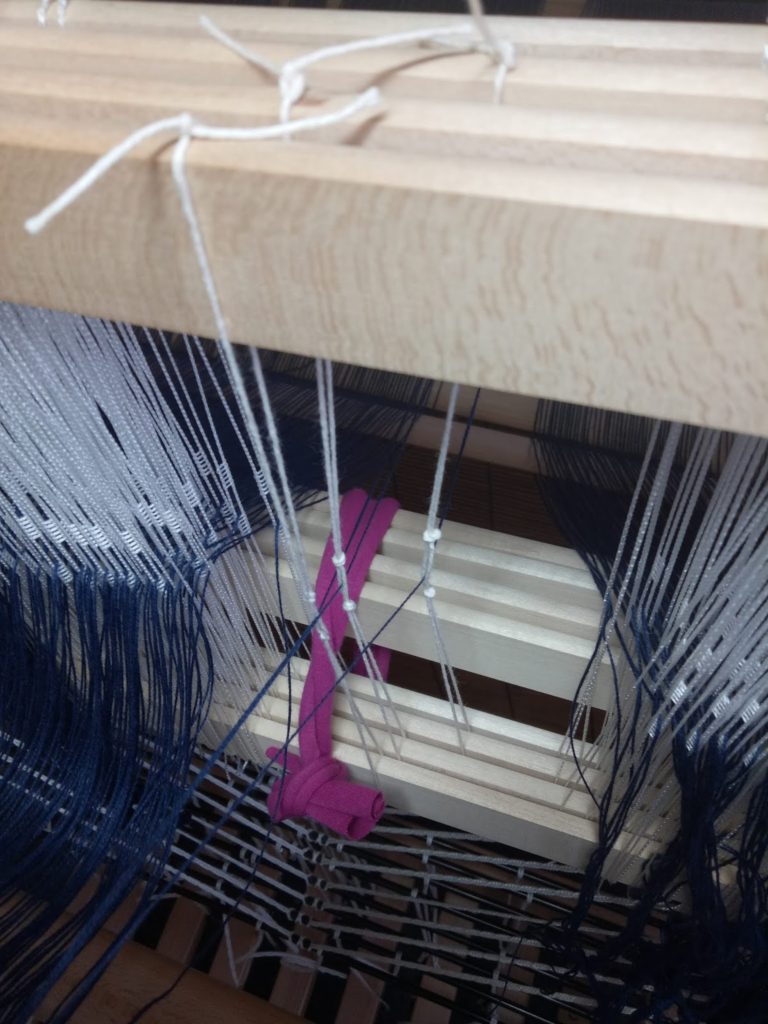
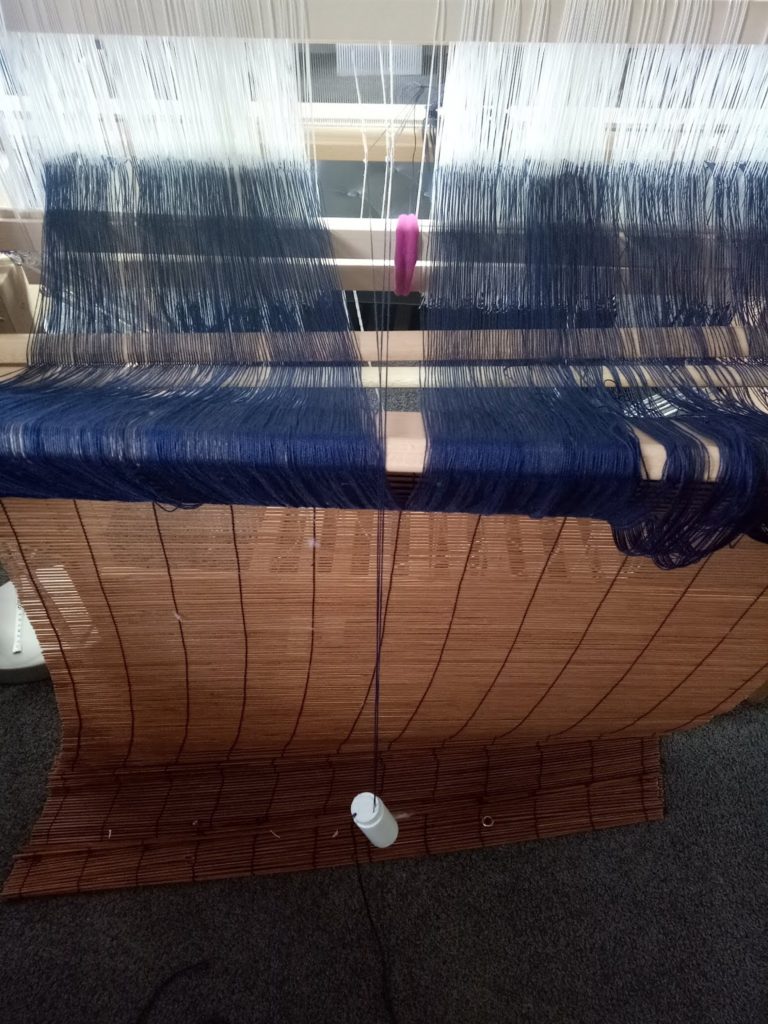
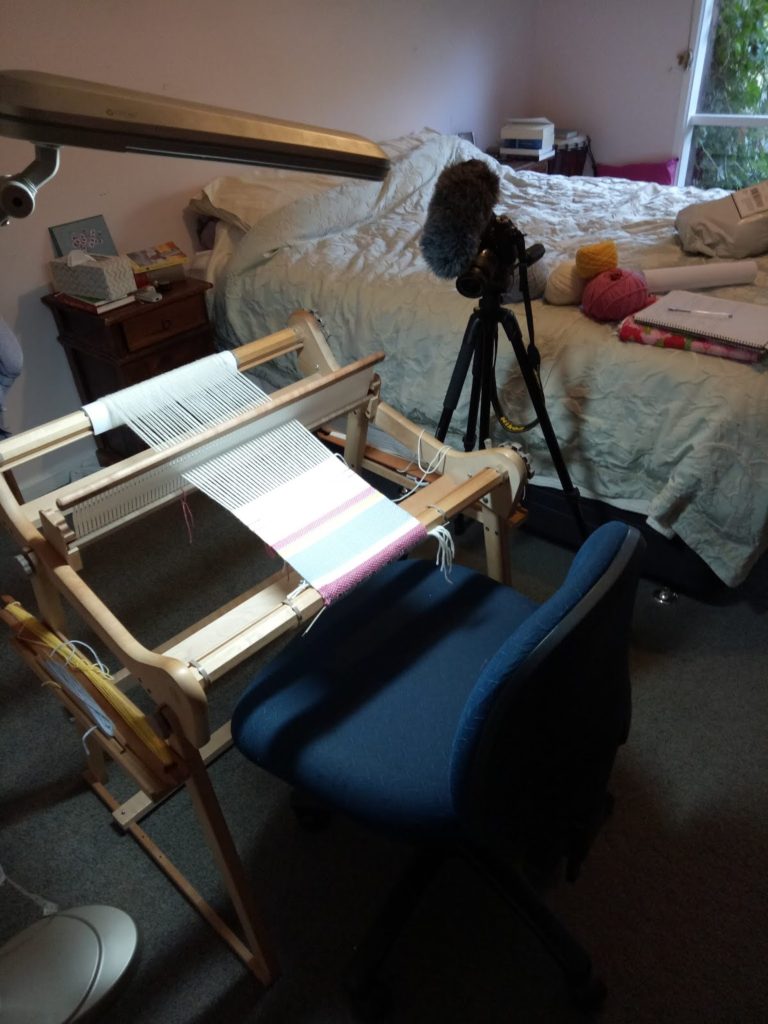
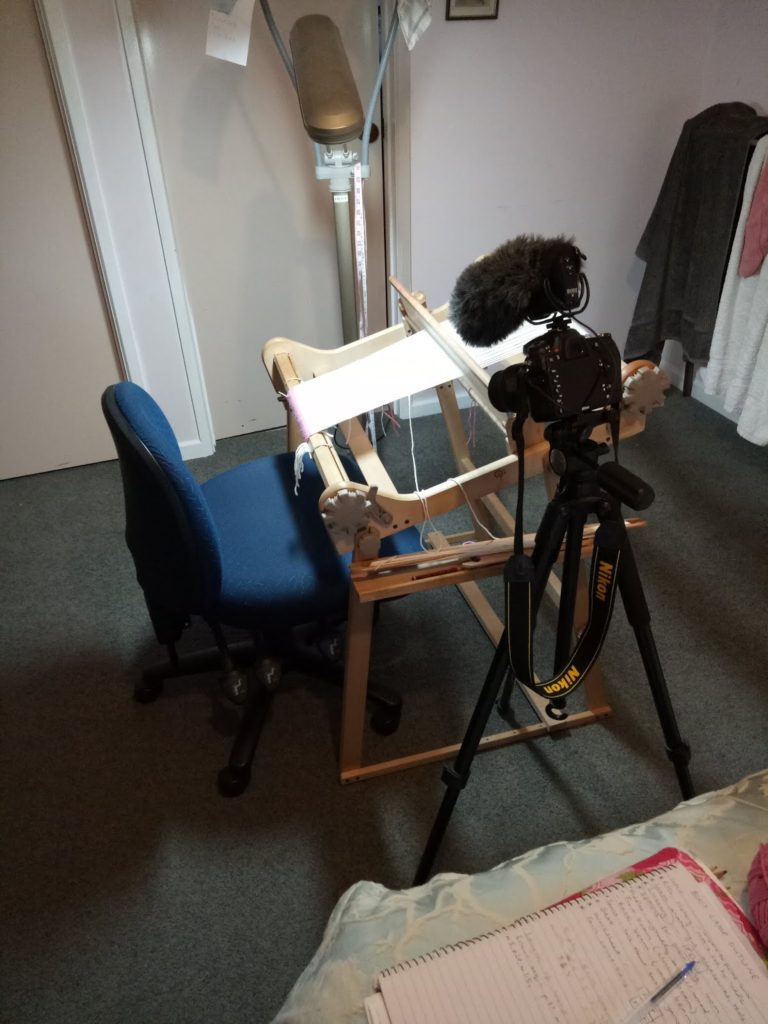
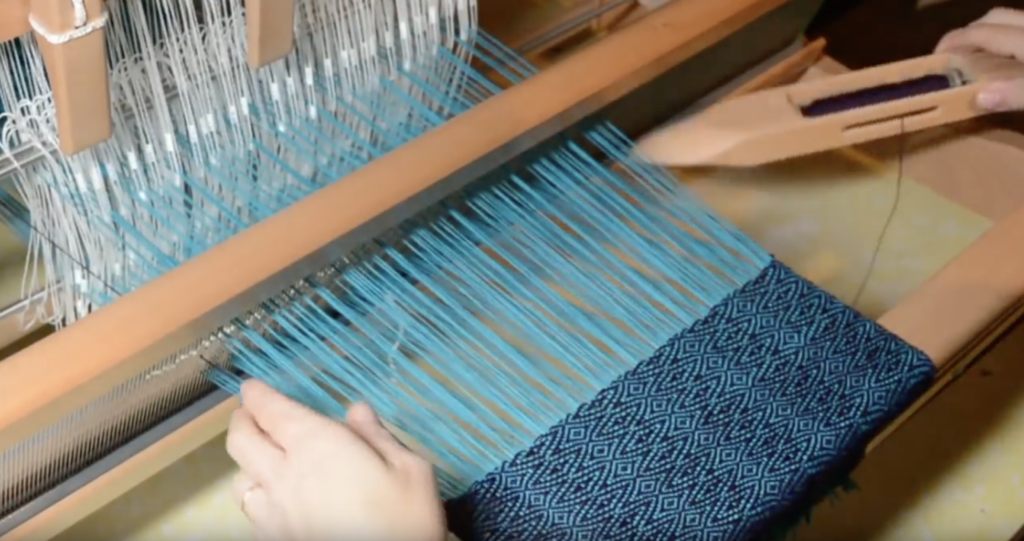
Finally, the floor loom is a full body experience. That sounds a bit weird and new age doesn’t it?! But what I mean is that you are using your head (eyes to read the pattern as you weave, if you need to), your hands to throw and catch the shuttle (your body naturally sways slightly from side to side as you get into the rhythm) and your legs (as your feet move or “walk” the treadles to operate the shafts). It’s actually a bit of a workout!
Because of this “full body” approach on a floor loom, you are able to operate many actions at once. And that is the real beauty of floor loom weaving, the harmony of actions that allow you to work fast to achieve sometimes quite amazing results.
Don’t forget that there are pros and cons to all types of weaving and I try not to promote one over the other because I believe each weaver needs to find the right fit for their particular needs. If it seems that I am promoting the floor loom in this article, it is only within context of answering a question.
To recap, why would I buy a floor loom?
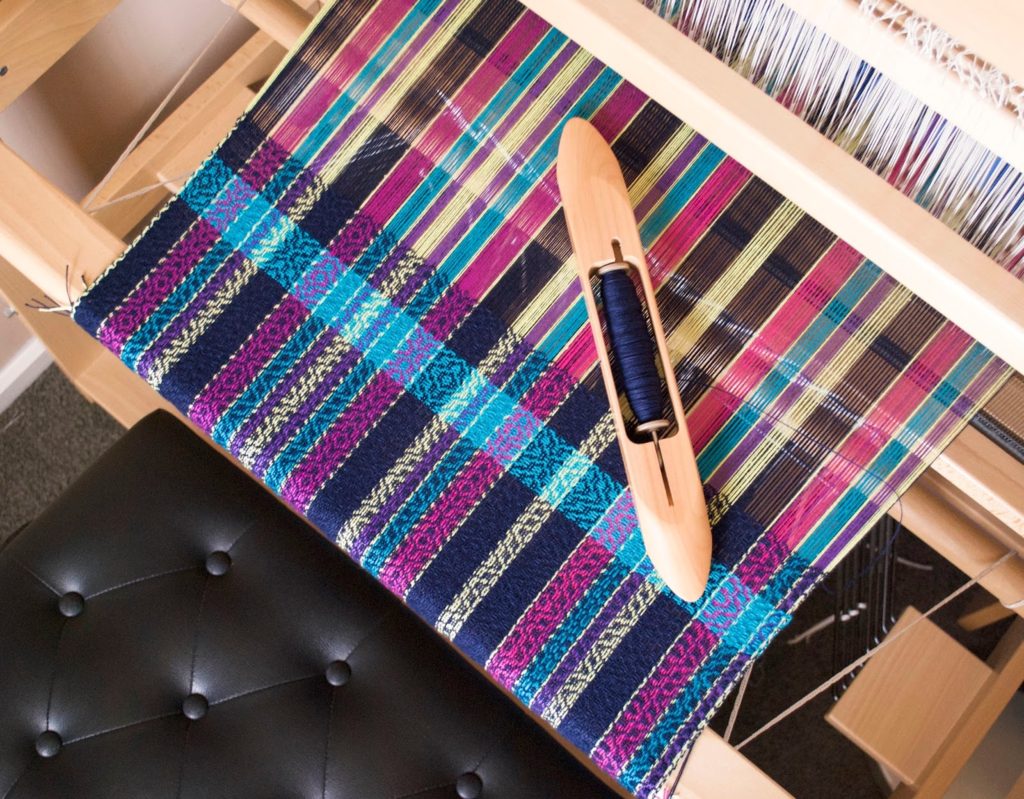
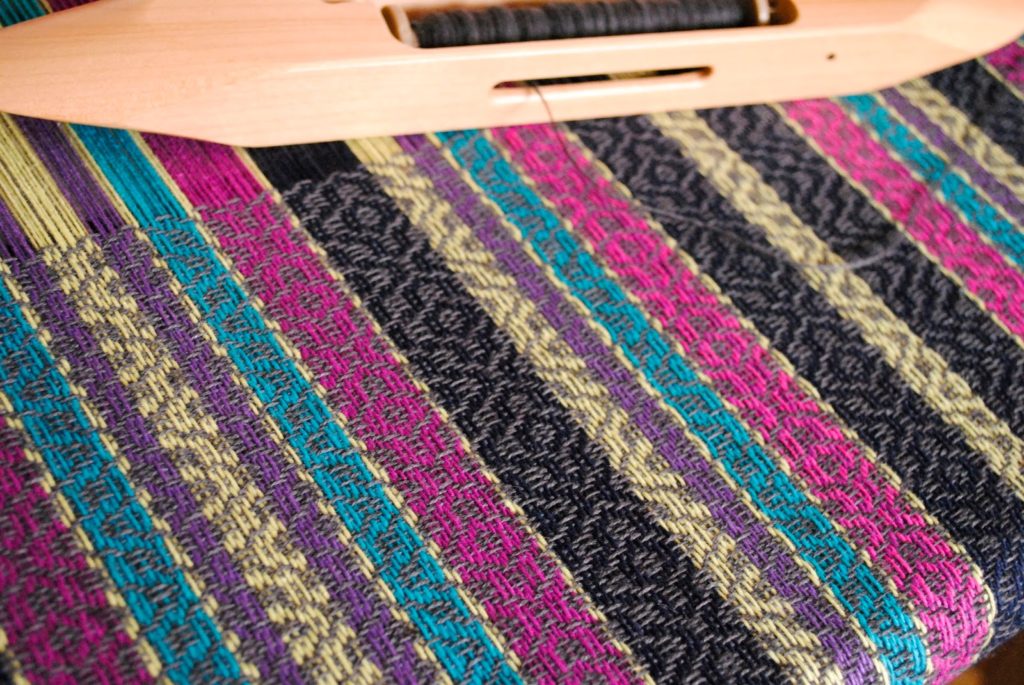
1. Intricacy of pattern
2. Finer threads
3. Speed and efficiency
I hope this article helps you, thank you for reading!