I have already made a video on my favourite rigid heddle weaving books, but haven’t talked about my floor loom or multi shaft books.
This is certainly not an exhaustive list, and I definitely plan on increasing my collection over the years, but these are a few that I have found particularly good.
*This post contains affiliate links
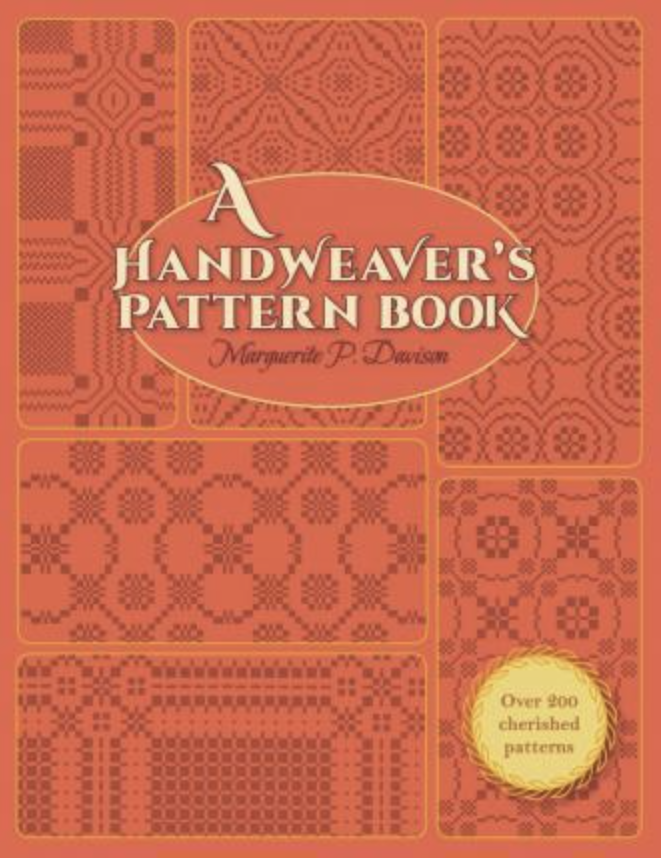
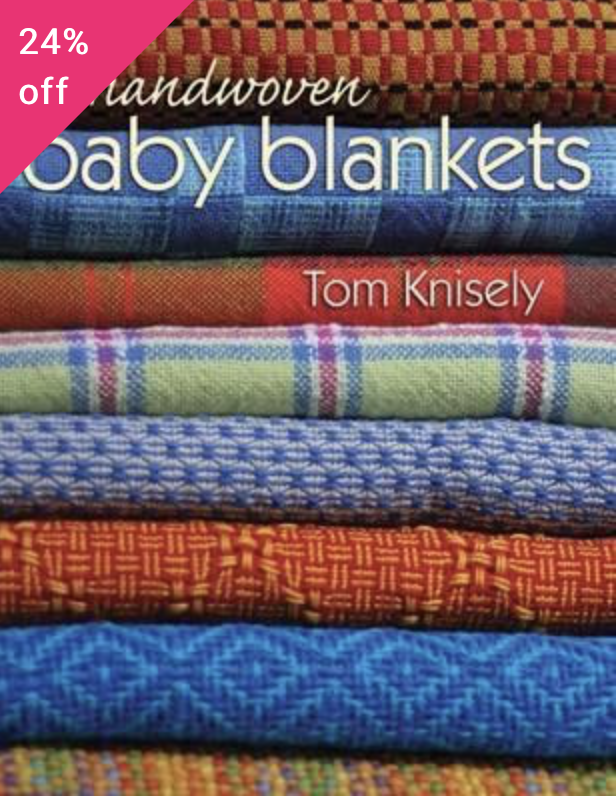
I will start with my absolute favourite. If, in some terrible circumstance, I had to choose just one of the following books to keep, this one would be it!

The Handweaver’s Pattern Directory by Anne Dixon only covers 4 shaft weaves, and yet, with the number of pattern drafts you could feasibly use this book for years before even considering buying an 8 shaft book. There is nothing I do not love about this book! Yes, it is a little expensive, but I consider it my “go to” for any 4 shaft weaving. It’s a hardcover book with spiral binding. This is awesome because you can lay the book flat to follow a threading or treadling pattern, and the hard cover prevents any damage to the pages. I’ve had mine for many years and it still looks as good as new. The layout shows you exactly what you can expect from each draft by providing colour pictures and yarns used to achieve each one – great for those just starting out.


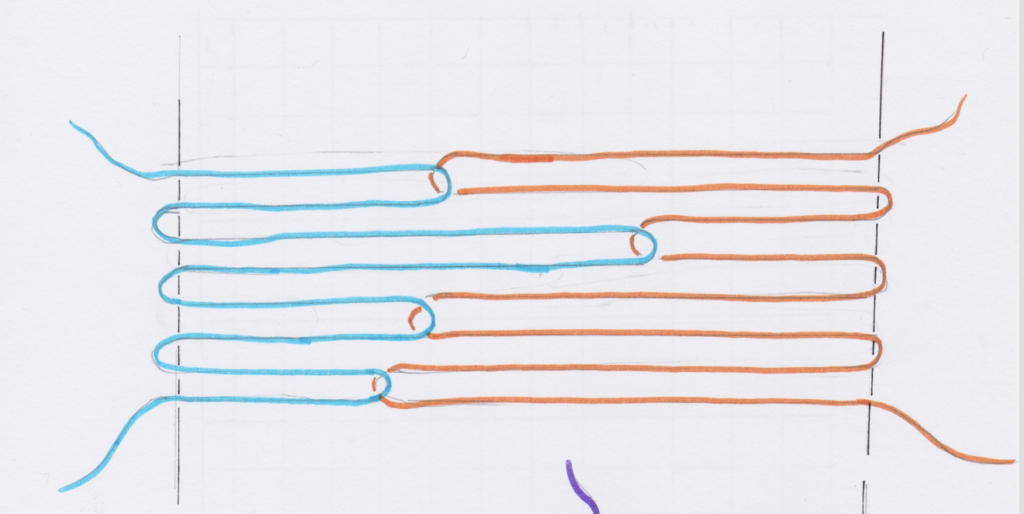
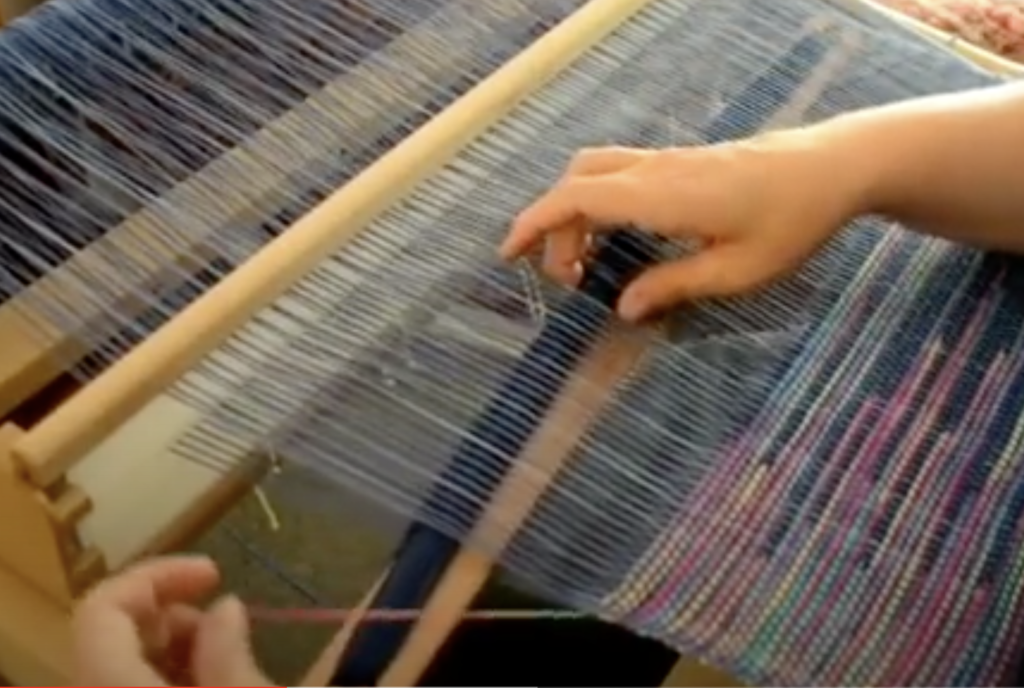
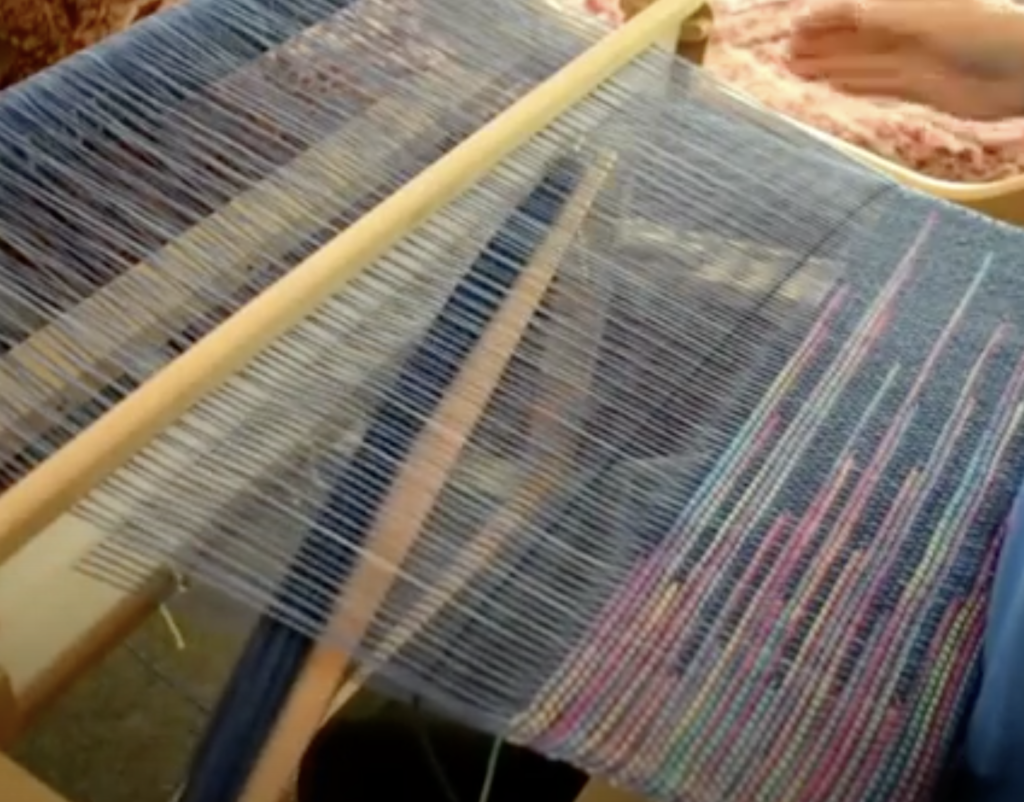
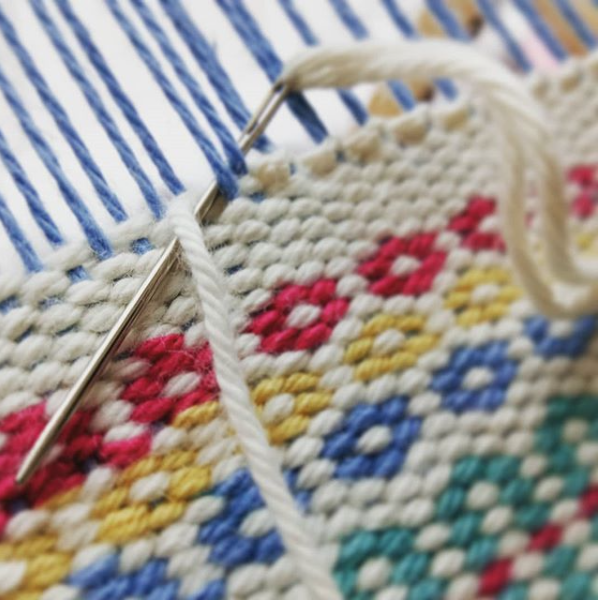
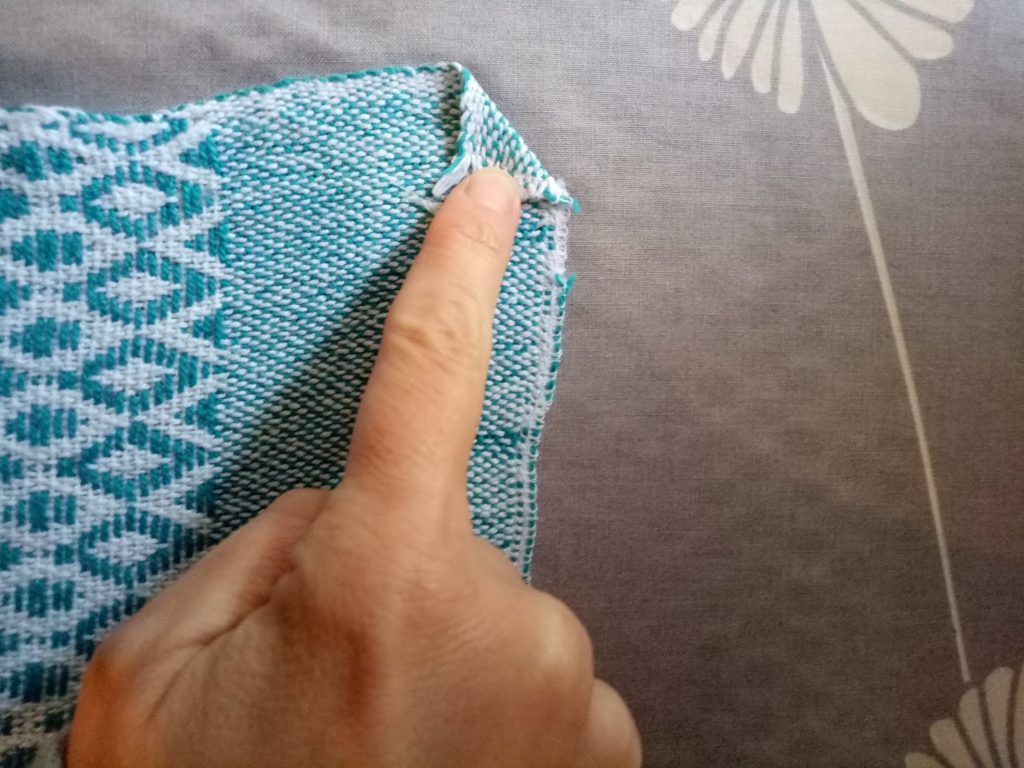
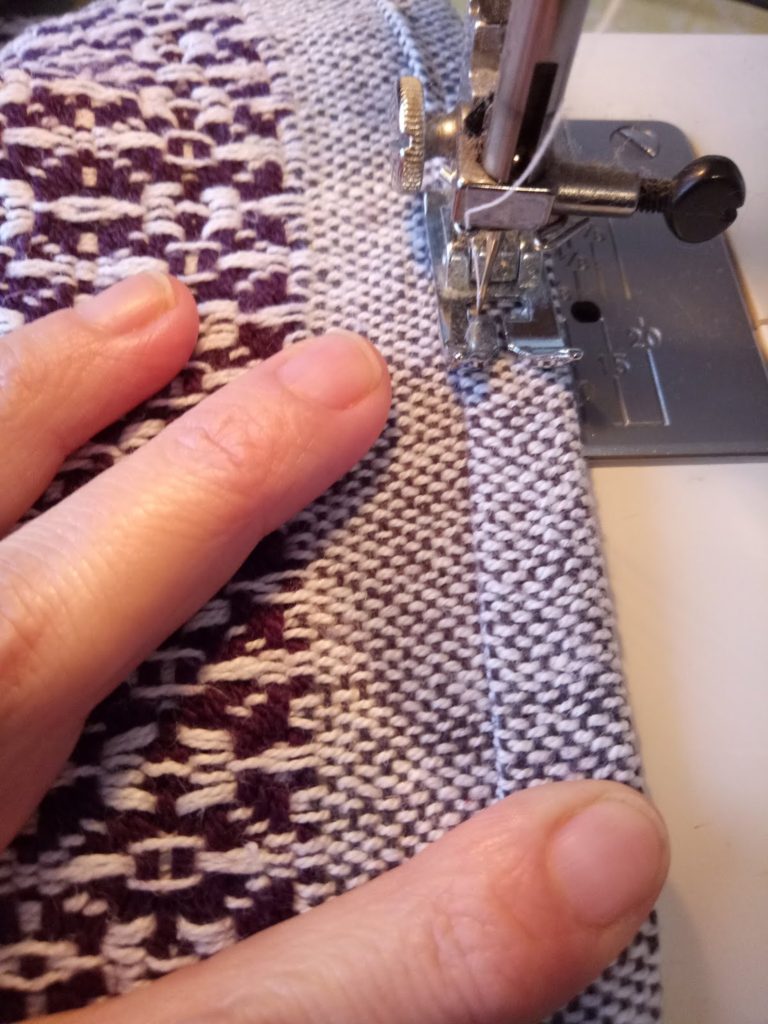
 On the right hand side (where your shuttle entered), tidy up and prepare your weft yarn as though you’re going to beat the pick in. If you’re not familiar with how to do this, watch my free video on