Things are about to change in a big way in our household. It’s all very exciting and scary. Let me give you some background information to explain!
The past year has been just little too crazy. Running my business, homeschooling the kids, driving hours every week to get kids to lessons, activities and jobs, trying to ensure that everyone stays healthy with nutritious food, meeting the mental, physical and spiritual needs of 4 young people, maintaining a happy marriage, nurturing my faith and pretending that my house doesn’t look like a disaster zone are just some of the things I’ve been trying to juggle. More often than not, those juggling balls have been dropped.
So often people ask me how I “do it all” and I always reply that I don’t! I can’t – no one can. I have a family who I also consider my team. We work together to get things done, and still there is more than we can handle.
I’ll admit that I’ve been really stressed this past year and that my old, unwelcome “friend”, anxiety has been popping up more often than I care to mention.
On top of all this has been the problem of my husband’s back injury. Without going into too much detail out of respect for him and for the organisations he has worked for, he sustained an injury at work almost 15 years ago. He has a collapsed and oozing disc in his lower back. He has continued to work in his job to support us, but it has become increasingly difficult to do so. In recent years, it has become a bit of a jumble of specialist’s appointments, employer negotiations, daily pain medications, more doctor’s appointments and more referrals. The specialists want to avoid surgery, as it would mean full fusion, a 12 month recovery period, and no guarantee of success.
It has always been a dream of mine that my husband and I could work on a business together. I have been given the gift of being self employed and not having to rely on a job for income, and I wanted that for him too. We had planned to wait and hope that my business income would grow to such an extent that it would replace his work income. We’re not there yet. But it has become unfeasible for him to continue working when he is in constant and often severe pain.

That brings me to our decision! He is coming home. He will remain on casual status at his current job, but he is only obligated to work one shift a month. All of the things that I’ve talked about have been the catalyst for the change, and we feel that God is leading us in this direction, in fact, we feel that there is no other choice to make at this time. It’s not how I hoped or planned, but life rarely is that way.
So, what does this all mean for us?
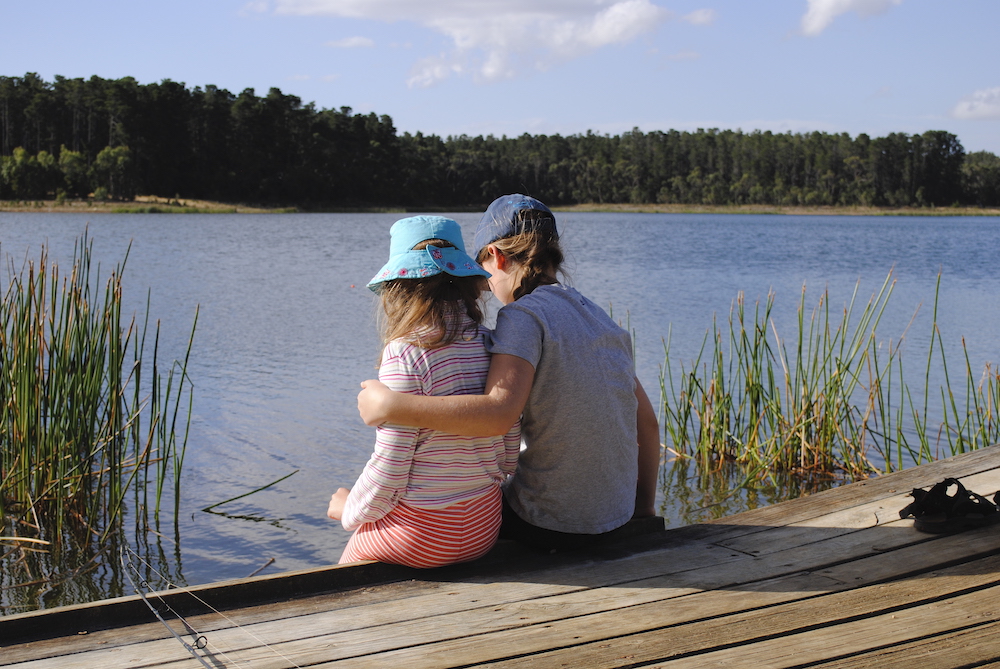
It means that we can now be a real team. That I can get help with all of the things I need help with. That we will be working together for the benefit of our family. Reduced stress. More time to work on making the business bigger and better. More time to work on our neglected home and fix those things that have needed fixing for I don’t know how long! Particularly for my husband, who has worked so hard for so long, more time to spend fishing, which is his lifetime passion. Yes, it’s going to be a big financial change and challenge, but I think the benefits will outweigh the negatives. And I’m really excited about the possibilities that it will open up for my weaving school.

My husband is pretty camera shy, but who knows, maybe you will see a little more of him in my videos from now on.
Once again, I am so grateful to all of you wonderful people out there who choose to support me and my family by purchasing classes, memberships and patterns and watching my Youtube channel. Without you none of this is possible.
Onward and upward!
Until next time…
Happy Weaving!