• Skip to main content
  • Skip to primary sidebar

Kelly Casanova Weaving Lessons

  • Hi! I’m Kelly!
    • Disclosure
  • Online Weaving School Class Index
    • Common account issues
    • Common technical issues
    • What do I get with a membership?
  • New to rigid heddle weaving? Start here!
    • Never heard of the rigid heddle loom?
    • How to weave neat edges on the rigid heddle loom
    • Rigid heddle weaving
    • Rigid Heddle Weaving Patterns
  • Patterns
  • Subscribe

Rigid heddle weaving

New Krokbragd Bag Class!

by Kelly 9 Comments


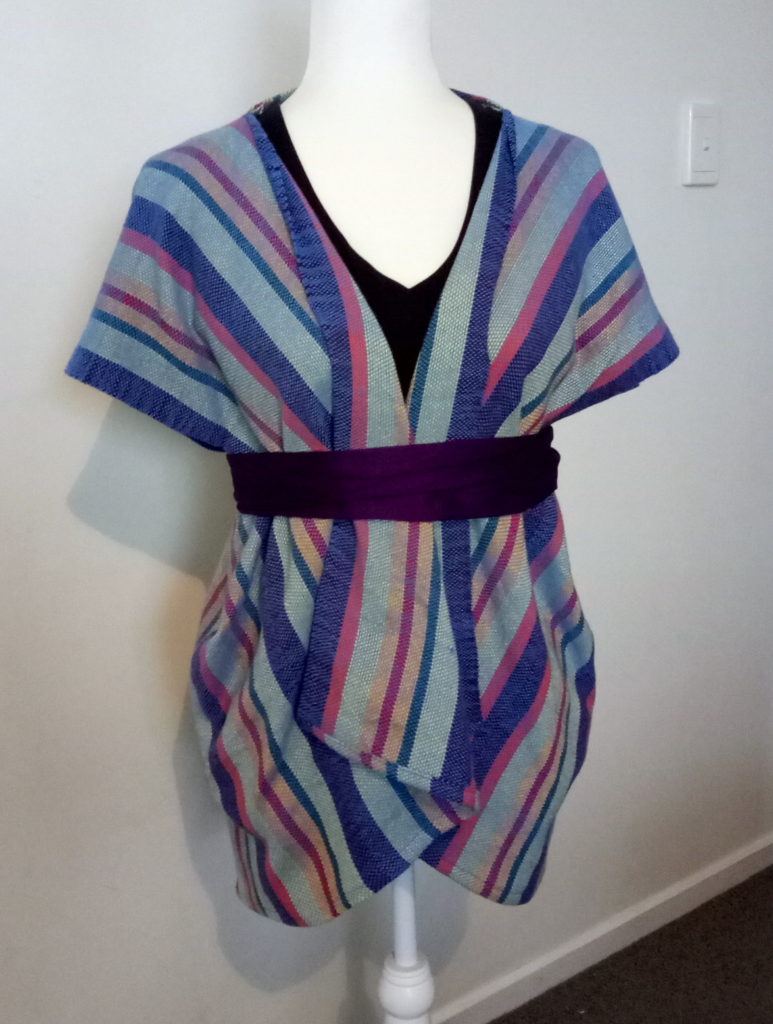
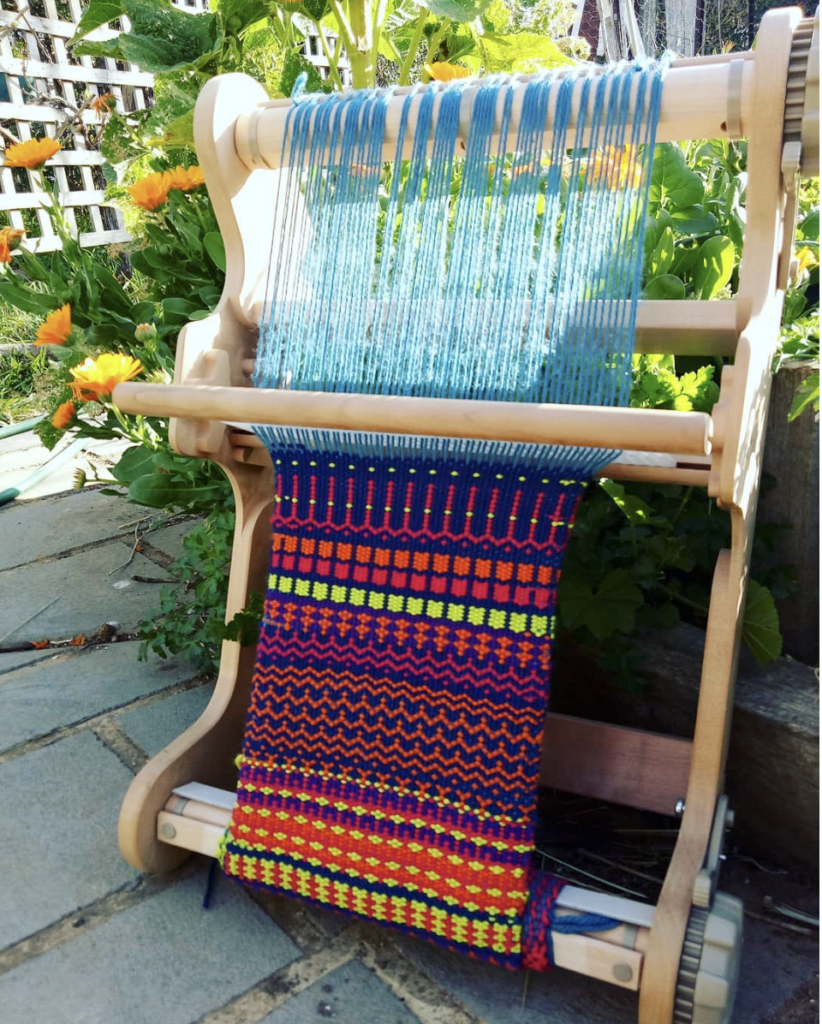
My brand new class is finished and available! When designing this bag, my plan was bold colour and design. I think I can safely say that I achieved that!


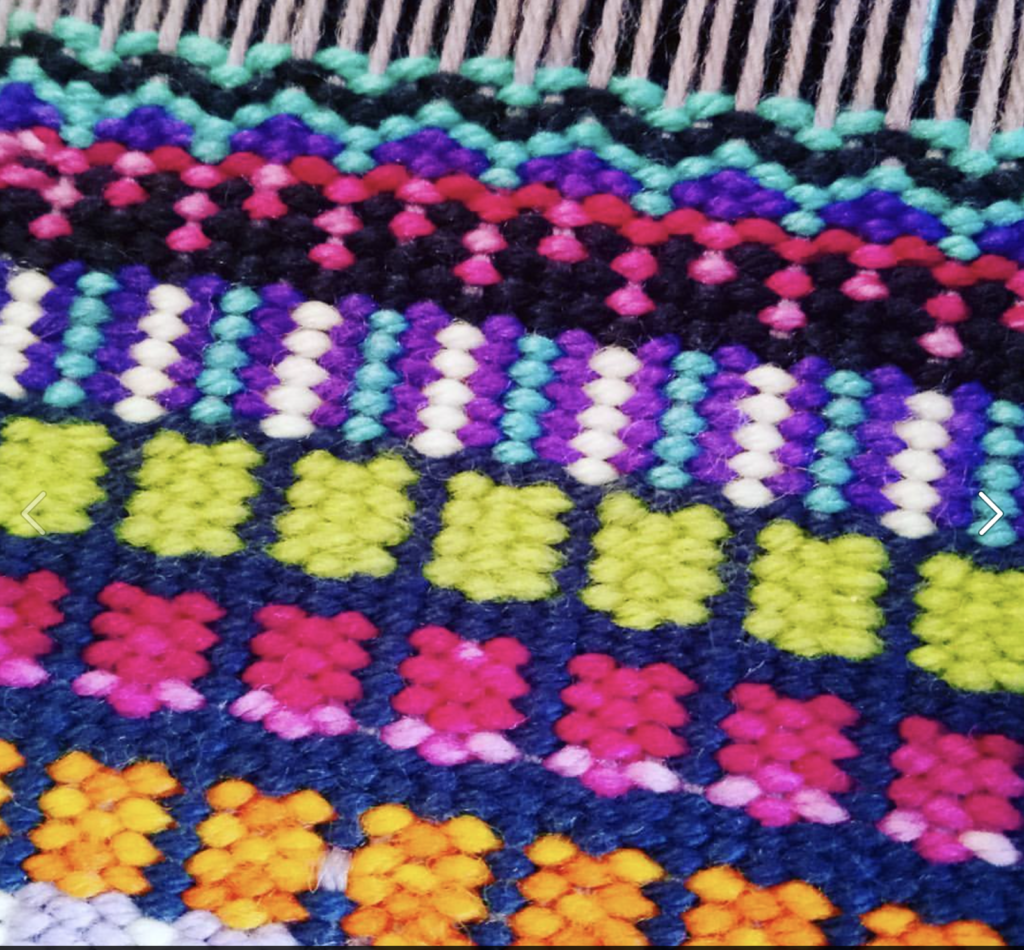
I used a contrast of deep, navy blue and a middle panel of bright colours and bold patterning to really set off the feature panel.


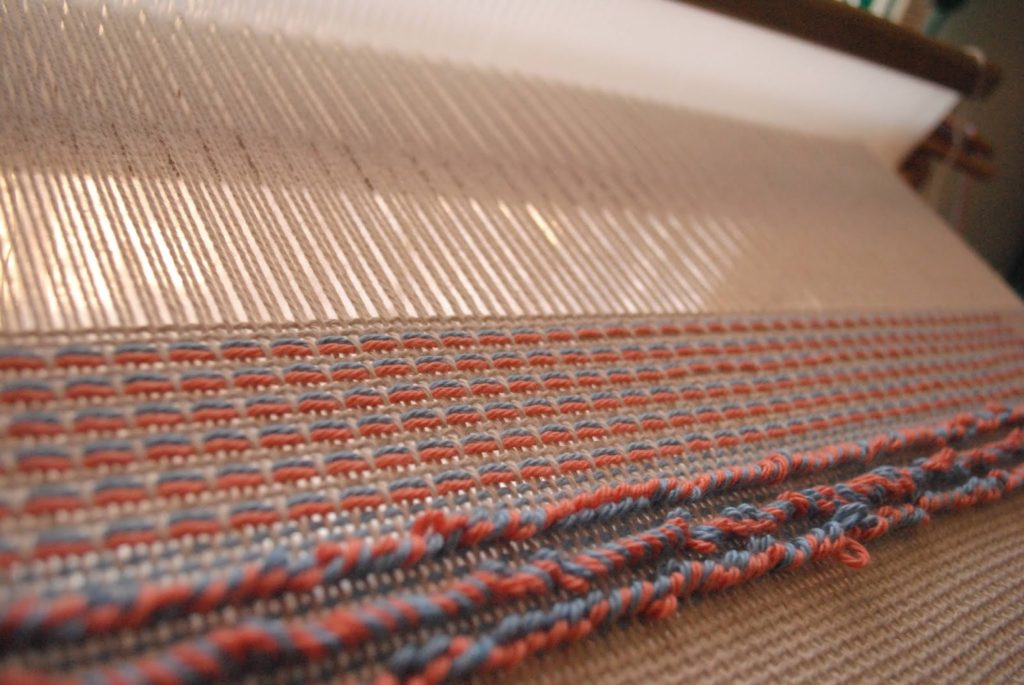
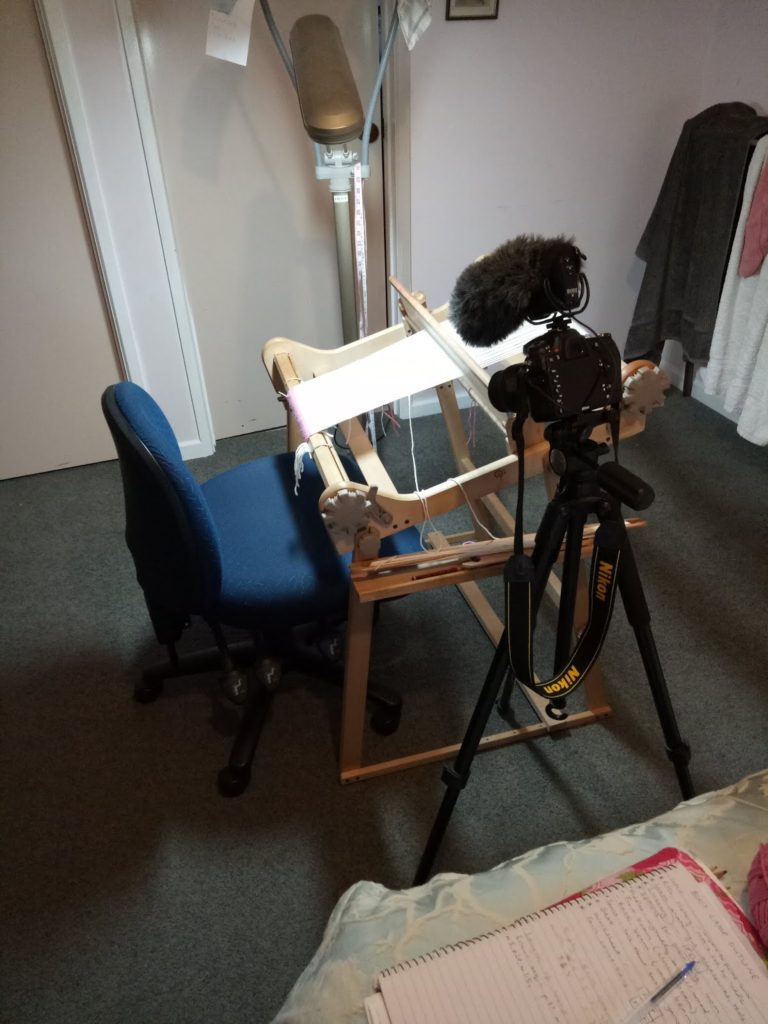
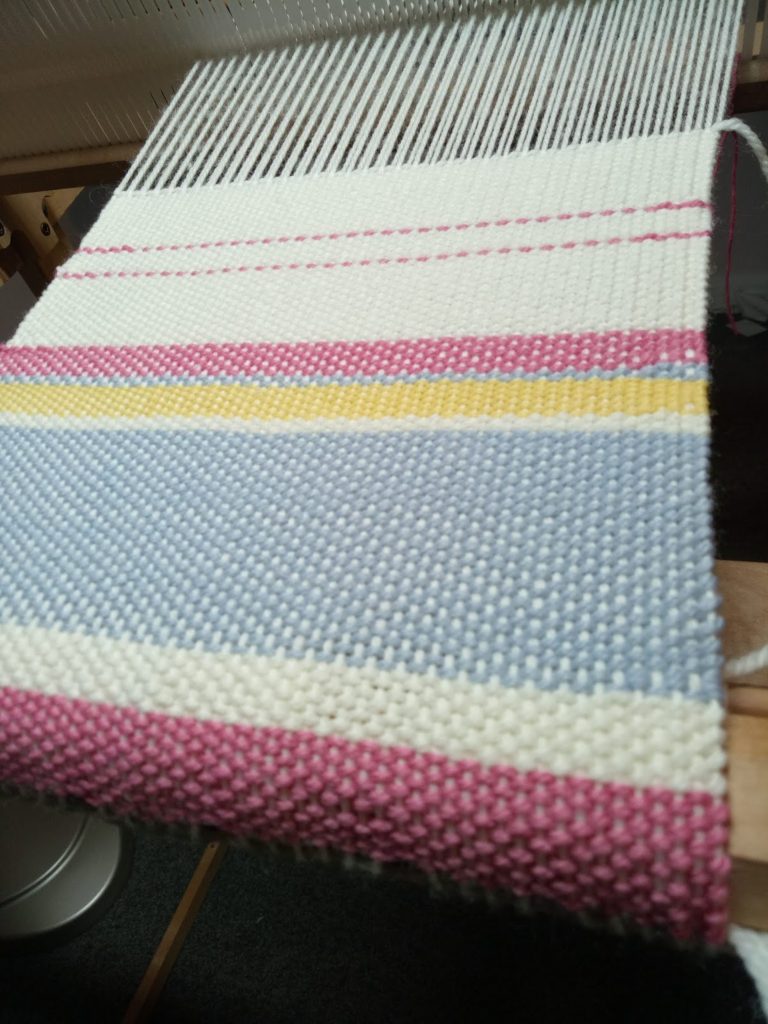
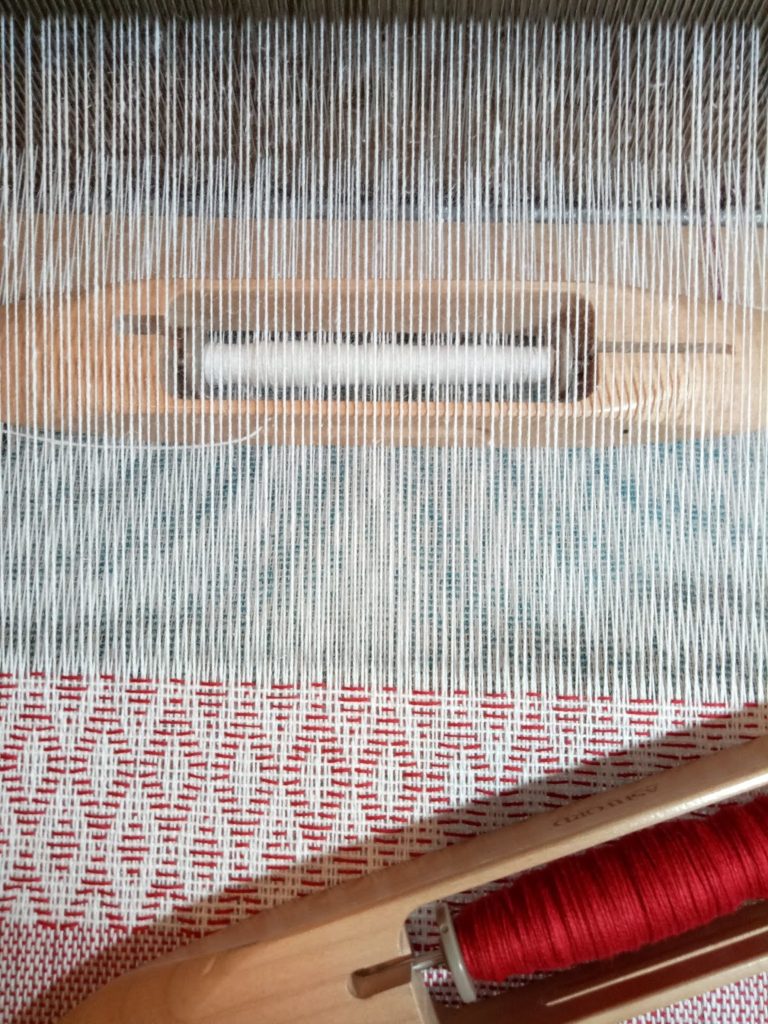
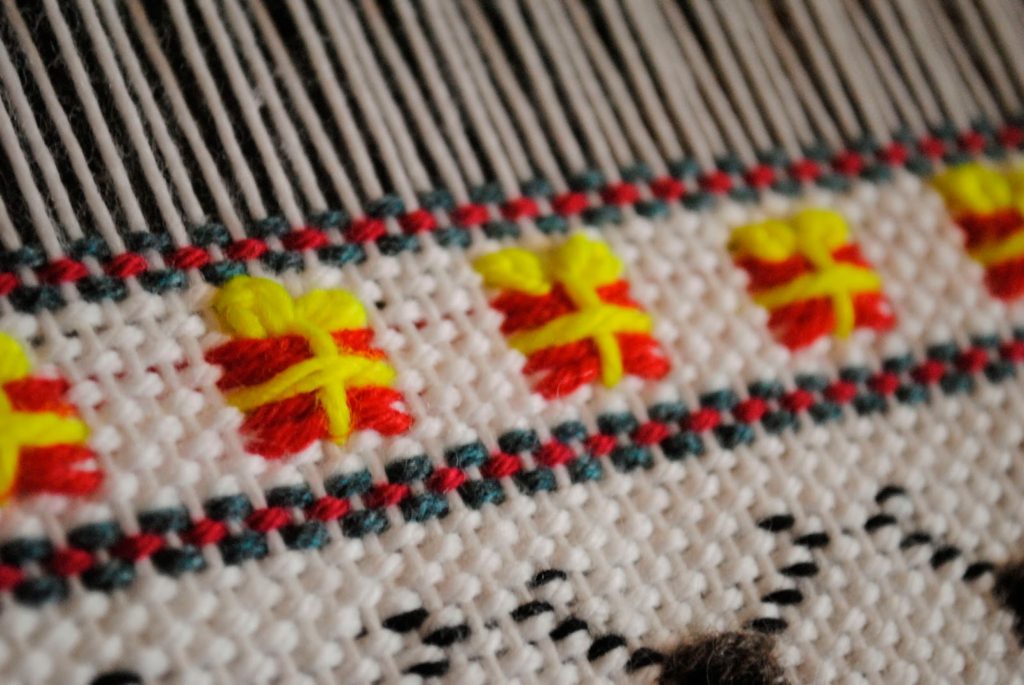
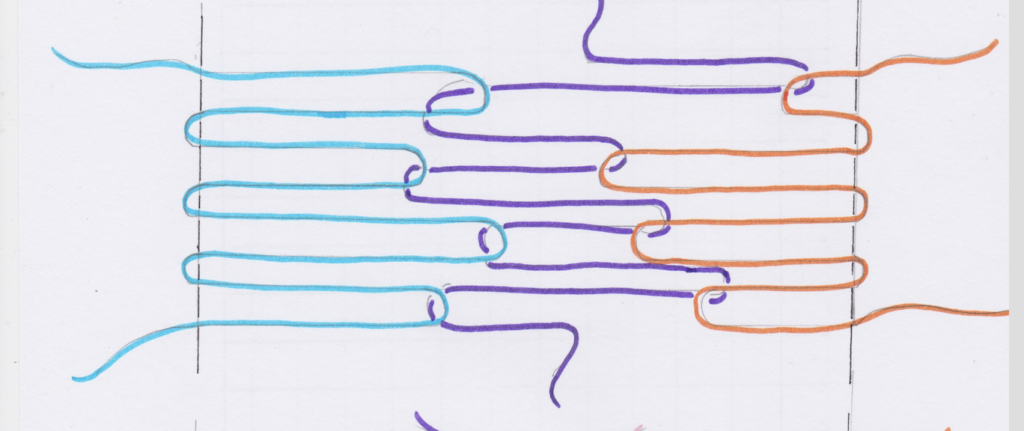
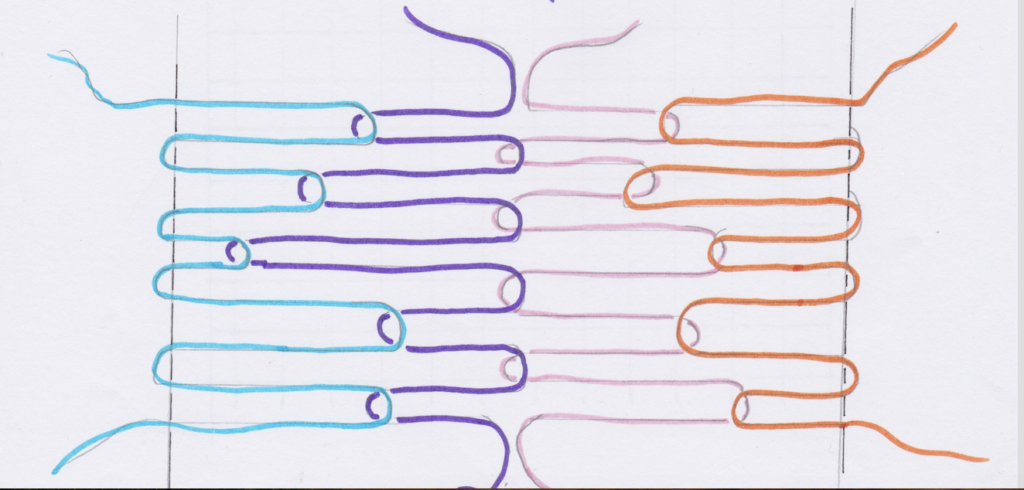
Originally I had a totally different design, but when I started weaving, found that it was a little more drab on the loom than it had been in my head. So, I whipped out the Sampleit, threw on a short warp and started experimenting with the colour palette I had chosen for the bag.

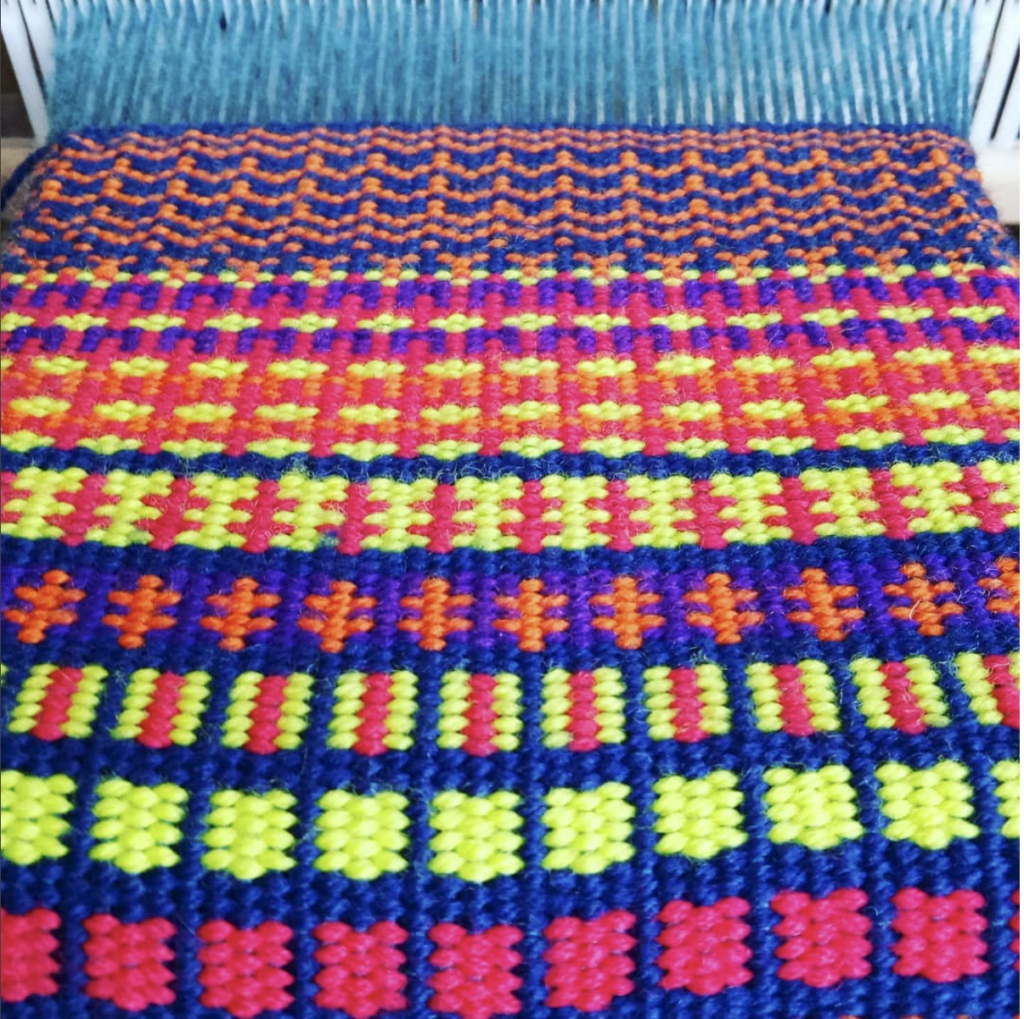
I was much happier with what I came up with on the small loom and although not all of this design made it into the bag class, I’m really happy with the finished bag – plus I have plenty of other designs up my sleeve for another time.


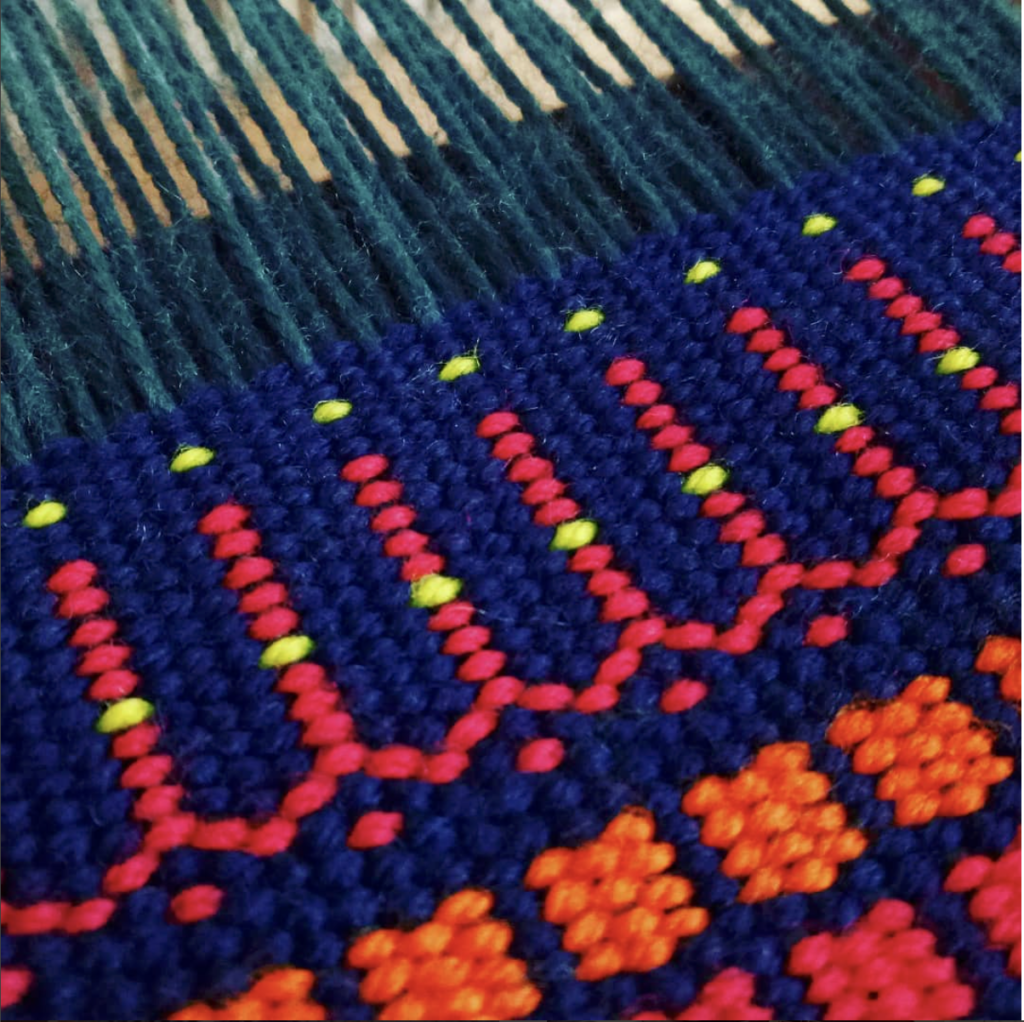
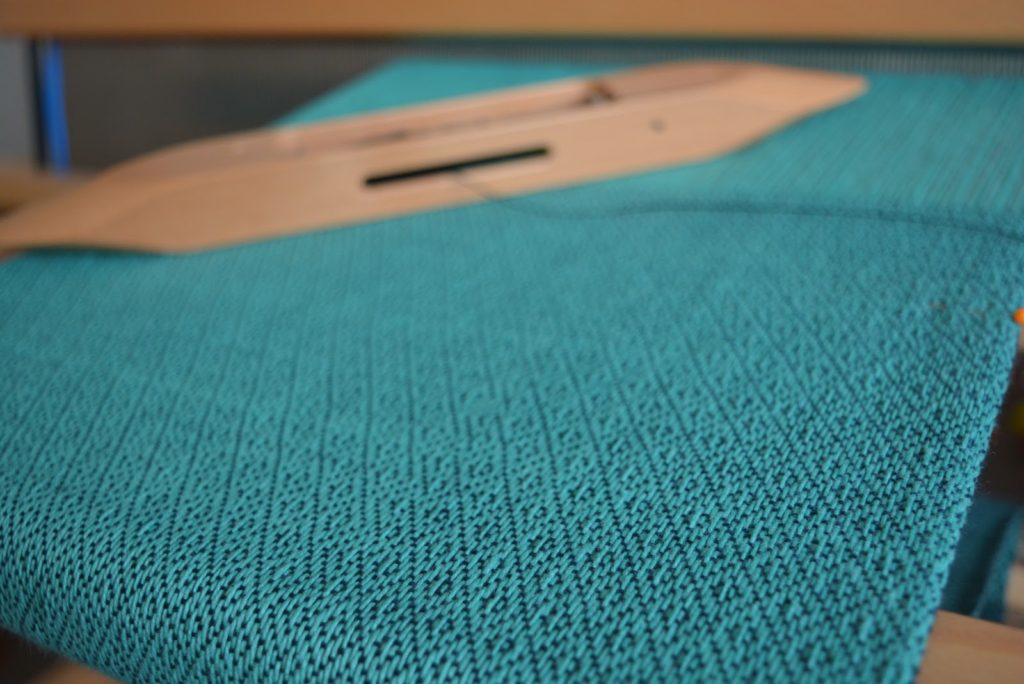
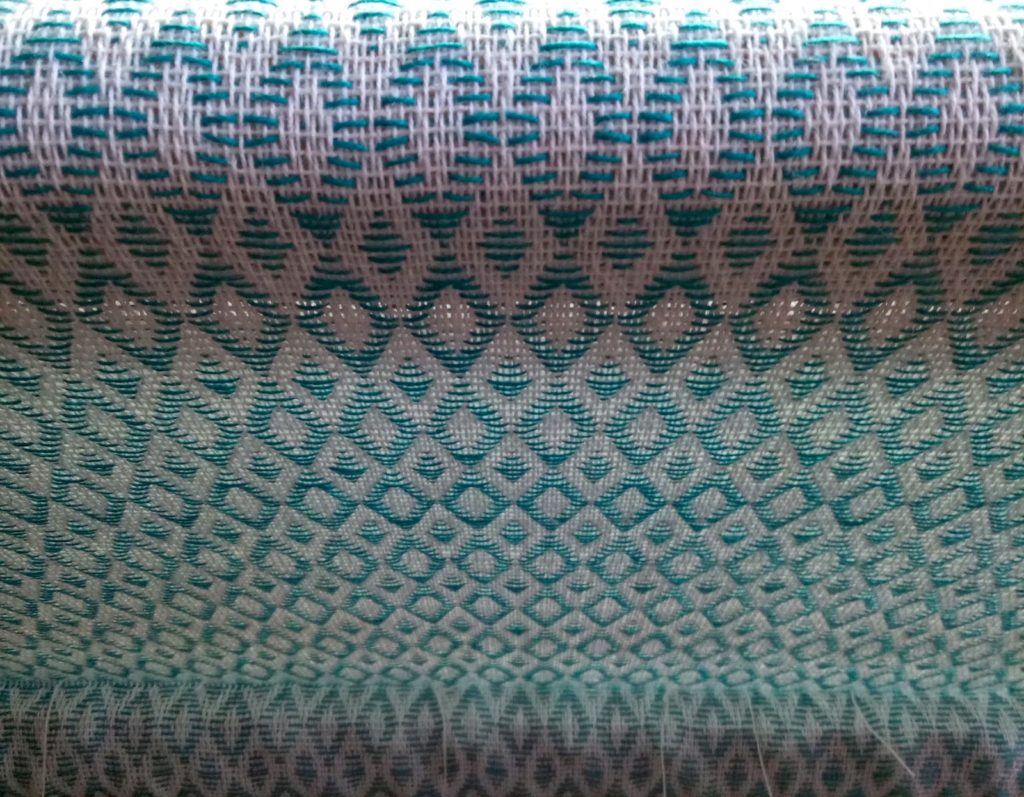
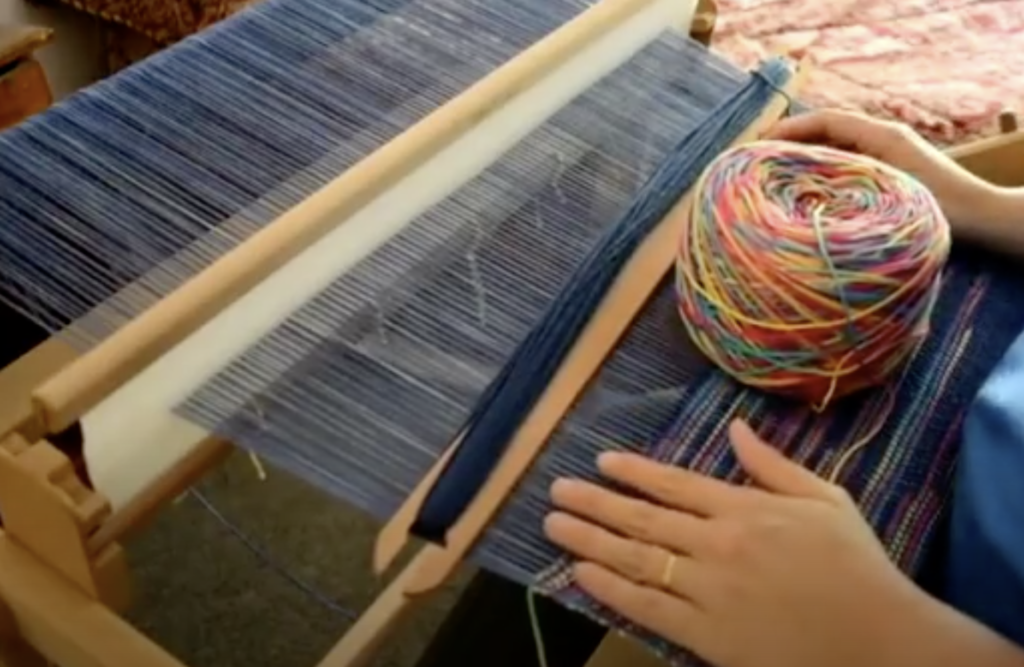
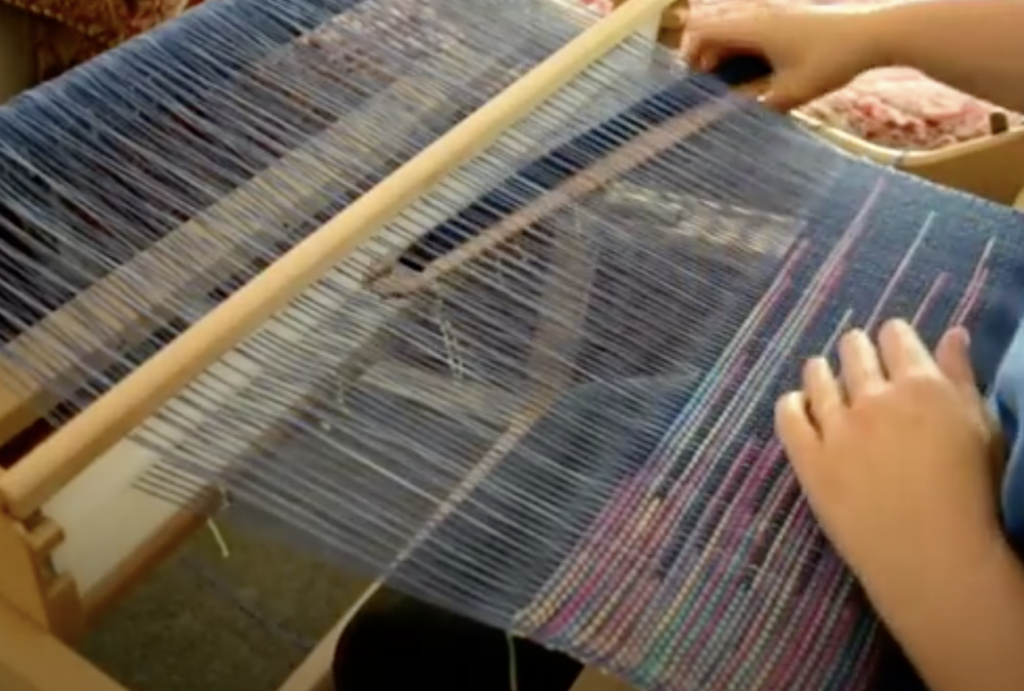
The idea for the bag actually came to my last year, when I was playing around with this sample below. It’s not until recently that I actually got around to making the class.
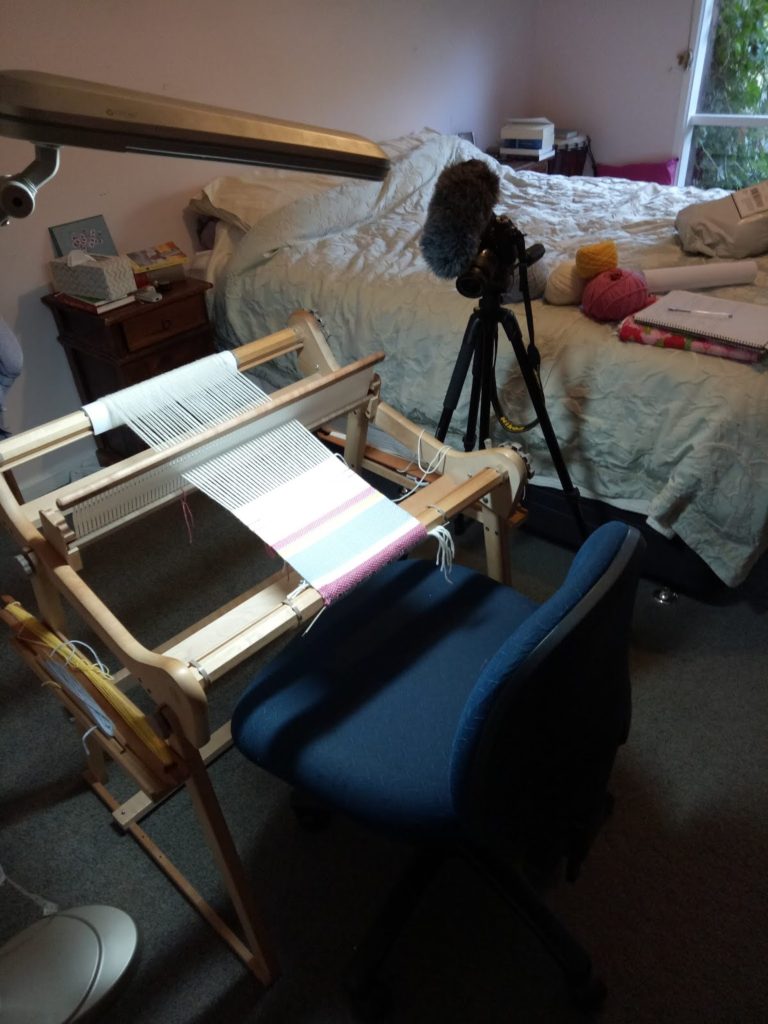
The project uses two heddles and provides two different methods for threading, according to your preference. Full sewing and finishing instructions are also included in the class.

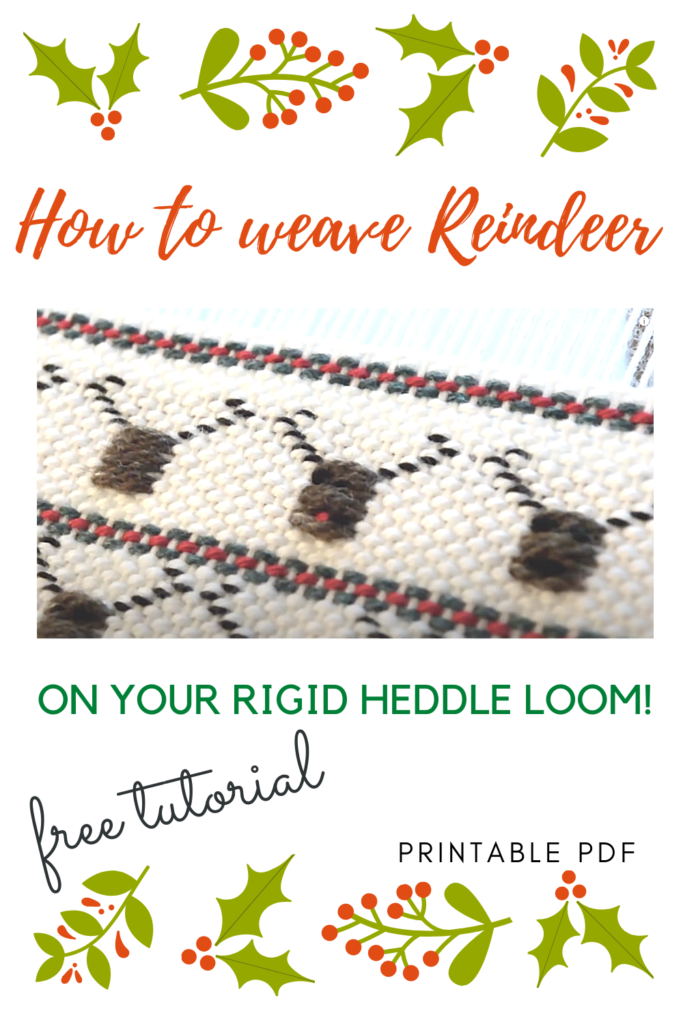
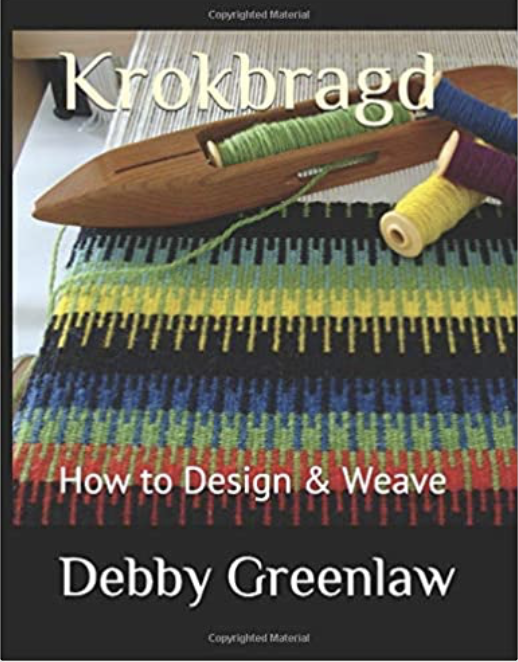
The bag pairs perfectly with my Krokbragd Mug Rug Weave Along that ran recently, so definitely start with the mug rugs if you’re hesitant about giving this a go.

And, if you just want to find out more about Krokbragd, I have written this post which gives you more information, plus links to my Youtube videos on the topic.

I hope you can join me for this one, Krokbragd is so much fun, so rewarding and for me, is a weave with a total WOW factor!

Filed Under: Rigid heddle weaving Tagged With: Kelly casanova weaving lessons, krokbragd, rigid heddle weaving

Great rigid heddle weaving books!

by Kelly 10 Comments

My last post detailed some of my favourite books for 4 shafts or more, but today I’d like to talk about some great rigid heddle books.
I already have a video on this topic, but I know some people prefer to read rather than watch, plus I’ve added some extra books to the original list, so here we go!


*This post contains affiliate links. 

I’ll start with my favourite and most used book, in fact, this is the first rigid heddle weaving book I bought.

The Weaver’s Idea Book by Jane Patrick This book has so much content and is great for beginners. It allows you to start with the basics and build as you go. Just about everything you need to know initially is contained within these pages and I think of it a little like a training ground for new weavers. It is also hardcover with spiral binding, making it easy to lay flat and view while you’re weaving. Highly recommended!


Weaving made Easy by Liz Gipson. A lovely little book that includes information on loom set up. The projects are simple enough for beginners and interesting enough for all weavers.


Woven to Wear by Marilyn Murphy. I also read this book as a newer weaver and loved how it stirred my imagination. It contains simple garments with lots of plain weave, making it great for beginners, particularly those wanting to get a taste for sewing with your handwoven. The sewing projects are simple rather than finicky, with the use of large shapes instead of small pieces.


Inventive Weaving on a Little Loom by Syne Mitchell This book is awesome value for beginners to intermediate with lots of ideas. For the newer weaver, there is practical information and plenty of inspiration for once you have the basics down. I think of this book as one that you may not fully appreciate until you have some more weaving experience, perhaps a book that will grow with you through your weaving journey. Towards the middle and later part of the book are projects and ideas that may be too challenging for a new weaver, but that an enthusiastic and curious weaver will definitely want to make use of later on. There is a lot of information, it is attractively set out and a joy to flip through.


Weave, Knit, Wear by Judith Shangold  This book is responsible for opening my eyes and quickening my heart over the range of possibilities with a rigid heddle loom and garment making. Judith uses mostly plain weave, colour and design to make fabric look special. She includes design layouts and illustrations to help you wrap your head around how garments can be constructed. What I really love about this book is the fusion of weaving, knitting and crochet added in. It really has encouraged me to think outside the square and maximise my rigid heddle loom.


Simple Woven Garments by Sara Goldberg Another really great book on making simple garments with simple, colourful, hand woven cloth. There are more than 20 projects and they are all wearable! There are also details on adjusting garments to your own specifications.

I had to come back and edit this post to include Debby Greenlaw’s new book Krokbragd: How to Design and Weave. I actually like this book so much that I wrote a review for it here, so pop over and read that if it sounds like a book you would be interested in.

To see all my book recommendations is one easy to access place, visit my Amazon Shop.

If you would like to watch this post in video format please click on the video below.


I hope you enjoyed my list!

Until next time…

Happy Weaving!


Filed Under: Books, Rigid heddle weaving, Weaving Tagged With: books, rigid heddle weaving, weaving books

What is Clasped Weft? A step by step tutorial.

by Kelly 23 Comments

Just when you think you’ve tried everything in weaving, you come across something different, like Clasped Weft.
Clasped weft can be a great “next step” for newer weavers with a few plain weave projects completed and who are ready for something a bit more adventurous.
The cool thing about weaving clasped weft is that, similar to Colour and Weave, most of the work is in using colours to make your weaving look fancy, when in actual fact it is quite simple.
The clasped weft technique uses 2, 3 or 4 interlocking weft colours. Using 2 colours to begin with is the easiest and least complicated approach. If you have done any tapestry, you may already be familiar with the interlocking technique.
*This post contains affiliate links. for more information, see my disclosure policy.

We mainly use a plain weave structure (though clasped weft can actually be used in other structures, such as twill). It is a perfect technique for a rigid heddle loom, because, although it’s simple, it looks special and has big impact.


Before we go through the tutorial steps, let’s look at some (rather poorly drawn, sorry about that!) diagrams to get a clearer idea of how this works. The drawings are over simplified, as I haven’t drawn in the warp and weft interlacement, but I have drawn in the edge warp threads:

Clasped weft with 2 weft colours.

Clasped weft with 3 colours.

Clasped weft with 4 colours.

Now let’s go through the tutorial steps so that you can get clear on how clasped weft is actually woven. Today, we are just focusing on working the two weft colour technique, as I believe this is the best place to begin if you’re not familiar with clasped weft or haven’t attempted it before.
Begin with two contrasting weft yarns of the same weight. I have used one with a dark navy colour and another that is variegated with bright colours.
See the tips section below for more on why variegated works perfectly.
My warp and weft yarns were all light worsted/dk/ Australian 8 ply weight. Wool, acrylic or cotton are all fine.
One weft yarn is loaded onto a stick shuttle, in my case this was the dark navy. The other colour is left in a ball or on the cone. My variegated colour was in a skein and so I wound it into a yarn cake with my ball winder.
A yarn cake (also known as a centre pull ball) is particularly good to work with for clasped weft, because it sits nice and flat on the floor and won’t roll away. The yarn also feeds off the yarn cake seamlessly, which makes the whole process that little bit easier. If you have a ball, you may want to sit it in a box or basket on the floor to contain it.
Place the ball of yarn on the floor at your left. It doesn’t matter if you place it on the right or left, but for the purpose of this tutorial it’s on the left.
Because the ball (let’s call it the contrast yarn) is on the left, we enter the shed with the stick shuttle on the right. Again, it doesn’t matter whether you are in the up or down shed, but I am beginning in the down shed.
Take your stick shuttle across from the right hand side to the left as though you’re going to weave a regular plain weave pick.
When your shuttle reaches the left hand side, pick up the contrast yarn and place it over the top of the stick shuttle.

Take the shuttle the rest of the way through the shed at the left – as you would for your normal plain weave pick.

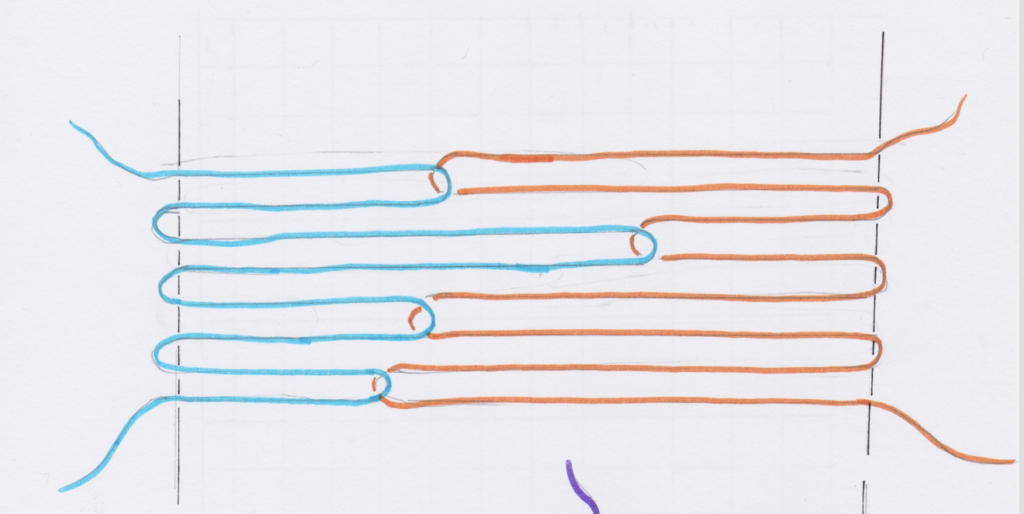
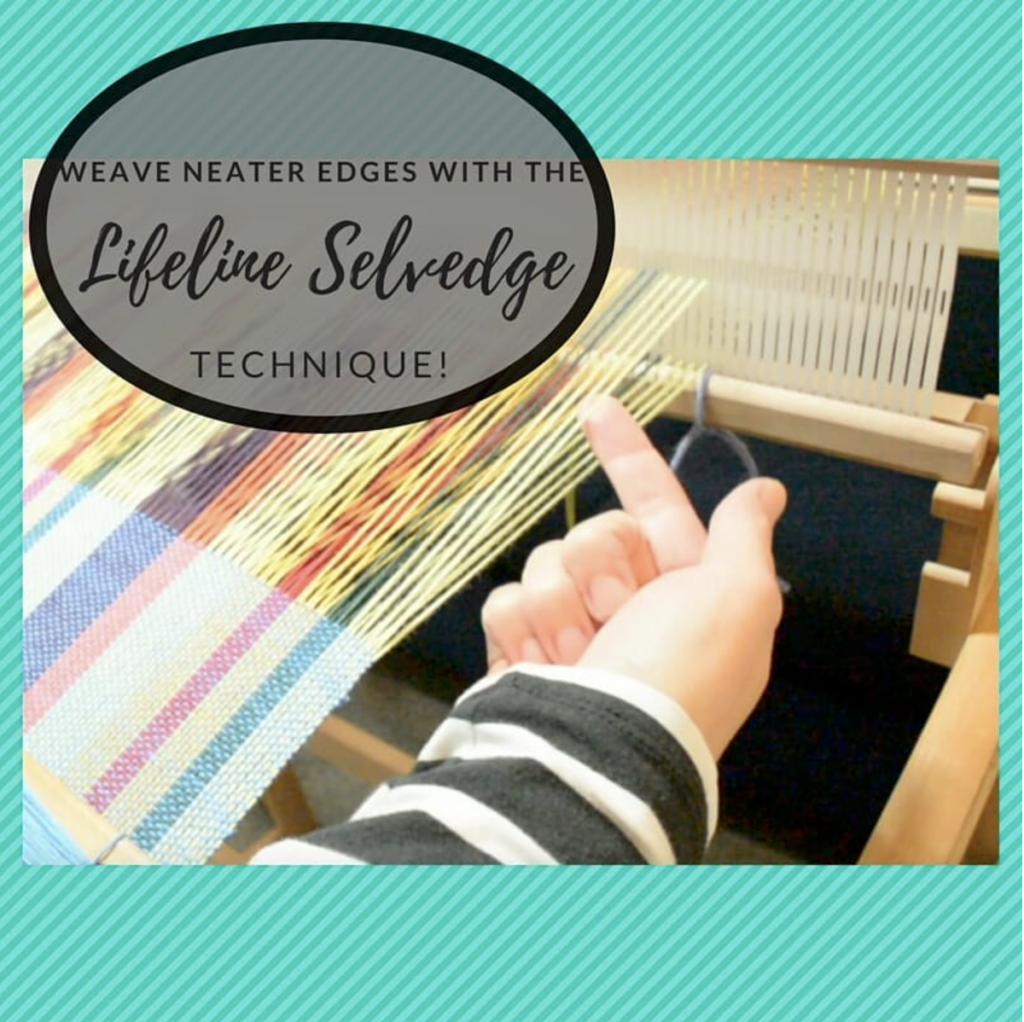
On the right hand side (where your shuttle entered), tidy up and prepare your weft yarn as though you’re going to beat the pick in. If you’re not familiar with how to do this, watch my free video on How to Weave Neat Edges.  DON’T BEAT.

Take the shuttle straight back into the same shed. Don’t change sheds, and don’t beat! Take the shuttle through, back to the right where you first entered the shed.
As you return the shuttle to the right, you will find that the navy yarn is linked or clasped with the contrast yarn. This means that the contrast yarn is pulled into the shed. Now you get to decide how far you will pull the contrast yarn into the shed. A little? A lot? Your choice, depending on the effect you want to achieve.
Hold both yarns under tension on either side to manipulate where you want the two yarns to go.
When you’re happy with the yarn positioning, beat the picks into place. You will notice that both yarns are now doubled in the shed.
Change to the next shed (in my case I had been working in the down shed, so I go on to change to the up shed).
Continue weaving in the exact same manner in the new shed and repeat until you’ve finished weaving.
Isn’t your head just swimming with all the possibilities of this wonderful technique?
Clasped weft can be extremely planned or extremely random. It looks wonderful both ways and is just so much fun to weave.
Here are a few recommendations for best results:
1. Use contrasting weft colours.
Light and dark will make the weaving pop. 
2. Use the same weight yarn for both warp and weft.
You will get better results and avoid the not so pretty lumps and bumps that can occur at interlocking points.
3. Variegated yarn is perfect for this.
For the 2 colour clasped weft technique, a variegated yarn with a contrasting yarn looks really cool! (See photos below and above).

              4. Using the same colour as the warp for one of your weft colours works great.

Too much colour can confuse the contrast of the clasped weft lines. In the tutorial, I used the same navy yarn for warp and weft no.1. I then used a contrast yarn for weft no.2.

If you like the look of clasped weft as much as I do, I have some great news for you! I have 3 free Youtube video tutorials that will teach you each of these techniques. Start with video 1 so that you can practice the technique, before moving on to the others. 

Clasped Weft with 2 colours
Clasped Weft with 3 colours
Clasped Weft with 4 colours
I mentioned that the clasped weft technique can also be used for other weave structures. This can create really interesting and impressive special effects. One of my Etsy patterns, The Cityscape Scarf is a perfect example of a clasped weft combined with a twill.
Try it out and let me know what you think. Leave me a comment here or under any of the Youtube videos, I love to hear from you!
Until next time…
Happy Weaving!

Filed Under: 4 shaft weaving, Free Pattern, Free tutorial, Inspiration, Online Weaving School, Rigid heddle weaving, Rigid Heddle Weaving Patterns, Tutorials, Weaving Tagged With: clasped weft, my youtube channel, rigid heddle weaving tutorial, weaving

I have a rigid heddle loom, why would I consider buying a floor loom?

by Kelly 2 Comments

I was asked this question in one of my Facebook groups. I started to type a response, then decided it would be better answered in a blog post as it’s not a simple question!


It is true that the Rigid Heddle Loom is capable of a lot (even an 8 shaft pattern if you really want to) but there are many reasons why I love to have both a RHL and a floor loom. 


I wrote a series recently that compared different types of looms that you may wish to review:


The Rigid Heddle Loom


The Table Loom


The Floor Loom


Now, I said the rigid heddle loom is capable of weaving 8 shafts, but does that mean that I would actually want to? To achieve that would mean multiple heddles, multiple pick up sticks and a pretty painstaking process that would have me leaping on to my floor loom in no time. Because the floor loom is made for this, it’s set up for more complex weaves, that is it’s job. So, while the RHL can be utilised for more complex weaves, that doesn’t mean that it’s the ideal choice.


Next, the RHL has yarn size limitations. The smallest dent heddle currently available is a 15 dent by Ashford. Yes, you can still double threads or use extra heddles to increase the available sett, but that is another difference to a floor loom and a consideration if you like to weave with fine threads.


Finally, the floor loom is a full body experience. That sounds a bit weird and new age doesn’t it?! But what I mean is that you are using your head (eyes to read the pattern as you weave, if you need to), your hands to throw and catch the shuttle (your body naturally sways slightly from side to side as you get into the rhythm) and your legs (as your feet move or “walk” the treadles to operate the shafts). It’s actually a bit of a workout!


Because of this “full body” approach on a floor loom, you are able to operate many actions at once. And that is the real beauty of floor loom weaving, the harmony of actions that allow you to work fast to achieve sometimes quite amazing results.


Don’t forget that there are pros and cons to all types of weaving and I try not to promote one over the other because I believe each weaver needs to find the right fit for their particular needs. If it seems that I am promoting the floor loom in this article, it is only within context of answering a question.


To recap, why would I buy a floor loom? 
1. Intricacy of pattern
2. Finer threads
3. Speed and efficiency


I hope this article helps you, thank you for reading!

Filed Under: Floor Loom Weaving, Rigid heddle weaving, Weaving Tagged With: floor loom, floor loom weaving, rigid heddle loom, rigid heddle weaving

Make do and make a start

by Kelly 12 Comments

This post contains affiliate links. I only recommend products I use and love.
I thought I’d share with you a little reality check today. It is easy for us to imagine that people we see on social media, on websites, on Youtube or anywhere on the internet have it all together and their lives are pretty perfect. We imagine them to have all the things we need or that they are somehow “better” than we are – all because they have learned how to present themselves in a certain way that looks great to the rest of the world.


How does this tie in to weaving? In so many ways! How often have you wished that your loom was bigger or better? Have you gazed longingly at other weaver’s beautiful pictures online and wished that you could do that too? Have you grumbled at your lack of space/time/finances to “make it all happen”. 


Well, I’m here to tell you that, just like life, weaving is a journey – often long and sometimes difficult. 
When people find out that I homeschool my children and have been doing so for their entire lives, they are amazed and say things like “Well, you are an expert then!” Nothing could be further from the truth. Every day is a new start with people and needs ever changing. It’s a constant process of re-evaluation and starting over. Of asking God to please help me through this day. Of learning and applying new things. 


And I think this is normal. We don’t step on a plane expecting to arrive at our destination immediately. We have to be patient to get the reward!


To illustrate my point, I will show you my film studio from today.  Much of the time, I can’t film in my studio space as it’s a shared, walk through room.

So, I set up in our bedroom so that I could close the door. It’s a bit dingy and it desperately needs a paint job, but it’s a room with a door, so I’ll take it.  Lets have a look at my setup.


I film with my son’s Nikon D7100 and his Video MicPro microphone. The tripod is mine! The loom is mine too 😀 The chair was a freebie that my husband got for me when his old office building was closing down. The OttLite belongs to my husband. When I finish the video, I edit on my son’s computer using his software. 

You can see that most of what I use to film videos for my Online Weaving School is borrowed and fairly basic. But, it all allows me to do what I do. I may never have a great setup, no matter how much I want it, and that is ok, I am grateful to be able to do what I do without the bells and whistles. 

I can polish my photos and videos so that they look pretty good on your computer. I get to work from home, doing what I love and spending the days with my children. Does this mean I have the perfect life? No way, it just means that I’m prepared to make do and make a start.

Today I was working on filming for my up and coming Boot Camp for Weavers course. I’m beyond excited about this, a little apprehensive, having never done something like this, but very excited. It gives me so much joy to see a new weaver get up and weaving with enthusiasm and confidence, that is what I want for all my students! There will be more information about the course as I near completion. 
How did this blog post get so long? My fingers seemed to have a mind of their own and if I don’t finish up my family will be eating burned chicken tonight! If you got this far, thank you for taking the time to read.

Until next time….

Happy Weaving!

Filed Under: Rigid heddle weaving Tagged With: rigid heddle weaving, weaving

The week in review, phew!

by Kelly 2 Comments

The week started out well and then WOOSH, I turned around and it was almost over already. A lot of weeks are like that these days. But it doesn’t trouble me, as long as the week is well spent.

Autumn is well and truly upon us and the cold has crept in. This does not trouble me either, I am quite fond of cool weather and it inspires me to surround myself with fibre.
We celebrated our son’s 18th birthday with much cheer and delightful dishes. I was reminded of the great blessing he is to our family, and what a fine young man he is. It is certainly bittersweet having your children grow up.
I finally launched my newest class, Rigid Heddle Garment Making! I was so thrilled to finish what had become a lengthly undertaking and I was so happy with the end project.

The response has been enthusiastic, as many students have been asking me to put this class together.

In other weaving news, this is what I have on the floor loom. The warp is plain white cottolin and hemp and I’m changing up the cotton weft colours as I go. The draft is an 8 shaft from Carol Strickler’s 8 shaft pattern book. It took me ages to get going with this and I had to re-sley the reed THREE times due to silly mistakes. I’m happy to say that the weaving is all going smoothly! I’m making a set of towels.

The threading is rose path and the weaving is very much like an overshot – one pattern pick (red)…

followed by a tabby pick (white). Rather lovely!

I almost forgot, I also have a new Youtube video! The topic is a very popular one – weaver neater edges. 

So yes, a very busy week indeed with lots happening.
I have two new projects in the planning stages. One will be my next Etsy pattern (speaking of Etsy – my sales passed 400 this week and continue to climb!), the other will be a new online class with a difference. You will have to wait and see what the “difference” is, I have a lot of work to do before I reveal more details!

I hope you have had a great week, rich with blessings, family, good health and of course, a good dose of weaving!


Filed Under: Floor Loom Weaving, Rigid heddle weaving Tagged With: floor loom weaving, Kelly casanova weaving lessons, rigid heddle weaving

Table loom, rigid heddle loom, floor loom?

by Kelly Leave a Comment

It is so hard to choose a loom when you are brand new to weaving! Without a doubt, the “which loom?” question is the one I get the most. And while I can’t tell you which loom is the perfect one for your individual circumstances, I can tell you a little about different types and their advantages/disadvantages.


Lets start with the humble hero that I recommend most often for absolute beginners:

THE RIGID HEDDLE LOOM

The little champion of the weaving world! That is how I think of this humble loom anyway. I believe it’s thanks to this loom we have seen such an enthusiastic resurgence in weaving. You can view the rigid heddle looms I own (affiliate links):
Ashford 24″
Ashford Sampleit 10″


They come in a variety of sizes, are lightweight and portable, are much more affordable than table or floor looms, are customisable by adding a stand and extra heddles, plus they are simple enough for beginners to get up and weaving quickly. The ability to direct warp means you don’t need a warping board to get started. Threading is straight forward and easy. There is very little yarn wastage. You can adapt the loom to weave tapestries.You can even weave 8 shaft patterns on this loom (I’ve seen it done, but I don’t intend to do it myself – waaay too much work for me!)


That all sounds great right? Surely there must be some drawbacks to this loom? 
Well, there are limitations to the rigid heddle loom. The tension, for example, is not like a floor or table loom. Weaving is slower, as you need to put your shuttle down after each pick in order to beat. I mentioned that you can weave up to 8 shafts, but it would take a lot of patience and mucking around that would have me personally reaching for my floor loom in a jiffy (though I realise that not everyone has that luxury!) 
I don’t really think of these things as negatives, the rigid heddle loom has too much going for it to warrant any real criticism. What I have listed above are more differences as opposed to negatives.


Want to know more about the rigid heddle loom? You may wish to watch my free Rigid Heddle Loom/Table Loom Comparison video. I also have a huge range of videos for rigid heddle weavers or those interested in starting out on my Youtube channel, so be sure to watch, like and subscribe to ensure you don’t miss new videos.


I also have a big range of rigid heddle weaving classes available on my Online Weaving School, I recommend you taking a look!


I hope this article has been helpful to you, next time I will discuss table looms!

Filed Under: Rigid heddle weaving, Weaving Tagged With: rigid heddle loom, rigid heddle weaving

Hug Me Cardigan – new pattern!

by Kelly Leave a Comment

My new pattern is inspired by the classic “hug me tight” shrugs I used to see some of my elderly clients knitting for their loved ones when I worked in nursing homes.

This cardigan was designed to be a simple but beautiful garment – perfect for those who are just starting out sewing with their weaving. It is also a “no cut” pattern for those who may be nervous about cutting their cloth for the first time. 

I love the way my hand dyed yarn turned out – quite different to what I expected but very much in the style I love. 


Woven with wool and designed to be a light fabric, it is a perfect garment for transitional weather because it’s warm without being too warm.

Check out my Etsy shop to find out more about the pattern.

Happy Weaving!

Filed Under: Rigid heddle weaving Tagged With: Etsy, hand woven, rigid heddle weaving, woven garment

Spring Table Runner Free Rigid Heddle Project!

by Kelly Leave a Comment

Winter is fast approaching us here in Australia, but for those in the Northern Hemisphere, you are looking forward to the mildness and beauty of Spring. It’s a wonderful time to be freshening up household linens and table decor with new hand wovens!
 
*This post contains affiliate links
 
The Spring Table Runner project was initially run as a weave along, but can of course be undertaken at any time. I chose light and pastel colours to give that spring feel and also embroidered a delicate spray of flowers on either end of the runner to really make it feel like Spring.

 
The table runner is woven with lovely thick and soft cotton for easy care. The design is worked by using colour in the warp and weft, plus some simple pick up for additional interest.
 
You can download the free, printable PDF for the Spring Table Runner right here-  
Spring-Table-RunnerPDFDownload

What you will need to complete this project:

*A rigid heddle loom, 20″ or wider

*A 7.5 dent reed/heddle

* 2 x stick shuttles, at least as long as the width of your project

*A pick up stick, longer than the width of your project

*A double ended reed and heddle hook or a separate threading hook and reed hook

I know that many of you do not have access to the same yarns that I do. Let’s have a look at some suitable yarns you could use to complete this project:

For the 10 ply/ worsted/aran weight:

Bendigo Woollen Mills Cotton 10 ply

Lily Sugar n Cream cotton

Lion Brand 24/7 Cotton

Knit Picks Dishie Worsted cotton

Hobby Lobby I Love This Cotton

For the 8 ply/ light worsted/dk weight:

Bendigo Woollen Mills Cotton 8ply

Cestari Old Dominion 100% cotton

Maurice Brassard 8/8 cotton

Yarnsub.com is also an excellent resource for finding a variety of yarns with similar characteristics to what I used. It is a simple site to use, but if you’re unsure, here is an example:

On the homepage, enter into the search box the yarn than you wish to substitute. Here I’ve entered “Bendigo Woollen Mills 8ply cotton”.

Hit “enter” on your keyboard or click on the little spy glass. Choose the correct yarn from the list below. In this case, I will click the top yarn.

When you see this page, start scrolling down for all of the listed possible matches or near matches. This particular search gave 50 results!! You will see after each suggested yarn there is a percentage match – that will tell you how well the suggested substitute matches your original search. It’s brilliant!

You can of course substitute colours depending on availability and individual tastes. One of my favourite runners that I’ve seen is this one, woven by Juliet.

A very different colour scheme is used here, but still feels very Spring like and is absolutely beautiful!

The entire playlist of videos for the class can be found here-

The video series plus PDF can also be viewed at my Online Weaving School, if you prefer.

I really hope that this Spring Table Runner brings a little freshness to your table and joy into your home!

If you have any questions or comments, please leave them under this post, I would love to hear from you.

Until next time…

Happy Weaving!

Filed Under: Free Pattern, Free tutorial, Health and home, Inspiration, Rigid heddle weaving, Tutorials, Weaving Tagged With: Kelly casanova weaving lessons, rigid heddle weaving, rigid heddle weaving tutorial, spring table runner

Weaving for Christmas

by Kelly 3 Comments

My favourite time of the year is coming and what better way to celebrate the festivities than by weaving for family, friends and your home!


I have quite a few free video tutorials to get those creative juices flowing:

Reindeer on a rigid heddle loom


Handwoven No Sew Christmas Hearts


Gift boxes on a rigid heddle loom

Winter Trees

Snowmen on a rigid heddle loom

I also have some festive classes available at my Online Weaving School:
Exploring branoe 
                                                Christmas Table Runner
 
Christmas Bunting

I hope these inspire you to add some beautiful hand woven

Christmas cheer to your home or someone else’s!

Until next time…

Happy Weaving!

🎄 🎄🎄🎄🎄🎄

Filed Under: Free tutorial, Inspiration, Online Weaving School, Rigid heddle weaving, Rigid Heddle Weaving Patterns, Tutorials, Weaving Tagged With: Celebrations, christmas, Kelly casanova weaving lessons, rigid heddle weaving, rigid heddle weaving tutorial

  • « Go to Previous Page
  • Page 1
  • Interim pages omitted …
  • Page 11
  • Page 12
  • Page 13
  • Page 14
  • Page 15
  • Go to Next Page »

Primary Sidebar

Hand crafted boat shuttles

Categories

Archives

Meta

  • Log in
  • Entries feed
  • Comments feed
  • WordPress.org

Copyright © 2025 Kelly Casanova Weaving Lessons on the Foodie Pro Theme