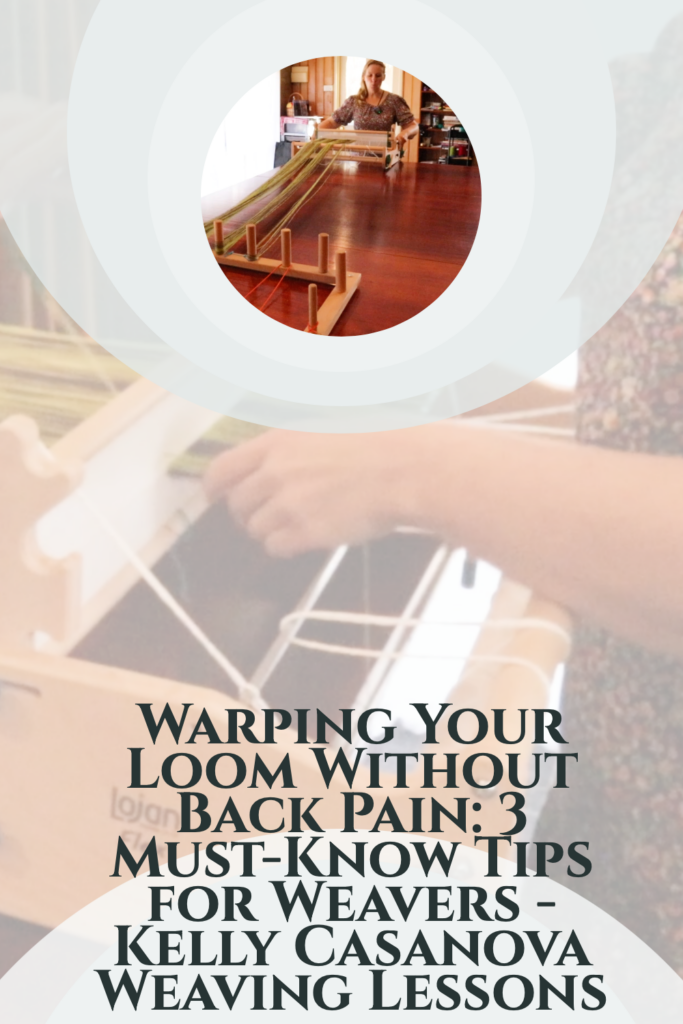
How to Warp Your Loom Without Back Pain: 3 Simple Tips
If you’ve ever struggled with back pain while warping your loom, you’re not alone! This topic recently came up in my private members’ group for the Online Weaving School, and it’s something I’m passionate about because I know firsthand how important it is to set up your loom in a way that prevents strain and discomfort.
Weaving should be enjoyable, not painful! So today, I want to share three simple but effective tips that have helped me warp my loom without causing back pain. These small adjustments can make a huge difference in your weaving journey, allowing you to weave comfortably for years to come (and don’t we all want that?)
These tips are mostly for rigid heddle weavers, however you can read more about avoiding back pain at the floor loom here.
1. Adjust Your Loom Height to Prevent Bending
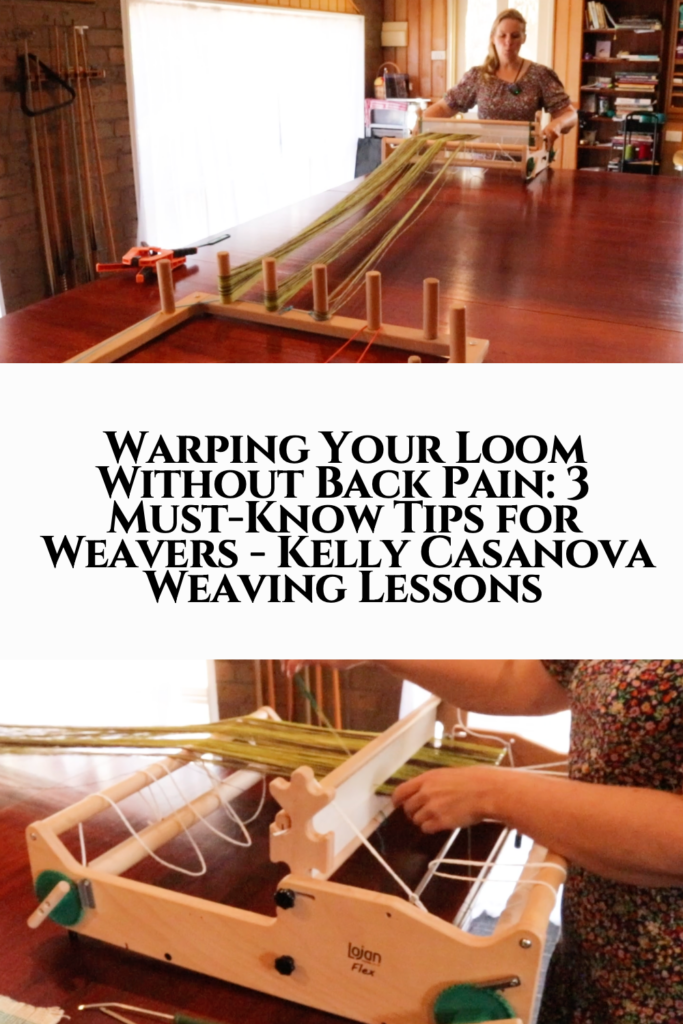
One of the biggest mistakes that can lead to back pain is working at the wrong rigid heddle loom height. Your loom should be set at a comfortable level—not too high, where you have to reach up, and not too low, where you’re constantly bending forward. Bending repetitively, even slightly, can quickly lead to back spasms and days of discomfort for me and I’m sure for many of you too.
How to find the right height:
- If you’re warping on a table, a standard dining table does work, but a slightly taller surface is even better.
- If your loom is on a stand, consider placing risers under the legs to raise it to a better height.
- If your loom sits on a table and feels too low, place sturdy blocks or books underneath it to elevate it slightly.
One of the members in my weaving group shared a great idea—she placed furniture risers under the legs of her loom stand, and it made a world of difference! Simple tweaks like this can help keep your back happy while you warp.
2. Change Your Position When You Reach the Halfway Point
Many weavers (myself included) start threading their heddle from one side and then continue across to the opposite side. The problem? By the time you reach the halfway point, you’re often leaning and stretching in awkward ways—movements that can and do trigger back pain.
Here’s a better way:
- Instead of leaning over to reach, move to the back of your loom.
- From the back, you’ll find that your heddle is much more accessible.
- Standing straight, you can reach through, grab the next thread, and walk it over to the warping peg without bending.
This small shift in position eliminates unnecessary stretching and bending, making the warping process far more comfortable.

3. Move Your Loom for Easier Access
If you’re using multiple pegs to create a wider warp, you may find that certain pegs end up further away, requiring more stretching to reach them. This can be especially challenging for weavers with shorter arms or those who want to avoid unnecessary strain through reaching.
A simple solution? Move your loom!
- If your loom is clamped to one side of the table, unclamp it and shift it to the opposite side when you reach the second half of the heddle.
- Move your warping board in small steps to keep everything aligned.
- If your loom isn’t clamped, simply slide it over as needed. Otherwise, unclamp to move, then reclamp at the other side of the table.
This small adjustment keeps everything within easy reach, so you’re not overextending yourself.

Warping your loom shouldn’t be a painful experience! By adjusting your loom height, changing your position at the halfway mark, and moving your loom for better access, you can significantly reduce strain and keep your back happy while weaving.
I hope these tips help you as much as they’ve helped me. Give them a try, and let me know what works for you!
Would you like to see this article in video format?
Until next time…
Happy Weaving!