Feeling a little stuck for ideas for your next weaving project?
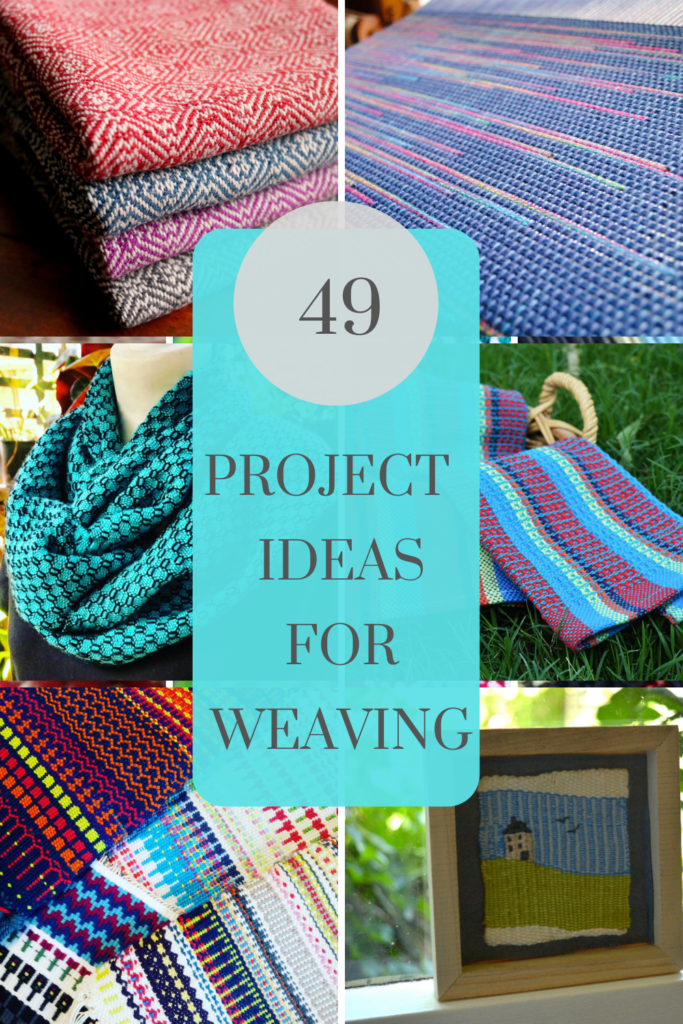
The options are almost unlimited, but here are 49 weaving project ideas to get you started!
Whether you’re weaving on a rigid heddle loom, a table loom or a floor loom you are sure to find these weaving project ideas super helpful.
Weave a Scarf
Weaving a scarf is the perfect starting point for the new weaver.
It’s a narrow piece, which makes it easy to tension. It’s a long warp, but not so long as to be likely to cause any real issues. And once you’re done weaving and wet finishing, you have a completed woven piece, ready to wear.
That is so rewarding and empowering to the beginner weaver!
Once you’ve completed your first scarf, you may want to build on that success and hone the skills you learned by weaving another. Great! Another beautiful scarf to wear!
Ready to Move Beyond the Scarf?
What is next? Another scarf? Well, I guess you could either add to your scarf collection or start giving them as gifts. Some weavers will continue weaving scarves until they have so many they’re not sure what to do with them. That could be a time to start selling for some extra income, if that is something you are interested in.
But not everyone wants to continue just weaving scarves for the rest of their weaving lives.
I often see weavers chatting and asking questions online, wondering if there is anything beyond the humble scarf.
Well, rest assured, there are SO many things you can make as a weaver!
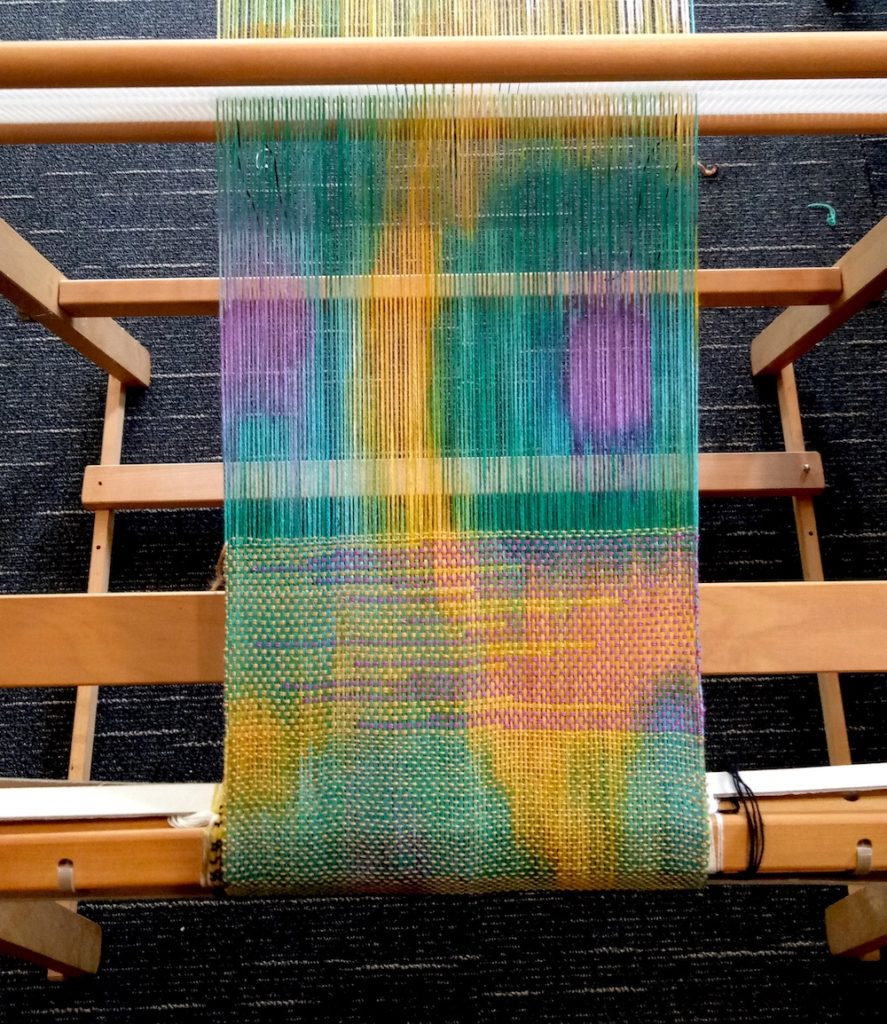
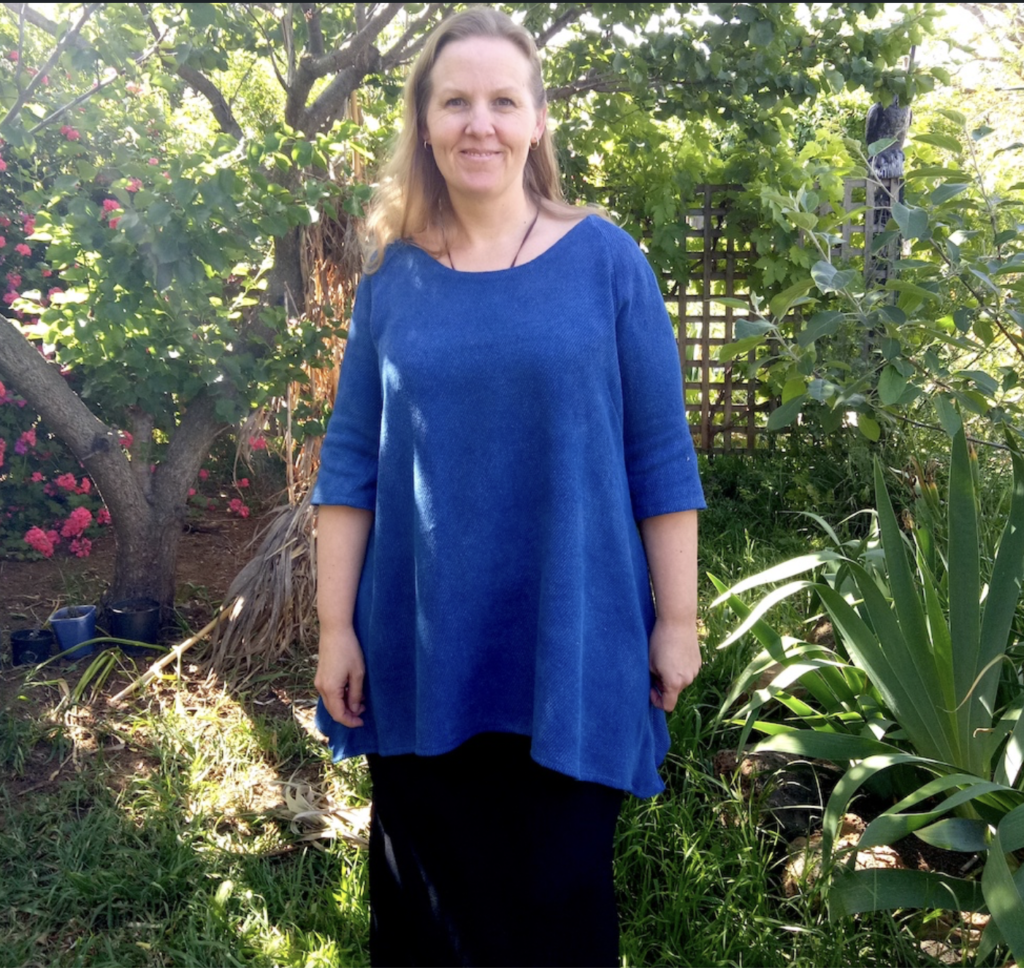
You are a Maker Of Cloth!
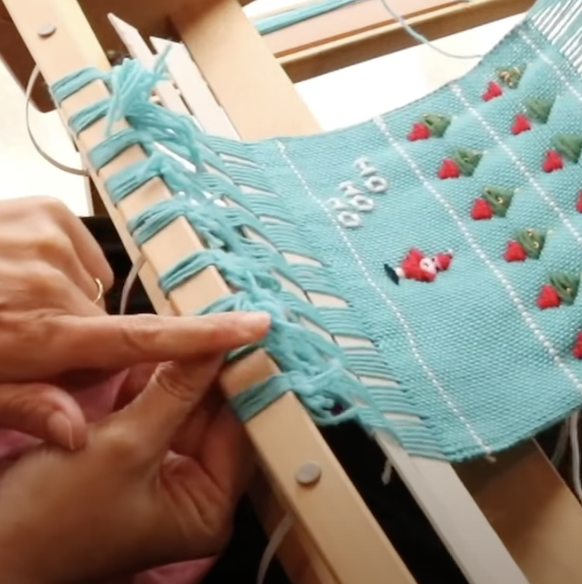
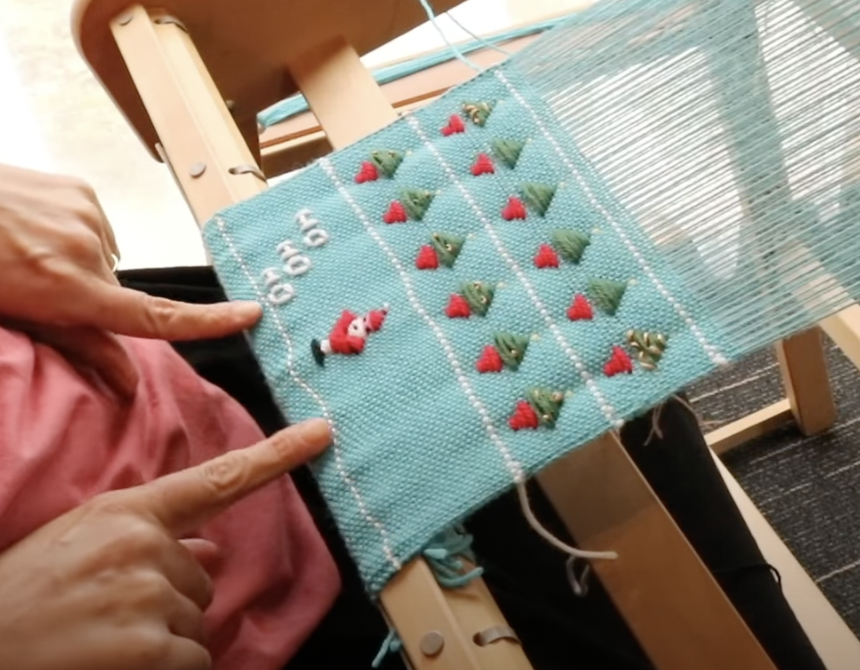
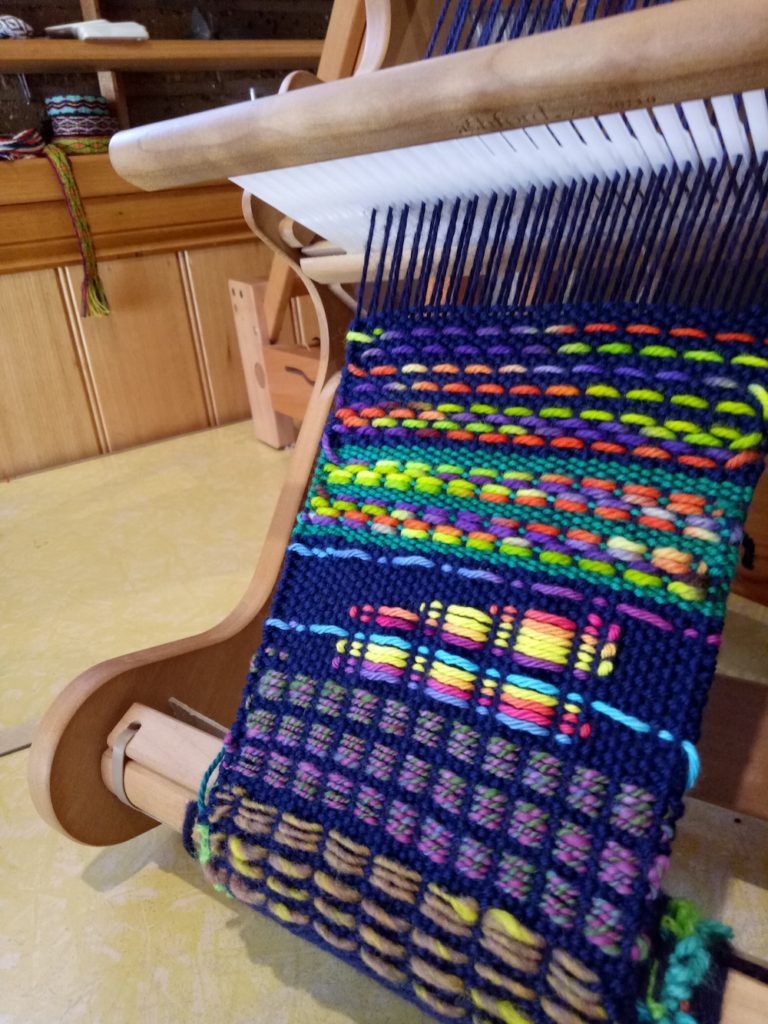
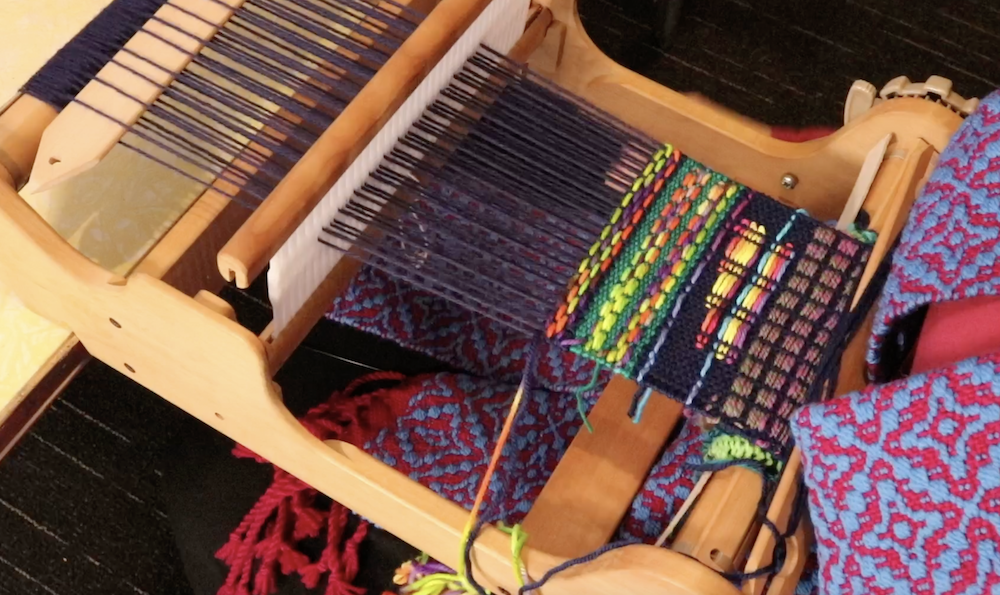
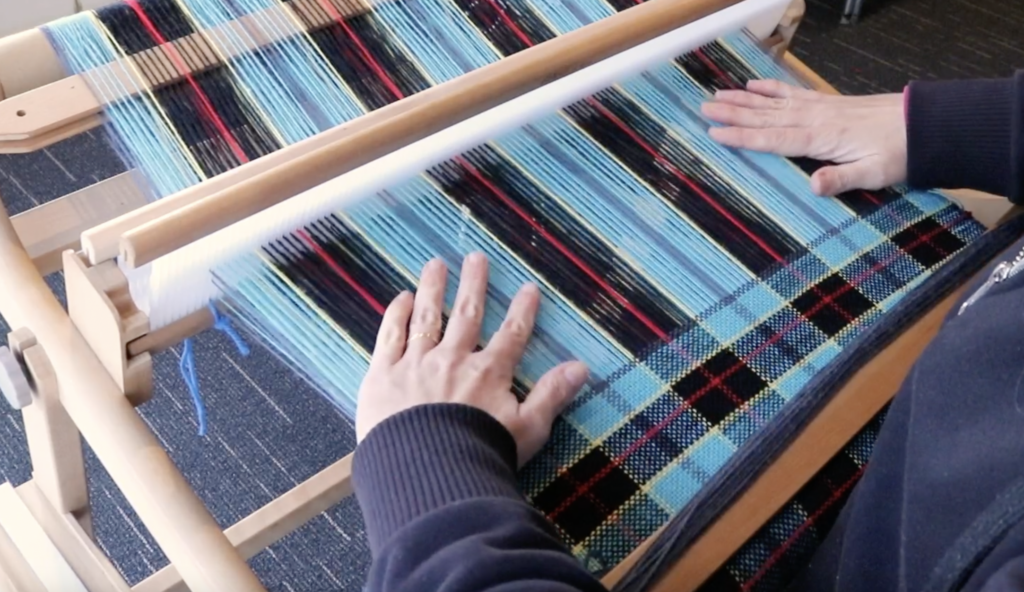
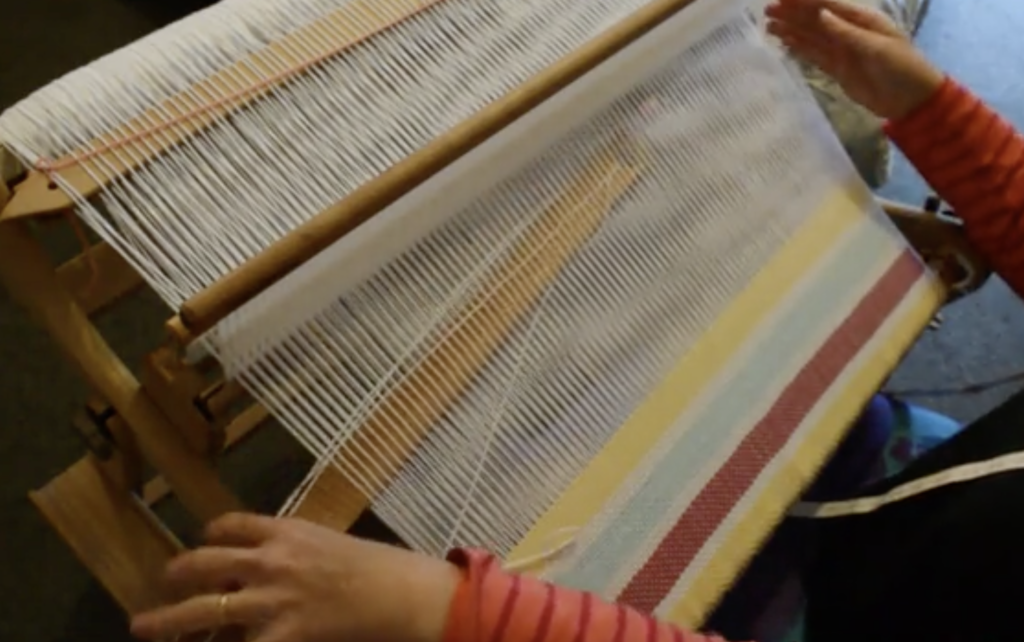
Once you take up weaving, you become a maker of cloth. In quite a magical way, you are able to produce your own fabric.
You can either choose to weave an item that is basically finished when it comes off the loom, or you can use your hand woven cloth as a stepping stone or starting point for something else.
If you have, or can learn basic sewing skills, you are well on your way to creating unlimited projects with your handwoven fabric.
49 Weaving Project Ideas to Get You Started:
Scarves (obviously! 😉)
Shawls
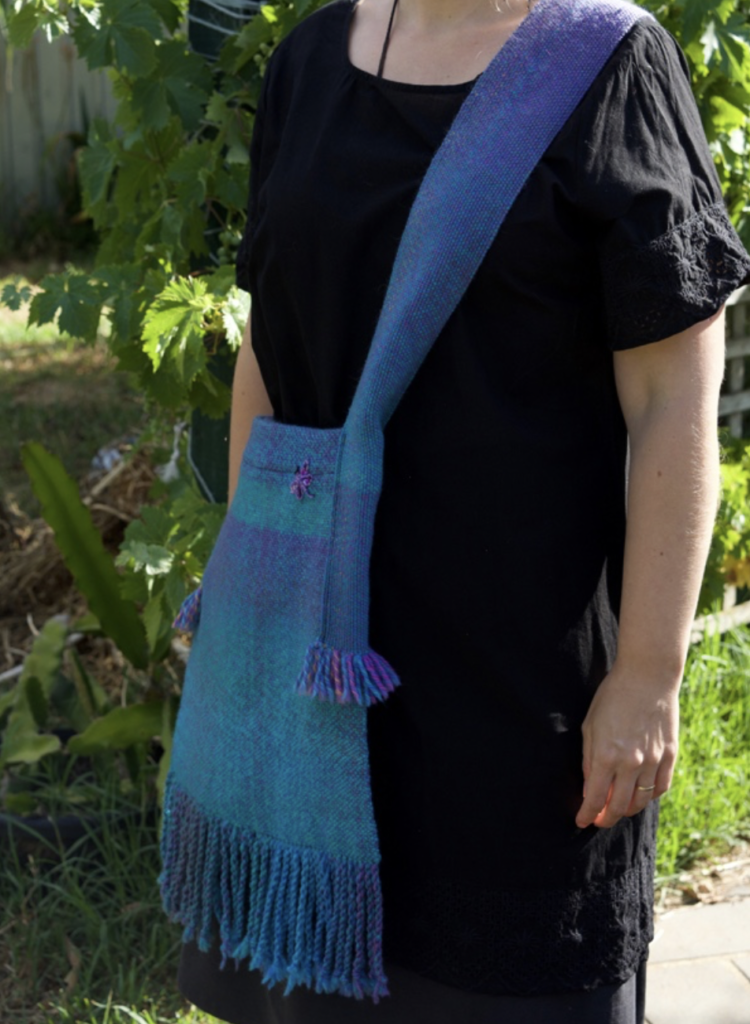
Bags (totes, handbags, shopping bags, carry bags)
Rugs
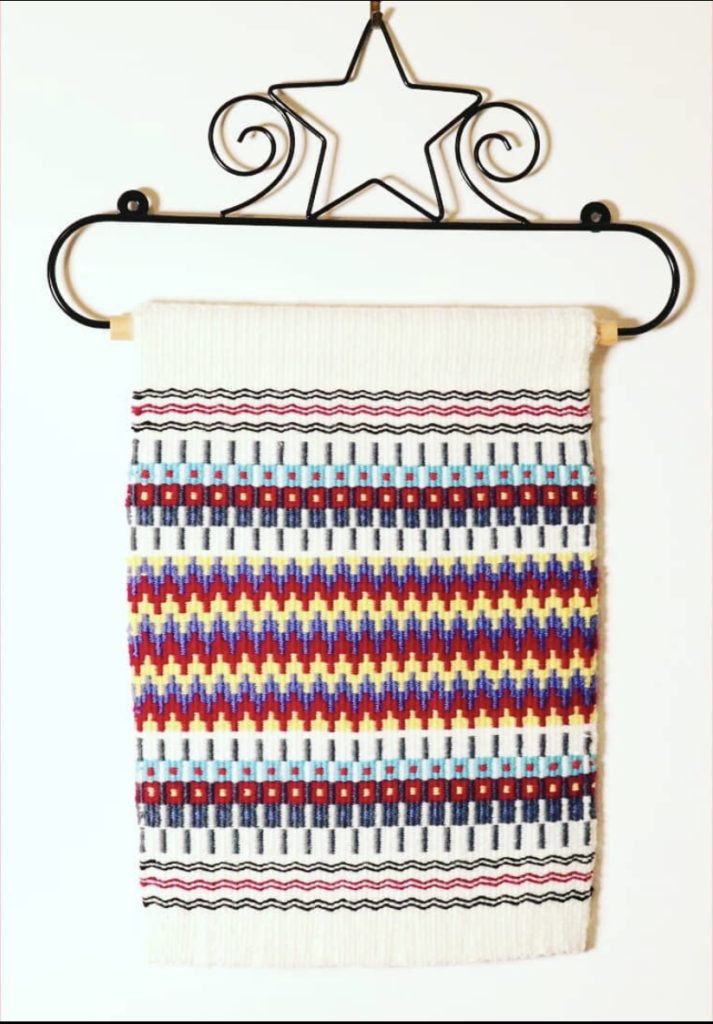
Wallhangings and tapestries
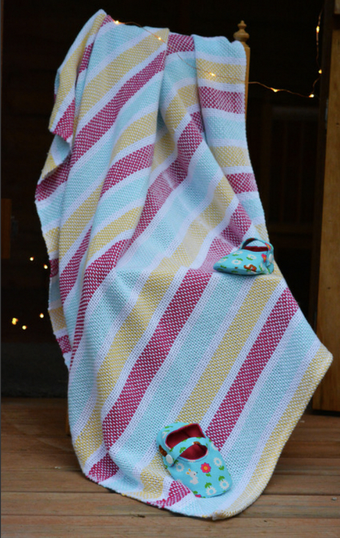
Blankets
Pillows/cushions
Purses/ pouches
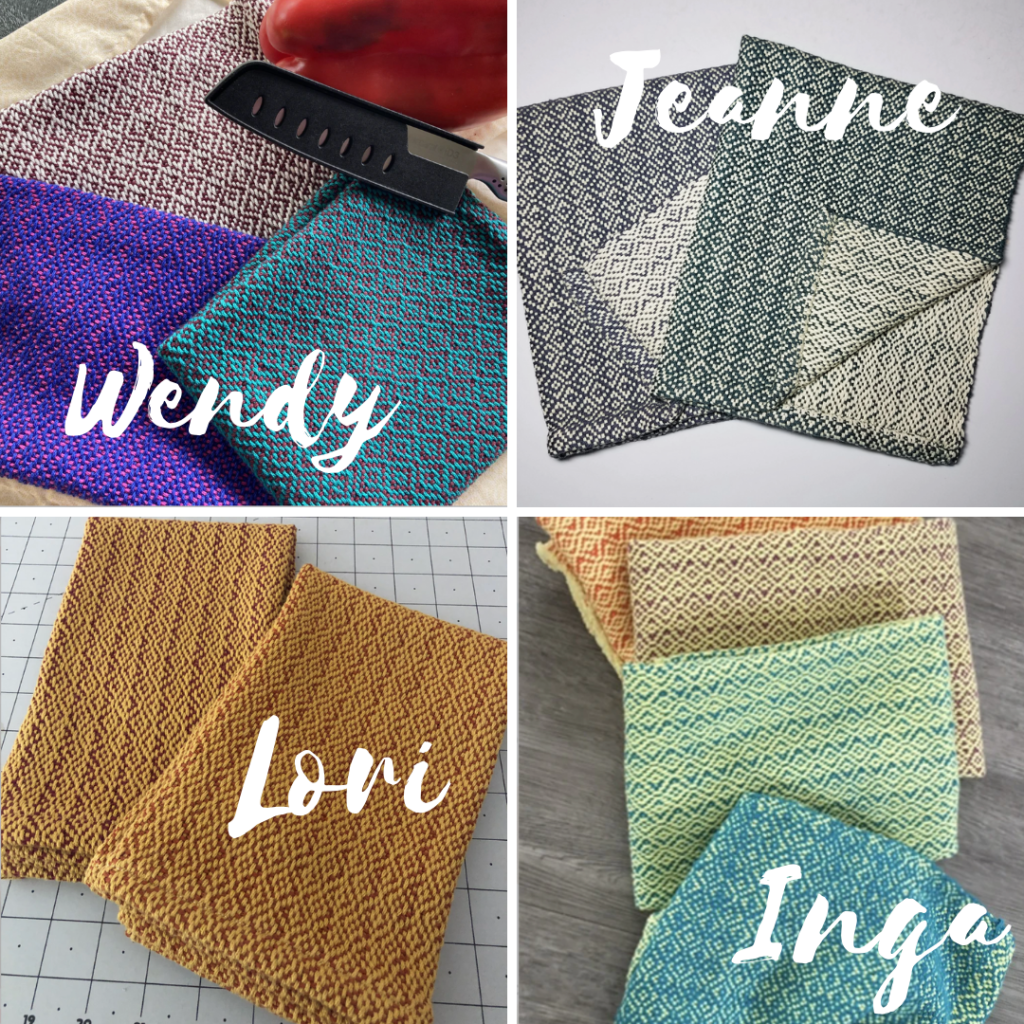
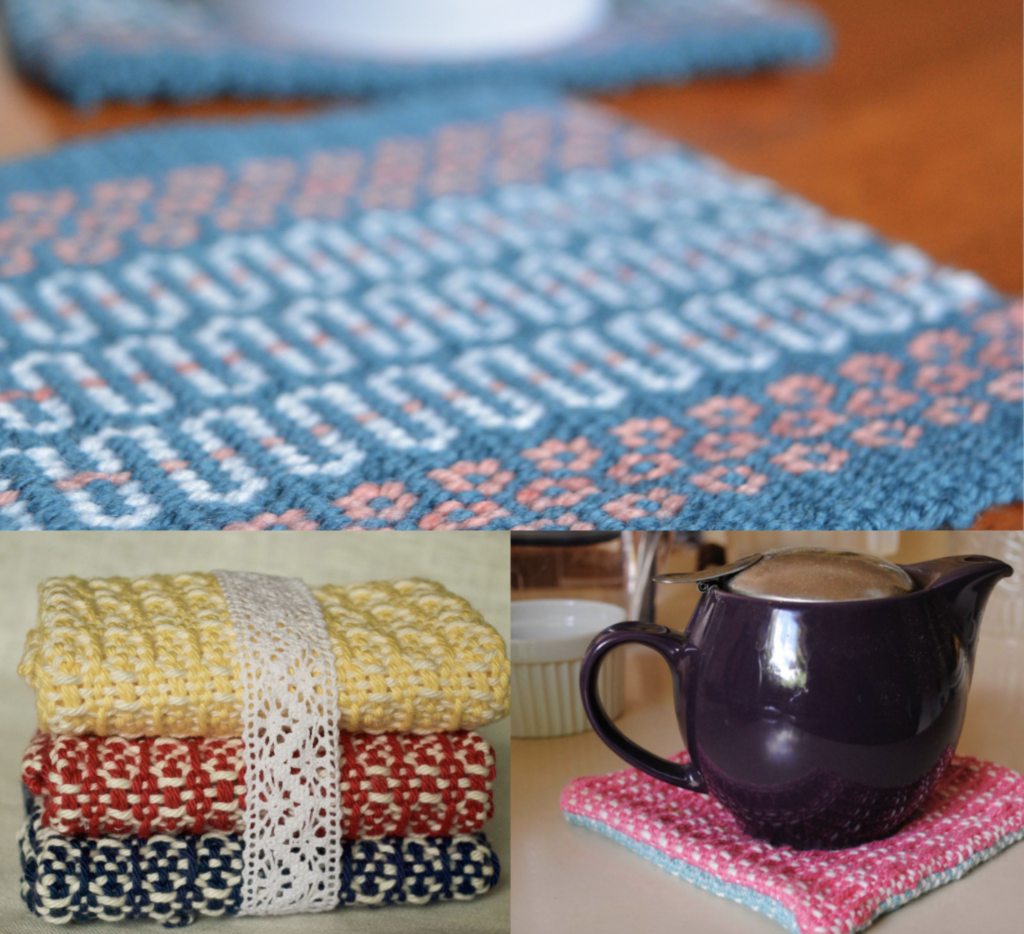
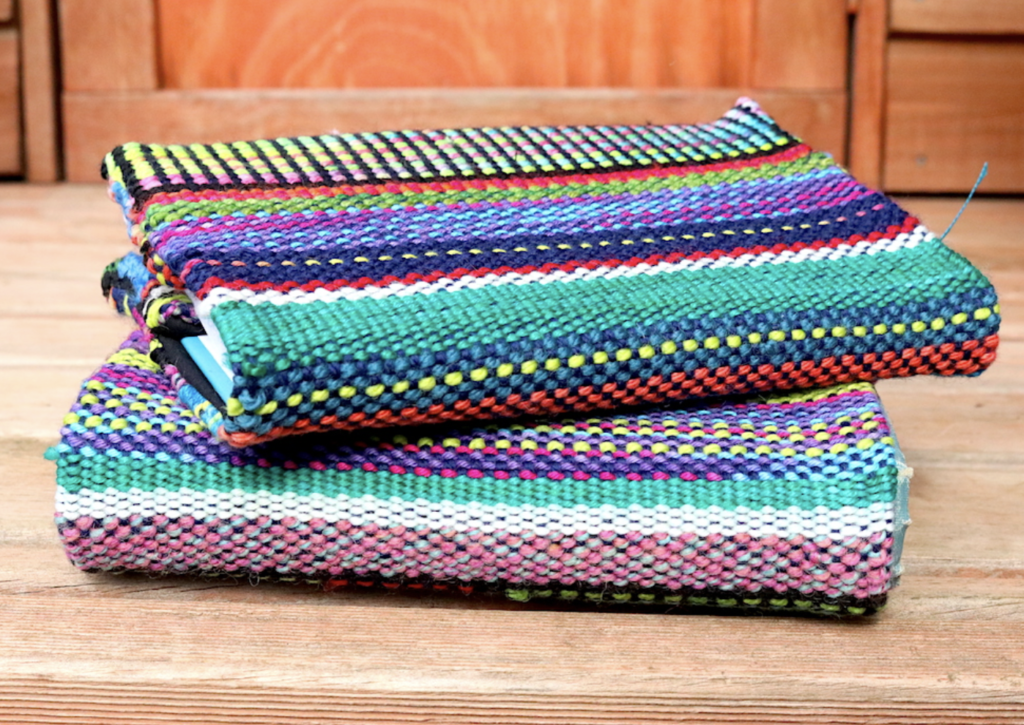
Kitchen, bath and hand towels
Face washers
Apron
Book covers
Bookmarks
Kitchen cloths
Soft toys
Ponchos
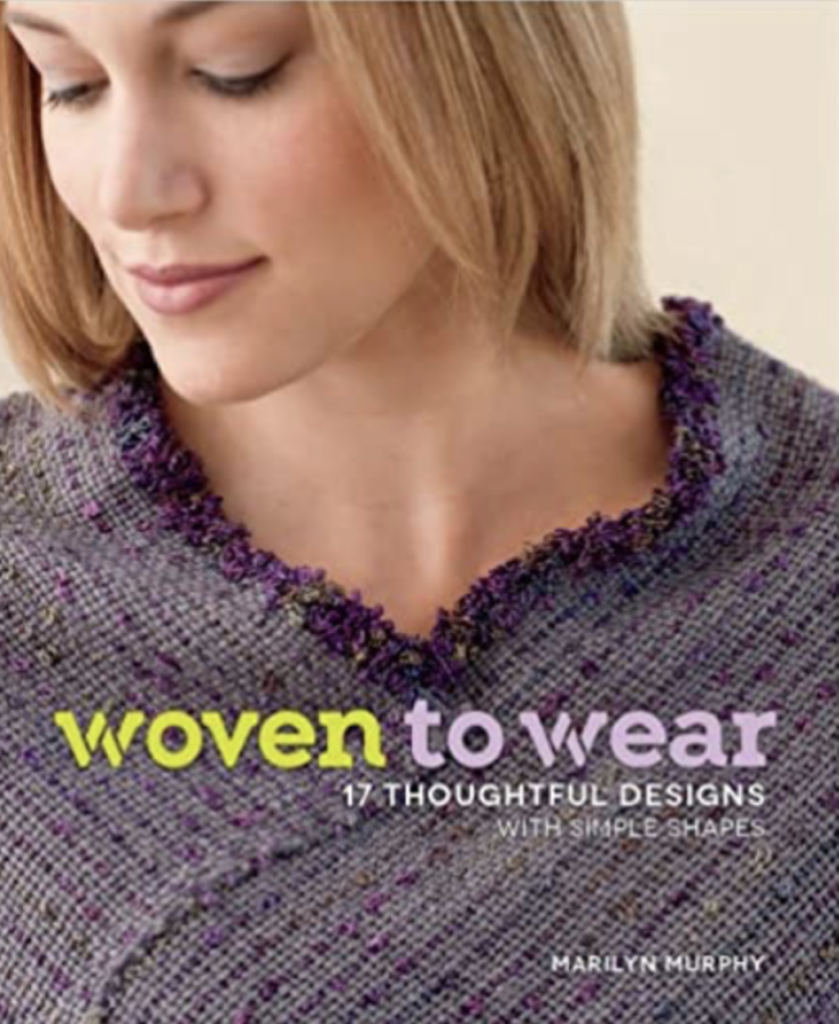
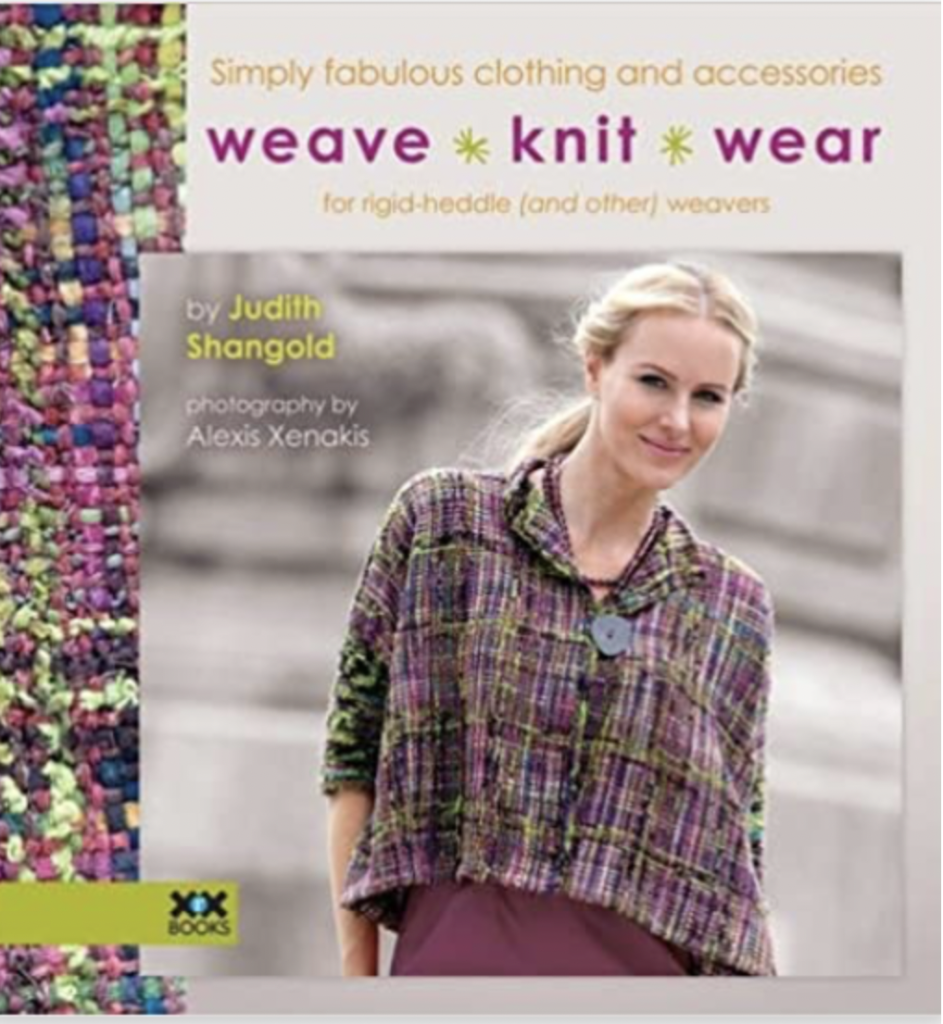
Jackets
Tops
Skirts
Dresses
Pants
Coats
Framed art
Lampshade covers
Loom covers/bags
Upholstery fabric for unique furniture pieces
Historical re-enactment costuming
Hats
Jewelery
Baby wraps, carriers and blankets
Drink coasters or mug rugs
Curtains
Patchwork and quilting projects
Hair accessories/ head wraps
Saddle blankets for horses
Dog beds, coats
Potholders/trivets/oven gloves
Dining table ware – table runners, place mat sets
Bedding – throws, coverlets, pillow covers, blankets, quilts
Well, what do you think, have I convinced you that you can weave more than just scarves with your loom?
If you’re looking for some free projects to get you started, check out my Free Projects list and be sure to subscribe to my Youtube channel for even more ideas and tutorials. My design store contains my original project designs as digital downloads as well as my ebooks.
At the Online Weaving School you will find many classes to choose from, and as most of my lessons are project based, you can often complete a finished woven item.
So, as you can see, the possibilities for woven projects is really unlimited! Please add your own ideas in the comments to share with other readers.
Until next time…
Happy Weaving!