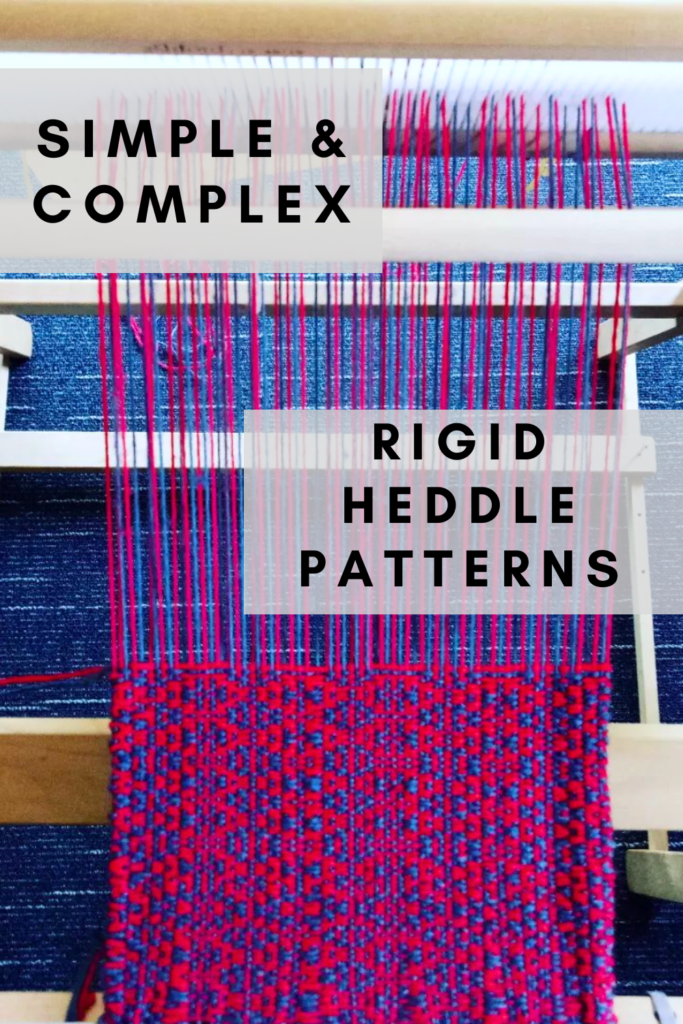
The humble rigid heddle loom is capable of so much more than first meets the eye.
That’s exactly why it’s such a wonderful loom for beginners. You can start with its most basic function — plain weave — and then gradually build skills and confidence from there. No rush or overwhelm, just steady progress.
And yet, many newer rigid heddle weavers reach a point where they feel a bit stuck.
Or perhaps the opposite happens. Suddenly there seem to be too many possibilities, and choosing feels overwhelming.
That’s usually when doubt creeps in:
- What if my skill level isn’t ready for the next step?
- What if I mess it up and lose confidence altogether?
These are incredibly common (and completely valid) concerns. That’s why I always encourage rigid heddle weavers to build skills in steps, not leaps.
Some weavers love to leap, and that’s great.
Many others need a gentler take-off.
So how does the fledgling weaver get their wings?
By starting slowly.
Building momentum.
And stretching just a little further each time.
If you’re feeling in a rut with your weaving, or unsure what to explore next, here are three practical, confidence-building ways to level up your rigid heddle weaving — without overwhelm.

1. Explore Pick Up Stick Weaving
If you haven’t used a pick up stick yet, this is one of the easiest and most effective ways to expand what your rigid heddle loom can do.
Pick up sticks are simple tools, but they can completely transform your woven cloth.
For your first exploration, I recommend:
- A warp that’s not too long
- Not too wide
- And no pressure to make a “finished” project – a sampler is great!
Just explore, get curious and have fun 🤩
How to Start with a Pick Up Stick
At its most basic level, pick up stick weaving begins like this:
- Place your heddle in the down position
- Behind the heddle, pick up warp threads using your pick up stick
Start simply:
- 1 up, 1 down (one thread on top of the stick, one underneath and repeat)
- Then try 2 up, 1 down
- Then 2 up, 2 down
Once the stick is inserted and you’re ready to weave:
- Move the heddle to neutral
- Slide the pick up stick forward
- Turn it on edge
- Weave that pick
Then return to plain weave.
A simple repeating sequence might look like this:
- Heddle up
- Heddle neutral, pick up stick on edge
- Heddle down
- Heddle neutral, pick up stick on edge
Repeat from the top.
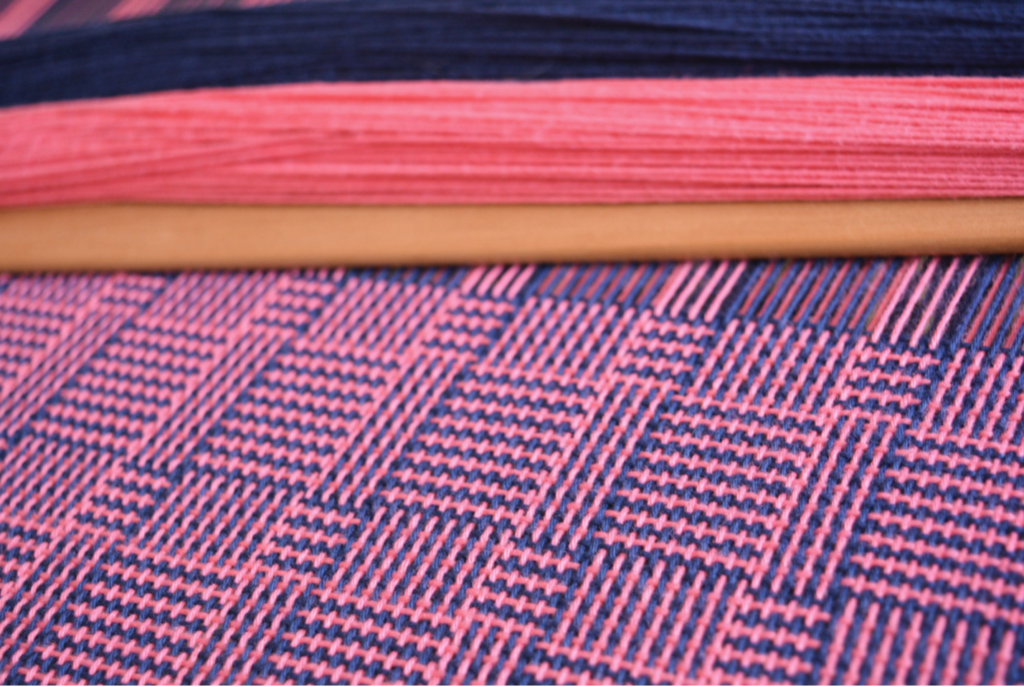
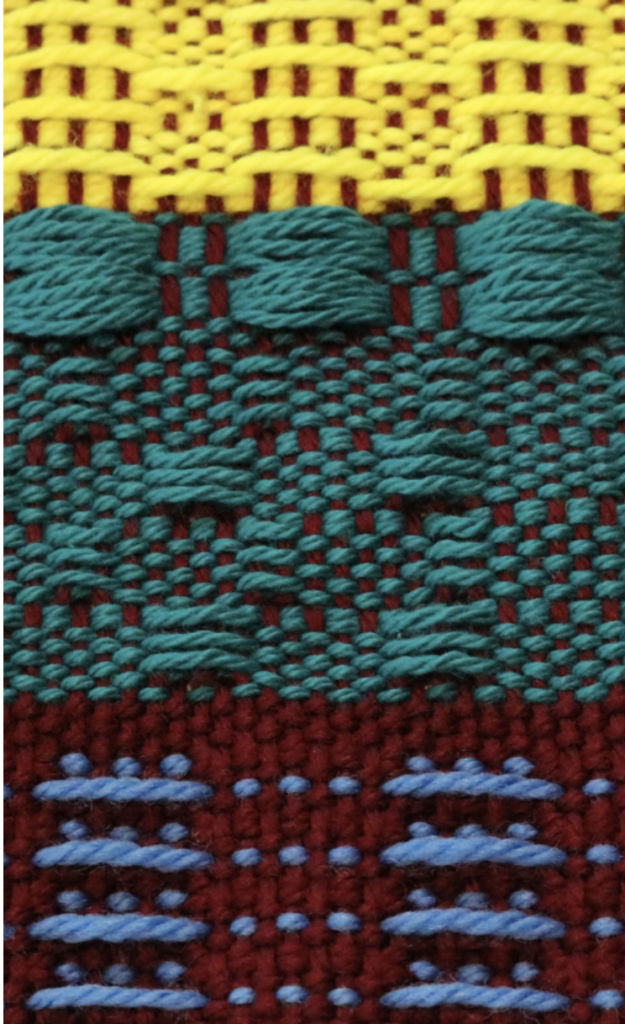
Even this basic sequence offers huge variation. You can:
- Use pick up stick rows sparingly as accents
- Alternate them regularly for pattern
- Or combine them with colour for even more interest
Try This Next
With the pick up stick still installed:
- Place the heddle in the up position
- Slide the stick forward behind the heddle
- Weave a row and notice how different the result is
You can even revisit the same 4-step sequence, but substitute the heddle-up/stick-forward combination.
Once you start experimenting, the possibilities really open up.
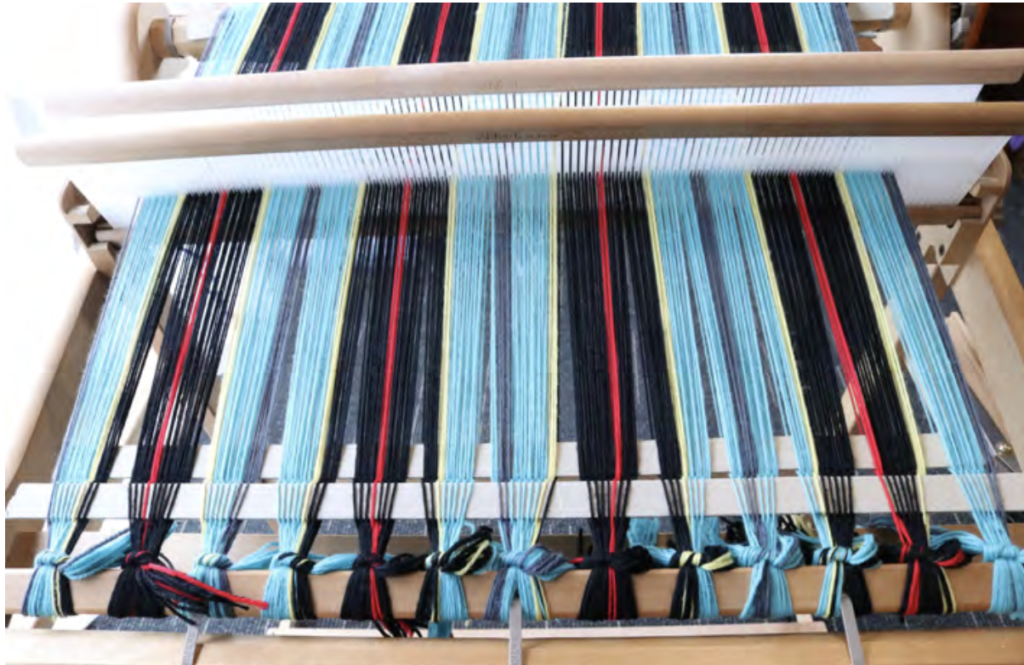
2. Use Colour and Weave Techniques
Colour is one of the simplest and most effective ways to level up your weaving.
And no, you don’t need to be a “colour expert” to use it well. Check out this free and basic resource that will introduce you to colour theory.
Most people can easily choose two colours they like together. That’s all you need to begin.
Simple Colour Ideas for Rigid Heddle Looms
- One colour in the warp, one in the weft
- Solid warp, changing weft colours for stripes
- Blocks of colour in the weft for bold results
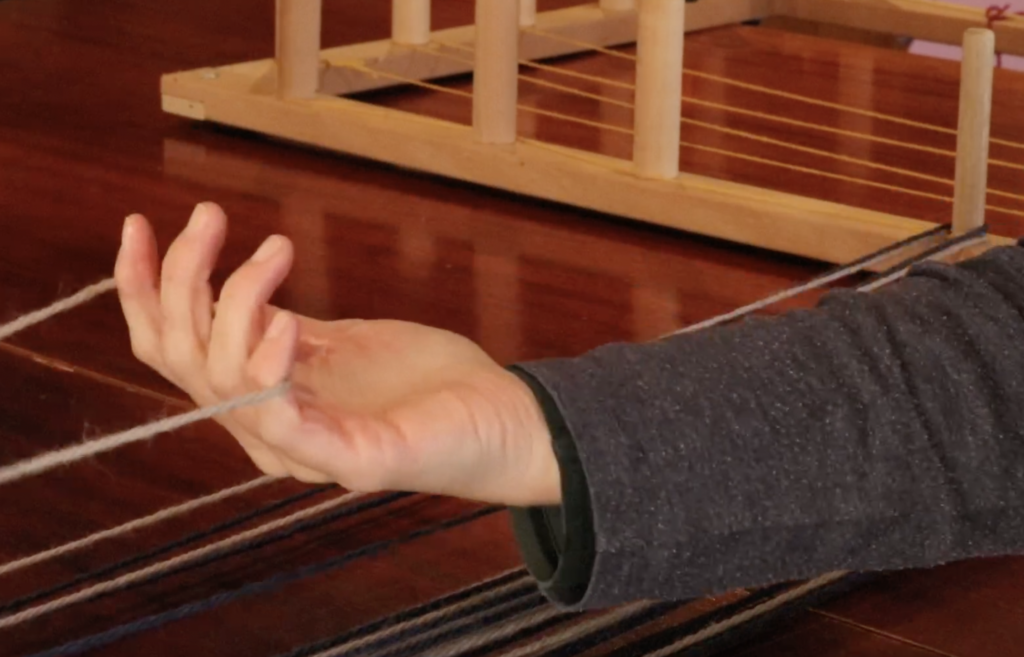
If changing warp colours feels intimidating, don’t — just start with the weft.
For example:
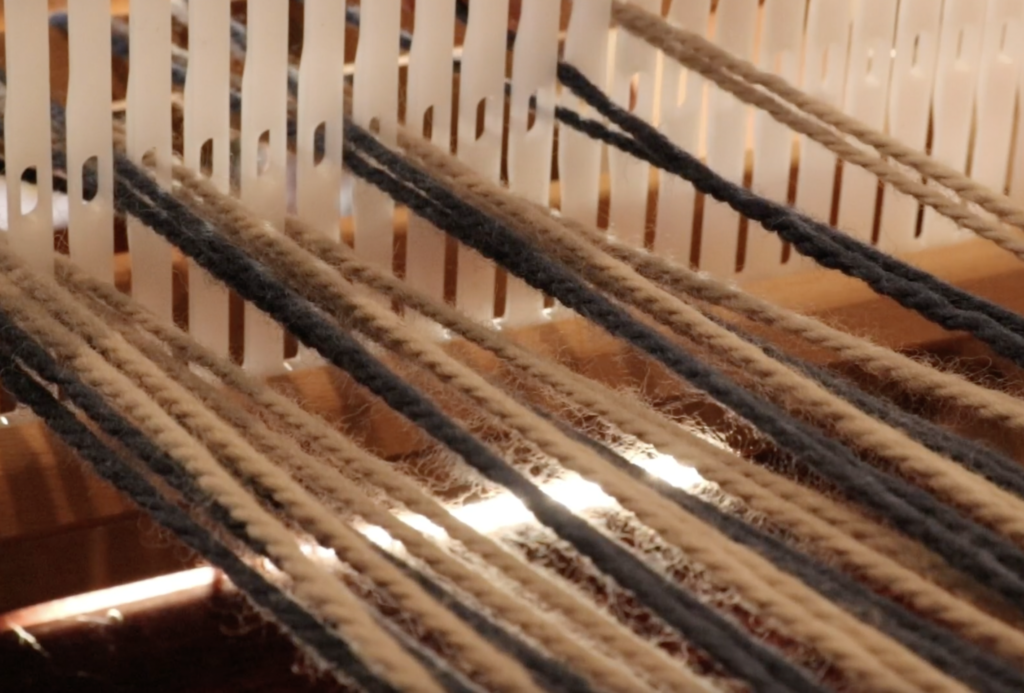
- Warp with a neutral grey
- Weave with grey for a while
- Then introduce a bold colour like red
- Alternate blocks of grey and red weft
Instant stripes. Simple. Effective.

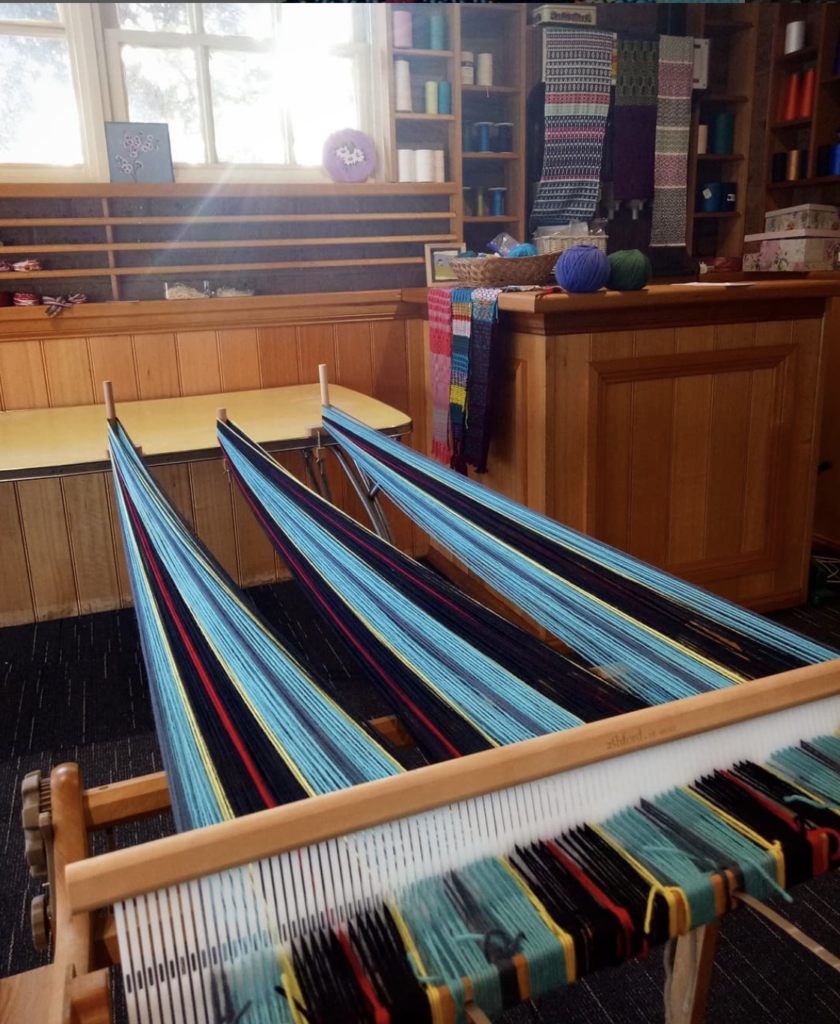
Variegated Yarn: Colour Made Easy
Variegated yarns do the colour work for you — which is why I love them for rigid heddle weaving.
One of my favourite approaches:
- Variegated yarn in the warp
- Solid colour in the weft
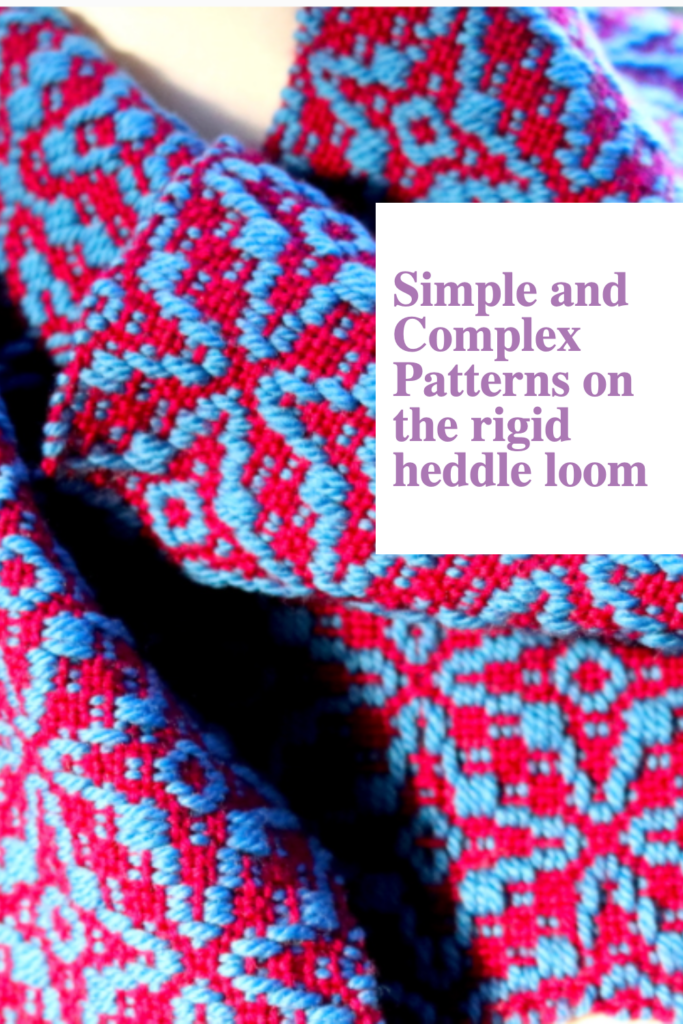
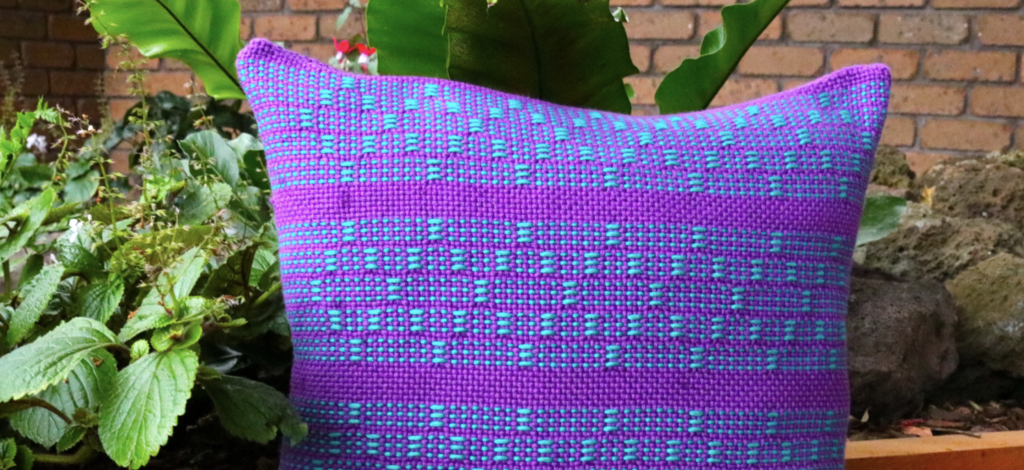
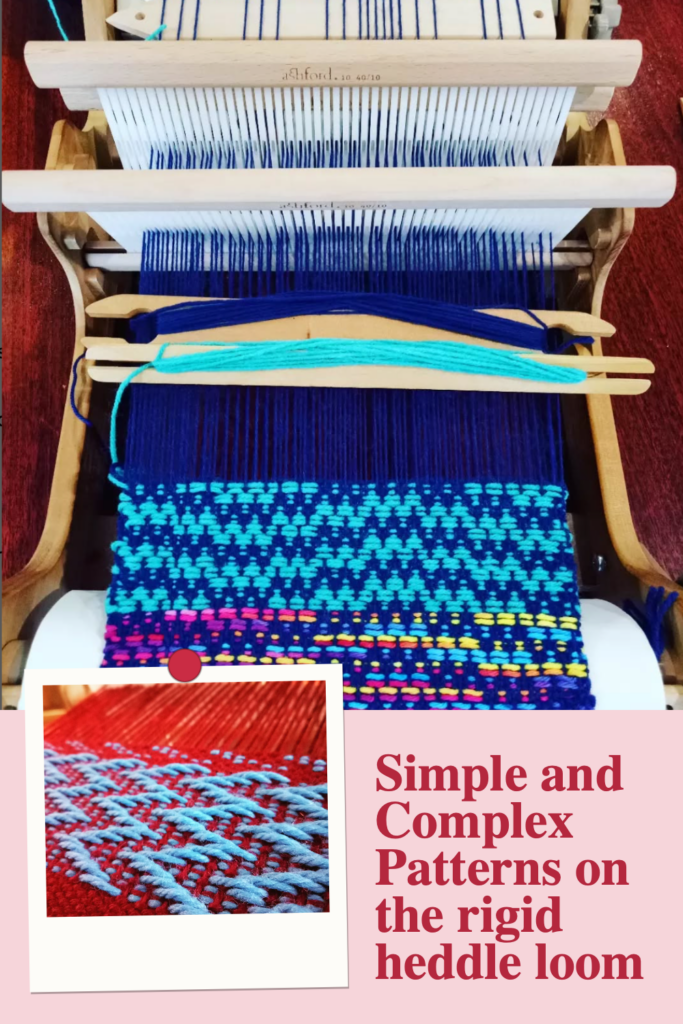
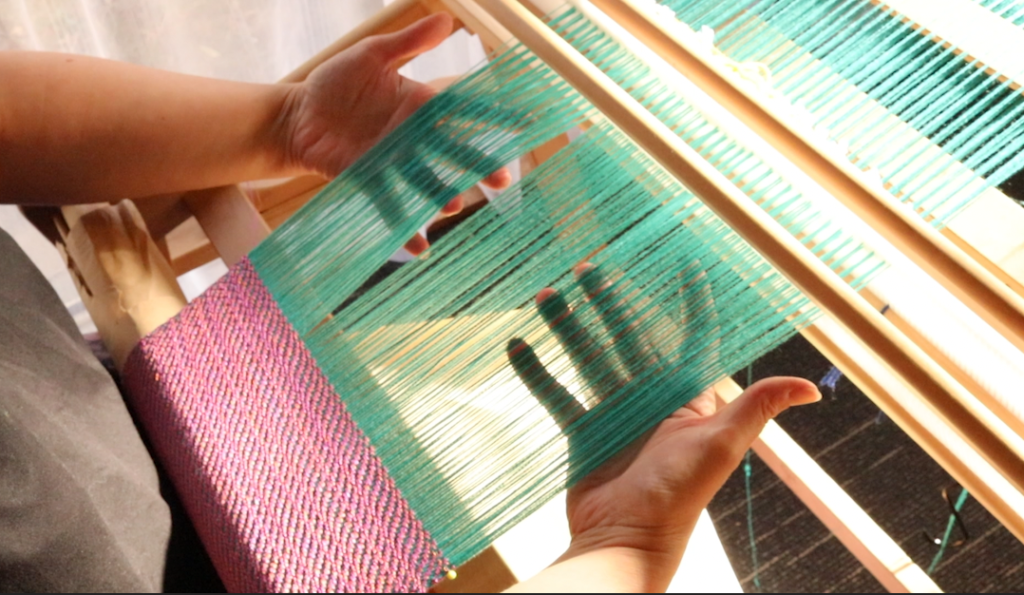
More open structures (like those created with pick up sticks) are especially beautiful with variegated yarns, as they allow the full colour range to shine.
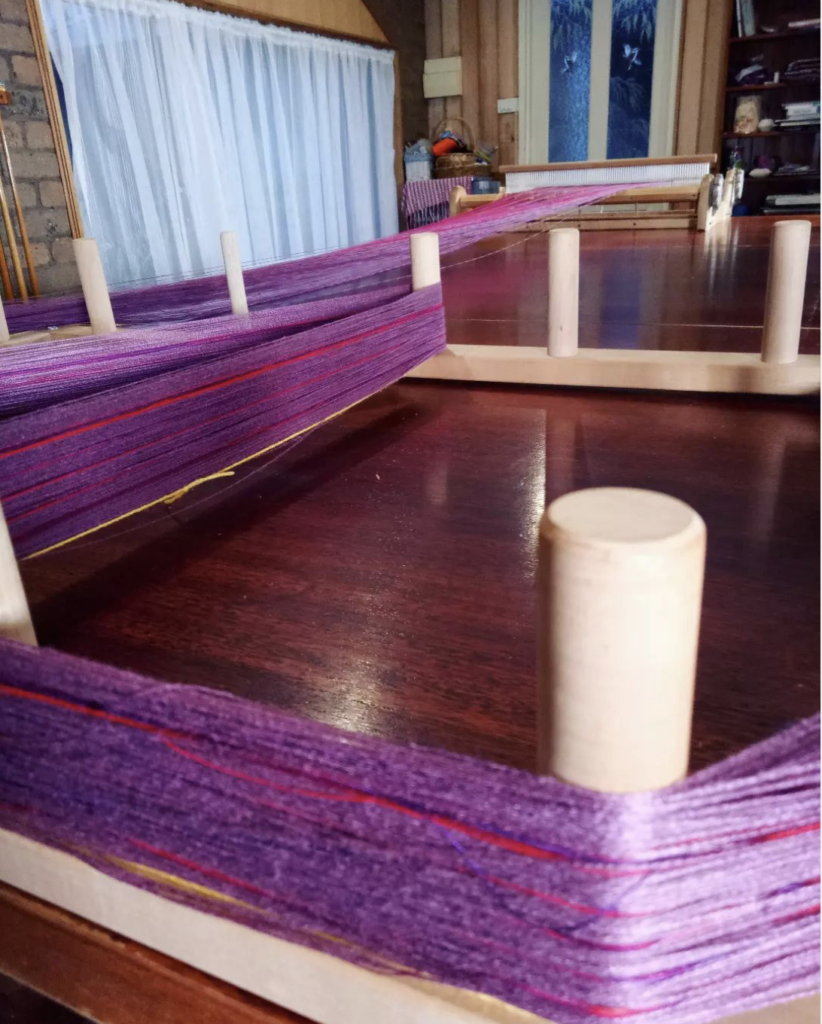
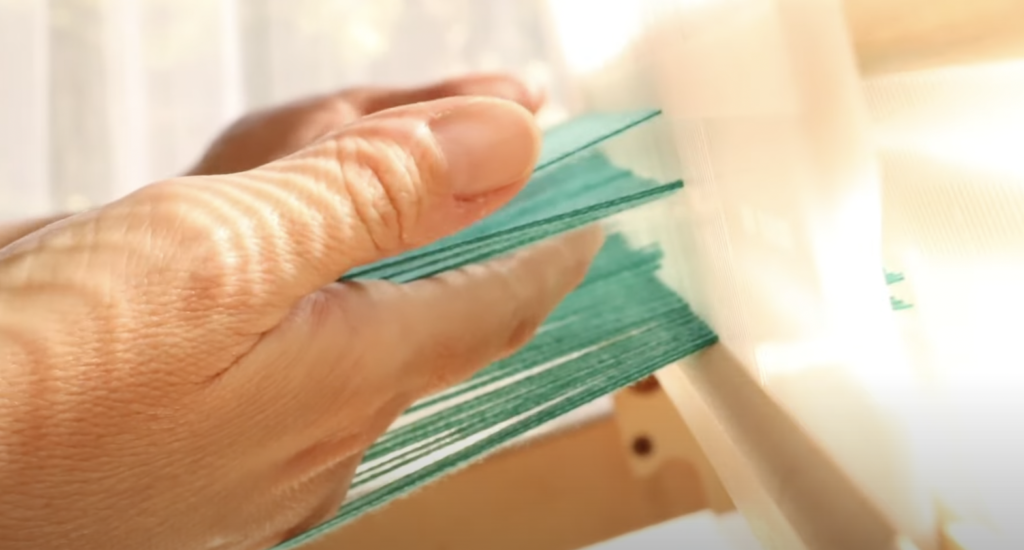
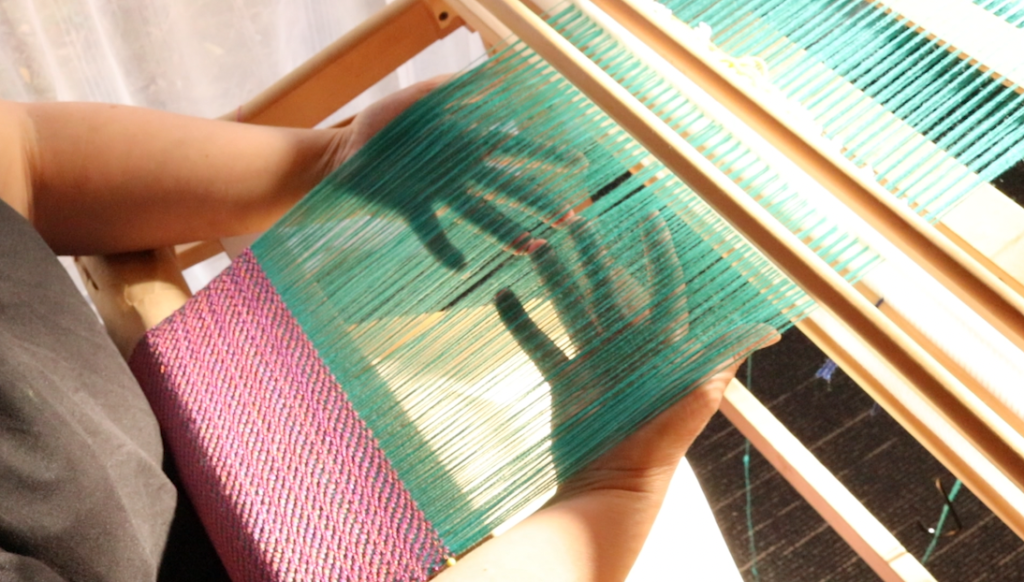
The scarf pictured above was woven with fingering-weight wool.
The warp was hand-dyed as a rainbow gradient, while the weft was a solid commercially dyed grey of the same yarn.
You’ll find a similar approach in my free Heart Scarf project.

3. Try Luxury or Special Yarns
Not all yarns are ideal for weaving — especially when you’re new — but today’s weavers have access to an incredible range of fibres.
Many knitting yarns work beautifully on a rigid heddle loom.
And introducing a luxury or special yarn can completely transform your finished cloth.
Yarns to Experiment With
Consider:
- Silk or silk blends
- Tencel
- Bamboo
- Cashmere or luxury blends
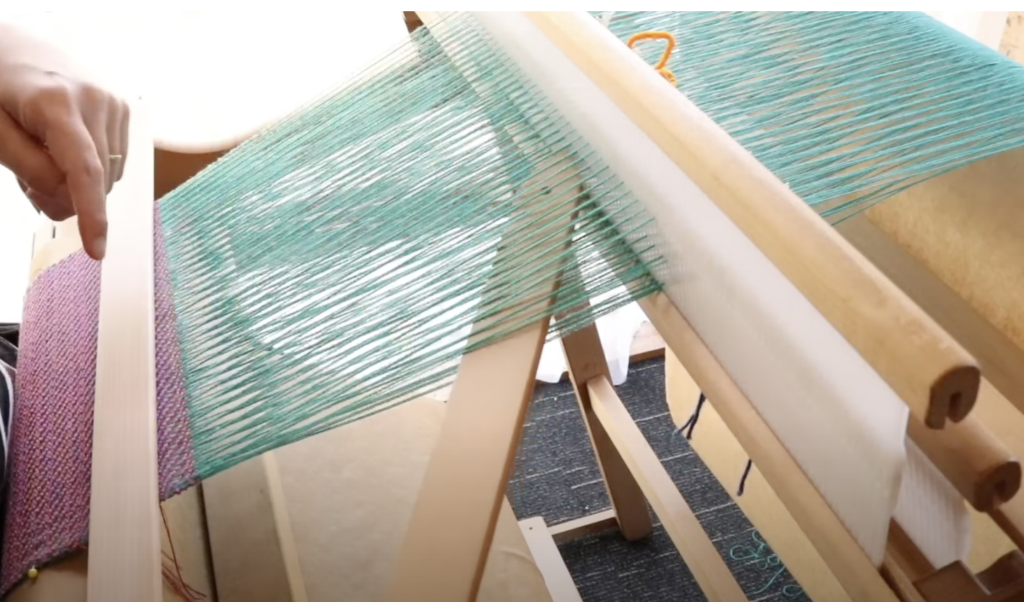
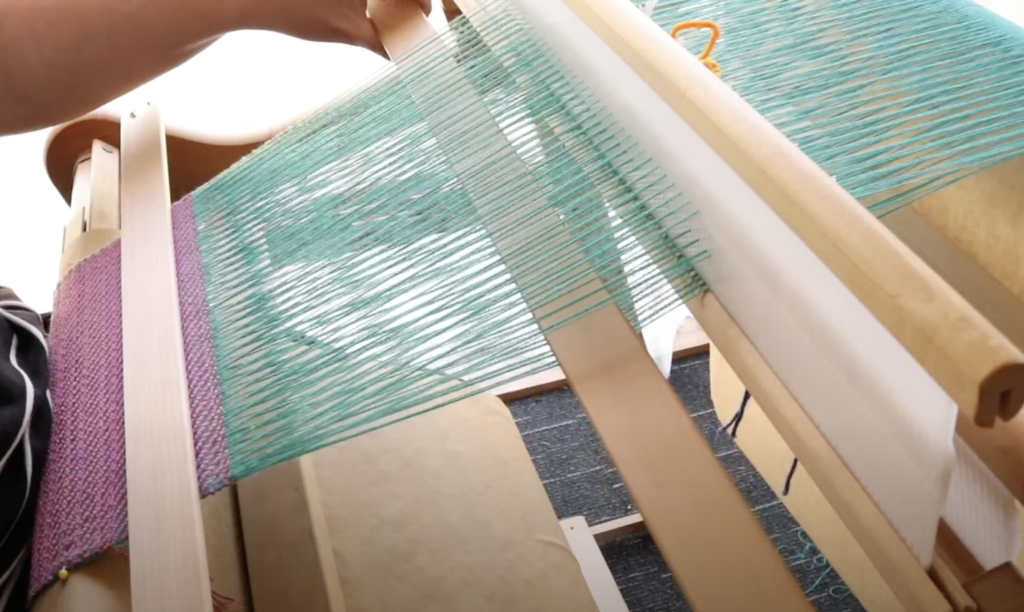
The scarf shown below was woven with a DK-weight hand-dyed silk. The result had a beautiful, flowing quality — almost like a waterfall.
What Luxury Yarns Add to Your Weaving
- Iridescence: Silks, tencels, and bamboos add glow and light
- Texture: Soft, fluid, and often slightly slippery
- Perceived value: Perfect for special gifts or higher-end pieces to sell
Even a very simple weave structure can look extraordinary when paired with the right yarn.

Build Confidence, One Step at a Time
You don’t need to leap into complex techniques to grow as a rigid heddle weaver.
Small, intentional steps – like adding a pick up stick, introducing colour thoughtfully, or trying a special yarn, can take your weaving to an entirely new level.
Confidence comes from doing, not from being perfect.
I hope these ideas have sparked some inspiration and helped you see just how much potential your rigid heddle loom really has.
Until next time…
Happy Weaving!
*This post contains affiliate links. For further information, please see my disclosure policy.