Just when you thought you had tried everything in weaving, you discover there is more! Finger controlled techniques can add a whole other dimension to the way you’ve been weaving and offers new and exciting possibilities.
What are finger controlled techniques?
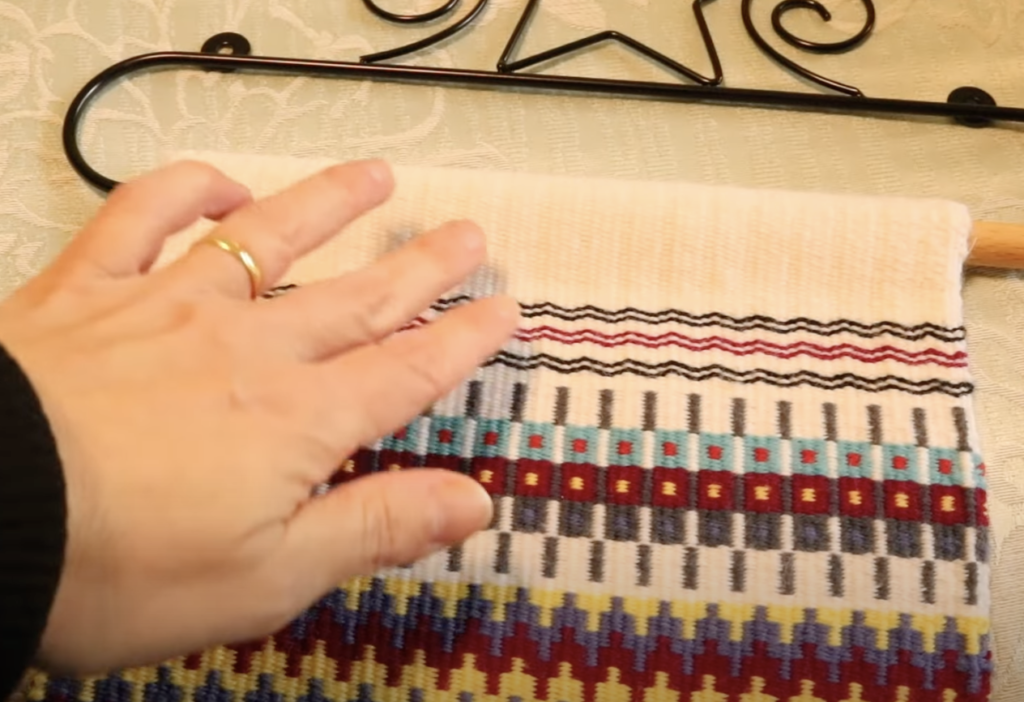
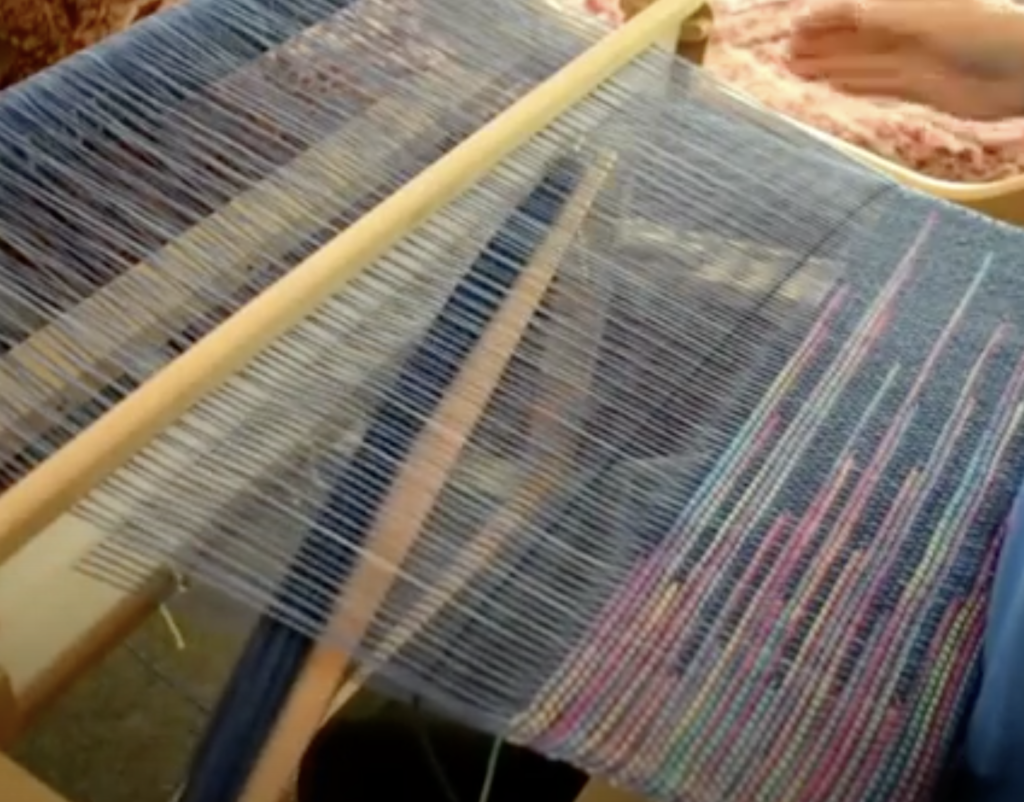
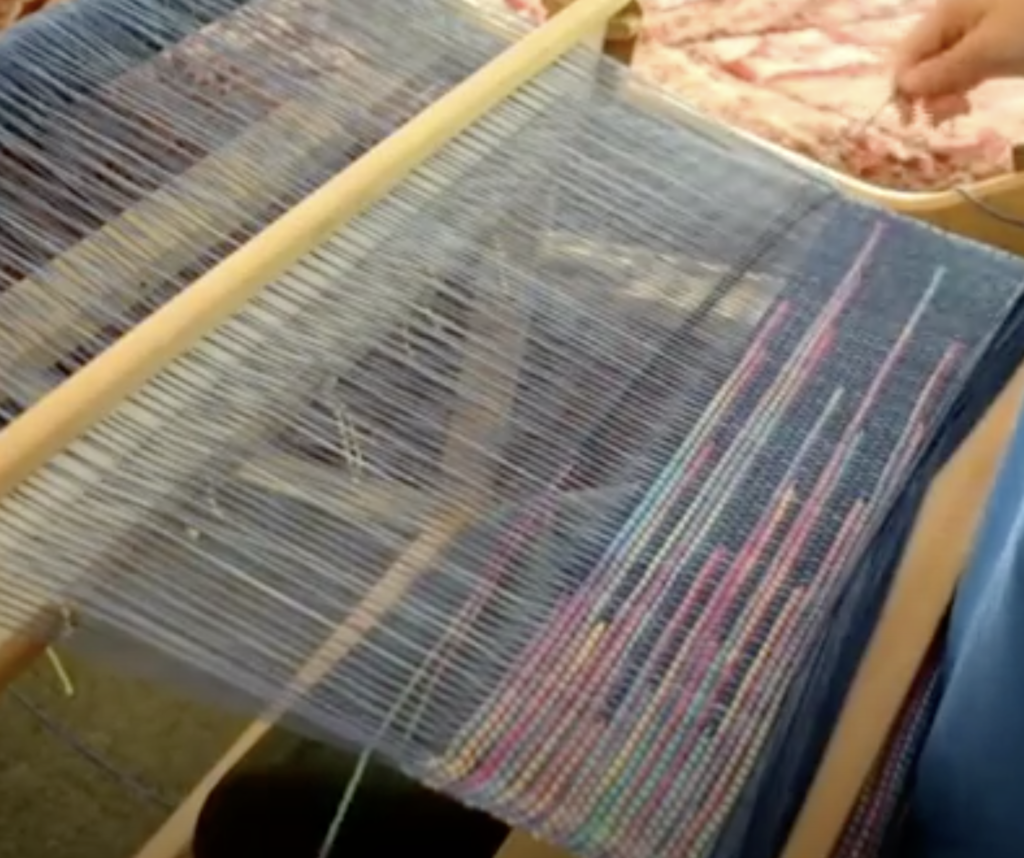
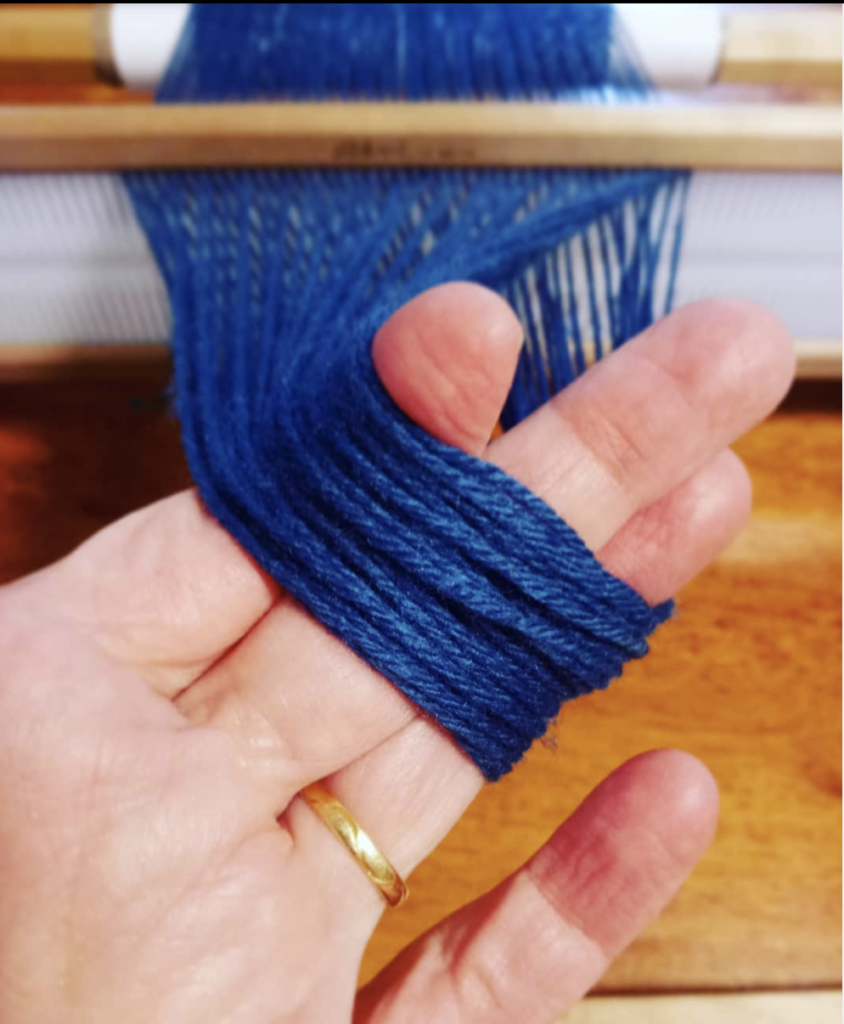
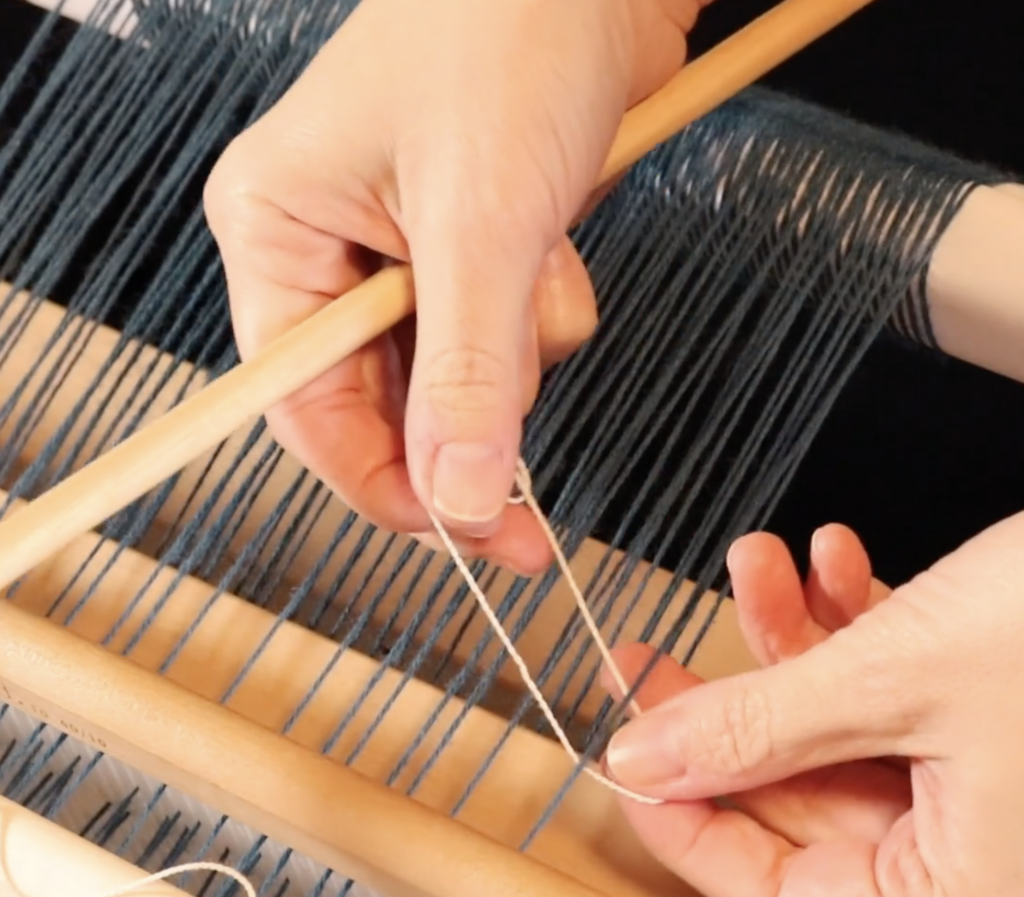
Also know as “finger manipulation weaving” or “hand manipulated weaving” , finger controlled techniques is a kind of umbrella term for a group of weaving techniques. It basically means that, rather than using just the shafts on your loom to control the threads and achieve patterning, you are also bringing your hands directly onto the warp to perform manipulations.
*This post contains affiliate links. For further information, please see my disclosure policy here.
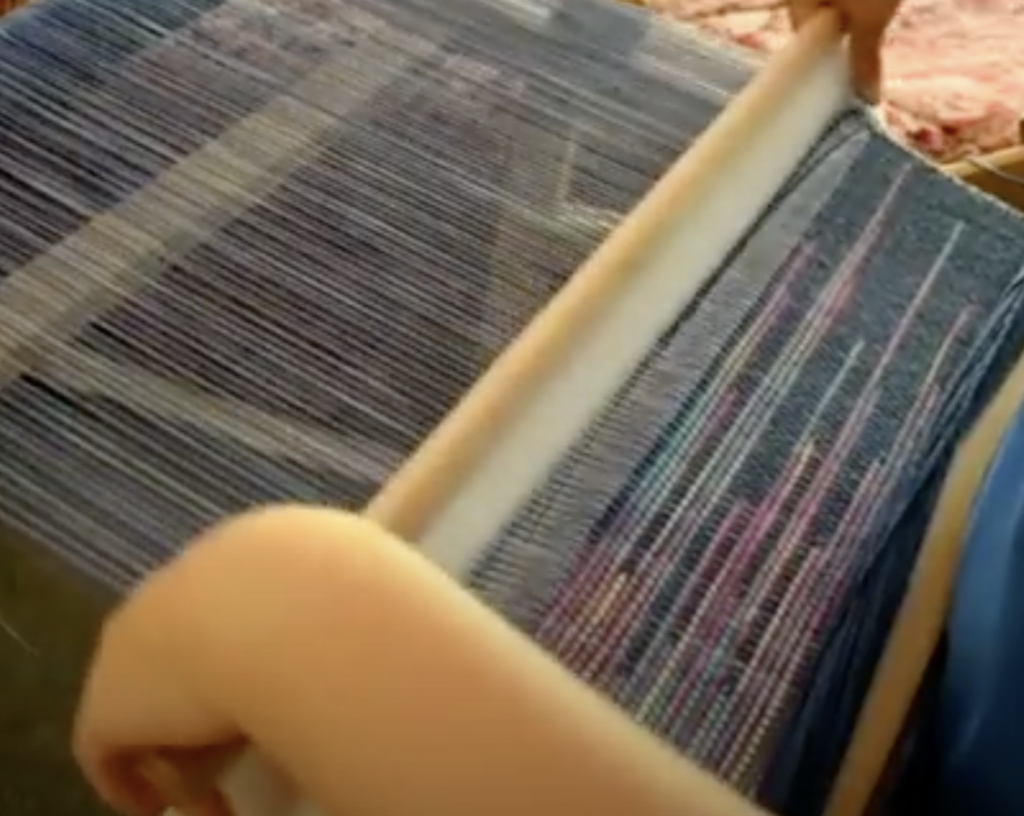
Often the finger manipulations will involve using a tool of some sort to aid you in holding the pattern created. Some examples of tools used are pick up sticks, knitting needles, threading hooks and crochet hooks.
Grab my FREE ebook on Finger Controlled Weaving Techniques!
Why use finger controlled techniques?
There are many good reasons to introduce finger controlled techniques into your weaving.
- It increases your pattern possibilities.
- You can achieve patterns that may not typically be associated with traditional weaving.
- You can weave a drastically different pattern to what you normally might.
- It is an exciting, interesting and sometimes meditative way to weave.
- It can be used in small sections or borders to accentuate a plain or other weave structure.
- It can be incorporated seamlessly into any loom set up.
- You don’t need extra shafts or a bunch of extra equipment to give it a try.
- You can set up your loom for plain weave and introduce the finger techniques on the same warp.
- The techniques are good for an adventurous beginner. Make sure you have a plain weave project or two under your belt first though.
- There are many different types of techniques to try, all with different effect. And each one has variations!
Which kind of looms work for using these techniques?
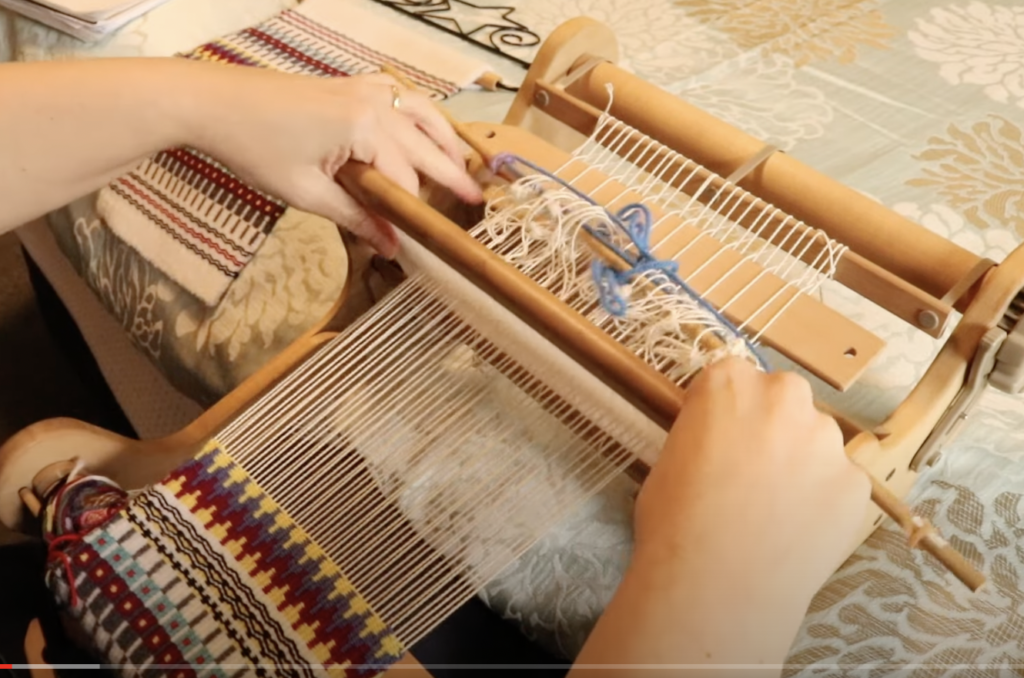
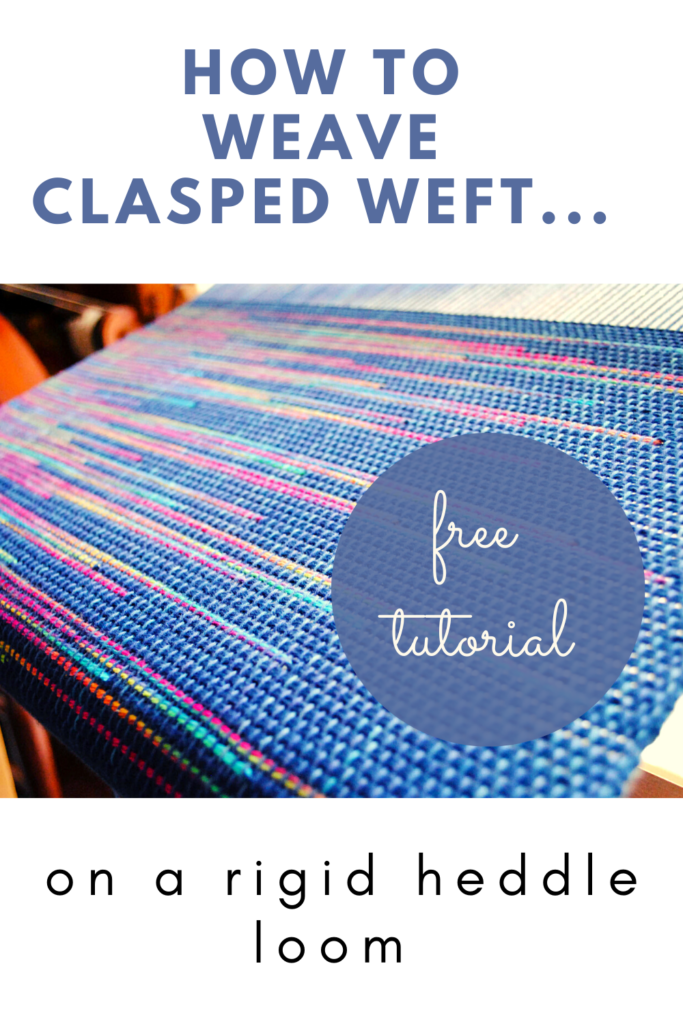
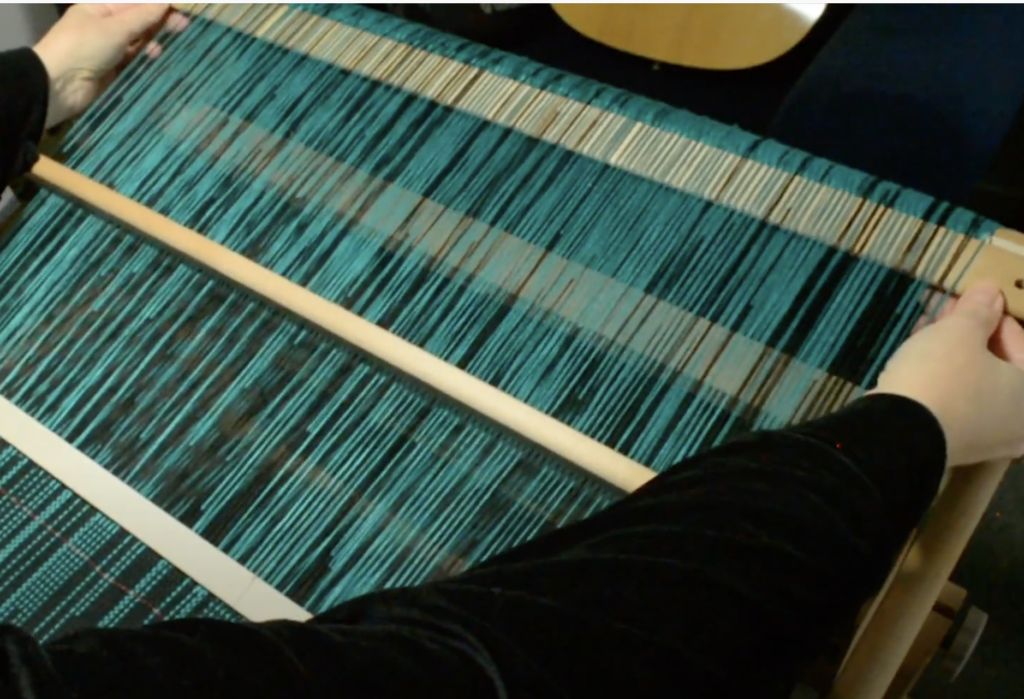
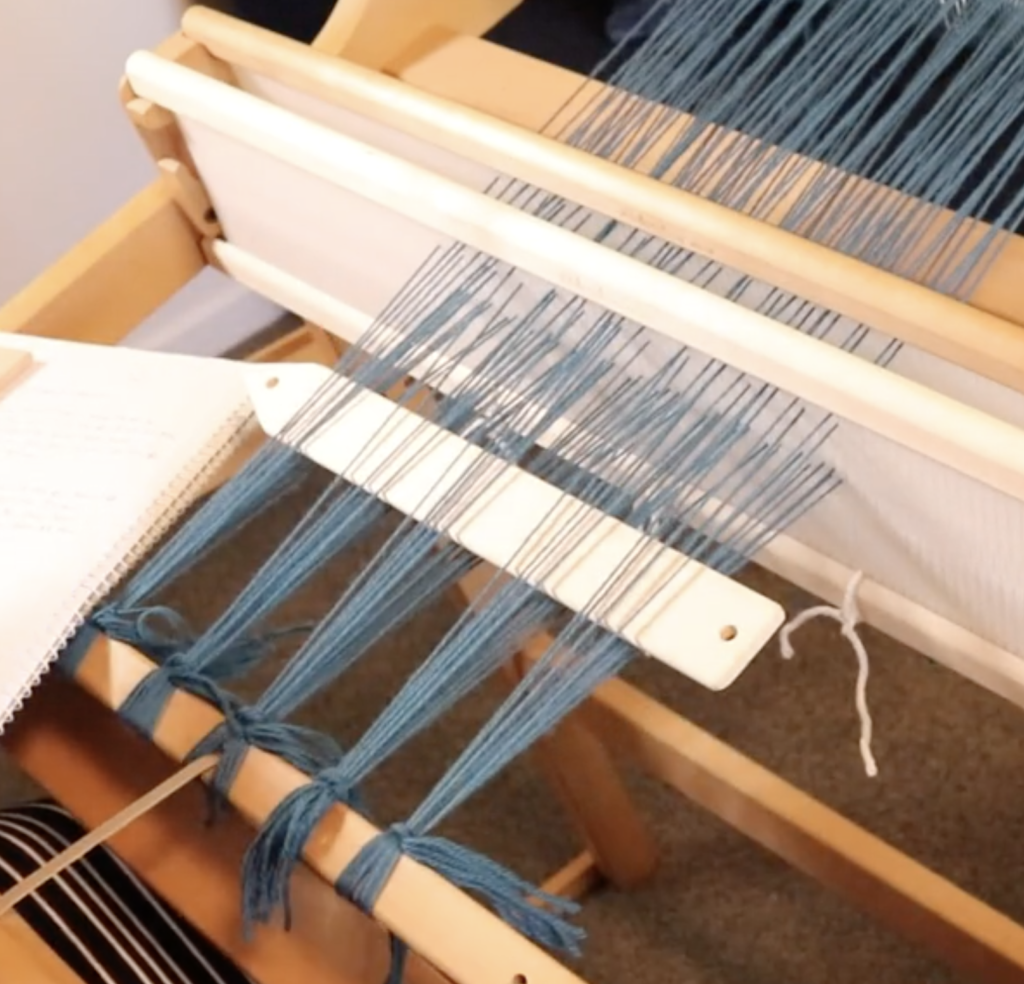
That is the beauty of it! Most finger controlled techniques are worked at the front of the loom, on the warp directly in front of you. This means it’s suitable for rigid heddle looms, table looms and floor looms.
Popular Finger Controlled Weaves
Today I’m going to discuss the 3 most popular and well known finger controlled techniques in weaving:
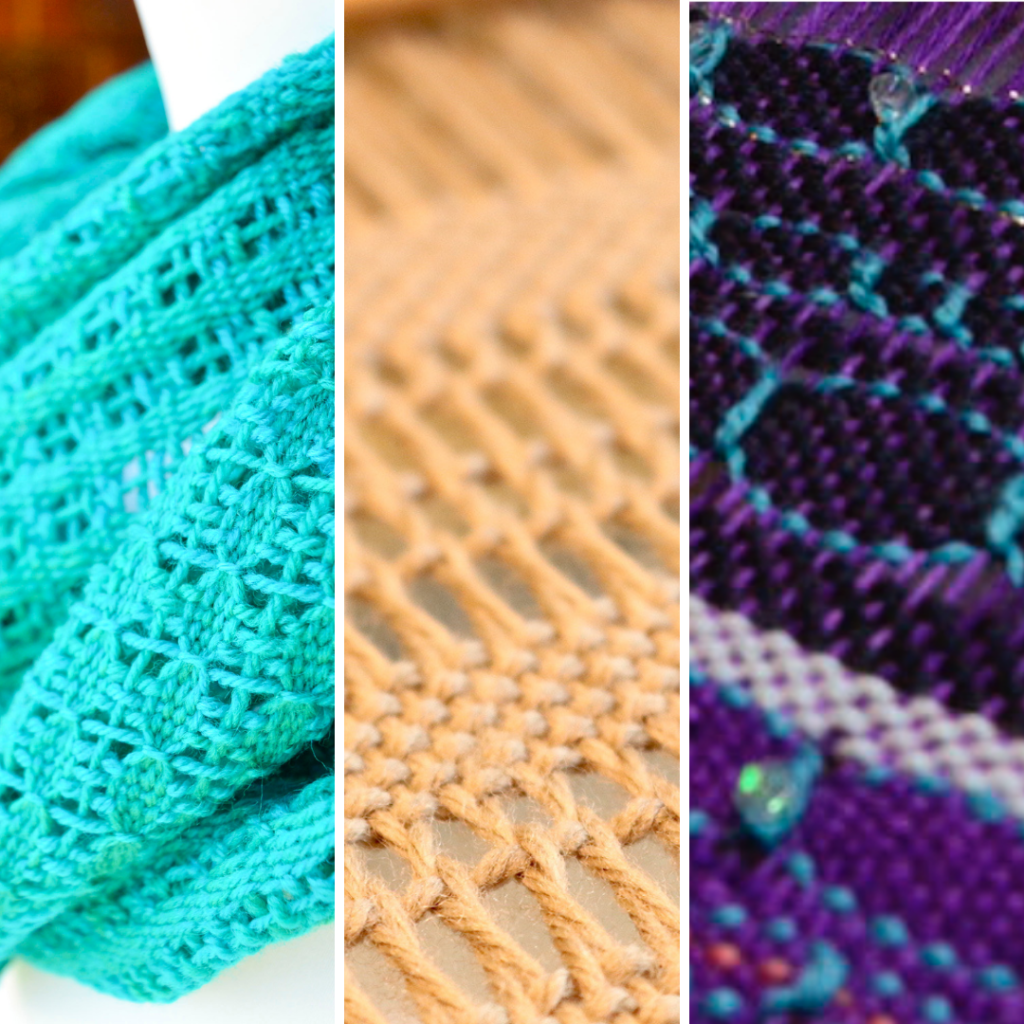
✨ Brook’s Bouquet
✨ Leno
✨ Danish Medallions
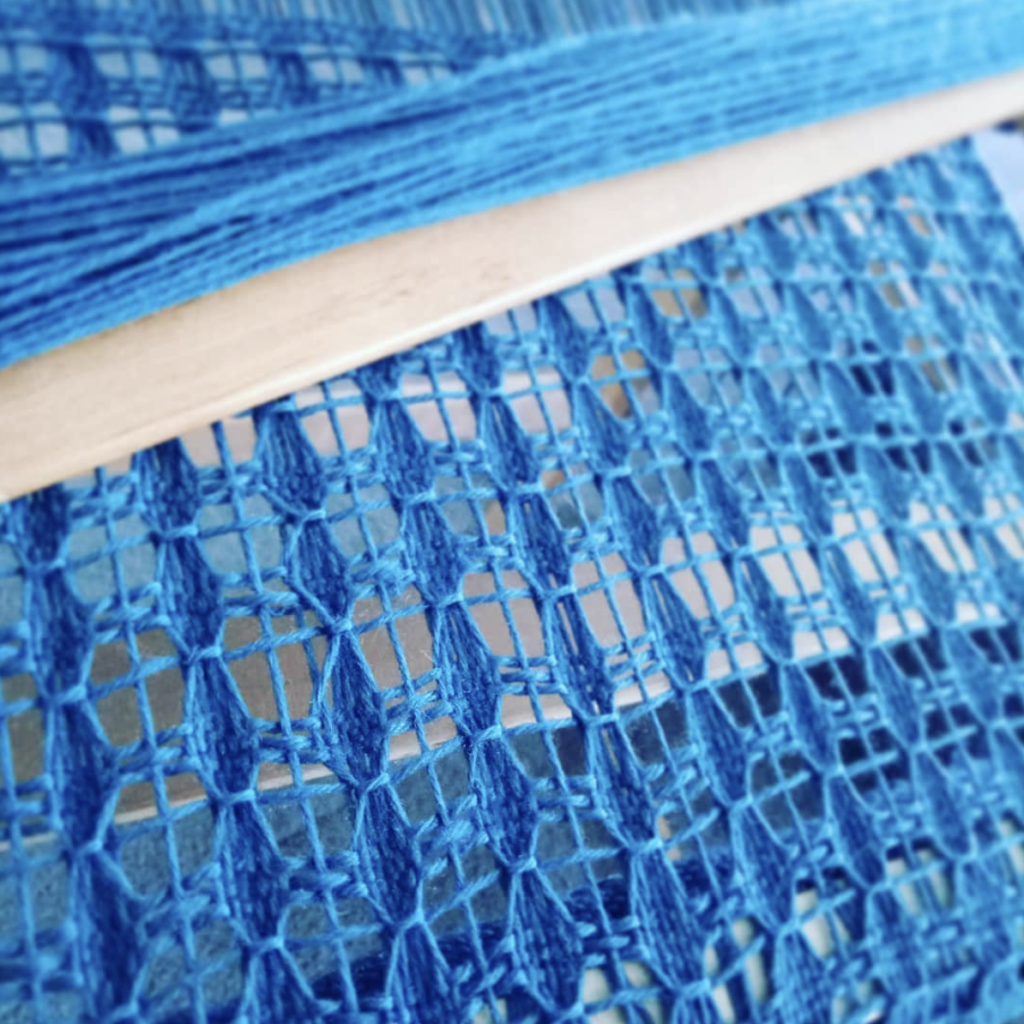
Brook’s Bouquet
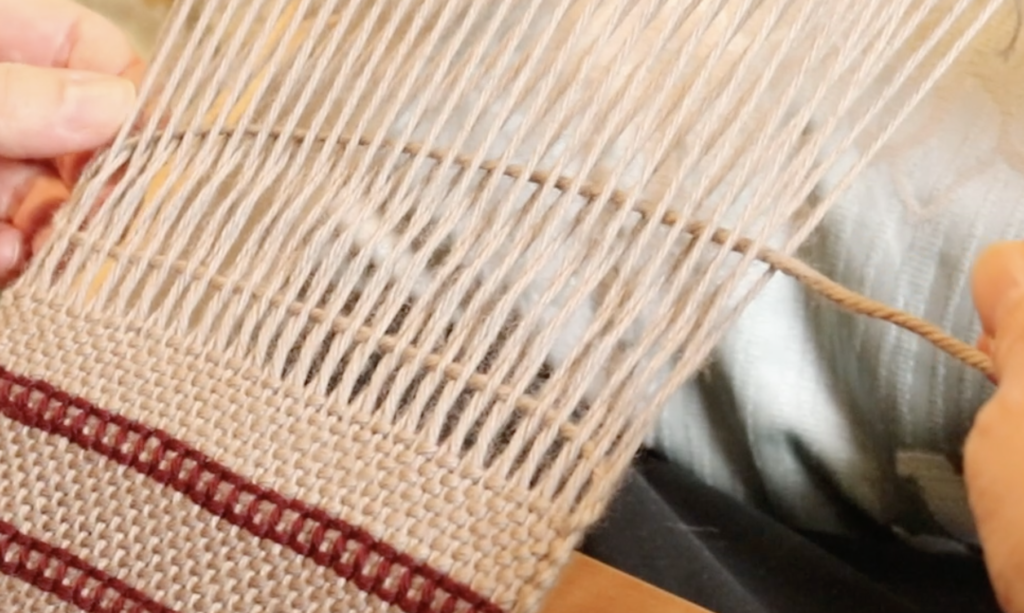
Brooks Bouquet was made popular by Marguerite Brooks when she wrote a book that included variations on this weave structure. You can see the “bouquet” component, where the yarn wraps around bunches of warp threads (the number of threads is adaptable) and pulls in tightly.
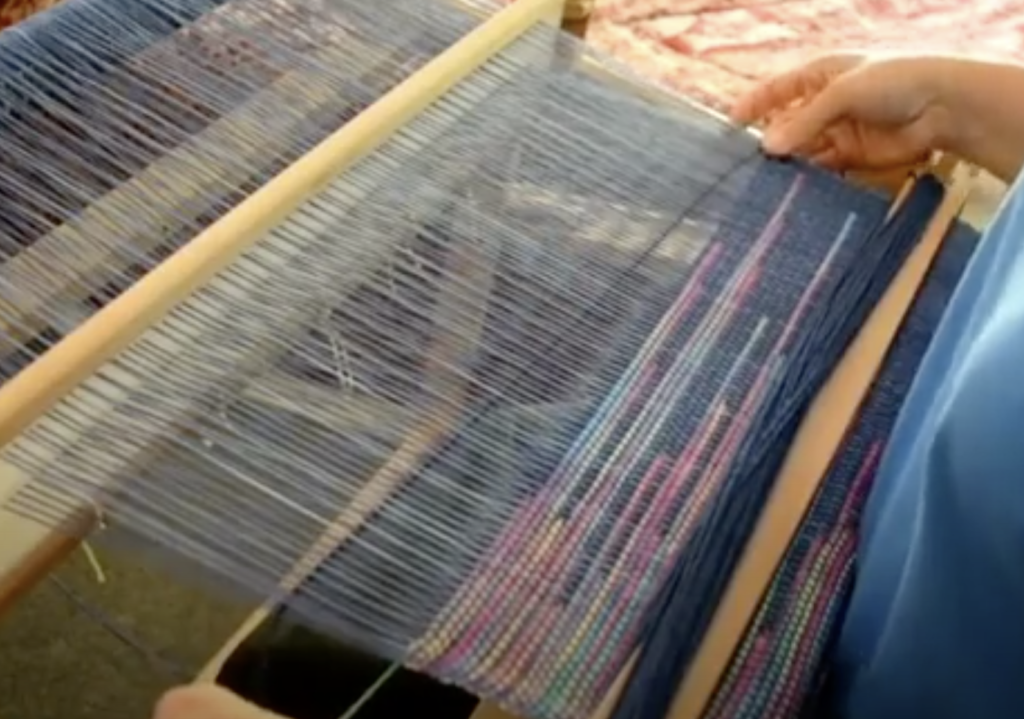
Reminiscent of lace knitting, the finished fabric also has some interesting qualities. Most of the time, woven fabric lacks “stretch” but using Brooks Bouquet produces a fabric with definite stretch. It is mildly open and airy, and yet has a beautiful and intricate pattern.
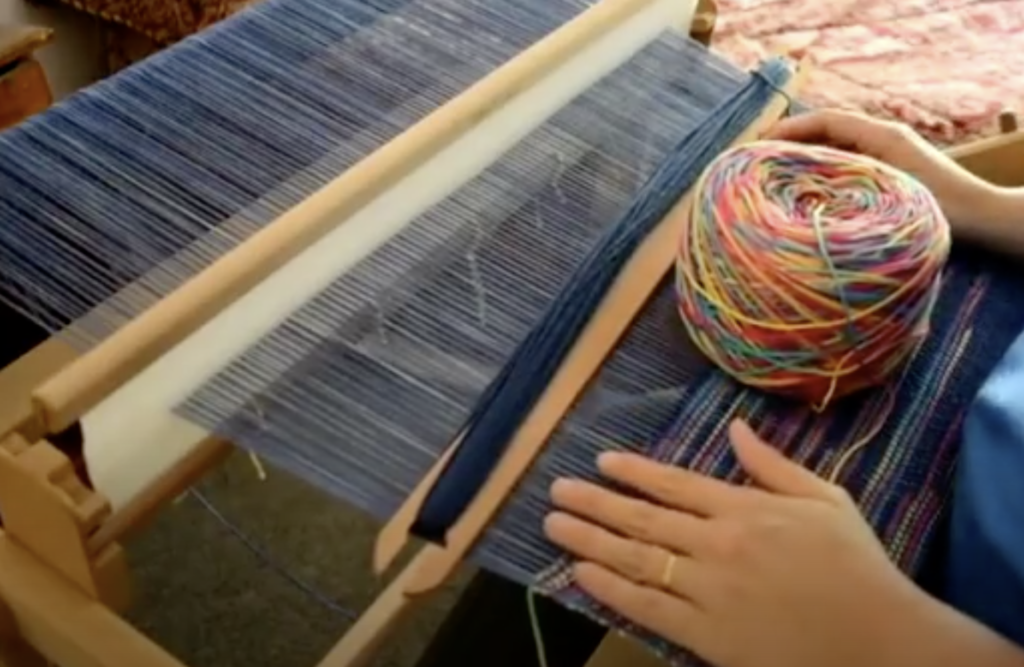
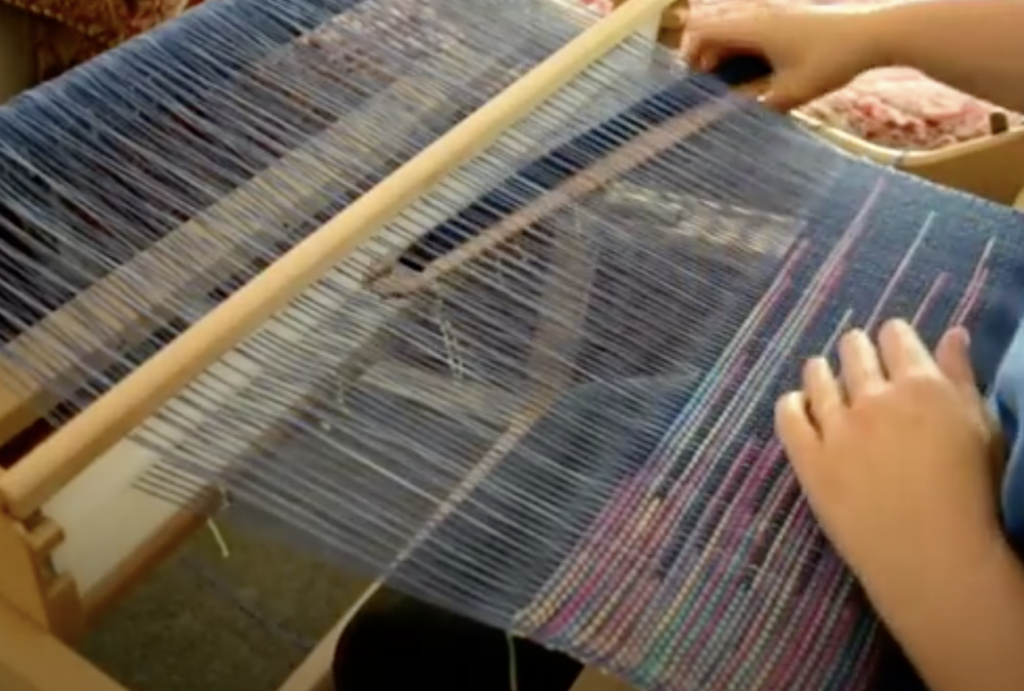
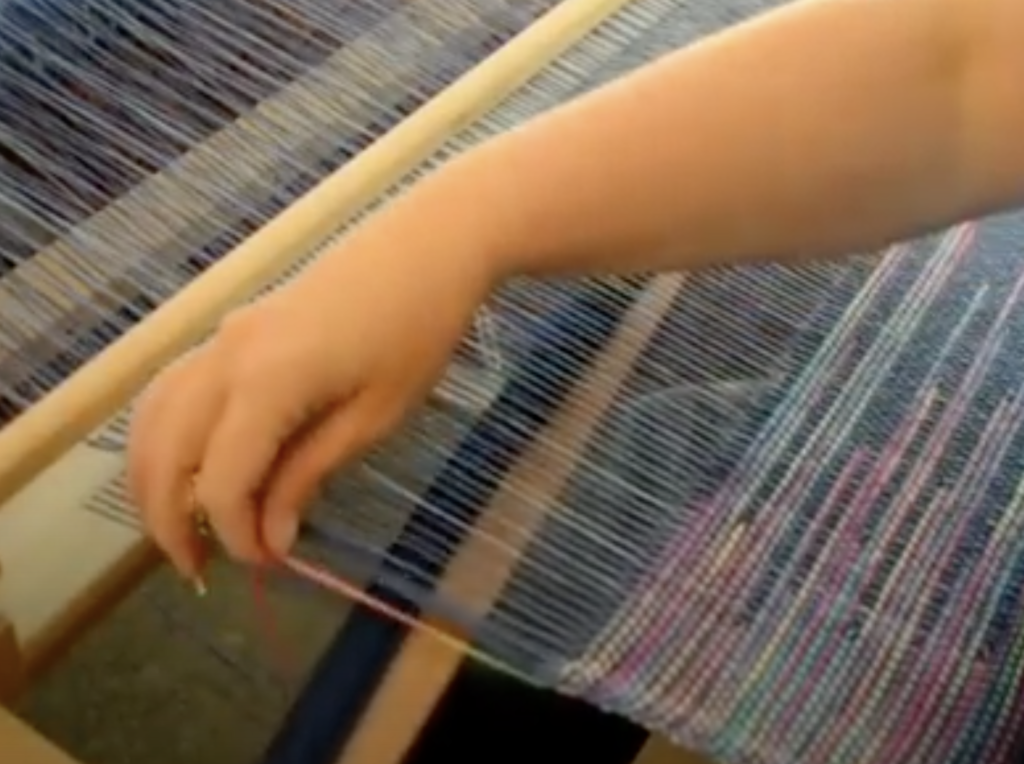
You don’t need any extra tools, just your stick shuttle (the same one you’re using for your weft) to pick up groups of threads in a repeat pattern and loop the yarn around the bunches as you go.
I love Brooks Bouquet in solid colours, using the same yarn for warp and weft, however I’ve seen some really beautiful pieces using variegated yarns too.
If you’re interested in trying it out but would like some step by step instructions, the Garden Path Scarf digital PDF download pattern is the perfect place to start. I have included lots of colour photos in this pattern as well as all the yarn and calculation details you need to complete a really beautiful scarf. I’ve woven two Garden Path scarves in merino yarn for myself and they are my go to for cold weather.
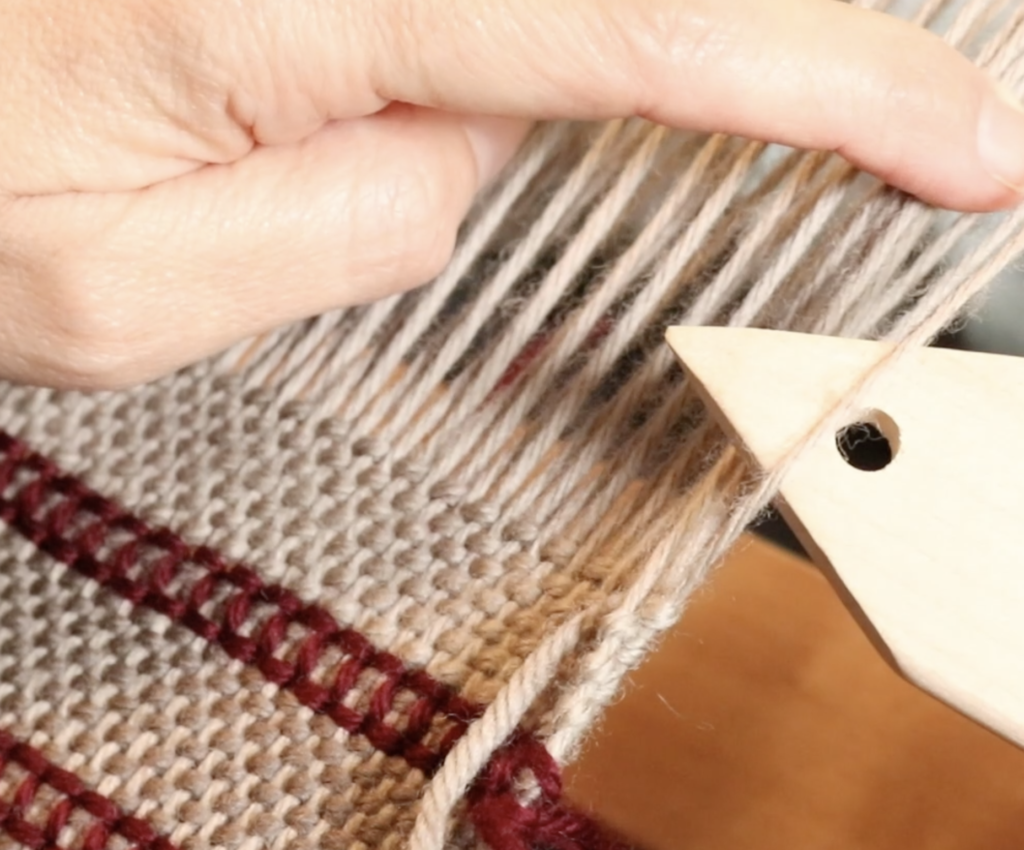
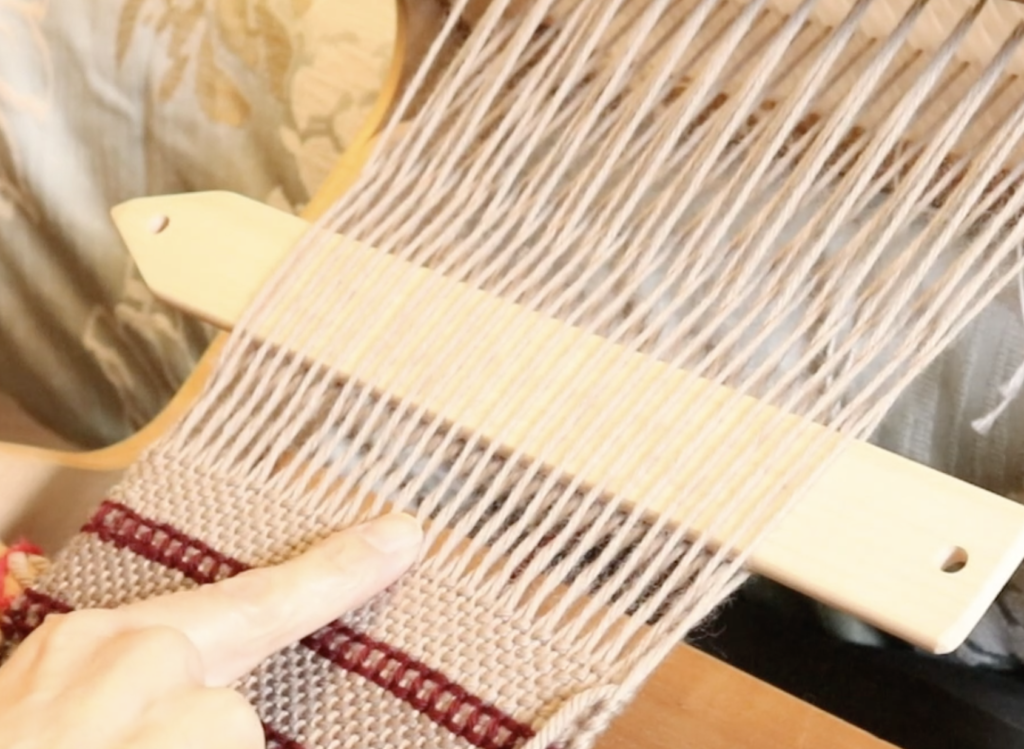
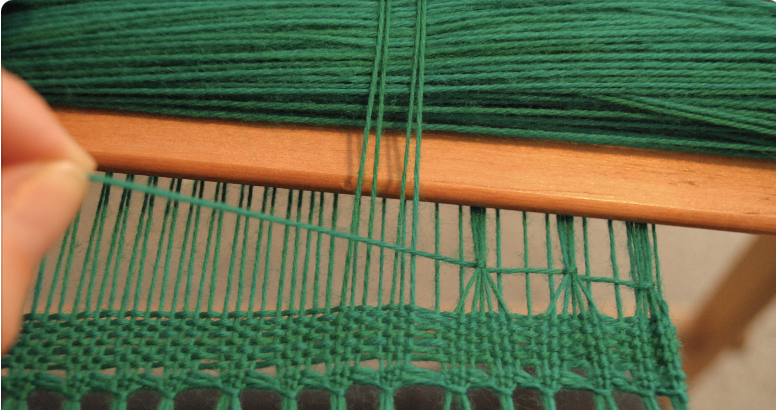
Leno
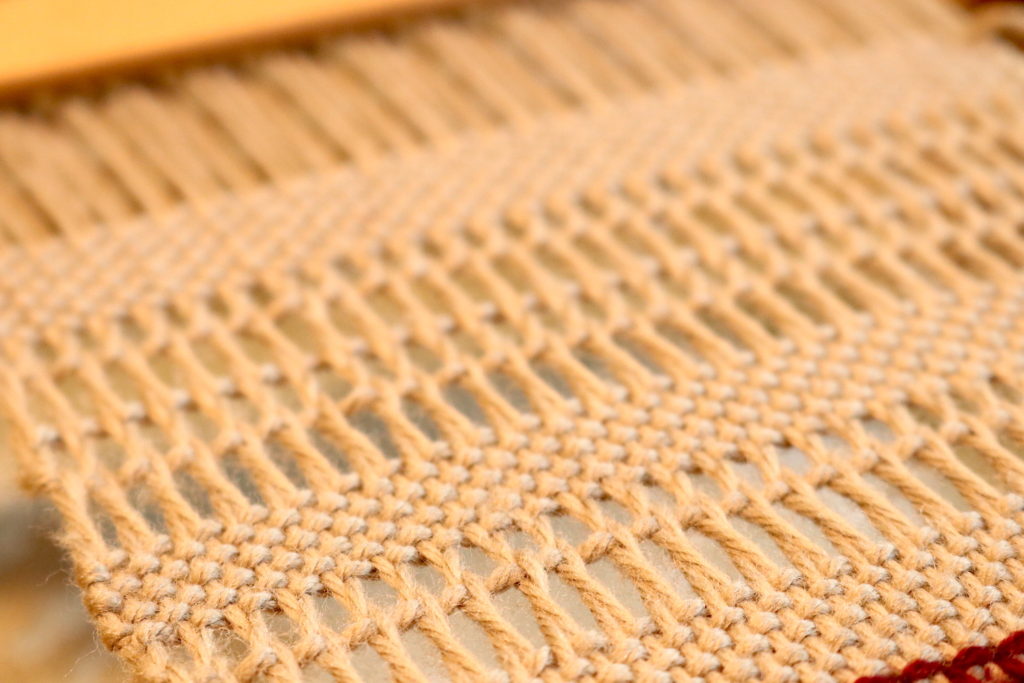
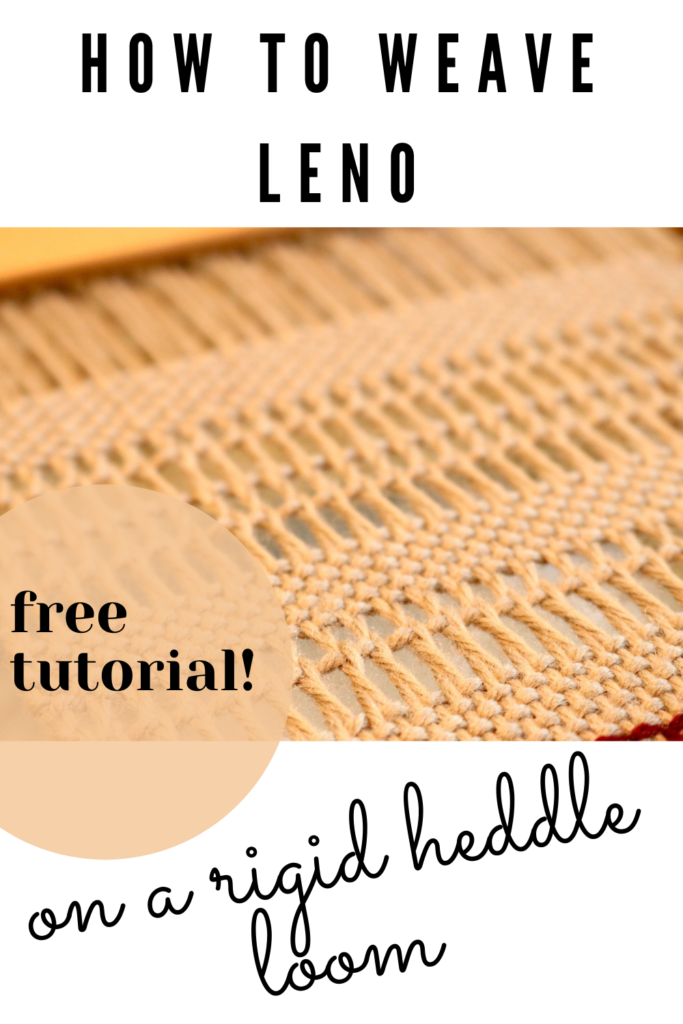
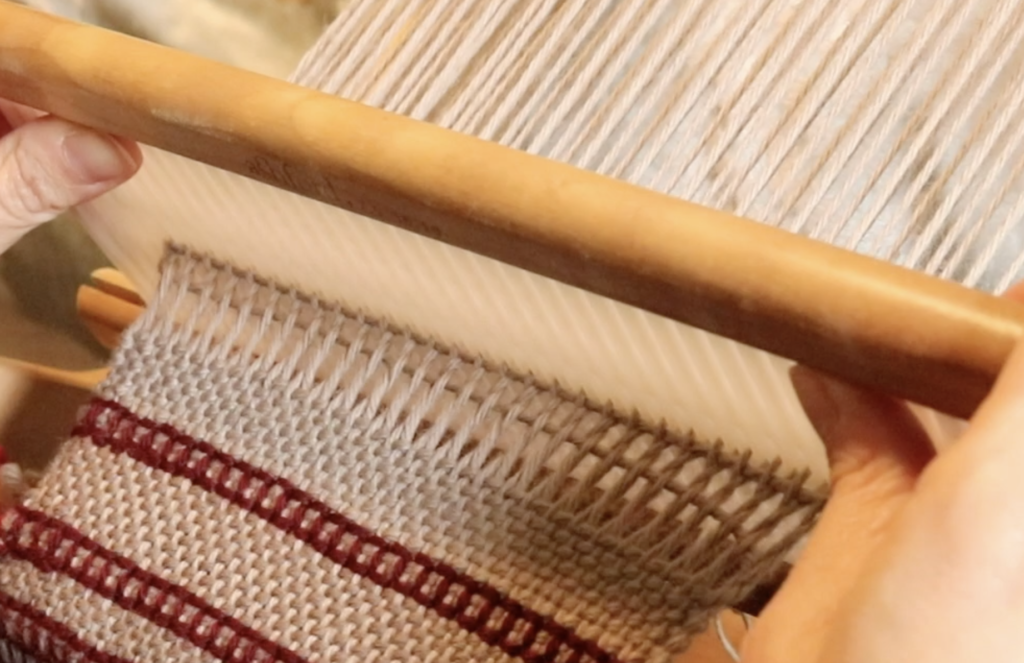
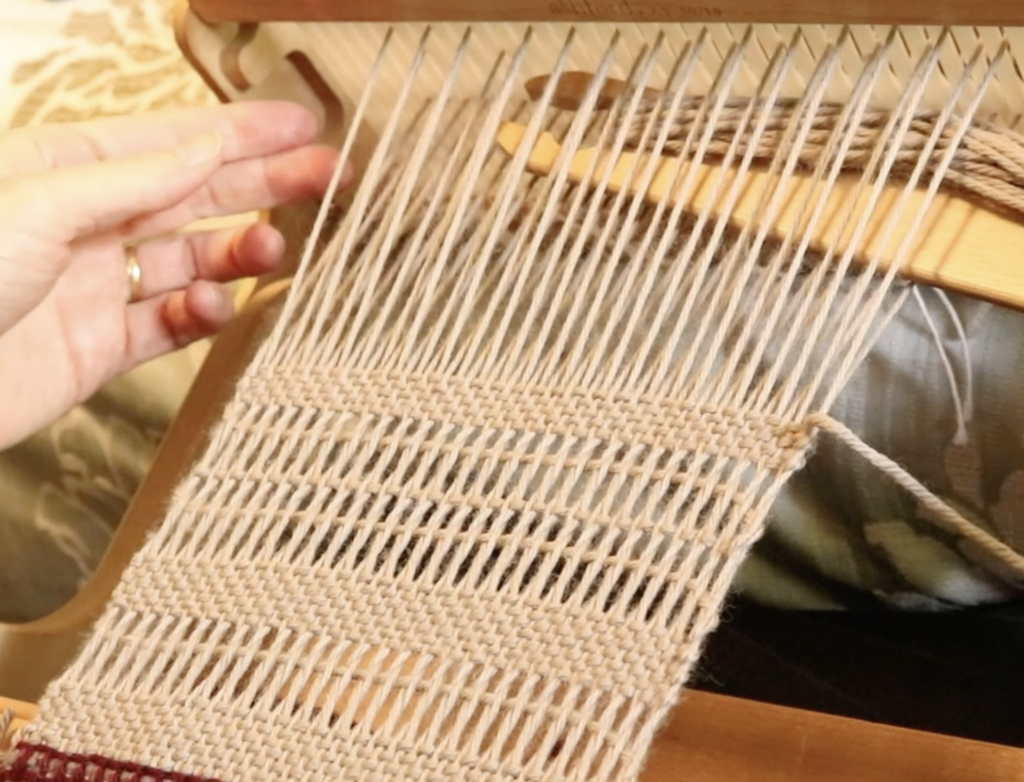
The next technique I want to share with you is Leno.
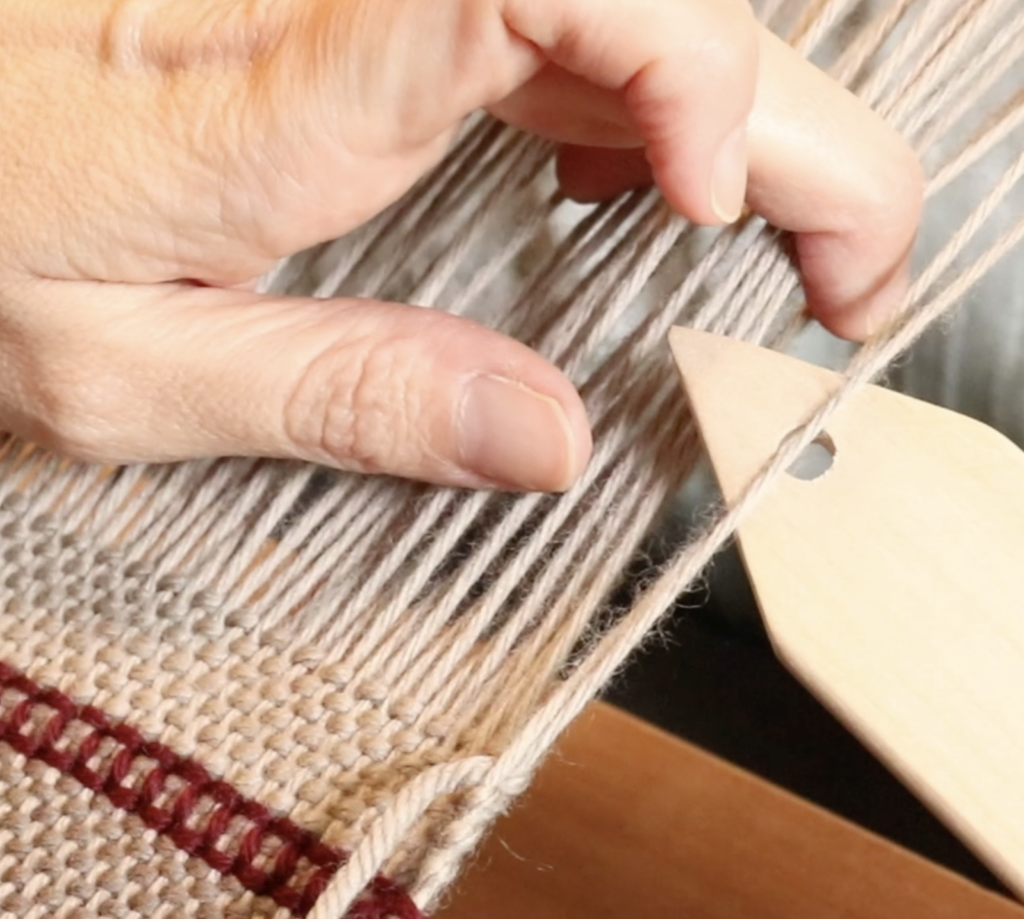
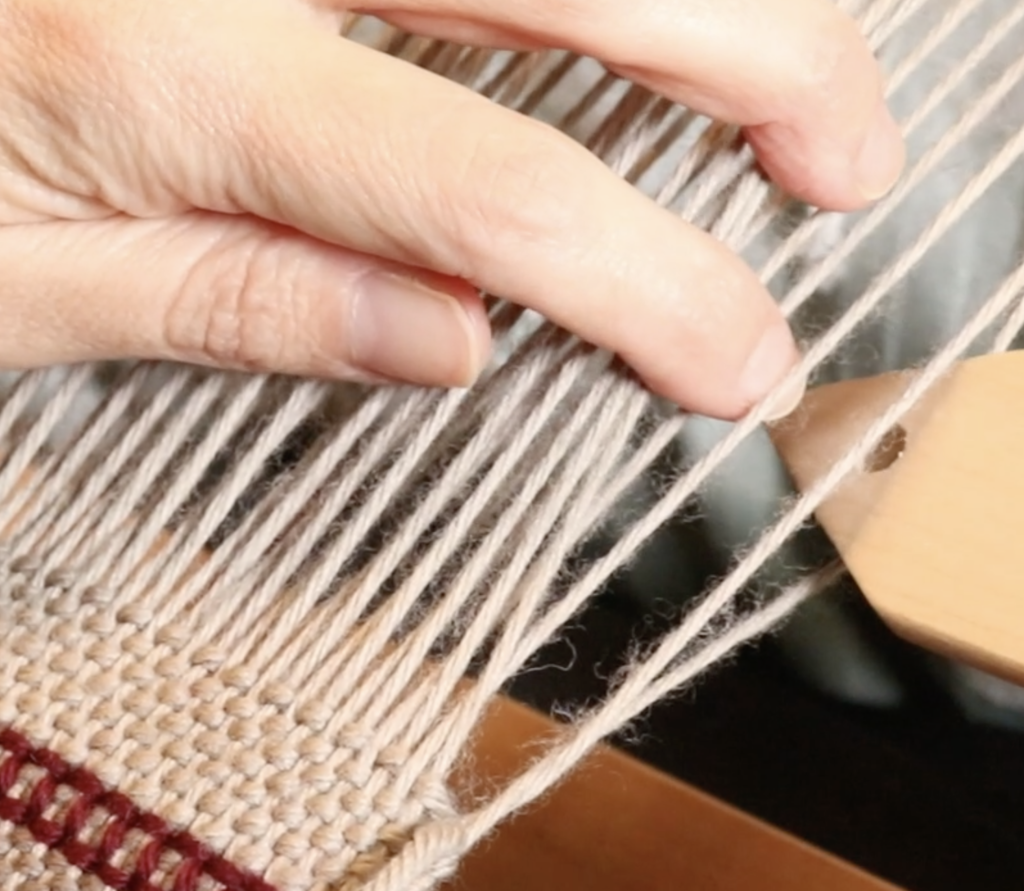
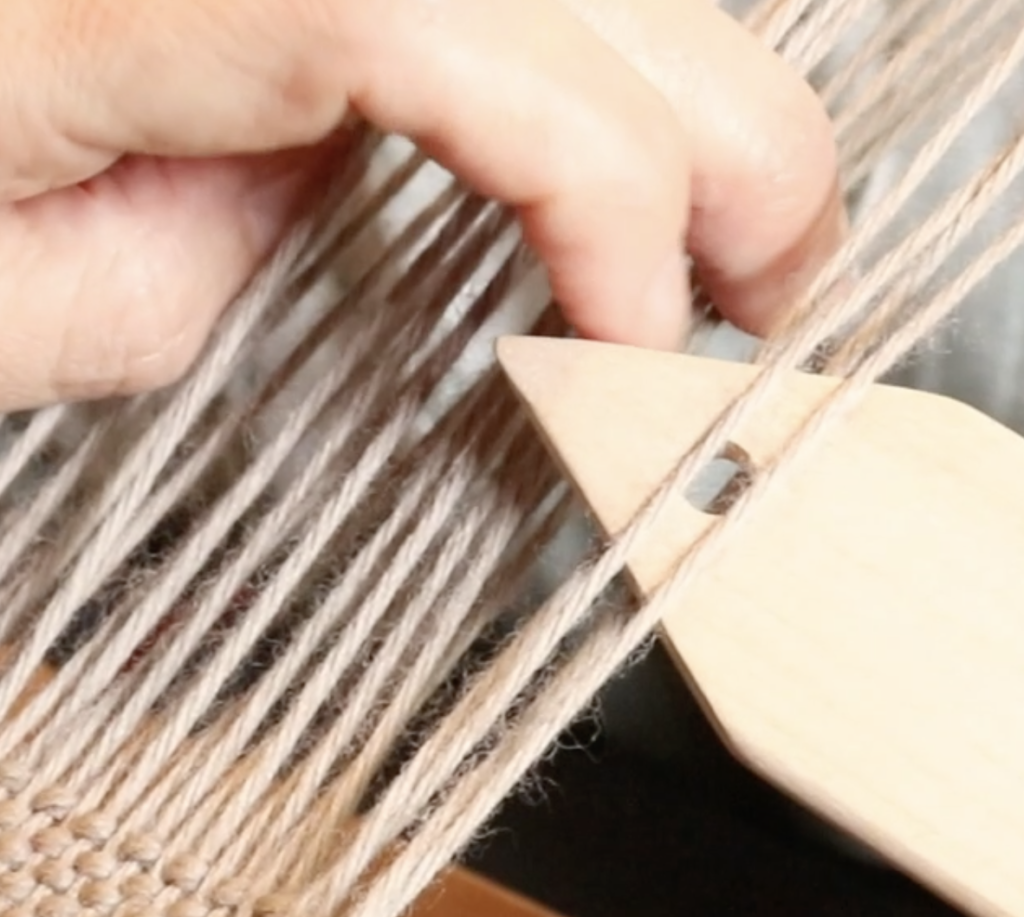
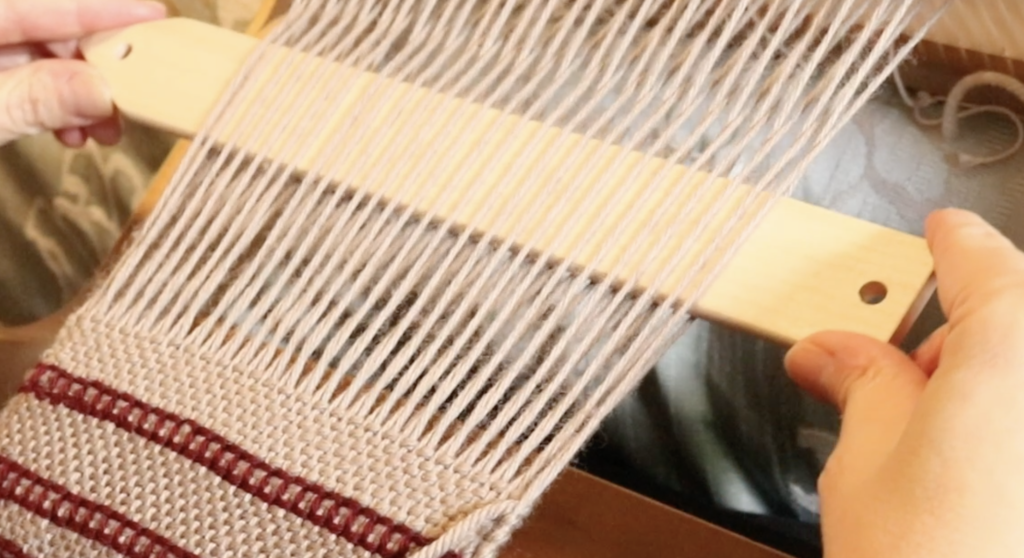
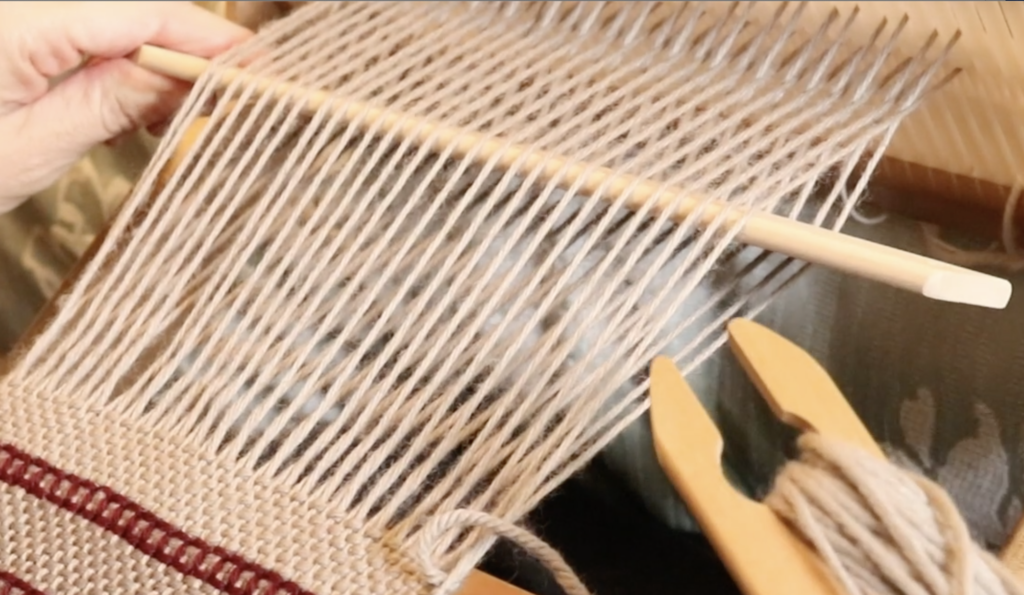
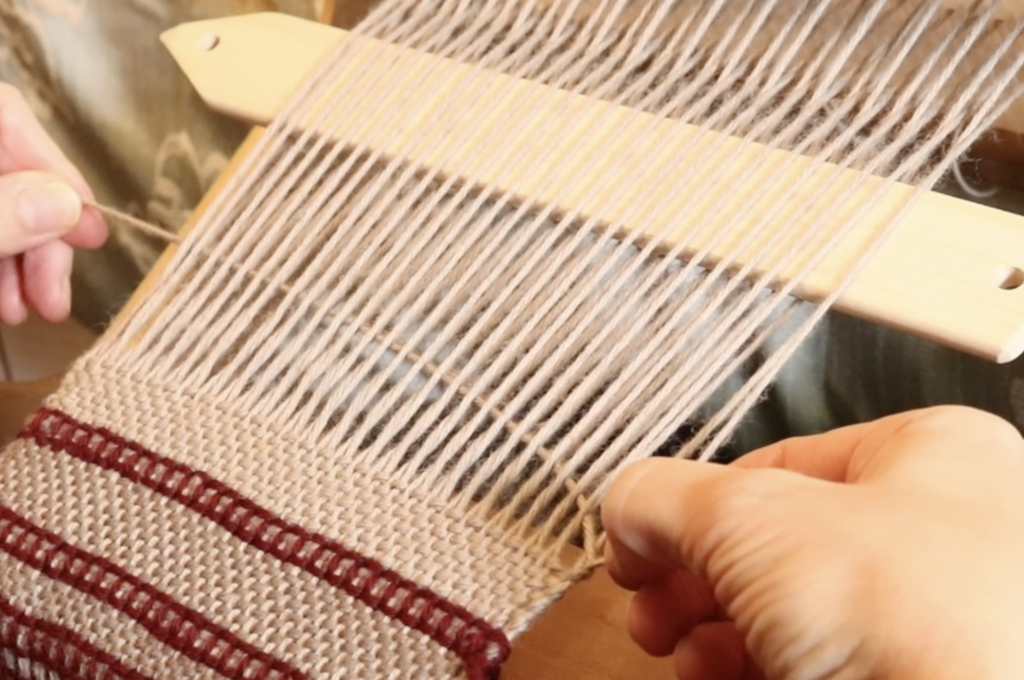
This also creates a light, airy fabric, but even more so than Brooks Bouquet. It is a very slow weave, as you twist threads using your fingers and a pick up stick and then hold the twists in place by beating in the weft thread.
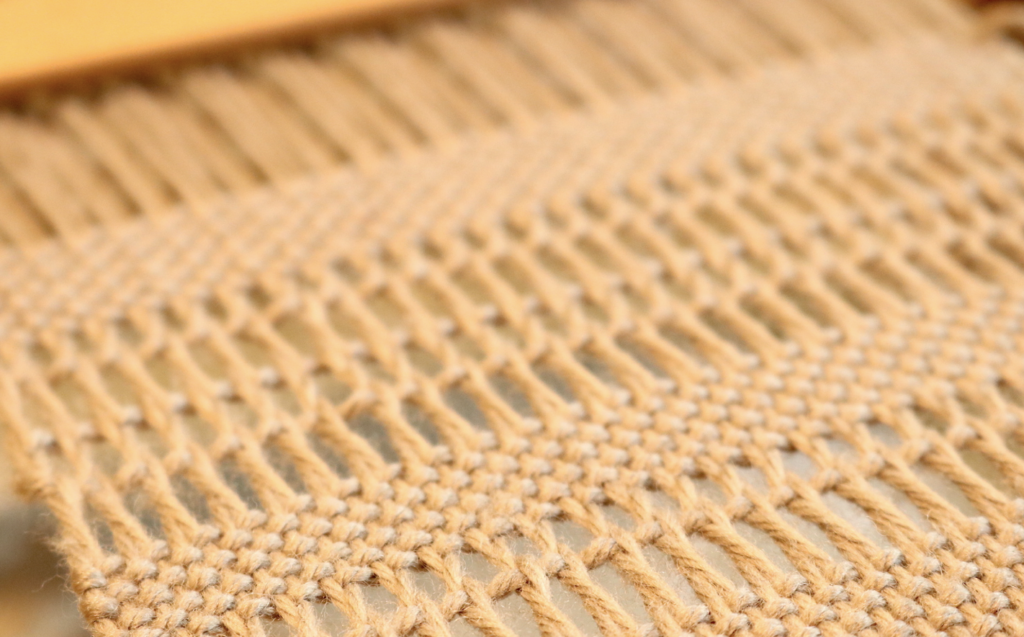
Leno also has variations, for example, it can be woven on an open or closed shed. You can weave it in rows, with plain weave in between. You can weave Leno for the whole piece or just in border sections (it looks fantastic as bordering on a classic scarf or table runner).
If you like the look of this technique, I have good news for you! I have a complete tutorial on weaving Leno and it’s totally free. It is aimed towards rigid heddle weavers, but is completely adaptable to other looms as well. You can find that tutorial here.
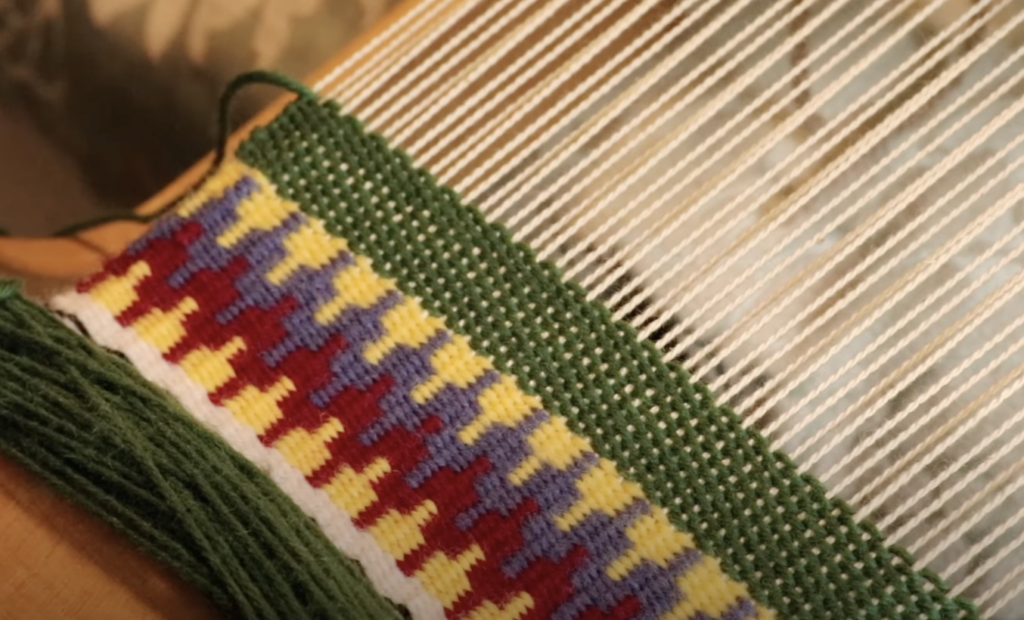
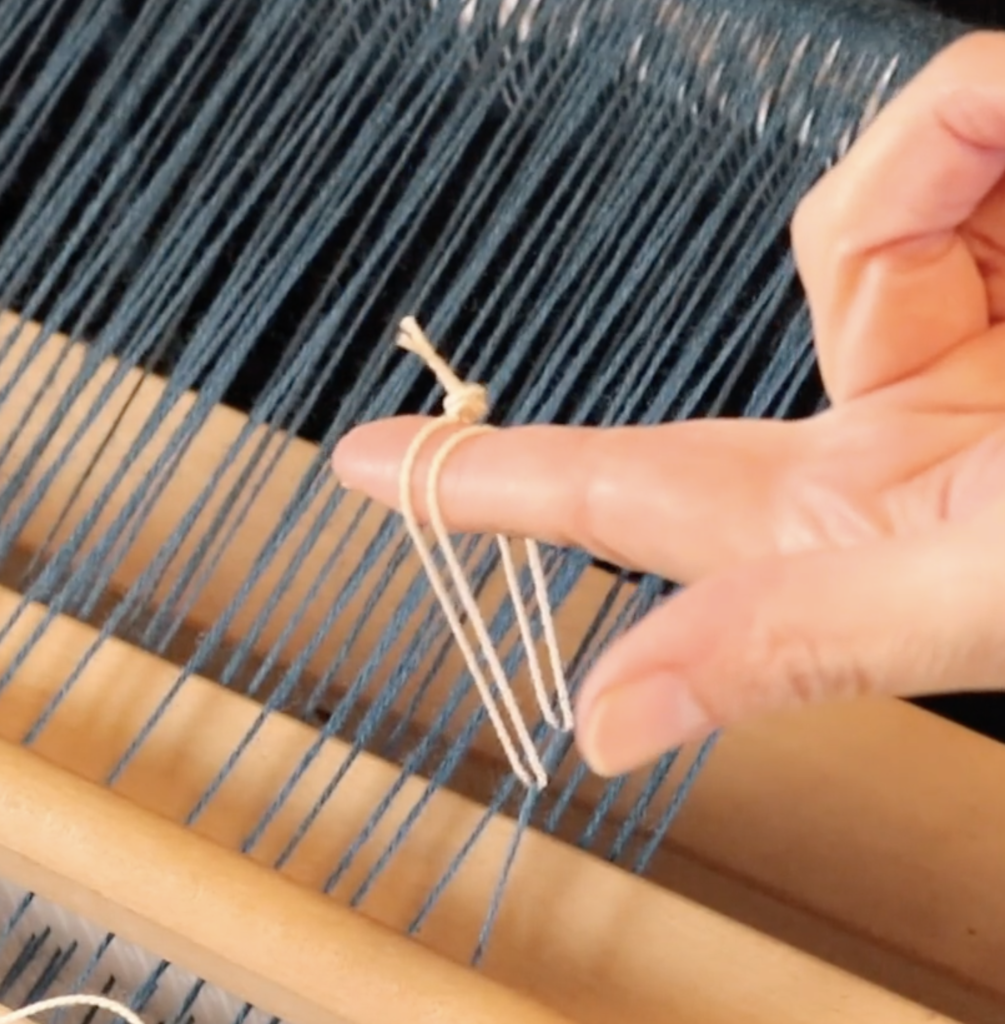
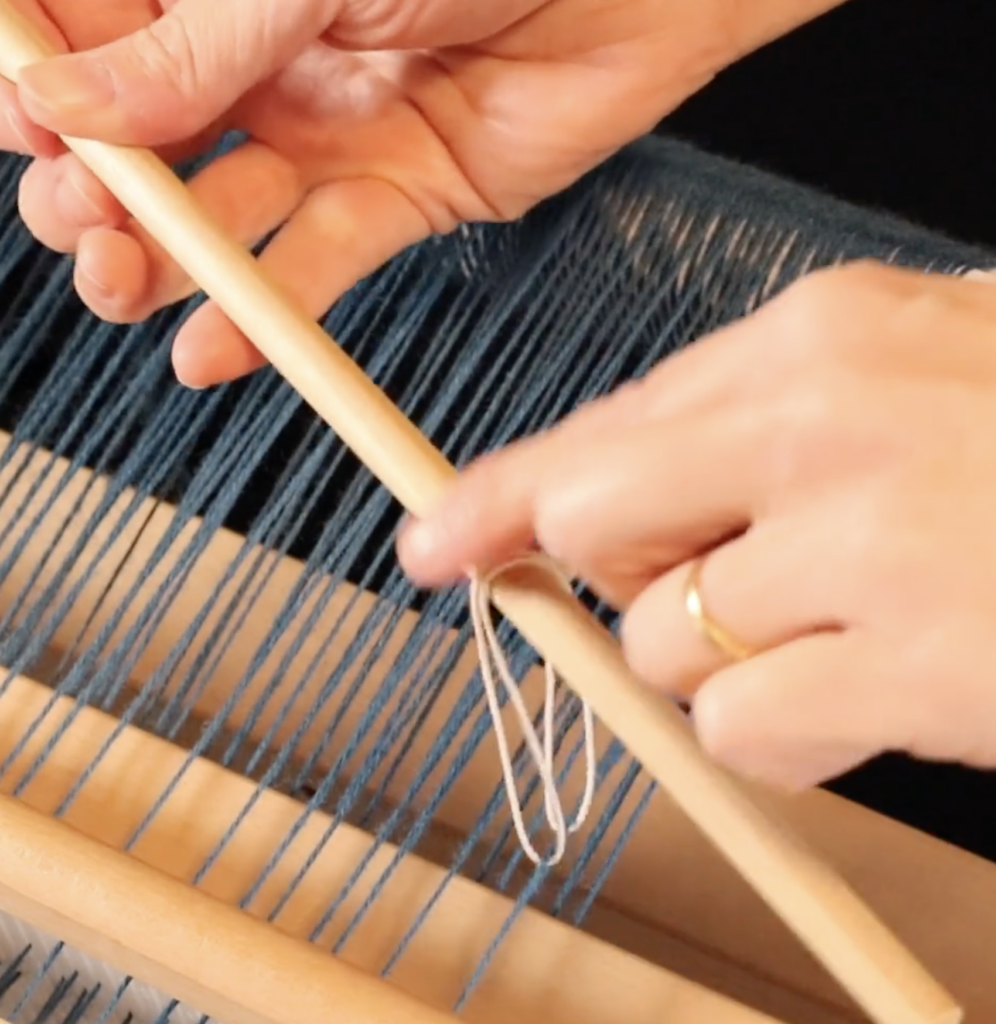
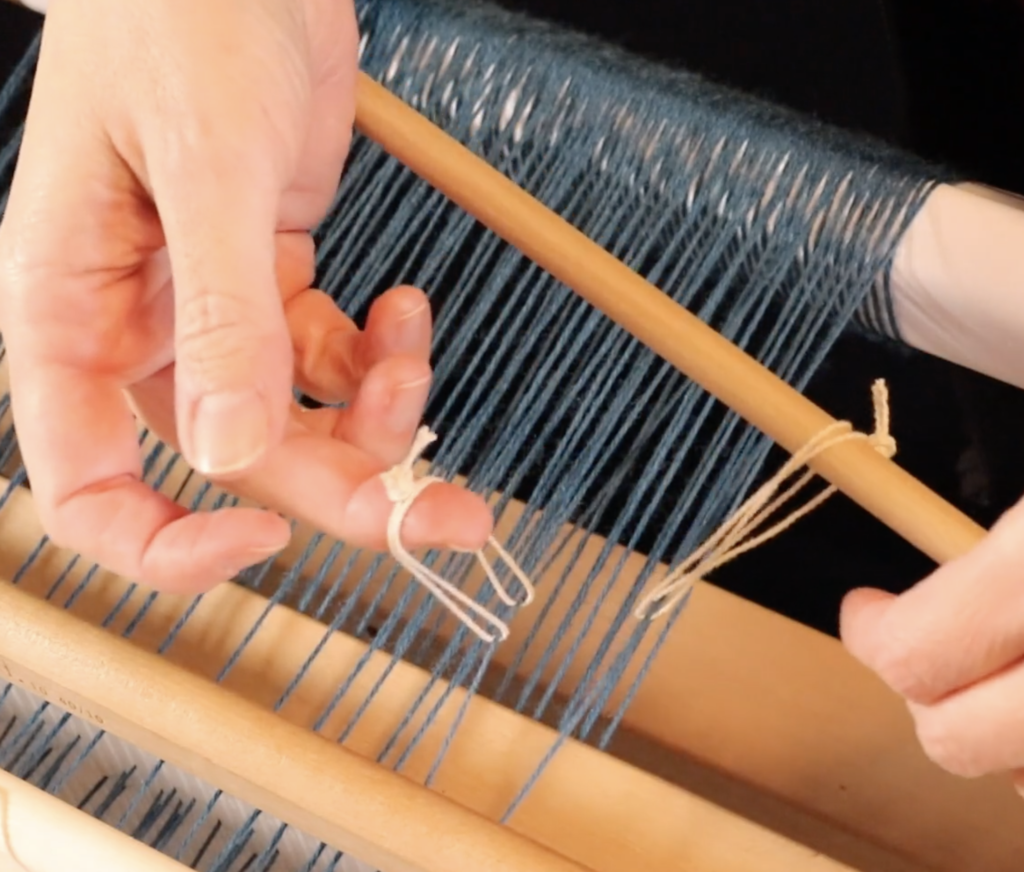
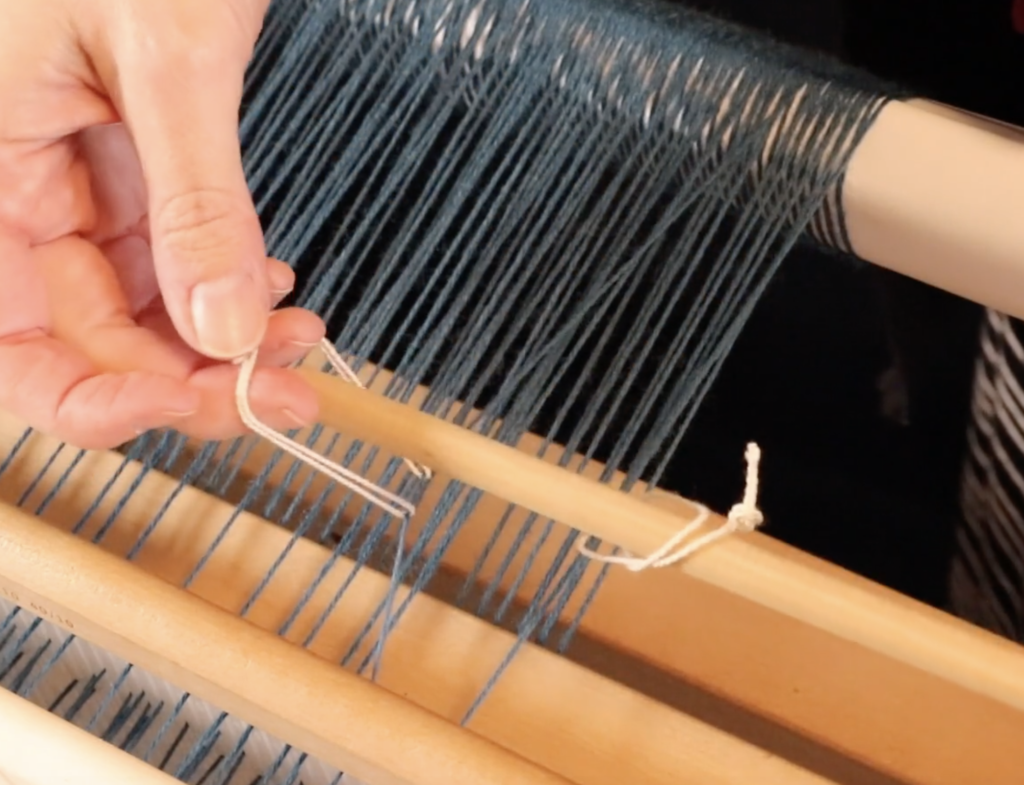
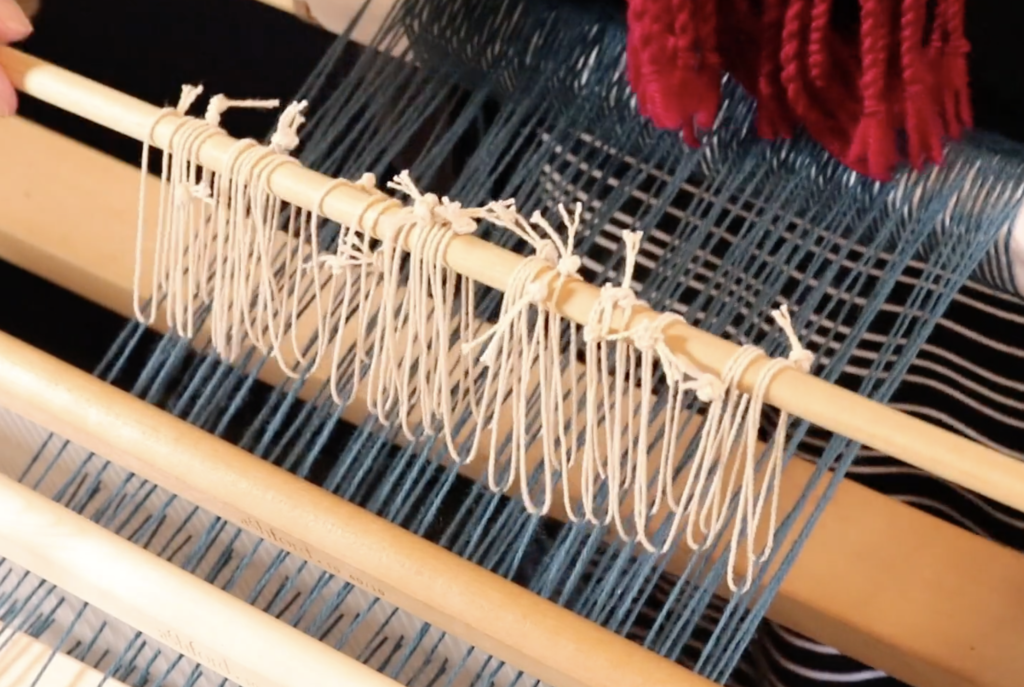
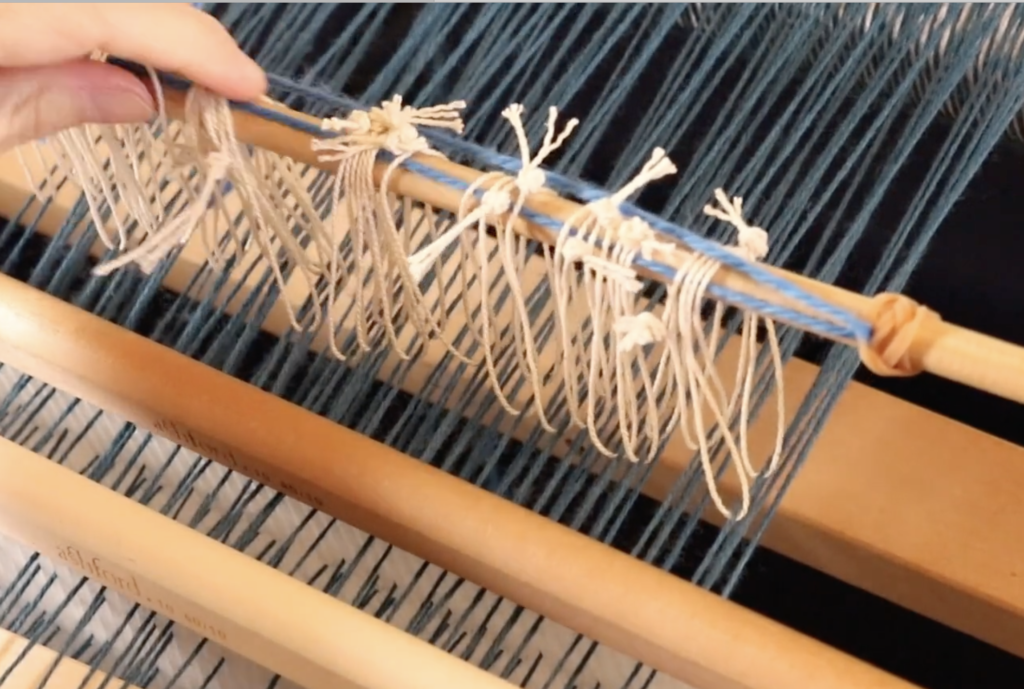
Danish Medallions
That brings us to Danish Medallions.
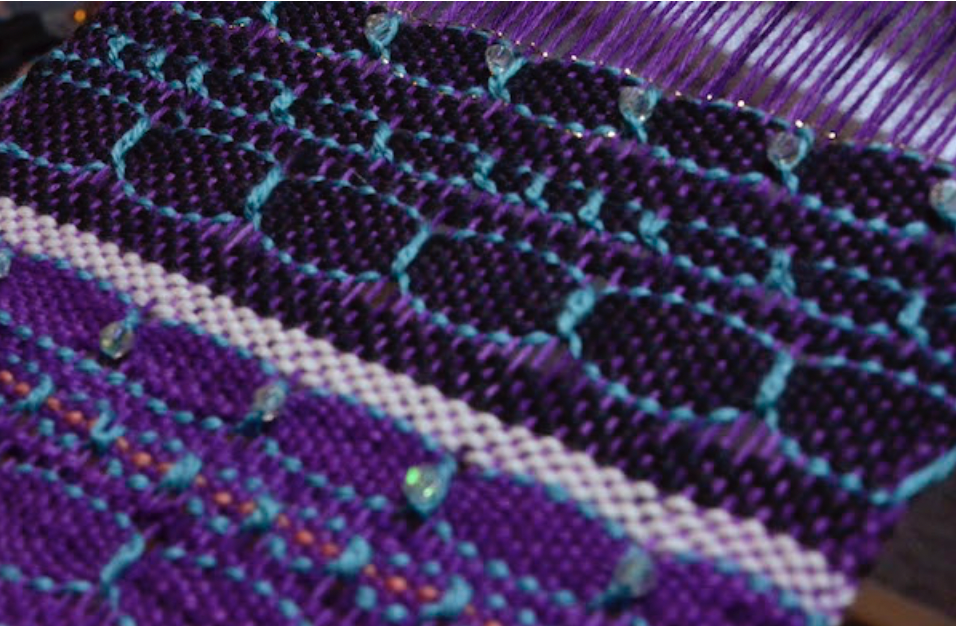
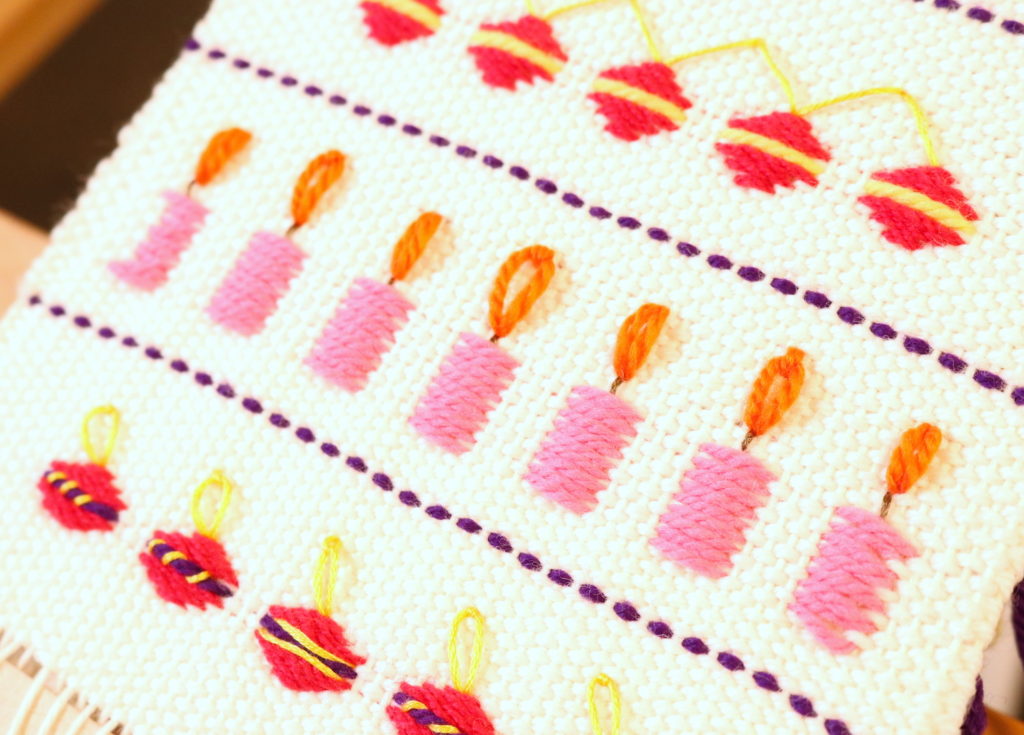
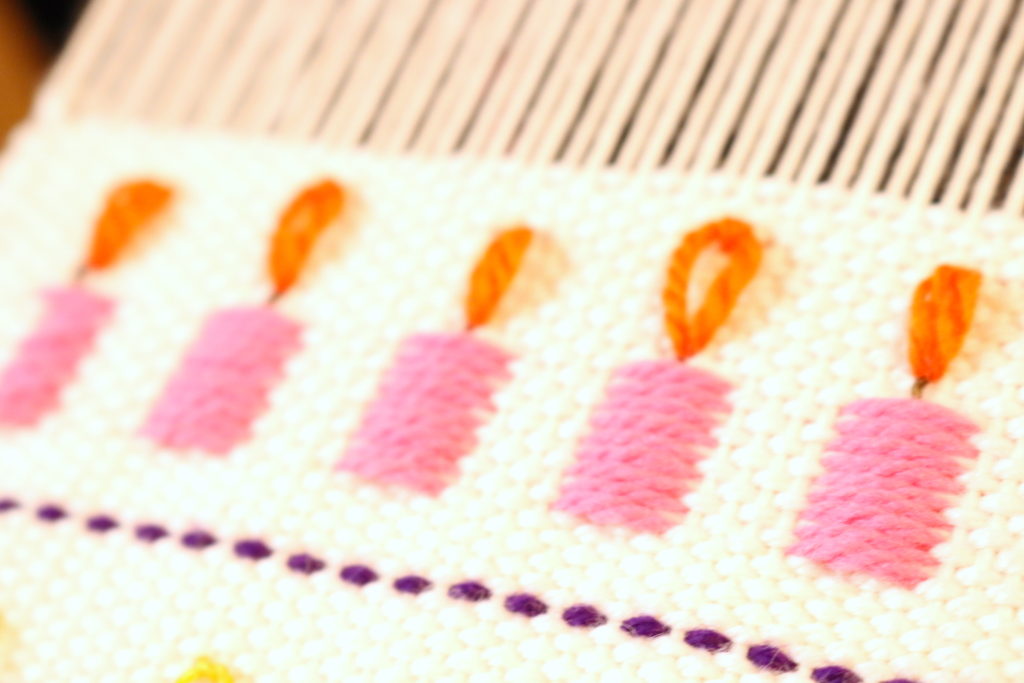
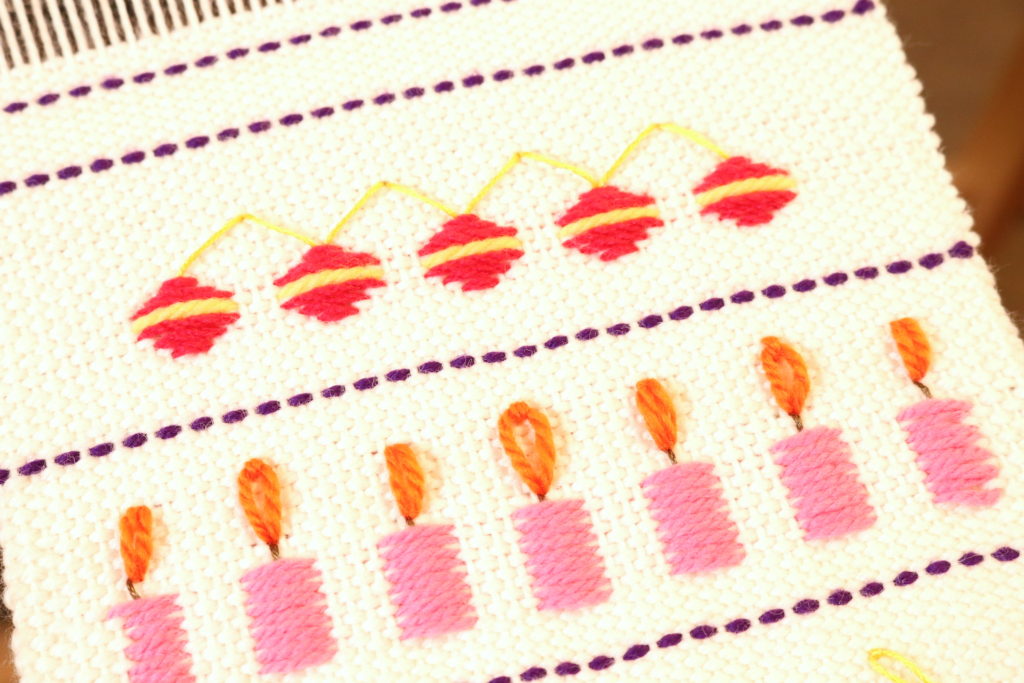
This is a highly decorative technique. I love to showcase strongly contrasting yarns to really make those medallions pop out of the piece. It is a really interesting and fun technique to work on your loom.
The basic idea is to run a contrasting weft thread through bands of plain weave in another colour. The width of this band of plain weave will partly determine how large your medallions will be. You then bring in your contrast colour weft, threaded on a tapestry needle (at least, that is how I like to do it).
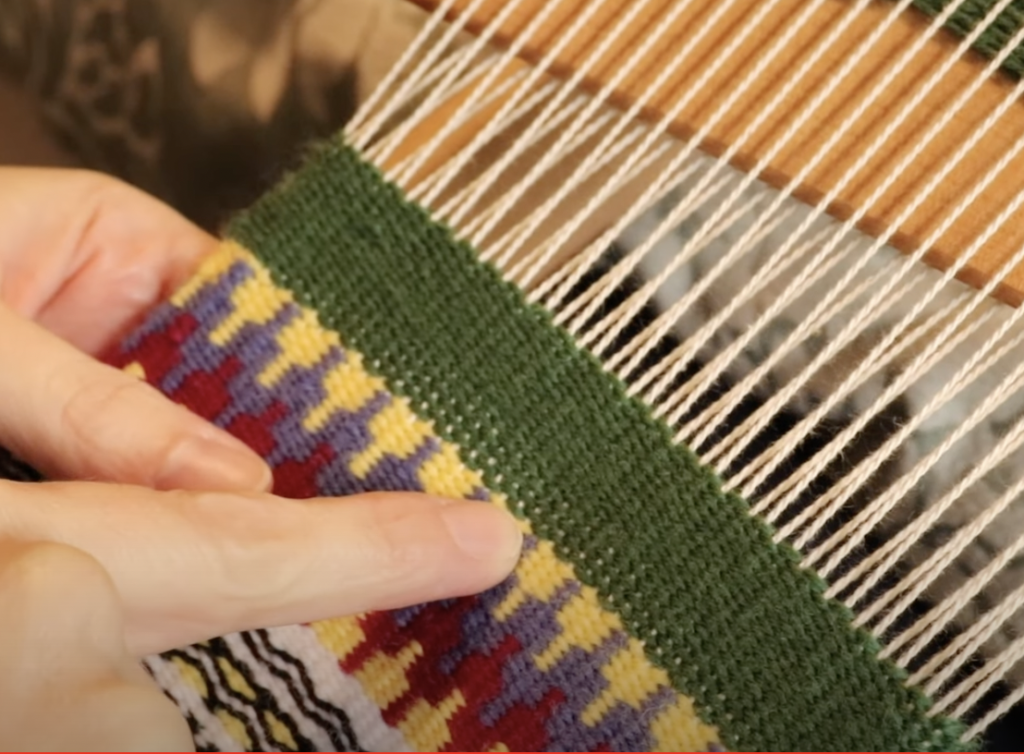
Using a crochet hook, or my preference, a double ended threading hook, you then hook this contrast yarn by taking the hook through the work at the previous contrast pick and pulling it though. This is where the tapestry needle comes in handy, as you can take it through the loop created.
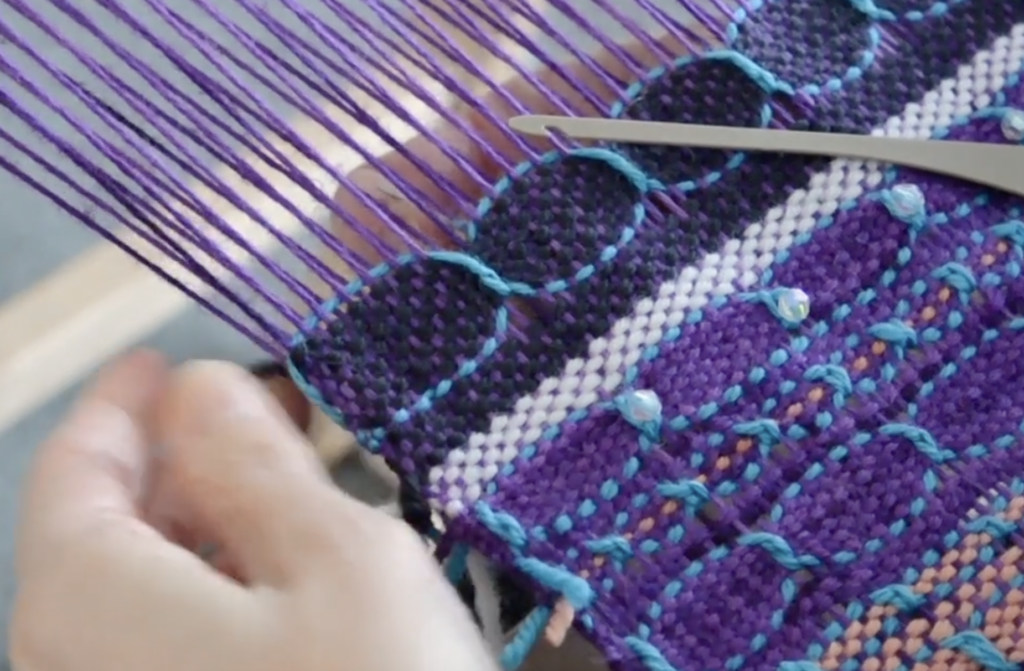
Cinch up this loop and you have your first medallion. How tightly you cinch it will depend on the effect you want. A light cinch will give you medallions that seam to sit on the fabric with some minor gaps in between. A tight cinch will give you more separated looking medallions and will produce an airier fabric.
Both options look beautiful. You will notice in the sample above that I’ve also included beading between some medallions, just for fun. The Danish medallion technique lends itself beautifully to extra embellishments.
If you want to see this technique in action (because it’s so much easier to show it than to tell it) I have a very affordable online workshop that demonstrates both Danish Medallions and Leno, all in one place. Click here to check that out!
Try Finger Controlled Weaving Techniques!
I hope today’s post has given you a better understanding of finger-controlled weaving techniques and inspired you to try them for yourself.
A great way to explore these techniques is to put on a small sampler warp, thread it for plain weave, and experiment with each one in turn. As your confidence grows, try combining different techniques within the same project-you may be surprised by the beautiful textures and patterns you can create!
I’d love to hear about your experiences with finger-controlled weaving. Have you tried any of these techniques, or do you have a favourite? Let me know in the comments below!
Until next time…
Happy Weaving!