Never heard of a heddle rod? If you’re a rigid heddle weaver looking to expand your repertoire of skills by using pick up sticks, a heddle rod is a must learn!
There are lots of lovely patterns you can weave with just one pick up stick, but introducing a second (even 3rd, 4th!) pick up stick opens up so many more pattern possibilities
When you start experimenting with pick up sticks you will discover very quickly that when you are using more than one, the two sticks cannot slide past each other at the back of the warp.
This post contains affiliate links. For further information, please see my disclosure policy.
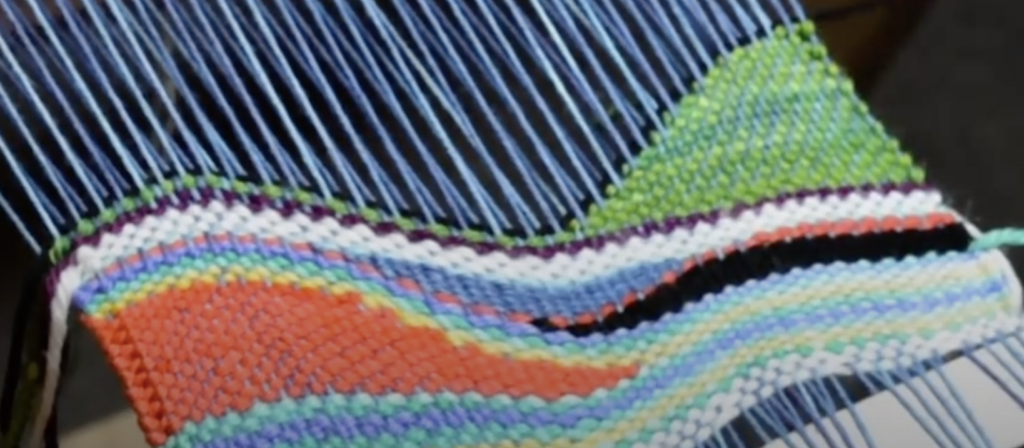
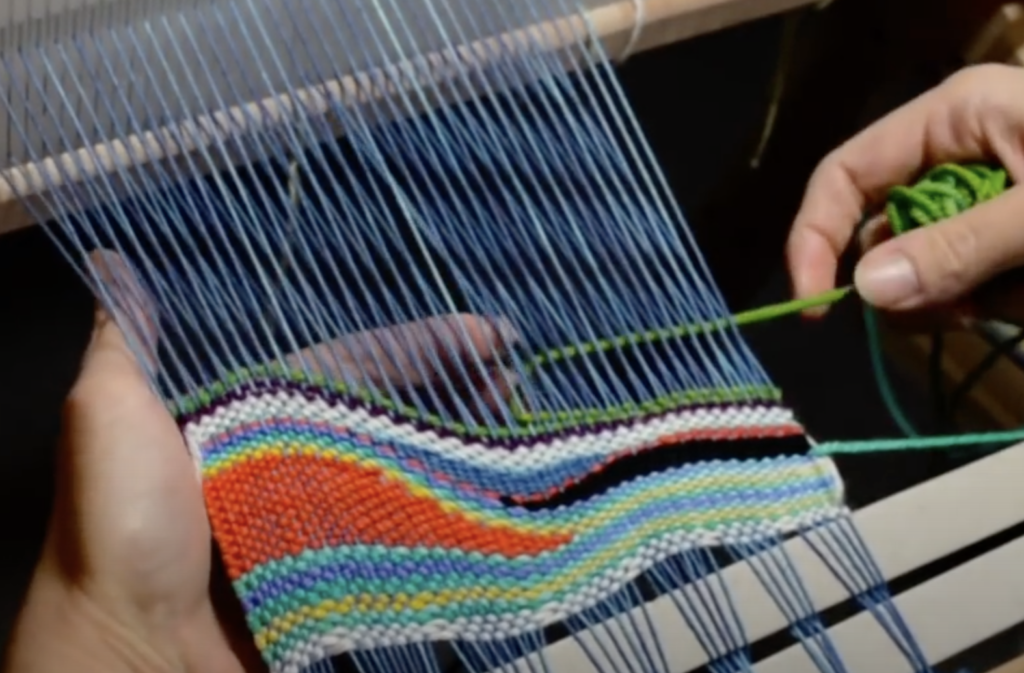
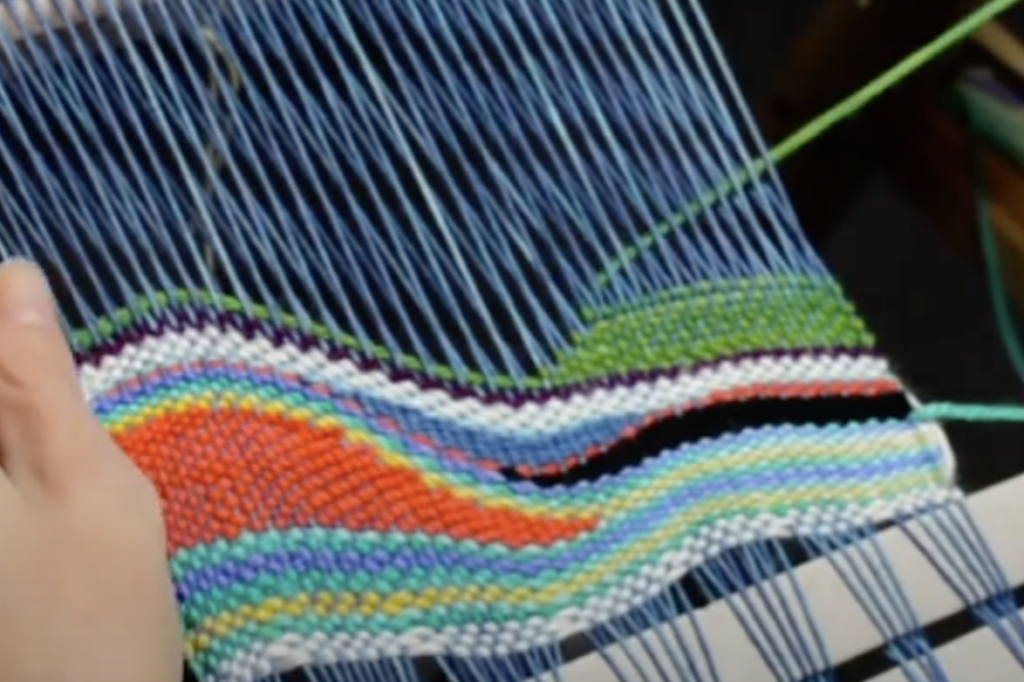
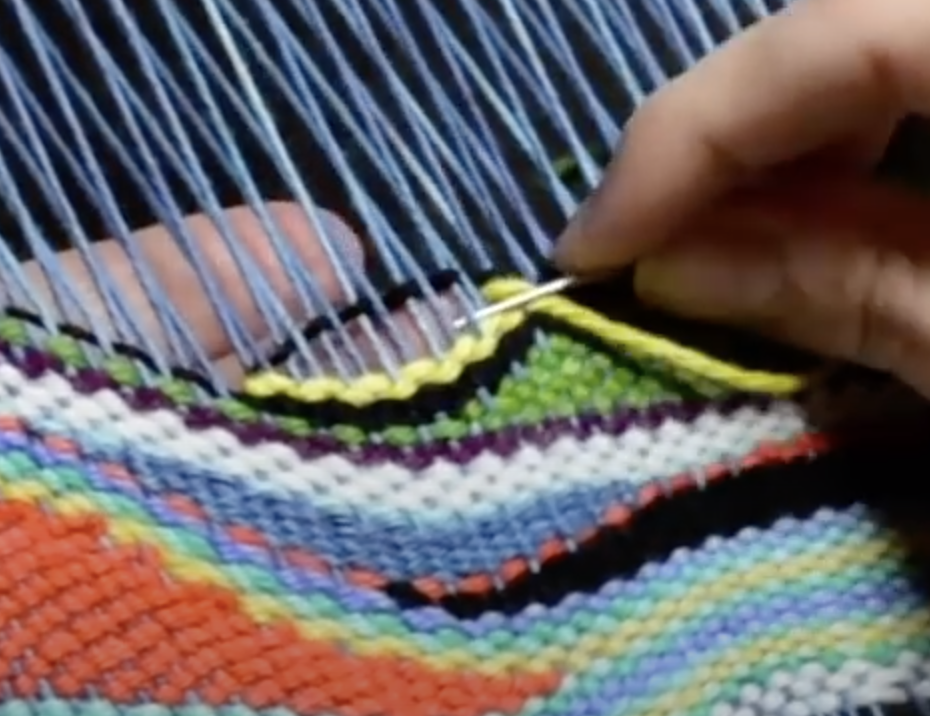
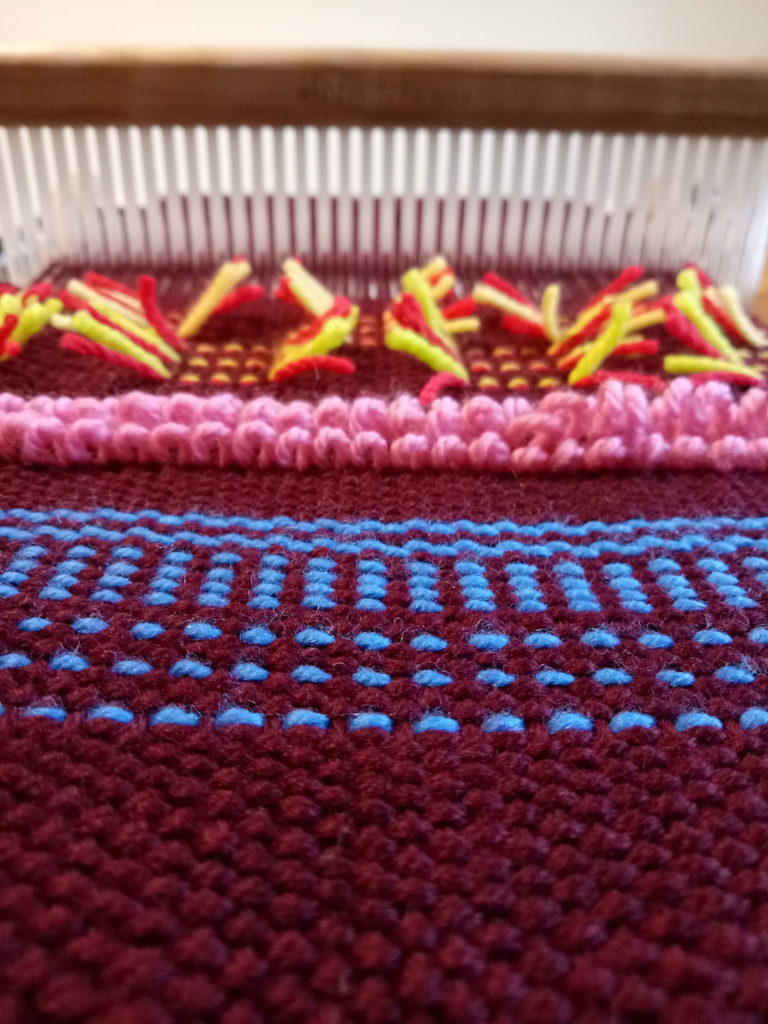
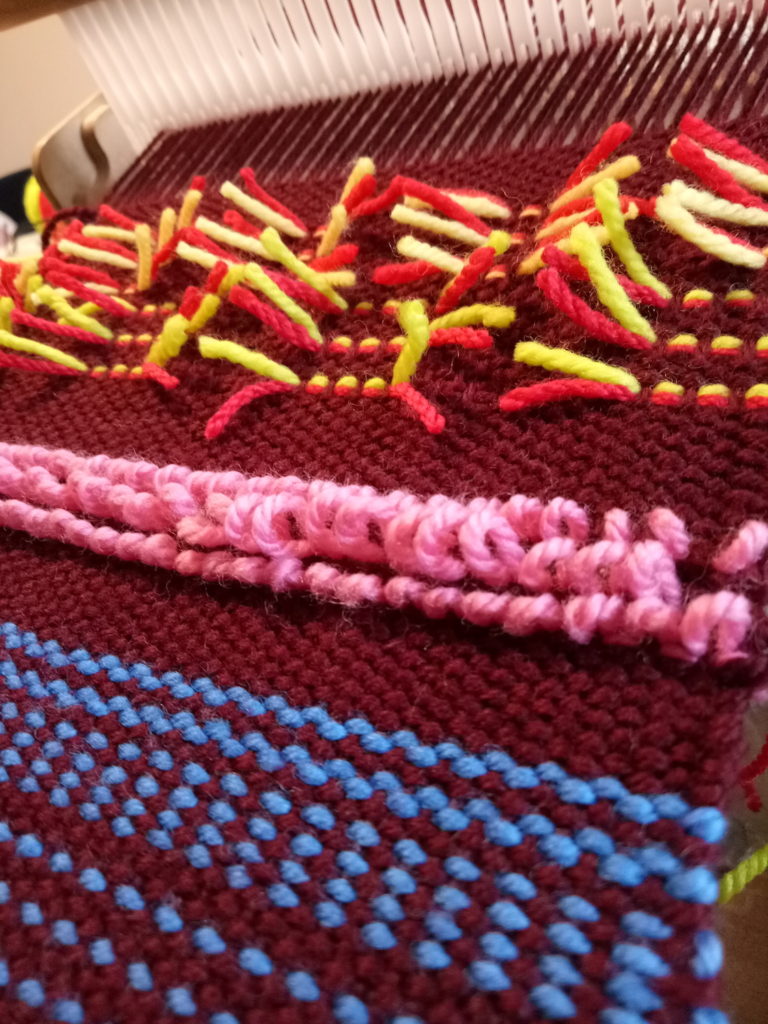
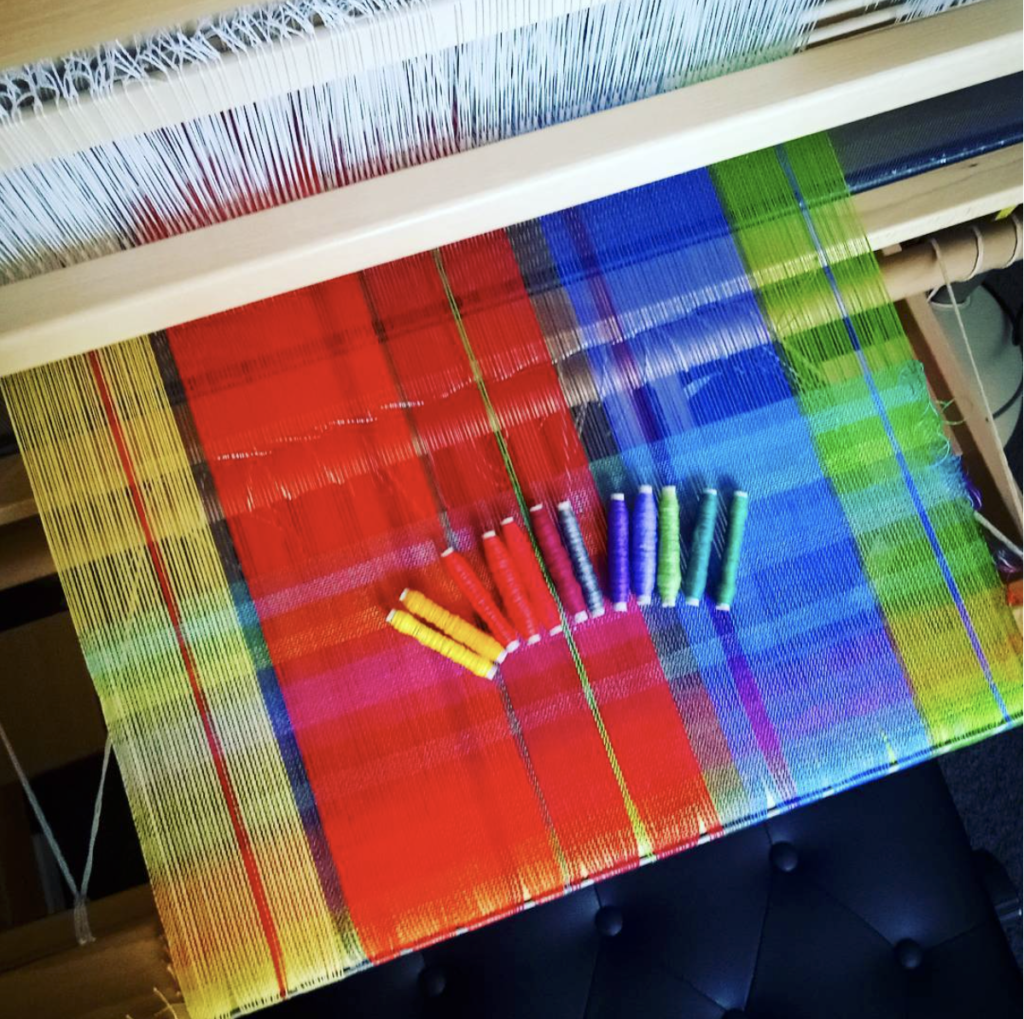
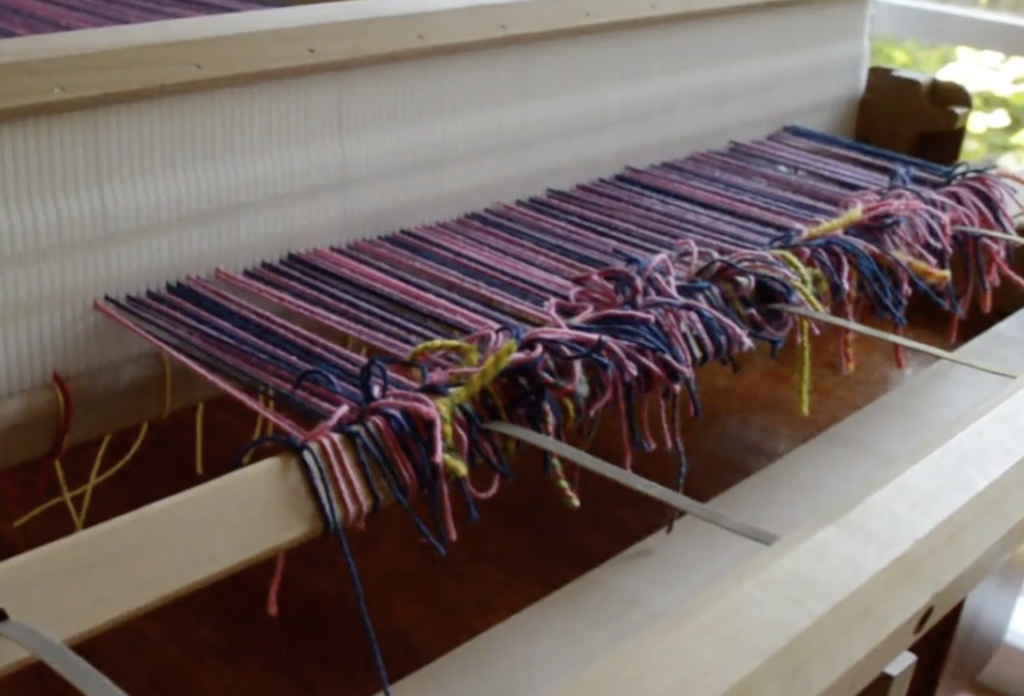
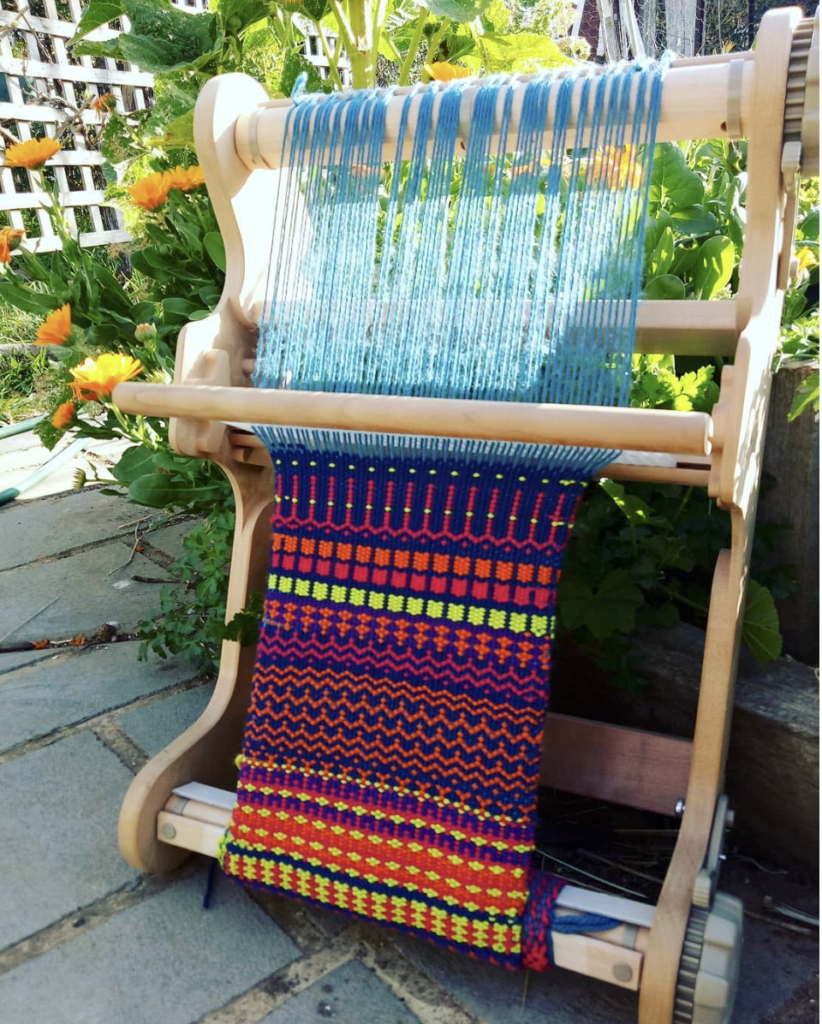
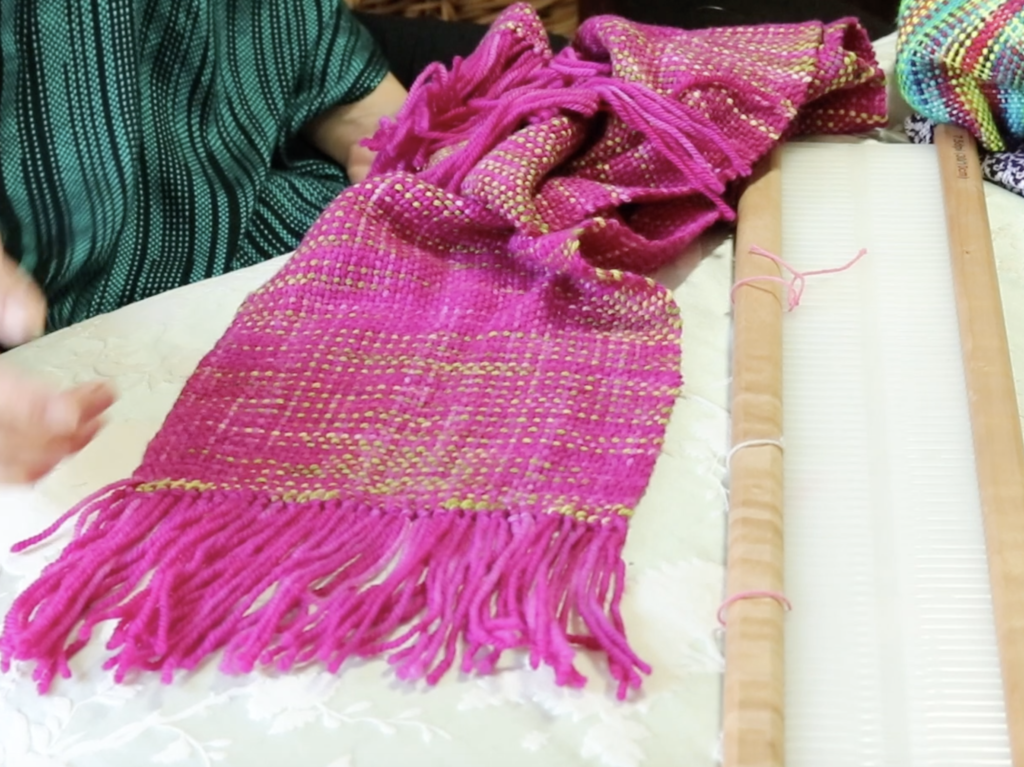
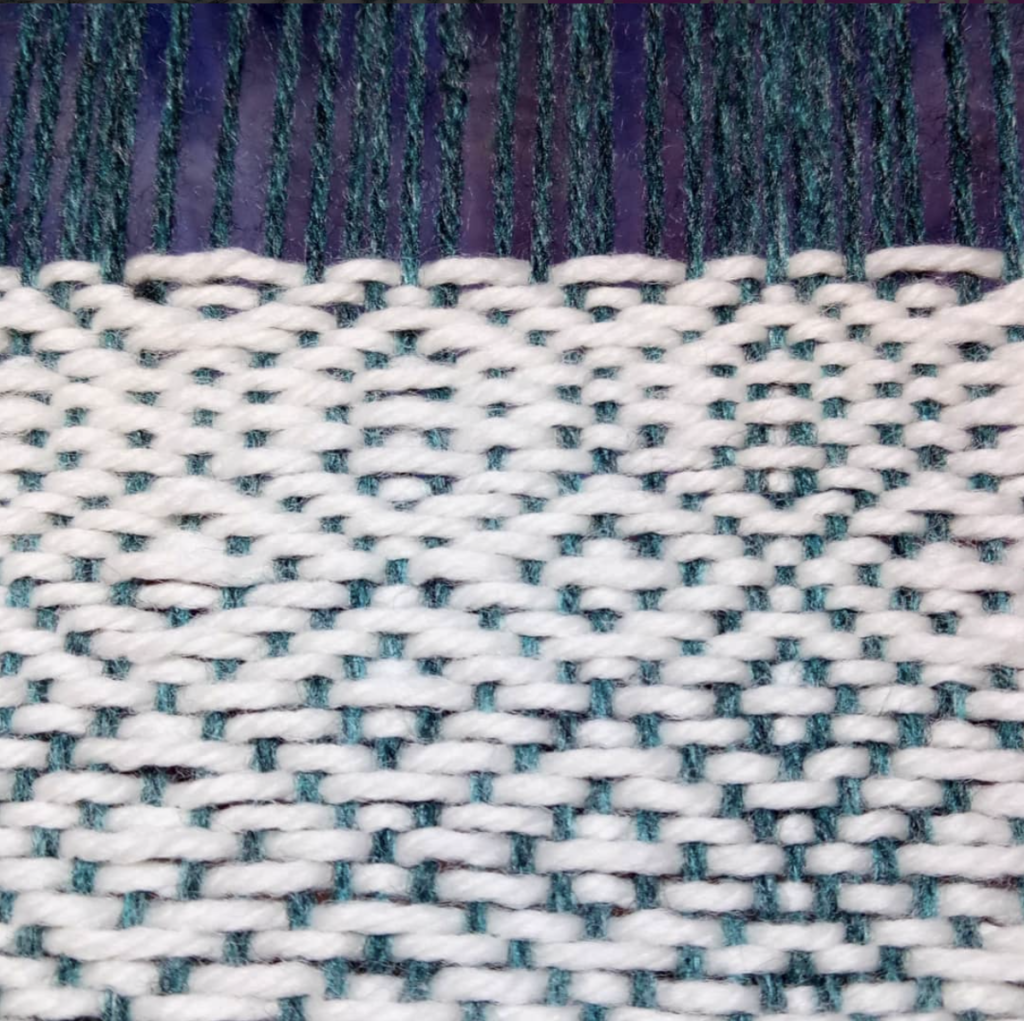
This leaves the weaver with a conundrum. One of the sticks can be left in place, but the other has to be removed and the threads re-picked up each time you want to weave that pick up stick row. See the picture below for an example.
That can be incredibly tedious, especially when using finer threads or a more complicated pick up pattern.
Luckily for us, there is a relatively quick and easy way to navigate this problem – a heddle rod.
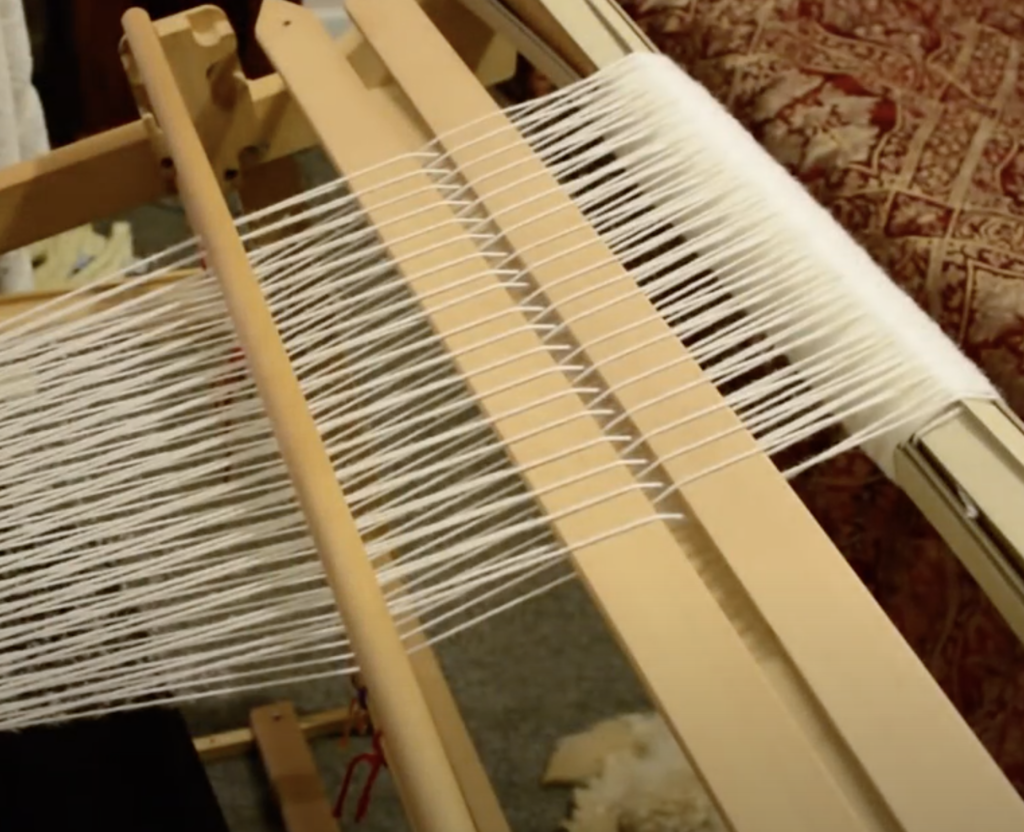
A heddle rod replaces the second pick up stick and sits behind your heddle. The first pick up stick can slide back and forth behind the rod and sit at the back beam when not in use. Hey presto, now you’re weaving a 2 pick up stick pattern with only one stick and a heddle rod!
So, what is a heddle rod exactly?
It can be as simple as a piece of round wooden dowel or a flat, narrow piece of wood. It needs to be wider than the width of the piece you’re weaving and it needs to be smooth but preferably not slippery. The circumference is a personal preference, but not too thick is better – you want it to be light and easy to handle, as you’re going to be lifting it often.
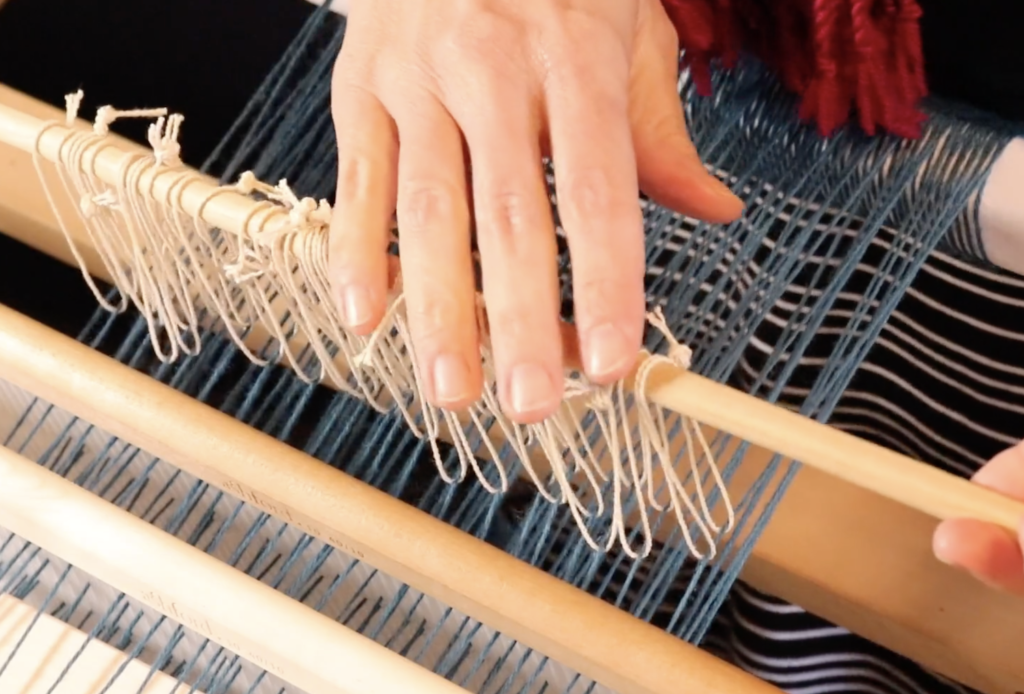
You make string heddles for the rod. These strings, once made, looped around your picked up warp threads, then looped around your rod, will replace the second pick up stick.
One you have your rod installed, you lift the rod each time you want to weave that pattern pick. The string heddles lift up with the rod and in turn, lift up the warp threads they are looped around.
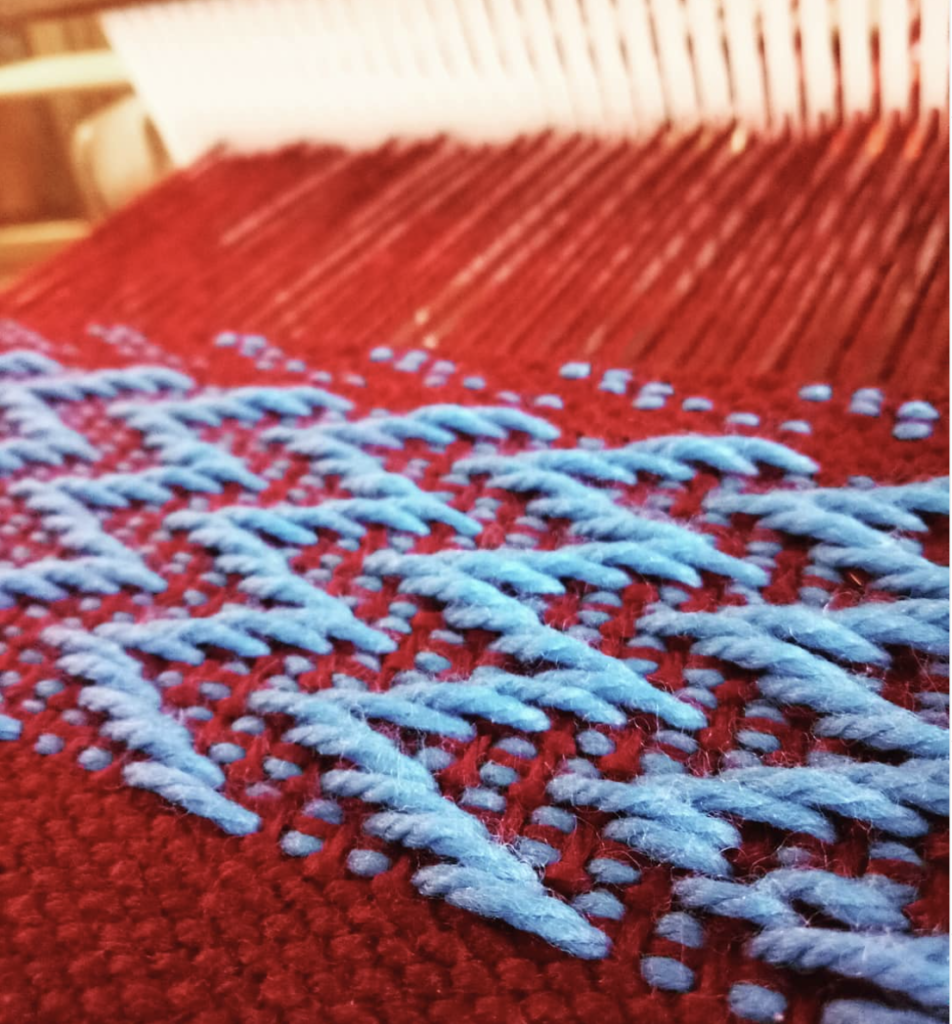
Let’s look at a 2 pick up stick pattern as an example:
Pick up stick 1 sequence – 2 up, 2 down, repeat
Pick up stick 2 sequence – 2 down, 2 up, repeat
Weaving sequence:
- Heddle up
- Heddle neutral, pick up stick 1 forward, on edge
- Heddle up
- Heddle in neutral, pick up stick 2 forward, on edge
- Repeat
To weave the above sequence with 2 pick up sticks in place would mean that for every 4th pick, you would have to pick up then remove pick up stick 2. Then pick up and remove again the next 4 picks. And that’s no fun!
Here is what your weaving sequence would look like if you left pick up stick 1 in place and installed a heddle rod to replace pick up stick 2:
Weaving Sequence:
- Heddle up
- Heddle neutral, pick up stick 1 forward, on edge
- Heddle up
- Heddle in neutral, lift heddle rod
- Repeat
Aha! So now our weaving goes much more seamlessly because we are flowing through the weaving sequence instead of having to stop and re-do that second pick up stick all the time.
Now that I’ve sung the praises of the heddle rod highly enough to have convinced you that you really need them in your weaving life, I’m going to show you how to install one.
Today (because this article is already getting long and I don’t want to keep you all day!) I will cover the string heddle component, and next week we will look at the rod and installation component.
To make string heddles, here is what you will need:
- A strong yarn suitable for string heddles. I use seine twine (in Australia it’s available here) and find it excellent for two reasons. 1. It is super strong. 2. It doesn’t get fluffy, sticky or static – y (I know, that’s not a word!) all of which will interfere with lifting your warp threads effectively.
2. A pair of scissors. Little scissors are handy for this job, but use what you have.
3. A string heddle template. This comes down to personal preference and how long you want your heddles to be. Too long and they are uncomfortable to lift, too short and they may lift your warp threads when you don’t want them to (for example, when you bring your pick up stick 1 forward) and confuse your shed.
You can use one of your heddle/reeds to measure around as a template, or my preferred method is a hardcover book measures at 10″ around – I like that length for my string heddles.
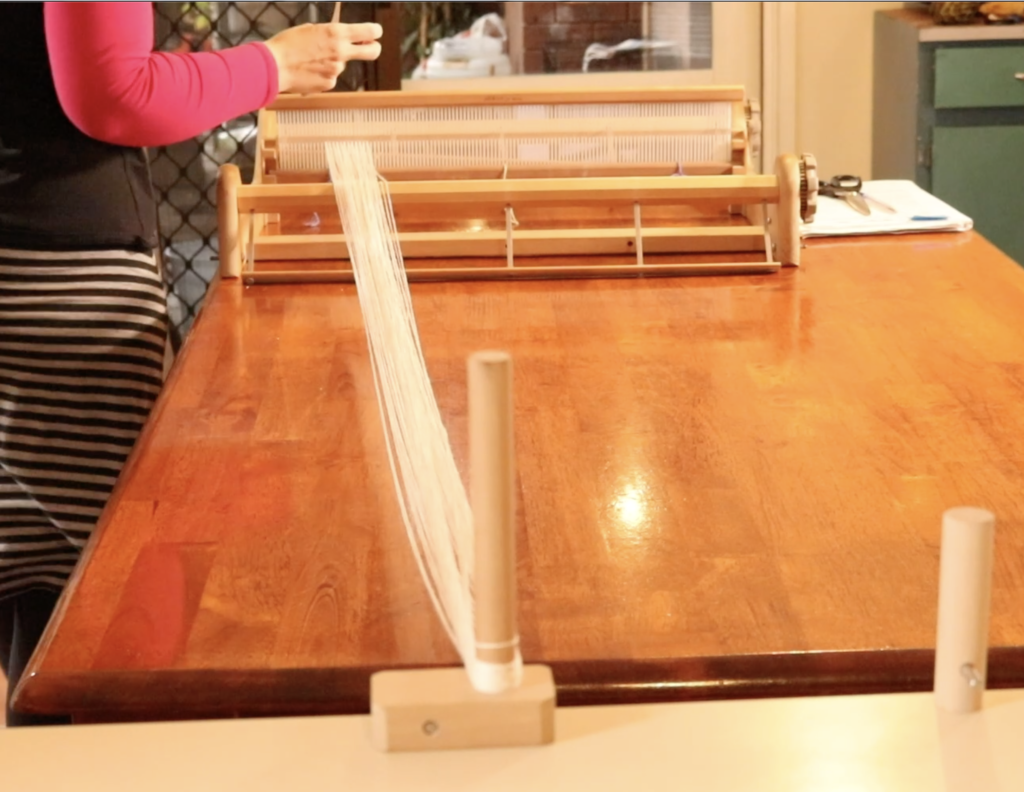
Something else that is handy but non essential is something to hold the cone of yarn as you wind off yarn to make the string heddles. My warping stand is perfect for this task. If you would like to make a warping stand for a fraction of the price of a store bought one, click here for our free tutorial.
Alright, let’s make some string heddles!
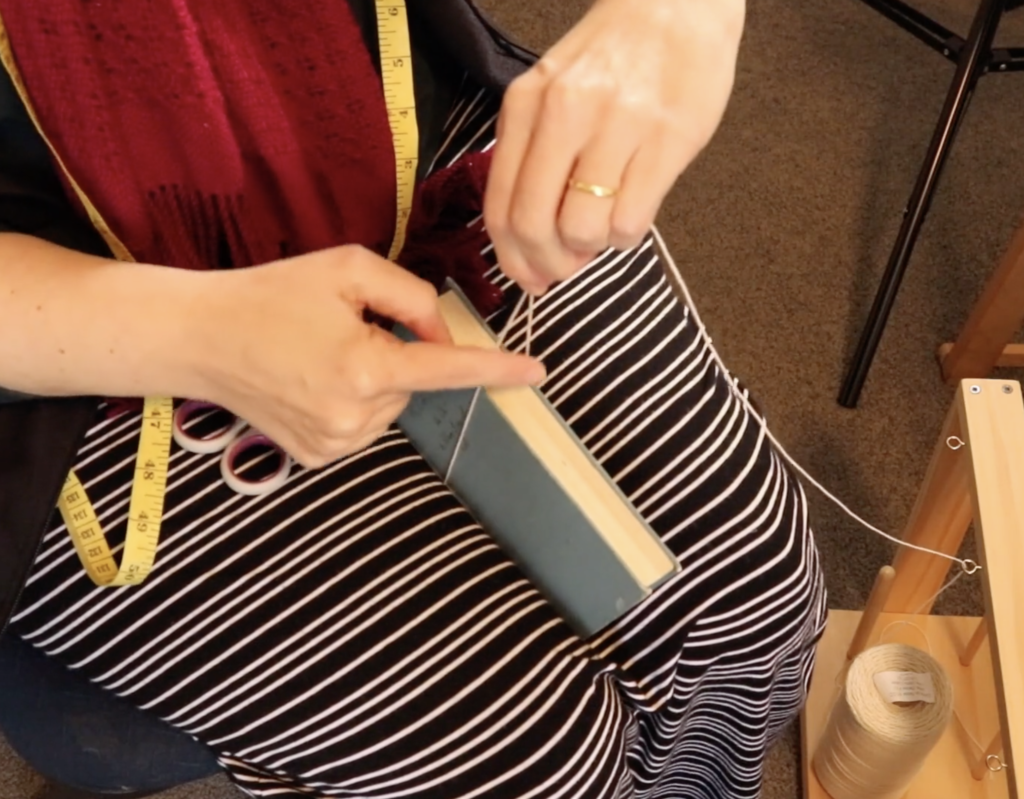
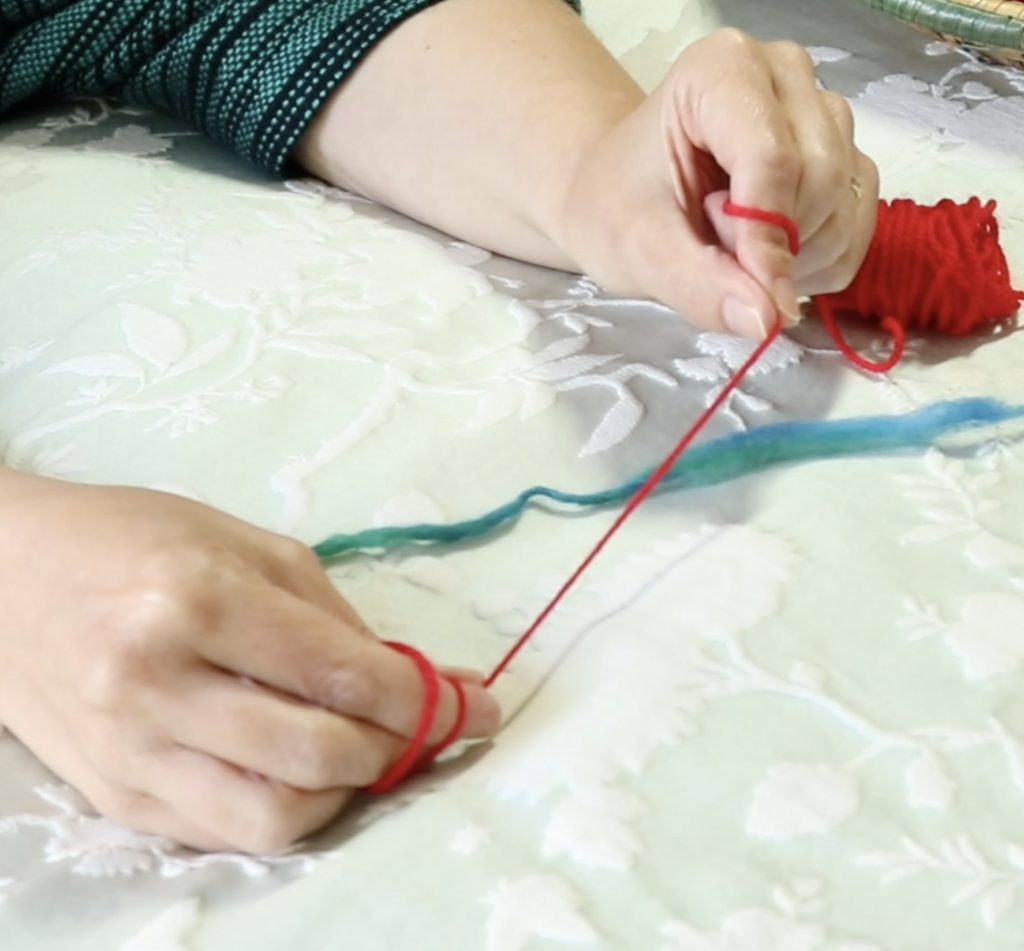
Take one end of the string heddle yarn and wrap it around your template (remember, I’m using a hardcover book). Bring the ends together at the top of the template.
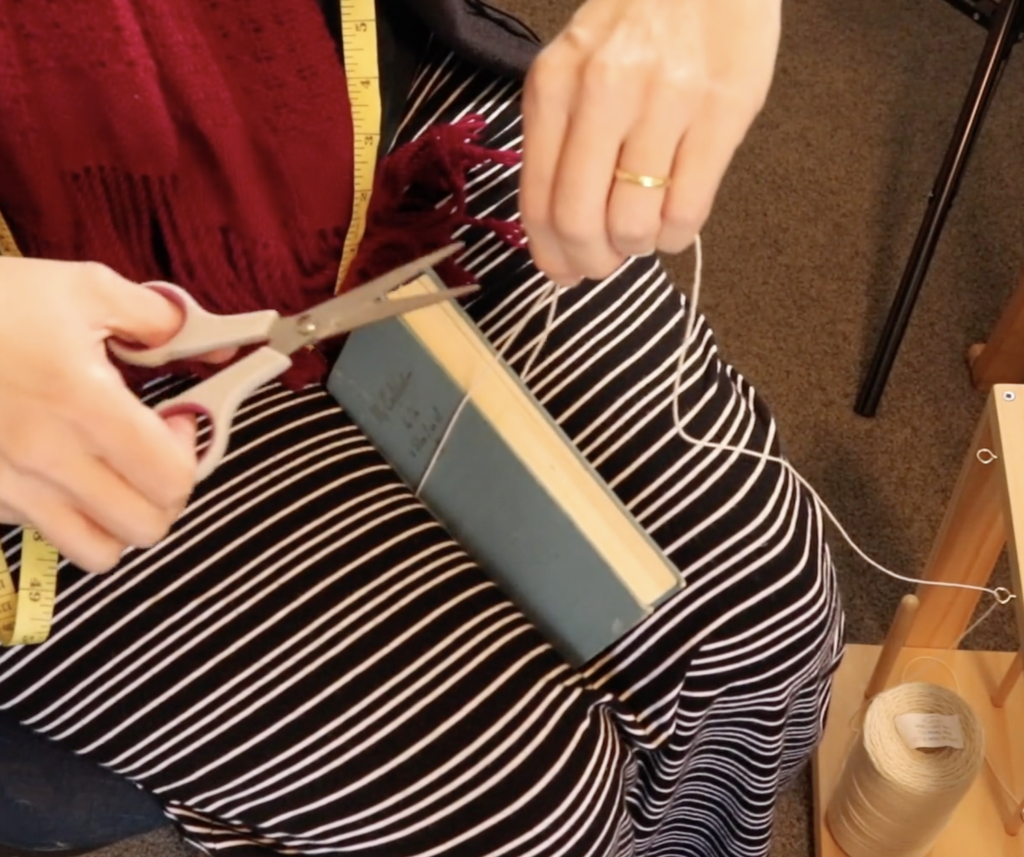
Leave a good couple of inches to tie with and cut the end that is feeding from the cone. Be sure not to knot so close to the template that the string heddle is too tight to slide off when you’re done.
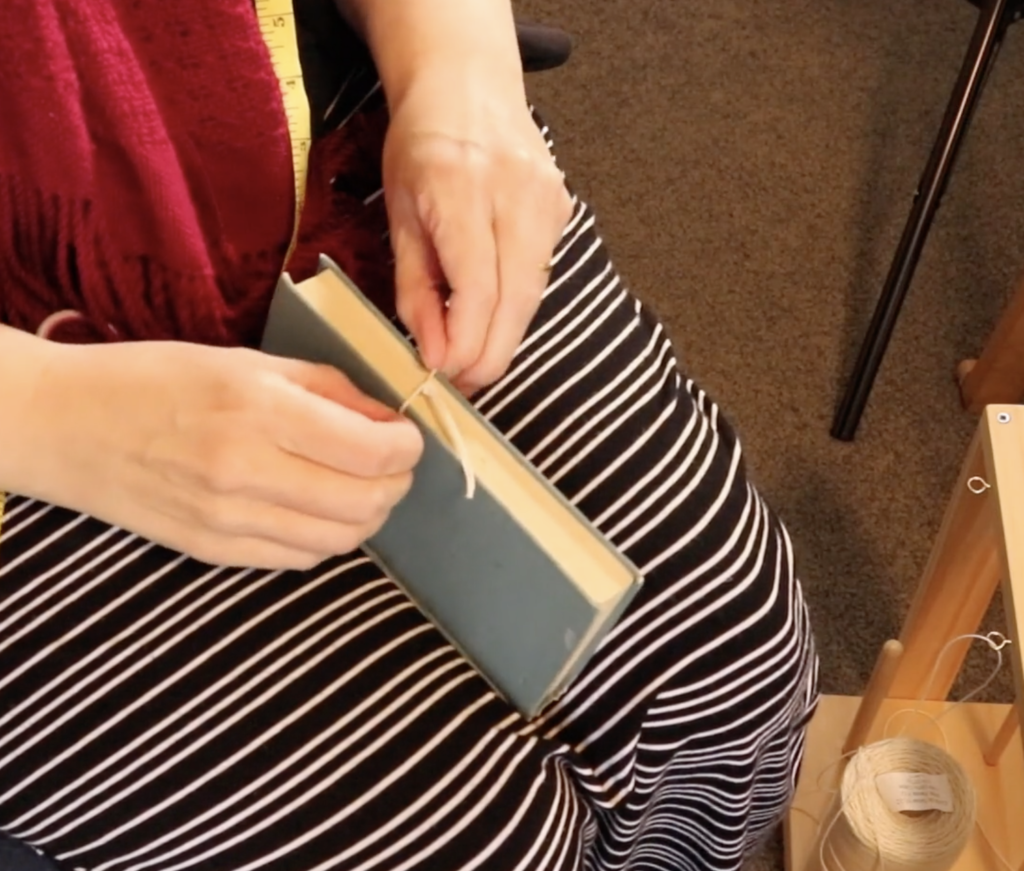
Tie the two cut ends together using an overhand knot, then knot again. With a yarn like seine twine, this makes a really strong knot.
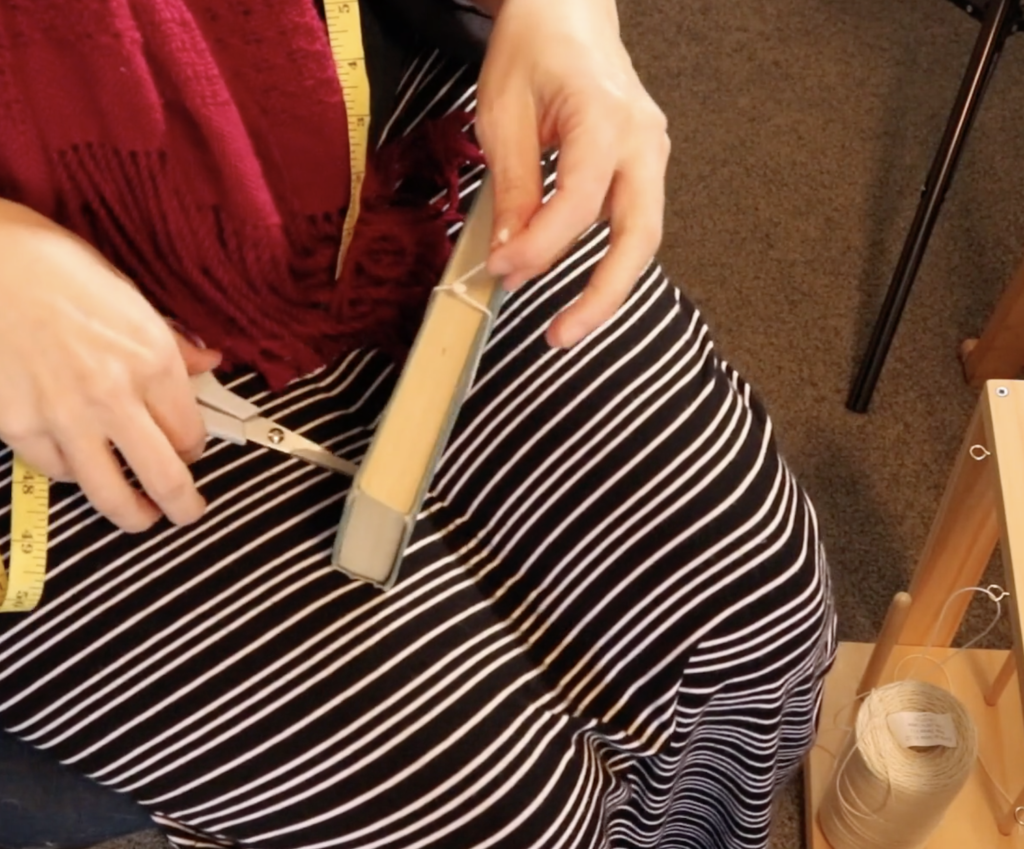
Once the ends are securely knotted, you can cut the tails a little shorter which will just help to keep things neat and compact on the rod. Don’t cut so close to the knots that you risk them coming undone.
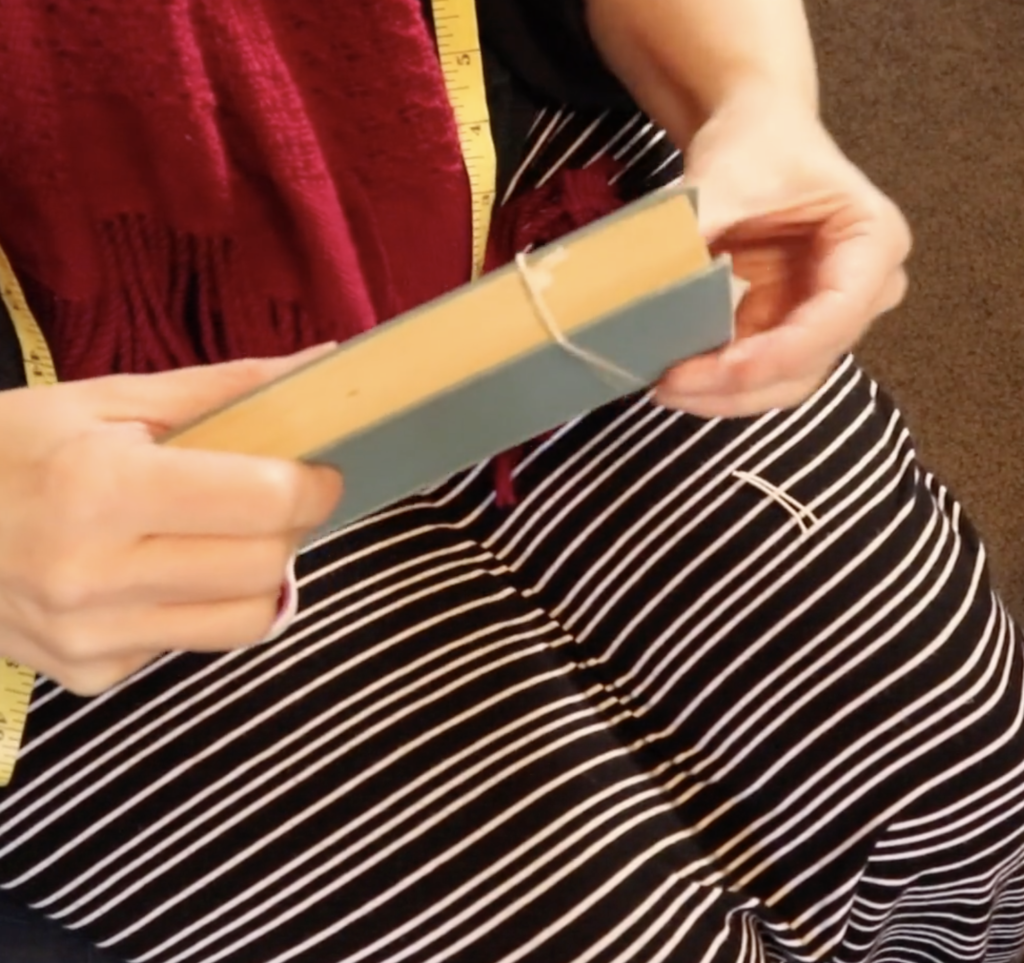
Slip the completed string heddle off the template.

There you have it – one completed string heddle! Make as many as you need and keep them somewhere handy for when you need them. The added benefit of using a strong yarn like seine twine is that you will be able to reuse these string heddles for many projects.
The next post will demonstrate how to actually set up the rod and string heddles, but if you can’t wait until then, or if you are more of a visual learner, I’m sure you will find this video most helpful:
If you enjoyed this post, I know you will love my Online Weaving School. With classes for all levels of weaver, there is something for everyone and you can start learning today, in your own time and the comfort of your own home. I hope to see you there!
Questions? I’m all ears! Leave me a comment to continue the discussion or just to let me know that this article was helpful to you 😊
Until next time…
Happy Weaving!