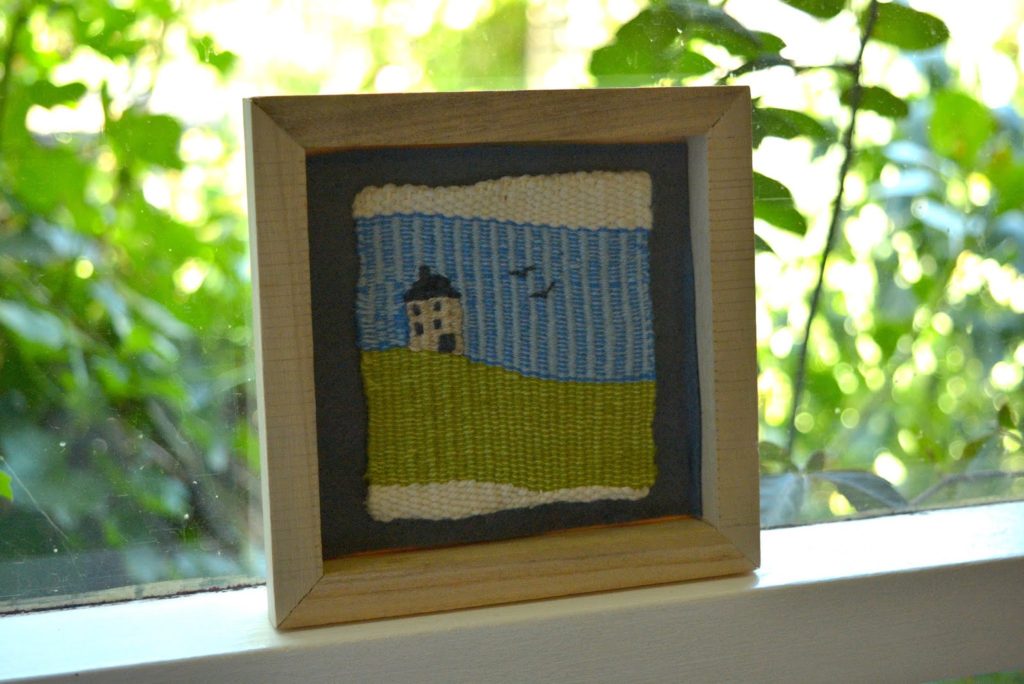
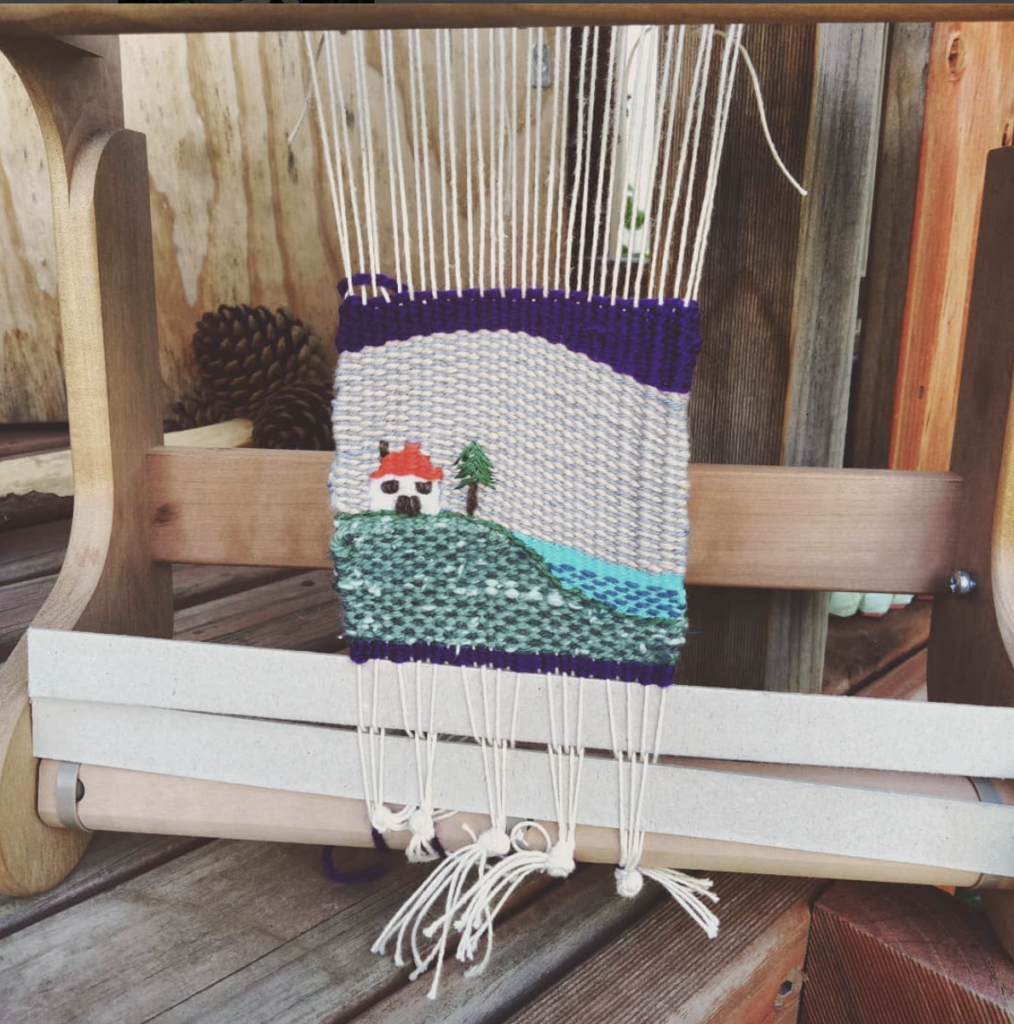
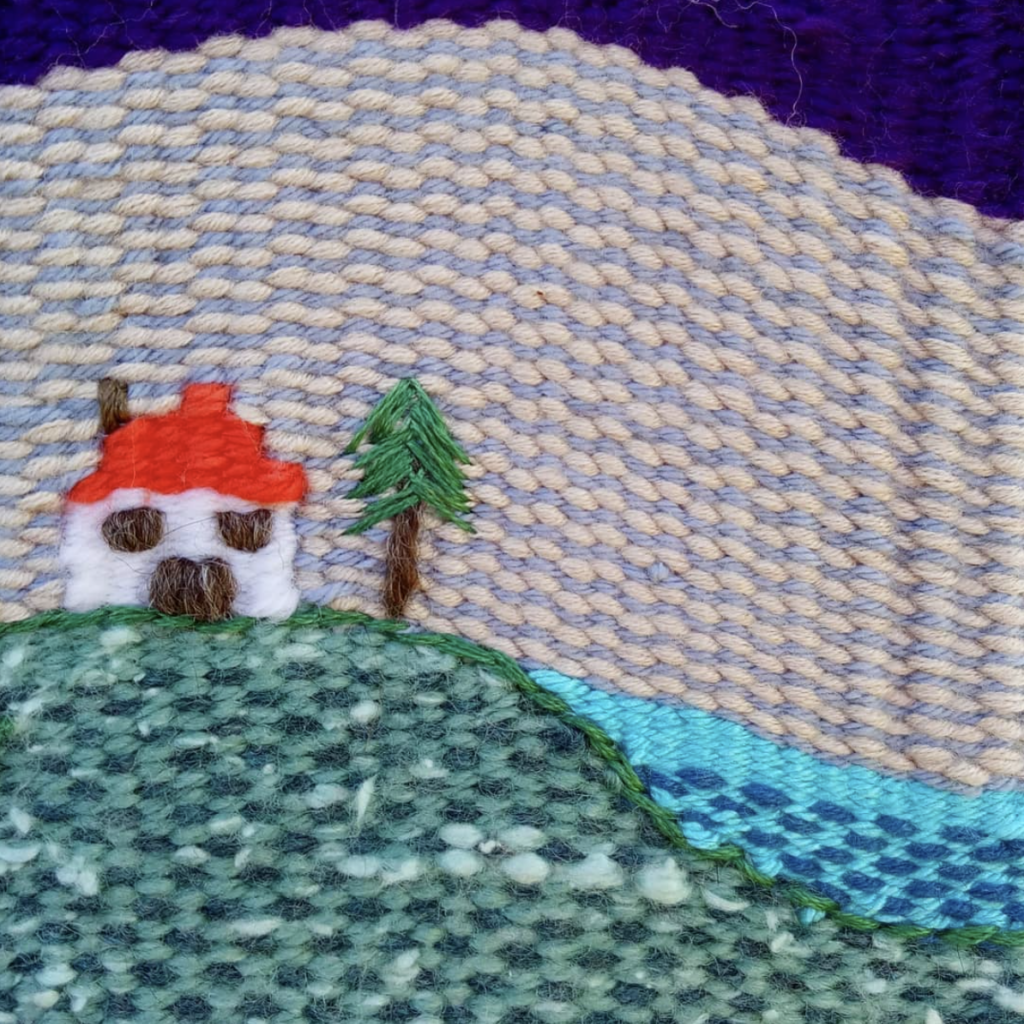
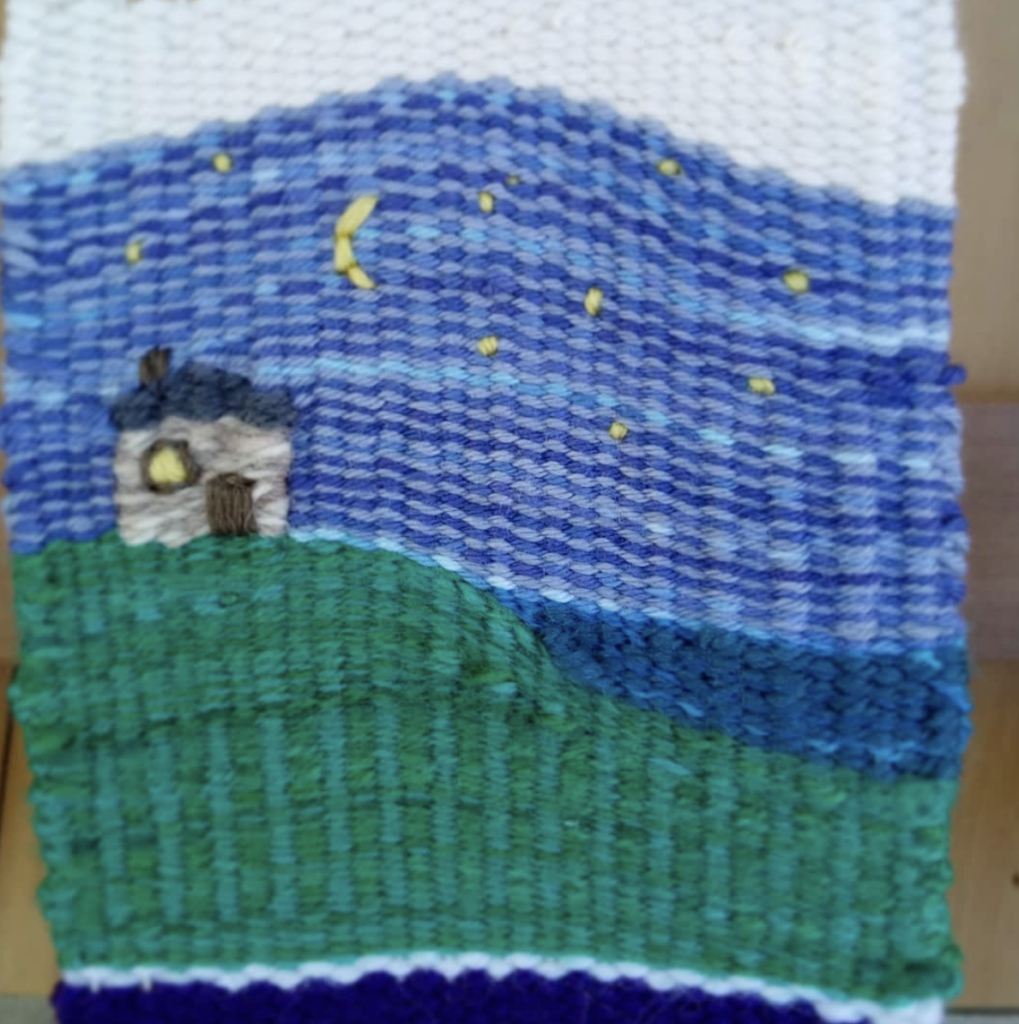
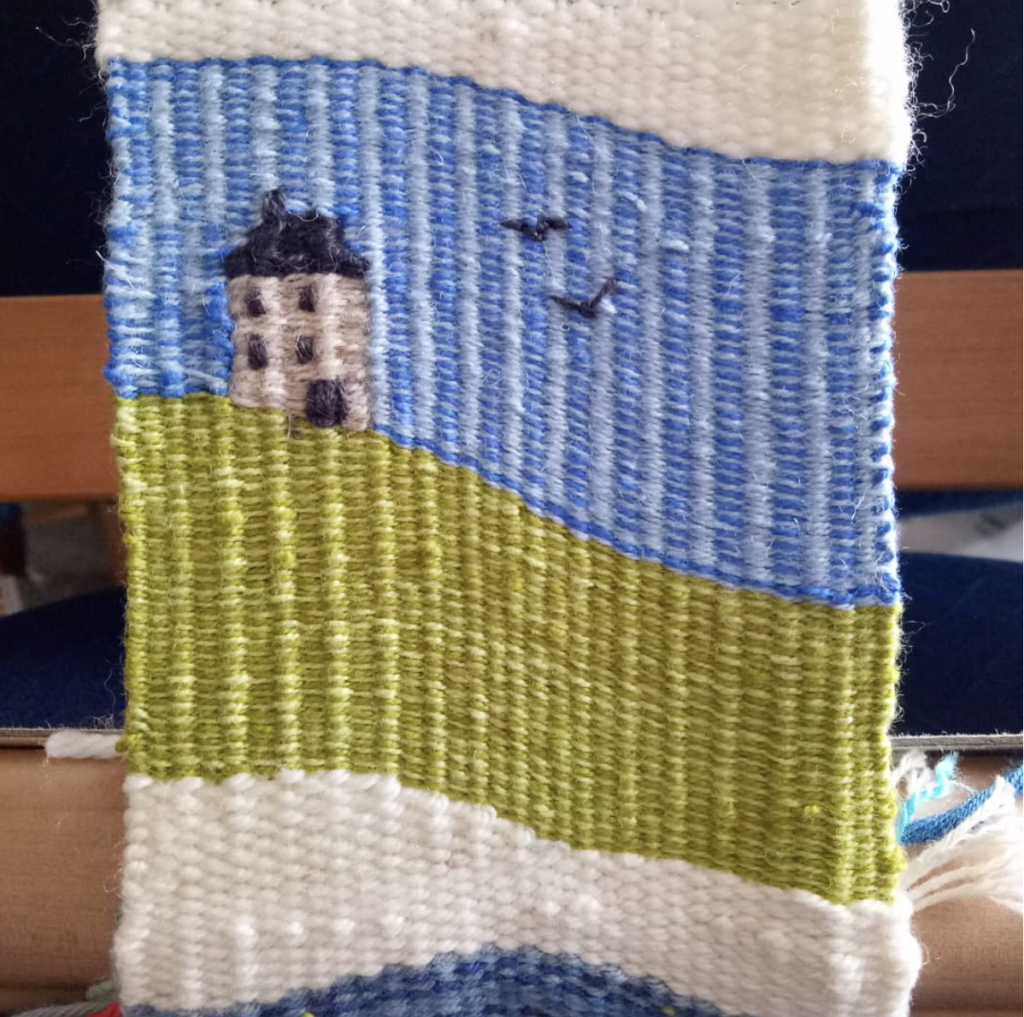
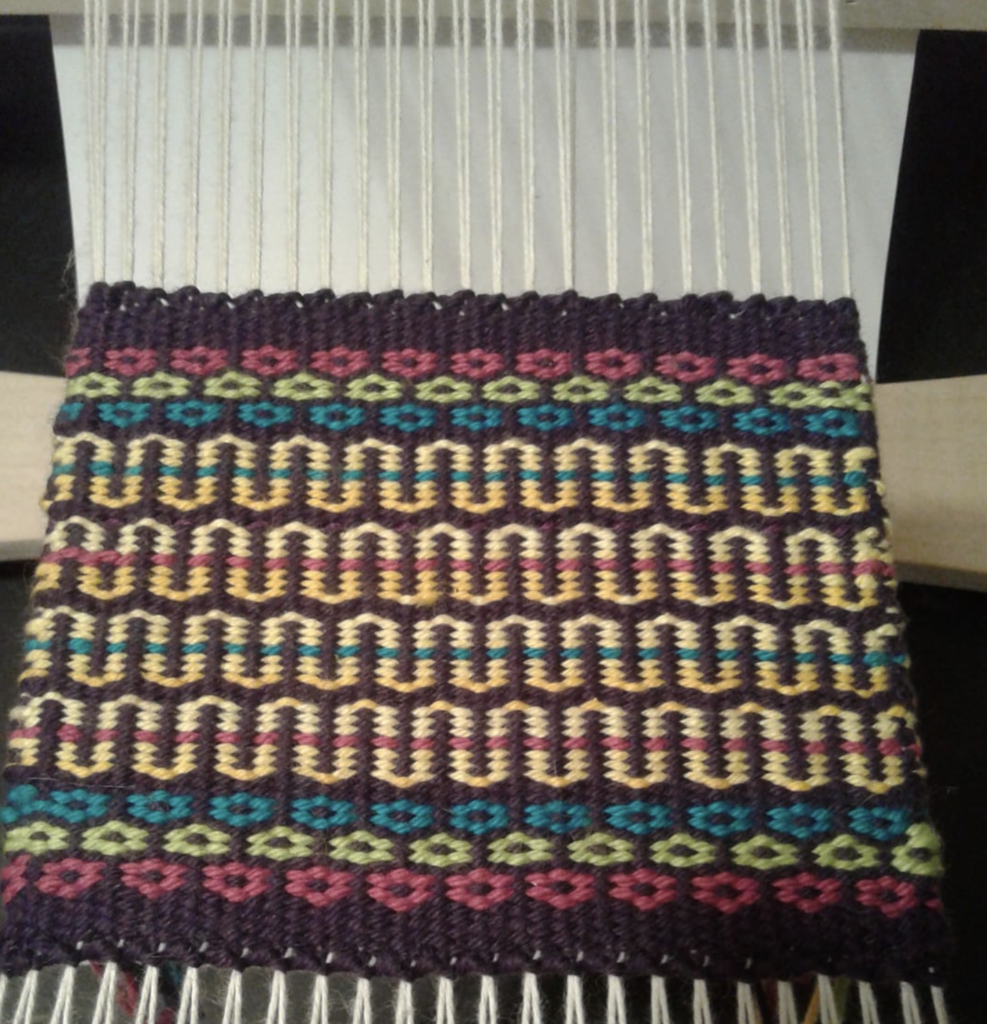
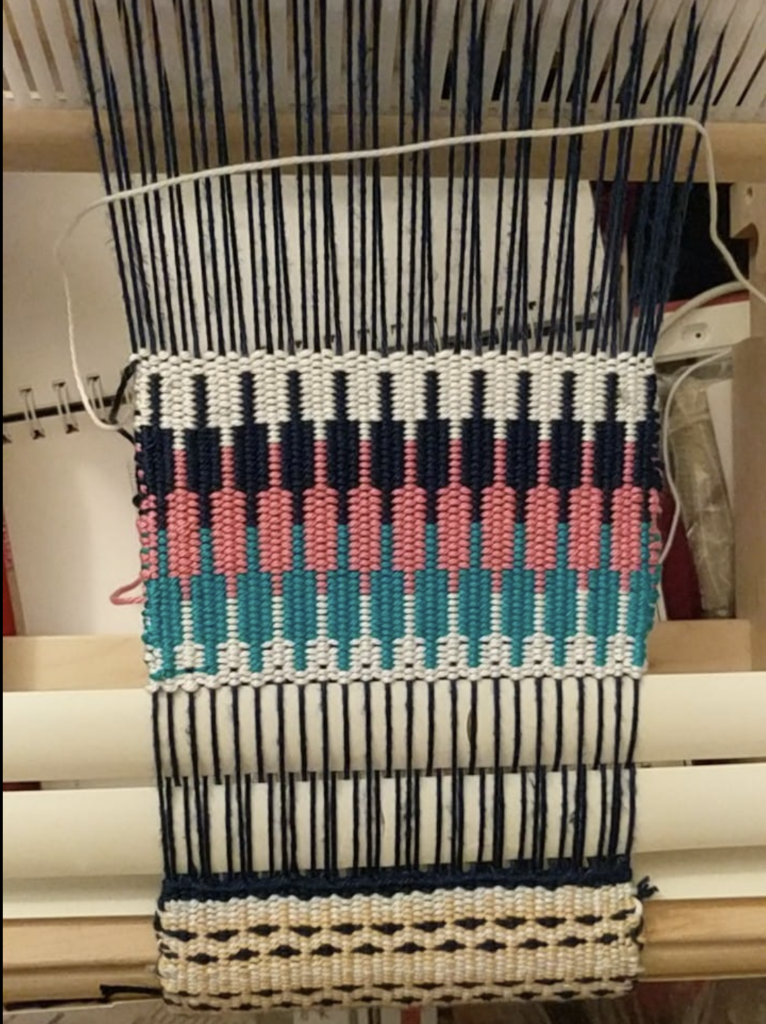
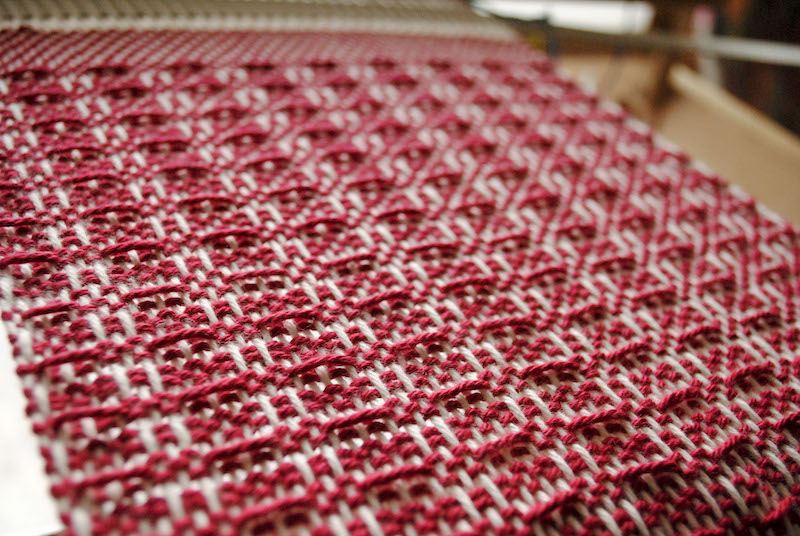
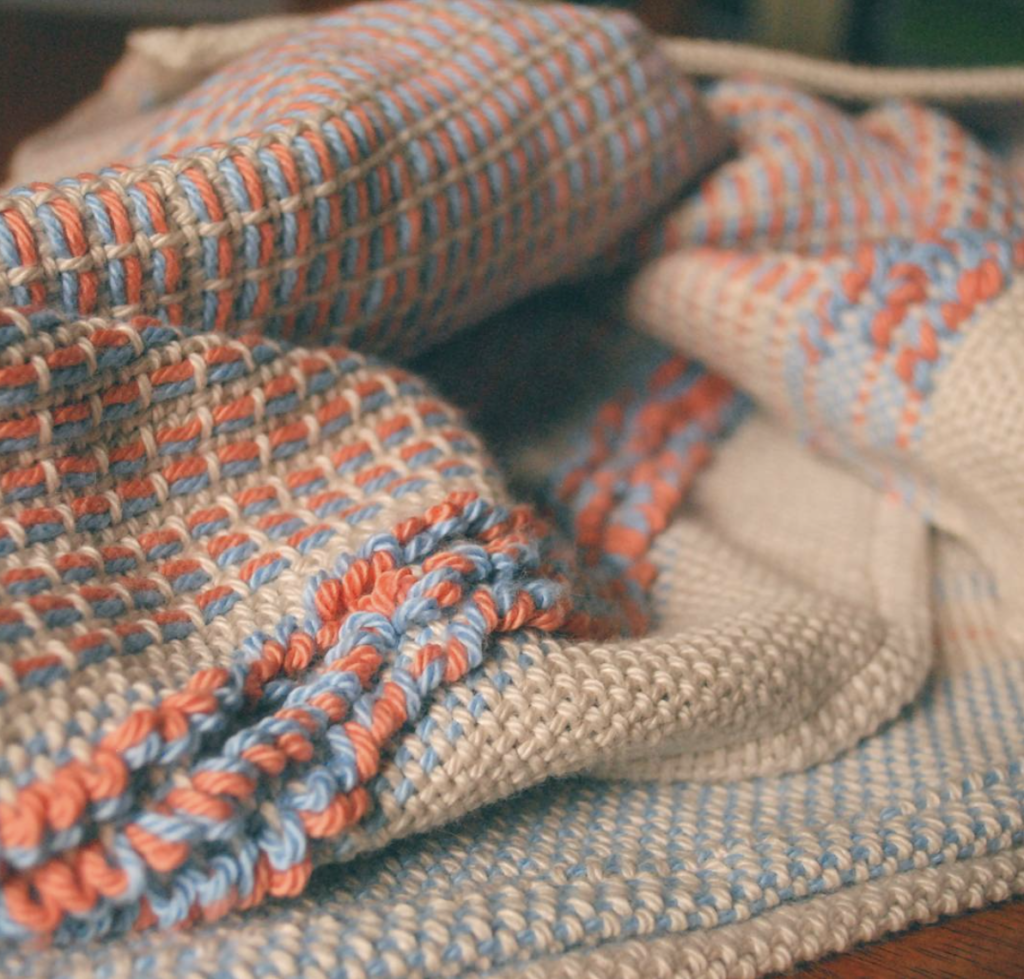
Pick-up sticks can be a game-changer for rigid heddle weaving. These simple tools expand your loom’s capabilities, allowing you to create intricate patterns beyond plain weave. Whether you’re a beginner or looking to elevate your skills, this guide will help you understand how to use pick-up sticks effectively.
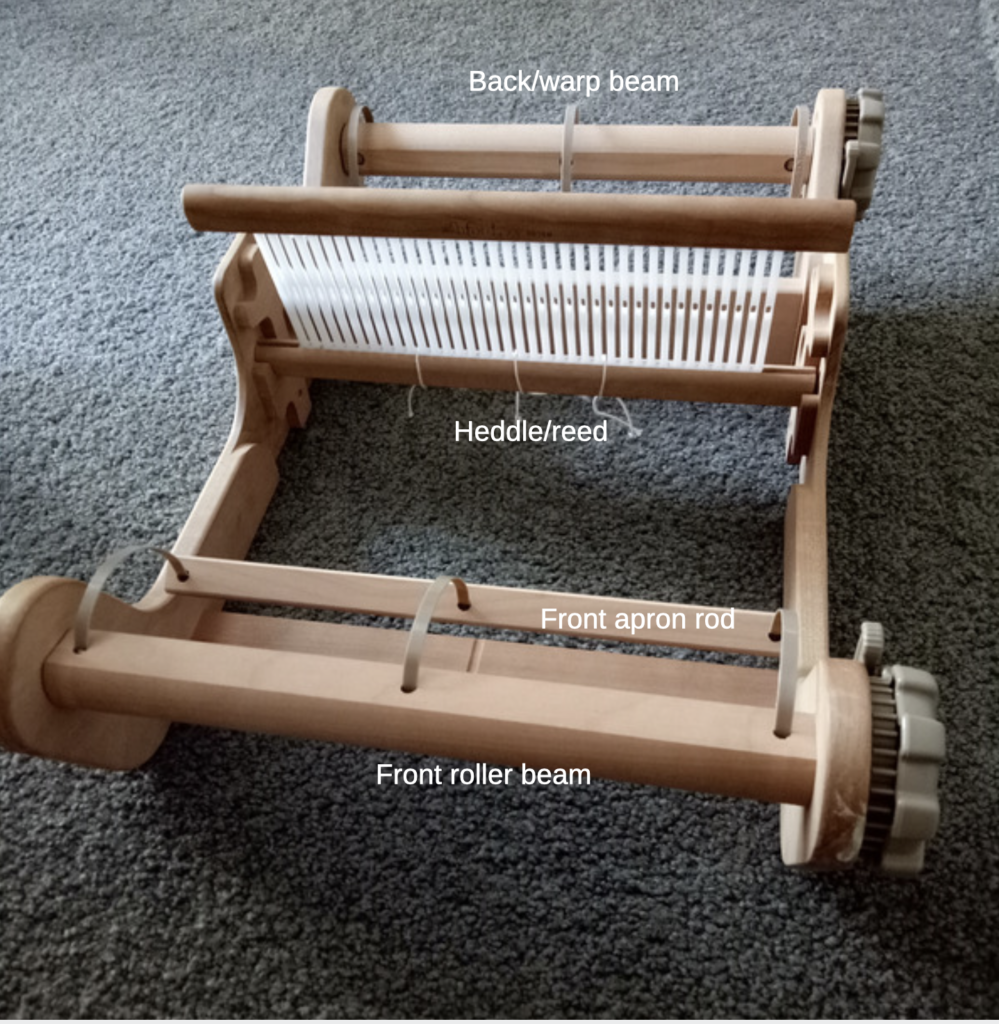
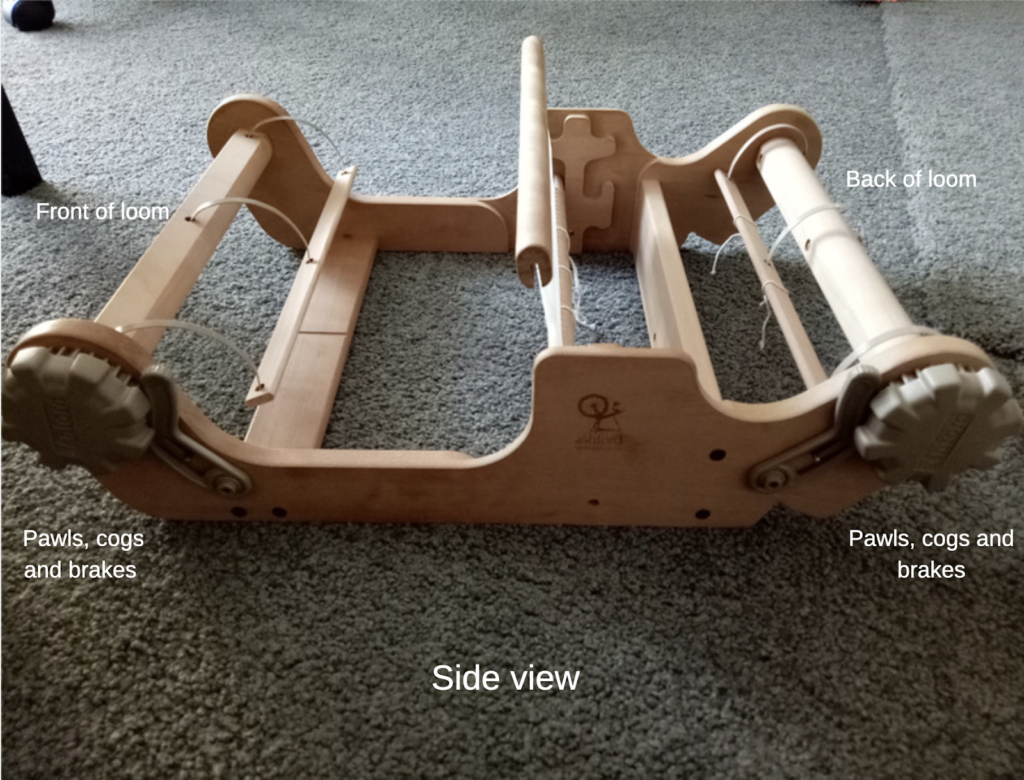
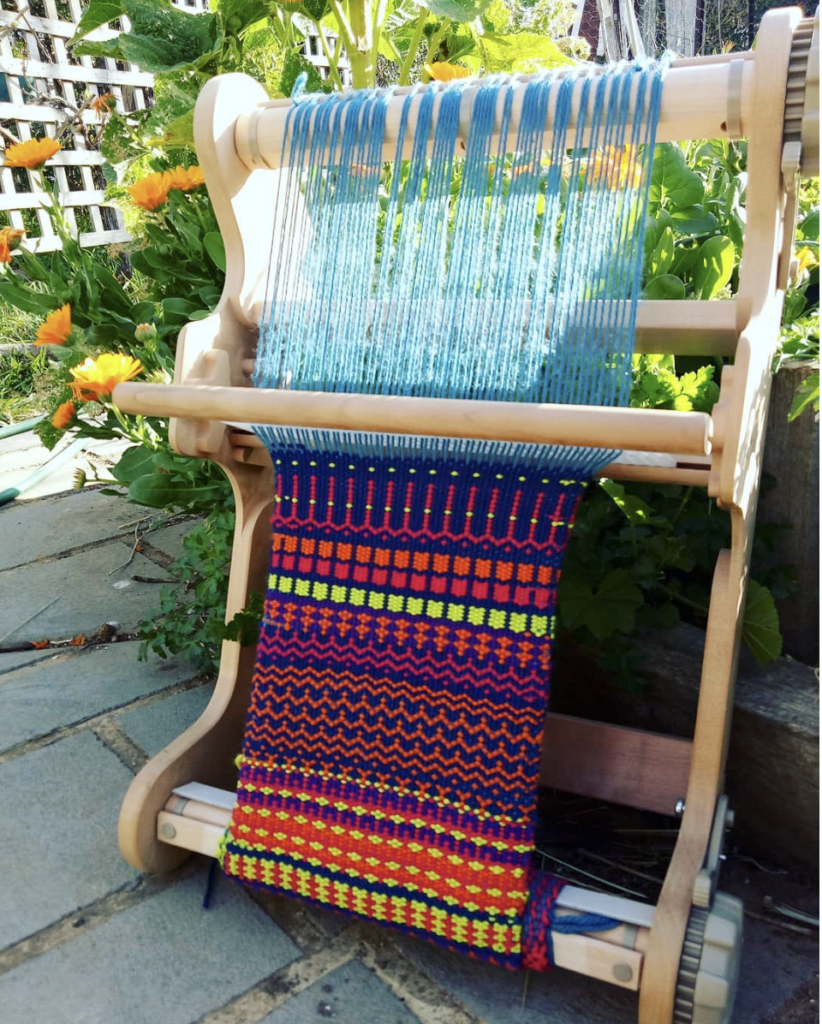
A rigid heddle loom has 2 shafts, essentially the hole threads and the slot threads. These 2 shafts allow you to work plain weave, which is a perfectly lovely weave structure on it’s own, but most weavers will begin with plain weave and then want to increase their own skills and their loom’s capabilities.
*This post contains affiliate links, which means that if you click a link and purchase, I will receive a small commission at no extra cost to you.
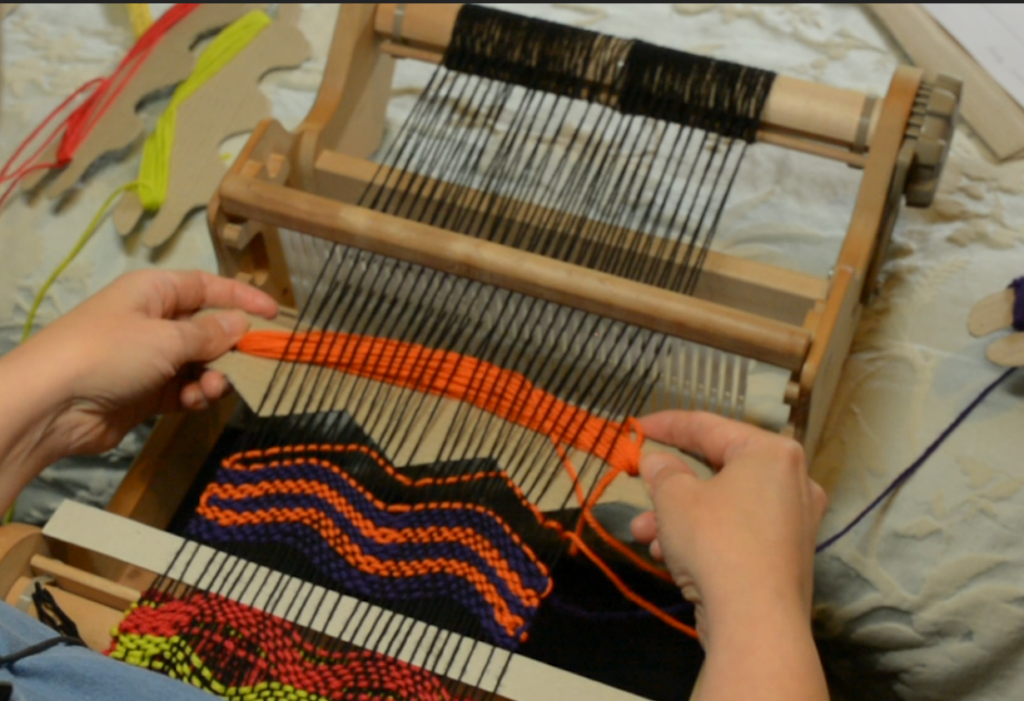
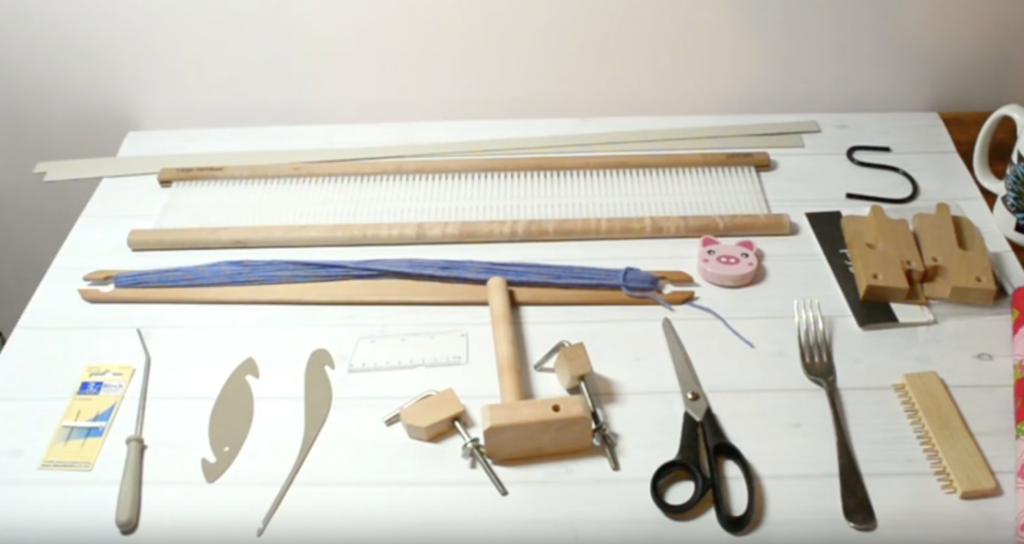
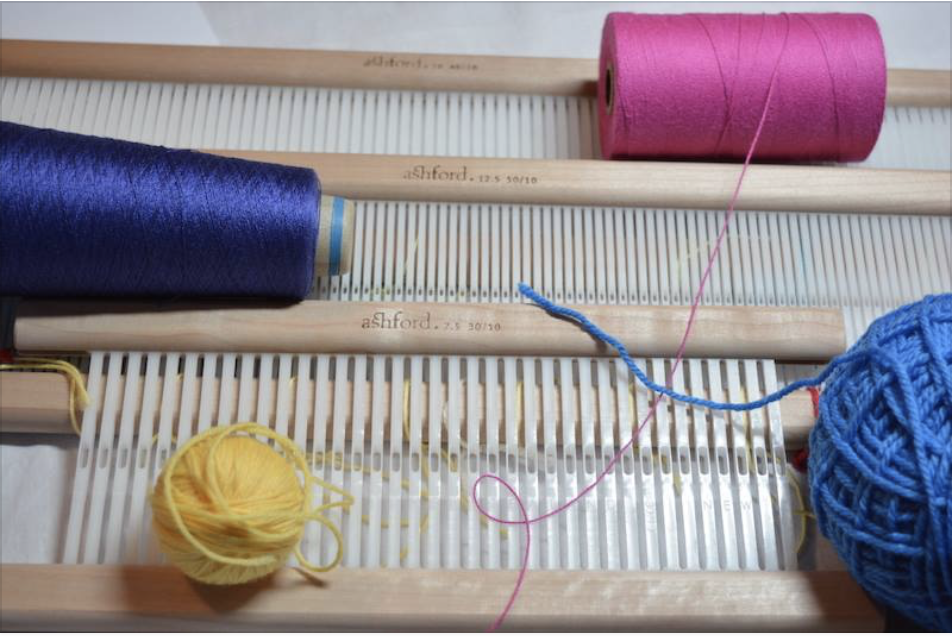
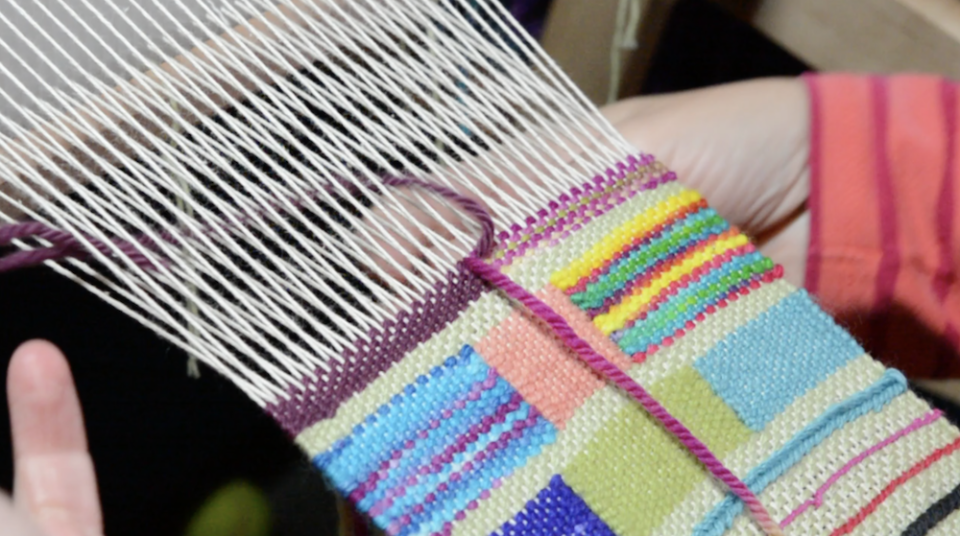
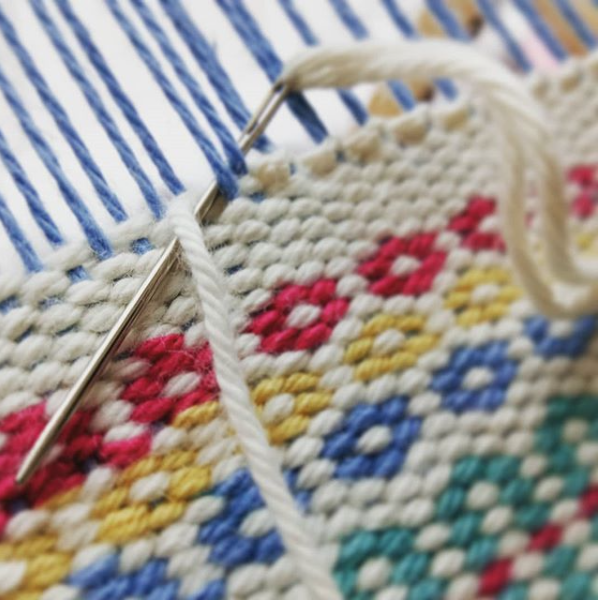
This is where pick up sticks enter and shine. Basically, they are simple, flat and smooth lengths of wood. You pick up warp threads and operate the stick/s from behind the heddle/reed. Your pick up sticks need to be longer than the width of your project, or they won’t hold the picked up threads. For my 24″ rigid heddle loom I use 24″ pick up sticks. I can use these same sticks whether my project is narrow or full loom width.
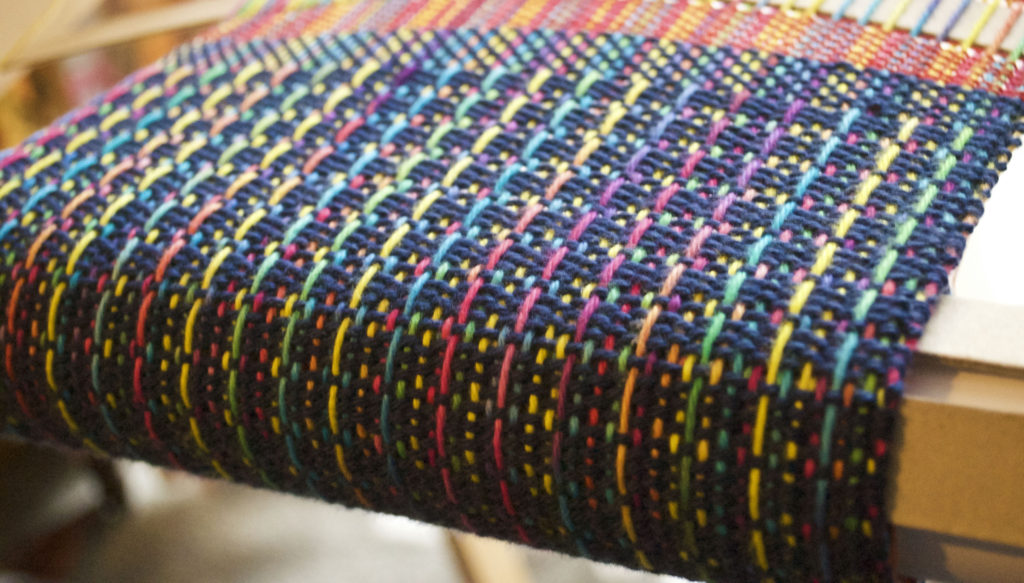
Incorporate one pick up stick and you can weave on 3 shafts. Incorporate two pick up sticks and you can weave on 4 shafts. And you can keep going from there, although you will probably want to learn about installing heddle rods to increase time efficiency. I happen to have a video showing you how to do that:
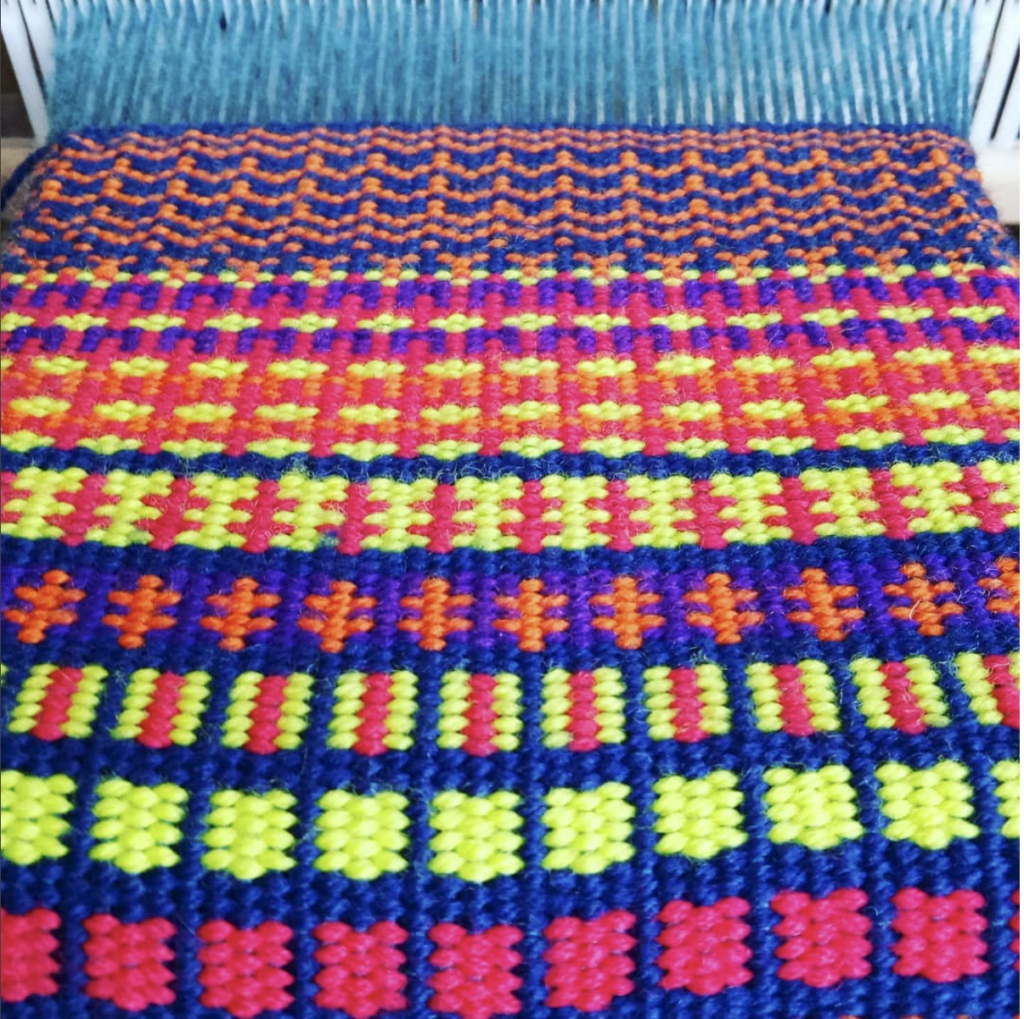
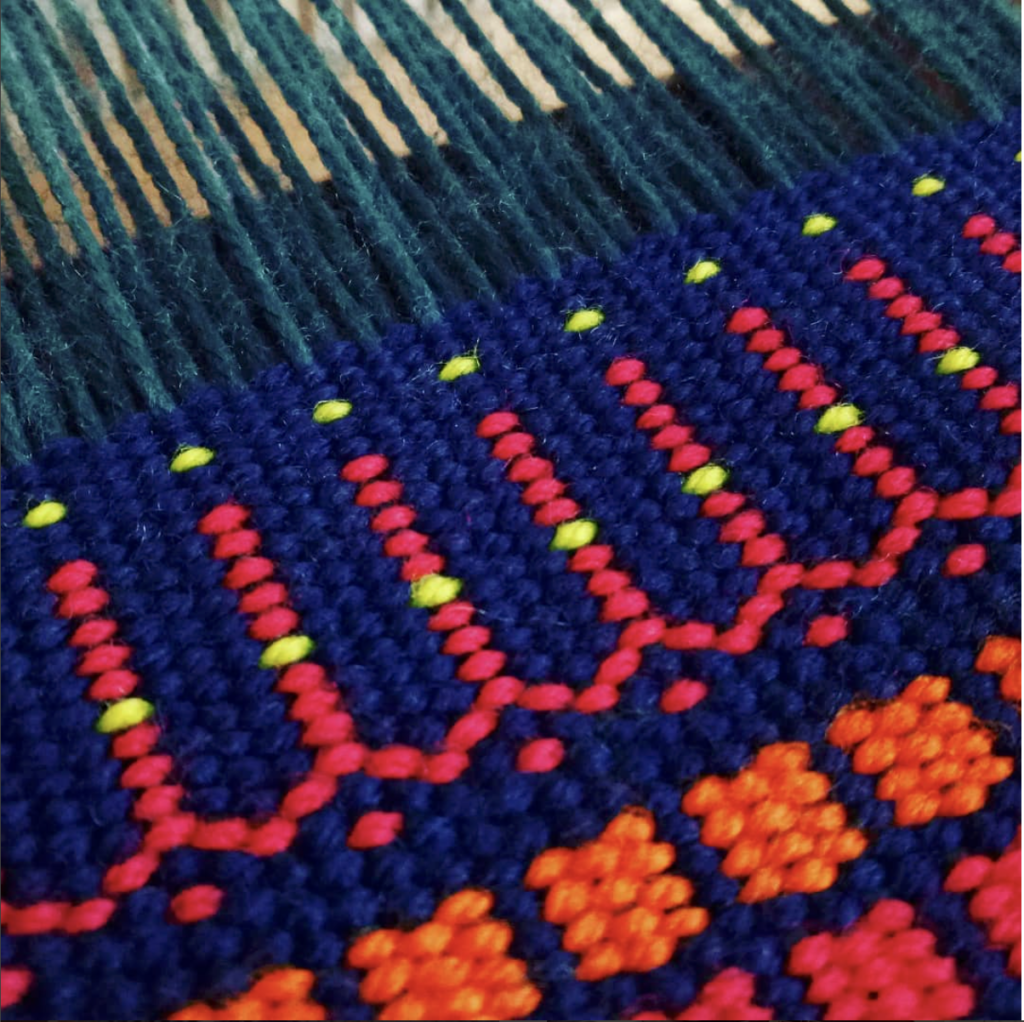
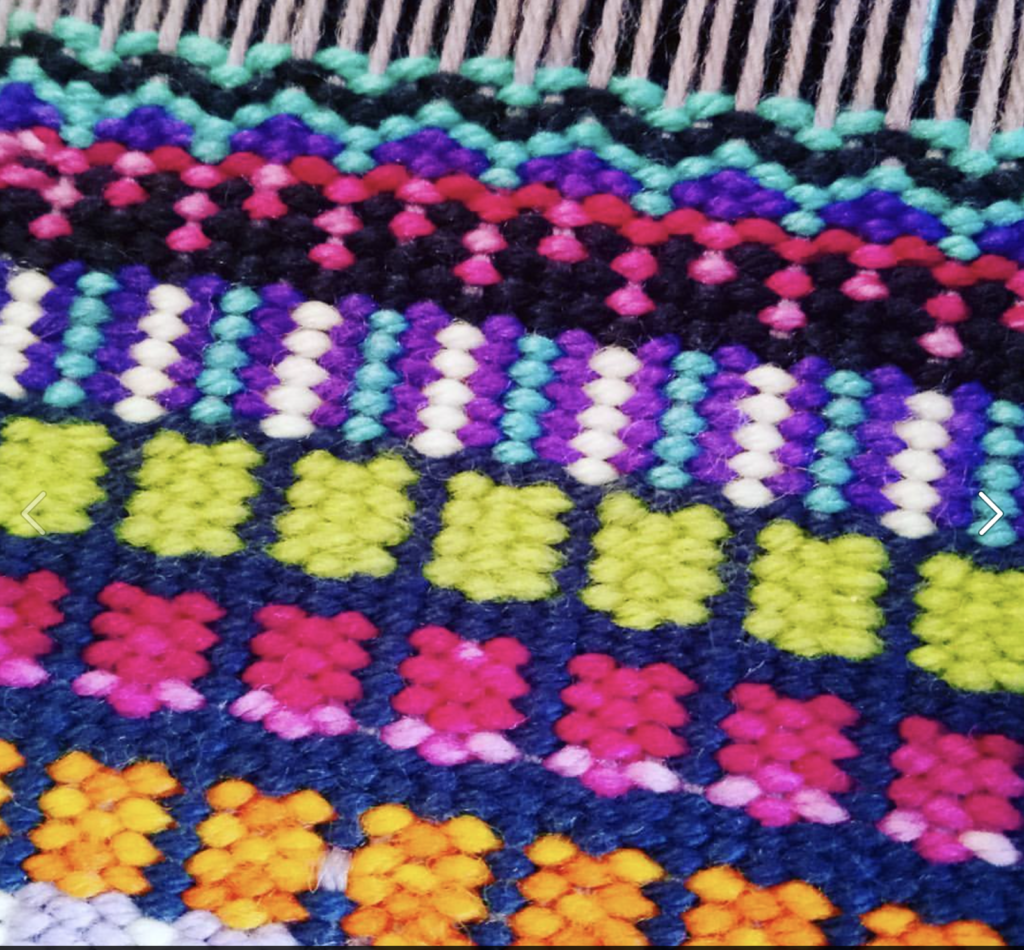
If that is a bit much for you at the moment, you can run with the knowledge that pick up sticks allow you to weave pretty patterns!
One of the rules of picking up warp threads with a stick is that your heddle needs to be in the “down” position. The threads we want to pick up must be slot threads, as the hole threads are already committed and are therefore inflexible.
Trying to pick up hole threads would be like trying to pick up the same threads twice! The slot threads are normally our shaft 2 threads and when we place the heddle in down position, they are raised.
Because we push our pick up stick/s to the back when not in use and they lay flat between the warp threads, they do not hinder you from being able to still operate shaft 2, as well as an additional shaft when the stick is engaged.
But I don’t think that you need to understand any of the above in order to use one or two pick up sticks, I certainly didn’t know what I was doing when I started with them. I just played around and liked what I saw and you can do the same!
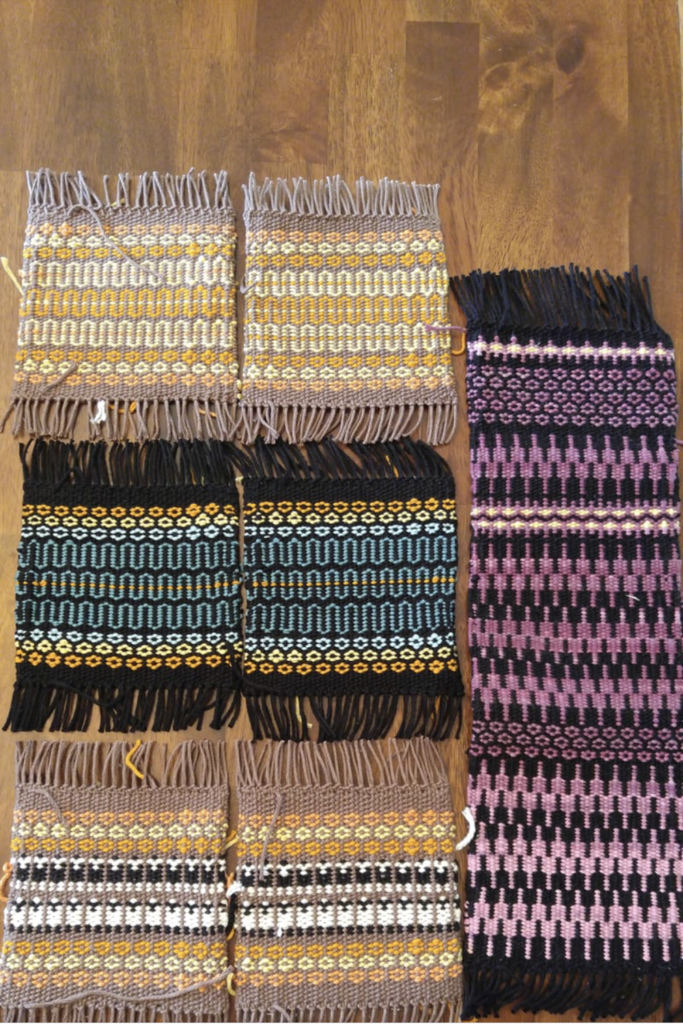
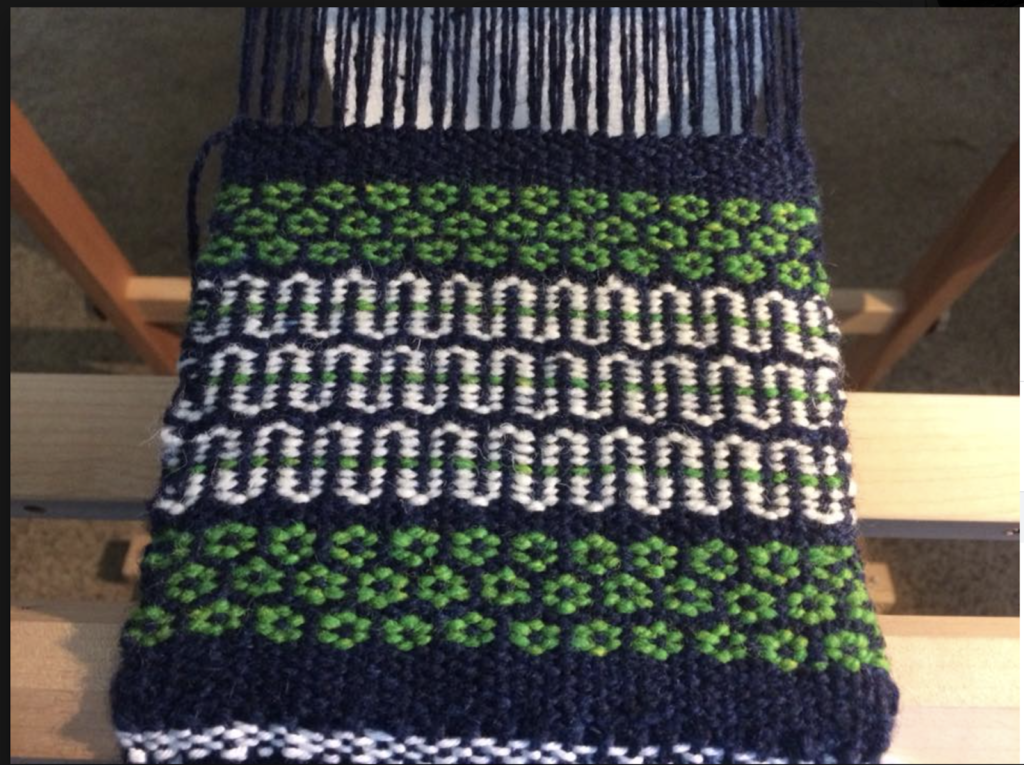
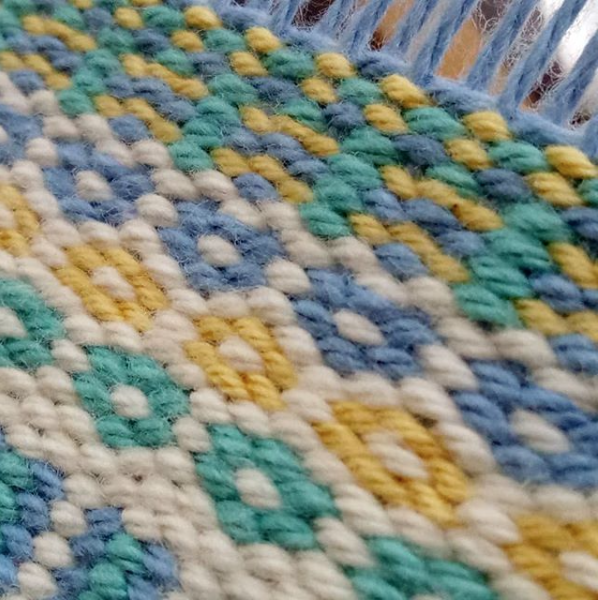
Even if you are using a written pattern, you still don’t need a lot of understanding to follow them. If you see the instructions “1 up, 1 down” for your pick up, it simply means 1 warp thread will sit on top of the pick up stick, the next will sit underneath it and this will repeat across the warp.
The instructions for the actual weaving will be a little different, but easy to follow. Here is a simple weaving sequence as an example:
- Up (heddle up)
- Down (heddle down)
- Up, pick up stick (heddle up and slide pick up stick behind the heddle, leaving flat).
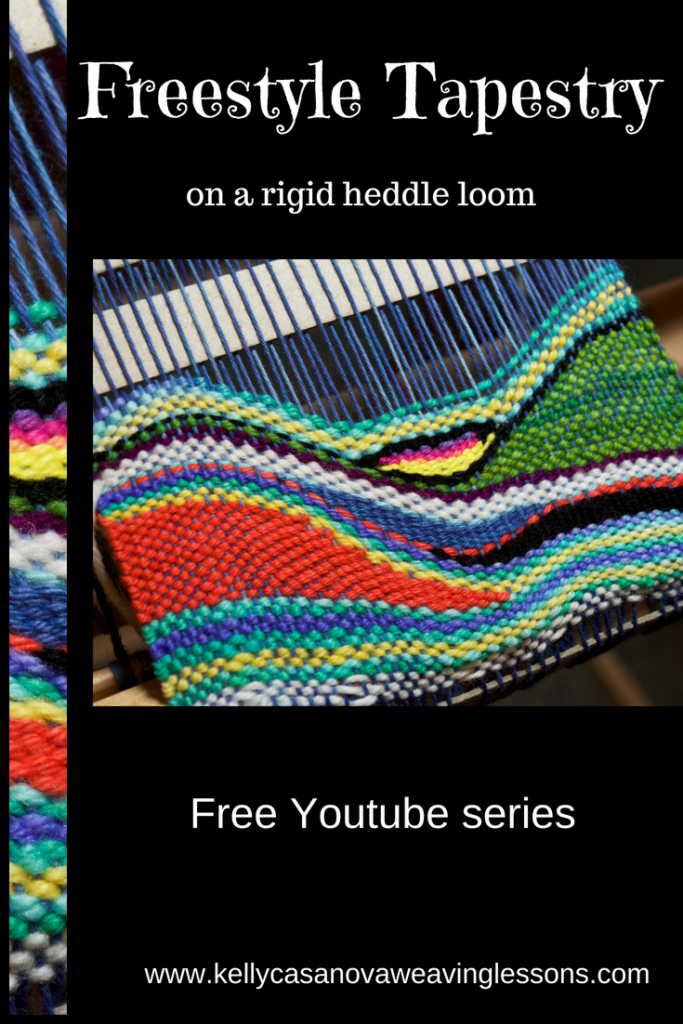
If you want to see pick up sticks and examples of pick up patterns demonstrated, watch my free Youtube video:
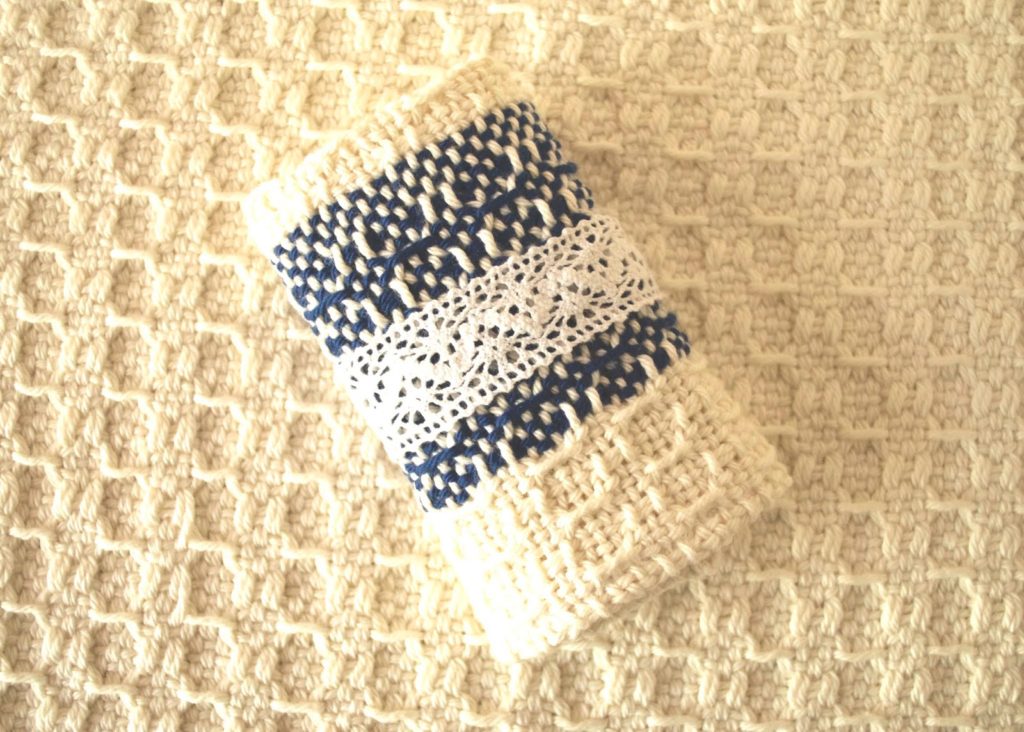
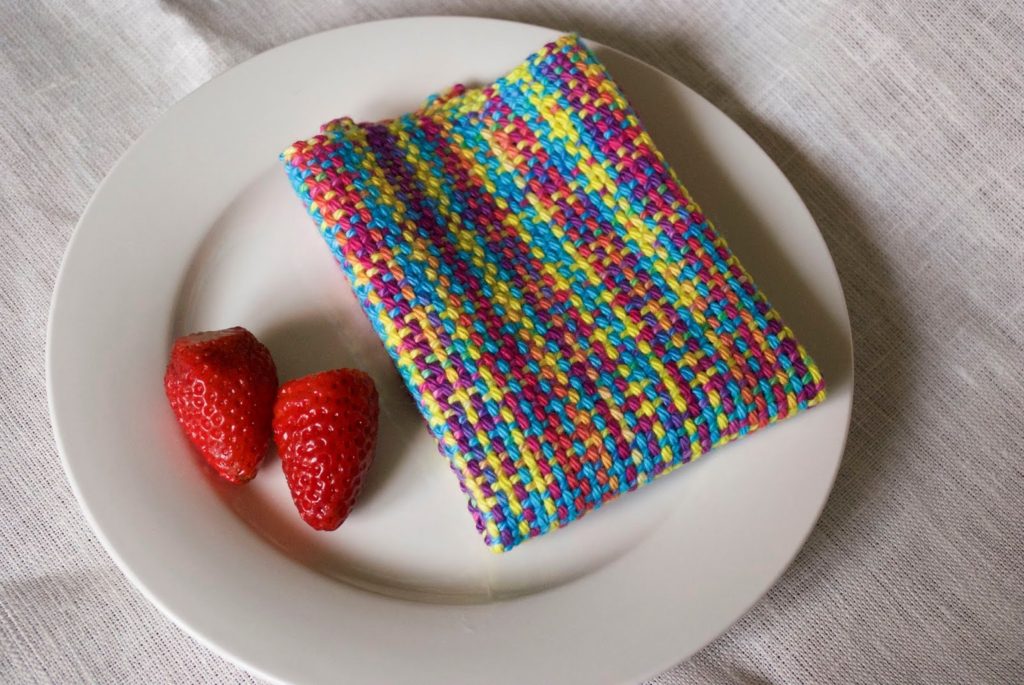
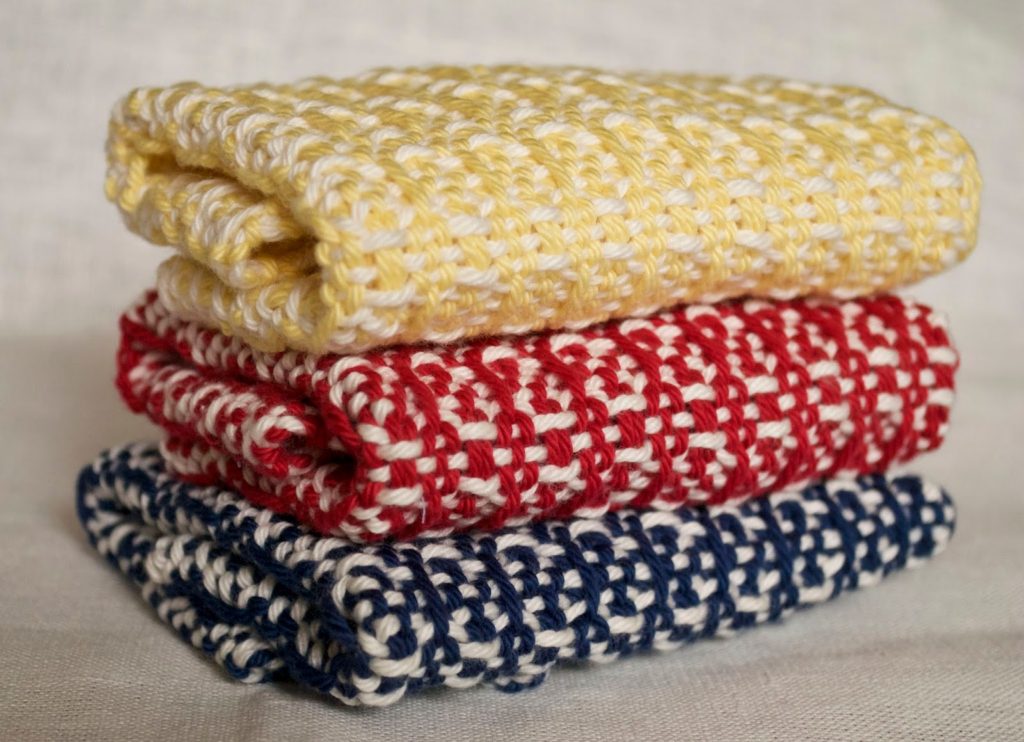
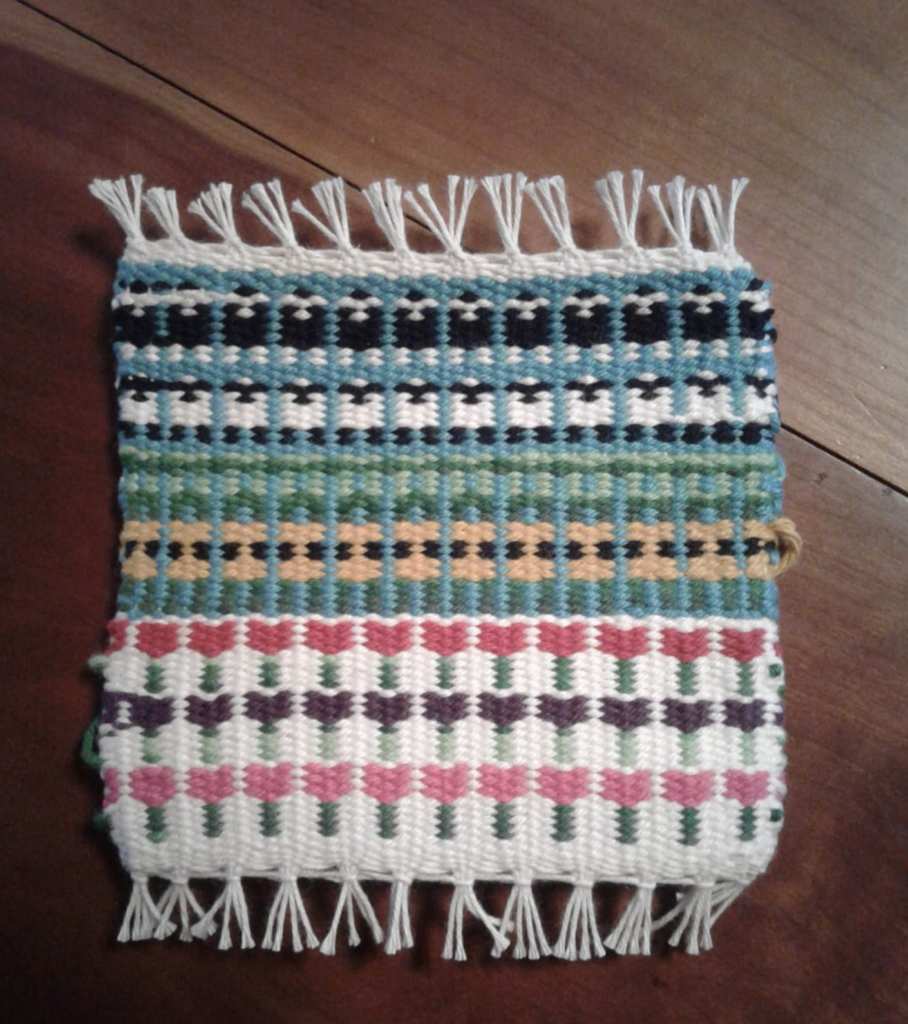
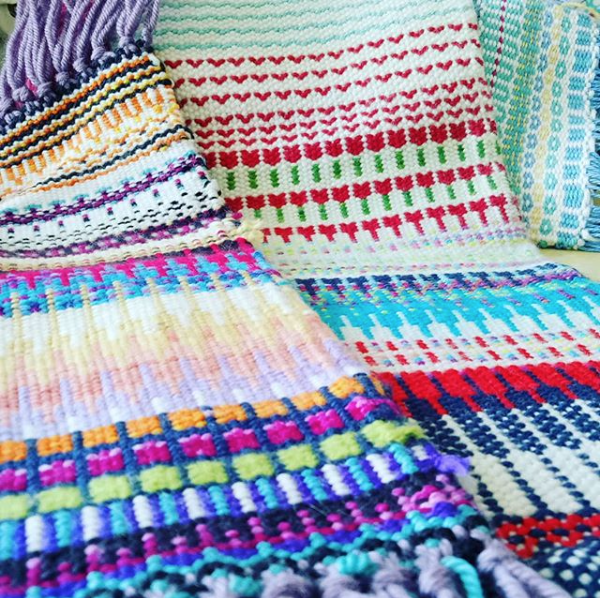
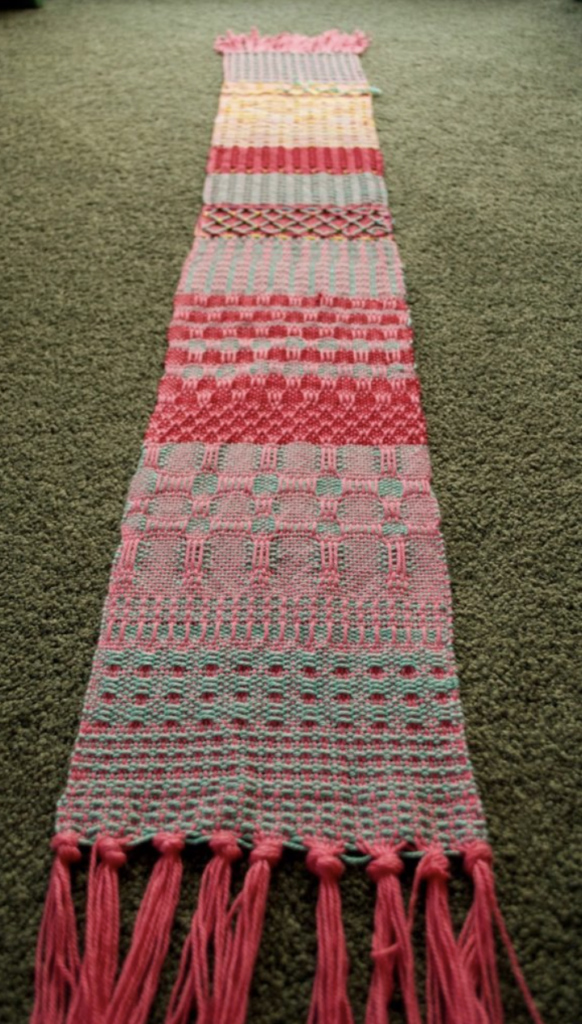
If you’re interested in exploring pick up in the form of a project, I can help! My Kitchen Cloths on a rigid heddle loom project is available as an online class.
In my Etsy shop, you will find my Lux Hand Towels pattern, which also uses pick up.
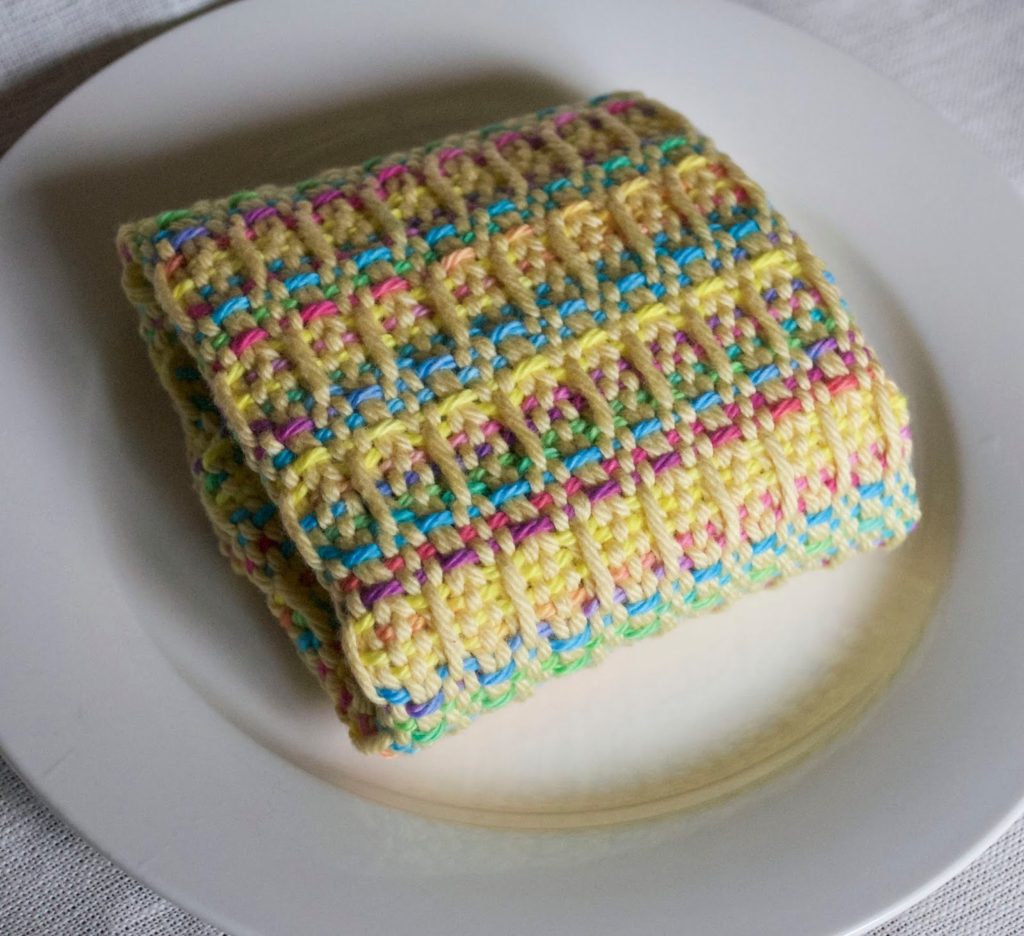
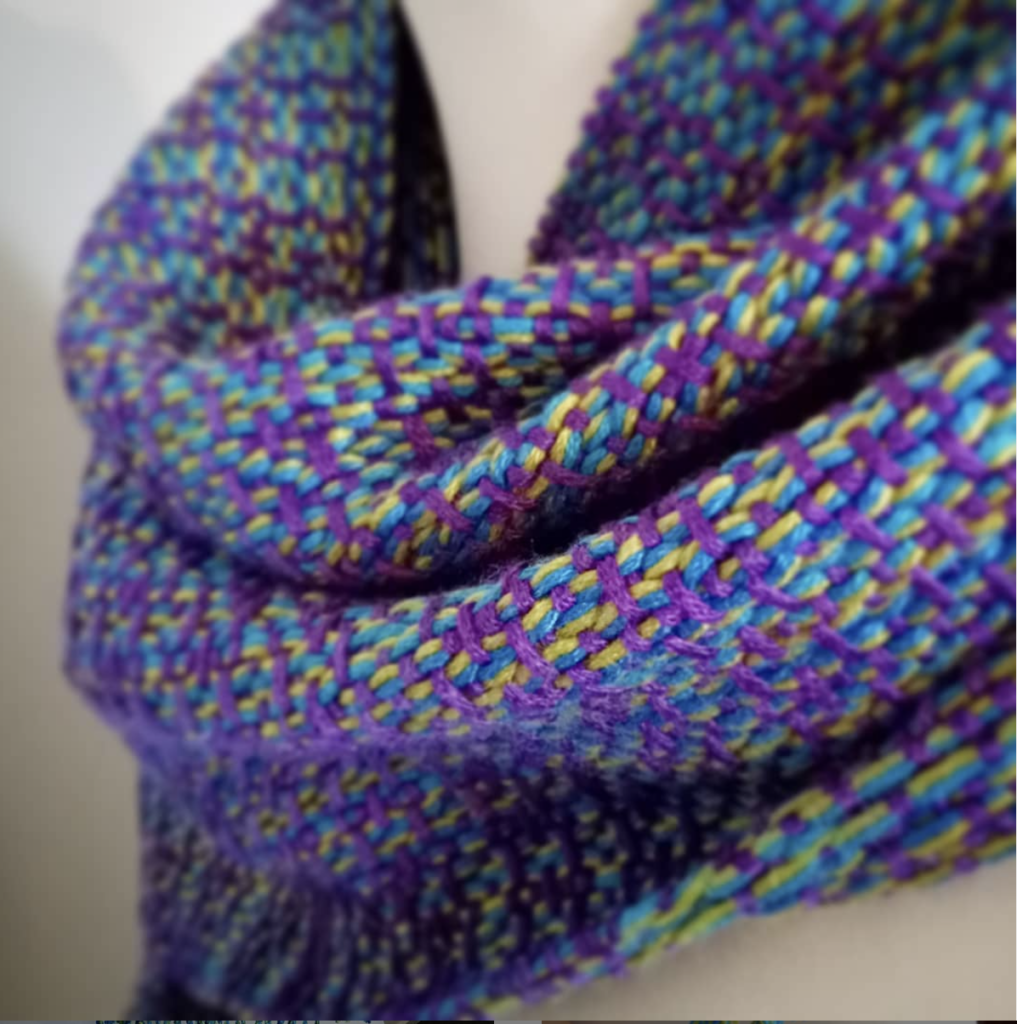
Oh, and let’s not forget the free pattern you receive when you sign up to my email list, the Moroccan Dream Scarf, which is easy enough for beginner pick up stick adventurists and can look so varied, depending on the yarn and colours you decide on.
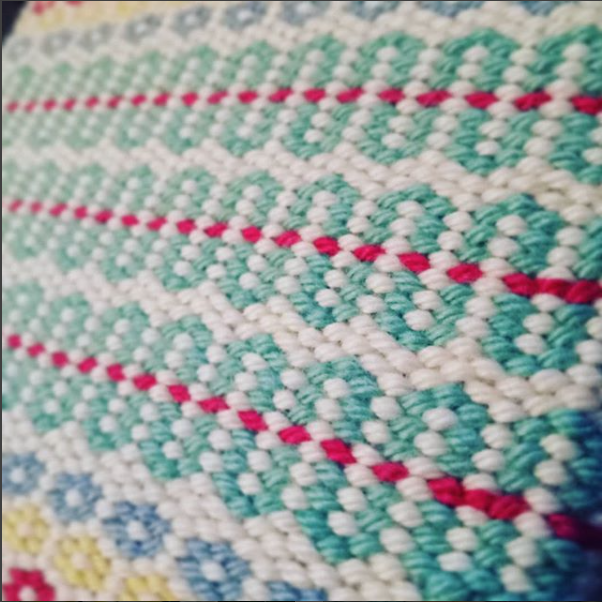
I have some really cool pick up patterns for free, along with a video tutorial in this post.
I’m quite sure that you will be interested in taking a look at my Pick Up Stick Playlist on Youtube:
I also have a comprehensive course, Pick Up Perfection, available for purchase. If you have a membership to the Online Weaving School, this class is included for free.
I hope this has helped you to understand how pick up sticks can be utilised in your weaving. If this post has been useful to you or if you have any questions, please leave me a comment, I love to hear from you 😊
Until next time…
Happy Weaving!