• Skip to main content
  • Skip to primary sidebar

Kelly Casanova Weaving Lessons

  • Hi! I’m Kelly!
    • Affiliates Disclosure
  • Online Weaving School Class Index
    • Common account issues
    • Common technical issues
    • What do I get with a membership?
  • New to rigid heddle weaving? Start here!
    • Never heard of the rigid heddle loom?
    • How to weave neat edges on the rigid heddle loom
    • Rigid heddle weaving
    • Rigid Heddle Weaving Patterns
  • Patterns
  • Subscribe

rigid heddle weaving

Kelly’s hand woven, perfectly hemmed technique.

by Kelly 23 Comments

*This post contains affiliate links
I won’t tell you how long these towels have been sitting on my creative table waiting to be hemmed. What is it with final techniques and me? I go to all that trouble to weave something beautiful and then let it sit there for who knows how long before I get around to hemming!  
Anyway, lets focus on the positives. The towels ARE hemmed now, and I’m going to share my simple but effective hemming techniques with you!
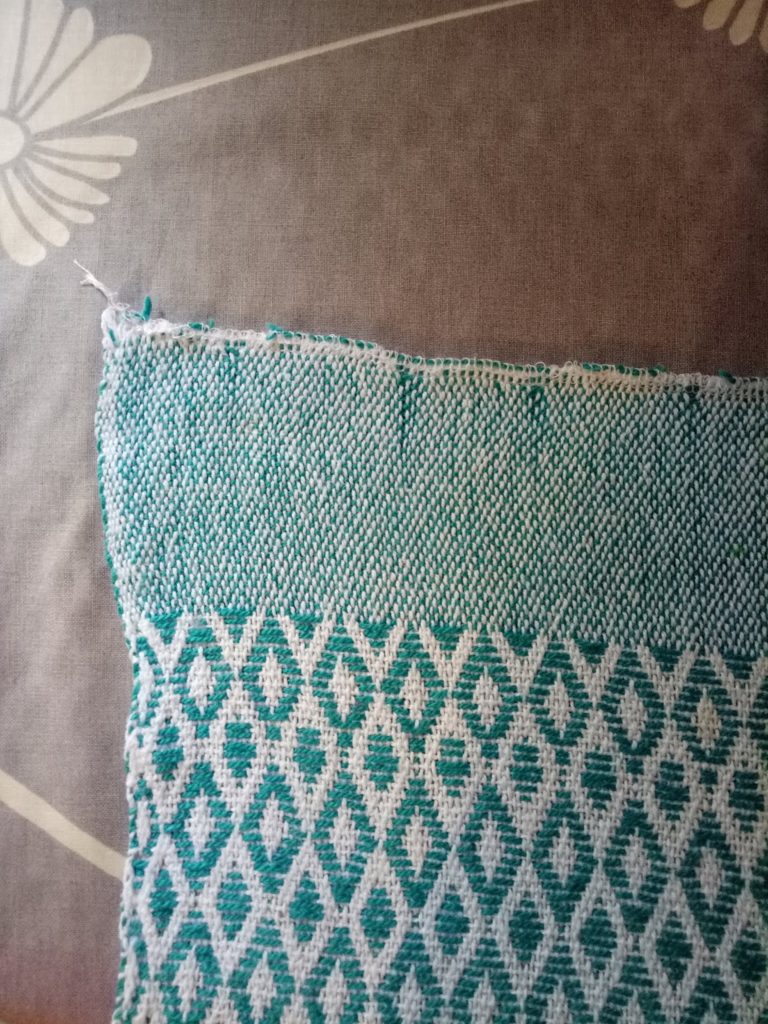
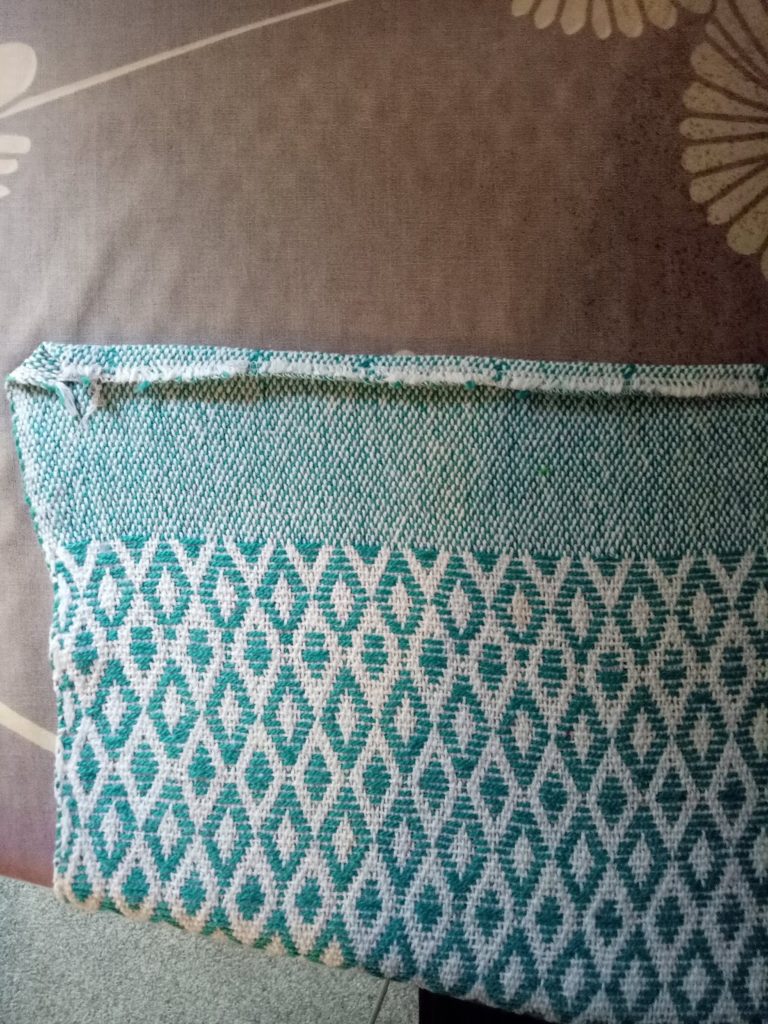
Firstly, always weave a little extra where you intend to hem, and don’t forget to factor in hemming allowances to your overall calculations. I like to make a little contrast weave at the beginning and end of a piece that I’m going to hem. Here I’ve woven plain weave borders at either end. There are 2 advantage to this – 
1. The contrast looks nice.
                                                                       2. The border is less bulky and therefore makes a more crisp and pleasing hem.
You can see that my raw edge is secured on a serger to prevent any unravelling during the wet finishing process. It is helpful to give the whole woven piece a good press before beginning, it’s always easier to work with pressed fabric.
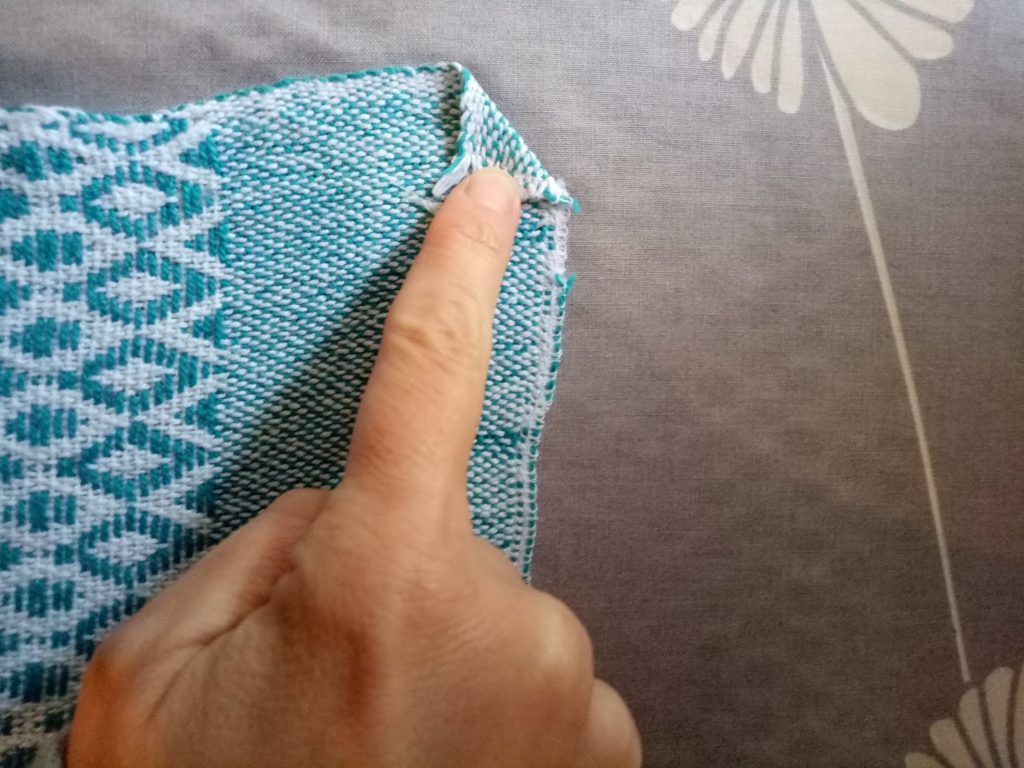
This is what I call my “dog ear” technique.  Fold in a corner on each side of the hem and press down with an iron. There are 2 reasons for this also – 
1. The corners can get ugly and a bit ragged in the washing process – I want to hide them!
             2. Towels have a tendency to be wider at each end. This reduces a little of that “flared out” look.
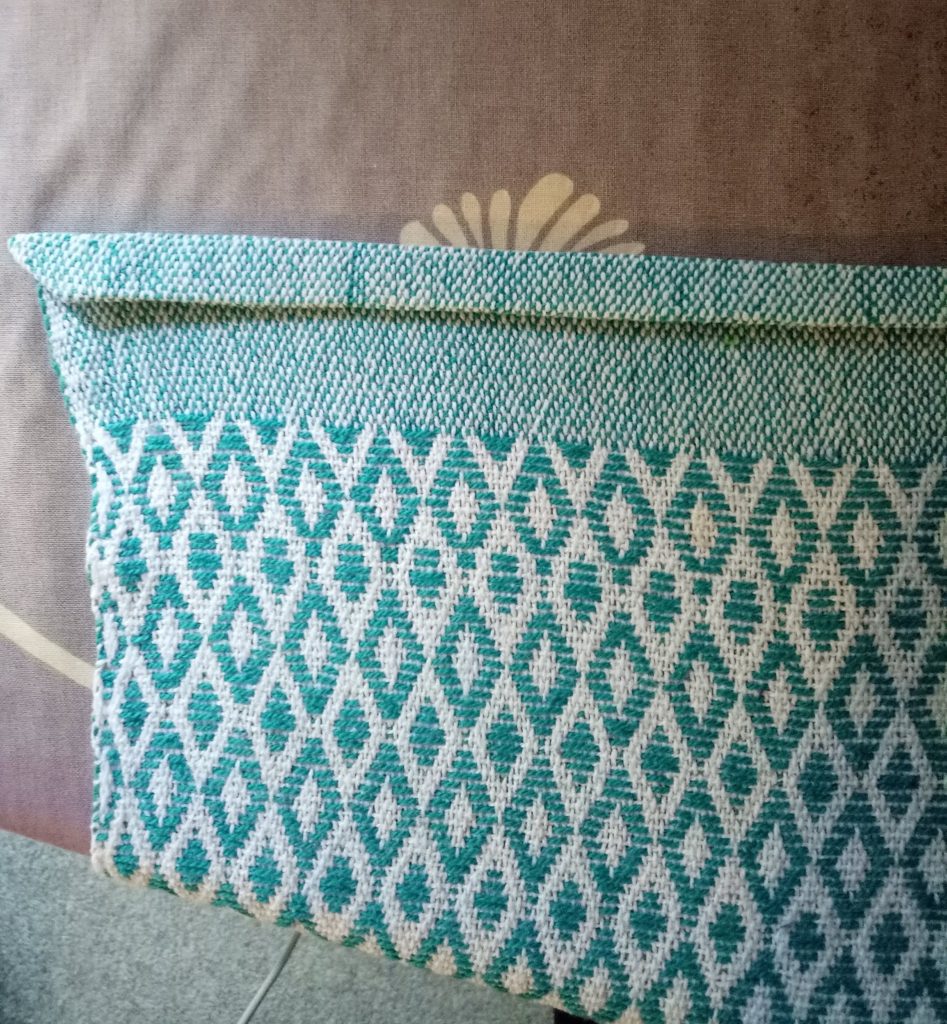
Once my dog ears are pressed down neatly, I take the raw edge and fold it over, usually around 1/4″ but more if it’s particularly raggy. Press with the iron.
Now I fold again, this time 1/2″ or more and press. Now all raw edges and corners should be completely encased and hidden. Once pressed, you can also place pins along to hold everything in place if you wish.
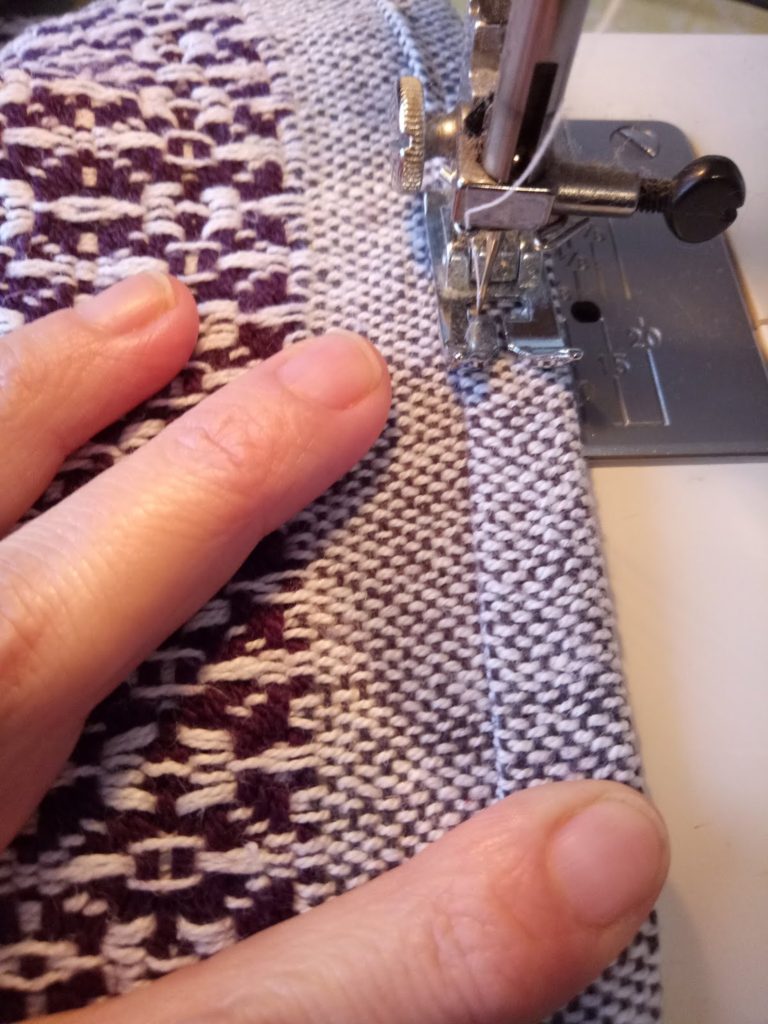
Take it to the sewing machine (different towel in this photo but the same process). I use Gutermann sewing thread. I learned early in my sewing journey that life is too short to sew with cheap threads that will break over and over! Sew with a straight, medium stitch close to the folded edge (roughly 1/4 – 1/8″).
You can use a different stitch if you want to, I just like the professional looking finish a medium straight stitch gives. Don’t forget to reverse stitch at the start and finish.
For an almost invisible finish, you can hand hem with a needle and thread, you can find that tutorial here.
Seeing as we’re on the subject of towels, if you’re on the hunt for your next towel project, you may want to try one of my classes or patterns.
Online class:
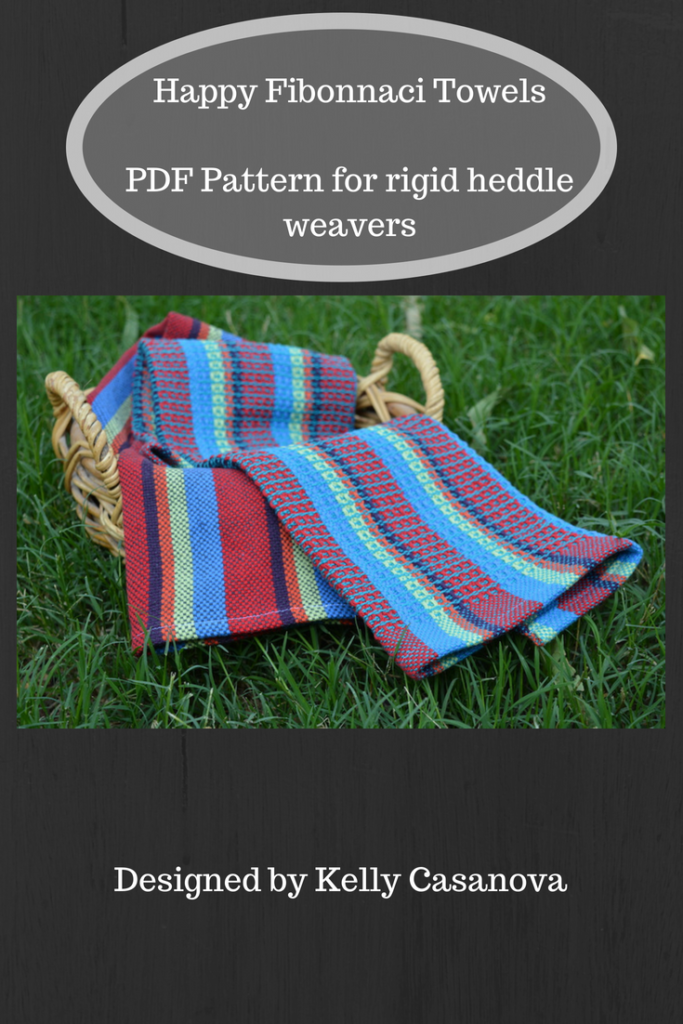
Happy Fibonnaci Towels
                                                                       Colour & Weave Towels
      Diamond Stripe Towel Weave Along (currently only open to members of the Online Weaving School)
PDF Patterns:
Lux Hand Towels
Happy Fibonnaci Towels
                                                                           Diamond Stripe Towels
                                                                        Bright & Beautiful Towels
Drop me a comment to let me know if this post has been helpful to you, I love feedback!
Until next time…
Happy Weaving!

Filed Under: Weaving Tagged With: floor loom weaving, hemming, kitchen towels, rigid heddle weaving, Sewing, weaving

I have a rigid heddle loom, why would I consider buying a floor loom?

by Kelly 2 Comments

I was asked this question in one of my Facebook groups. I started to type a response, then decided it would be better answered in a blog post as it’s not a simple question!
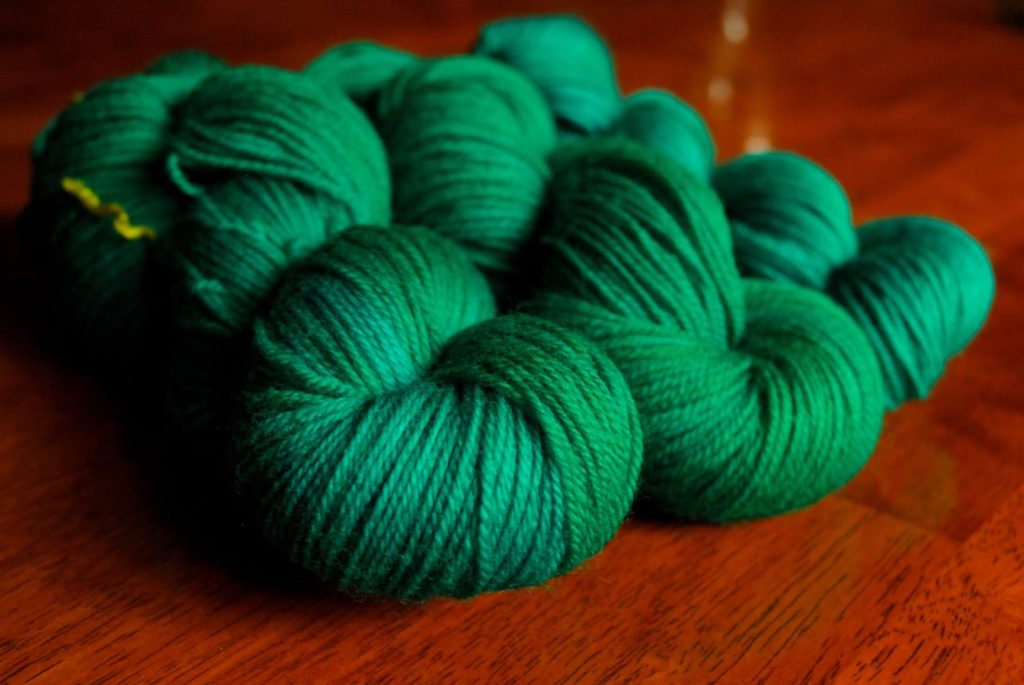

It is true that the Rigid Heddle Loom is capable of a lot (even an 8 shaft pattern if you really want to) but there are many reasons why I love to have both a RHL and a floor loom. 


I wrote a series recently that compared different types of looms that you may wish to review:


The Rigid Heddle Loom


The Table Loom


The Floor Loom


Now, I said the rigid heddle loom is capable of weaving 8 shafts, but does that mean that I would actually want to? To achieve that would mean multiple heddles, multiple pick up sticks and a pretty painstaking process that would have me leaping on to my floor loom in no time. Because the floor loom is made for this, it’s set up for more complex weaves, that is it’s job. So, while the RHL can be utilised for more complex weaves, that doesn’t mean that it’s the ideal choice.


Next, the RHL has yarn size limitations. The smallest dent heddle currently available is a 15 dent by Ashford. Yes, you can still double threads or use extra heddles to increase the available sett, but that is another difference to a floor loom and a consideration if you like to weave with fine threads.


Finally, the floor loom is a full body experience. That sounds a bit weird and new age doesn’t it?! But what I mean is that you are using your head (eyes to read the pattern as you weave, if you need to), your hands to throw and catch the shuttle (your body naturally sways slightly from side to side as you get into the rhythm) and your legs (as your feet move or “walk” the treadles to operate the shafts). It’s actually a bit of a workout!
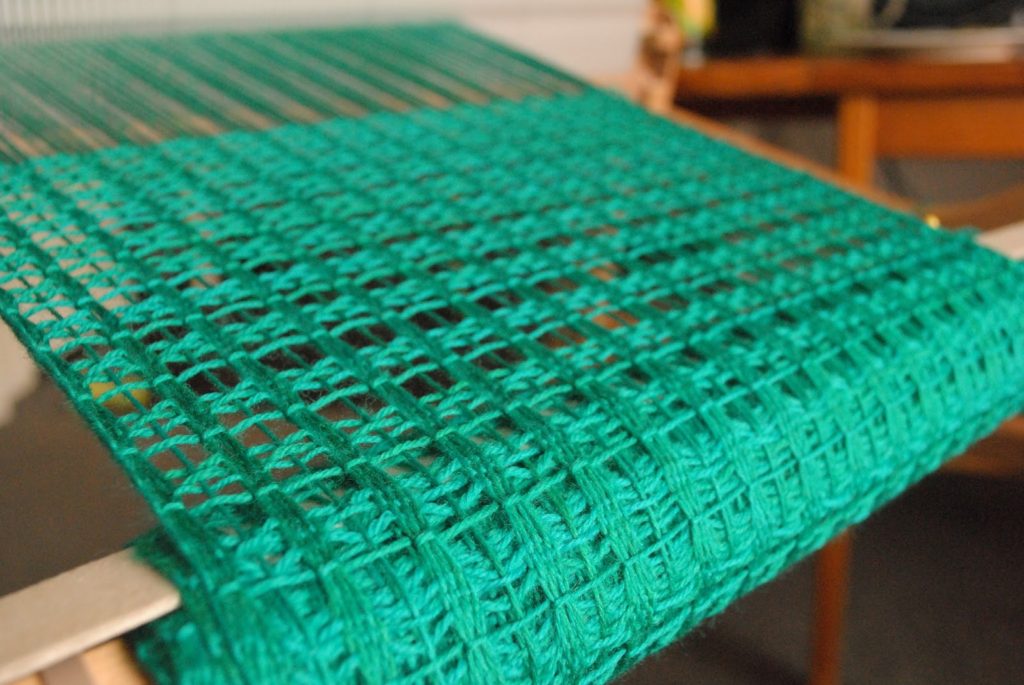

Because of this “full body” approach on a floor loom, you are able to operate many actions at once. And that is the real beauty of floor loom weaving, the harmony of actions that allow you to work fast to achieve sometimes quite amazing results.


Don’t forget that there are pros and cons to all types of weaving and I try not to promote one over the other because I believe each weaver needs to find the right fit for their particular needs. If it seems that I am promoting the floor loom in this article, it is only within context of answering a question.


To recap, why would I buy a floor loom? 
1. Intricacy of pattern
2. Finer threads
3. Speed and efficiency


I hope this article helps you, thank you for reading!

Filed Under: Floor Loom Weaving, Rigid heddle weaving, Weaving Tagged With: floor loom, floor loom weaving, rigid heddle loom, rigid heddle weaving

Make do and make a start

by Kelly 12 Comments

This post contains affiliate links. I only recommend products I use and love.
I thought I’d share with you a little reality check today. It is easy for us to imagine that people we see on social media, on websites, on Youtube or anywhere on the internet have it all together and their lives are pretty perfect. We imagine them to have all the things we need or that they are somehow “better” than we are – all because they have learned how to present themselves in a certain way that looks great to the rest of the world.


How does this tie in to weaving? In so many ways! How often have you wished that your loom was bigger or better? Have you gazed longingly at other weaver’s beautiful pictures online and wished that you could do that too? Have you grumbled at your lack of space/time/finances to “make it all happen”. 


Well, I’m here to tell you that, just like life, weaving is a journey – often long and sometimes difficult. 
When people find out that I homeschool my children and have been doing so for their entire lives, they are amazed and say things like “Well, you are an expert then!” Nothing could be further from the truth. Every day is a new start with people and needs ever changing. It’s a constant process of re-evaluation and starting over. Of asking God to please help me through this day. Of learning and applying new things. 


And I think this is normal. We don’t step on a plane expecting to arrive at our destination immediately. We have to be patient to get the reward!


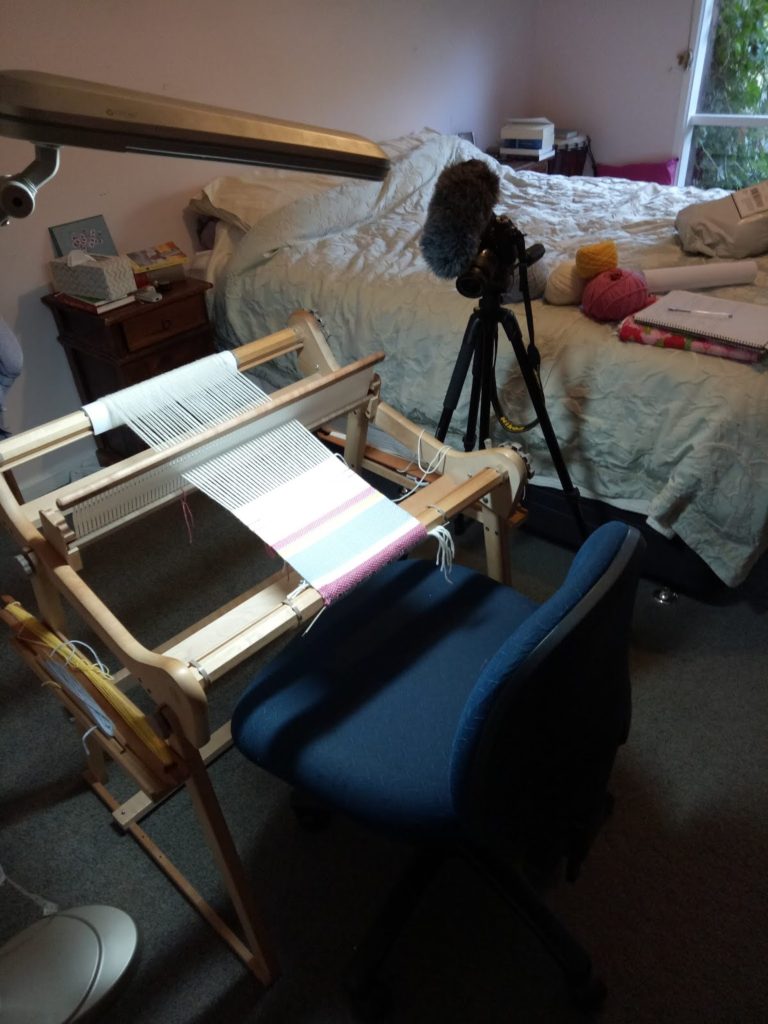
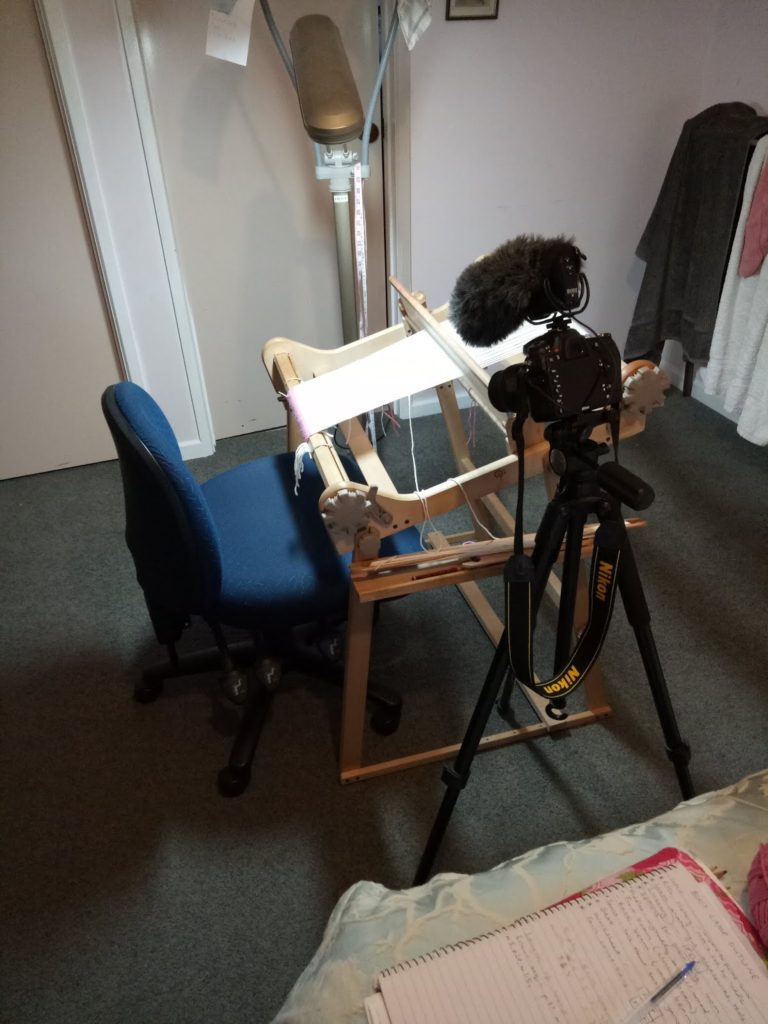
To illustrate my point, I will show you my film studio from today.  Much of the time, I can’t film in my studio space as it’s a shared, walk through room.

So, I set up in our bedroom so that I could close the door. It’s a bit dingy and it desperately needs a paint job, but it’s a room with a door, so I’ll take it.  Lets have a look at my setup.


I film with my son’s Nikon D7100 and his Video MicPro microphone. The tripod is mine! The loom is mine too 😀 The chair was a freebie that my husband got for me when his old office building was closing down. The OttLite belongs to my husband. When I finish the video, I edit on my son’s computer using his software. 

You can see that most of what I use to film videos for my Online Weaving School is borrowed and fairly basic. But, it all allows me to do what I do. I may never have a great setup, no matter how much I want it, and that is ok, I am grateful to be able to do what I do without the bells and whistles. 

I can polish my photos and videos so that they look pretty good on your computer. I get to work from home, doing what I love and spending the days with my children. Does this mean I have the perfect life? No way, it just means that I’m prepared to make do and make a start.

Today I was working on filming for my up and coming Boot Camp for Weavers course. I’m beyond excited about this, a little apprehensive, having never done something like this, but very excited. It gives me so much joy to see a new weaver get up and weaving with enthusiasm and confidence, that is what I want for all my students! There will be more information about the course as I near completion. 
How did this blog post get so long? My fingers seemed to have a mind of their own and if I don’t finish up my family will be eating burned chicken tonight! If you got this far, thank you for taking the time to read.

Until next time….

Happy Weaving!

Filed Under: Rigid heddle weaving Tagged With: rigid heddle weaving, weaving

The week in review, phew!

by Kelly 2 Comments

The week started out well and then WOOSH, I turned around and it was almost over already. A lot of weeks are like that these days. But it doesn’t trouble me, as long as the week is well spent.

Autumn is well and truly upon us and the cold has crept in. This does not trouble me either, I am quite fond of cool weather and it inspires me to surround myself with fibre.
We celebrated our son’s 18th birthday with much cheer and delightful dishes. I was reminded of the great blessing he is to our family, and what a fine young man he is. It is certainly bittersweet having your children grow up.
I finally launched my newest class, Rigid Heddle Garment Making! I was so thrilled to finish what had become a lengthly undertaking and I was so happy with the end project.

The response has been enthusiastic, as many students have been asking me to put this class together.

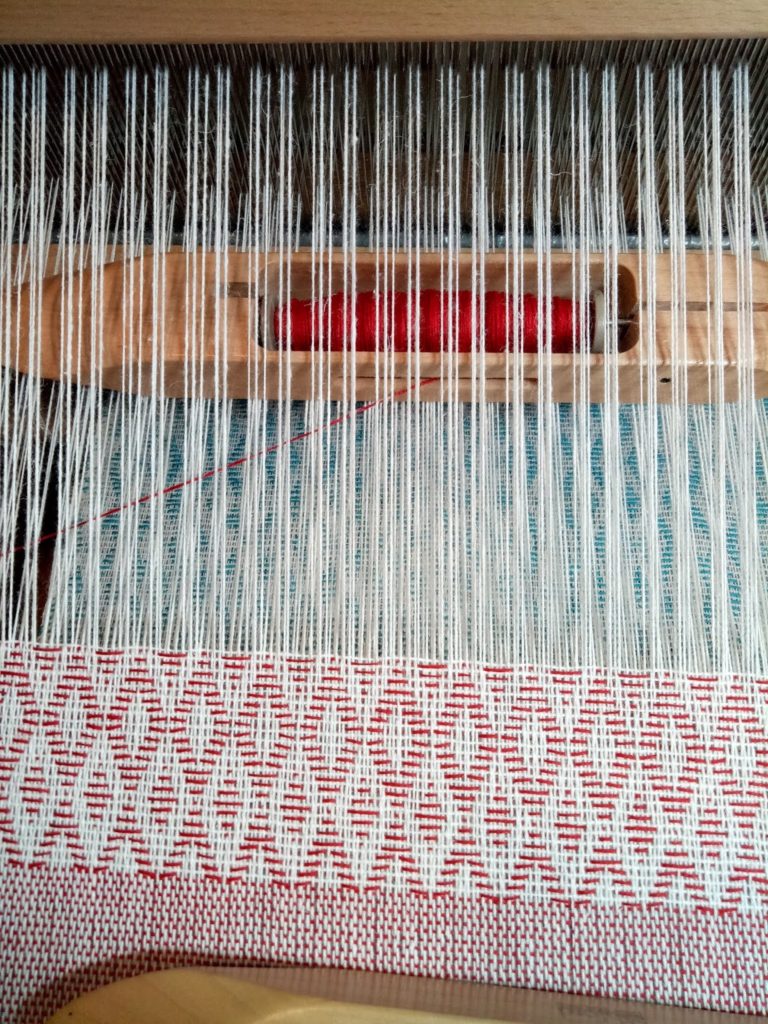
In other weaving news, this is what I have on the floor loom. The warp is plain white cottolin and hemp and I’m changing up the cotton weft colours as I go. The draft is an 8 shaft from Carol Strickler’s 8 shaft pattern book. It took me ages to get going with this and I had to re-sley the reed THREE times due to silly mistakes. I’m happy to say that the weaving is all going smoothly! I’m making a set of towels.

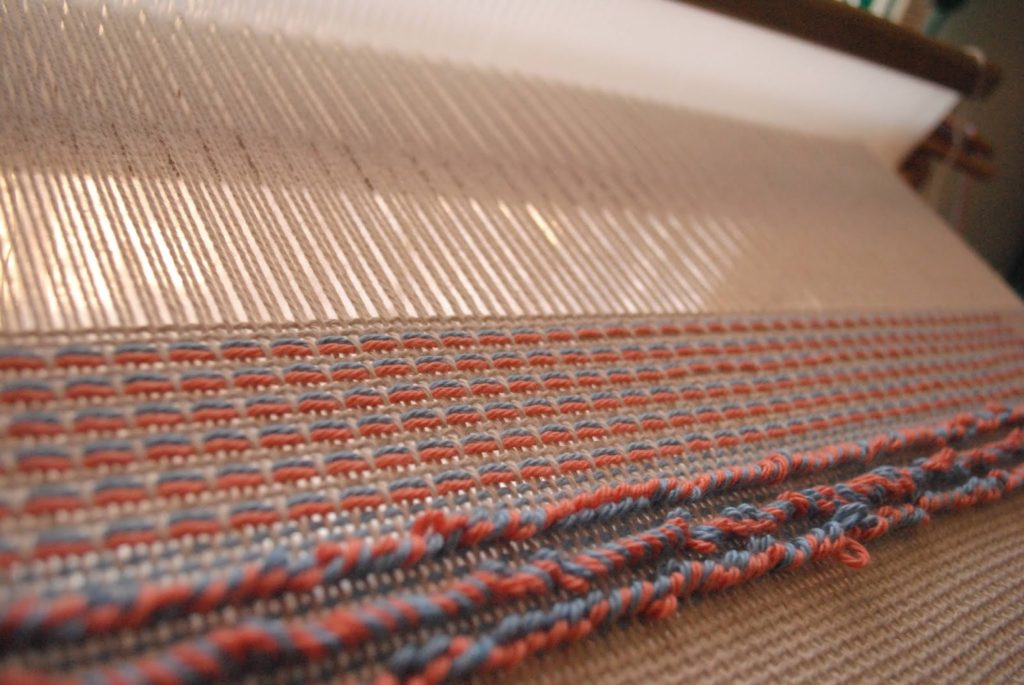
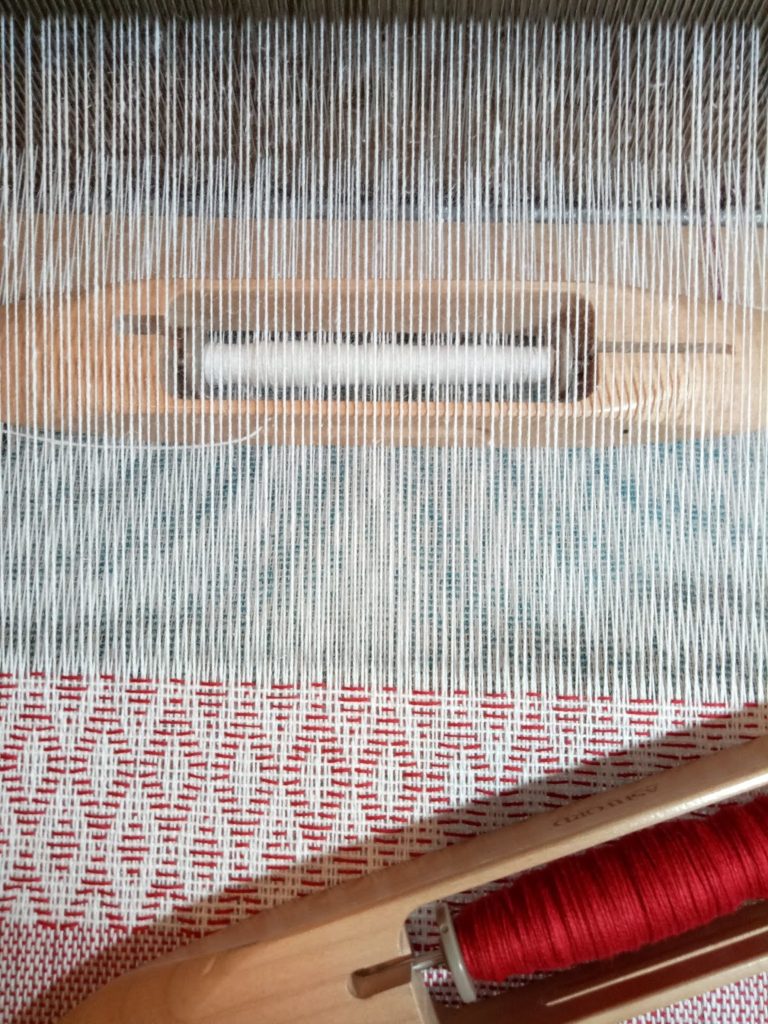
The threading is rose path and the weaving is very much like an overshot – one pattern pick (red)…

followed by a tabby pick (white). Rather lovely!

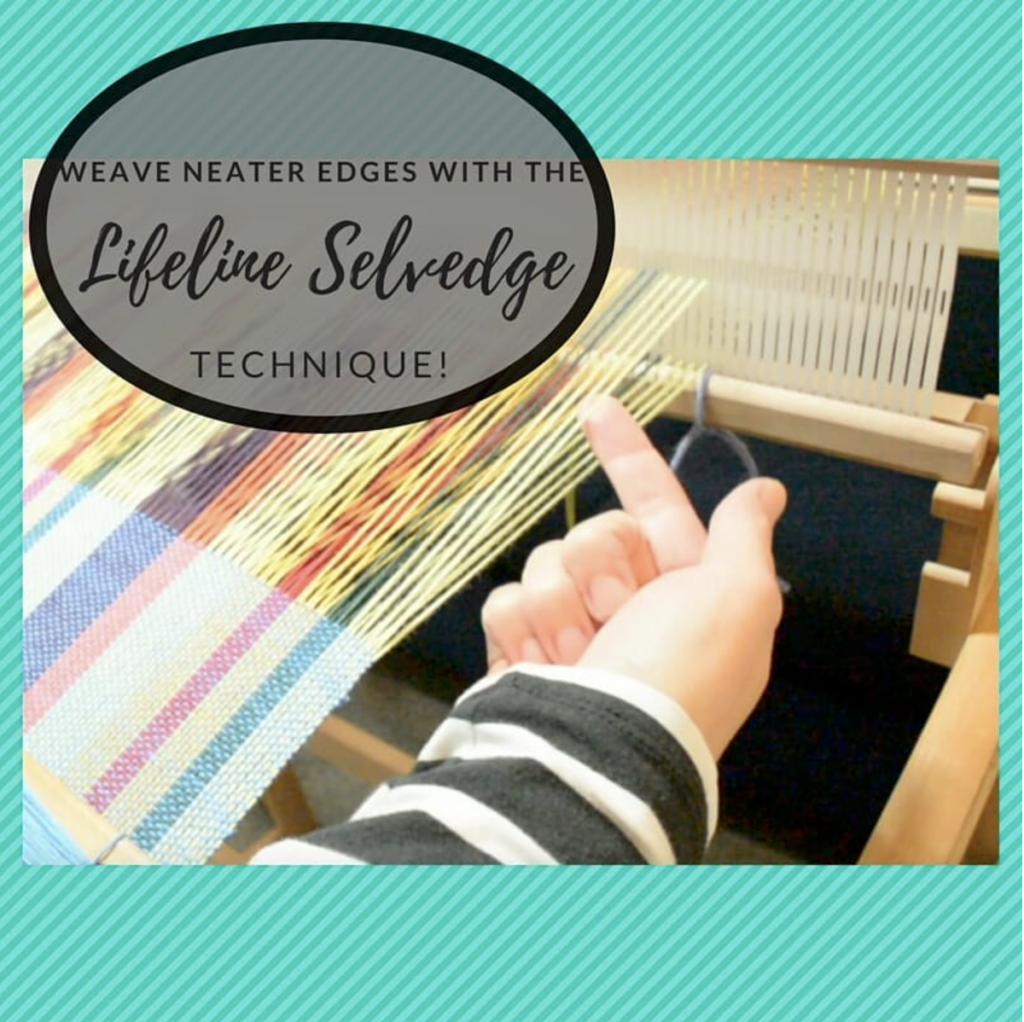
I almost forgot, I also have a new Youtube video! The topic is a very popular one – weaver neater edges. 

So yes, a very busy week indeed with lots happening.
I have two new projects in the planning stages. One will be my next Etsy pattern (speaking of Etsy – my sales passed 400 this week and continue to climb!), the other will be a new online class with a difference. You will have to wait and see what the “difference” is, I have a lot of work to do before I reveal more details!

I hope you have had a great week, rich with blessings, family, good health and of course, a good dose of weaving!


Filed Under: Floor Loom Weaving, Rigid heddle weaving Tagged With: floor loom weaving, Kelly casanova weaving lessons, rigid heddle weaving

Table loom, rigid heddle loom, floor loom?

by Kelly Leave a Comment

It is so hard to choose a loom when you are brand new to weaving! Without a doubt, the “which loom?” question is the one I get the most. And while I can’t tell you which loom is the perfect one for your individual circumstances, I can tell you a little about different types and their advantages/disadvantages.


Lets start with the humble hero that I recommend most often for absolute beginners:

THE RIGID HEDDLE LOOM

The little champion of the weaving world! That is how I think of this humble loom anyway. I believe it’s thanks to this loom we have seen such an enthusiastic resurgence in weaving. You can view the rigid heddle looms I own (affiliate links):
Ashford 24″
Ashford Sampleit 10″


They come in a variety of sizes, are lightweight and portable, are much more affordable than table or floor looms, are customisable by adding a stand and extra heddles, plus they are simple enough for beginners to get up and weaving quickly. The ability to direct warp means you don’t need a warping board to get started. Threading is straight forward and easy. There is very little yarn wastage. You can adapt the loom to weave tapestries.You can even weave 8 shaft patterns on this loom (I’ve seen it done, but I don’t intend to do it myself – waaay too much work for me!)


That all sounds great right? Surely there must be some drawbacks to this loom? 
Well, there are limitations to the rigid heddle loom. The tension, for example, is not like a floor or table loom. Weaving is slower, as you need to put your shuttle down after each pick in order to beat. I mentioned that you can weave up to 8 shafts, but it would take a lot of patience and mucking around that would have me personally reaching for my floor loom in a jiffy (though I realise that not everyone has that luxury!) 
I don’t really think of these things as negatives, the rigid heddle loom has too much going for it to warrant any real criticism. What I have listed above are more differences as opposed to negatives.


Want to know more about the rigid heddle loom? You may wish to watch my free Rigid Heddle Loom/Table Loom Comparison video. I also have a huge range of videos for rigid heddle weavers or those interested in starting out on my Youtube channel, so be sure to watch, like and subscribe to ensure you don’t miss new videos.


I also have a big range of rigid heddle weaving classes available on my Online Weaving School, I recommend you taking a look!


I hope this article has been helpful to you, next time I will discuss table looms!

Filed Under: Rigid heddle weaving, Weaving Tagged With: rigid heddle loom, rigid heddle weaving

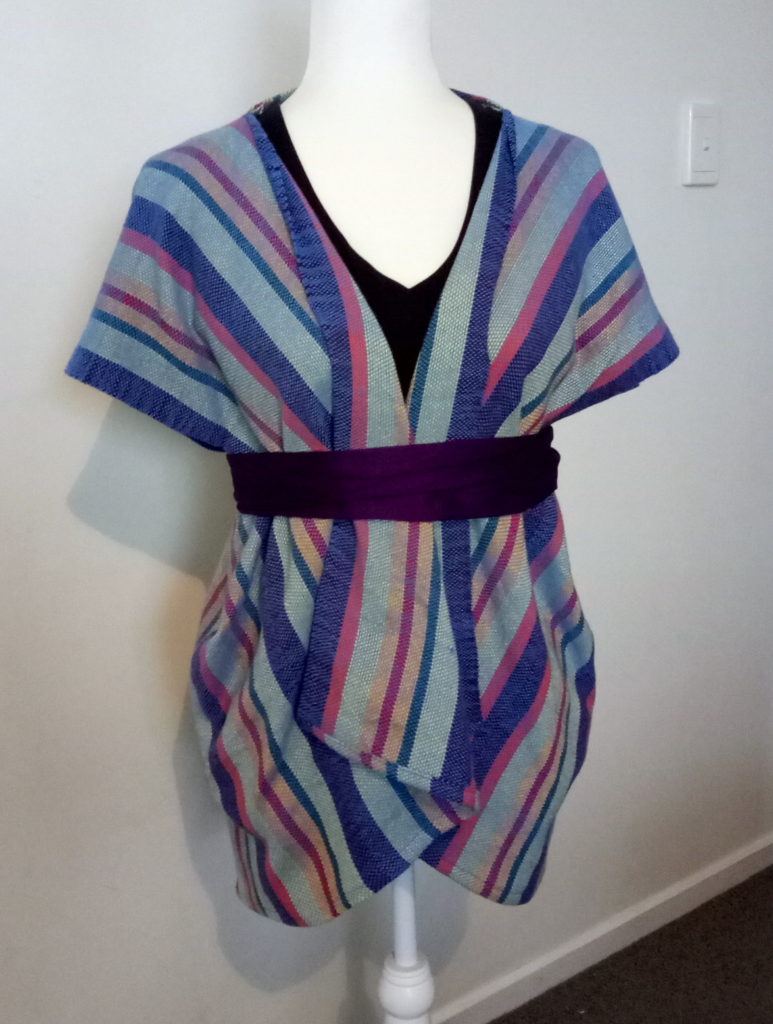
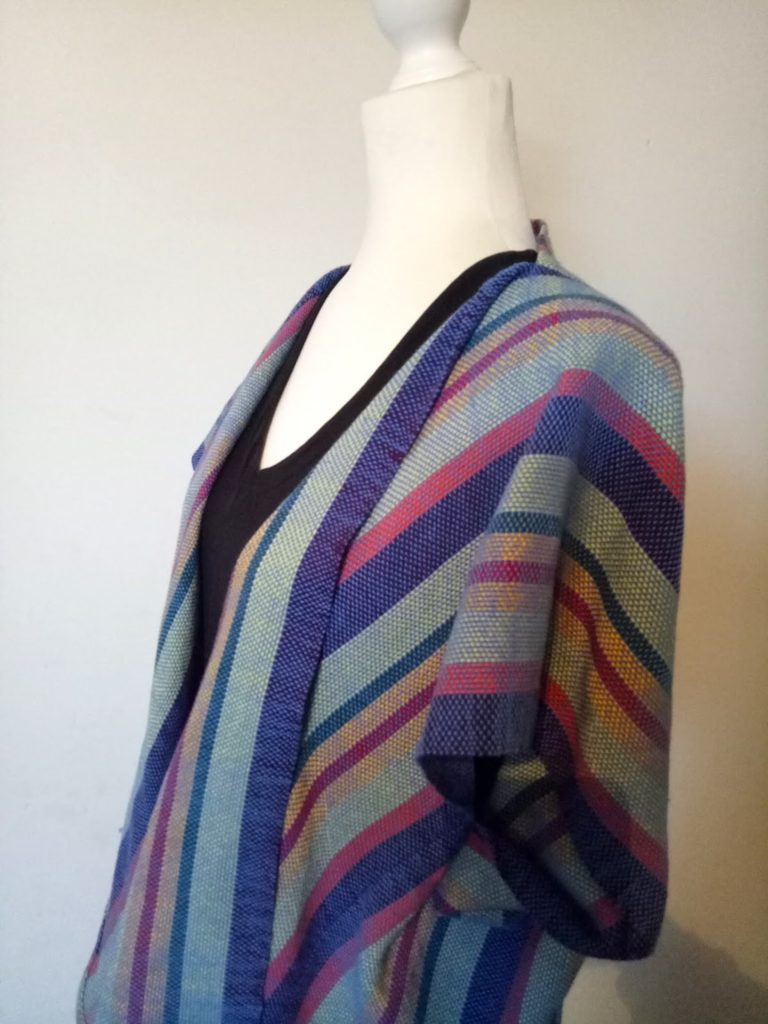
Hug Me Cardigan – new pattern!

by Kelly Leave a Comment

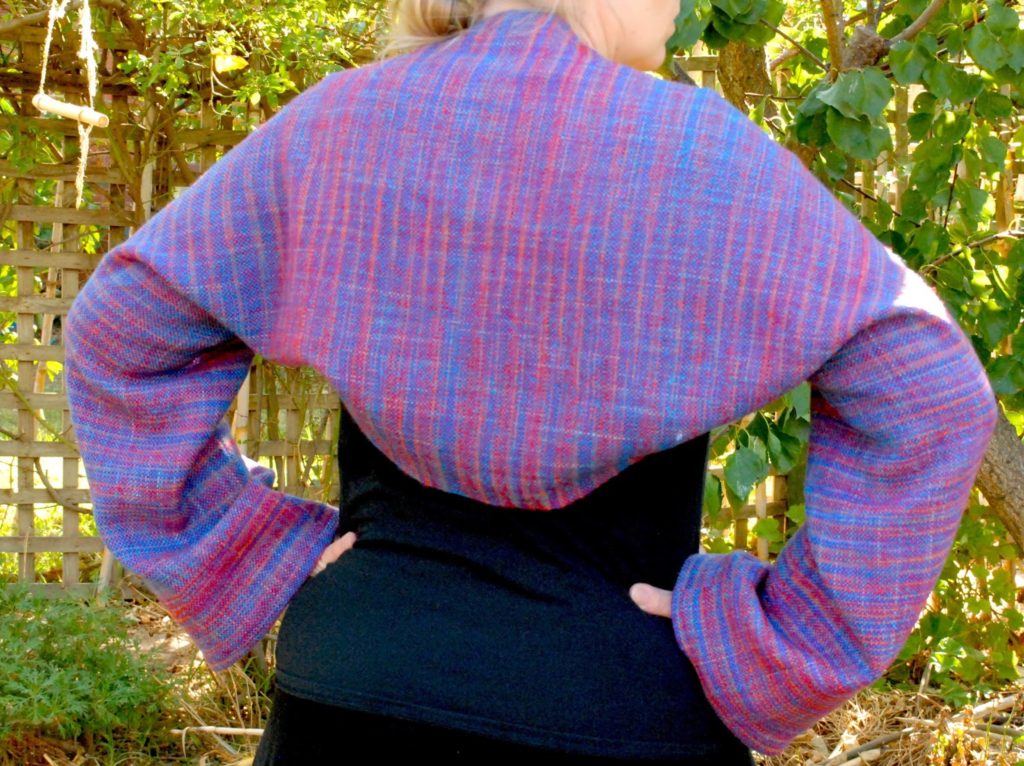
My new pattern is inspired by the classic “hug me tight” shrugs I used to see some of my elderly clients knitting for their loved ones when I worked in nursing homes.

This cardigan was designed to be a simple but beautiful garment – perfect for those who are just starting out sewing with their weaving. It is also a “no cut” pattern for those who may be nervous about cutting their cloth for the first time. 

I love the way my hand dyed yarn turned out – quite different to what I expected but very much in the style I love. 


Woven with wool and designed to be a light fabric, it is a perfect garment for transitional weather because it’s warm without being too warm.

Check out my Etsy shop to find out more about the pattern.

Happy Weaving!

Filed Under: Rigid heddle weaving Tagged With: Etsy, hand woven, rigid heddle weaving, woven garment

Spring Table Runner Free Rigid Heddle Project!

by Kelly Leave a Comment

Winter is fast approaching us here in Australia, but for those in the Northern Hemisphere, you are looking forward to the mildness and beauty of Spring. It’s a wonderful time to be freshening up household linens and table decor with new hand wovens!
 
*This post contains affiliate links
 
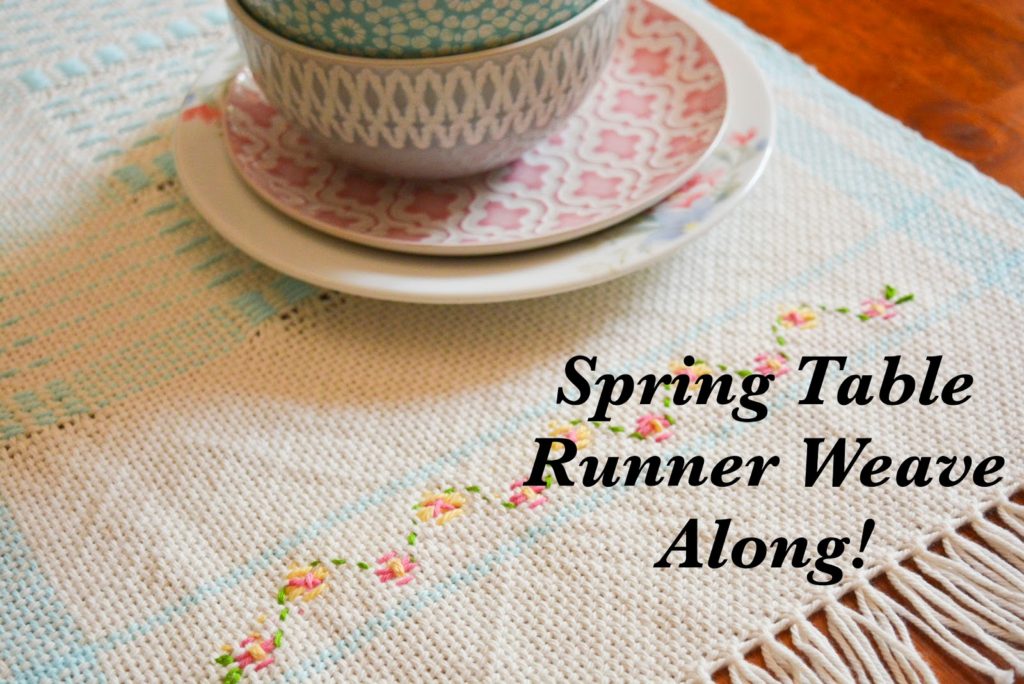
The Spring Table Runner project was initially run as a weave along, but can of course be undertaken at any time. I chose light and pastel colours to give that spring feel and also embroidered a delicate spray of flowers on either end of the runner to really make it feel like Spring.

 
The table runner is woven with lovely thick and soft cotton for easy care. The design is worked by using colour in the warp and weft, plus some simple pick up for additional interest.
 
You can download the free, printable PDF for the Spring Table Runner right here-  
Spring-Table-RunnerPDFDownload

What you will need to complete this project:

*A rigid heddle loom, 20″ or wider

*A 7.5 dent reed/heddle

* 2 x stick shuttles, at least as long as the width of your project

*A pick up stick, longer than the width of your project

*A double ended reed and heddle hook or a separate threading hook and reed hook

I know that many of you do not have access to the same yarns that I do. Let’s have a look at some suitable yarns you could use to complete this project:

For the 10 ply/ worsted/aran weight:

Bendigo Woollen Mills Cotton 10 ply

Lily Sugar n Cream cotton

Lion Brand 24/7 Cotton

Knit Picks Dishie Worsted cotton

Hobby Lobby I Love This Cotton

For the 8 ply/ light worsted/dk weight:

Bendigo Woollen Mills Cotton 8ply

Cestari Old Dominion 100% cotton

Maurice Brassard 8/8 cotton

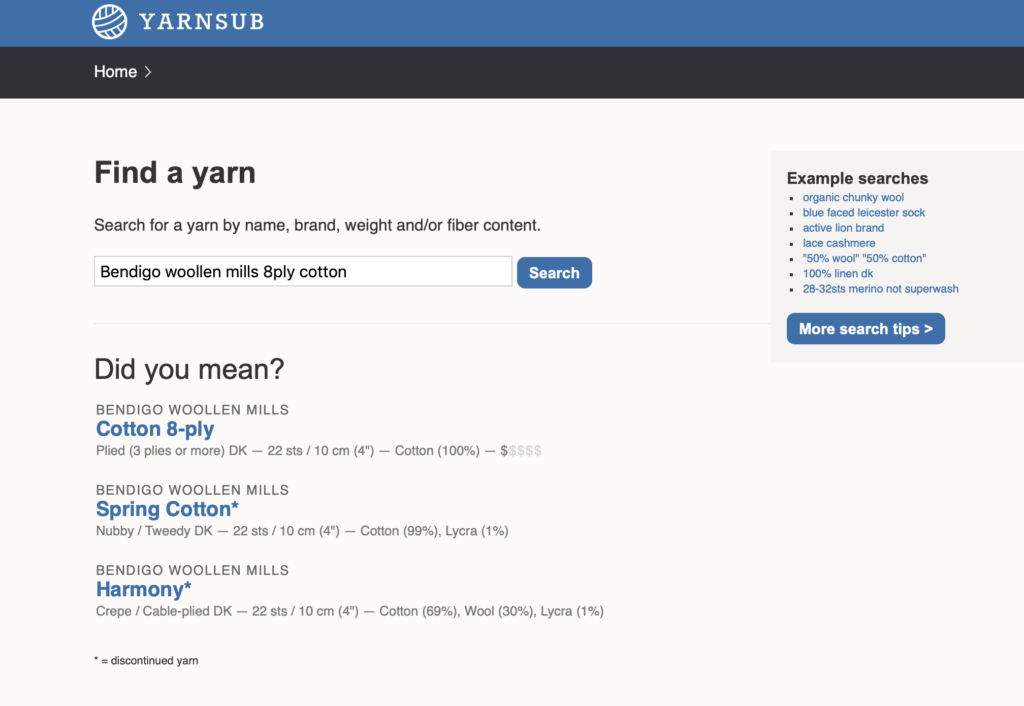
Yarnsub.com is also an excellent resource for finding a variety of yarns with similar characteristics to what I used. It is a simple site to use, but if you’re unsure, here is an example:

On the homepage, enter into the search box the yarn than you wish to substitute. Here I’ve entered “Bendigo Woollen Mills 8ply cotton”.

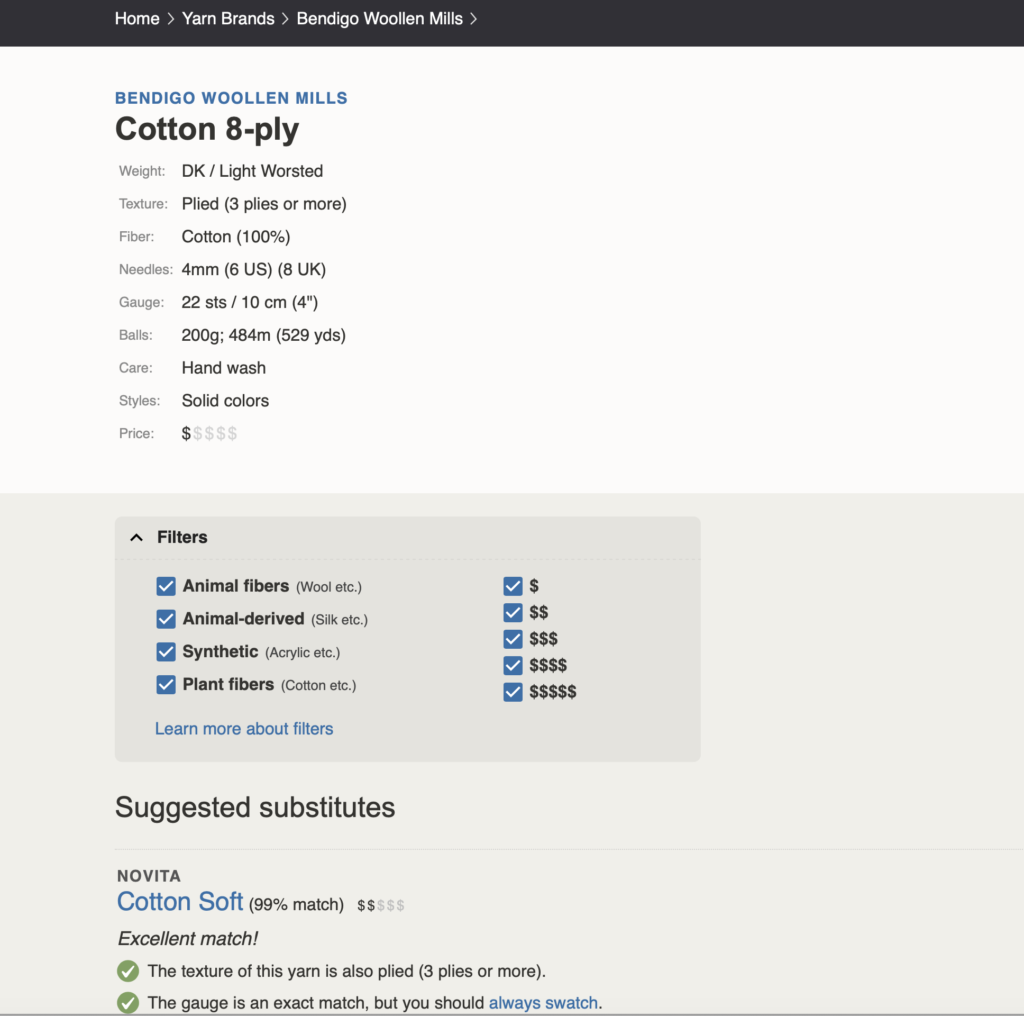
Hit “enter” on your keyboard or click on the little spy glass. Choose the correct yarn from the list below. In this case, I will click the top yarn.

When you see this page, start scrolling down for all of the listed possible matches or near matches. This particular search gave 50 results!! You will see after each suggested yarn there is a percentage match – that will tell you how well the suggested substitute matches your original search. It’s brilliant!

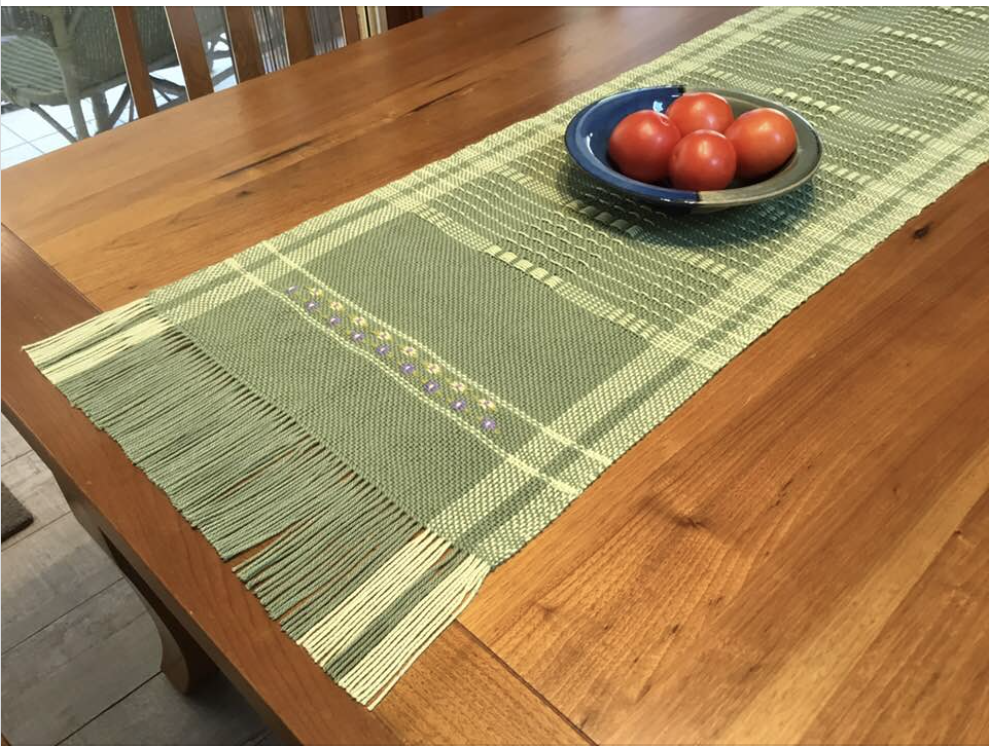
You can of course substitute colours depending on availability and individual tastes. One of my favourite runners that I’ve seen is this one, woven by Juliet.

A very different colour scheme is used here, but still feels very Spring like and is absolutely beautiful!

The entire playlist of videos for the class can be found here-

The video series plus PDF can also be viewed at my Online Weaving School, if you prefer.

I really hope that this Spring Table Runner brings a little freshness to your table and joy into your home!

If you have any questions or comments, please leave them under this post, I would love to hear from you.

Until next time…

Happy Weaving!

Filed Under: Free Pattern, Free tutorial, Health and home, Inspiration, Rigid heddle weaving, Tutorials, Weaving Tagged With: Kelly casanova weaving lessons, rigid heddle weaving, rigid heddle weaving tutorial, spring table runner

Get Started With Krokbragd Weaving

by Kelly 11 Comments

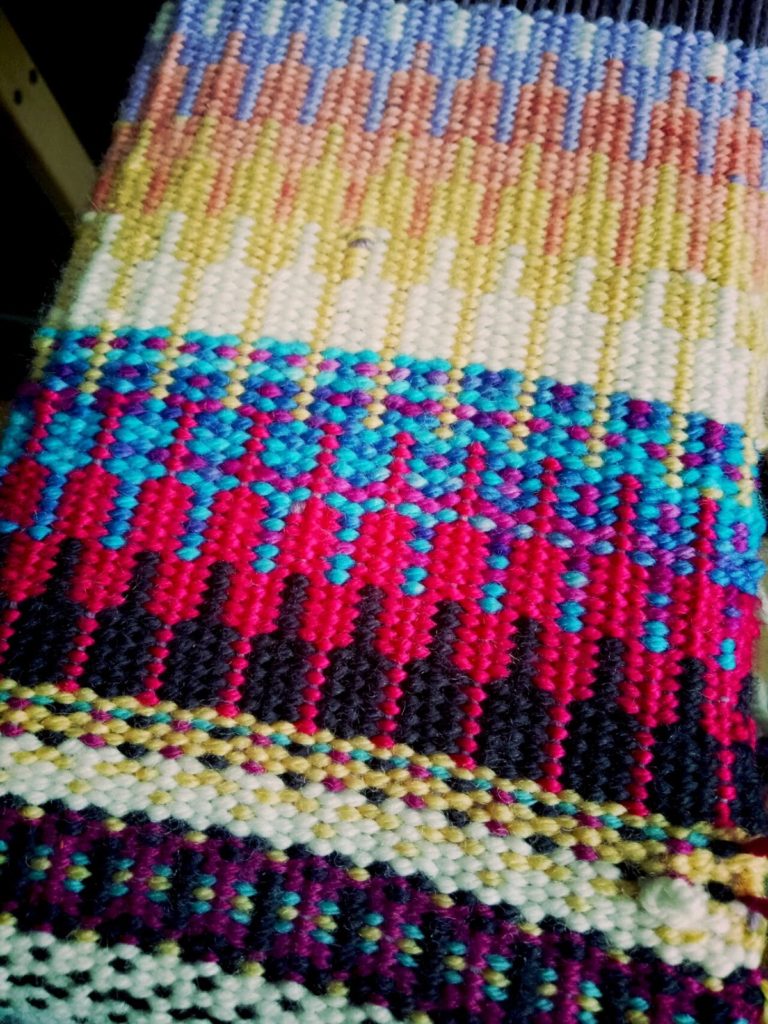
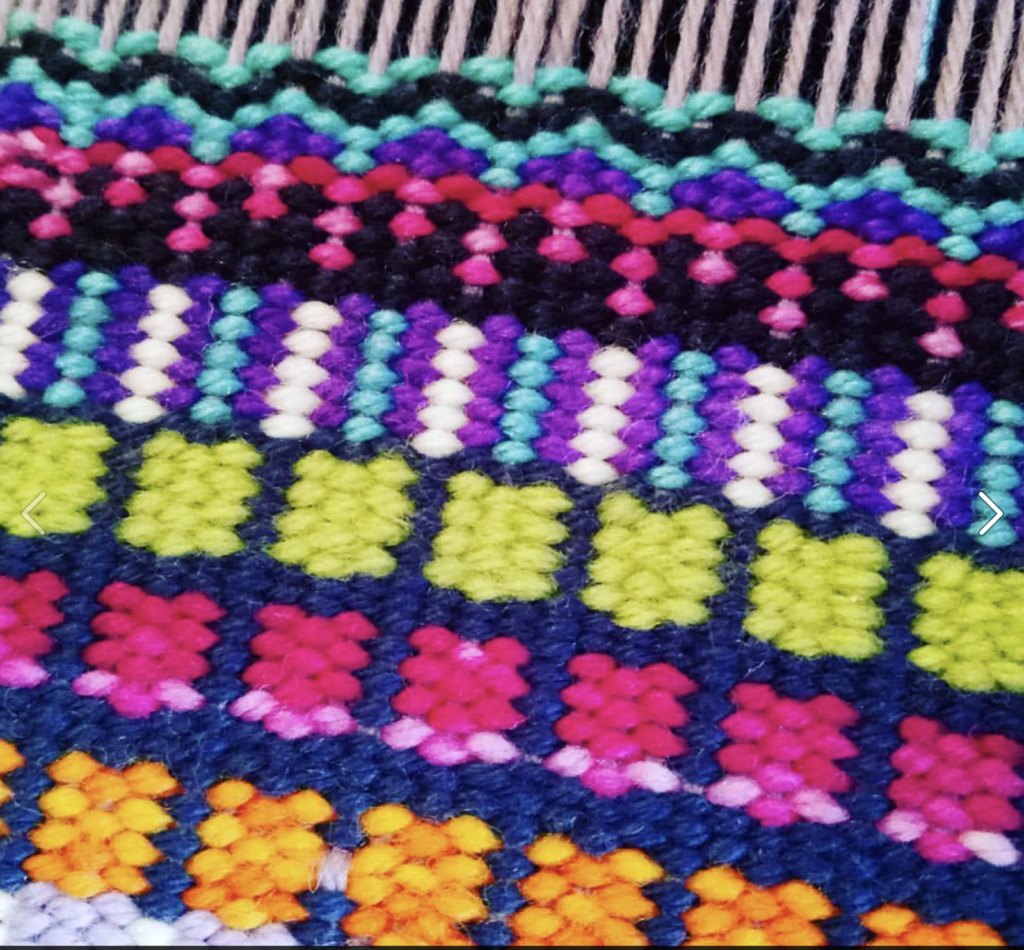
Krokbragd weaving has captivated my heart and mind ever since I first laid eyes on it. With bold patterns, vibrant colourwork, and centuries of Scandinavian heritage, this weave structure is as beautiful as it is addictive.

Today I want to help you to get started with krokbragd weaving!

What is Krokbragd Weaving?

So, what exactly is krokbragd? How do you pronounce it? And how can you start weaving krokbragd yourself—even on a rigid heddle loom?

Let’s explore the magic of krokbragd together!


 How Do You Pronounce “Krokbragd”?

There are a few different ways people say “krokbragd”—and all of them are close enough! Krokbragd translates roughly to “crooked path”.
Common pronunciations include:

  • “croak-brod”

  • “croak-brog”

  • “crok-brag”

The name comes from Norwegian, and while exact pronunciation may vary, we can all agree that this is a truly captivating weave structure.

 What is Krokbragd Weaving?

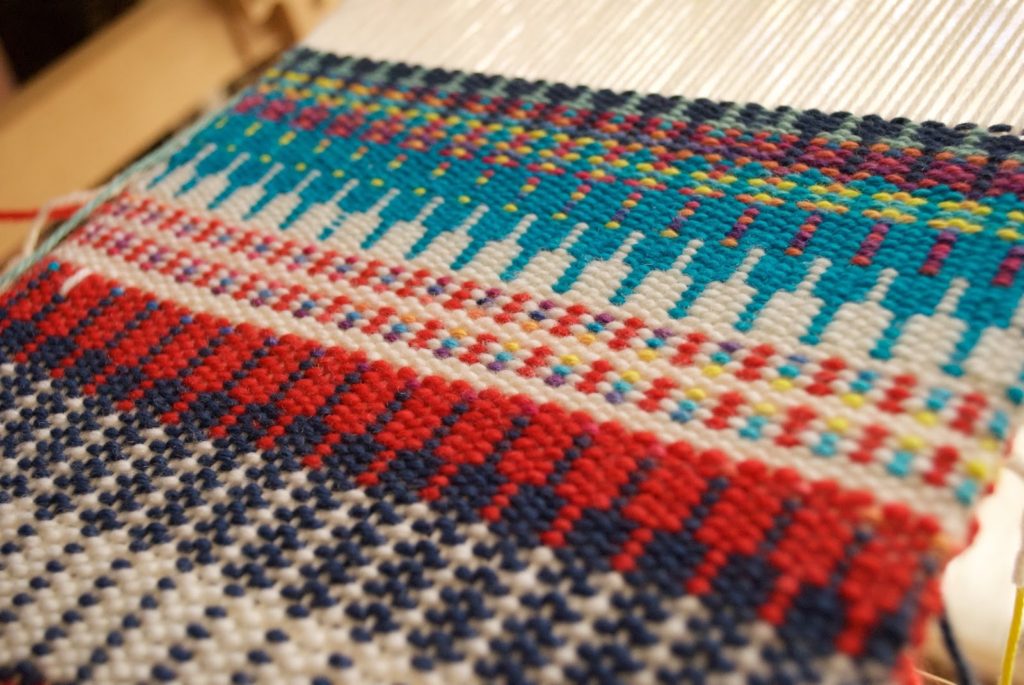
Krokbragd is a traditional Scandinavian weave structure, often associated with Norway. It’s a type of weft-faced twill, meaning the weft yarns cover most of the warp, resulting in a dense, colourful fabric.

It’s usually woven on three shafts, which makes it ideal for creating bold geometric patterns and artistic motifs. It can also be woven on more shafts to increase patterning possibilities. Debby Greenlaw gives some beautiful examples in her Krokbragd Weaving book.

Although typically done on a shaft loom, you can absolutely weave krokbragd on a rigid heddle loom—with a few clever adaptations.

What Makes Krokbragd Special?

  • Three-pick sequence: The weaving sequence is simple and consistent—just three picks (rows), repeated throughout. The magic comes from changing weft colours to create the pattern.

  • Dense and durable: Because it’s packed down tightly, krokbragd creates a thick, heavy cloth—perfect for rugs, bags, cushions, or wall hangings.

  • Rich tradition: Historically, krokbragd was used in travel cushions, bed coverings, and door tapestries to provide warmth and decoration in Scandinavian homes.

  • Creative potential: Once you understand the basics, you’ll find krokbragd to be incredibly versatile. The pattern possibilities are truly endless!

Can I Weave Krokbragd on a Rigid Heddle Loom?

Yes, absolutely! While krokbragd is traditionally a 3-shaft structure, there are several ways to adapt it to a rigid heddle loom. Many weavers use:

  • A pickup stick method (a pick up stick + heddle rod is most common)

  • Two heddle setups

If you’re just getting started, I recommend trying the pickup stick and heddle rod method—it’s accessible and doesn’t require extra equipment. It’s also fairly simple to learn because you thread your rigid heddle loom for plain weave, then do some simple pick up.

Can I Weave Krokbragd on an Inkle Loom?

You sure can! Weaving krokbragd on an inkle loom is slightly different because inkle looms produce WARP faced bands. Usually krokbragd is WEFT faced. Therefore, we turn the draft (known as “turned krokbragd”) to use it in inkle weaving.

You can learn all about this wonderful method and weave some stunning bands in the Krokbragd on an Inkle Loom Online Course.

Free Krokbragd Tutorials for Rigid Heddle Loom

If you’re as fascinated by this weave structure as I am, check out my free krokbragd tutorials on YouTube. These beginner-friendly videos walk you through the basics and beyond:

👉 Watch the Free Krokbragd Video Series

One of my favourite projects is weaving tulips in krokbragd—a joyful way to combine structure with artistic expression!

Want to Learn Krokbragd Step-by-Step?

I’ve created a detailed, step-by-step course for weavers who want to master krokbragd on a rigid heddle loom. 
🧵 Krokbragd 101: Learn to Weave Krokbragd with Confidence

Whether you’re brand new to pattern weaving or ready to deepen your skills, this course will guide you from setup to finishing. It also includes my “secret sauce” of yarn combinations for what I consider krokbragd perfection!

*This post contains affiliate links. For further information, please see my disclosure policy.

Helpful Krokbragd Resources

Here are some of my favourite books, classes, and guides to help you explore krokbragd weaving further:

  •  Krokbragd: How to Design and Weave by Debby Greenlaw

  •  Krokbragd Patterns by Debby Greenlaw

  • Krokbragd 101 Online Course
  •  How to Weave Krokbragd on a Rigid Heddle Loom

You can learn all about weaving krokbragd on a rigid heddle loom by checking out my free Youtube playlist of tutorials:

Krokbragd weaving is rich with tradition and full of creative possibilities. Whether you’re drawn to its bold patterns or its cosy textures, krokbragd is a technique worth exploring and remains one of my firm favourites ❤️

If you’re ready to dive deeper, be sure to check out my tutorials and courses to get started today.

Have you tried krokbragd weaving yet? Or perhaps this article inspires you to give it a try? Let me know in the comments below ⬇️

 Until next time…
                                                                              Happy Weaving!

Filed Under: Krokbragd Tagged With: Kelly casanova weaving lessons, krokbragd, rigid heddle weaving, rigid heddle weaving tutorial

New Year, new pattern!

by Kelly 2 Comments

Happy New Year to you all! What an exciting time to be alive 🙂
Although I spent New Year’s Eve in bed with a stomach upset, today I feel well and reinvigorated. 


Today I launched a new Etsy pattern and thought I would share some details of the process for you.

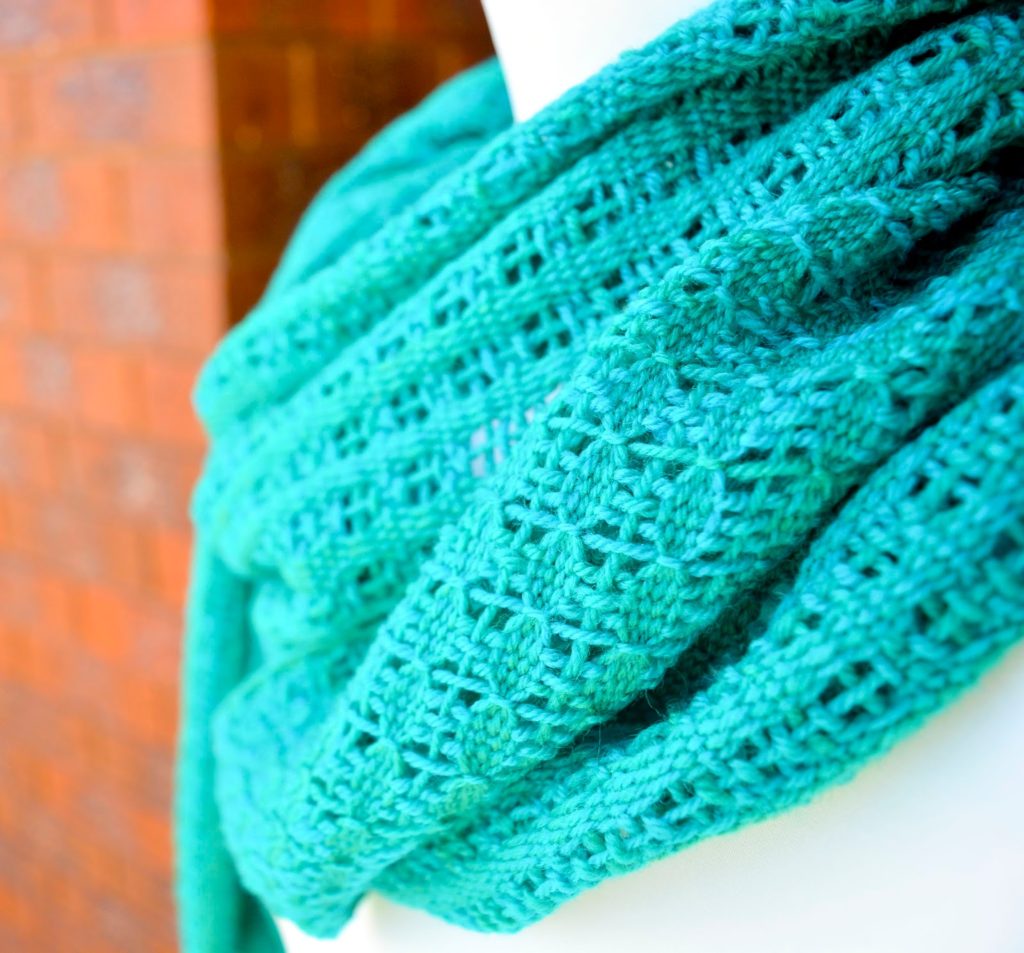
I started out with some gorgeous Australian Merino from Bendigo Woollen Mills and dyed it with Landscape dyes. I had a vision of the colour I wanted and it was almost spot on. It’s a very hard colour to photograph though, it’s not as dark as it appears here. I planned on having the colours split in the dye pot to give a subtle variation in colour and it worked out beautifully.

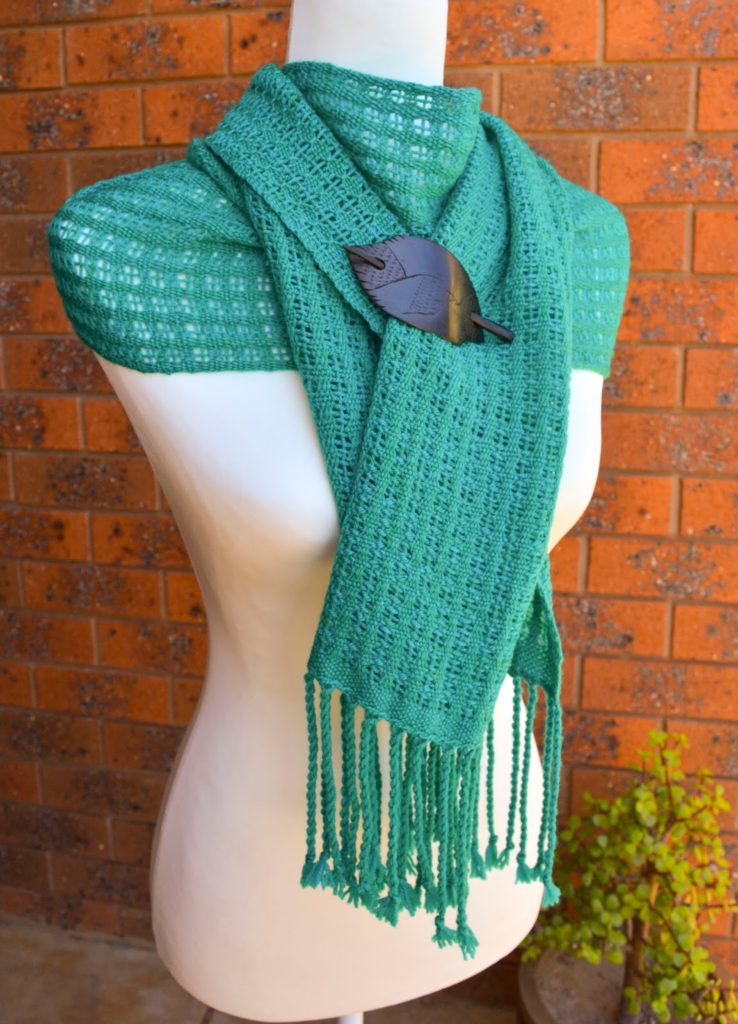
I absolutely love lace knitting and wanted to create something similar on the loom. A scarf that was light and airy with a pretty pattern and warmth and softness for wearing. 

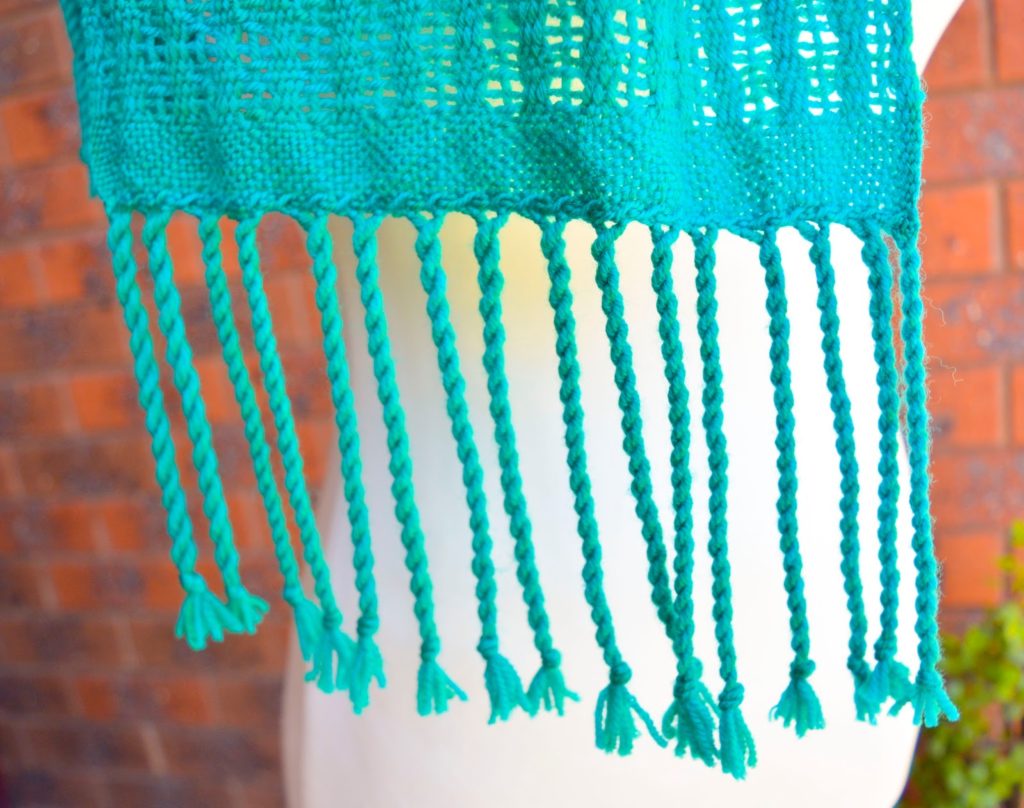
I wanted all the finished details to tie in well with the design of the scarf, so the hemstitching was pulled extra tight to create space and the fringe was twisted. (See how different the colour looks here to the first photo!)

The end result is so beautiful! I was admiring myself wearing it in the mirror until my daughter came along and asked to try it. Well, it looks sensational on her, just the perfect colour, so she may get to keep it.

The PDF pattern for the scarf is now available in my Etsy shop, ready for you to download and start weaving! 


Filed Under: Uncategorized Tagged With: Etsy, Kelly casanova weaving lessons, rigid heddle weaving

CONGRATULATIONS!

by Kelly 1 Comment

I hope you all had a wonderful Christmas! I had a beautiful, quiet and relaxing day with my family.


Thank you to all who entered the giveaway, there were just over 1000 entries and if I could, I would give each and every one of you a prize, but then that would place me in bankruptcy, so I’m obligated to stick with just one winner!


A big congratulations to Christine Rose, who won the Ashford Rigid Heddle loom and a one year subscription to my Online Weaving School. I’ve been in touch with Christine and she is just thrilled to be the winner. 


Playing Santa Claus was fun, I hope I can do it again sometime!

Filed Under: Uncategorized Tagged With: giveaway, Kelly casanova weaving lessons, rigid heddle weaving

  • « Go to Previous Page
  • Page 1
  • Interim pages omitted …
  • Page 7
  • Page 8
  • Page 9
  • Page 10
  • Page 11
  • Page 12
  • Go to Next Page »

Primary Sidebar

About Kelly Casanova

Join Kindred Creatives!

Hand crafted boat shuttles

Categories

Archives

Meta

  • Log in
  • Entries feed
  • Comments feed
  • WordPress.org

Copyright © 2026 Kelly Casanova Weaving Lessons on the Foodie Pro Theme