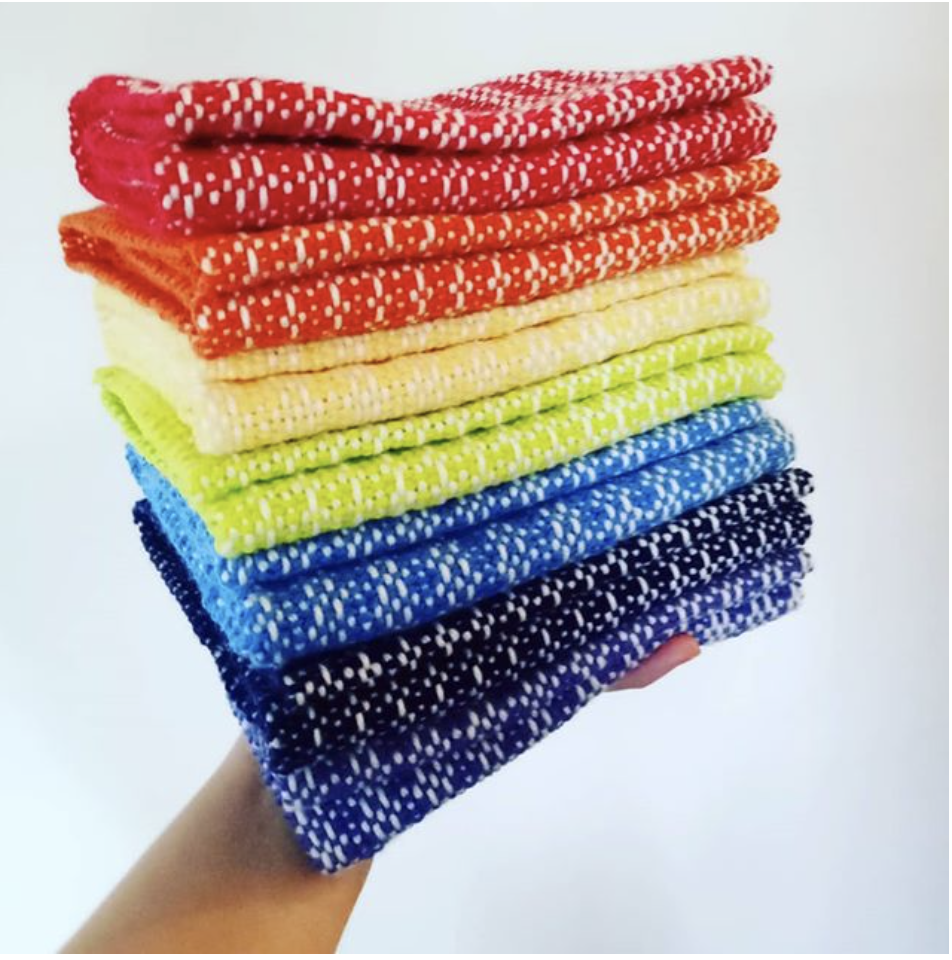
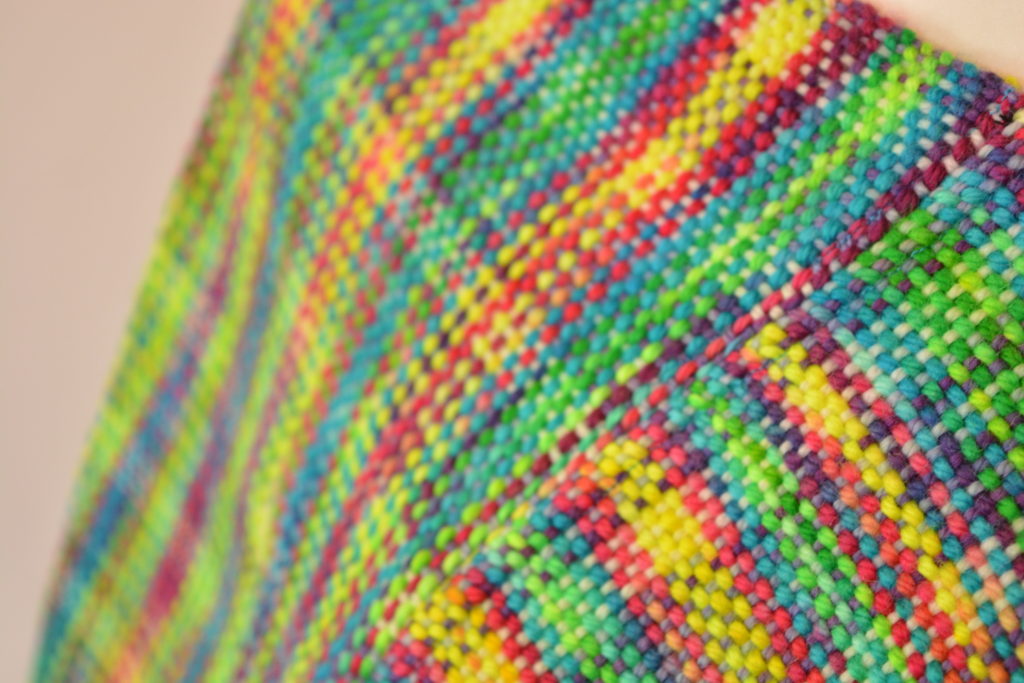
For newer weavers, yarn choice has to be one of the biggest conundrums. We are totally spoilt for choice when it comes to variety of yarns available these days, but there are some important aspects to consider before you start shopping.

I often recommend that newer weavers start out by using knitting yarns. There are a couple of reasons for this.
- Knitting yarn is readily available.
- It is usually economical.
- Many new weavers have a knitting background and therefore will often have a healthy stash of yarn!
- Knitting yarn often has a nice amount of elasticity and are therefore quite forgiving to work with.
- And finally, it’s usually thicker than weaving yarn, so for first projects it is an excellent choice – it will make your warping and weaving faster and easier.
*This post contains affiliate links. For more information, please see my disclosure policy.
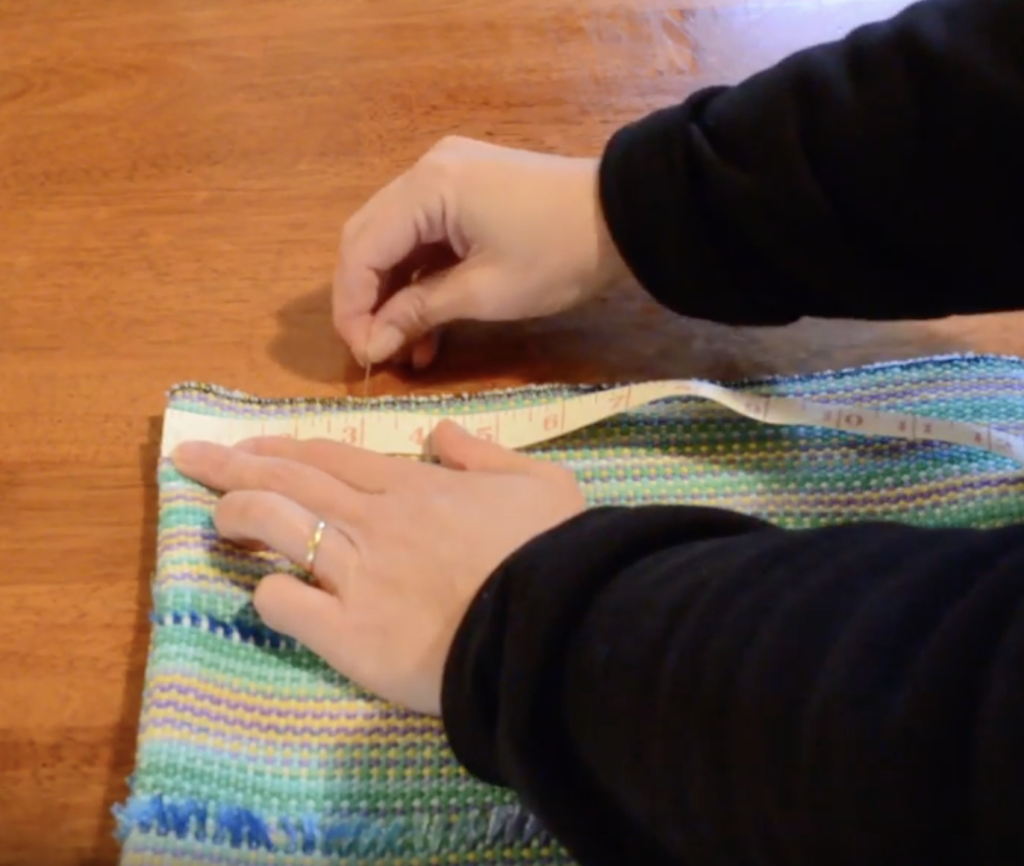
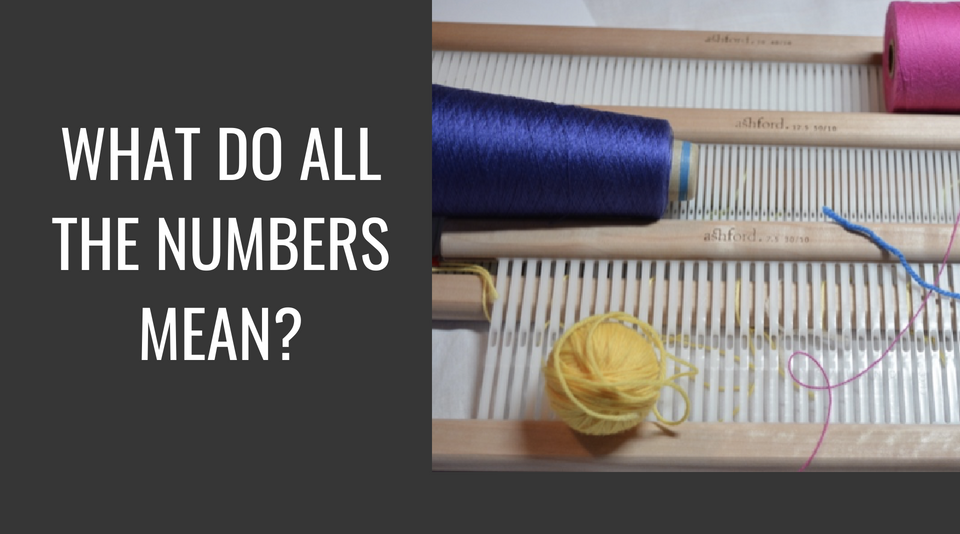
When you purchase a weaving specific yarn online or in a shop, the recommended sett for that yarn will often be provided. Not so with knitting yarns, which tend to come with knitting needle or crochet hook recommendations instead. But, this is no problem to the savvy weaver who knows how to figure out the sett for her/himself! All you need is your chosen yarn and an inch ruler.
If you’re not familiar with the concept of sett in weaving, I explain it in this video:
And if you need an easy demonstration of how to figure out the sett for your chosen yarn, I recommend this video:
The demonstration in this video refers to balanced plain weave, the twill equation is a little different.
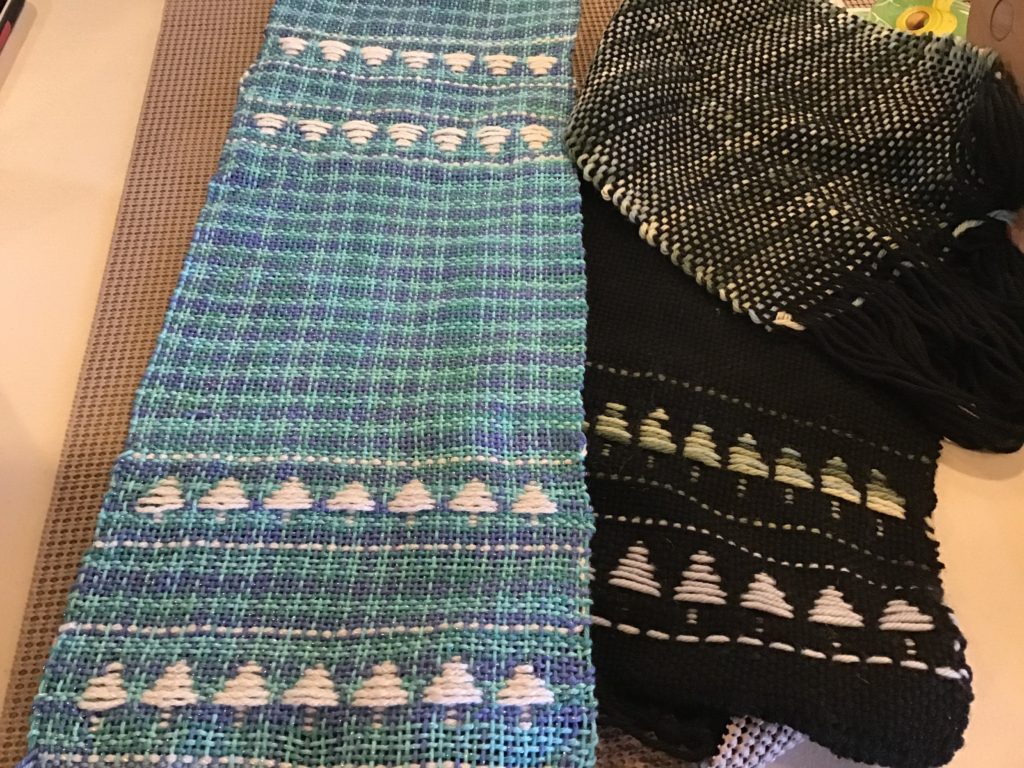
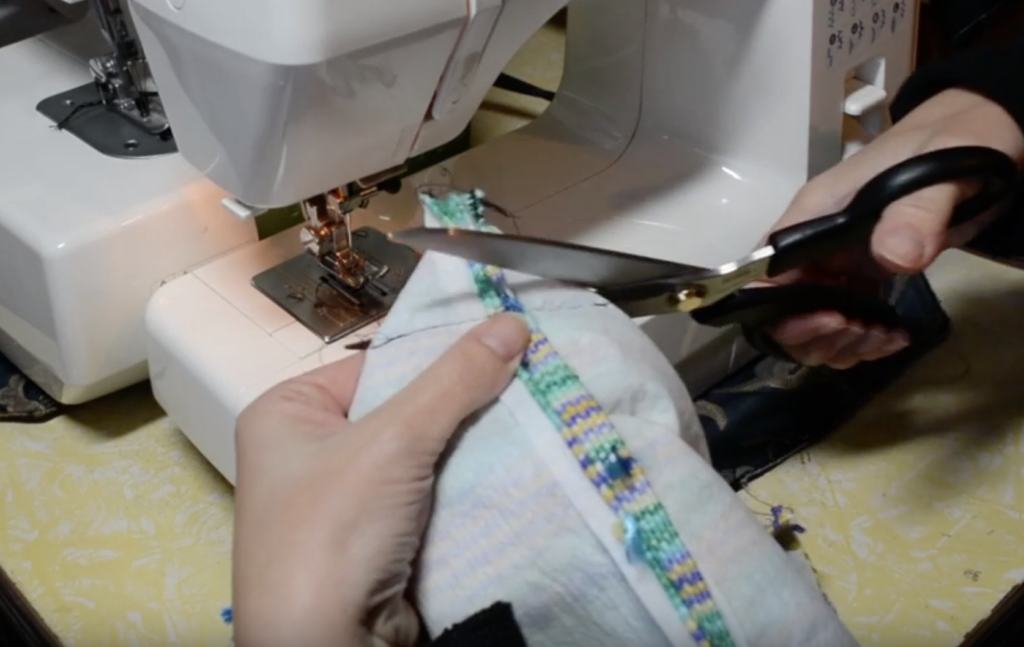
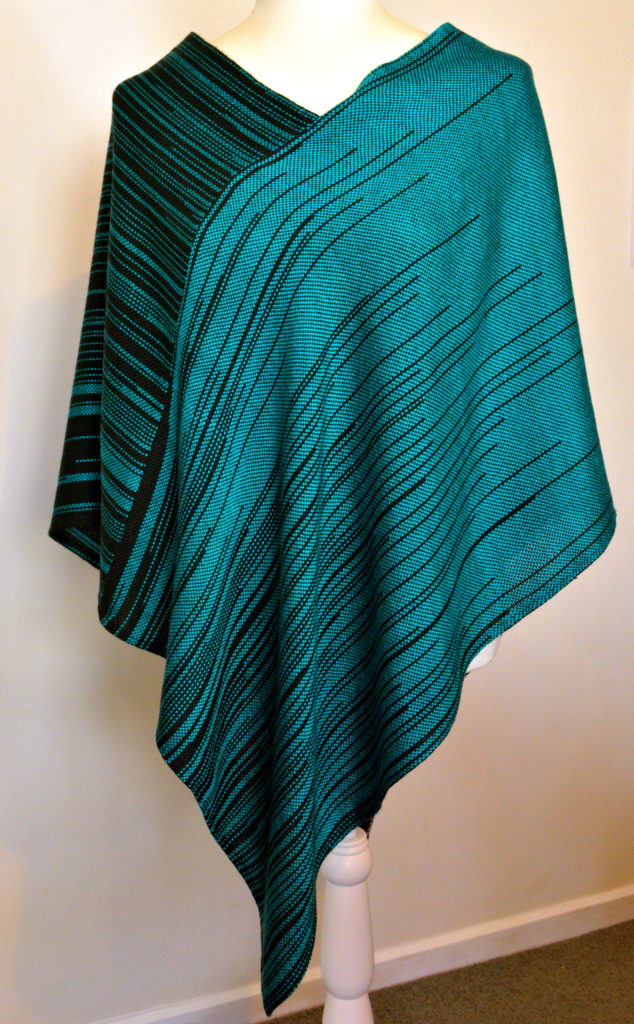
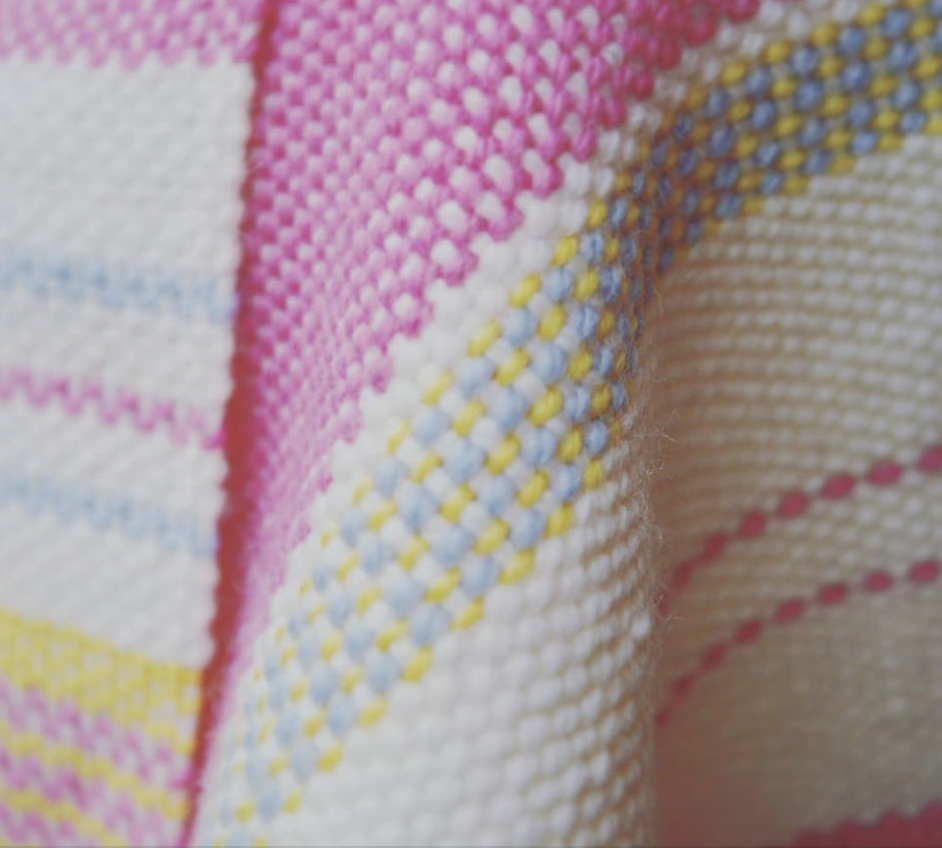
The next consideration after you have figured out the ideal sett is what you’re actually weaving. A scarf, for example may require a different approach to a table runner or placemat, even if you’re using the same yarn.
Let me give an example:
Say I have a light worsted weight (Australian 8 ply, DK) cotton that is lovely and soft. Say that I’ve done my wrap test to determine the sett and it showed me that my 7.5 heddle/reed is the best option. I go ahead with this sett because I want a soft and slightly flow-ey scarf.
I like the yarn so much that I decide to also use it for a table runner. But I want my table runner to have a firmer feel, so that it stays put on the table and is somewhat solid. Given my experience with weaving the scarf at a sett of 7.5, I decide that I’m going to use my 10 dent heddle/reed for the runner, as it will ensure that my warp and weft interlacement is closer than it was with the scarf, giving me a firmer fabric.
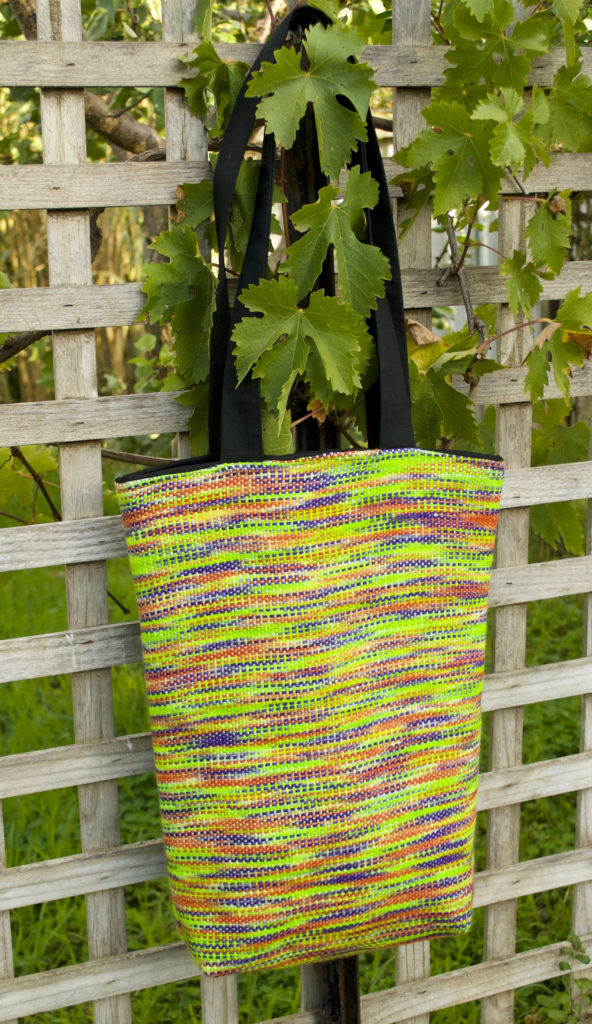
Here is a little tip when selecting a yarn for a woven piece you intend to wear eg. a scarf. Hold the yarn to your cheek and lightly rub back and forth. If the yarn feels scratchy or unpleasant to your skin, it will not be suitable to wear. If the shopkeeper and patrons are knitters, crocheters or weavers, they will understand what you’re doing. If not, you may get some odd stares!!
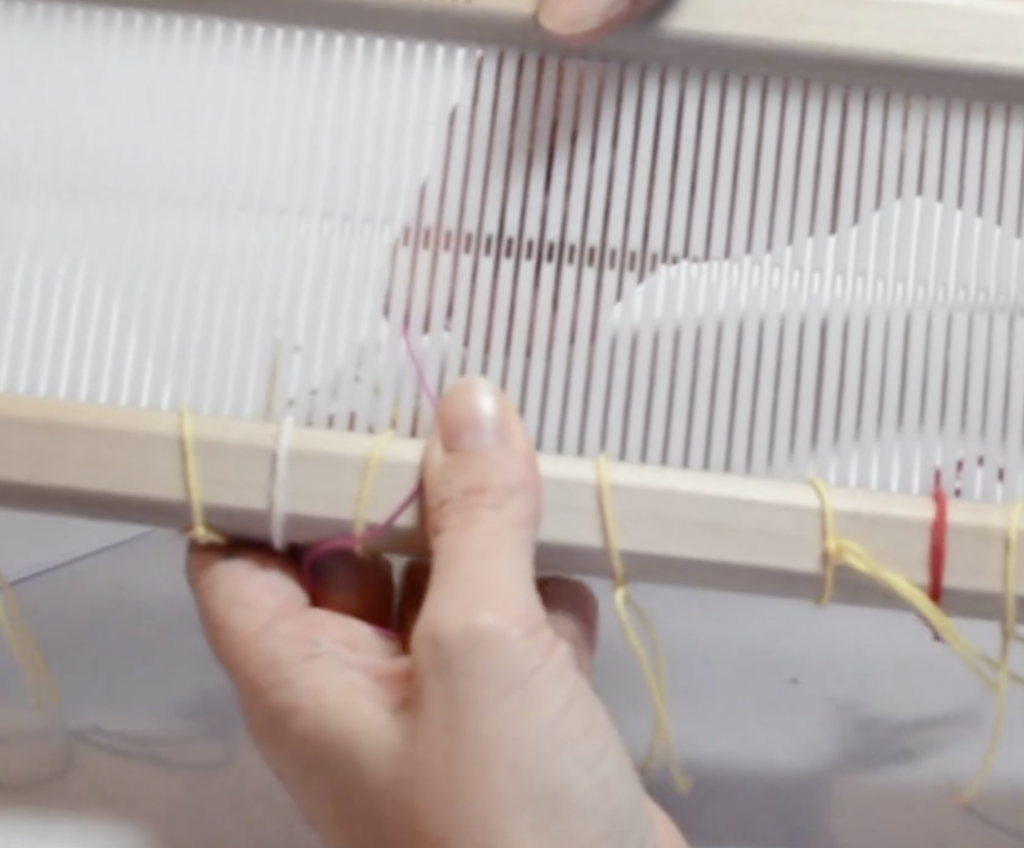
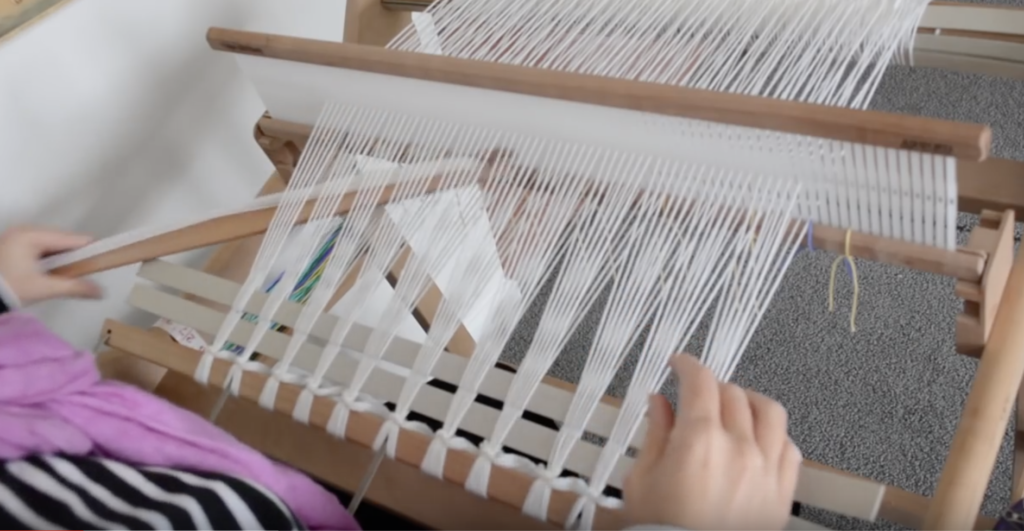
There is another, basic test you can perform if you’re unsure of yarn to heddle/reed suitability.
That is to grab your yarn and thread a single of it through a slot. If the yarn doesn’t fit through the slot, it is too thick. If it doesn’t fit, but you have to encourage it to get through, it is likely too thick. If you rub the yarn up and down in the heddle/reed and it seems a bit squashed, it is likely too thick.
Remember that your yarn has to deal with that friction for the entirety of your project, so if there is too much friction you increase the likelihood of broken warp threads and a less than comfortable weaving experience.
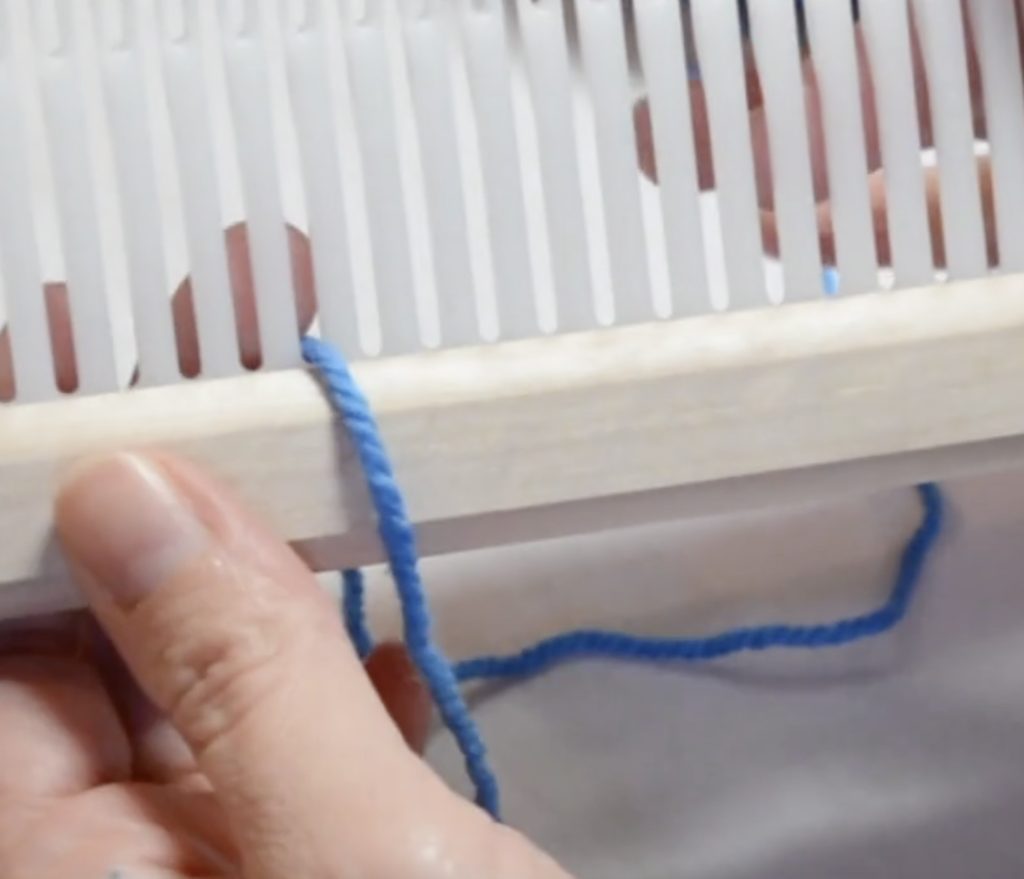
Likewise, if you thread your yarn through a slot and there is a heap of space leftover and your yarn seems very loose in the slot, it may not be the right heddle/reed for your project. Unless of course you are trying to achieve an open and airy fabric!
So, what if you don’t have a heddle/reed that is the equivalent sett for your yarn?
This can happen when using a finer yarn. The finest heddle/reed currently available for a rigid heddle loom is a 15 dent. But the recommended sett for my yarn is 30. Well, you can simply double your ends to achieve the right sett.
Then you have the choice for the weft, if using the same weight of yarn as warp, whether you double the weft as well or not. And this choice comes back once again to the purpose of the project and the type of fabric desired. Which brings me to sampling.
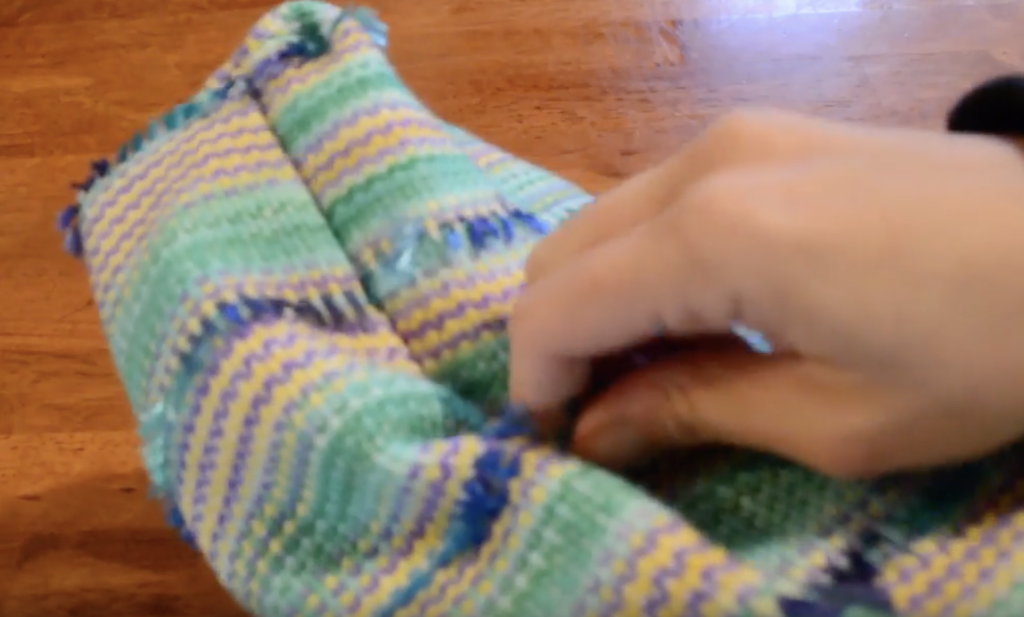
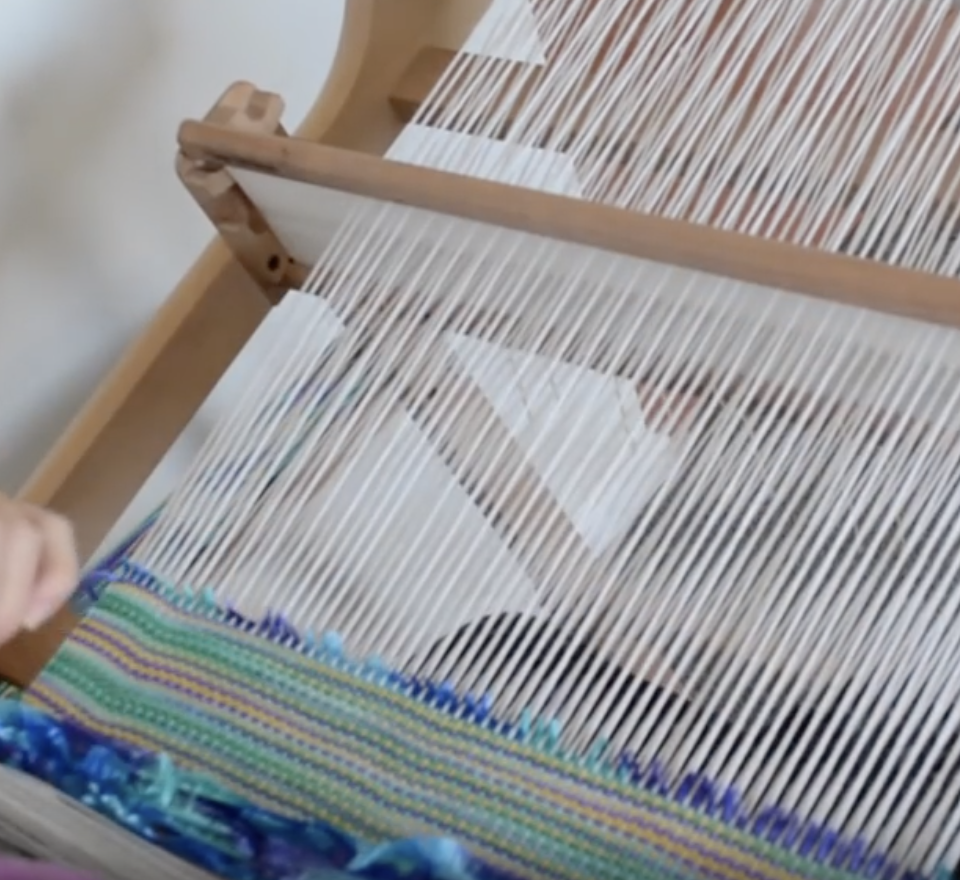
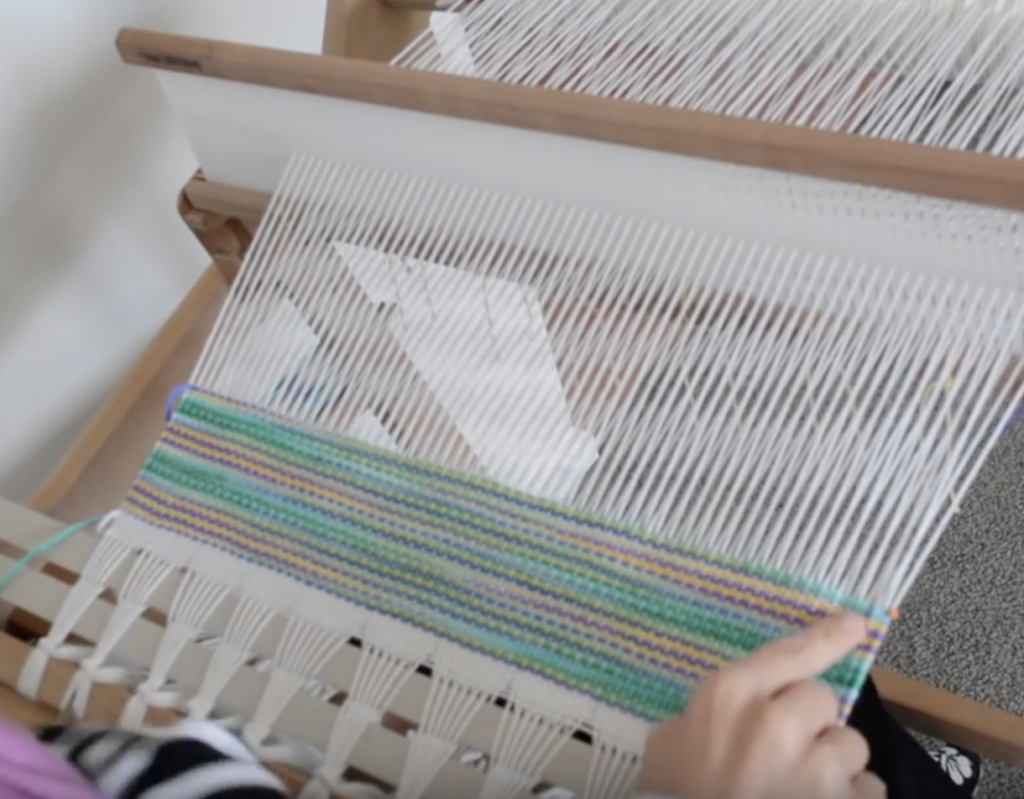
I used to think that sampling was a big waste of time. I’m not sure at what point I became a sampling convert, but it was probably somewhere in the throws of another project that did not turn out as anticipated.
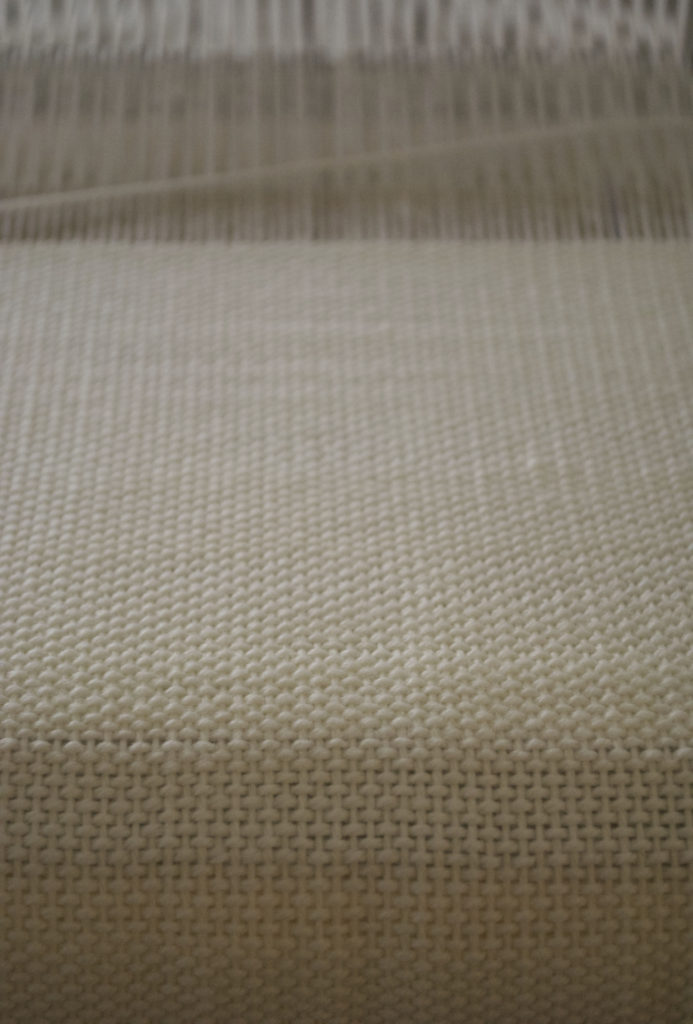
Sampling is an absolutely failsafe method to guarantee the success of your project. It allows you to try the yarn at a particular sett, in particular colours, experiment with weft density, take the project off and wet finish. So, you get a mini glimpse of what your actual project will look like. It’s a very valuable education tool!
There is a lot to cover when it comes to the topic of yarns and this post really only scratches the surface.
If you found this post interesting and want to delve further into choosing yarns and understanding all the numbers, I have an online class that could be just the ticket. This is a short and sweet class that includes PDF charts for selecting the correct heddle/reed for your project and converting yarn terms for different countries.
You can purchase the class by following this link.
I have some other yarn related resources that will be helpful too.
The Weaver’s Toolkit is an ebooklet that includes all kinds of useful charts and information that are invaluable to the weaver.
I also have an “All about Yarn” playlist on Youtube, which includes 11 free videos:
I hope this post has been helpful to you, and as always, comments and questions are welcome.
Until next time…
Happy Weaving!