I seem to be craving sweet, nutrient dense foods frequently in the afternoons.
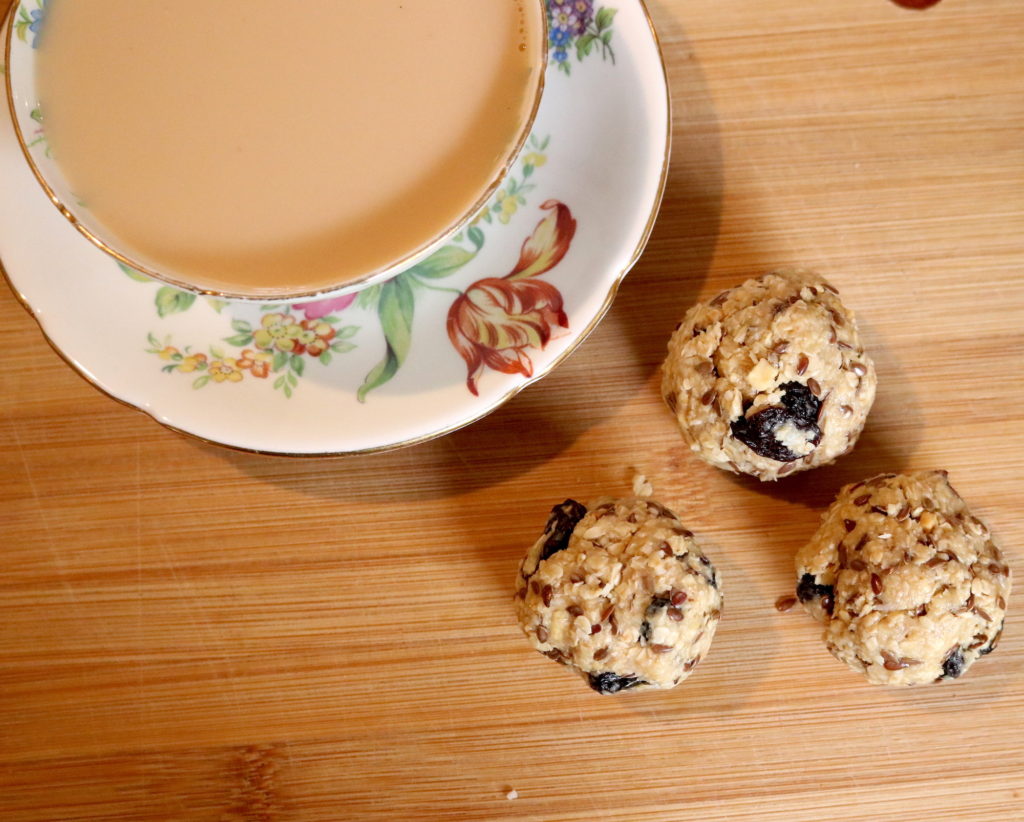
A cup of tea with something sweet around 3-4pm seems to be just what I need. I used to have a sweet, commercial cookie to dip in my tea, but that is way behind me now!
Something that I love about switching to a healthier lifestyle is that I have found I don’t have to compromise on taste or treats – I just need to find a way to make it tick some healthy boxes.
*This post contains affiliate links
And, if it’s quick and easy to prepare a batch that I can then have waiting for me in the fridge or pantry – even better!
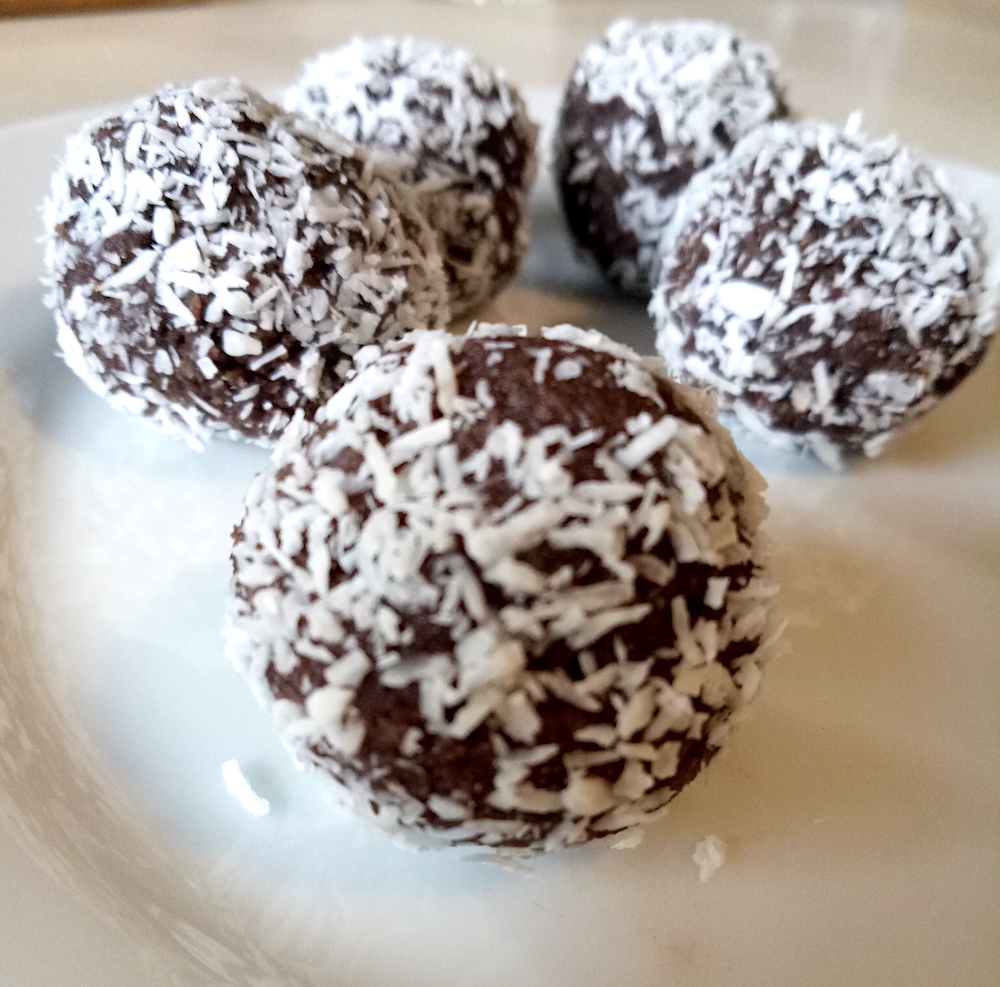
These little energy balls tick all the boxes and then some!
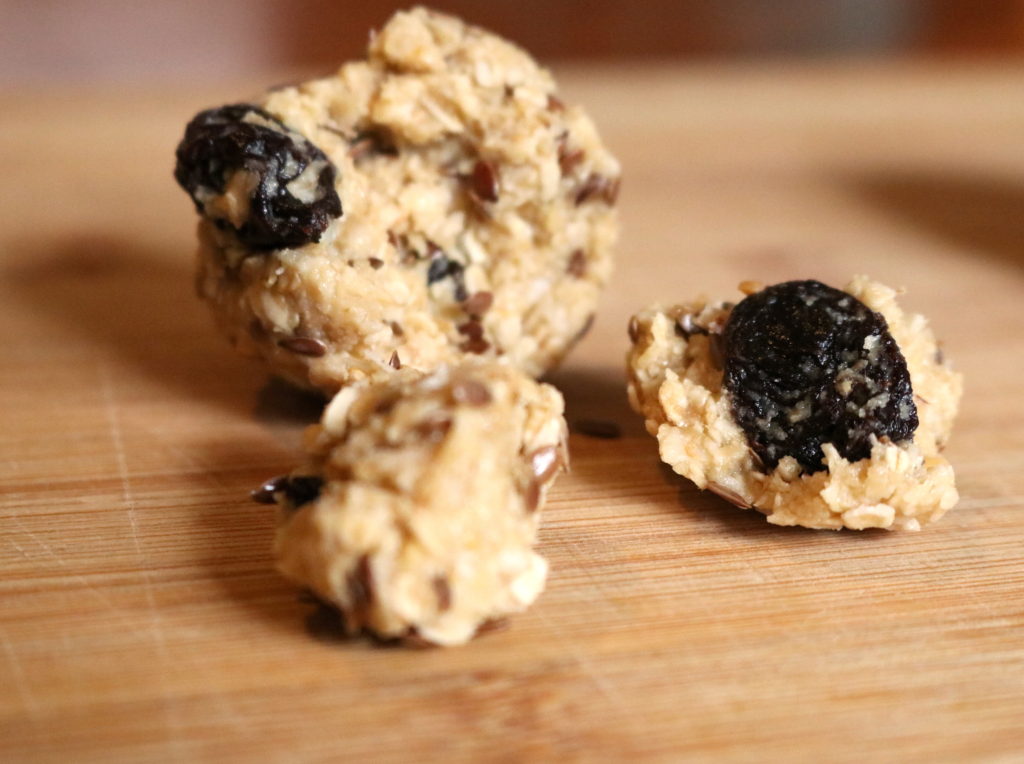
They are sweet, slightly salty, substantial, economical and so fast to make.
To throw these together, I only used ingredients that were already in my pantry and that are always there.
The goodness and simplicity of oats, combined with favourites such as honey and peanut butter, (I can not get enough of the stuff!) coconut, linseeds (flaxseeds) , plump raisins, tahini and vanilla extract. So simple, so delicious!
A recipe like this is so adaptable too, you can put in whatever healthy ingredients you have on hand that you think will work.
*Change the linseeds for sunflower seeds.
*Add some chopped nuts to the mix.
*Switch honey for maple syrup or other natural sweetener.
*Switch the raisins for craisins, chopped dried fig, chopped dates or sultanas.
*Add in some chopped, dark chocolate.
*Dip half of each ball in some melted dark chocolate.

Ingredients
Method
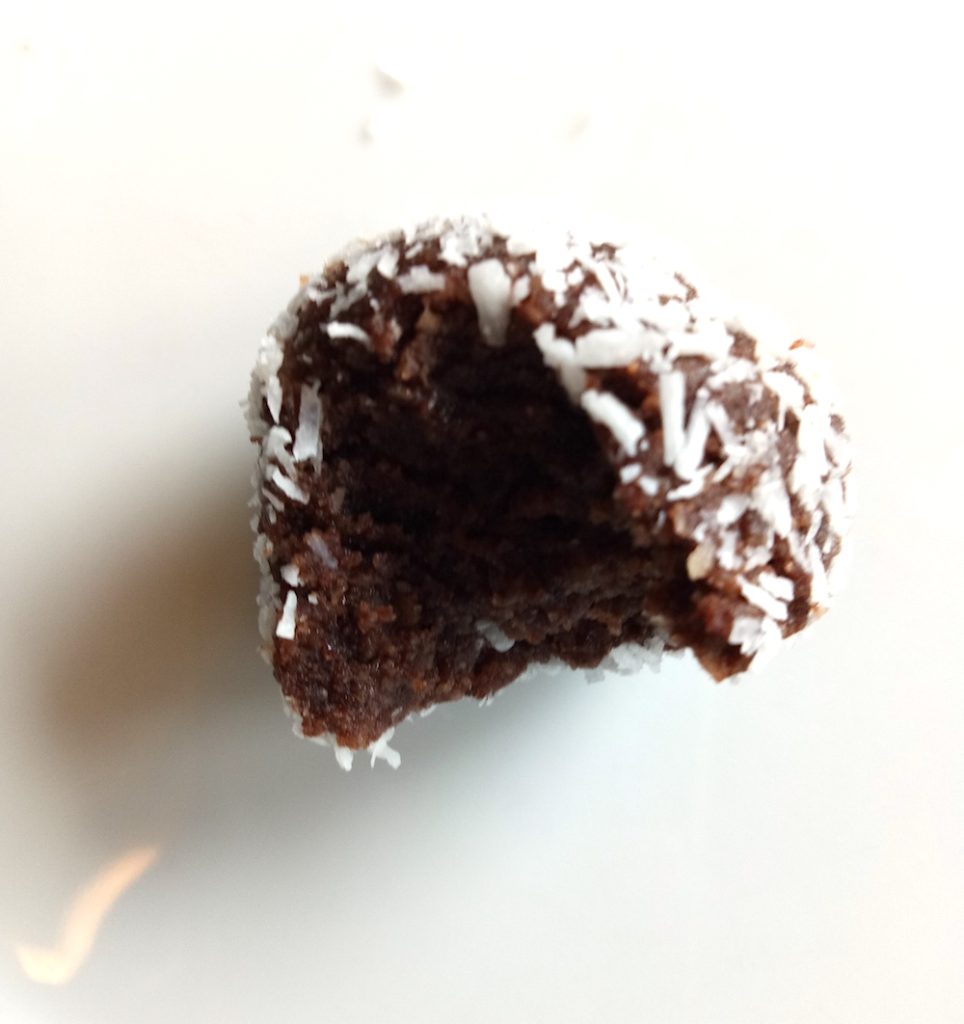
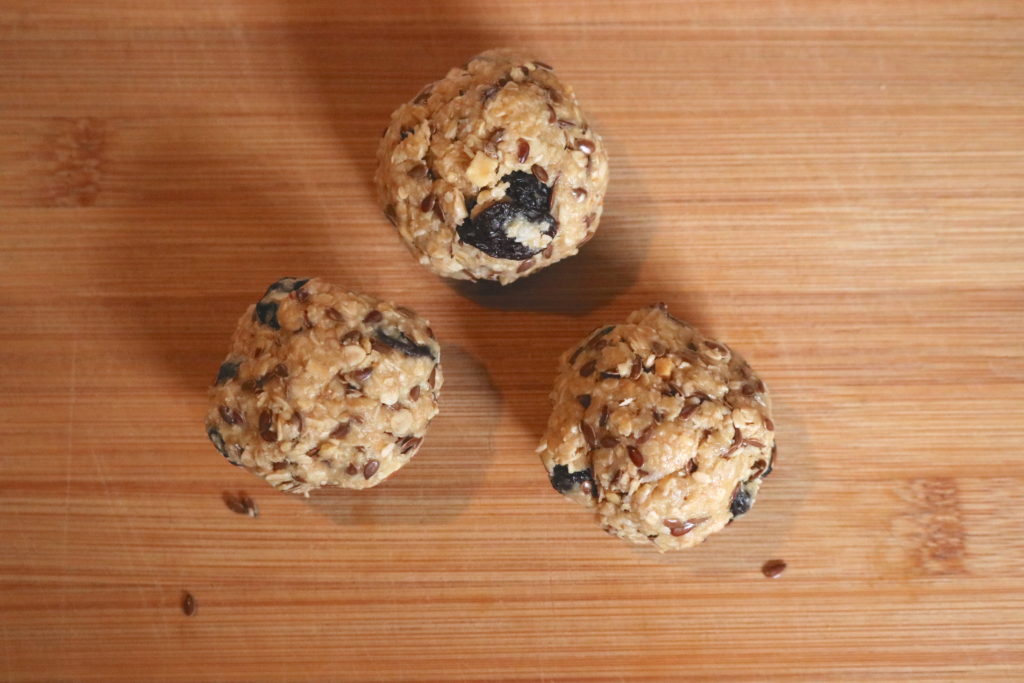
- Mix all ingredients together in a large bowl. I find it easiest to get my hands into the bowl and squeeze everything together. Once well combined, squeeze and roll into balls and store in the fridge.*Note – if your mixture is a little dry, add more honey** If you want to make your balls a little more decadent, add some chopped, dark chocolate!
If you try out this recipe, I’d love to hear if you enjoyed it!