I would rather be here to tell you that my Clothtober project is completely finished, but alas, life is not like that. Life is busy, distracting and full.
So, instead of showing you my finished project I am here to update you on my progress. Because I have made progress, and sometimes that is more important than the finish line.
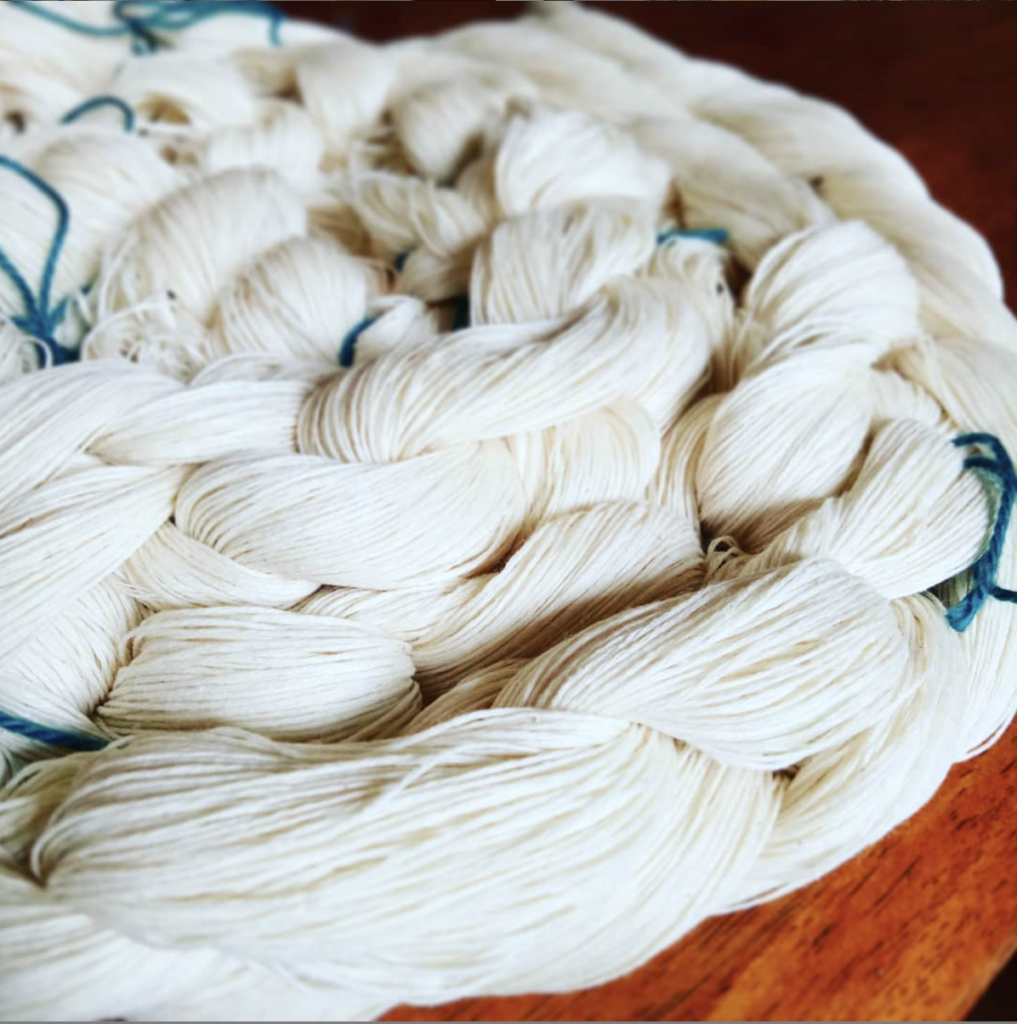
I started with a 10/2 weight cotton. I wanted a light weight and soft fabric for my finished garment. I had woven samples with Full Circle Australian Cotton previously and felt that it was the perfect fit for this project.
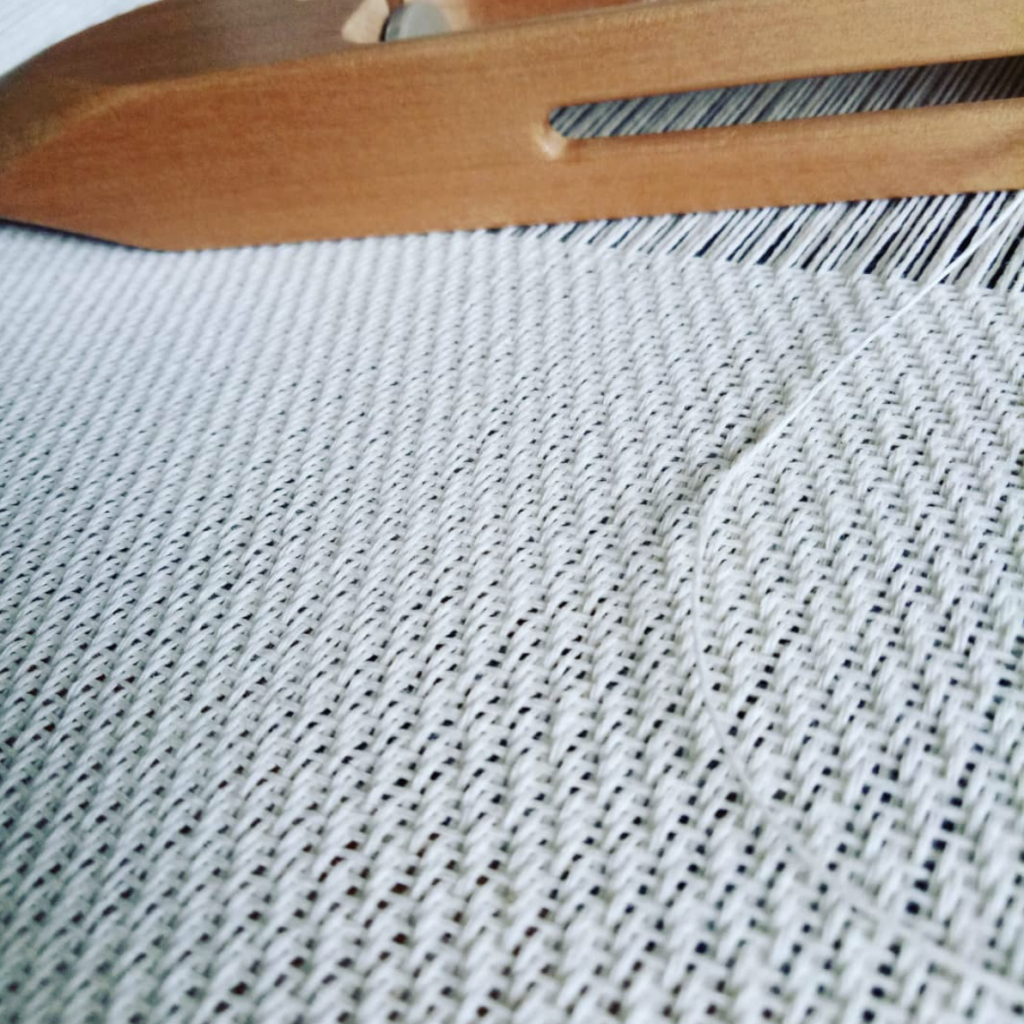
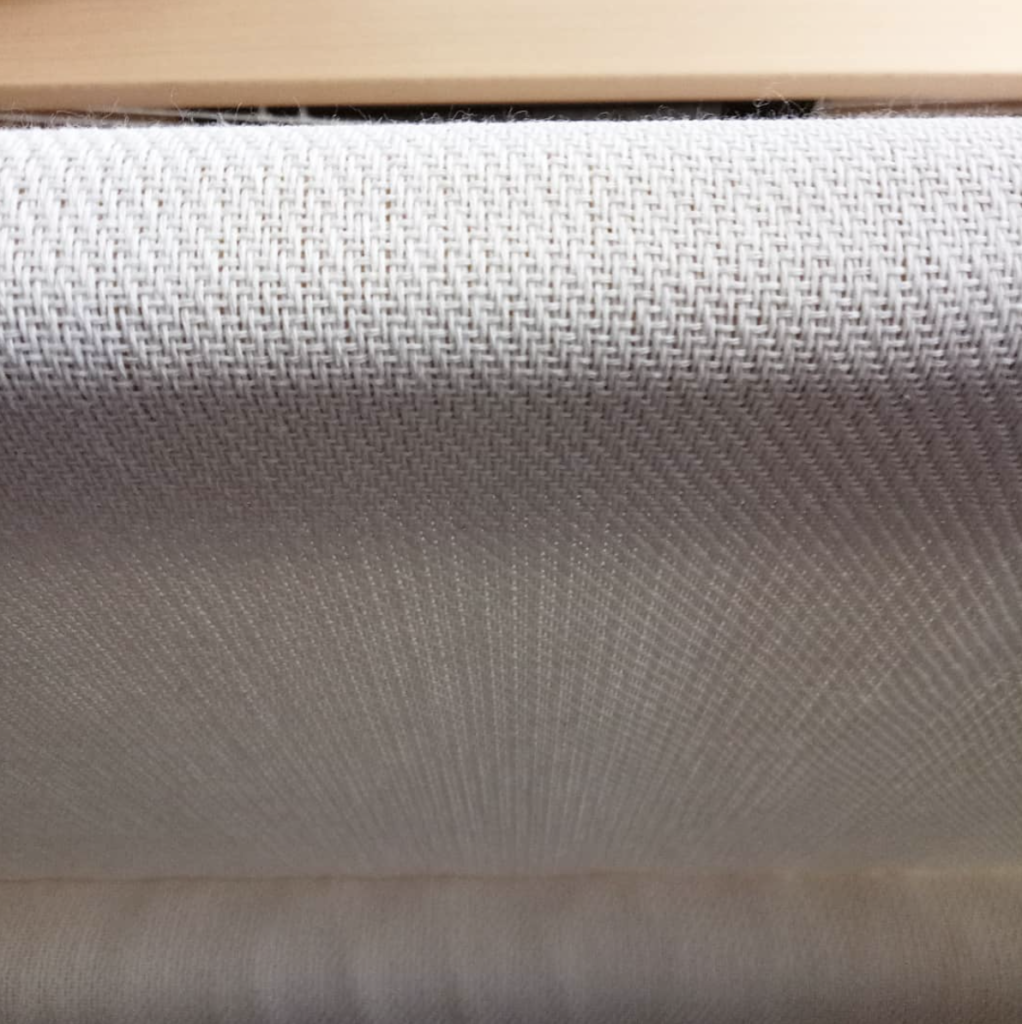
I decided on a 4 shaft, straight draw twill for a couple of reasons.
- It’s an easy and familiar threading pattern that doesn’t take as long to thread as 8 shaft straight draw.
- As I’m using all one colour, I didn’t want to weave a pattern that would not be seen all that well after dyeing.
- I wanted a really good drape for my garment, and felt that twill would be more suitable than plain weave.
I chose a sett of 25 ends per inch, meaning that for my 10 dent reed I sleyed 2,3. If that is gobbledygook to you, it means that I placed 2 warp threads in the first reed space, then 3 in the next, then back to 2 and so on. I did this because I only have a size 10 reed for my floor loom.
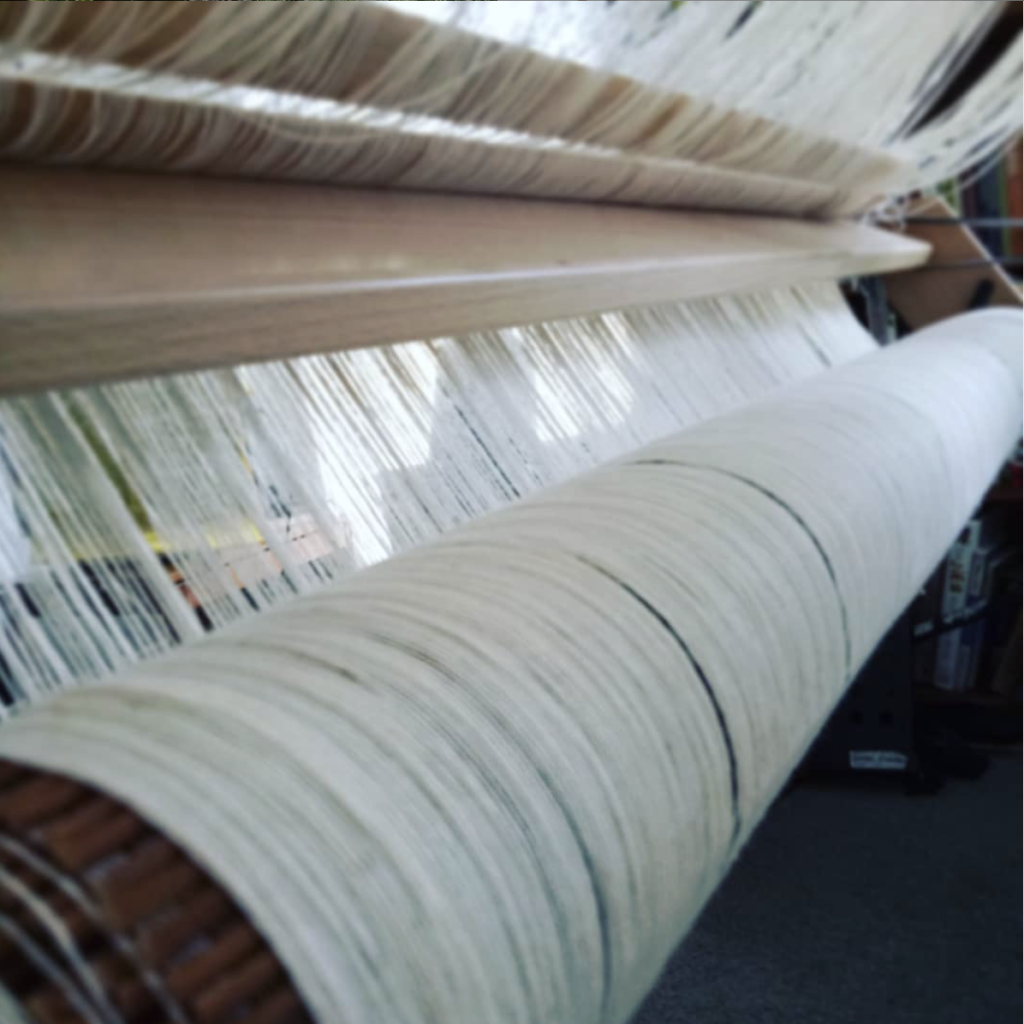
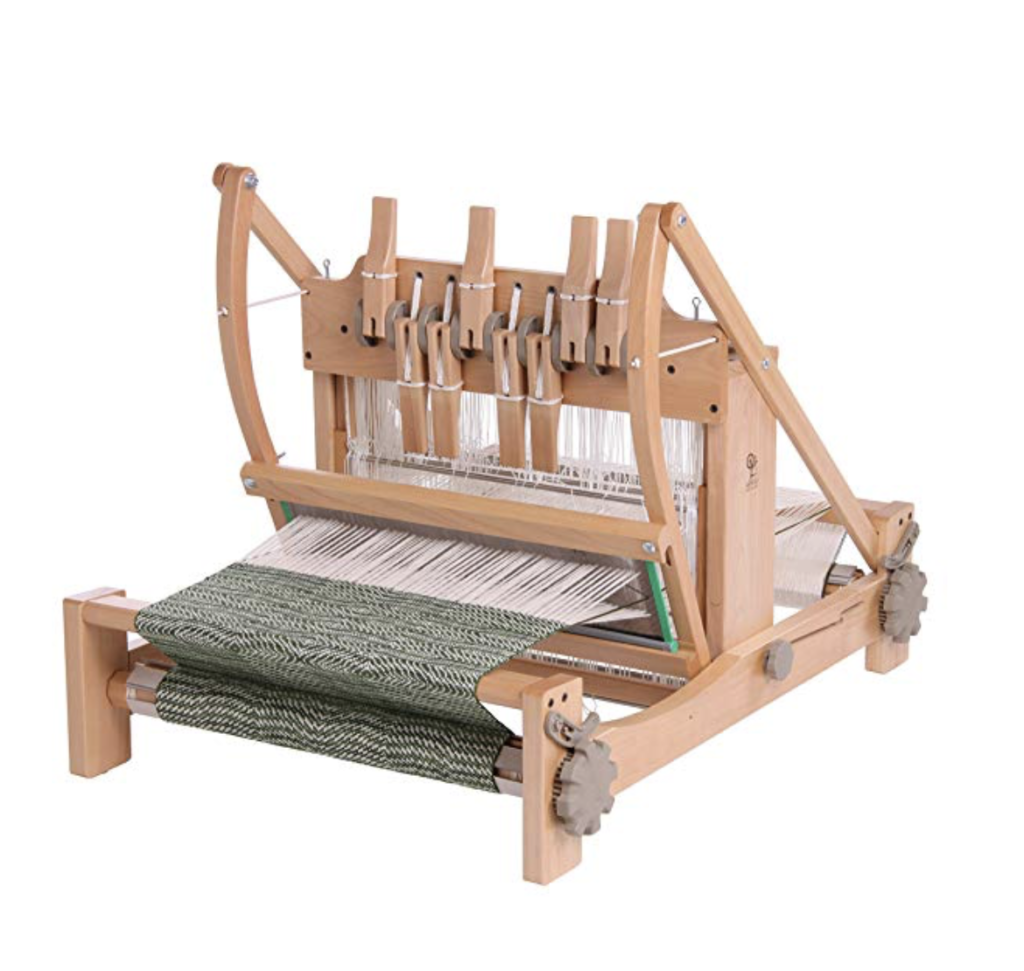
As soon as I had my warp chains on the loom (800+ ends!) I started having trouble. Was it the yarn or was it me? Hmm, probably a mixture of both. As mentioned, I have used this yarn before, but only as a short, narrow warp for a sampler. This one is full width on my 90cm loom. I had so many snags and tangles, and by the time I was finally ready to weave I had quite a few broken threads. Certainly, this 10/2 cotton is very fine and perhaps not as strong as the regular 8/2 cottons I’m accustomed to.
So, the warping took a really long time and I got to exercise a lot of patience. I also learned (yep, still learning with every single project!) that this yarn may be more suitable next time as a weft if I intend on a wide warp again.
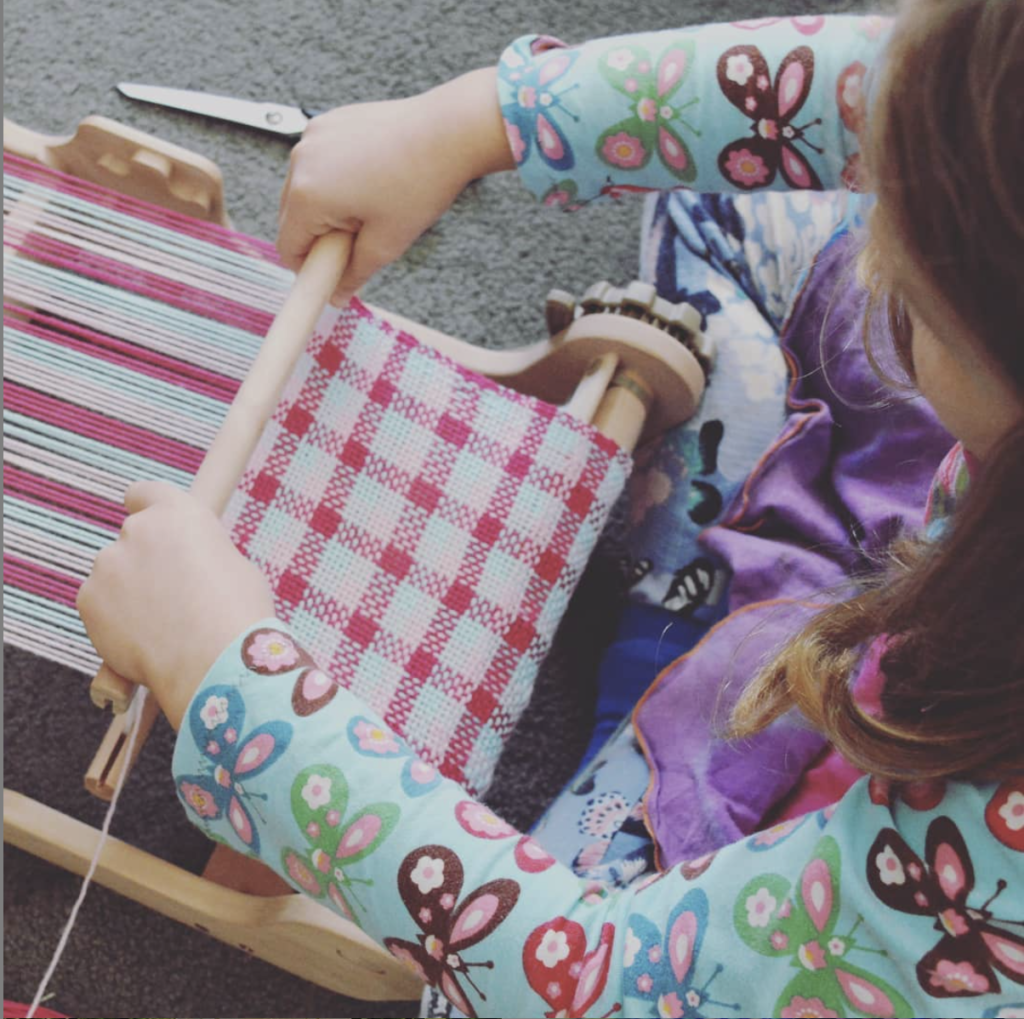
If you have ever struggled with a difficult warp, you know that special moment of being threaded, sleyed, tied on and ready to weave. Oh, the joy!
I noticed after a couple of inches of warping that I had doubled up on ends in one of the reed dents. This means there is one small section of fabric that has a thicker section and stands out as a stripe.
I could have unwoven, re-sleyed and then re-woven. But I didn’t. I decided I could live with the fault and hence forth consider it a design element.
I’m more than half way done weaving and can’t wait to finish up and take this long length of cloth (4 yards or so) off the loom.
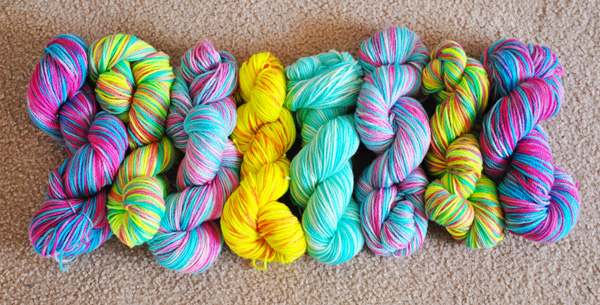
I’m now considering which dye process I want to use. I want a dark blue, so I’m considering indigo or a fibre reactive blue. We shall see. As I weave, I have plenty of time to ponder these things.
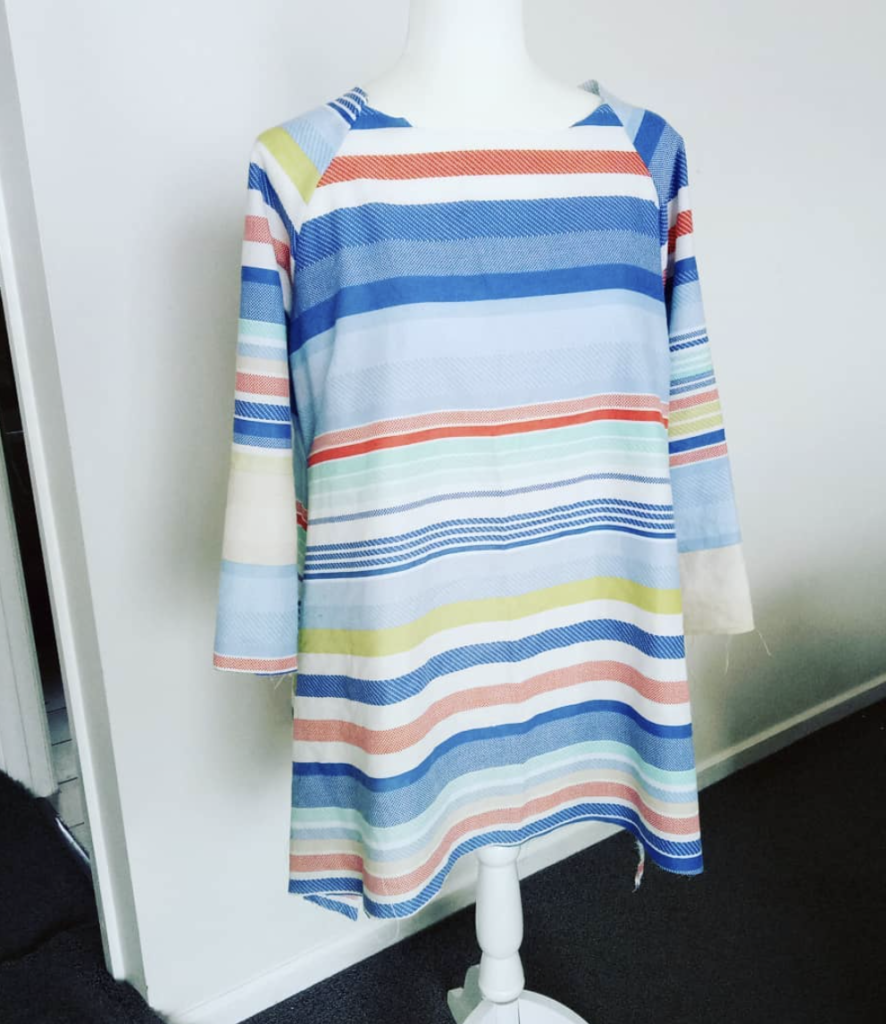
To read more about the dyeing and sewing of the cloth, click here.
Until next time…
Happy Weaving!